How to Inspect, Clean and Replace Vented Loops (Anti-Siphon Valves)
A vented loop is a small, easy-to-forget fitting that stops seawater from siphoning into your engine or through your head and into the boat. Learn where they live, why they must sit well above the waterline, how to clean a sticky or clogged valve, when to replace it, and how to spot the hydrolock damage a failed one can cause.
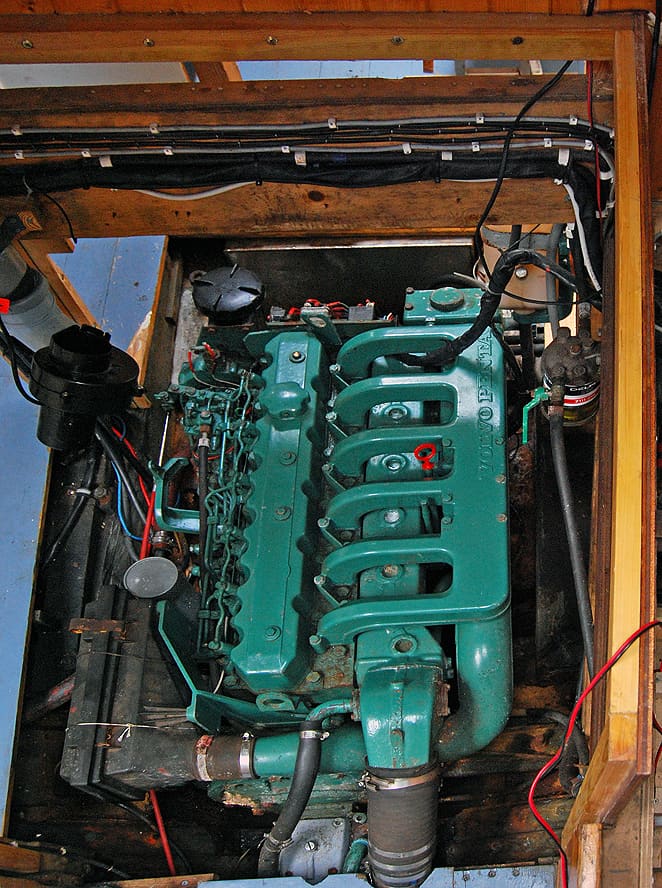
Time
1 h
Shop would charge
$150-400
Applies to
Gas inboard, Marine diesel, Sterndrive (I/O)
Safety first: Vented loops sit on hoses connected to through-hulls below the waterline. Close the seacock before you open any loop, and keep a bucket and rags handy. If you open a hose and water keeps coming, or the seacock won't close, refit the hose and clamp it, and call a marine mechanic. If water is rising in the boat, call TowBoatUS, Sea Tow or the Coast Guard on VHF 16 (or 911). If your engine won't turn over or locks partway after sitting, don't keep cranking: it may have water in a cylinder.
Owners often ask
- There is white crust and a drip coming from the little valve on a loop of hose above my engine. Is that a problem?
- My sailboat diesel would not turn over after a rough night on the mooring. Could water have siphoned in?
This guide walks you through it. Still stuck? Ask the AI Mechanic about your engine.
Tools
- Flashlight and inspection mirror
- Screwdrivers and nut drivers for hose clamps
- Small soft brush and a toothpick or plastic pick
- Bucket with warm water and white vinegar
- Low-pressure air (a hand pump or a compressor turned down)
- Tape measure
- Rags, nitrile gloves and safety glasses
Parts & supplies
- Replacement joker (duckbill) valve or diaphragm for your loop's make and model
- New vented loop of the same hose size and type (if the body is cracked or corroded)
- All-stainless hose clamps sized for the hoses
- Small vent hose (if your loop vents overboard)
Before you start
What a vented loop does. Any hose that runs from a through-hull below the waterline can act as a siphon: once water starts moving, it can keep flowing from the sea into the boat all by itself, with no pump running. A vented loop puts a high point in the hose with a small one-way valve on top. When water flows (pump running), the valve stays closed so nothing sprays out. When flow stops, the valve opens and lets air in, breaking the siphon.
BoatUS describes what's at stake. In the engine, the loop stops raw cooling water from flowing into the exhaust manifold, through the exhaust ports and down into the cylinders after shutdown. In the head, loops on the intake and discharge stop seawater or waste from siphoning back into the bowl and the boat. If one fails, BoatUS warns, it can destroy the engine, flood the boat with toilet discharge, or sink it.
Hydrolock. West Marine calls back-siphoning a leading cause of hydrolocked engines. Water can't be compressed, so when the engine tries to start with a cylinder full of water, something gives: often a bent connecting rod.
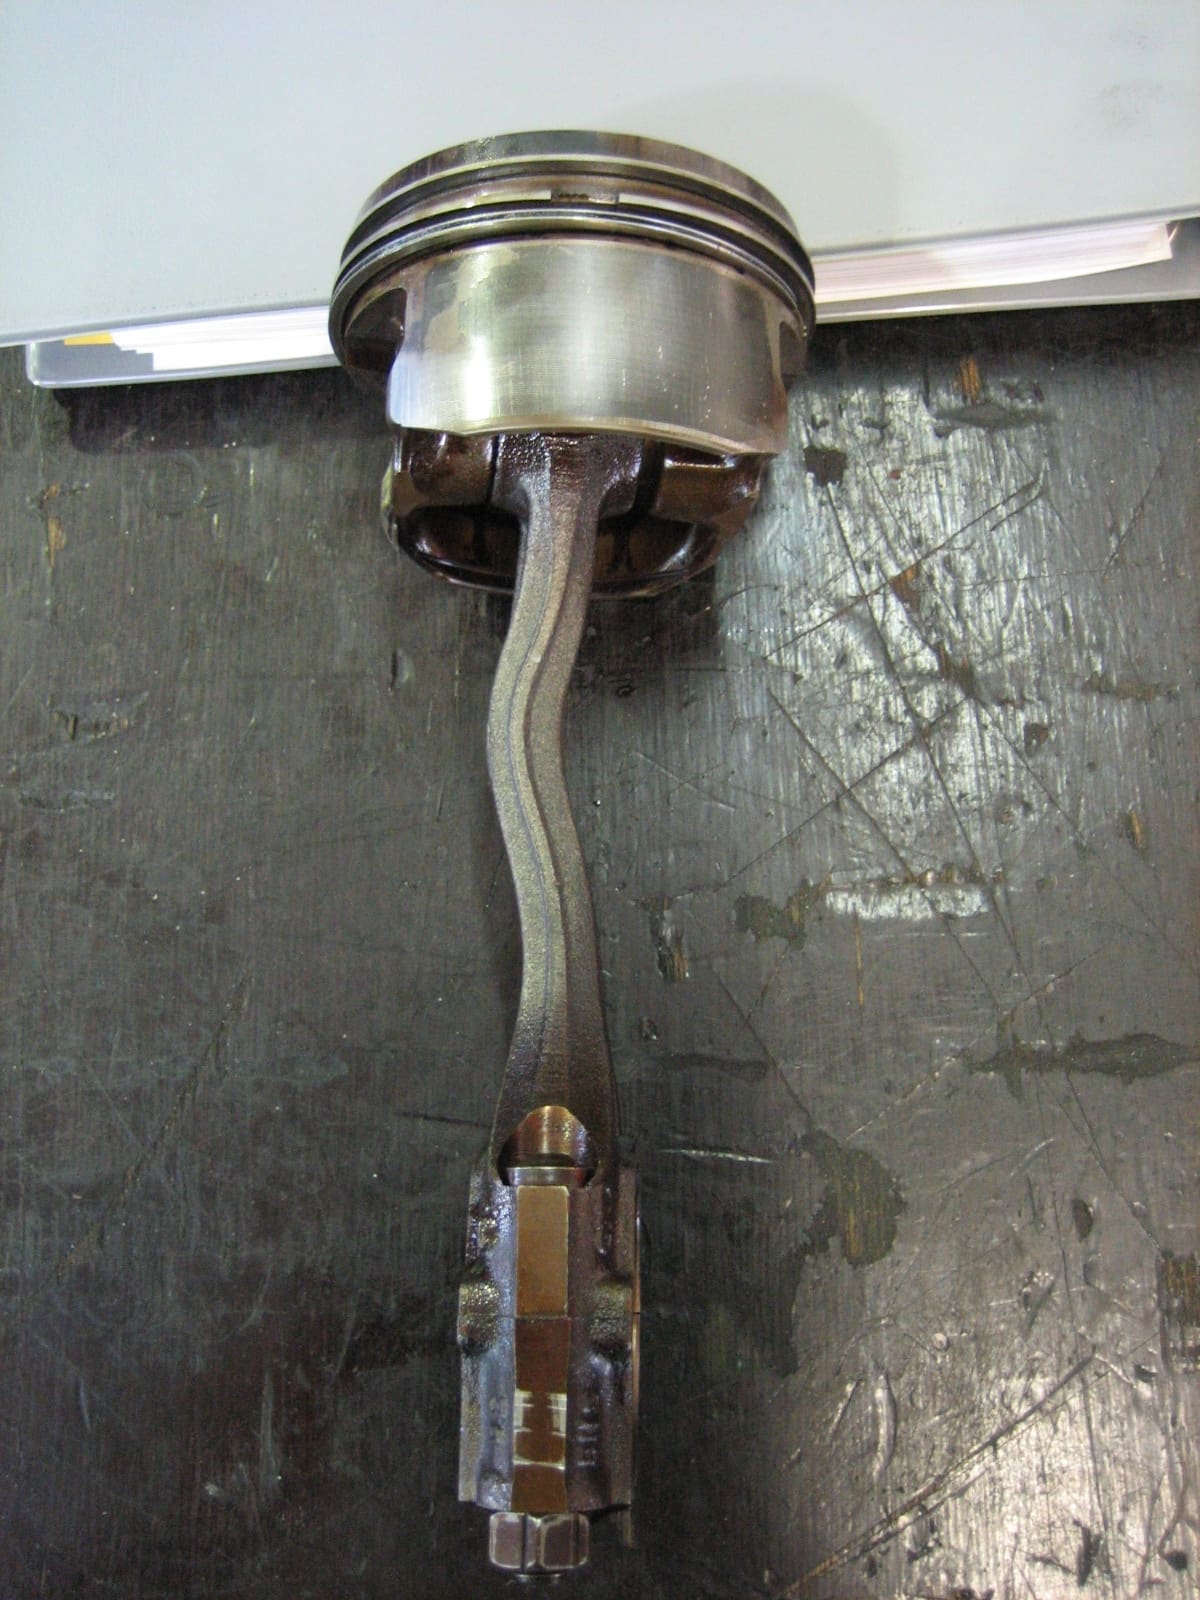
Where they must be. A loop only works if it's above the waterline in every condition:
- West Marine says an engine anti-siphon loop should sit at least 12 inches above the waterline at all angles of heel and trim, and that a sailboat loop that's high enough upright may be underwater at 30 degrees of heel.
- BoatUS says a head's intake loop should be installed above the maximum-heeled waterline, following the toilet maker's instructions.
- Engine makers' installation manuals and ABYC standards set the specific requirements for when a loop is needed and how high it goes; your engine dealer or a surveyor can check yours.
Not every boat has one. BoatUS notes they're not found on all boats. Engines whose exhaust and water injection sit well above the waterline may not need one. That's a design question for a pro, not something to decide by removing a loop. (The "anti-siphon valve" in a fuel line is a different part; see our fuel anti-siphon valve guide.)
Steps
BoatUS says they're usually tucked behind bulkheads or in a corner of the engine space. Look for a looped hose or an inverted U-shaped fitting with a hose going in, one coming out, a vent cap on top, and sometimes a small tube running to an overboard fitting. Typical spots:
- Engine: in the raw-water line, often between the heat exchanger and the exhaust elbow (where water is injected into the exhaust)
- Generator: same idea, on its raw-water line
- Head: on the intake line and/or the discharge line
- Bilge pump discharge hoses often have a plain riser loop; some have a vented one
Electric toilets that flush with raw water are a special case. Practical Sailor notes that air drawn in through a vented loop on the intake line can make the toilet's pump struggle, so some installations use a solenoid valve that closes the vent while flushing, or a solenoid in the intake line. If yours has one, it's part of the anti-siphon system: a solenoid stuck open or closed changes how the head behaves. Check the toilet maker's instructions before changing anything.
Make a quick list with locations and photos in BoatMend. While you're at each loop, look at the hoses and clamps too: Practical Sailor's maintenance series suggests checking and cleaning anti-siphon valves along with an annual look at every through-hull hose, because the valves clog with salt and debris and hard, stiff hoses split from vibration.
With the boat floating normally, estimate how far each loop's top sits above the waterline outside. On a sailboat, think about the boat heeled: a loop off to one side drops a lot more than one near the centerline. Compare with West Marine's 12-inch guidance and your engine or toilet maker's instructions. A loop that's too low, or off to the side on a sailboat, is worth a pro's opinion.
BoatUS lists salty crust, green corrosion stains and (on head loops) odor or worse. Crust around the cap is a sure sign the valve needs service. Weeping at a hose joint: tighten the clamp, and plan to pull the hose to check the fitting's nipple for corrosion or wear, which BoatUS says is common on metal fittings in head lines.
Engine off and cool. For an engine loop, close the raw-water seacock. For a head loop, close the head's intake and discharge seacocks. Put a rag under the loop to catch drips.
BoatUS's method: remove the small tube from the vent spout (if there is one), then unscrew the cap at the top of the loop. Some loops use bolts to hold the top down instead. GROCO says its oversized vent valve comes out for inspection without tools. Keep track of every small part.
Many loops use a small rubber duckbill. Forespar's, for example, uses a duckbill under the cap. Pull it out carefully so it doesn't tear. BoatUS says you'll often need to replace it because calcium and other deposits make it stiff, though you may be able to clean it. Soak it in warm water with white vinegar, work deposits off with your fingers or a soft brush, and blow through it with low-pressure air. Replace it if it's torn, misshapen, hard or doesn't close on its own.
- Diaphragm valve: a flexible membrane over a frame, usually held by small bolts. BoatUS says to replace it if it's deformed, stiff or torn; otherwise clean it and the area it seats on.
- Spring, ball, flap or float valves: clean the parts as the maker instructs, check that nothing is bent, and lubricate only with a product the maker recommends. BoatUS's advice: if in doubt, replace it.
If your loop vents through a small hose to the outside, check that hose and its fitting are clear. BoatUS warns that a vent line blocked by insects has the same effect as a valve stuck closed: the siphon isn't broken. Blow it through gently and check the outside fitting isn't painted over or plugged.
Some makers require that vent hose on engine loops. GROCO, for example, says its bronze vented loops must be vented overboard when used in an exhaust system, and both GROCO and Forespar sell caps that accept a small vent hose. If an engine loop has no vent line, ask a mechanic whether the loop's maker calls for one.
Refit the valve right side up (the way it came out), the cap and the vent tube. Reopen the seacocks. Run the engine (or pump the head) and watch the loop: a clean, sealing valve shouldn't spray. A steady drip or spray means the valve isn't closing; recheck it. Afterward, listen and look as flow stops: the valve should let air in.
BoatUS describes an alternative some owners use on the engine loop, never the head discharge: remove the valve and run a hose from the vent to an overboard fitting, so a small stream of water shows whenever the engine runs. The passage is always open, so there's no valve to stick, and you can see the water flowing. The diverted flow must be small enough that it doesn't hurt exhaust cooling. Have a mechanic set this up.
If the body is cracked, the nipples are corroded or the cap threads are stripped, replace the whole loop with one of the same hose size and type. Forespar's loops are molded composite (Marelon) and GROCO makes bronze ones; both offer caps that can take a vent hose. Mount the new loop solidly, at least as high as the old one or higher, with new stainless clamps. SAIL Magazine's writer, after a hydrolock, notes a loop placed high and close to the engine, near the boat's centerline, sees the least change in height when the boat heels or pitches.
West Marine suggests inspecting vented loop valves every year and replacing them every three to five years, because the rubber can harden and fail without any sign. BoatUS adds that flushing vinegar through the head regularly reduces deposits in head loops. Put both reminders in BoatMend.
Common mistakes
- Never knowing the loop exists until the engine hydrolocks.
- Removing a "leaky" valve and capping the vent shut. That turns the loop into an ordinary hose bend that can siphon.
- Opening a loop with the seacock open.
- Mounting a replacement loop lower, or farther outboard, than the original.
- Forgetting the vent hose, which can clog with bugs or salt and stop the loop from working.
- Using grease or sealant on a duckbill valve that isn't approved by its maker.
- On a sailboat, checking the loop height only with the boat level at the dock.
- Swapping a vented loop for a check valve. A check valve only stops flow going backward; it doesn't let air in to break a siphon flowing forward. Use the design the engine or toilet maker specifies.
When to call a pro
- The engine won't crank, locks partway, or you find water or milky oil in the engine (possible hydrolock; don't crank it again)
- The loop is below or barely above the waterline, or you're not sure one is needed on your installation
- Re-routing hoses, moving a loop, or setting up an always-open overboard vent
- A seacock won't close, or the hose fittings on a through-hull are corroded
- Head plumbing changes (they must meet USCG rules and ABYC standards)
Tips
- Buy spare duckbills or diaphragms for each loop and keep them in your spares kit; they're small and cheap.
- Label each loop with a tag ("engine raw water," "head intake") so the next owner or mechanic finds them fast.
- If the head bowl slowly fills or empties on its own, suspect a siphon and check the head loops first.
- The SAIL Magazine hydrolock story is a good reminder that exhaust systems can also take water from following seas when the boat is pitching on a mooring; ask a pro about flapper or check valves if your exhaust outlet is low.
Official references
We read these to write this guide. Your engine's own manual always wins.
- BoatUS – Anti-Siphon Valve Basics (raw-water and head vented loops)
- West Marine – Marine Exhaust System Basics (wet exhaust, back-siphoning and the anti-siphon loop)
- Forespar – Vented Loops / Siphon Valve
- GROCO – Bronze Vented Loops
- SAIL Magazine – Hydrolock Headache
- Practical Sailor – How Do We Plumb Thee? Let Us Count the Ways (marine head plumbing, vented loops on raw-water lines)
- Practical Sailor – Seepage or Flooding, How to Keep Water Out of the Boat
Safety: BoatMend is for information only and does not replace a certified marine technician. You are responsible for your safety and your boat. Read the full disclaimer.
Last updated 2026-10-25
Related guides
How to Inspect Exhaust Manifolds and Risers on a Sterndrive or Inboard
Cast-iron exhaust manifolds and risers rust from the inside, and when they fail they can let water into the cylinders and ruin the engine. Learn the warning signs, how often to inspect them in salt and fresh water, how to check a riser yourself, and when replacement is a job for a pro.
Closed-Cooled Gas Engines: Why the Exhaust Elbows Still Need Checking
Closed (freshwater) cooling protects the block, but on gas sterndrives and inboards the exhaust elbows or risers, and on some systems the manifolds, are still cooled by raw water. Learn which parts still see salt or lake water, the warning signs, what the engine makers and BoatUS say about intervals, and how to inspect and look after them.
How to Inspect and Exercise Seacocks, Through-Hulls and Hose Clamps
Check every hole in your hull below the waterline, work each seacock open and closed, and inspect the hoses and clamps attached to them. A single failed fitting or hose is one of the most common reasons boats sink at the dock.
How to Inspect and Clean a Raw-Water (Sea) Strainer
The sea strainer is the cheap screen that keeps weeds, shells and plastic out of your engine, generator and A/C pumps. Learn how to clean it safely with the seacock closed, reseal the lid so it can't suck air, spot a cracked bowl before it floods the boat, and winterize it.
How to Rebuild a Manual Marine Toilet (Hand-Pump Head)
A manual head that's hard to pump, lets water flow back into the bowl or leaks at the pump shaft usually just needs new valves and seals. Learn how to diagnose the symptom, pick the right service kit, replace the joker valve, flapper and piston seals safely and hygienically, and keep the pump working afterward.
How to Prevent and Remove Scale in Marine Toilet Discharge Hoses
A head that gets harder to pump, flushes slowly or lets water creep back into the bowl often has mineral scale building up inside the discharge hose. Learn a simple monthly vinegar routine, when to use a maker-approved descaler, what never to pour in, and when replacing the hose or switching to a freshwater flush is the real fix.
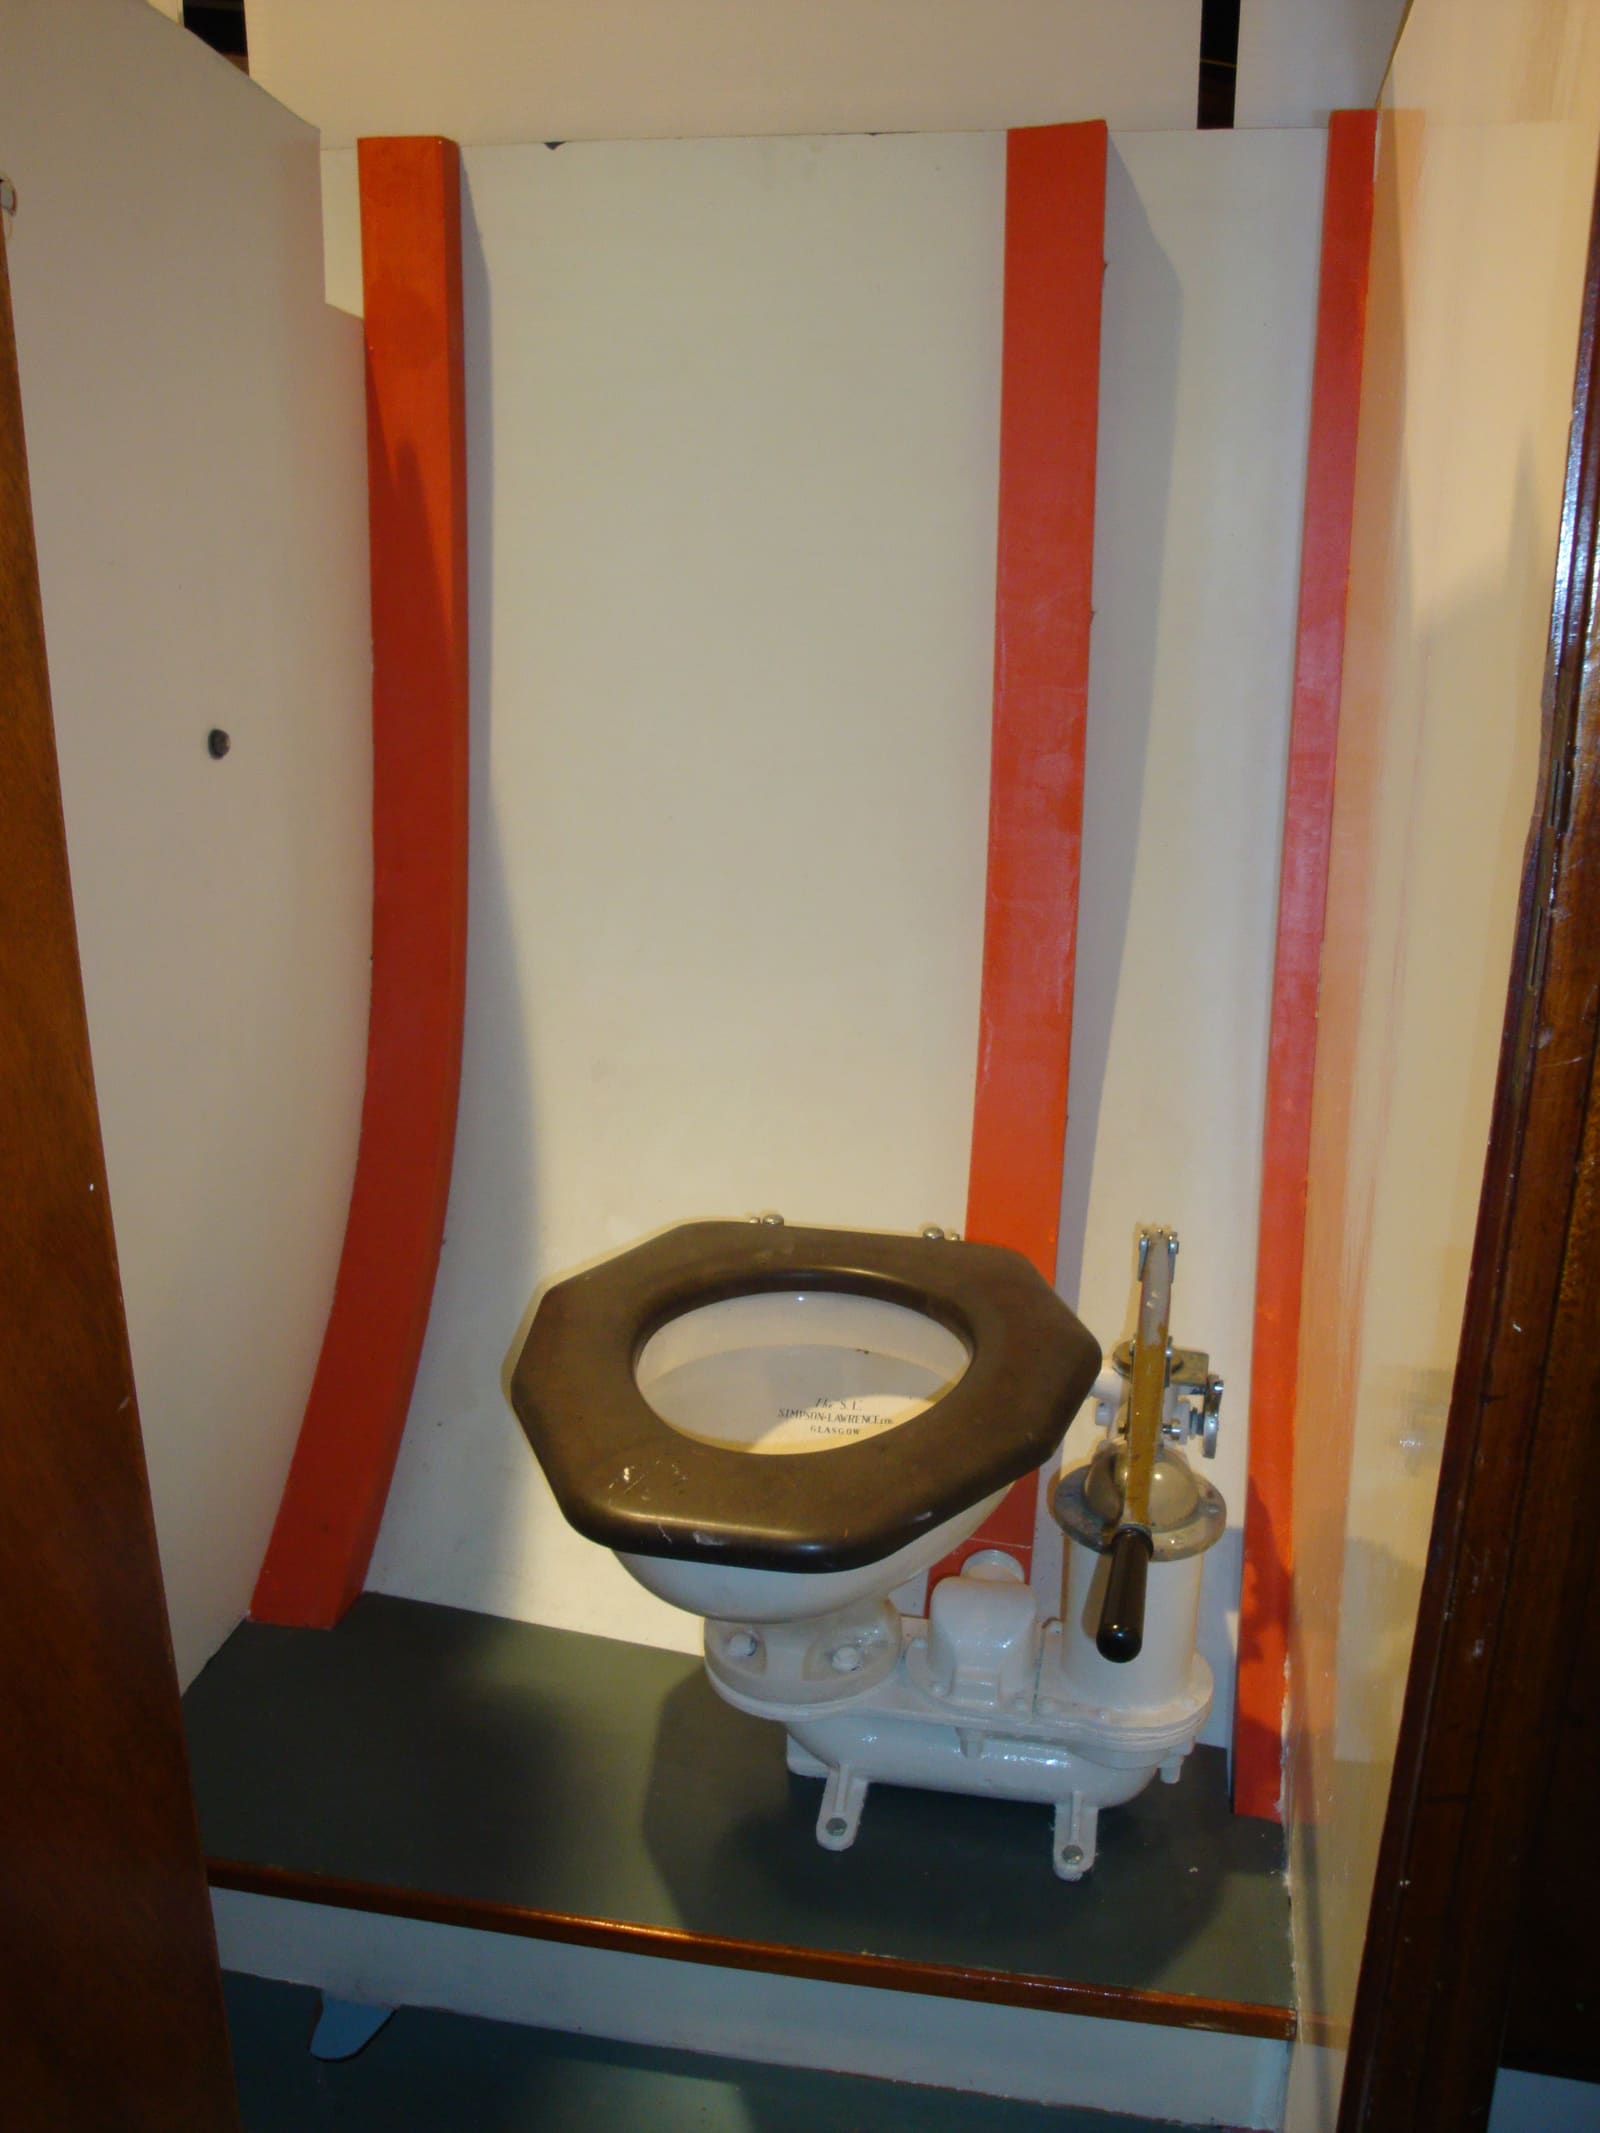
Smelly Head Hoses: How to Test, Choose and Replace Sanitation Hose
Find out if your toilet and holding-tank hoses are the source of that sewage smell with a simple hot-rag test, then pick the right sanitation hose, route and clamp it properly, and get rid of the old hose cleanly.
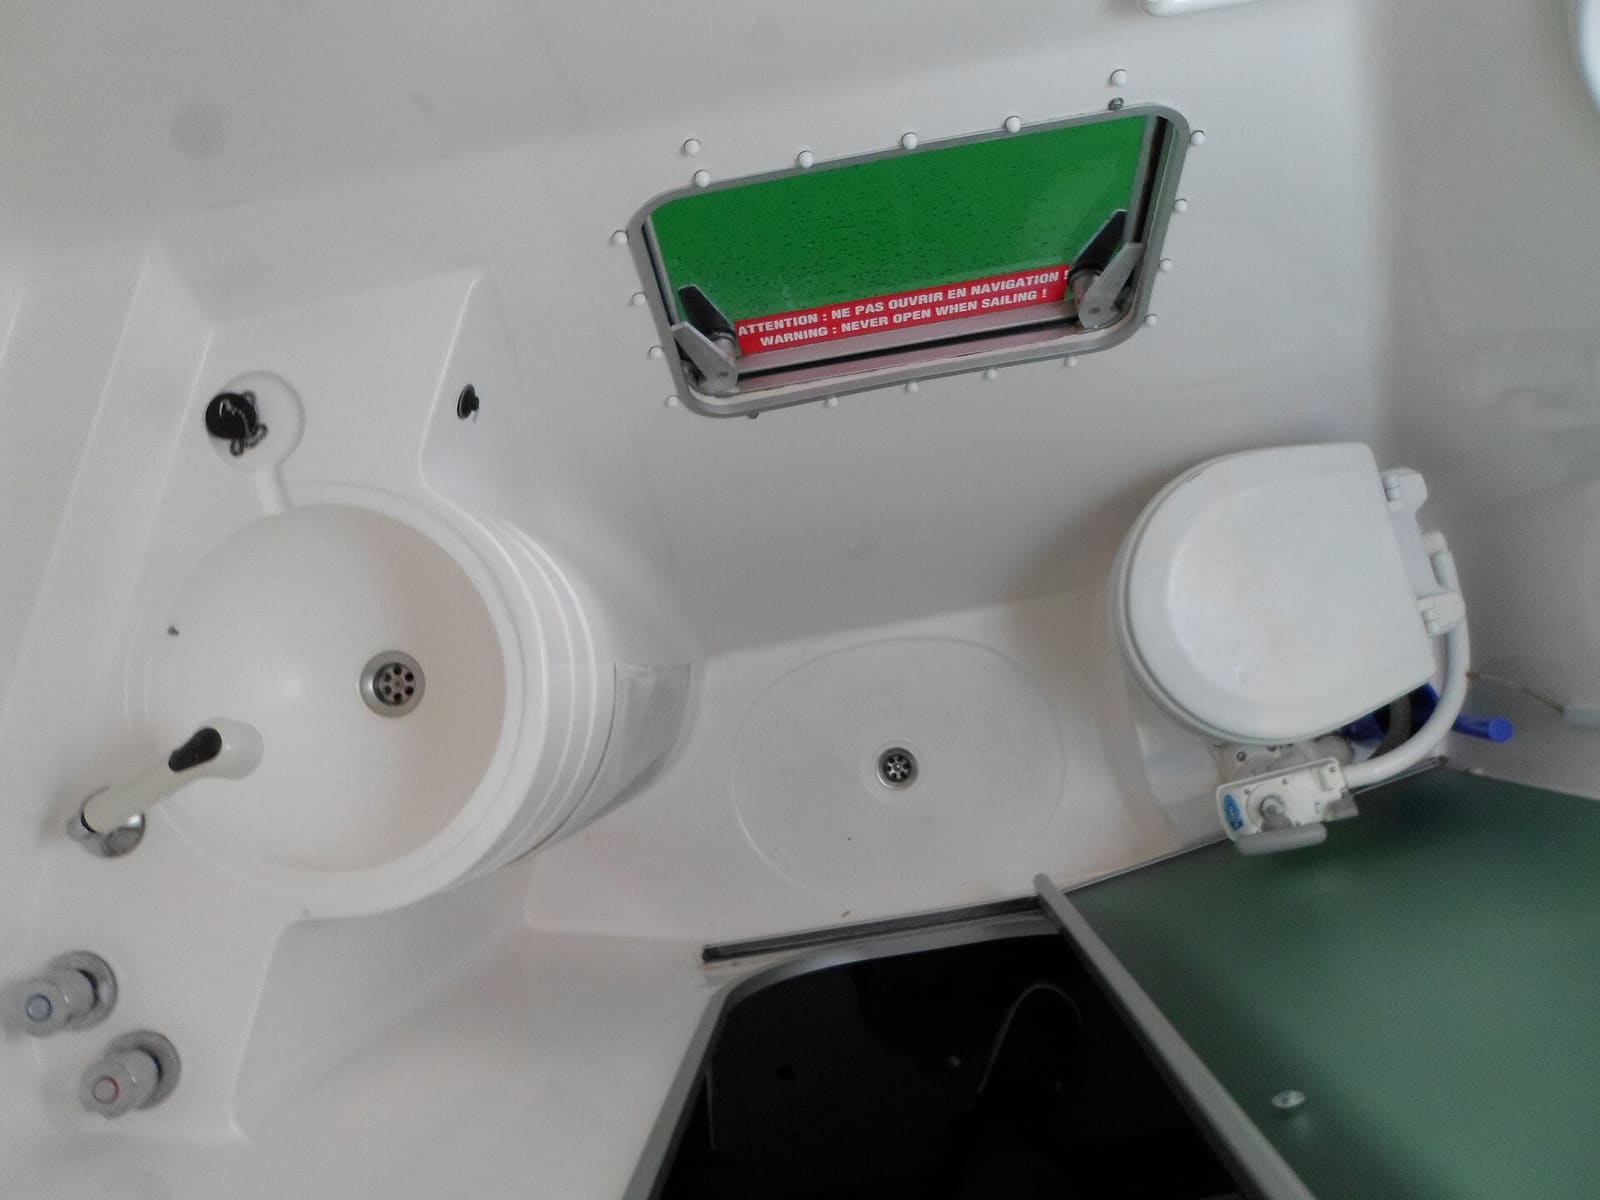
Marine Head and Holding Tank Care: Odors, Clogs, Pump-Outs and Winterizing
Keep your boat's toilet and holding tank working and odor-free, clear common clogs, pump out the right way, and winterize the system. Also covers the Y-valve and the federal no-discharge rules every owner with a head needs to follow.
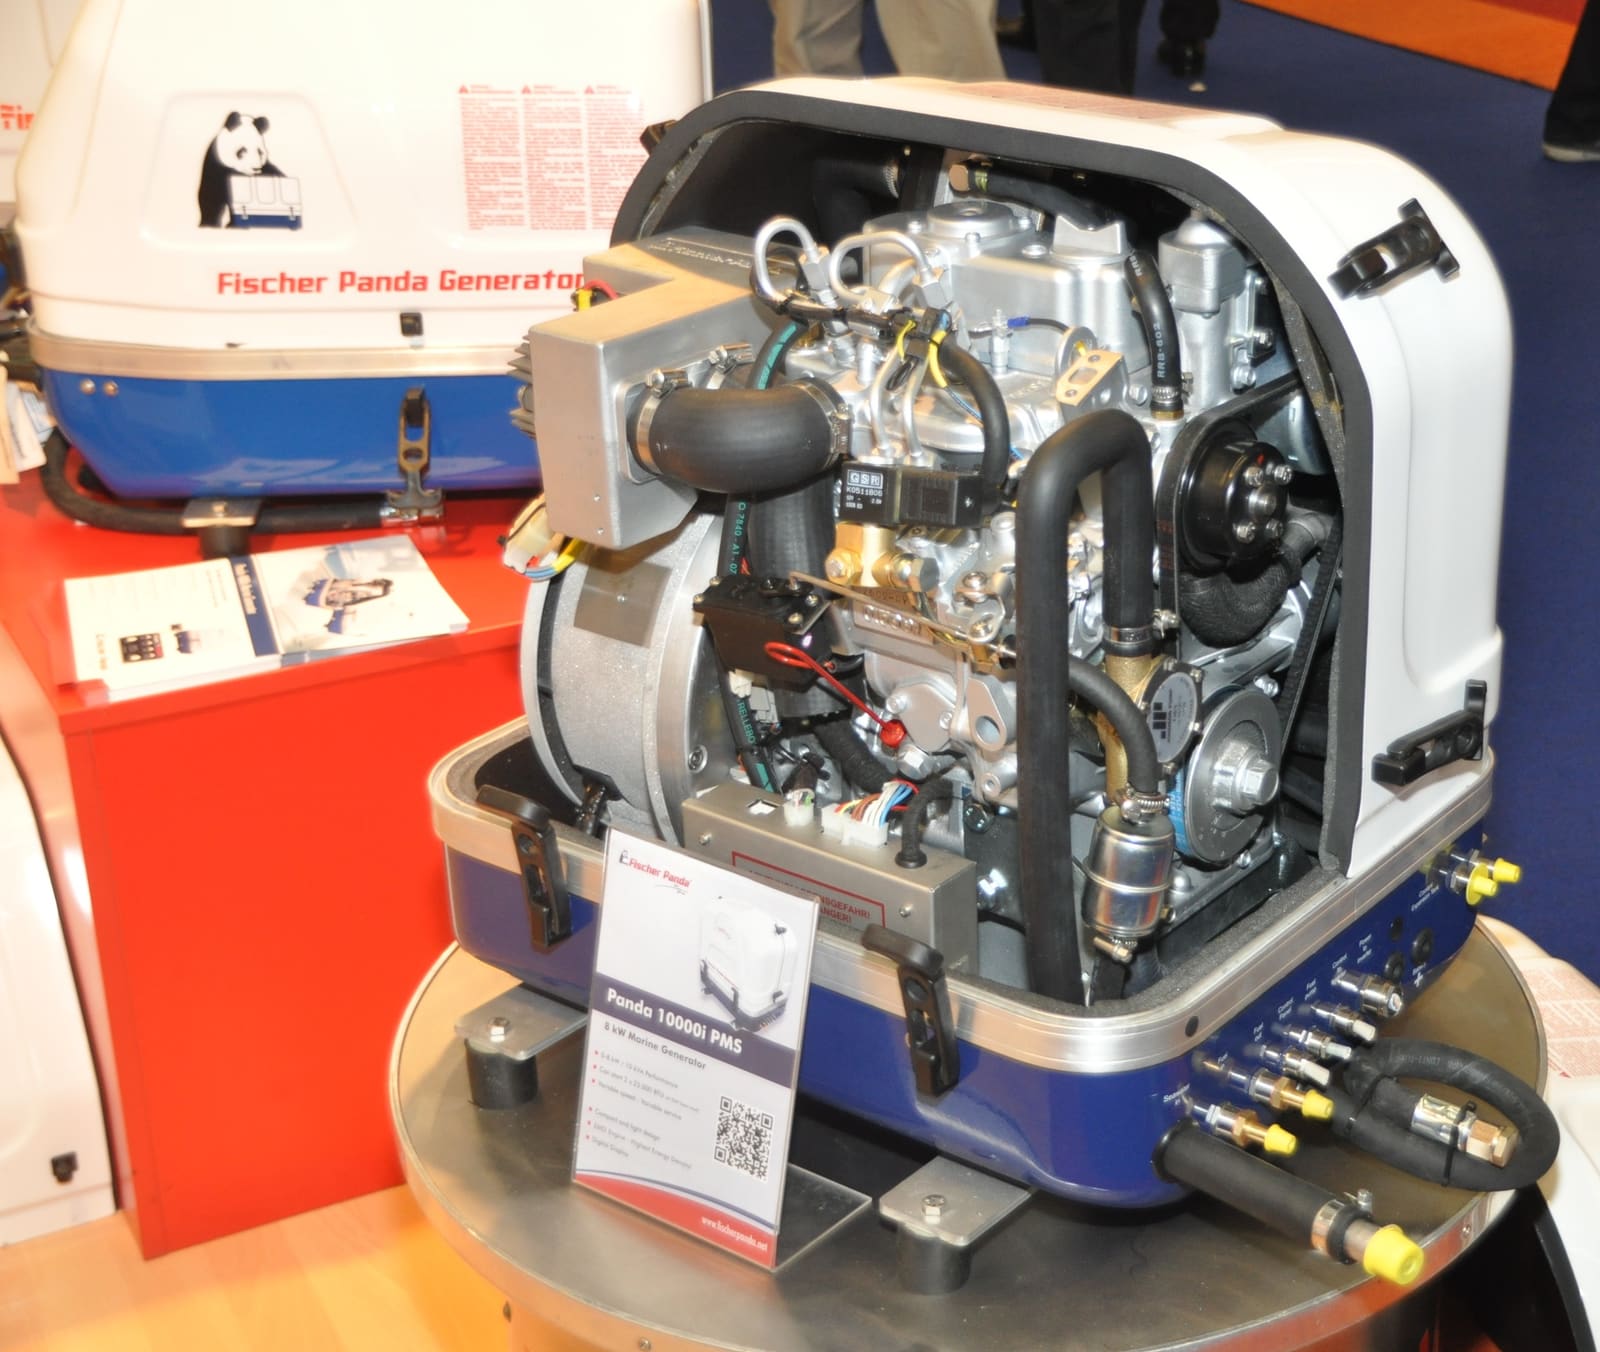
Marine Generator Routine Maintenance and CO Safety
Keep an Onan, Kohler/Rehlko, Northern Lights, Westerbeke or similar marine generator reliable with regular checks of oil, raw-water cooling, fuel, exhaust and the start battery, plus a monthly run under load. Generator exhaust is a leading source of carbon monoxide on boats, so safety checks come first.
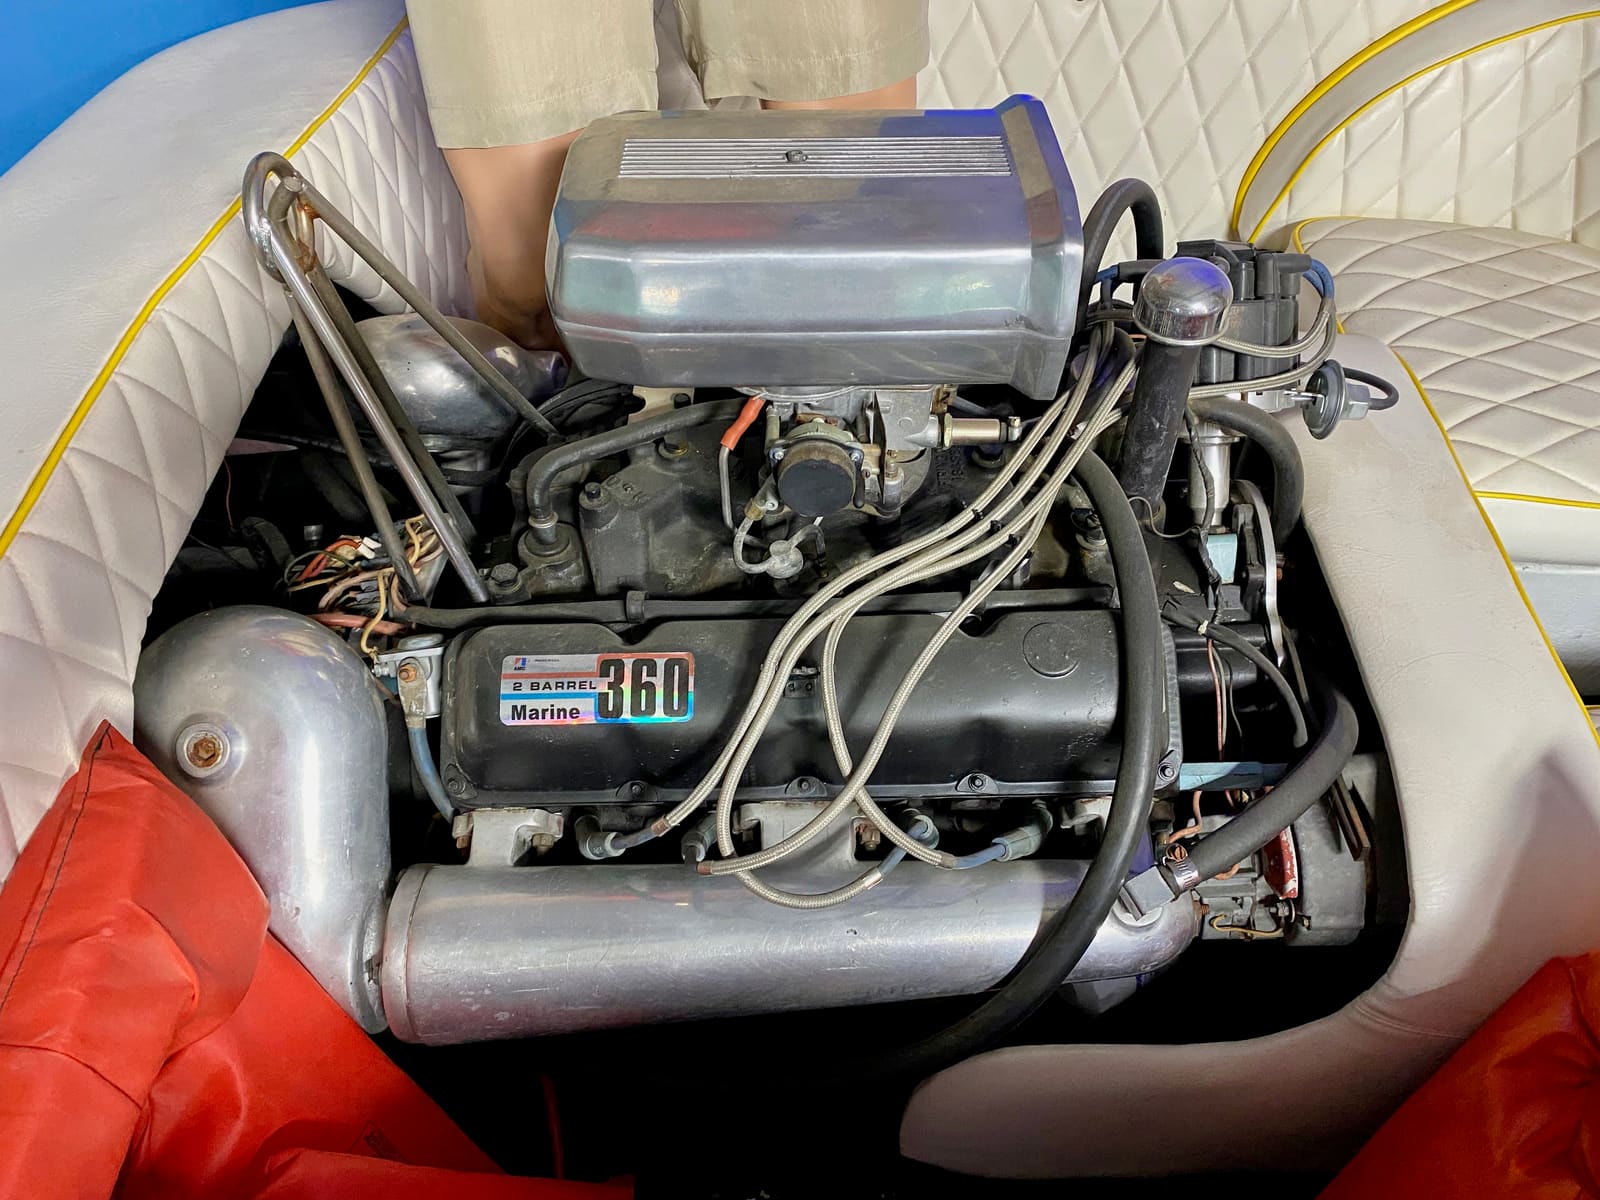
Milky Engine Oil or Water in the Oil - What It Means and What to Do
Milky, creamy or rising engine oil usually means water is getting into the engine. Learn why you should stop running it right away, how to tell harmless condensation from a real leak, and which parts are the usual suspects: head gaskets, exhaust risers and manifolds, intake manifold gaskets, oil coolers and freeze cracks.
Marine Diesel Won't Start: Troubleshooting From Battery to Fuel
Work through the usual reasons a Yanmar, Volvo Penta, Westerbeke, Beta or similar marine diesel won't crank, or cranks but won't fire, starting with the free and simple checks. Most no-starts come down to the battery, preheat, air in the fuel or a fuel shutoff solenoid.
Fuel Anti-Siphon Valve: Diagnosing a Sticking Valve and Replacing It Safely
The anti-siphon valve at your built-in fuel tank stops gasoline from draining into the bilge if a fuel line breaks, but a cheap or sticky one can starve the engine at speed. Learn how to tell a restricted valve from a blocked vent or filter, how to clean or replace it with a quality valve of the right type, and why you should never pull the check ball out.
How to Install a Backup Bilge Pump and High-Water Alarm
Add a second, larger automatic bilge pump mounted above the primary, with its own overboard discharge and a loud high-water alarm wired so it works even with the battery switch off, then test it every month so it buys you real time if the boat starts taking on water.
How to Flush an Engine While the Boat Stays in the Water
Boats kept in a saltwater slip, on a mooring or on a lift can't always use flush muffs. Learn how built-in outboard flush ports, sterndrive and inboard flush kits and flush-valve seacocks work, which engines can use them in the water, how to avoid back-flow and hydrolock, and a simple after-every-trip routine.
What to Do When Your Boat Is Taking On Water: Emergency Steps and Prevention
A step-by-step emergency plan for water coming into the boat - life jackets on, call for help early on VHF 16, find and slow the leak, pump, and head for shallow water if needed - plus the maintenance checklist that prevents most sinkings.