Marine Generator Routine Maintenance and CO Safety
Keep an Onan, Kohler/Rehlko, Northern Lights, Westerbeke or similar marine generator reliable with regular checks of oil, raw-water cooling, fuel, exhaust and the start battery, plus a monthly run under load. Generator exhaust is a leading source of carbon monoxide on boats, so safety checks come first.
Time
2 h
Shop would charge
$300-800
Applies to
Marine diesel, Gas inboard · Yacht, Cabin cruiser, Sailboat
Safety first: Generator exhaust contains carbon monoxide (CO), which is invisible and can kill in minutes, including people in the water near the stern. Never run the generator when anyone is swimming, on the swim platform, or in the water near the exhaust, and do not rely on smell. If a CO alarm sounds or anyone feels headache, dizziness or nausea (often mistaken for seasickness), shut the generator off, move everyone to fresh air and call 911 or the USCG on VHF 16. Generators also make 120/240-volt AC power that can kill: never open the generator's electrical box or the AC panel, and leave AC wiring work to an ABYC-certified marine electrician. Shut the raw-water seacock before opening the cooling system, and call a pro or TowBoatUS / Sea Tow if water keeps coming in.
Tools
- Oil extraction pump (many generators have no reachable drain plug) or the generator's oil drain hose
- Oil filter wrench
- Wrenches, sockets and screwdrivers (most units are metric)
- Impeller puller or slip-joint pliers
- Digital multimeter that reads AC volts (and ideally frequency, Hz)
- Flashlight or headlamp and an inspection mirror
- Rags, absorbent pads, drip tray and zip-top bags
- Nitrile gloves and safety glasses
Parts & supplies
- Engine oil of the grade in your generator manual
- Oil filter, fuel filter(s) and air filter element made for your model
- Raw-water pump impeller and cover gasket or O-ring
- Zinc anodes for the heat exchanger, if your model uses them
- Coolant of the type in your manual (closed-cooled units)
Before you start
Get the manual for your exact model. Cummins Onan, Kohler/Rehlko, Northern Lights, Westerbeke and others publish maintenance schedules by running hours (for oil, filters, impeller, valve adjustment and more). Generators often run many more hours than the main engines, so they reach service intervals faster. Note the hour meter reading before you begin.
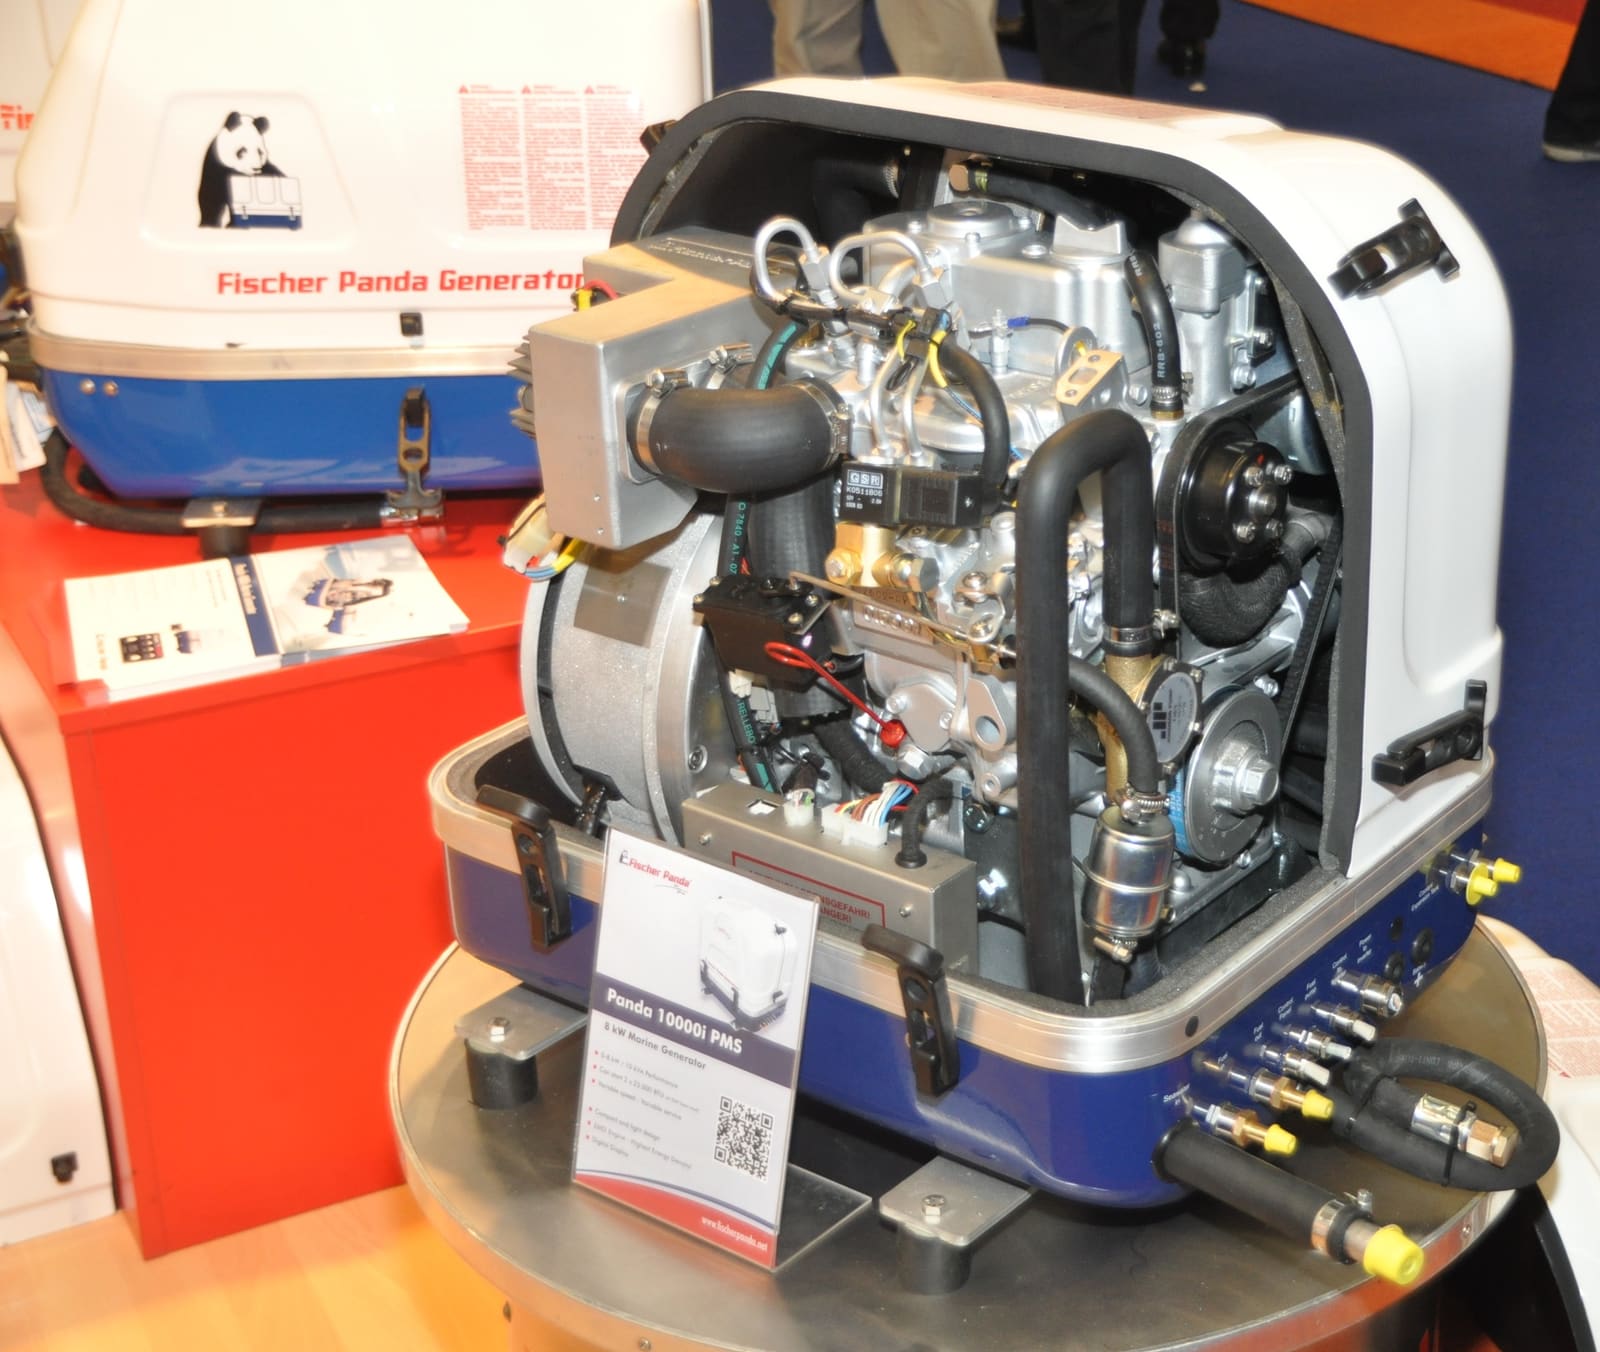
Know your unit: most marine generators are small diesels (some gasoline units still exist on smaller boats) with their own raw-water pump, strainer, fuel filter, wet exhaust and start battery. Many sit inside a sound shield, which hides leaks and problems. BoatUS points out that generators are often installed where maintenance is hard, so plan access before you start.
What to do yourself vs. hire out: oil, filters, impeller, strainer, zincs, battery care and visual checks are typical owner jobs. Voltage regulators, brushes, governor adjustments, valve adjustments and any AC wiring are usually for a certified technician.
Steps
Press the test button on every CO alarm aboard. They should be marine-rated (look for UL 2034 marine listing) and within their "replace by" date; replace them as the maker recommends. Know where the generator exhaust outlet is. If it is near the swim platform, make a rule aboard: generator off whenever anyone is on the platform or in the water.
Turn the generator off at its panel, switch the AC selector away from "generator," and switch off the generator's start battery or remove its control fuse if your manual says so, so nobody can start it remotely. Let it cool. Close the generator's raw-water seacock.
Remove the inspection panels or the whole shield. With a flashlight, look for: oil or fuel drips, coolant crust, salt deposits, rust or black streaks around the exhaust parts, loose or cracked hoses, chafed or loose wires (especially where they pass through the shield), a frayed belt, and debris in the cooling air openings. BoatUS recommends doing this regularly because the shield hides problems.
Warm the generator for a few minutes first if your manual allows, then shut it off. Pump out the oil through the dipstick tube or drain hose, change the filter (rub clean oil on the new gasket, hand-tight plus the amount on the filter), and refill to the full mark with the oil your manual specifies. Recheck after the first run. Milky oil means water or coolant inside: call a pro.
With the seacock closed, open the strainer, empty the basket, rinse it and check the lid gasket. A generator strainer is easy to forget because it is separate from the main engine's.
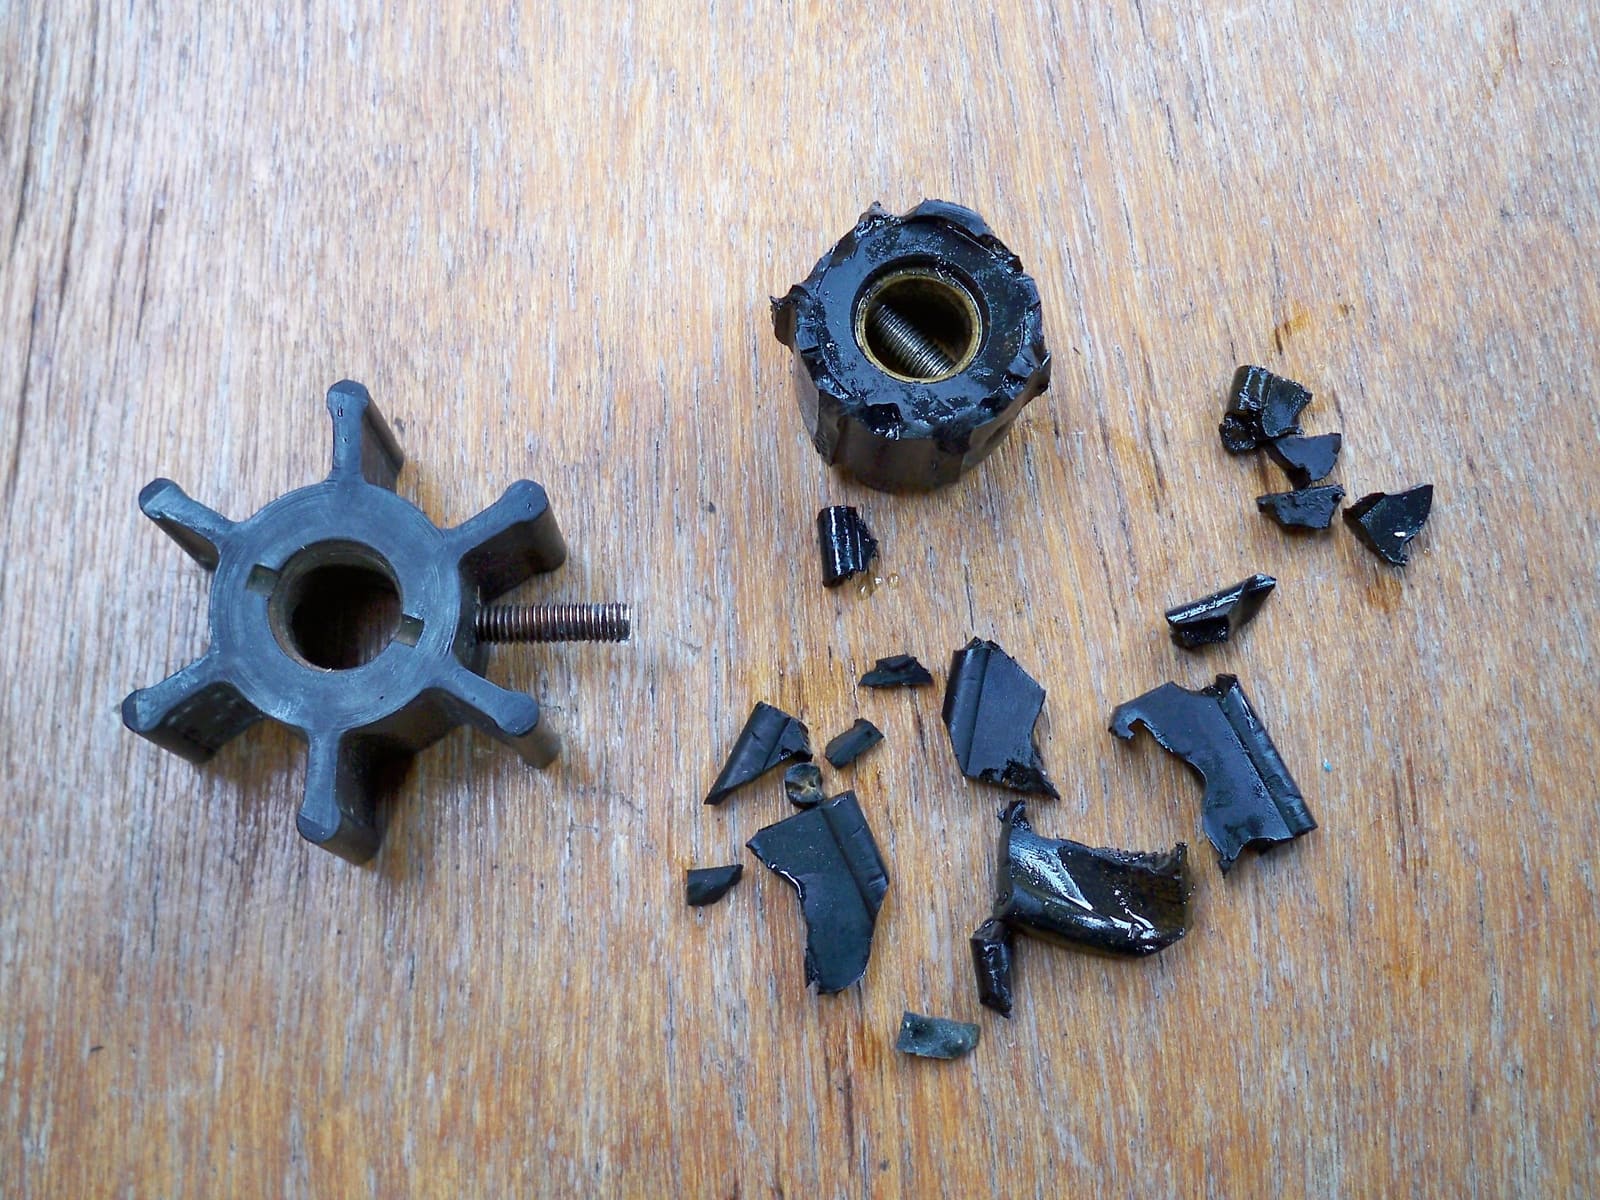
Remove the pump cover and inspect the impeller for cracked, stiff or missing vanes. Many owners replace it every year or at the hours in the manual, whichever comes first. Find any missing vane pieces in the heat exchanger inlet. Use a new gasket, lubricate as the impeller maker recommends, and see our raw-water impeller guide for the full method. On some generators the pump is hard to reach; if you have to remove other parts, follow the manual.
Drain any water from the separator or filter bowl into a clear container. Replace the fuel filter at the interval in the manual, with new O-rings. Many modern generators have an electric fuel pump and will purge air when you hold the prime or preheat switch; older ones may need manual bleeding. Use only the method in your manual and wipe up spilled fuel.
Inspect the air filter or intake silencer and clean or replace it as the manual says. A clogged intake makes black smoke and wastes fuel.
Generator exhaust leaks are a common CO source. Look along the whole exhaust path:
- Exhaust hoses: cracks, soft spots, charring or bulges mean replace.
- Clamps: rusty or loose clamps; many installers double-clamp exhaust hose connections.
- Mixing elbow and water-lift muffler: rust, black soot streaks or salt crust around joints are signs of leaks.
- Vented loop or anti-siphon valve (if fitted): it must be clean and working, or seawater can siphon into the engine.
Anything leaking, cracked or heat-damaged is a stop-and-call-a-pro item. Northern Lights recommends a close look at the wet exhaust elbow at least once a year and replacing it at the first rust spots, leaks or cracks. A handy running check: if you see steam at the exhaust or higher-than-normal temperatures, carefully feel the muffler and its hoses. Hot to the touch means raw-water flow is restricted (strainer, impeller, pump belt, heat exchanger or a carboned-up elbow).
Some generators have zinc anodes in the heat exchanger (others, such as smaller Northern Lights units, have none); replace them when about half gone (typical; confirm in your manual). Until you know how fast yours wear, Northern Lights suggests looking at them every 90 days. On closed-cooled (freshwater) units, check the coolant level in the recovery tank with the engine cold. Never open a hot pressure cap.
Most generators have a dedicated start battery. Clean and tighten its terminals, check its charge, and make sure it is being charged by the generator and the battery charger. A weak battery leads to long cranking, which on a wet exhaust can flood the muffler and engine.
Open the raw-water seacock. Restore power to the controls. If you are at the dock, turn off the shore power breaker first: Northern Lights warns that a worn shore/generator selector switch can connect the generator to shore power, with expensive results. Make sure the generator's AC output breaker is off. Start the generator from its panel and immediately confirm cooling water is coming out with the exhaust. If not, shut it down within a few seconds and find out why. Look for leaks at everything you touched.
If the generator starts but dies the moment you let go of the start or preheat switch, Westerbeke suggests holding the switch a few seconds longer after it fires so oil pressure can build. If it still shuts down, a safety switch has probably tripped (low oil pressure, high coolant temperature, or high exhaust temperature from poor raw-water flow). Don't keep restarting it: check oil and cooling water, then call a technician.
Let it warm up for about a minute before you switch on the AC breaker, then turn on a moderate to heavy load (water heater, air conditioning). When you shut down, reverse it: AC breaker off, let it run unloaded for a minute or so, then stop it. Northern Lights says this habit protects the voltage regulator and generator diodes. The generator should hold steady under load. Check the AC volt meter on the panel, or have a pro or knowledgeable owner check voltage and frequency. In the US the output should be close to 120 or 240 volts at 60 Hz. BoatUS suggests that a voltage difference of more than about 5 to 6% between no load and load is worth investigating. Do not adjust the governor or regulator yourself unless your manual covers it and you are qualified.
A generator that sits idle for months suffers: seals dry out, fuel goes stale and moisture collects. Many makers recommend running it under a real load for about 30 to 60 minutes at least once a month (typical; confirm in your manual). Westerbeke spells out a monthly routine for its diesel generators: do the daily checks, warm it up (usually 5 to 10 minutes), run it for about an hour at roughly 70 to 85% of its rated output, then let it run 5 to 10 minutes with little or no load to cool down before shutting off. The cool-down matters most on turbocharged units. Long periods at very light load can cause unburned fuel buildup in diesel units ("wet stacking"), so give it a meaningful load. Northern Lights suggests keeping its generators at roughly 40 to 50% of rated load or more, and running small loads from the inverter instead; light loading plugs the exhaust elbow with carbon. For units that don't run many hours, its rule of thumb is oil and filter twice a year (spring and fall), fuel filter and air filter once a year, and a new raw-water impeller every year before the season. Record hours, service done and parts used in BoatMend.
Common mistakes
- Running the generator at anchor with people swimming behind the boat. CO collects around the stern and swim platform. The same goes for "teak surfing" or body surfing in the wake close to the transom of any boat with an engine or generator running.
- Using household CO alarms, or ignoring an alarm that "always goes off." Marine alarms are built for boats; a frequent alarm means find the source.
- Forgetting the generator has its own strainer, impeller and zincs, separate from the main engine.
- Cranking over and over when it will not start. On a wet exhaust, this can fill the muffler and send seawater into the engine. After a few failed tries, close the seacock and find the cause. Northern Lights' limit after a fuel filter change is about 60 seconds of cranking in total; then drain the muffler and prime again.
- Starting or stopping the generator with the AC loads switched on.
- Running the generator for hours with almost no load, then wondering why it smokes and loses power.
- Leaving the sound shield on for years and missing a slow leak.
When to call a pro
- Any exhaust leak, a CO alarm you cannot explain, or exhaust smell in the cabin
- Water in the oil, or the generator stopped suddenly and will not turn over
- Voltage or frequency is wrong, fluctuates, or the generator smells of burning or sparks
- Brushes, voltage regulator, governor or any AC wiring work
- Overheating that continues after a new impeller and clean strainer
- Fuel leaks you cannot stop
Tips
- Keep a spare impeller, gasket, oil filter, fuel filter and belt for the generator aboard.
- Tape a small service card inside the sound shield with the hours and date of the last oil, impeller and filter change.
- Run the exhaust blower whenever the generator runs, as the USCG recommends, and keep hatches and ports near the exhaust outlet closed.
- Before a cruise, do a quick start-and-load test at the dock so problems show up there, not at anchor.
Official references
We read these to write this guide. Your engine's own manual always wins.
- BoatUS – Don't Let Neglected Maintenance Sink Your Boat Generator
- USCG Boating Safety – Carbon Monoxide Protection
- BoatUS – CO And Fume Detectors
- BoatUS – Water Pump Impeller Service
- Westerbeke – Maintenance and Use FAQs (exercising a diesel generator)
- Westerbeke – Troubleshooting FAQs (generator shuts down after start)
- USCG Boating Safety – Carbon Monoxide Checklist
- Northern Lights – Top 10 Generator Maintenance Tips and Tricks
Safety: BoatMend is for information only and does not replace a certified marine technician. You are responsible for your safety and your boat. Read the full disclaimer.
Last updated 2026-10-24
Related guides
How to Clean the Raw-Water Strainer and Replace the Impeller on a Marine Diesel
Clean the sea strainer and swap the rubber impeller in the raw-water pump of a Yanmar, Volvo Penta, Westerbeke, Beta or similar inboard diesel. A worn impeller is one of the most common reasons a diesel overheats, and this job takes about an hour with basic tools.
Marine Diesel Service: Oil Change, Fuel Filters and Bleeding Air
Change the oil and oil filter, replace the primary and secondary fuel filters, and bleed air from the fuel system on a Yanmar, Volvo Penta, Beta, Cummins or similar marine diesel. These three skills cover most routine diesel care and can get you out of trouble when the engine dies on a passage.
How to Check and Change Coolant in a Closed Cooling System
Check, test and change the coolant in a freshwater-cooled (closed cooling) inboard, sterndrive or diesel, and learn the heat exchanger basics that keep it working. Old coolant quietly eats hoses, pumps and engine passages, and many boats go a decade without a change.
How to Inspect and Replace Sacrificial Anodes (Zincs)
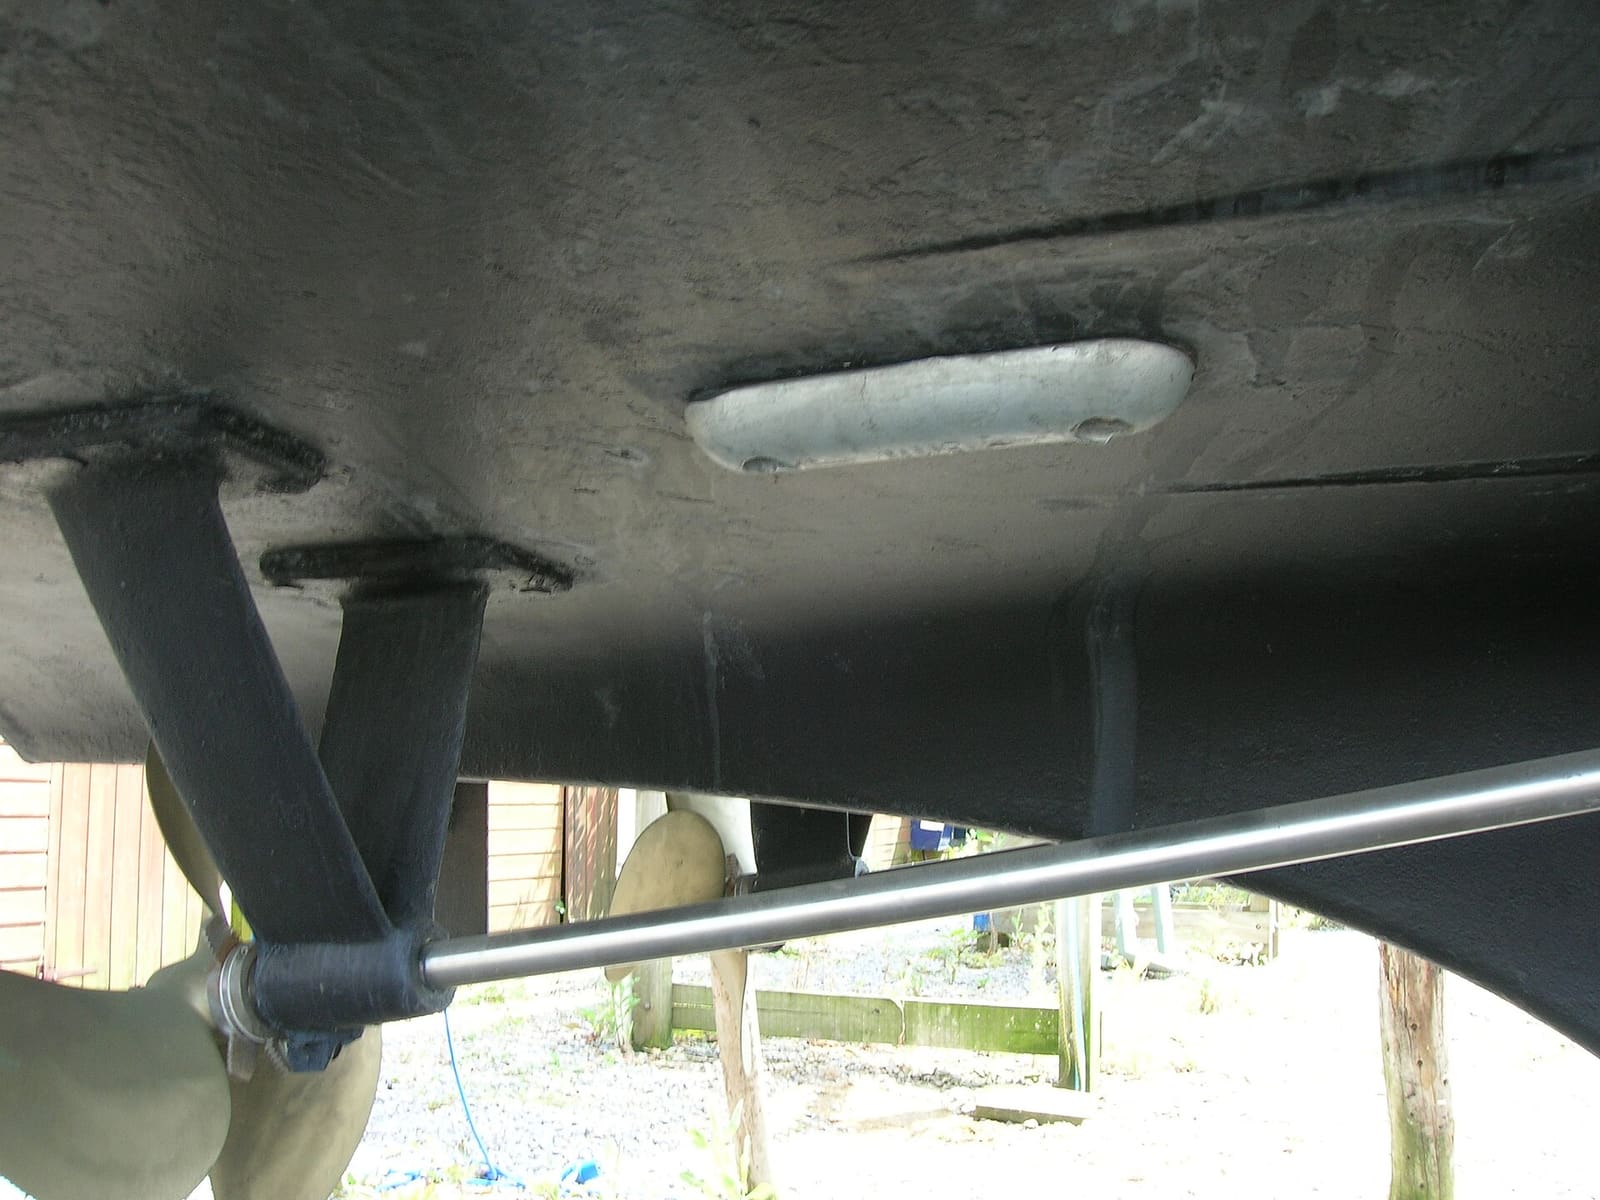
Check the anodes on your outboard, sterndrive or inboard running gear, replace them when they are half gone, and choose the right metal for the water you boat in. Fresh anodes are cheap insurance against expensive corrosion damage to your lower unit, drive and prop.

Marine Battery Care: Test, Charge and Store for Winter
Check your boat battery's health, charge it the right way for its type (flooded, AGM or lithium), and store it so it is ready in spring. Most "boat won't start" calls start with a neglected battery.
Shore Power Safety: Cords, Inlets, Burned Plugs and Electric Shock Drowning
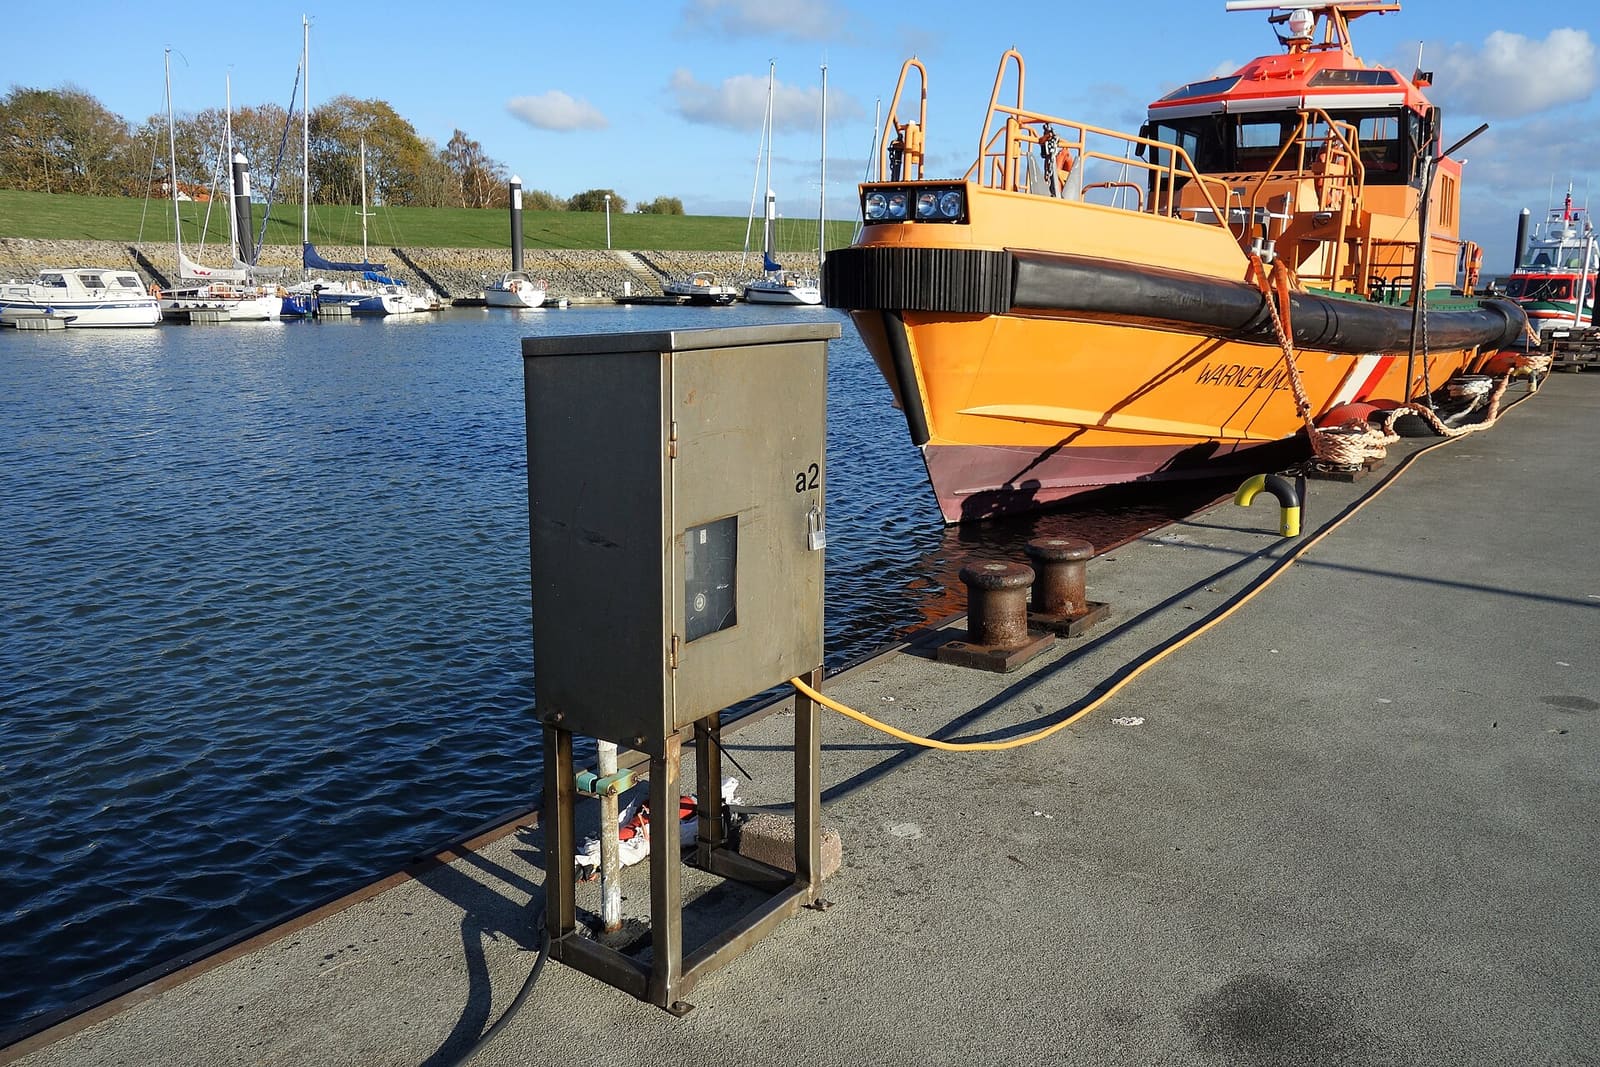
An owner's inspection routine for your shore power cord, plugs, boat inlet, galvanic isolator and ground-fault protection, plus the right way to plug in and the facts about Electric Shock Drowning. This guide is for looking and testing only; any electrical repair belongs to an ABYC-certified marine electrician.