How to Inspect and Exercise Seacocks, Through-Hulls and Hose Clamps
Check every hole in your hull below the waterline, work each seacock open and closed, and inspect the hoses and clamps attached to them. A single failed fitting or hose is one of the most common reasons boats sink at the dock.
Time
1 h 30 min
Shop would charge
$150-400
Applies to
All engines · Cabin cruiser, Sailboat, Yacht, Center console, Fishing boat, Bowrider / runabout
Safety first: Through-hulls below the waterline can sink a boat in minutes. If the boat is in the water, never remove a hose, a seacock or a through-hull fitting, and do not force a stuck handle hard enough to break it. If a fitting leaks or breaks while afloat, close the seacock if you can, drive a wooden plug into the hole, run the bilge pumps, put on life jackets and call USCG on VHF 16 or 911 and your tow service. Any repair or replacement below the waterline is done with the boat hauled out.
Fuel smell, water coming in, CO alarm or smoke? Stop, get everyone in life jackets and call USCG on VHF 16 or 911. For a tow: Sea Tow or TowBoatUS.
Tools
- Bright flashlight or headlamp and an inspection mirror
- Screwdrivers and nut drivers for hose clamps
- Small pick or awl
- Wooden mallet or rubber mallet (light taps only)
- Rags and a small brush
- Camera or phone to photograph each fitting
Parts & supplies
- Softwood tapered plugs sized for each through-hull (one tied to each fitting)
- All-stainless marine hose clamps (band and screw both stainless)
- Seacock grease recommended by the seacock maker
- Replacement marine-rated hose of the correct type and size (if needed)
Before you start
What you are checking:
- Through-hull: the fitting that passes through the hull to let water in or out (engine cooling intake, washdown pump, livewell, head, sink and cockpit drains, depth sensor).
- Seacock: a valve bolted to the hull over the through-hull, with a lever handle that turns 90 degrees. Handle in line with the hose means open; across the hose means closed. Proper seacocks are made of bronze or reinforced plastic (Marelon).
- Hoses and clamps: the hose from the seacock to the pump, strainer or engine, held on with hose clamps.
How often: a BoatUS surveyor recommends inspecting and operating every seacock monthly, and greasing them at least twice a year, even "maintenance-free" ones. At a minimum, inspect hoses and clamps at the start of every season (BoatUS lists "inspect, lubricate and exercise" thru-hull valves on its spring checklist). Close them when you leave the boat if your boat and insurer allow it. Typical; confirm in your boat manual.
Map them first. Many owners do not know how many holes their boat has below the waterline. Even a modest cruiser can have six or more.
Small open boats: many trailer boats have only a few above-waterline drains and a livewell intake. This guide still applies to anything at or below the waterline.
Steps
With a flashlight, find every fitting below or near the waterline, inside and out. Photograph each one and note what it serves. Save the list in your BoatMend boat profile. Do not forget hard-to-reach ones behind panels, under the engine or in the head compartment.
Tie a tapered softwood plug of the right size to each seacock or through-hull with a short line. In a flood, you will not have time to look for one. BoatUS recommends keeping right-sized wooden plugs nearby.
Look at each valve. A proper seacock has a flange bolted to the hull and a lever handle. A round wheel handle that spins many turns is a gate valve. A hardware-store brass ball valve screwed onto the through-hull is an inline valve, not a seacock. Both can corrode or jam and give no clue whether they are open or closed. Mark them for replacement by a pro at the next haul-out.
Also look for these installation problems BoatUS sees in surveys:
- An inline valve screwed straight onto a through-hull. Many valves use tapered pipe threads, while most through-hulls use straight threads. The mismatch makes a weak joint that can loosen with vibration.
- A length of hose or pipe between the through-hull and the valve. That piece is unprotected: if it fails, there is nothing to close.
- A handle that can't swing through its full travel because cabinetry, a generator or other gear was installed in the way. If you can't reach or close a seacock in seconds, ask a yard about moving the equipment or fitting a remote handle.
- A seacock that is no longer used but still open to the sea. It should be closed and capped, or removed at haul-out.
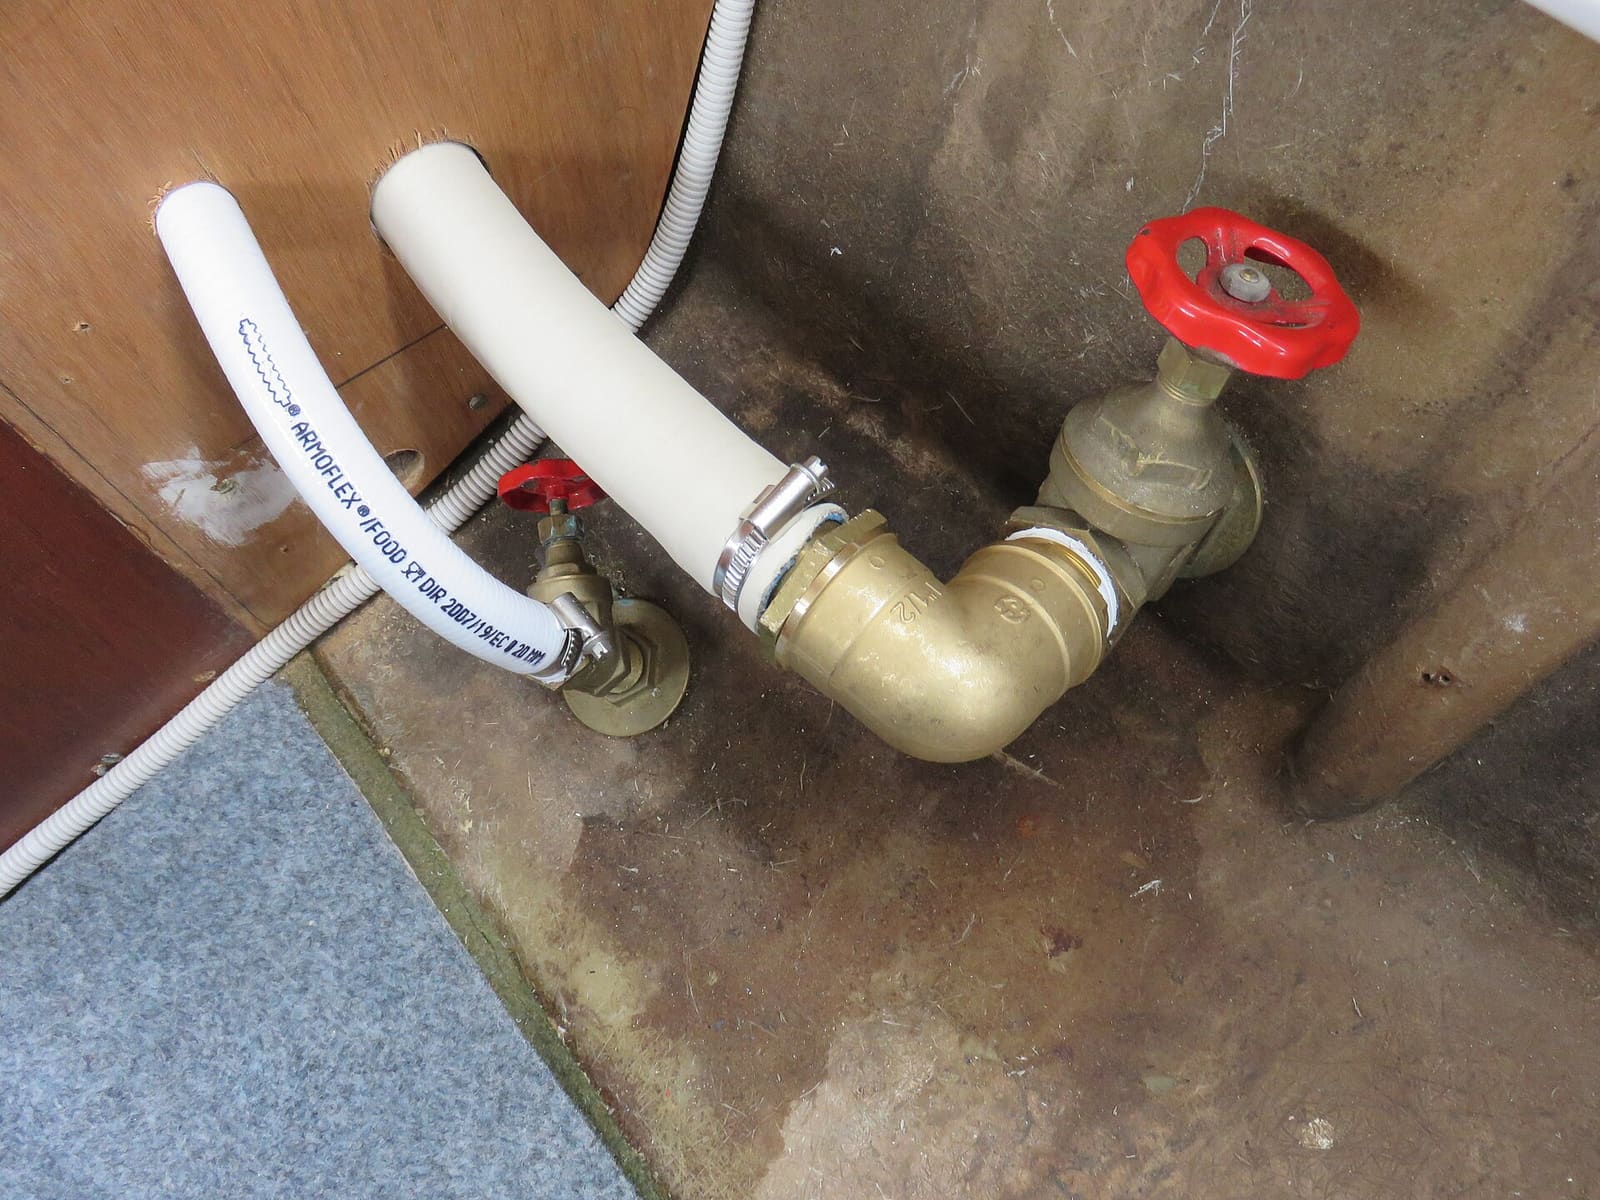
Photo: Ein Dahmer / Wikimedia Commons · CC BY-SA 4.0 Move each handle slowly from fully open to fully closed and back, several times. It should move smoothly through the full 90 degrees. Then try to wiggle the handle: it should have little or no play. BoatUS warns that a loose, wobbly handle can mean the shaft connecting it to the valve inside is corroded. If it is stiff, work it gently back and forth in small movements. Light taps with a rubber mallet on the handle base are OK; a big hammer or a long pipe for leverage is not. A handle that snaps off in the water is a real emergency.
If a seacock will not budge, leave it in whatever position it is in and do not force it. If it is stuck open, you have no way to shut off that hole in an emergency. Plan to haul out and have it serviced or replaced. Keep the plug for that fitting ready.
Check where the seacock or through-hull meets the hull inside. Look for weeping water, white or green crust, and cracks. On bronze, a pink or coppery color can mean the metal is losing its zinc (dezincification) and weakening. On plastic fittings, look for cracks around the nut. Any of these means a haul-out repair.
On metal seacocks, follow the green bonding wire (if fitted) to its terminal on the valve body. The connection should be tight and clean. A wire that is green inside the insulation or lumpy under it is corroded and should be replaced by someone who knows your boat's bonding system. Never just cut it off.
Squeeze the hose along its length. It should be firm but flexible. Replace it (at haul-out) if it is cracked, hard, mushy, swollen, kinked or the wire inside is rusting through. Old hoses can rot from the inside out, so age matters too: a BoatUS surveyor's rule of thumb is to replace seacock hoses at 10 years old regardless of how they look. Use the hose type made for that job (raw water, sanitation, exhaust or fuel), not household hose or thin bilge hose.
Hoses connected to below-waterline fittings should have two clamps where the fitting is long enough to hold both. ABYC strictly requires double clamps only on exhaust and fuel fill hoses, but BoatUS and surveyors recommend them below the waterline too (see /guides/hose-clamp-guide). Look at each clamp: both the band and the screw should be stainless. A rusty screw means a cheap clamp; replace it. Use a mirror to see the underside: BoatUS claims files show clamps often corrode on the bottom, where you can't see them from above. Don't forget the cockpit drain hoses; in one BoatUS claim a rotten cockpit drain hose sent a heavy rain into the bilge instead of overboard, and the boat sank at the dock. Check clamps are tight but not cutting into the hose, and that the hose is pushed fully onto the fitting.
Some seacocks (tapered-plug types and many ball valves) have a grease fitting or need periodic service. Use the grease the seacock maker recommends, and never one that contains graphite: BoatUS explains graphite causes fast galvanic corrosion of bronze and stainless parts. Taking a seacock apart is a haul-out job; on the water, only use an external grease fitting if your seacock has one.
At haul-out, a ball valve can be greased without taking it apart: close it, dab waterproof grease onto the ball from outside through the through-hull (a wooden dowel helps), and work the handle a few times. Before winter on land, some seacocks have a small drain plug on the body; removing it lets trapped water out so it can't freeze and crack the valve. Put it back before launch.
On engine intake lines, the strainer sits between the seacock and the engine pump. With the seacock closed, open the strainer, clean out weed and shells, check the lid gasket, and close it firmly. In spring, look closely at the bowl for cracks: BoatUS sees claims from strainers split by ice because they weren't drained in the fall, from lids not fully closed after winterizing, and from old corroded strainers that came apart underway. Reopen the seacock and check for leaks or air leaks at the lid when the engine runs.
With the boat out of the water, look at each through-hull from outside. Check that screens and scoops are clear of barnacles and that the flange sits flush and sealed against the hull. Look inside each opening with a flashlight to confirm nothing is blocking it. Check anything that has a separate bonding wire connected.
BoatUS recommends checking every through-hull for leaks right after the boat goes back in the water. Open the hatches and look at each fitting before you leave the ramp or the travel lift slings.
Schedule a haul-out with a yard if you find any seacock that will not close, any gate valve below the waterline, any weeping or cracked fitting, or any hose that needs replacing. Log what you found in BoatMend so the yard can fix it all in one trip.
Common mistakes
- Never touching the seacocks. Valves that sit for years seize, usually in the open position, which is exactly when you need to close one.
- Forcing a stuck handle with a pipe or a hammer. Handles and valve bodies break. Gentle effort only, and finish the job on land.
- Single hose clamps, or "stainless" clamps with steel screws. One rusty screw can be all that keeps the ocean out.
- Replacing a seacock with a gate valve or hardware-store valve. They are not built for the job.
- Mixing a plastic seacock with a metal through-hull, or vice versa, without checking compatibility. Ask the seacock maker or a yard.
- Removing a hose to check a valve while the boat is in the water. Only do that on land.
When to call a pro
- Any seacock is frozen, broken, or will not fully close
- A through-hull or seacock is cracked, weeping, pink with dezincification or has a gate valve fitted
- Any hose or fitting below the waterline needs to be replaced (haul-out job)
- The boat takes on water at the dock or the bilge pump runs often: find the source now; a yard or surveyor can help
- Water is coming in faster than the pumps can remove it: call USCG on VHF 16 or 911 and your tow service
Tips
- Paint or label each handle with what it serves (ENGINE, HEAD, LIVEWELL) so anyone aboard can close the right one fast.
- Make "seacocks and battery switch" part of your leaving-the-boat routine.
- Ask your insurer and marina about their seacock rules; some require closing them when the boat is unattended.
- A bilge high-water alarm and a pump cycle counter are cheap warnings for slow leaks.
Official references
We read these to write this guide. Your engine's own manual always wins.
Safety: BoatMend is for information only and does not replace a certified marine technician. You are responsible for your safety and your boat. Read the full disclaimer.
Last updated 2026-10-24
Related guides
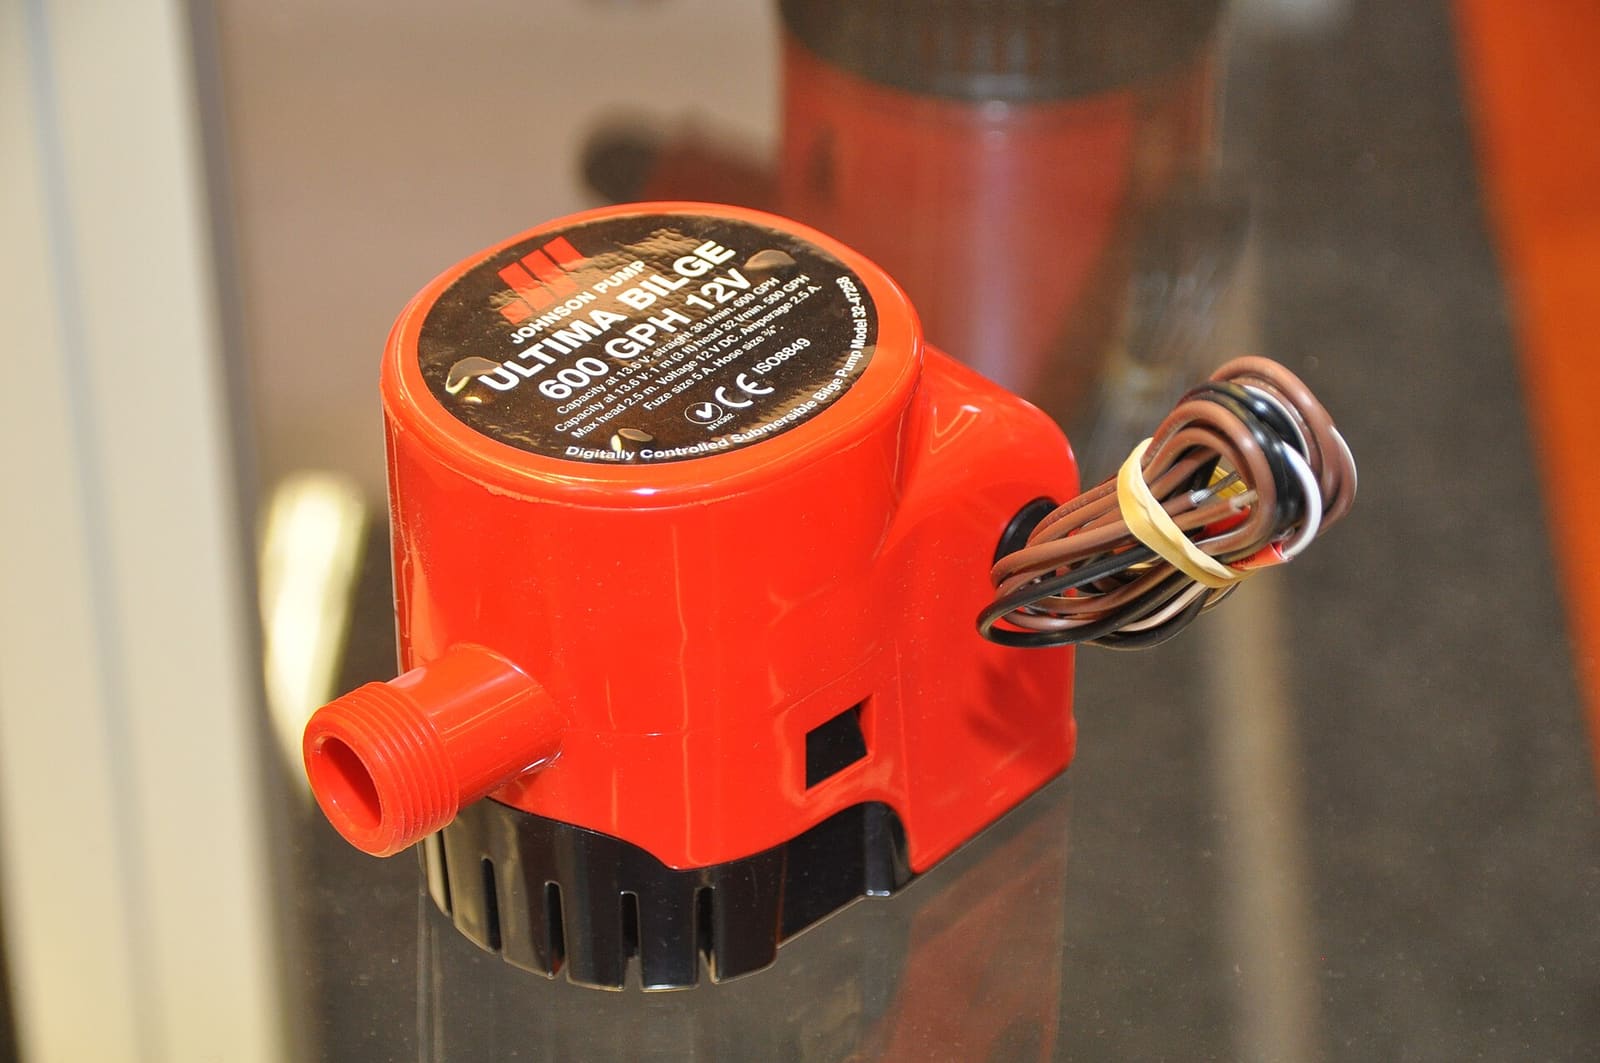
How to Test and Clean Your Bilge Pump and Float Switch
Make sure your bilge pump actually moves water overboard, both on the manual switch and automatically through the float switch. A working bilge pump is one of the most important safety systems on any boat that stays in the water.
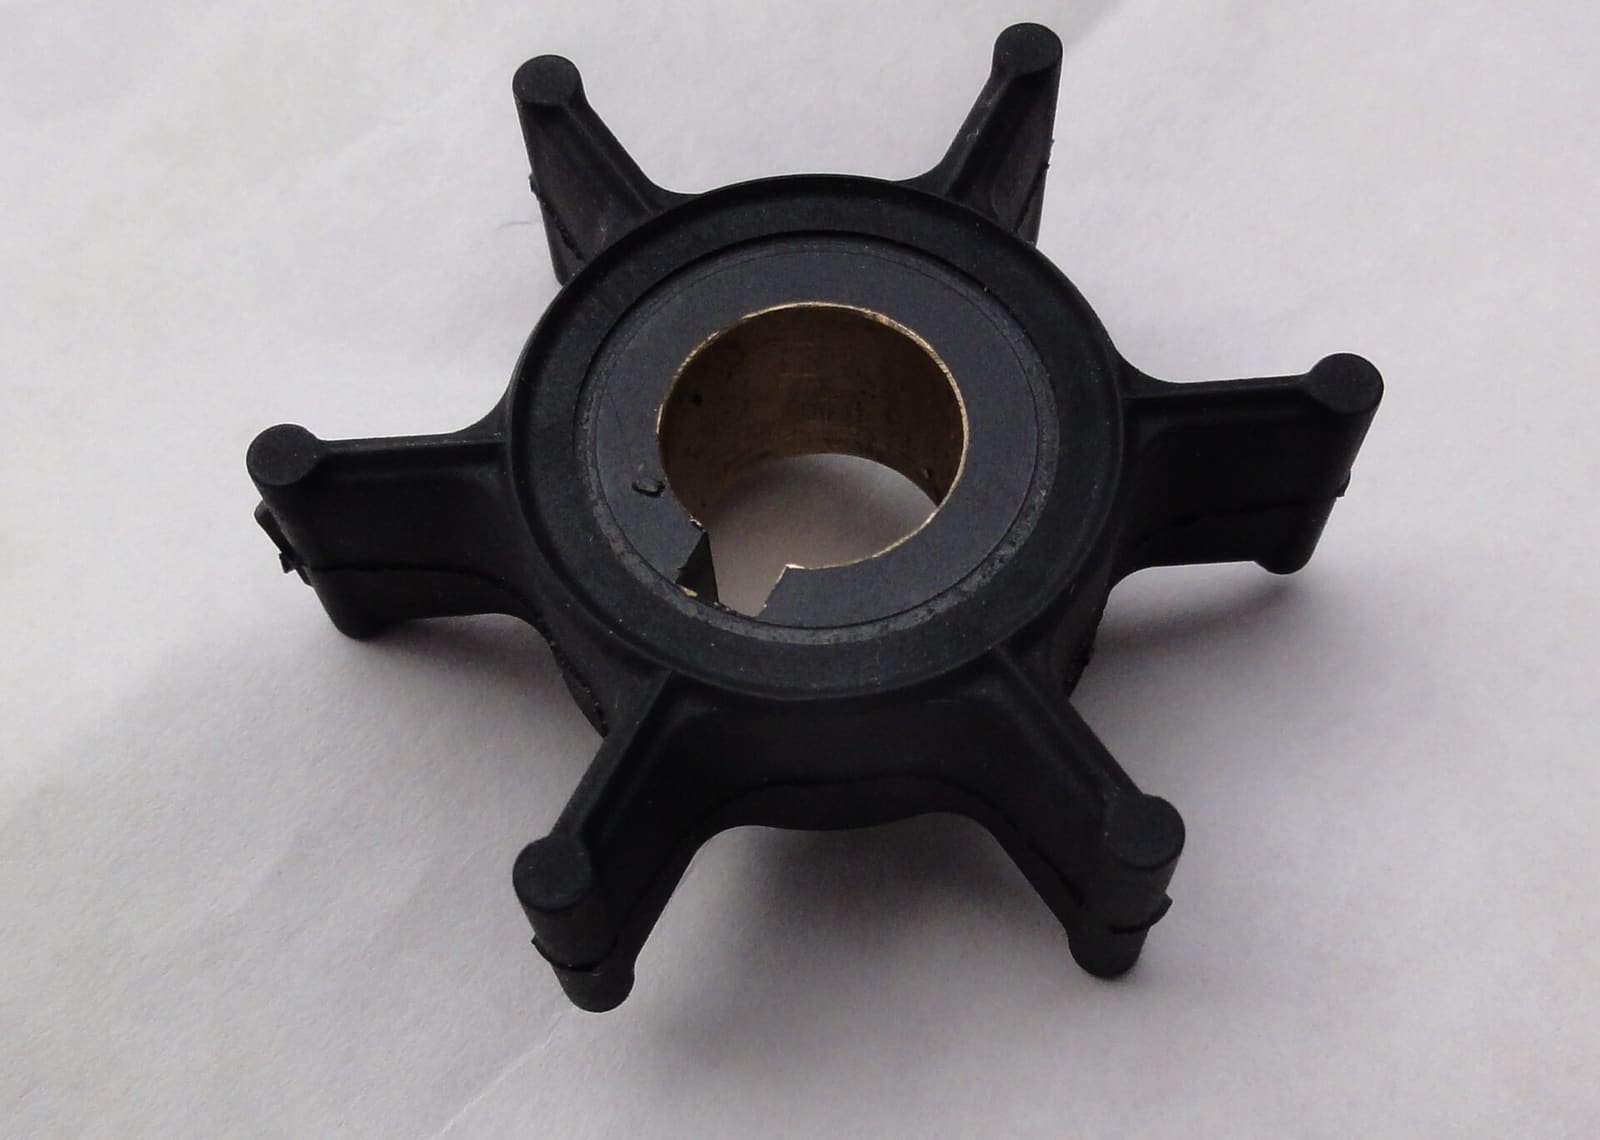
How to Replace the Water Pump Impeller
Replace the rubber impeller that pumps cooling water through your engine, the part most often behind overheating. On many outboards it is a two-hour driveway job that saves a shop bill of several hundred dollars and prevents far costlier heat damage.
Engine Overheating - Troubleshooting Guide
Work through the most likely causes of a hot engine or overheat alarm, from a blocked water intake to a worn impeller or stuck thermostat. Acting fast and in the right order can save your engine and often gets you home without a tow.

Launch Day and Haul-Out Checklist for Trailer Boats
A step-by-step checklist for getting your boat off the trailer and back on again safely and quickly, from the drain plug and tie-downs to the blower and ramp etiquette. Following it in order prevents the classic mistakes that sink boats and back up the ramp.