Fuel Anti-Siphon Valve: Diagnosing a Sticking Valve and Replacing It Safely
The anti-siphon valve at your built-in fuel tank stops gasoline from draining into the bilge if a fuel line breaks, but a cheap or sticky one can starve the engine at speed. Learn how to tell a restricted valve from a blocked vent or filter, how to clean or replace it with a quality valve of the right type, and why you should never pull the check ball out.
Time
1 h 30 min
Shop would charge
$150-400
Applies to
Outboard, Sterndrive (I/O), Gas inboard
Safety first: This job opens the fuel system inside the boat, where gasoline vapor can collect and explode. Do it on land or at the dock with the engine off, battery switches off, no smoking or sparks, hatches open and a fire extinguisher in reach. If you smell gas in the bilge or see fuel leaking at the tank, don't start the engine or touch switches: get everyone off and call a marine mechanic, or 911 if the leak is large. Never remove the check ball or spring from the valve to "fix" a restriction. If you're not completely comfortable working on a built-in gas tank, have a pro do the replacement.
Fuel smell, water coming in, CO alarm or smoke? Stop, get everyone in life jackets and call USCG on VHF 16 or 911. For a tow: Sea Tow or TowBoatUS.
Owners often ask
- My engine runs fine at idle but bogs and dies after a few minutes at full throttle, and the primer bulb gets sucked flat. Could it be the anti-siphon valve?
- Can I just take the ball out of my anti-siphon valve so the engine stops starving for fuel?
This guide walks you through it. Still stuck? Ask the AI Mechanic about your engine.
Tools
- Flashlight or headlamp
- Open-end wrenches or a pair of adjustable wrenches (one to hold the tank fitting still)
- Flat screwdriver or nut driver for hose clamps
- Clean rags and oil-only absorbent pads
- Approved gasoline container and a small funnel
- Short length of fuel-rated hose and a hose clamp pinch-off tool (or plug) to stop drips
- Nitrile gloves and safety glasses
- Fire extinguisher within reach
- Fuel pressure/vacuum gauge (optional; for the advanced restriction test)
Parts & supplies
- Quality marine anti-siphon valve of the same type, thread, hose size and rating as the original (or as your boat builder specifies)
- Fuel-resistant thread sealant listed for gasoline
- USCG Type A1 fuel hose (if the old hose end is hard, cracked or swollen)
- All-316 stainless hose clamps
Before you start
What the valve does. On most boats with a built-in gas tank, the fuel line leaves from the top of the tank. If that line breaks below the tank's fuel level, gasoline can siphon out of the tank and into the bilge, the perfect setup for a fire. The anti-siphon valve stops that. It's a small spring-loaded check valve, usually threaded right into the tank's outlet fitting, with a hose barb on the other end for the fuel line. Engine suction opens it to let fuel through; gravity alone can't.
Why it's required. Coast Guard rules for boat builders (33 CFR 183.568) say that a fuel line from the tank to a carbureted gasoline engine must either stay above the tank top, have an anti-siphon device or an electrically operated fuel stop valve, or (on boats where the tank top sits below the engine's fuel inlet) use approved metal line or USCG Type A1 hose with manual shutoff valves. In practice, most outboard, sterndrive and inboard boats with built-in tanks meet this rule with an anti-siphon valve at the tank. Many fuel-injected engines use the same setup; your builder chose whichever protection fits the design, so replace it with the same kind.
Symptoms of a sticking or restrictive valve:
- The engine runs fine at idle and low speed but bogs, surges or dies at higher RPM or after a few minutes at cruise, then recovers after slowing down
- On outboards, the primer bulb gets sucked flat while running
- The problem goes away when the engine is fed from a separate portable tank
- Hard starting after the boat sits, because the line has to be re-primed through a stiff valve
BoatUS notes that some cheap valves cause fuel restrictions. Their advice: don't take out the check valve; replace it with a quality anti-siphon valve from a marine dealer. They point out the good ones cost about three times as much as the cheap ones.
Other things cause the same symptoms. A blocked tank vent, a clogged fuel filter or water separator, a collapsed or kinked hose, a clogged pickup screen inside the tank, or a failing fuel pump can all look like a bad valve. The steps below go from the cheapest checks to the valve itself.
Steps
A plugged vent puts the tank under vacuum and starves the engine just like a stuck valve. Next time it starts to stumble at speed, slow down and open the fuel fill cap. If you hear a rush of air and the engine recovers, the vent is the problem, not the anti-siphon valve. See our fuel fill and vent hose guide. Close the cap before you continue.
On an outboard with a primer bulb, have a helper watch it during a run. A bulb that collapses flat means the engine's fuel pump is pulling against a restriction somewhere between the tank and the bulb: the vent, the anti-siphon valve, the pickup, a kinked hose or a clogged filter. A soft, squishy bulb that won't firm up at the dock is a different problem (an air leak or a worn bulb); see our fuel line replacement guide.
Replace the fuel filter or water-separating filter if it's due or you don't know when it was changed. Look at what drains out: water, rust, or rubbery or gummy bits mean debris may also be sitting in the anti-siphon valve or the pickup screen. See our fuel water separator guide.
Follow the fuel line from the tank to the engine with a flashlight. Look for sharp bends, spots crushed under a hatch or seat, and old hose that has gone soft and may be collapsing under suction. BoatUS warns that old hose can shed rubber from its inner wall into the fuel, which then plugs filters and small valves.
If you have an outboard and a clean, approved portable tank with a fuel line that fits your engine, you can feed the engine from it as a diagnostic test (on the water, in a test tank, or on external flush muffs with the water running first). If the stumble disappears, the restriction is on the boat's built-in tank side: vent, valve, pickup or hose. Keep the portable tank secured and away from heat, and go back to the built-in system once you've found the fault. Don't use this as a permanent fix.
A mechanic confirms a restriction with a fuel vacuum gauge teed into the line at the engine. Your engine's service information lists how much vacuum (restriction) is acceptable; a reading above that, which drops when the valve is bypassed for the test, points to the valve. If you don't have a gauge or the factory spec, skip this step and let a pro do it.
Open the hatch or deck plate over the tank. The valve sits on top of the tank at the fuel outlet (withdrawal) fitting, where the engine's fuel hose connects. Don't confuse it with the fill fitting (big hose) or the vent fitting (small hose going to a vent on the hull side). Some valves have an arrow showing flow toward the engine. Many have a number stamped on them; note it, along with the thread size and hose size.
- If your boat has a bilge blower, run it for a few minutes first (engine off), then turn off all battery switches and keep the key out.
- Open every hatch over the tank and engine compartment and let it air out while you work.
- Put absorbent pads under the fitting. Have your gas container and rags ready.
- Loosen the hose clamp and pull the fuel hose off the valve barb. Fuel will drain back from the line; catch it, then plug or pinch off the hose end.
Hold the tank fitting (or the fuel sender plate it's part of) steady with one wrench while you unscrew the valve with another. Twisting the fitting can crack it or break the gasket seal under it, and that turns a valve job into a tank leak. If the valve is seized or the fitting starts to turn, stop and call a pro.
Look into both ends. You should see a small ball or poppet and spring that move freely. Signs of trouble:
- Varnish, gum, rust or rubber bits holding the ball
- A ball that sticks or a spring that feels stiff
- Bits of white or gray material: owners often find pieces of silicone or other non-fuel sealant that someone used on a tank fitting
You can try rinsing a lightly varnished valve in fresh gasoline over your container, but a quality new valve is inexpensive insurance. If the valve is damaged, heavily gummed, or you're not sure, replace it.
Anti-siphon valves come in different opening ratings to suit how far the fuel line drops below the tank top. Buy a new valve that matches:
- The same type and rating as the original (or the builder's spec). Ask your marine dealer to match the stamped number. A valve that's "stronger" than needed adds restriction; a "weaker" one may not stop a siphon.
- The same pipe thread at the tank end and hose barb size at the engine end
- A quality marine valve from a known maker, sold for gasoline fuel systems
Never replace the valve with a plain fitting, and never pull the ball out of the old one. BoatUS calls that a recipe for trouble if a fuel leak into the bilge ever leads to a fire. If you want to change to a different type of protection (for example an electric fuel stop valve), that's a system design change for a qualified marine technician.
Newer boats may have a fuel demand valve instead. Since the EPA evaporative rules (tanks on boats built from about 2011 can hold a little pressure behind a pressure-relief fill cap or carbon canister; see our fuel fill and vent hose guide), some builders fit a diaphragm-operated fuel demand valve rather than a simple spring-and-ball valve. Perko describes its version as opening on a small amount of engine suction no matter how much pressure is in the tank, staying sealed against tank pressure, and giving anti-siphon protection only for a limited line drop. It looks bigger than a ball valve and may bolt to the tank like a fuel sender or have a small button on it. Don't swap it for an ordinary ball valve: a valve that tank pressure can push open defeats the purpose. Replace like with like, using the maker's instructions, or let a technician do it.
Clean the threads in the tank fitting with a rag (don't let dirt fall into the tank). Apply a fuel-resistant thread sealant made for gasoline to the male threads only, keeping the first thread clean so nothing gets pushed into the fuel. Thread the valve in by hand, then snug it with a wrench while you hold the tank fitting still. Check that any flow arrow points toward the engine.
If the end of the fuel hose is hard, cracked or swollen, cut it back or replace it with USCG Type A1 hose. Push the hose fully onto the barb and fit a new all-316 stainless clamp.
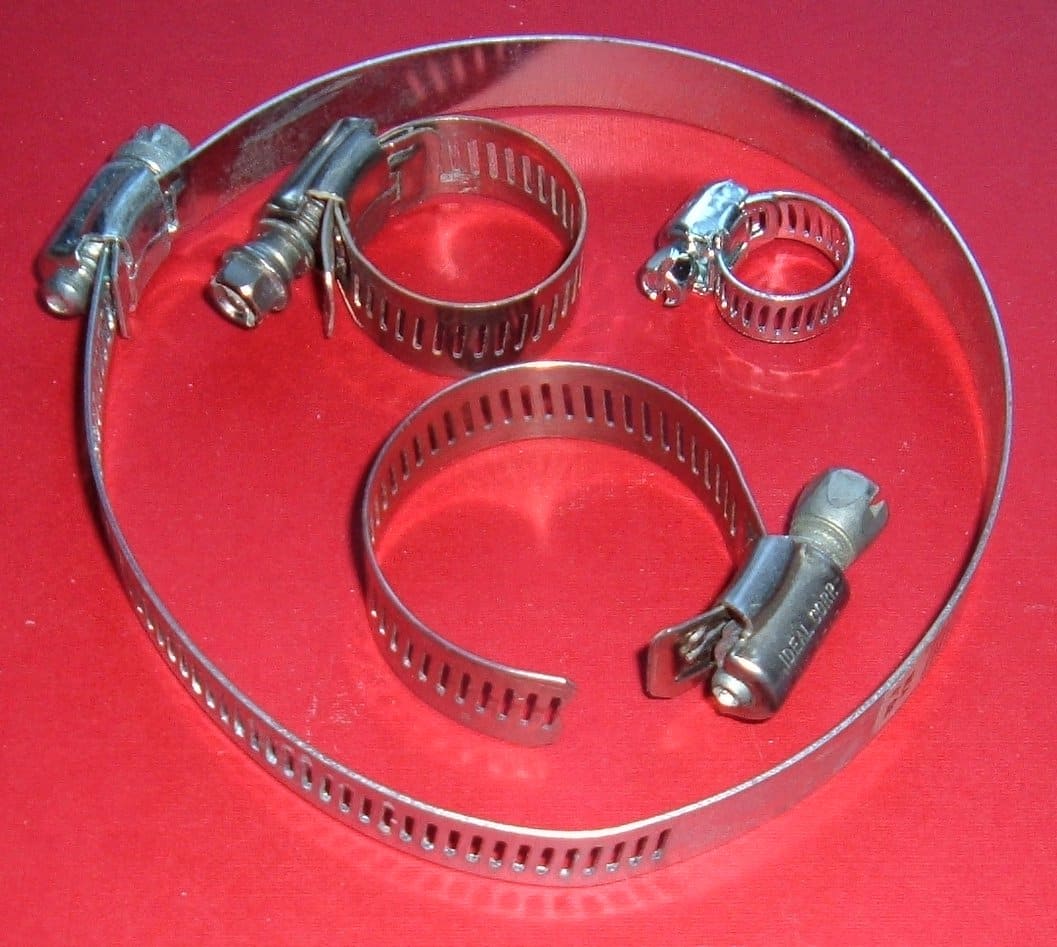
Use a new all-stainless clamp on the hose at the valve. Photo: ArnoldReinhold / Wikimedia Commons · CC BY-SA 3.0 Prime the system (squeeze the primer bulb on outboards; on fuel-injected engines, cycle the key to ON as your manual describes so the pump can run). Mercury describes both: squeeze the bulb until it's firm, which usually takes only a few pumps; on its larger EFI outboards, turn the key to the run position and wait for the beep and the sound of the electric fuel pump, which purges the air in a few seconds. Expect a few more squeezes than usual this first time, because the line drained when you took it off. Then:
- Wrap a dry paper towel around the valve and hose joint and look for wet spots.
- Sniff the compartment.
- Look again after 10 minutes.
Any leak or gas smell: stop, fix it before going further. On inboards and sterndrives, run the bilge blower for at least four minutes and sniff the engine compartment before starting, as you should every time. BoatUS reports that loose fuel connections and clamps are a leading cause of fuel-leak fires on outboard boats, so take this check seriously.
Run at idle, then cruise and wide-open throttle for a few minutes each. The stumble or flat primer bulb should be gone. Shut down and re-check the valve and hose with a dry paper towel. If the problem is still there, the restriction is somewhere else: pickup tube or screen, fuel pump, or the engine's own fuel system. That's a job for a mechanic.
Common mistakes
- Removing the check ball or spring "temporarily" and forgetting about it. The engine runs fine, and the boat loses its protection against filling the bilge with gasoline.
- Buying the cheapest valve on the shelf and getting the same restriction back.
- Using a valve with a higher opening rating than the original "to be safe."
- Sealing tank fittings with ordinary silicone or plumbing tape. Bits break off, get into the fuel and plug the valve, the pickup or the filter.
- Twisting the tank fitting or sender while unscrewing the valve.
- Blaming the valve without checking the vent first. Opening the fill cap is a free test.
- Having a dealer or seller run the engine from a separate tank during prep, which hides a stuck valve until the first real trip.
When to call a pro
- Any fuel leak or gas smell in the bilge or near the tank (stop; don't start the engine)
- The tank fitting turns, cracks or weeps when you work on the valve
- The valve is seized or you can't reach the top of the tank without removing deck panels
- The engine still starves after the valve, vent, filter and hoses check out
- Your boat uses an electric fuel stop valve or a different anti-siphon design you don't recognize
- You need a fuel vacuum test against the engine maker's spec
Tips
- Write the valve's stamped number and thread size in your BoatMend boat profile so you can buy the right one next time.
- When you replace the main fuel hose, inspect the anti-siphon valve while it's off.
- Keep a spare fuel filter aboard. Debris that plugs one often plugs the other.
- If you buy a used boat with a straight fitting where the valve should be, assume someone removed it and have it put back.
- Don't mix it up with the other "anti-siphon valve" on inboard boats. BoatUS uses the same name for the vented loop in the raw-water cooling line (and in marine head lines): a looped pipe with a small valve on top that lets air in so seawater can't siphon back into the engine. That one is serviced by cleaning or replacing its rubber valve, and it has nothing to do with the fuel valve on your tank.
Official references
We read these to write this guide. Your engine's own manual always wins.
- eCFR – 33 CFR 183.568, Anti-siphon protection
- eCFR – 33 CFR 183 Subpart J, Fuel Systems
- BoatUS – Fuel System Checkup (anti-siphon valves, primer bulbs, clamps)
- BoatUS – Causes of Fires on Outboard-Powered Boats
- Mercury Marine Dockline – Quick Tip, Priming Your Fuel System
- BoatUS – Anti-Siphon Valve Basics (raw-water and head vented loops)
- Perko – Fuel Demand Valve, Complete Assembly
Safety: BoatMend is for information only and does not replace a certified marine technician. You are responsible for your safety and your boat. Read the full disclaimer.
Last updated 2026-10-25
Related guides

Loss of Power, Hesitation or Misfire - Troubleshooting Guide
Figure out why your engine bogs down, stumbles, will not reach full rpm or runs rough. Work from simple checks like trim, prop and fuel filter to ignition and engine protection modes before paying for diagnostics.
Engine Starts Then Dies - Troubleshooting Guide
Track down why your boat engine fires up and then stalls, whether at idle, when you shift into gear, or after a few minutes of running. Most causes are in the fuel supply and can be checked with no special tools.
How to Replace an Outboard Fuel Line and Primer Bulb
A cracked hose or a stiff primer bulb can leak gasoline, starve your engine or shed rubber into the fuel. Learn how to choose Coast Guard-rated fuel hose, the right connectors for your engine brand and good stainless clamps, install the bulb pointing the right way, leak-test the job and get rid of the old parts safely.
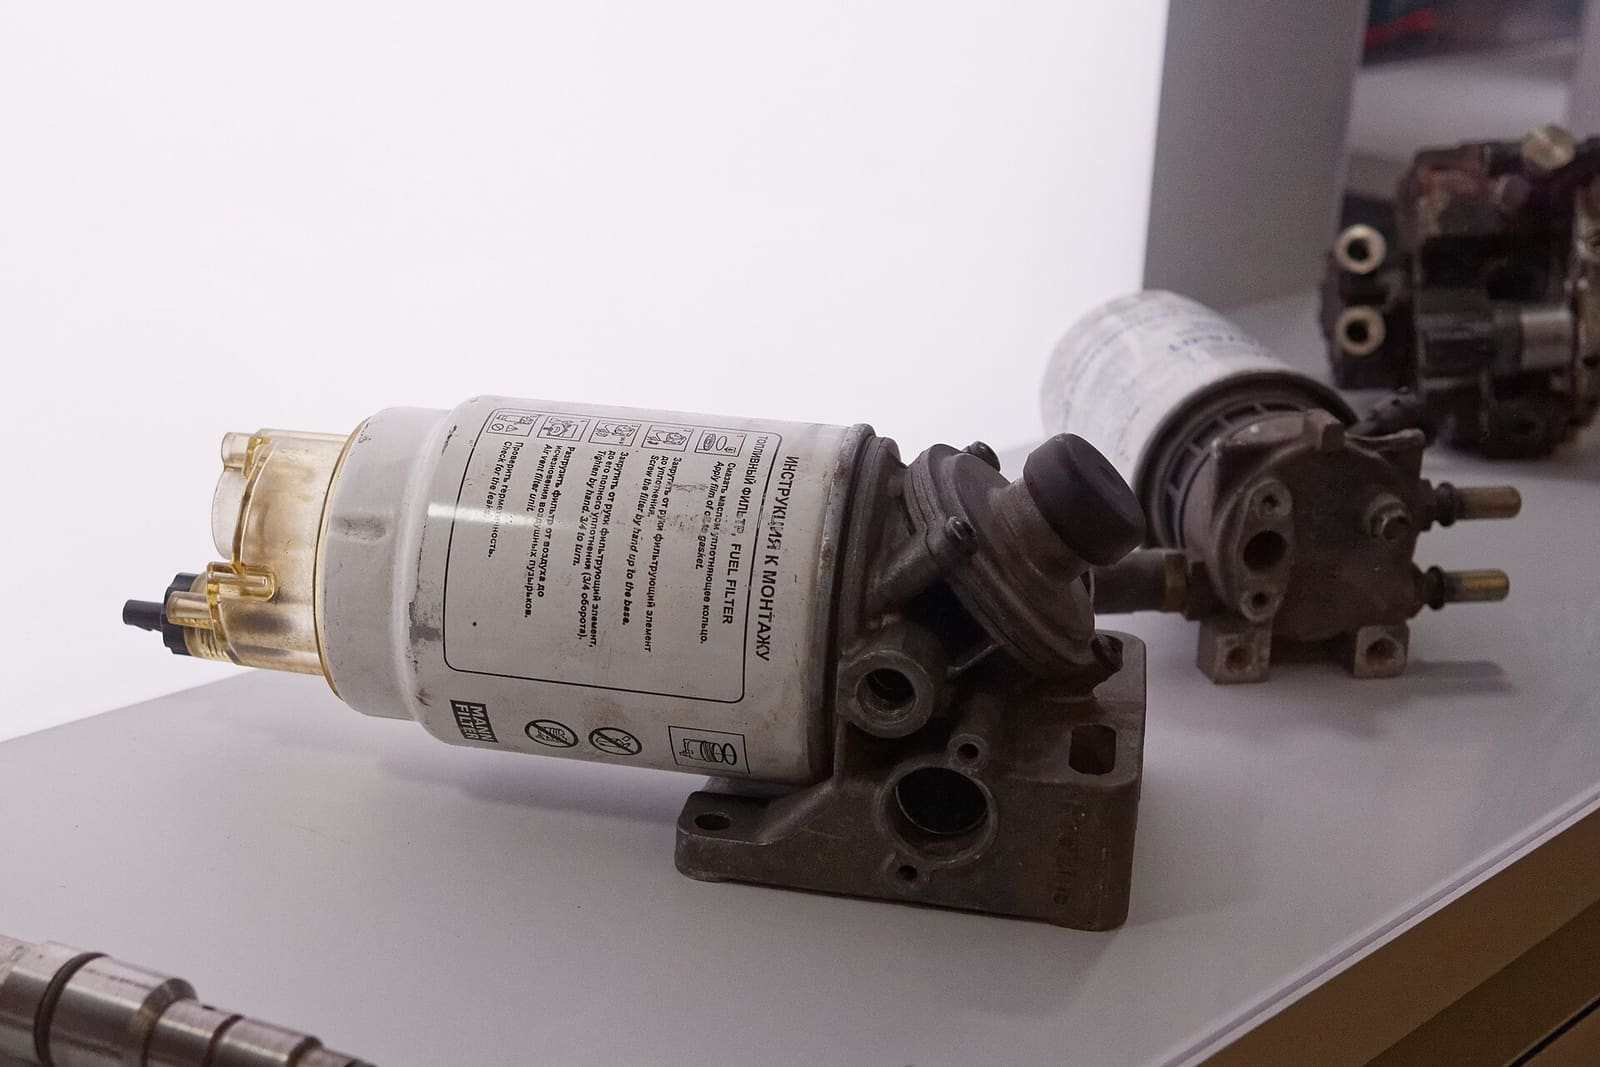
How to Replace a Fuel/Water Separating Filter (and Check for Water in Your Fuel)
Swap the spin-on fuel/water separator on your gas boat and learn to spot water and ethanol phase separation before it stalls the engine. It is one of the cheapest jobs on the boat and one of the best protections for a fuel-injected engine.
How to Inspect Your Boat's Fuel Tank, Fill, Vent and Hoses
A leaking gas tank is one of the most dangerous problems a boat can have, and it usually starts out of sight. Learn how to inspect portable and built-in tanks, spot aluminum tanks corroding from below, know the ethanol risk for old fiberglass tanks, and check the fill, vent, hoses, clamps and sender, plus why tank replacement is a job for a pro.
How to Inspect and Replace Boat Fuel Fill and Vent Hoses
Old fill and vent hoses crack, go soft and leak gasoline into the bilge, often where you can't see them. Learn the signs of aging, which USCG hose types (A1, A2, B1, B2) belong on fill and vent lines, why fill hoses need two clamps at each end, how to check the vent fitting, flame arrester and anti-spill devices, and how a careful replacement is done.
Fuel Smell on Board: What to Do and How to Find the Source
A gasoline smell on a boat is a fire and explosion warning. Learn what to do in the first minutes, the most common sources (fill and vent hoses, tank fittings, fuel lines, carburetors and injectors, overfilling), how to look safely, and when to stop and call a pro.
Fuel Pump Checks - Is It the Pump or Something Starving It?
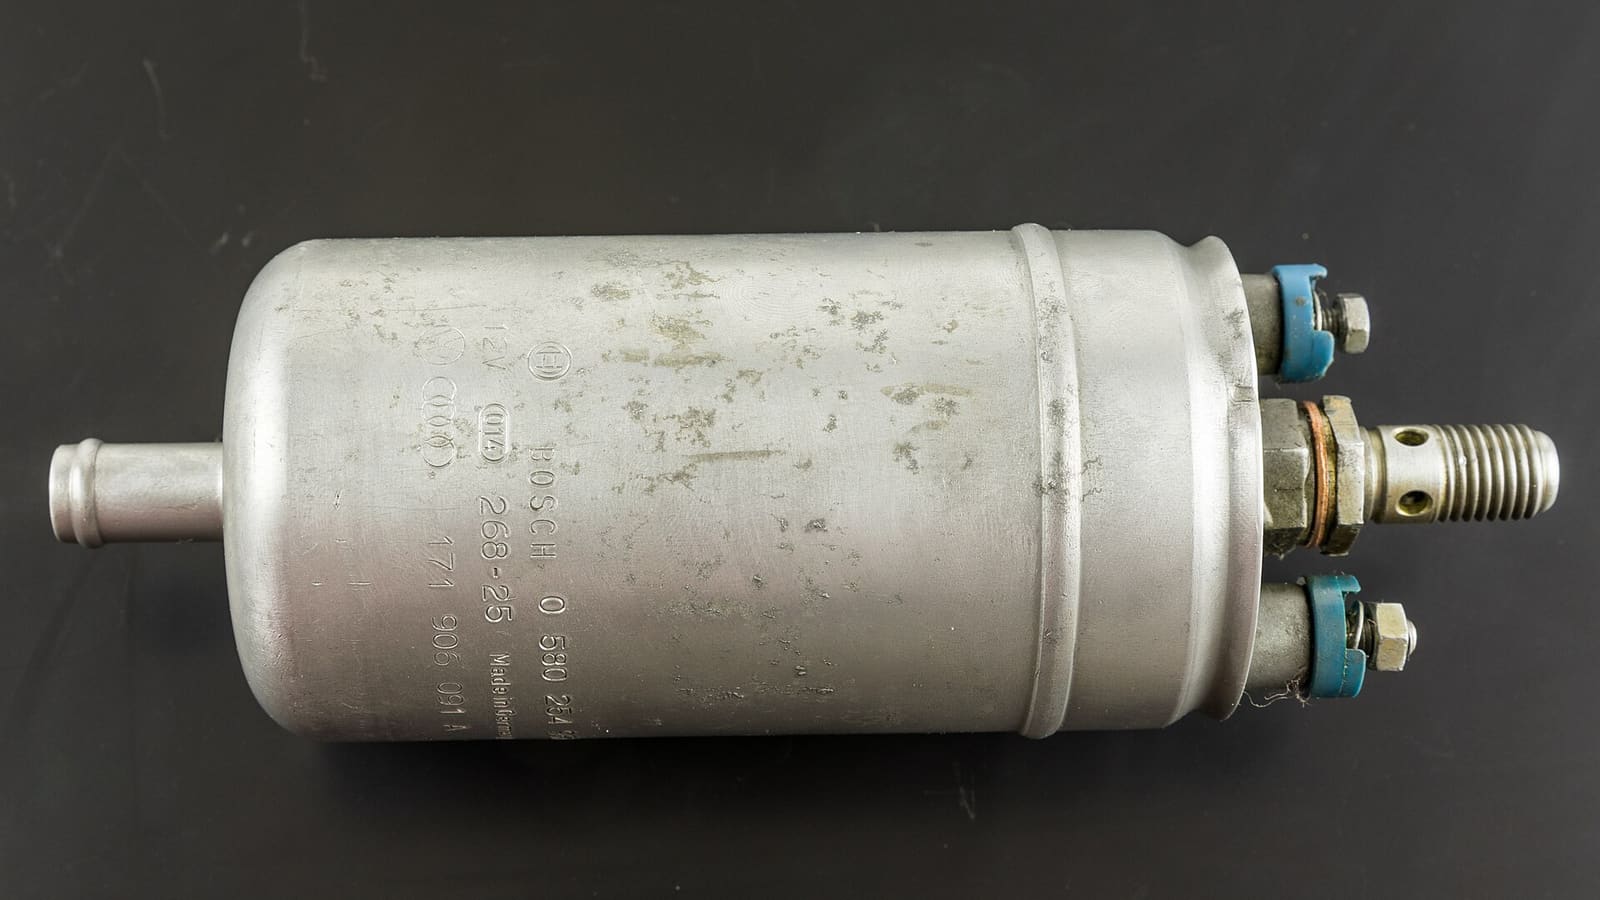
Bogging at speed, surging or dying after a few minutes is often blamed on the fuel pump, but vents, filters, primer bulbs and anti-siphon valves cause the same symptoms. Learn how mechanical, pulse and electric pumps work, the safe checks you can do, what the primer bulb is telling you, and why a real pressure test needs the right gauge and the factory spec.
Ethanol (E10) Fuel Care: Stabilizer, Phase Separation, Fuel Lines and Tank Vents
Keep E10 gasoline from damaging your boat engine. Learn how to use stabilizer, test for water and phase separation, and inspect the fuel lines, primer bulb, anti-siphon valve and tank vent. Most fuel-related breakdowns start with one of these.
How to Check and Test a Gasoline Vapor (Fume) Detector
A gasoline vapor detector sniffs the bilge all the time and sounds an alarm long before fumes can explode. Learn how these detectors work, where the sensor belongs, how to test the system the way its maker says, what causes false alarms, what to do when it goes off, and why it never replaces the blower and your own sniff test.