How to Inspect and Clean a Raw-Water (Sea) Strainer
The sea strainer is the cheap screen that keeps weeds, shells and plastic out of your engine, generator and A/C pumps. Learn how to clean it safely with the seacock closed, reseal the lid so it can't suck air, spot a cracked bowl before it floods the boat, and winterize it.
Time
30 min
Shop would charge
$75-200
Applies to
Sterndrive (I/O), Gas inboard, Marine diesel
Safety first: Turn the engine (and any generator or A/C pump on that line) off before you open a strainer, and close its seacock first. A strainer below the waterline that is opened with the seacock open lets the sea straight into the boat. If water keeps coming in after you close the lid and the seacock, use your through-hull plug and call for help: VHF channel 16, TowBoatUS or Sea Tow, or 911.
Owners often ask
- My engine runs hot after I cleaned the sea strainer. Did I do something wrong?
- I see air bubbles in my raw-water strainer bowl while the engine runs. Is that a problem?
This guide walks you through it. Still stuck? Ask the AI Mechanic about your engine.
Tools
- Flashlight
- Bucket and rags or absorbent pads
- Soft nylon brush (an old toothbrush works)
- Rubber gloves
- Strap wrench or the maker's lid wrench (only if your lid needs one)
- A soft wooden or foam plug sized for the through-hull (kept nearby)
Parts & supplies
- Lid O-ring or gasket kit for your strainer model
- Lubricant the strainer maker recommends for the lid seal
- Replacement basket (only if yours is corroded or torn)
- Non-toxic propylene glycol antifreeze (for winter)
Before you start
Every boat that pulls in outside water to cool an engine needs a strainer between the seacock and the pump, BoatUS notes, and so do generators, air conditioners, refrigeration condensers, washdown pumps, livewells and raw-water toilets. The strainer is a bowl with a removable basket or screen. When it clogs, the pump starves, the impeller can be destroyed and the engine overheats. When its lid leaks, it sucks air instead of water, or, if it sits below the waterline, it can let water into the boat.
Find out what you have. Follow the hose from each engine's raw-water pump back toward the hull. The strainer is usually close to the seacock. Common types:
- Clear-bowl strainers with a screw-on top or a cover held by wing nuts or hinged lugs. Raritan and GROCO make clear housings so you can see debris at a glance; GROCO's ARG series uses a one-piece sight glass with no tie rods.
- All-metal (bronze) strainers you can't see into. You have to open them to check.
- Duplex strainers on larger boats, with two baskets and a valve. Perko explains that one side can be closed and cleaned while the engine runs on the other. Only do that if you know the valve positions; if in doubt, shut down.
How often: Raritan suggests looking at its strainer weekly during active use and cleaning whenever debris builds up (typical; confirm for your boat). Also check right after you run through weeds, a jellyfish bloom or a muddy launch ramp. A glance before every trip is free.
Do this job with the boat in the water and the engine cold. Inboard and sterndrive engines must never run without a cooling water supply, so if you test on a trailer, use the flush method in your owner's manual.
Steps
Make a list: engine (one per engine), generator, A/C, washdown, head intake. Note which ones sit below the waterline. BoatUS suggests labeling every seacock by its job and posting a simple diagram aboard, so anyone can find them in a hurry. Tie or stow a soft plug near each through-hull.
Turn off the engine and wait for it to cool; the exhaust and hoses can be hot. Switch off the breakers for any pump that draws through the same strainer (A/C, generator, washdown) so nothing starts while the lid is off.
Turn the handle across the hose (a lever-type seacock is closed when the handle is at 90° to the hose). BoatUS says to be sure the seacock is closed before servicing a strainer below the waterline. Close it even when the strainer is above the waterline; it keeps the hose from draining and refilling. If the seacock won't move, stop here and see the seacocks guide; don't force it.
With a flashlight, check the bowl: weed, shells, sand or plastic in the basket; a stream of bubbles (an air leak); cracks, cloudiness or crazing in a clear bowl; green or pink corrosion on bronze parts. Note any drips around the lid or hose clamps.
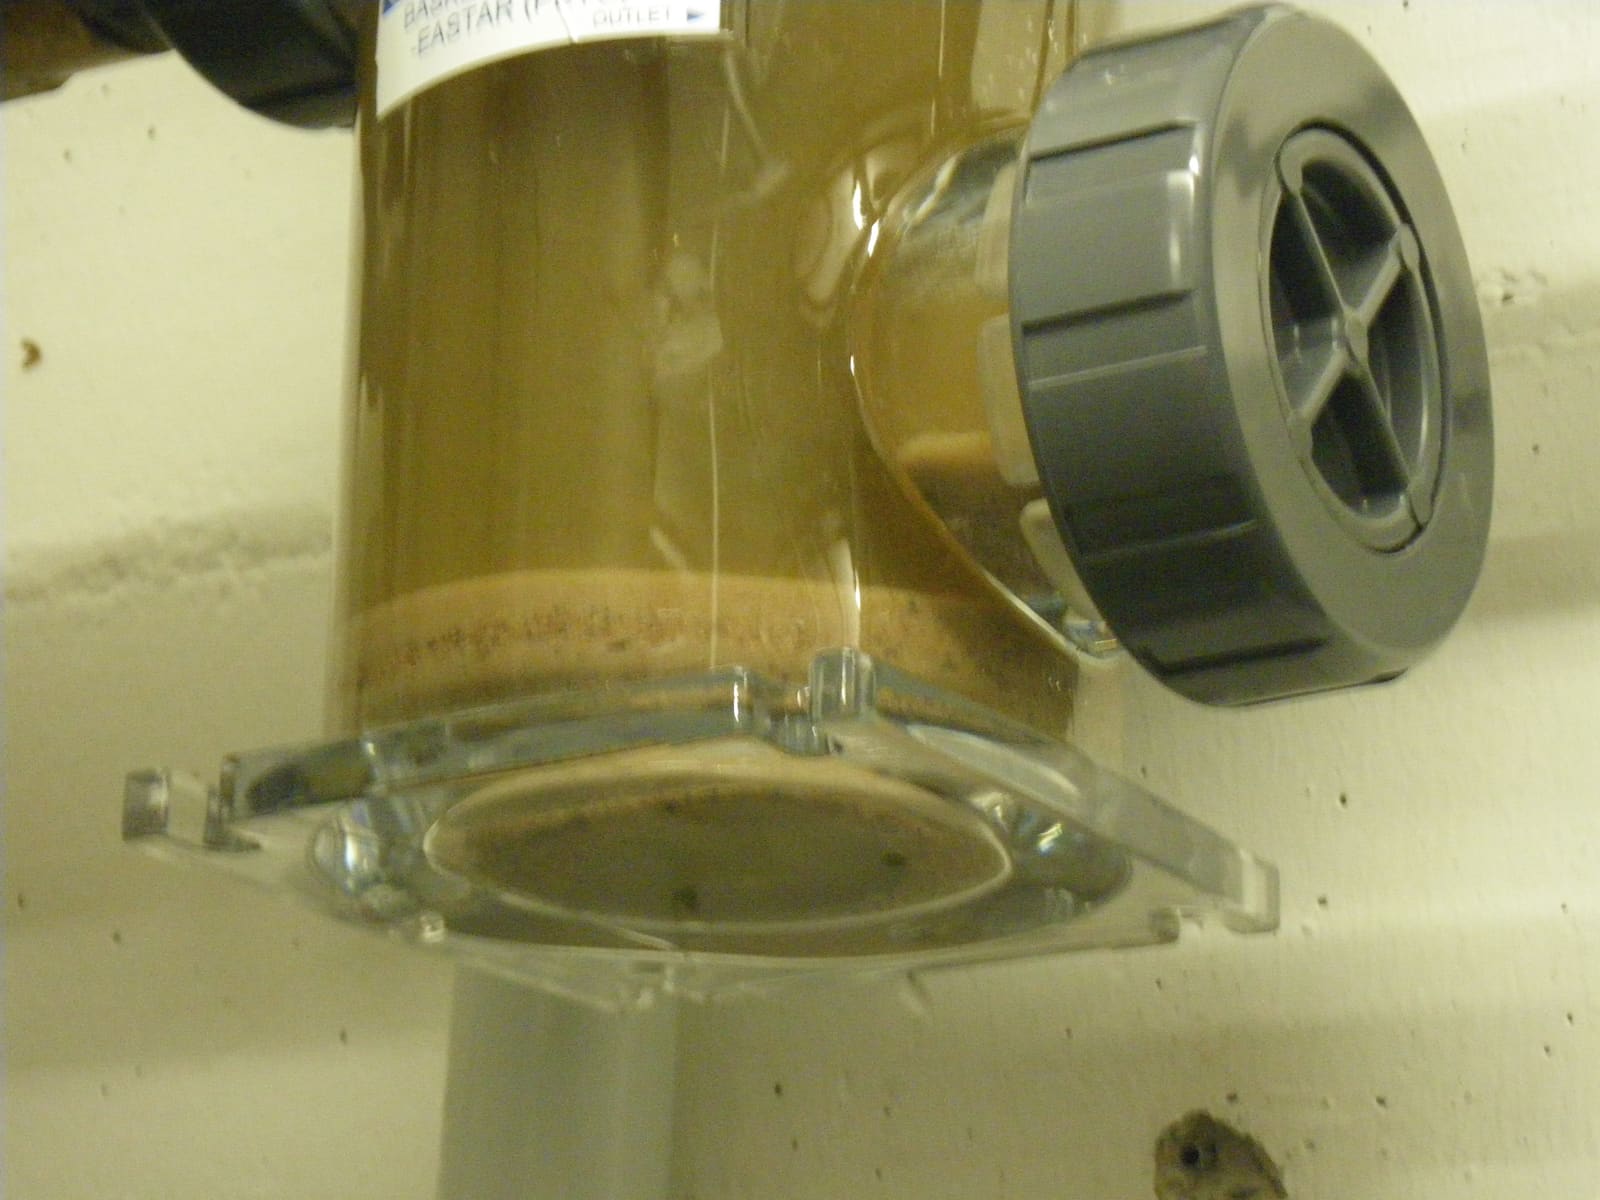
A clear bowl shows you what's inside: here sediment has settled in the bottom. (This strainer is on a land-based pipe line, but a clear sea strainer looks the same when it needs cleaning.) Photo: SuSanA Secretariat / Wikimedia Commons · CC BY 2.0 Put a rag and bucket under the strainer. Unscrew the top or loosen the wing nuts or lugs by hand (use the maker's wrench or a strap wrench only if it's stuck). A little water will spill. If water keeps flowing in, the seacock isn't fully closed: put the lid back on right away, then deal with the seacock before going further.
Lift out the basket and dump it into the bucket (not overboard into the marina if it's full of oily gunk). Rinse it. If it hasn't been cleaned in a while, BoatUS suggests brushing the screen to remove hardened deposits. Look for holes, torn mesh or heavy corrosion. Perko uses 316 stainless baskets and GROCO offers stainless, Monel or non-metallic ones; a worn-out basket of any kind should be replaced, because debris goes straight through a hole. Wipe out the sand at the bottom of the bowl.
The O-ring or gasket under the lid is what keeps air out (and water in). Pull it out, clean the groove and the sealing face, and look for flattening, cracks, nicks or a stretched ring that won't stay in its groove. Replace it if in doubt; seal kits are cheap. Many owners apply a light film of lubricant to the O-ring and threads; use what your strainer maker recommends.
Look closely at the bowl and housing for hairline cracks, especially near the threads and mounting feet. A cracked bowl below the waterline is a flooding risk: replace it before the boat is left alone. Squeeze the inlet and outlet hoses for soft or crunchy spots, and check that the clamps are stainless and tight. BoatUS recommends double clamps at the seacock and at the strainer where the hose barb is long enough, and warns that failing to secure fittings like a sea strainer is one of the top causes of sinkings in its claim files.
Seat the basket all the way down so water can't bypass it. Set the O-ring squarely in its groove, then thread the lid on by hand, making sure it isn't cross-threaded. Snug it firmly, but don't crank on a plastic lid or bowl; overtightening can crack it or pinch the seal.
Open the seacock slowly. On a strainer below the waterline, the bowl should fill. Watch the lid, bowl and hose ends for a minute. Any drip means the seal isn't seated: close the seacock, open the lid and reseat it. BoatUS's last step is the same: reopen the seacock, run the pump the strainer protects, make sure the bowl refills and check for leaks.
Start the engine (or switch the A/C or generator back on) and watch the strainer and the cooling-water discharge. You want a full bowl, steady water at the exhaust or outlet, and a normal temperature gauge. A stream of bubbles in the bowl, a bowl that stays half empty, or weak discharge after cleaning usually points to an air leak at the lid seal or a hose clamp. Shut down and fix it; an engine pulling air can overheat just like one with a clogged strainer. If flow is still weak with a clean, sealed strainer, check the impeller (see the impeller and overheating guides).
Is the blockage before the strainer? A BoatUS article gives a quick check for a below-waterline strainer: with the engine off and the basket clean, crack the seacock open for a moment with the lid off and a bucket ready. You should see a steady stream of water coming in; close it again right away. Little or no flow means something is blocking the intake: a plastic bag sucked against the hull (someone has to dive or the boat has to be hauled to clear it) or sea grass packed in the hose between the seacock and strainer. With the seacock closed, loosen the clamps, pull that hose and look, then reassemble and test. If the seacock won't close fully, don't open the lid at all; call a pro.
In freezing climates the strainer has to be drained or filled with non-toxic antifreeze. BoatUS warns that a strainer left full of water can crack and possibly sink the boat. When you winterize the engine, generator or A/C, make sure antifreeze reaches the strainer and the hose from the seacock; Xylem notes that the inlet hose is the part owners most often miss. Use only non-toxic propylene glycol, never automotive antifreeze. Close the seacock and hang a tag on the helm that says so.
Before you start the engine or switch on any raw-water pump after storage, open its seacock and check that the strainer basket is in place and the lid is tight. Xylem calls this the most easily forgotten step: a pump running against a closed seacock can ruin its impeller within moments.
Common mistakes
- Opening a below-waterline strainer with the seacock open "just for a second."
- Forgetting to reopen the seacock afterward, then wondering why the engine overheats and the impeller is shredded.
- Leaving the O-ring twisted, out of its groove or missing, so the strainer sucks air and the engine runs hot.
- Cross-threading or overtightening a plastic lid until it cracks.
- Cleaning only the engine strainer and forgetting the generator, A/C or washdown strainer.
- Leaving the basket out or not fully seated, which lets weed straight into the pump.
- Ignoring a cloudy or cracked clear bowl because "it doesn't leak yet."
- Skipping the strainer at winterizing time; trapped water freezes and splits the housing.
When to call a pro
- Water keeps coming in after you close the lid and seacock (plug the through-hull, call VHF 16, TowBoatUS, Sea Tow or 911)
- The seacock is frozen open or closed, or its handle is broken
- The strainer housing, bowl or a fitting below the waterline is cracked or badly corroded (bright pink or flaking bronze)
- The engine still overheats with a clean, sealed strainer and good water flow at the intake
- You want to replace the strainer, move it or change the hoses below the waterline
Tips
- Keep a spare lid O-ring and a basket for each strainer model aboard.
- Still have old gate valves (round wheel handles) on the intake? BoatUS suggests having them replaced with proper ball-type seacocks: the lever shows at a glance whether it's open or closed, and one that won't turn warns you of a problem.
- If your old strainer needs tools to open, BoatUS suggests upgrading to one you can clean in half a minute; it will get cleaned more often.
- Clean a clear bowl with mild soap and water only. Many are plastic (Raritan's is polycarbonate), and solvents, fuel or harsh cleaners can cloud or craze them, the same way they damage a plastic windshield.
- Snap a phone photo of each clean strainer. Next time, it's easy to see what's different.
- On boats that work hard in debris-heavy water, GROCO sells flow monitors that alarm when raw-water flow drops, which can warn you before the temperature gauge does.
Official references
We read these to write this guide. Your engine's own manual always wins.
- BoatUS – Keep Your Bilge Beautiful (low raw-water flow check)
- BoatUS – Raw-Water Strainers
- BoatUS – Keeping Your Boat Afloat (sinking claims analysis)
- BoatUS – Seacocks (2025)
- BoatUS – How to Winterize Boat Plumbing
- Raritan – Raw Water Strainer
- GROCO – ARG Series Raw Water Strainers
- GROCO – SSA Raw Water Monitor
- Perko – Intake Water Strainers
- Xylem (Jabsco) – Expert Winter Maintenance Tips for Pumps and Marine Toilets
Safety: BoatMend is for information only and does not replace a certified marine technician. You are responsible for your safety and your boat. Read the full disclaimer.
Last updated 2026-10-24
Related guides
How to Inspect and Exercise Seacocks, Through-Hulls and Hose Clamps
Check every hole in your hull below the waterline, work each seacock open and closed, and inspect the hoses and clamps attached to them. A single failed fitting or hose is one of the most common reasons boats sink at the dock.
How to Replace the Water Pump Impeller
Replace the rubber impeller that pumps cooling water through your engine, the part most often behind overheating. On many outboards it is a two-hour driveway job that saves a shop bill of several hundred dollars and prevents far costlier heat damage.
Engine Overheating - Troubleshooting Guide
Work through the most likely causes of a hot engine or overheat alarm, from a blocked water intake to a worn impeller or stuck thermostat. Acting fast and in the right order can save your engine and often gets you home without a tow.
Overheat Alarm: What to Do in the First 60 Seconds
A short, practiced routine for the moment the temperature alarm goes off: take the load off, look for cooling water, shut down if it isn't there, and check every space the exhaust runs through for heat or fire. Based on a June 2026 Coast Guard safety alert about a fatal fire that started with an overheat alarm.
How to Maintain Your Boat's Air Conditioning Seawater System
Keep seawater flowing through your marine A/C by cleaning the strainer, checking the pump and overboard discharge, descaling the condenser coil when flow drops, cleaning the air filter, and winterizing the seawater circuit before a freeze. Most "A/C not cooling" calls are a water-flow problem.
Marine Generator Routine Maintenance and CO Safety
Keep an Onan, Kohler/Rehlko, Northern Lights, Westerbeke or similar marine generator reliable with regular checks of oil, raw-water cooling, fuel, exhaust and the start battery, plus a monthly run under load. Generator exhaust is a leading source of carbon monoxide on boats, so safety checks come first.
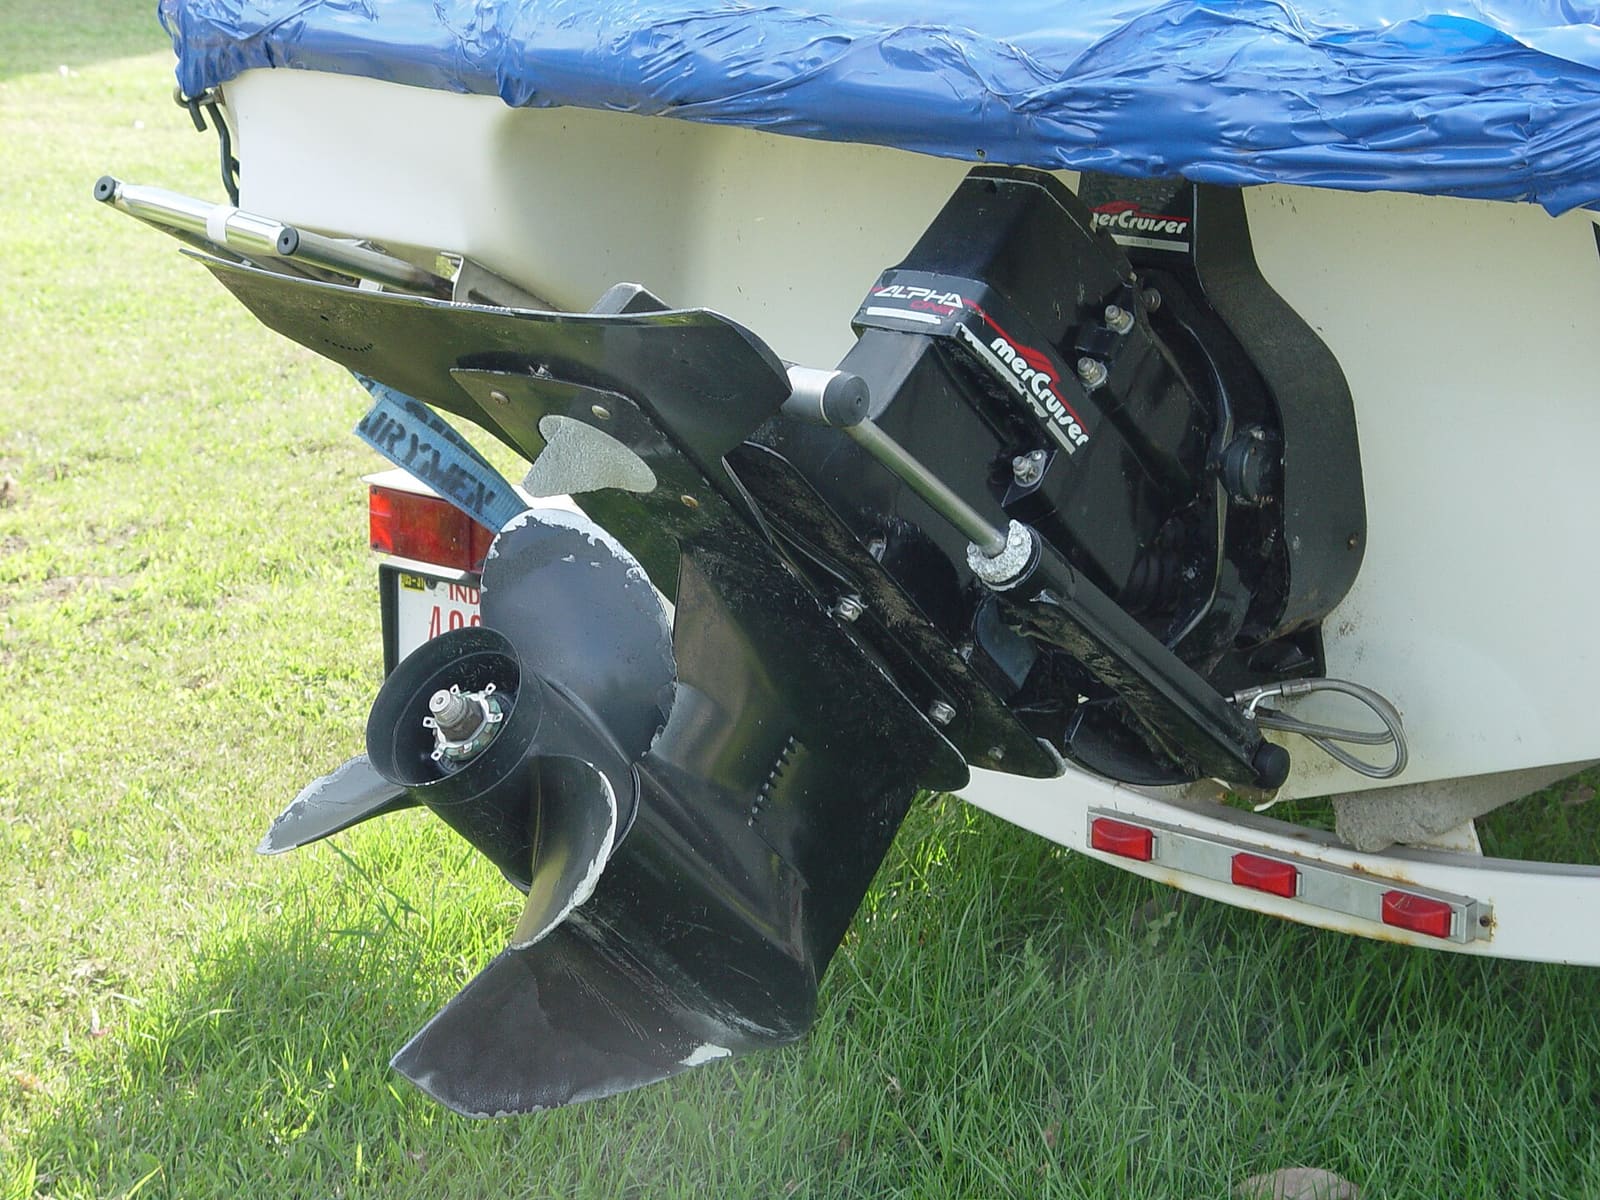
How to Winterize a Sterndrive (MerCruiser, Volvo Penta and Similar)
Get the water out of your sterndrive engine, protect it with antifreeze, and service the drive before storage. A cracked block or manifold from one missed drain plug can cost thousands, and doing it yourself saves a shop bill of several hundred dollars.
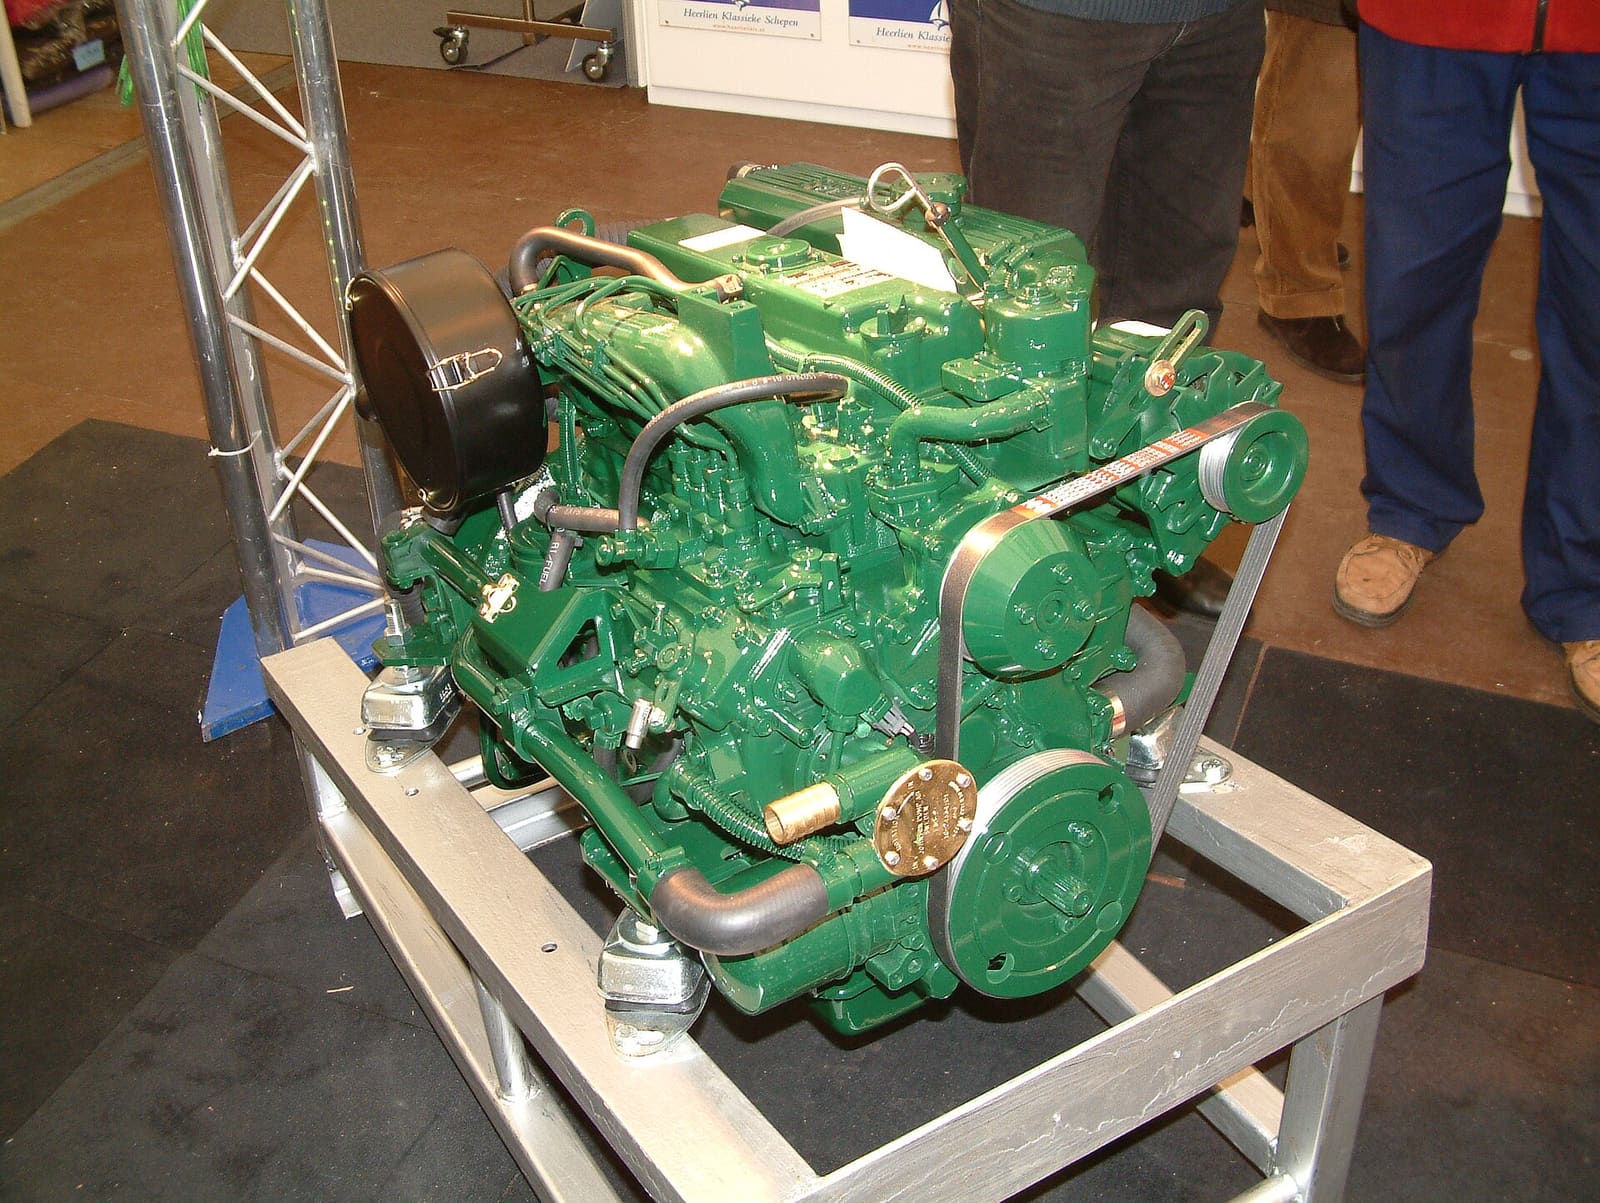
How to Winterize a Marine Diesel Inboard (Sailboat or Trawler)
Lay up a marine diesel for winter the way the engine makers describe it, covering fresh oil, a full and treated fuel tank, antifreeze through the raw-water side, the impeller out, the coolant checked, openings plugged and the battery cared for. Freeze damage to a diesel's raw-water circuit is one of the most expensive and most avoidable winter repairs.
What to Do When Your Boat Is Taking On Water: Emergency Steps and Prevention
A step-by-step emergency plan for water coming into the boat - life jackets on, call for help early on VHF 16, find and slow the leak, pump, and head for shallow water if needed - plus the maintenance checklist that prevents most sinkings.