How to Rebuild a Manual Marine Toilet (Hand-Pump Head)
A manual head that's hard to pump, lets water flow back into the bowl or leaks at the pump shaft usually just needs new valves and seals. Learn how to diagnose the symptom, pick the right service kit, replace the joker valve, flapper and piston seals safely and hygienically, and keep the pump working afterward.
Time
2 h
Shop would charge
$200-450
Applies to
All engines · Cabin cruiser, Yacht, Sailboat
Safety first: Close both the intake and discharge seacocks before you loosen a single hose: on many boats the toilet sits below the waterline. You will be handling parts that have touched sewage, so wear gloves and eye protection, keep cuts covered, ventilate the head and wash up well afterward. If water keeps coming in after the seacocks are closed, plug the hose or through-hull and call VHF channel 16, TowBoatUS, Sea Tow or 911.
Owners often ask
- My manual head is getting really hard to pump. Do I need a rebuild kit?
- Water flows back into the toilet bowl after I flush. Is it the joker valve?
This guide walks you through it. Still stuck? Ask the AI Mechanic about your engine.
Tools
- Screwdrivers (Phillips and flat) and the wrench or socket sizes your toilet uses
- Heavy rubber or nitrile gloves, eye protection and a disposable apron or old clothes
- Two buckets, plenty of rags or paper towels, and heavy trash bags
- Plastic bags and rubber bands (to cap open hose ends)
- Soft brush and a plastic scraper (for old gasket and scale)
- Phone camera (to photograph each step)
- Disinfectant cleaner safe for your toilet's rubber parts
Parts & supplies
- Service or repair kit made for your exact toilet model (valves, gaskets, seals)
- Lubricant your toilet maker specifies (often included or sold for marine toilets)
- White vinegar (for descaling)
- Stainless steel hose clamps (spares)
Before you start
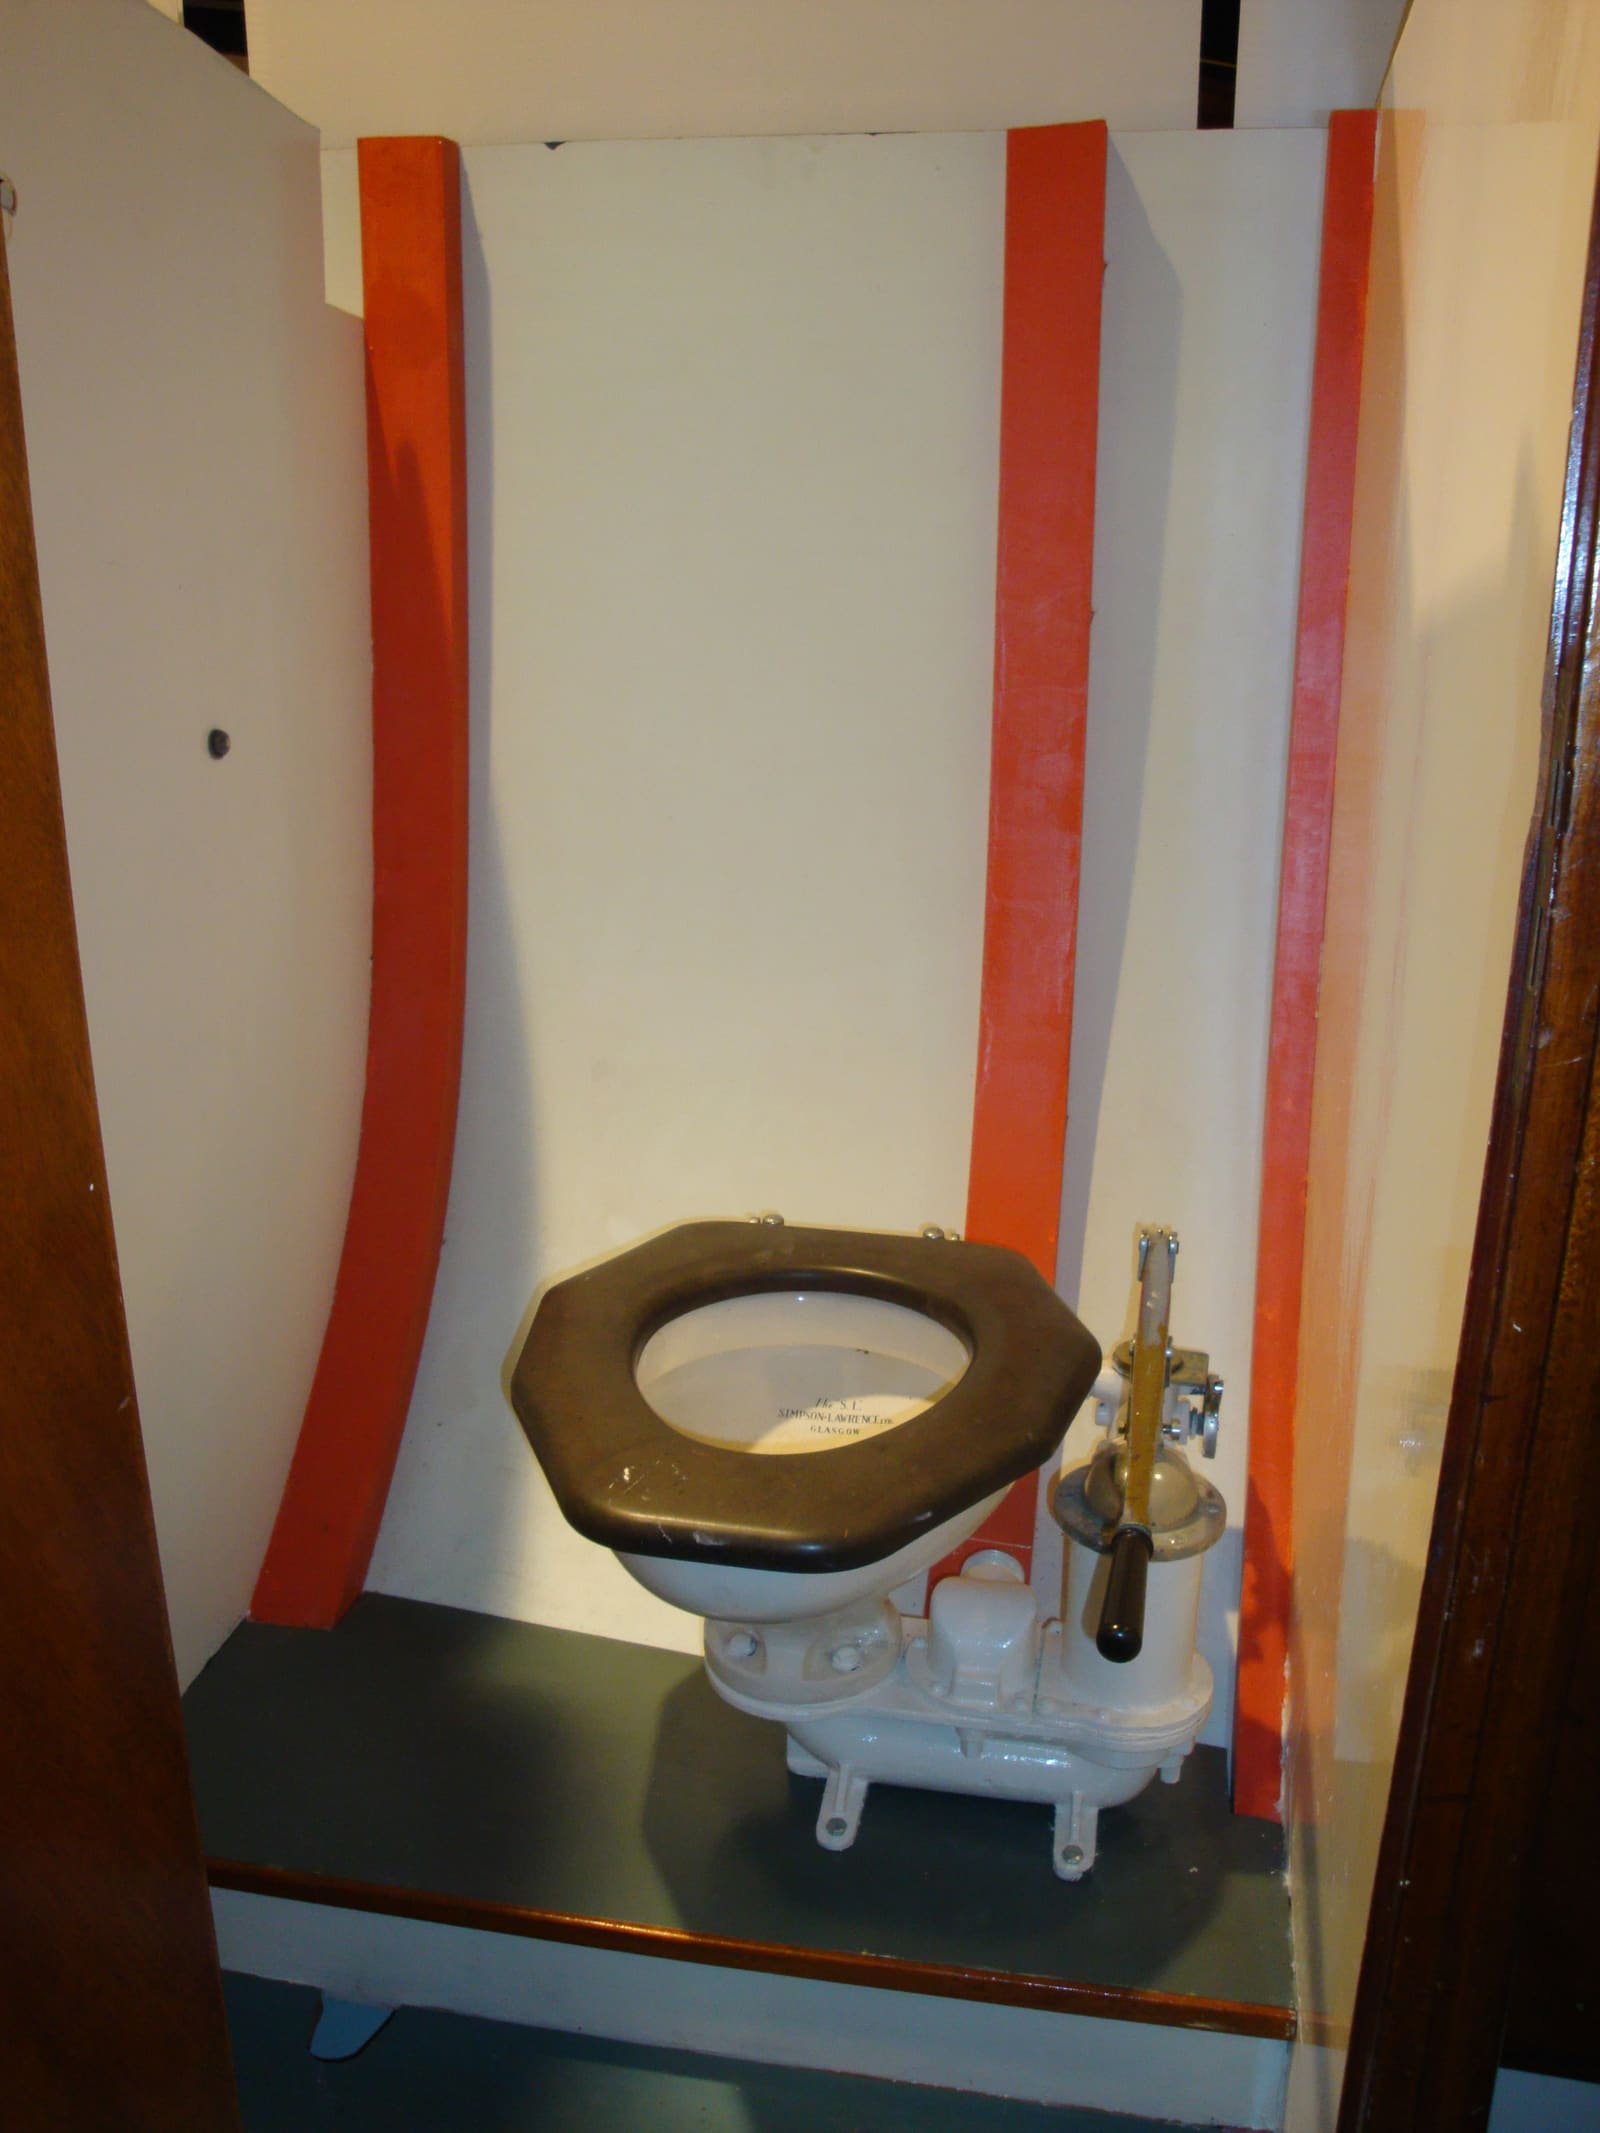
How a manual head works. A piston pump beside the bowl does two jobs at once: it pulls flush water in from the sea (or a freshwater tank) and pushes waste out through the discharge. Raritan describes its PH-series pump as dual-action, and Xylem's cutaway of a Jabsco manual pump shows waste and water (or air) moving on both the up and down strokes. Rubber valves keep everything moving one way: a flapper or base valve under the pump, and a joker valve (a rubber "duckbill") in the discharge elbow that stops waste from flowing back. A lever switches between wet bowl (flush water on) and dry bowl (pump out only); Xylem's cutaway video shows how the dry-bowl setting lets the pump pull air instead of water.
Match the symptom to the part:
- Hard to pump: scale buildup in the pump, joker valve and discharge hose (very common with salt water), dry seals, or a partial clog. BoatUS notes that scale makes a head steadily harder to flush.
- Water or waste flows back into the bowl: a worn or scaled joker valve. BoatUS says scale on the valves is what lets water in the discharge line leak back.
- Bowl slowly fills on its own: usually a siphon on the intake side; check the vented loop or anti-siphon valve, and the intake valves.
- Leaks or drips at the pump shaft: the piston rod seal.
- Won't draw flush water: closed intake seacock, a clogged intake strainer, or a worn intake valve.
When to rebuild. BoatUS recommends rebuilding on the maker's schedule, before leaks start, because rubber parts dry out, harden and crack. If the head is hard to pump but the discharge hose isn't clogged, smells but isn't leaking, or just doesn't work right, BoatUS says it's time for an overhaul.
Get the right kit. Kits are model-specific. Find the brand and model on the toilet base or pump (Jabsco, Raritan, Groco and others), and take photos of the pump top and handle before you order. Kits usually include new valves, gaskets, seals and sometimes screws, plus an instruction sheet. Raritan also sells single replacement parts and a universal repair kit for its PH, PHII, PH Superflush and PH Powerflush. Follow the kit's instructions over anything general here.
Steps
Pump a pint of white vinegar slowly through the head (BoatUS suggests one stroke every few minutes) to soften scale, then flush plenty of clean water through. If the toilet discharges into a holding tank, pump out the tank first so there's room and less to spill. A clean system makes the whole job far less unpleasant.
Close the intake seacock and the discharge seacock (if the discharge goes overboard or through a Y-valve). Put on gloves, eye protection and old clothes. Open a hatch or run a fan. Lay rags and a trash bag on the floor and have two buckets ready: one for dirty parts and water, one with clean water.
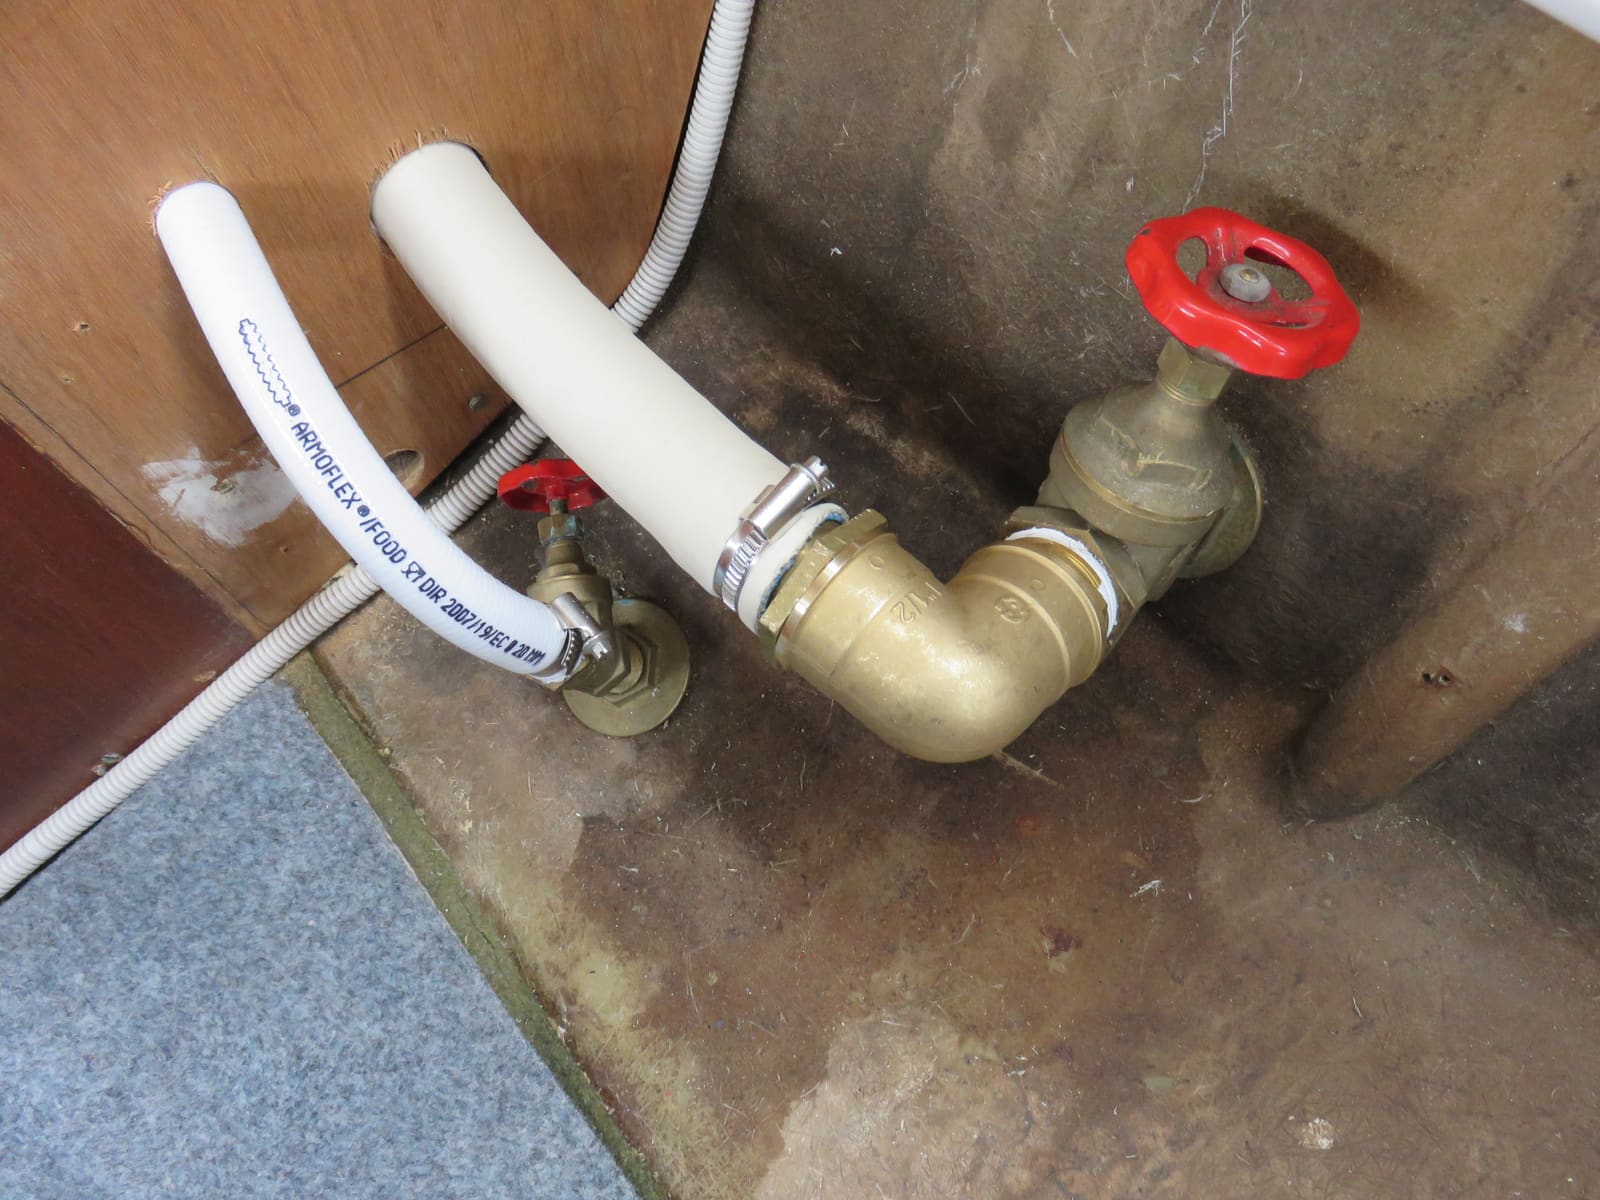
Inlet (left) and outlet valves for a boat toilet. Close both before you open the pump. Note: wheel-handle gate-style valves like these are not proper seacocks; surveyors recommend lever-type marine seacocks below the waterline. Photo: Ein Dahmer / Wikimedia Commons · CC BY-SA 4.0 BoatUS points out that a rebuild is nearly always easier and more pleasant with the toilet removed from the head compartment. If you can, disconnect the hoses and unbolt the base. If not, you can usually remove just the pump assembly from the base. Either way, expect some liquid in the discharge hose.
Loosen the clamps and work each hose off its fitting, letting it drain into the bucket. Cap open hose ends with a plastic bag and rubber band so they don't drip or smell. Label which hose is intake and which is discharge.
Remove the discharge elbow, then the pump assembly, following your kit's instructions. Lay every part out on a towel in the order it came off and photograph each step. BoatUS suggests exactly this so you know which screws go where and which way each valve faces.
The joker valve sits in the discharge elbow. Pull out the old one and look at it: a stiff, scaled, split or permanently open duckbill is why waste flows back. Fit the new one so its lips point in the direction of flow (BoatUS: the bill always points the way the waste goes). Clean scale out of the elbow first, or the new valve won't seal. Practical Sailor's joker valve tests found the valves from the three big manual-head makers (Groco, Jabsco and Raritan) nearly the same size and shape, and in its long-term test the stiffer Raritan valve lasted noticeably longer before letting water back, because scale is what usually kills these valves. If you're tempted to swap brands, confirm the fit for your exact toilet with the maker or your parts supplier first.
Swap in the new flapper or base valve and gaskets from the kit. BoatUS's general rules for manual heads: weighted flapper valves go weight up, and flappers open toward the outlet so flow is least restricted. Some parts only fit one way; on Jabsco's Twist 'n Lock toilet, Xylem shows the base valve gasket going on with its bump facing up and its cutouts lined up with the pillars on the base.
Remove the piston from the cylinder. Replace the piston seals or O-rings with the ones in the kit, and the piston rod seal at the top of the pump. On older pumps with leather cups, BoatUS notes there are two, facing opposite ways. Wipe the inside of the cylinder clean and smooth, then lubricate it lightly with the lubricant your toilet maker specifies (BoatUS mentions petroleum jelly for the cylinder wall, but check your kit's instructions, because some makers want their own lube).
Soak the old scaled plastic parts you're reusing (not the new rubber ones) in white vinegar to loosen deposits, then scrub with a soft brush. Scrape old gasket material off all mating surfaces without gouging the plastic or china; BoatUS stresses clean mating surfaces and using sealant on gaskets if your kit calls for it so they don't weep. Look into the discharge fitting and the start of the hose: heavy scale there may mean the hose needs descaling or replacing too.
Put the pump back together in reverse order, using your photos. Snug screws evenly with moderate pressure. Xylem warns that cranking the pump screws down hard can crack the plastic and cause leaks, and BoatUS warns that bowl-to-base nuts must be tightened evenly and not too tight, or the china cracks. Leave the pump rod seal nut for last: BoatUS suggests tightening it only after the toilet is reinstalled, and only enough to stop leaks.
Refit each hose fully onto its barb with stainless clamps. If there's an anti-siphon valve or vented loop on the intake or discharge, BoatUS notes that salt and scale can hold it open or shut; remove the valve and soak it in warm soapy water. A stuck anti-siphon valve is a common reason a bowl fills by itself.
Open the seacocks. In wet-bowl mode, pump clean water through several times and watch every joint, the base and the pump shaft for drips. Switch to dry bowl and check that the bowl empties and stays empty. The pump should feel smooth and easier than before, with no water creeping back into the bowl.
Bag the old parts, rags and gloves and put them in the trash, not overboard. Xylem's technicians remind owners to decontaminate all tools after working on an installed toilet. Disinfect the floor and the outside of the toilet with a cleaner that's safe for its rubber parts; Raritan, for example, warns that bleach and caustic acids can damage soft components.
BoatUS suggests running a pint of white vinegar slowly through a salt-water head once a month, then flushing with fresh water and pumping a couple of ounces of marine toilet lubricant through to keep the seals supple. A light coat of grease on the piston rod helps the rod seal last. Not everyone agrees on oil: Practical Sailor questions the habit of flushing vegetable or mineral oil (vegetable oil makes hose walls sticky, mineral oil can film the holding tank and add odor) and says it's better to open the pump every season or two and grease the piston as the toilet makers recommend. Whichever you do, use only the lubricant your toilet's manual names. Use enough strokes to clear the discharge hose after every use (BoatUS's rule of thumb in Flush the Funk is two strokes per foot of hose). At winterizing time, close the seacocks and protect both the intake and discharge sides of the pump as your manual says; Xylem stresses that the intake hose is the part owners usually miss. BoatUS notes that some makers, Raritan for the PHII among them, have advised against non-toxic antifreeze because it may soften gaskets, so check your toilet's manual first.
Common mistakes
- Opening the pump or a hose with a seacock still open.
- Buying a kit "close enough" to your model; parts differ between generations of the same brand.
- Installing the joker valve backward or a flapper upside down.
- Overtightening plastic pump screws or bowl nuts until something cracks.
- Rebuilding the pump but ignoring a scaled-up discharge hose, so it's still hard to pump.
- Using bleach, drain cleaner or household toilet chemicals that harden rubber seals. Practical Sailor found that disinfectants containing benzyl compounds (found in some household bowl cleaners) are especially tough on joker valves and seals; vinegar is the usual approved descaler.
- Putting paper towels, wipes or feminine products in the head, then blaming the pump.
- Skipping the intake side when winterizing, so the inlet hose or pump cracks.
When to call a pro
- A seacock won't close or is frozen, or a through-hull fitting leaks
- The china bowl or the pump body is cracked
- The discharge hose is solidly blocked with scale or waste and needs replacing
- Water or sewage keeps getting into the boat and you can't find where from
- You're considering changing the plumbing, adding a Y-valve or moving the vented loop
Tips
- Pump or hose? Test before you rebuild. Raritan's FAQ says the most common cause of a poor discharge is a clogged sanitation line, not the toilet. Its test: with the discharge seacock closed, connect a short spare hose to the toilet's discharge fitting and pump into a bucket. If it pumps easily that way, the problem is downstream (hose, Y-valve, vented loop, vent line or seacock). If it's still hard, the pump needs the rebuild.
- Keep a joker valve and a complete service kit aboard; they're small and a failed head always happens at the worst time.
- Tape a "how to use the head" card in the head compartment: what goes in, how many strokes, wet vs. dry bowl.
- A strainer on the toilet's intake line keeps grass and sea life out of the flush passages, which BoatUS says is a common cause of head odor.
- If the intake water smells like rotten eggs when you first flush, that's sea water that sat in the hose. A strainer and regular use help; some owners convert to freshwater flush.
- Haul-out trick for a salt-water head: a BoatUS writer flushes the intake side with fresh water when the boat comes out: with the toilet's flush valve open, a garden hose held to the intake through-hull outside pushes fresh water up into the bowl, and pumping it out rinses the discharge side too. Don't overfill the bowl, and remember that water goes into the holding tank.
Official references
We read these to write this guide. Your engine's own manual always wins.
- BoatUS – Marine Toilet Maintenance
- BoatUS Magazine – Flush the Funk (2023)
- Xylem (Jabsco) – How Does the Pump on a Jabsco Manual Toilet Work?
- Xylem (Jabsco) – Change a Jabsco Manual Toilet Right to Left Hand
- Raritan – PH Superflush (successor to the PHII)
- Raritan – Frequently Asked Questions (poor discharge, back flow, odors)
- Raritan – C.P. Cleans Potties
- Xylem (Jabsco) – Expert Winter Maintenance Tips for Pumps and Marine Toilets
- BoatUS – How to Winterize Boat Plumbing
- Practical Sailor – Joker Valves for Marine Heads
- Practical Sailor – Marine Toilet Tech: A New Joker Valve
- BoatUS – Keep Your Bilge Beautiful (freshwater-flushing a salt-water head)
Safety: BoatMend is for information only and does not replace a certified marine technician. You are responsible for your safety and your boat. Read the full disclaimer.
Last updated 2026-10-24
Related guides
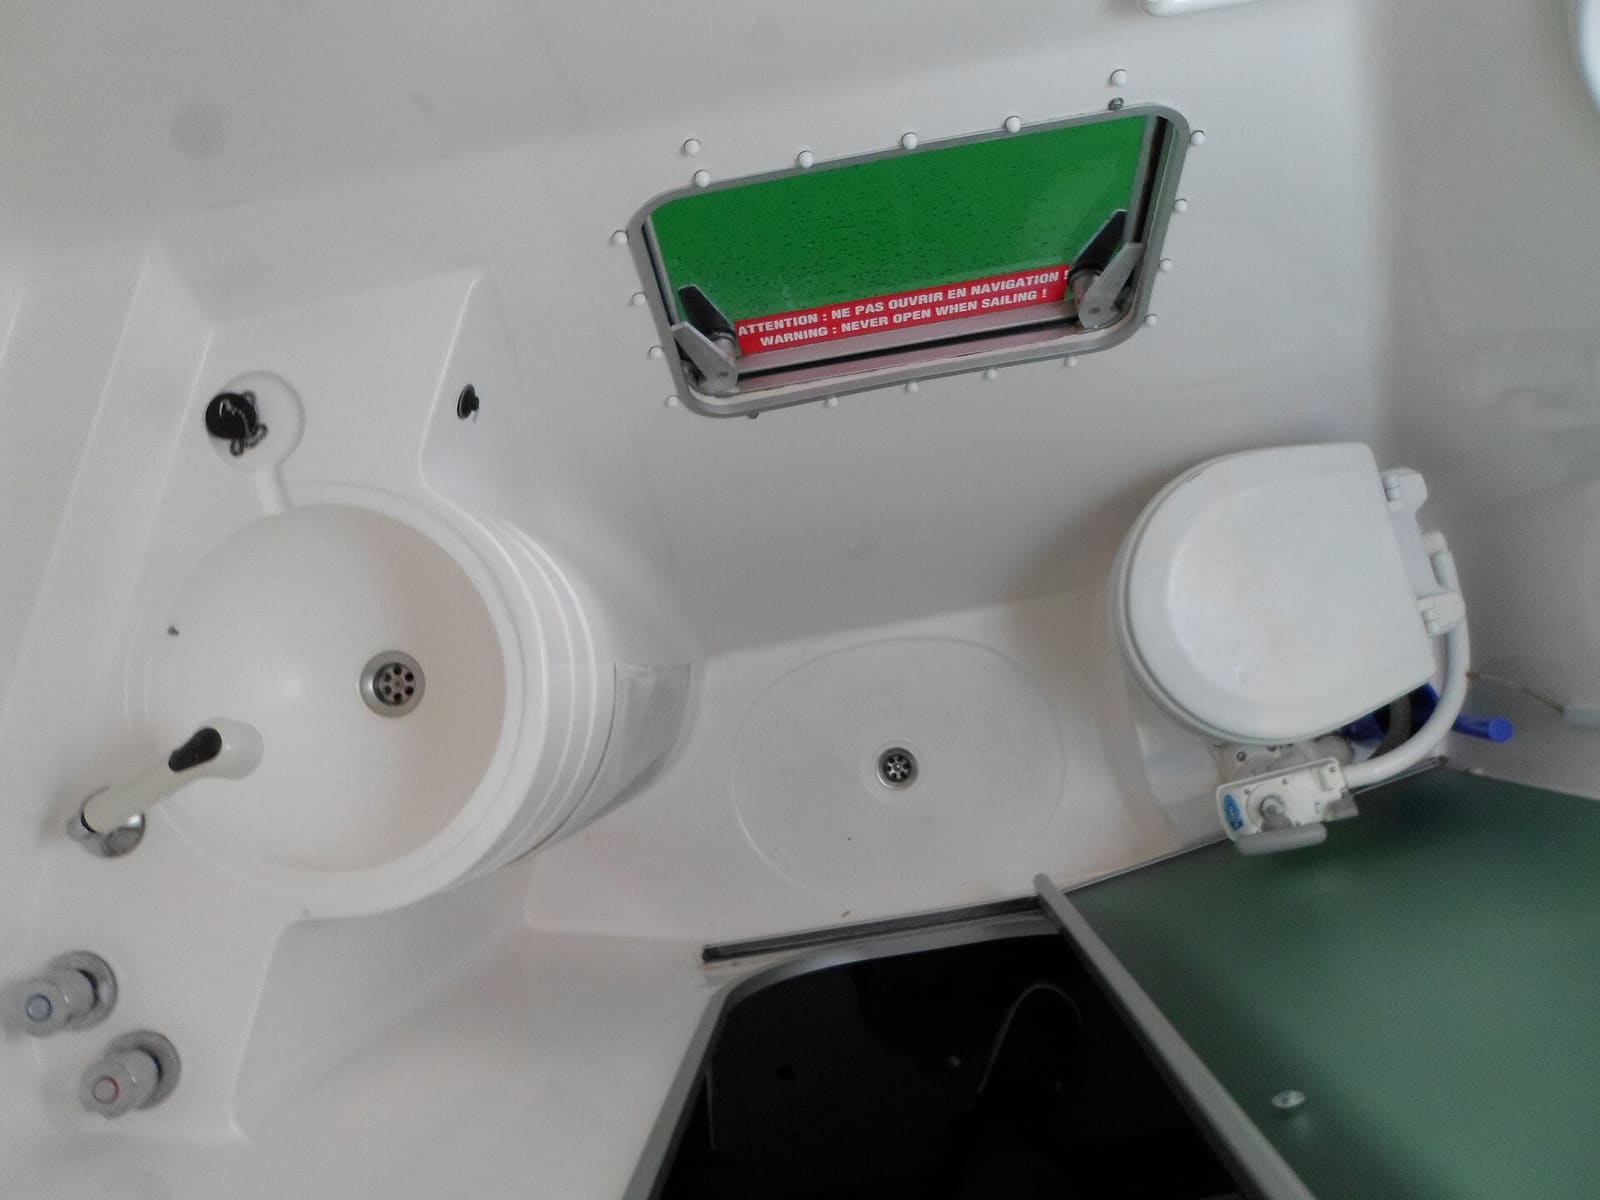
Marine Head and Holding Tank Care: Odors, Clogs, Pump-Outs and Winterizing
Keep your boat's toilet and holding tank working and odor-free, clear common clogs, pump out the right way, and winterize the system. Also covers the Y-valve and the federal no-discharge rules every owner with a head needs to follow.
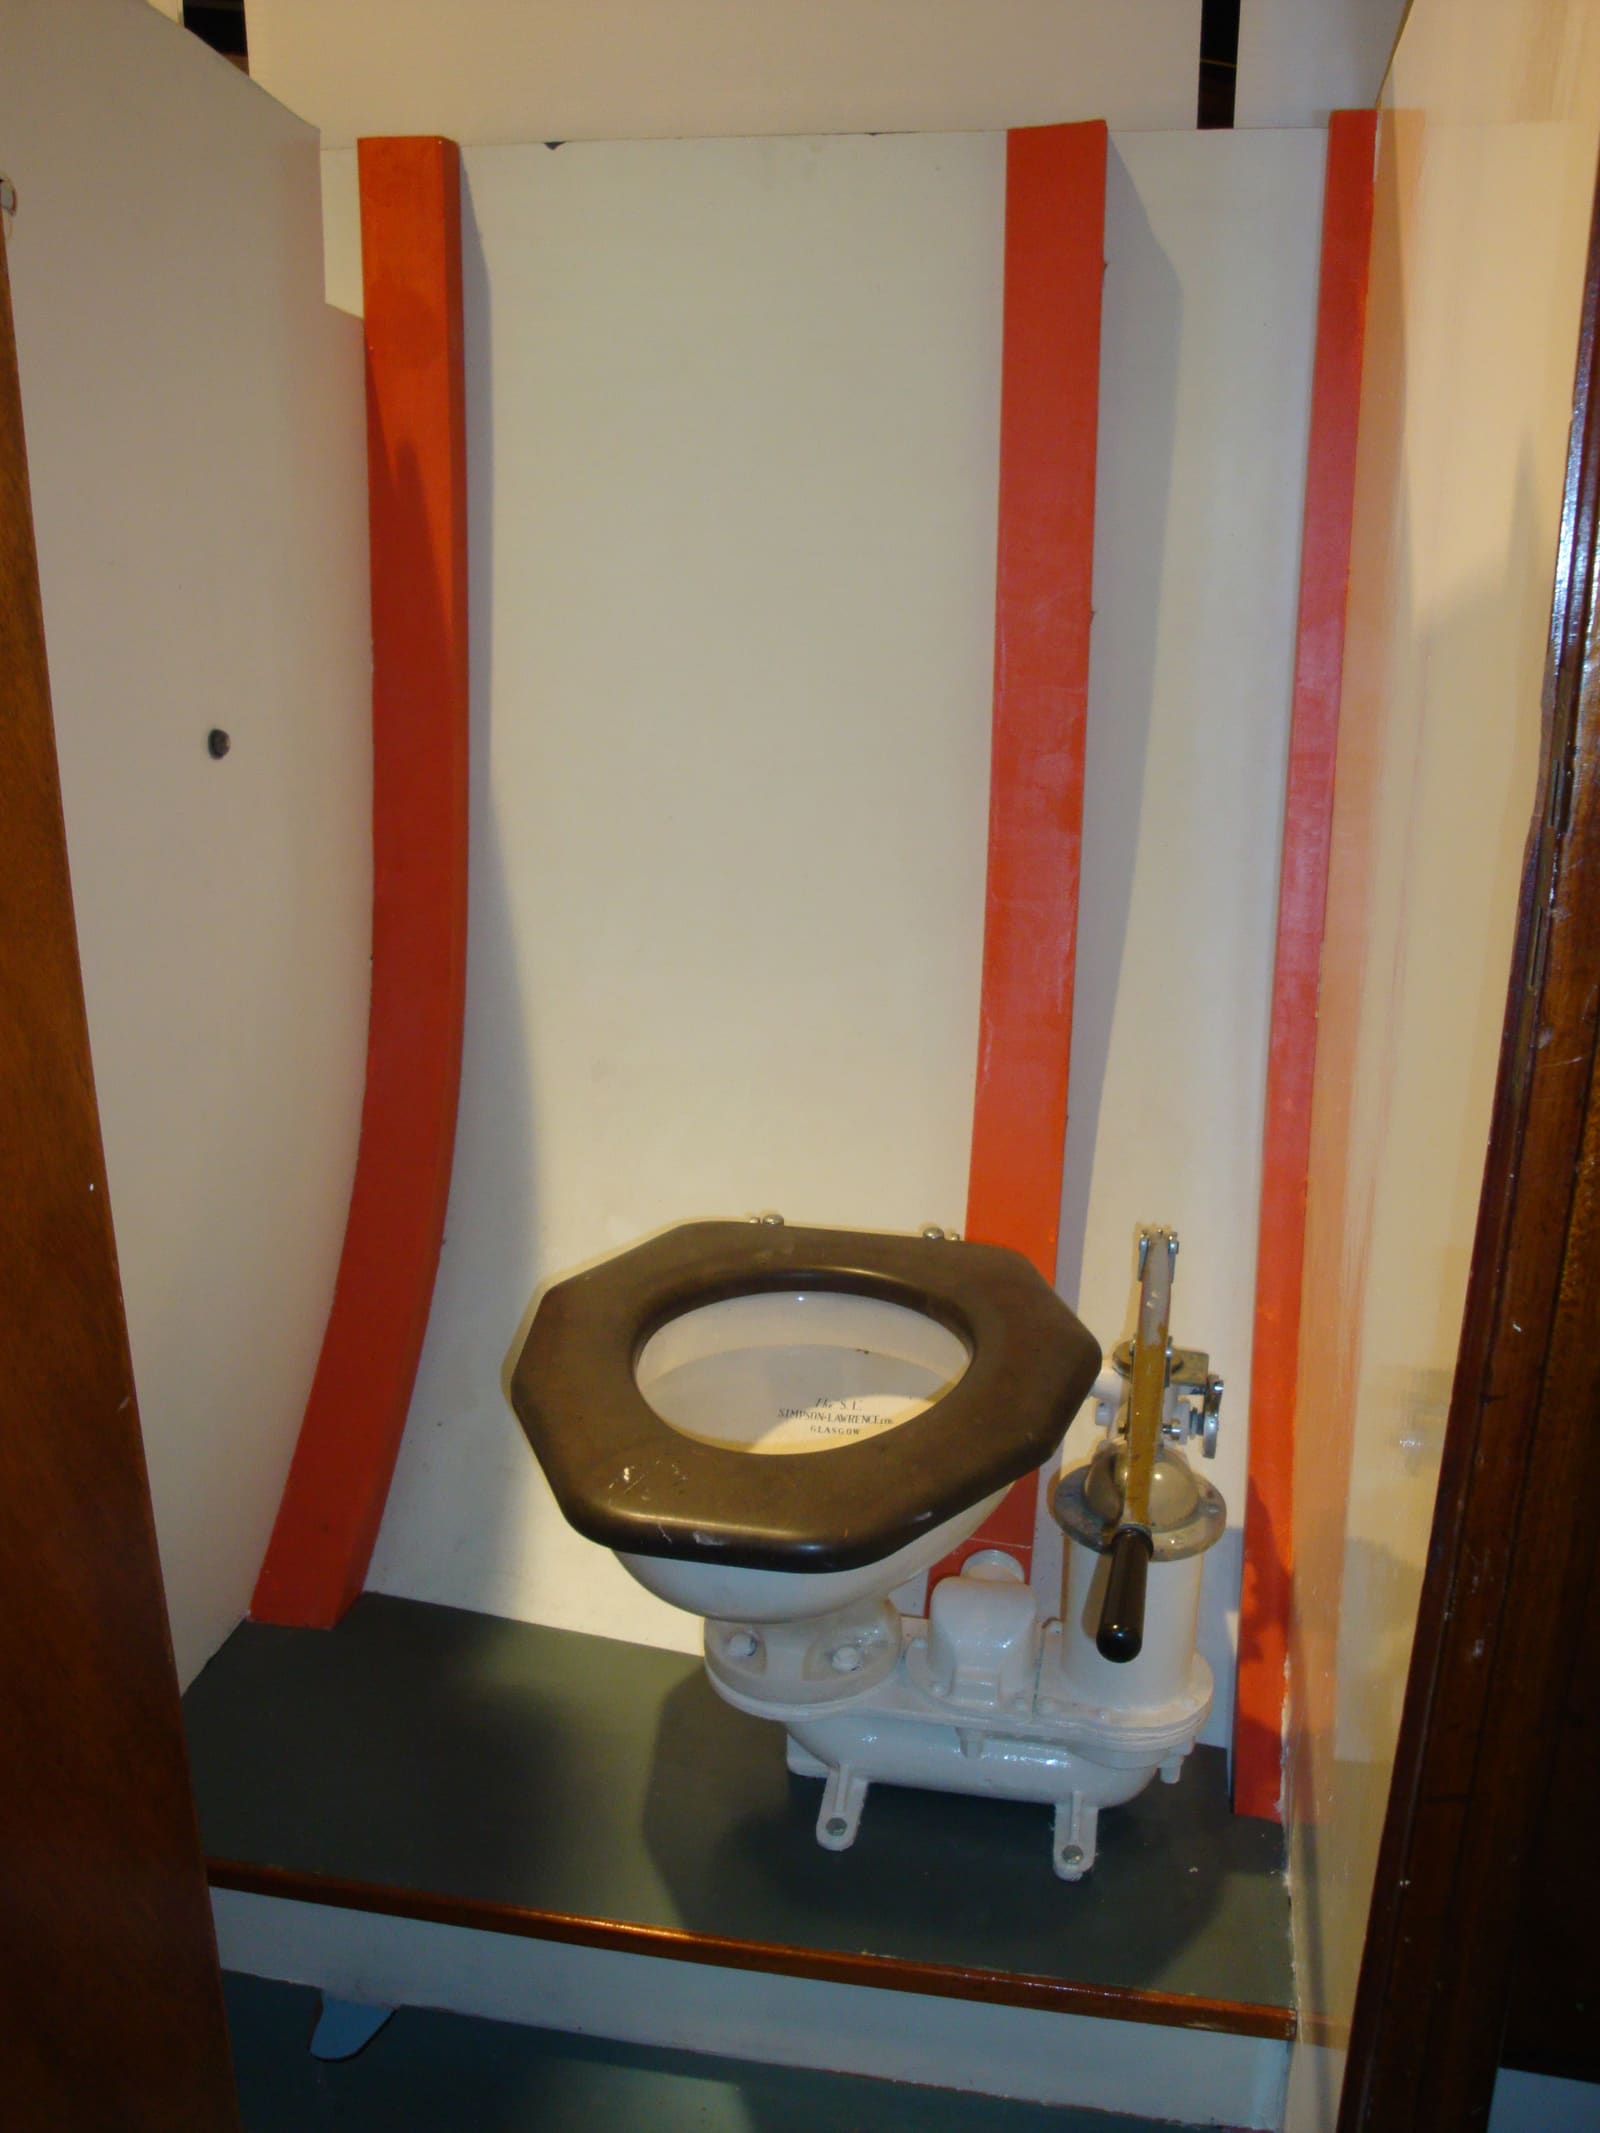
Smelly Head Hoses: How to Test, Choose and Replace Sanitation Hose
Find out if your toilet and holding-tank hoses are the source of that sewage smell with a simple hot-rag test, then pick the right sanitation hose, route and clamp it properly, and get rid of the old hose cleanly.
How to Check a Holding Tank Vent and Replace the Vent Filter
A blocked holding tank vent makes the head gurgle, pressurizes the tank every flush and can collapse it at the pump-out dock. Learn the warning signs, how to clear the vent fitting and hose, when and how to replace the carbon vent filter, and how to keep insects and overfills from plugging it again.
How to Inspect and Exercise Seacocks, Through-Hulls and Hose Clamps
Check every hole in your hull below the waterline, work each seacock open and closed, and inspect the hoses and clamps attached to them. A single failed fitting or hose is one of the most common reasons boats sink at the dock.
How to Inspect and Clean a Raw-Water (Sea) Strainer
The sea strainer is the cheap screen that keeps weeds, shells and plastic out of your engine, generator and A/C pumps. Learn how to clean it safely with the seacock closed, reseal the lid so it can't suck air, spot a cracked bowl before it floods the boat, and winterize it.
How to Clean and Maintain Shower Sump and Macerator Pumps (and Stay Legal)
The shower sump pump fights hair and soap scum every day, and the macerator empties the holding tank, but only where that is legal. Learn how to clean the sump and filter, test the float switch, avoid burning out pumps by running them dry, follow the 3-mile and no-discharge rules, and winterize both.

How to Winterize (and Recommission) Your Boat's Freshwater System
Protect the tank, pump, water heater, faucets and showers from freeze damage with non-toxic antifreeze, then flush and sanitize everything in the spring so the water is clean again. A cracked pump or split fitting is a common, avoidable winter repair bill.