How to Prepare Your Boat for an Insurance or Condition Survey
Get ready for a marine survey your insurer or lender asked for: what a SAMS or NAMS surveyor looks at, the common findings you can fix beforehand (hose clamps, seacocks, bilge, fire extinguishers, wiring), the paperwork to have ready, and how to handle the recommendations afterward.
Time
8 h
Shop would charge
$300-1500
Applies to
All engines
Safety first: If you smell gasoline or propane while getting the boat ready, stop: do not flip switches, start the engine or use power tools. Ventilate, get everyone off the boat and call a qualified marine technician (or 911 if it is serious). Never work on shore power, inverters or battery banks while they are live. Do not climb onto a boat on stands or a trailer unless it is properly blocked or hitched.
Owners often ask
- My insurance company wants a new survey because my boat is getting older. What will the surveyor check, and what should I fix first?
- Is a cheap one-page insurance inspection good enough, or do I need a full condition and value survey?
This guide walks you through it. Still stuck? Ask the AI Mechanic about your engine.
Tools
- Bright flashlight and a small inspection mirror
- Screwdriver or 5/16 in. nut driver for hose clamps
- Small magnet (to check that clamps are all stainless)
- Digital multimeter
- Rags, bilge cleaner and absorbent pads
- Phone or camera for photos
- Folder or binder for documents
Parts & supplies
- All-stainless (316) marine hose clamps in the sizes you need
- Replacement hoses rated for their job (fuel, exhaust or water), if any are cracked or soft
- Fire extinguishers or flares to replace any that are expired or out of charge
Before you start
Insurers and lenders often ask for a survey when you buy a boat, when the boat reaches a certain age, when you change insurers or after a big claim. The surveyor's report becomes the insurer's picture of your boat's condition and value, and it usually ends with a list of recommendations they will expect you to fix.
A little preparation saves money twice: the survey goes faster, and you fix cheap items yourself before they show up in the report as findings. Start two to four weeks before survey day so you have time to order parts.
Two survey types come up for owners:
- Condition and Value (C&V) survey: a full written report with market value, replacement cost and a detailed description of the hull and systems. This is what most insurers and lenders want.
- Short "insurance inspection": a one- or two-page opinion. BoatUS warns this brief format may not be enough for underwriting, so ask before you book one.
Steps
Call or email your insurer (or lender) and get the answers in writing:
- Full C&V survey or a shorter inspection?
- Which credentials do they accept (SAMS, NAMS or either)?
- Does the boat need to be hauled out for this survey?
- How old can a survey be? BoatUS points out that a survey is a snapshot of one day, so old reports carry little weight.
- When are the results due, and how long will you have to fix recommendations?
- While you have the agent on the phone, check the policy itself. An insurance agent interviewed by Mercury points out that some policies cover only the hull, so confirm the boat, motor and trailer are all listed. Ask whether it pays actual cash value (depreciated value, which can leave you owing on a loan after a total loss), agreed value (a set amount backed by an invoice or appraisal) or, from a few insurers for a limited time, replacement value. The survey's value figure is often what an agreed value is based on, so this is the moment to sort it out.
Look for a member of SAMS (Society of Accredited Marine Surveyors) or NAMS (National Association of Marine Surveyors). Both have referral directories. For its own insurance program, BoatUS accepts surveys from SAMS members with the AMS designation (yacht and small craft) or NAMS members with the CMS designation (yacht and small craft). Other insurers have their own rules, so check.
Pick someone who is independent. BoatUS notes that surveys by people tied to a boatyard, marina or broker are generally not accepted for insurance because of the conflict of interest. Ask for a sample report and the fee up front; most surveyors charge by boat length and expect payment on the day. A 2018 BoatUS article put typical prices at about $20 to $22 per foot, but get current quotes. Do not choose on price alone.
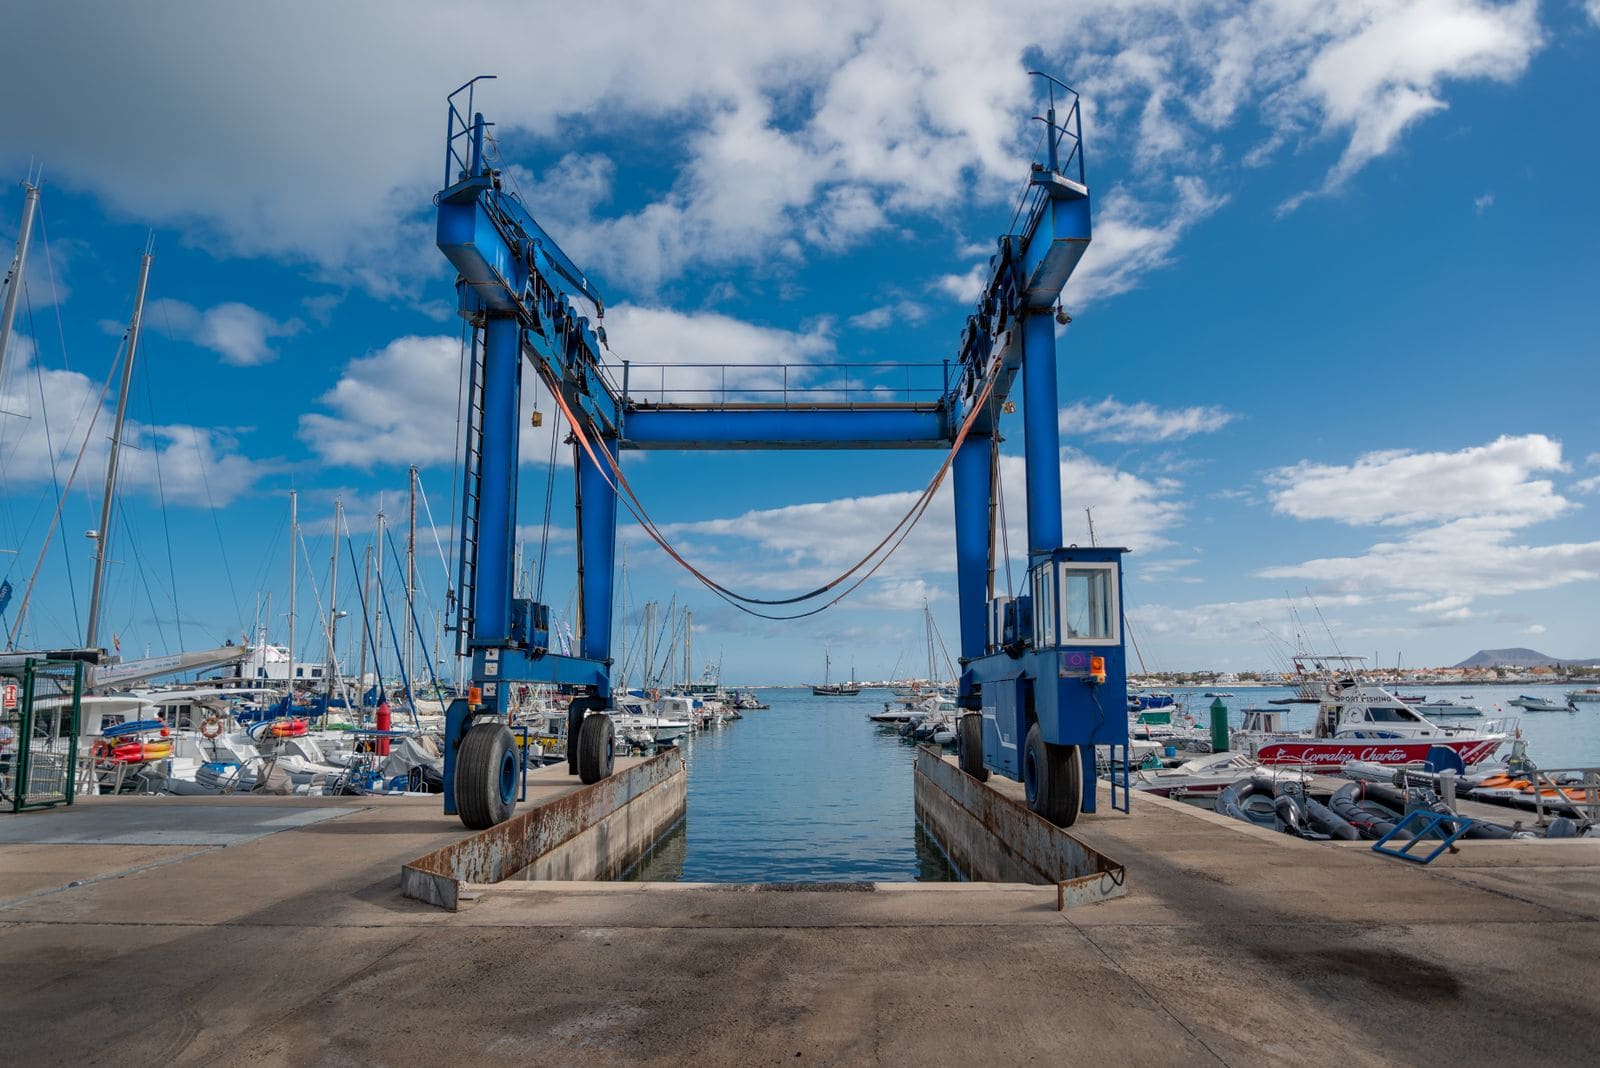
A thorough C&V survey usually includes a look below the waterline: hull bottom, running gear, rudders, through-hulls and anodes. BoatUS notes that older boats and boats built of wood, steel or aluminum may need to be hauled to be surveyed properly.
- Boat kept in the water: book a short haul with your yard and confirm the date with the surveyor. Allow for tide and weather.
- Trailer boat: have it on the trailer, hitched or chocked, in a place where the surveyor can walk all the way around and get underneath with a light.
Put these in one folder (paper or digital) for the surveyor:
- Title, state registration or Coast Guard documentation
- The Hull Identification Number (HIN) and engine, drive and generator serial numbers
- Maintenance records and receipts: oil changes, impellers, risers, bellows, rigging, bottom jobs
- Invoices for upgrades (electronics, new engine, new canvas): they support the value. After a repower or a big upgrade on an agreed value policy, Mercury's insurance tips say to get a written appraisal and ask the agent to update the agreed value
- A gear inventory: lay out rods, reels, electronics and other loose gear and shoot a short video or photos, then email it to yourself. Ask whether that gear is covered by the boat policy or would fall on your homeowner's policy
- Your previous survey, with a note or receipt showing how you fixed each recommendation
- Fire extinguisher inspection tags and EPIRB or PLB registration, if you have them
A well-organized service history helps the surveyor and the underwriter see a boat that has been cared for.
Surveyors need to reach the engine, bilge, batteries, wiring, steering, fuel system and every hatch. BoatUS surveyor Mark Corke's advice is simple: do not expect the surveyor to empty lockers of anchors, sails and boxes of spares.
- Empty the lockers that hide the hull, through-hulls and wiring.
- Make sure every hatch and access panel opens (no stuck screws or painted-over covers).
- Charge the batteries, top up fuel enough for a short run and leave the keys.
- Have shore power available if the boat has AC systems.
Hoses and clamps are a classic finding, and for good reason: the BoatUS insurance files include sinkings, fuel spills and exhaust leaks caused by failed clamps.
- Look at every clamp, especially the underside where water collects. Use the mirror. Any rust, kinks or broken bands means replace it.
- Run a magnet over clamps: if the screw or band is magnetic, it is not all stainless. BoatUS recommends clamps made entirely of 316 stainless.
- Give each clamp a gentle tug. Tighten by hand with a nut driver; you do not need to crank them.
- Squeeze hoses: cracked, hard, soft or swollen hoses should be replaced with the correct type (fuel, exhaust or water hose).
Many surveyors expect two clamps on hoses connected below the waterline, where the fitting is long enough to take them. If you are unsure, ask your surveyor or a marine technician.
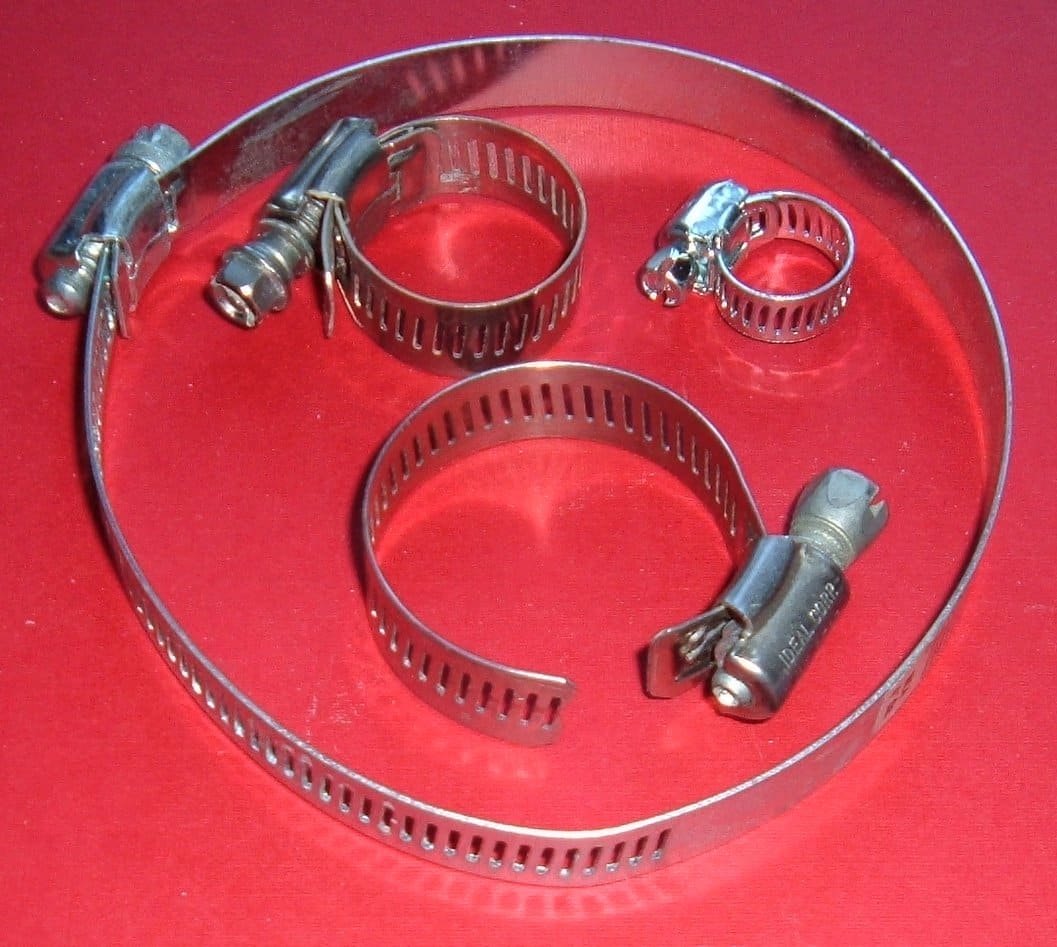
Photo: ArnoldReinhold / Wikimedia Commons · CC BY-SA 3.0 Open and close every seacock. Handles should move without a hammer, and you should be able to reach each one quickly in an emergency. Look for green or pink crusty bronze, weeping around the fitting and plastic fittings in places that call for bronze or marine-rated composite. Household gate valves below the waterline are a common finding. See the seacocks guide for how to free a stiff valve. If a through-hull below the waterline is cracked or leaking, do not try to fix it in the water: that is a haul-out job for a pro.
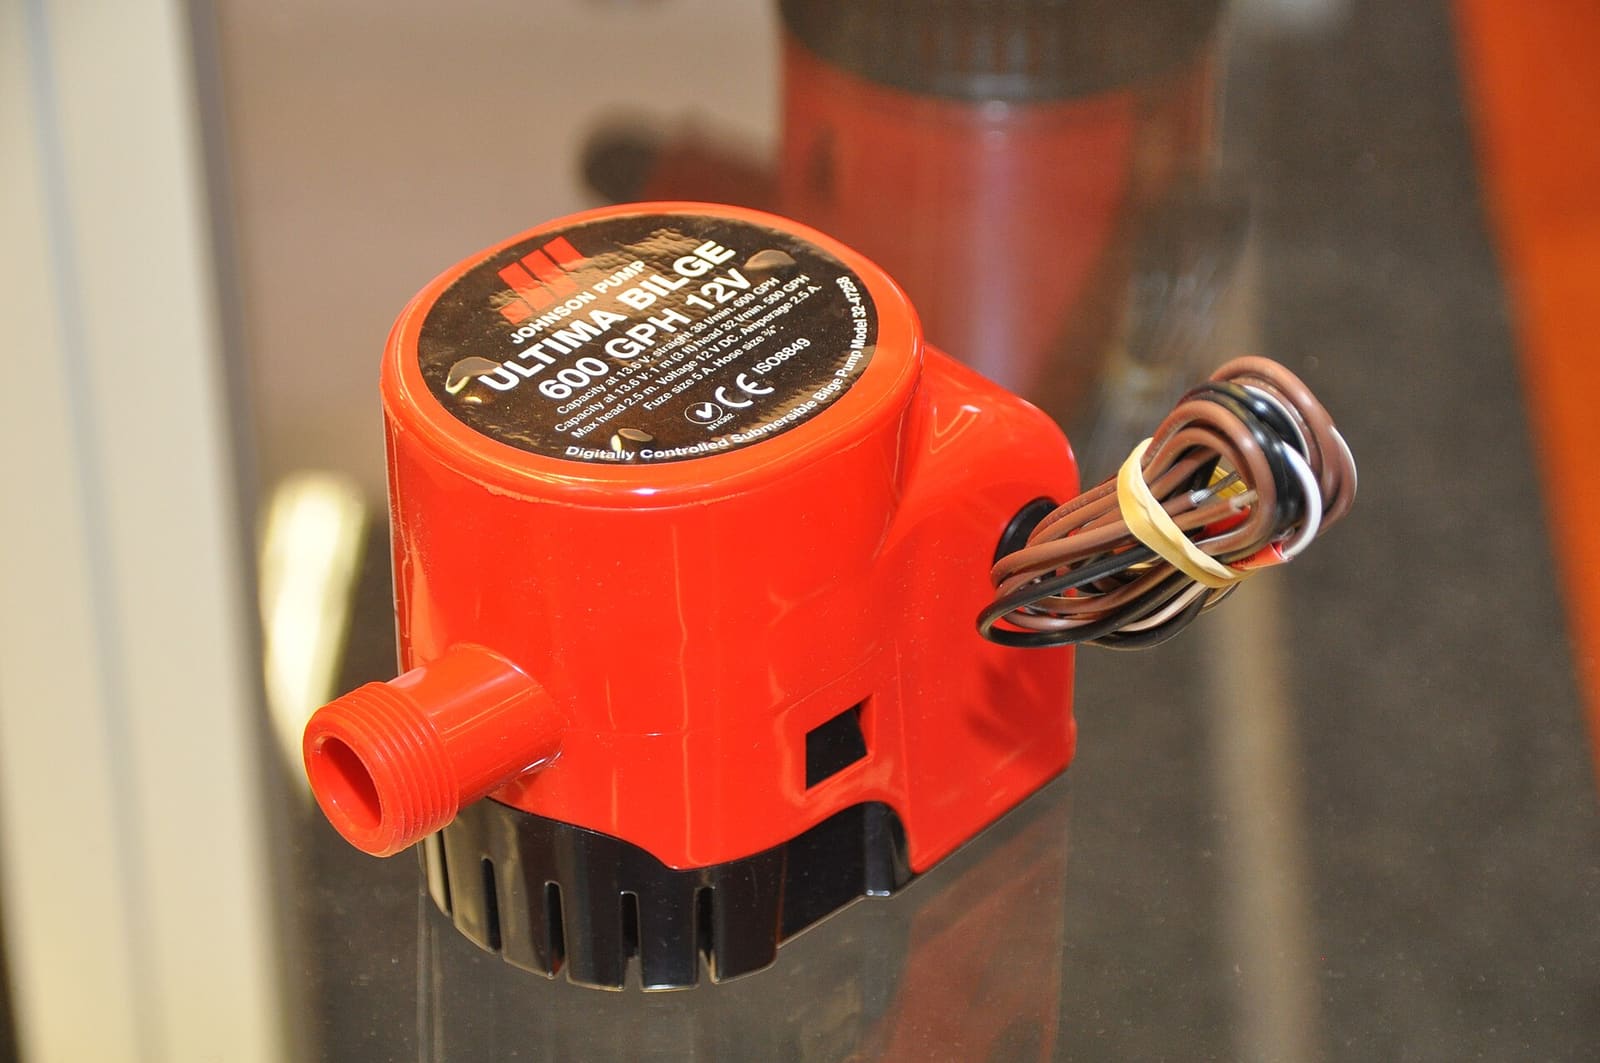
An oily, dirty bilge hides leaks and looks like neglect. Pump it dry, clean it with a bilge cleaner and soak up oil with absorbent pads (dispose of them properly; never pump oily water overboard). Then:
- Lift each float switch to make sure the pump runs.
- Check that the bilge pump switch at the helm works in manual and automatic.
- On gasoline inboards and sterndrives, make sure the bilge blower runs and you can feel air at the outlet.
Surveyors list missing or out-of-date Coast Guard required equipment. Before the survey, check:
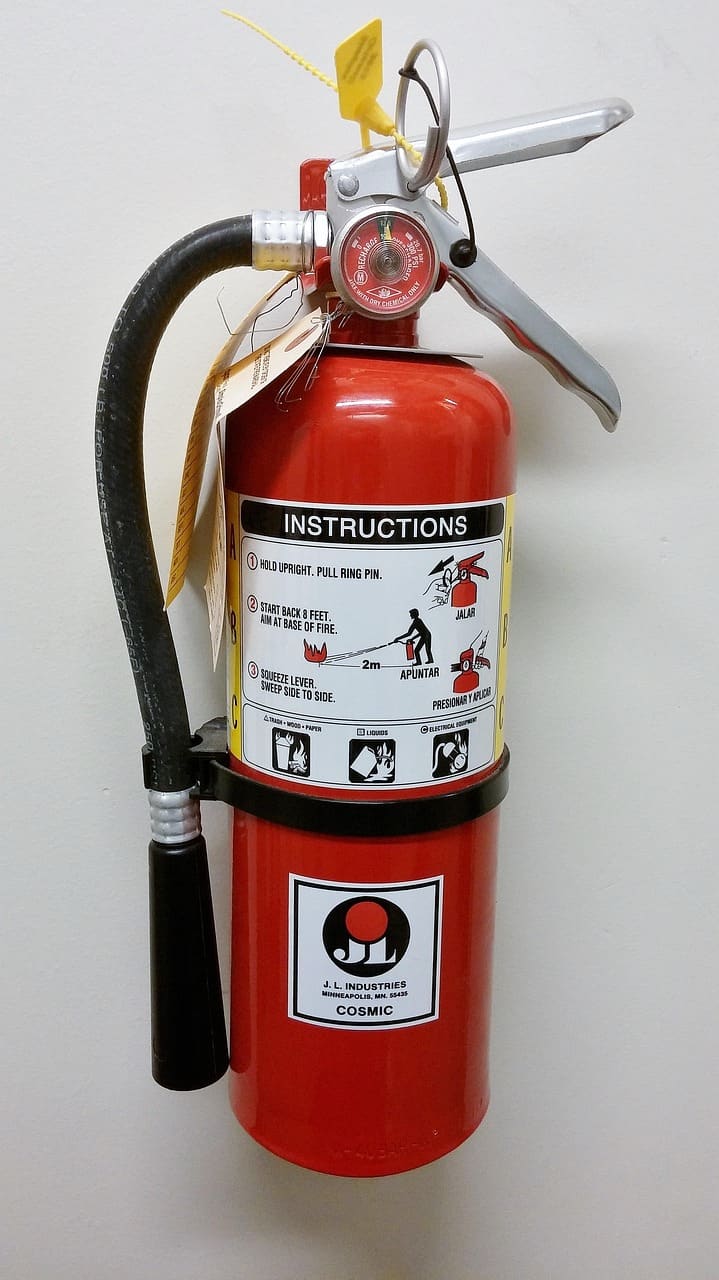
- Fire extinguishers: the right number and type for your boat, gauges in the green, not expired, mounted where you can reach them. Disposable extinguishers must come out of service 12 years after the manufacture date stamped on the bottle, even if the gauge reads green, and rechargeable ones need their yearly service tag (see the fire extinguisher guide).
- Visual distress signals: flares within their expiration date, if your boat needs them.
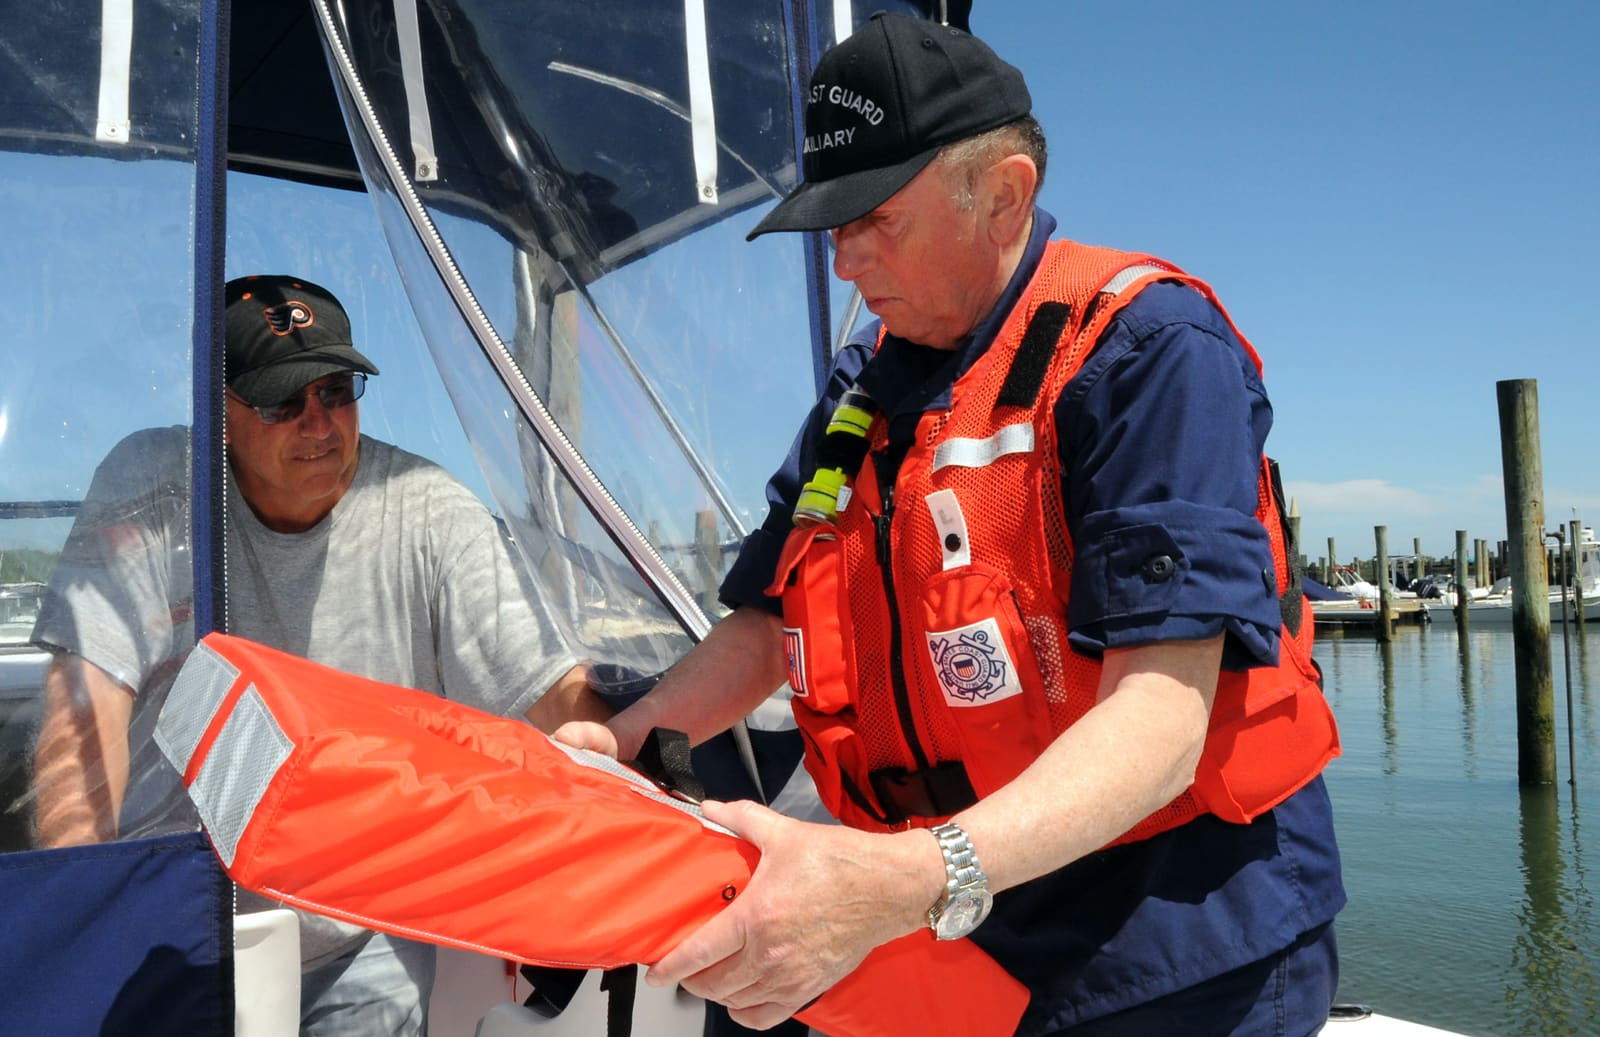
- Life jackets: one wearable for each person, in good shape, plus a throwable if required.
- Sound signal, navigation lights and registration numbers.
- CO alarms in boats with enclosed cabins: working and within their service life.
A free Vessel Safety Check from the Coast Guard Auxiliary or US Power Squadrons is a good dress rehearsal.
With the battery switch off, look for:
- Battery terminals uncovered or loose, and batteries not strapped down
- Household wire, wire nuts, electrical tape splices or exposed connections
- Fuses or breakers missing, or wires wrapped around terminals instead of crimped
- Burned or discolored shore power inlets and cords
Fix simple items: cover terminals, secure batteries, replace corroded ring terminals with heat-shrink connectors. Leave AC wiring, inverters, chargers and battery banks to an ABYC-certified marine electrician.
Check fuel hoses for cracks and markings, clamps at every connection, tank straps and the fill and vent fittings. There should be no fuel smell anywhere. If there is, stop and have a technician find the leak before survey day. On boats with propane, the tank should be in a vented locker, with a working solenoid and a gas detector. See the propane guide.
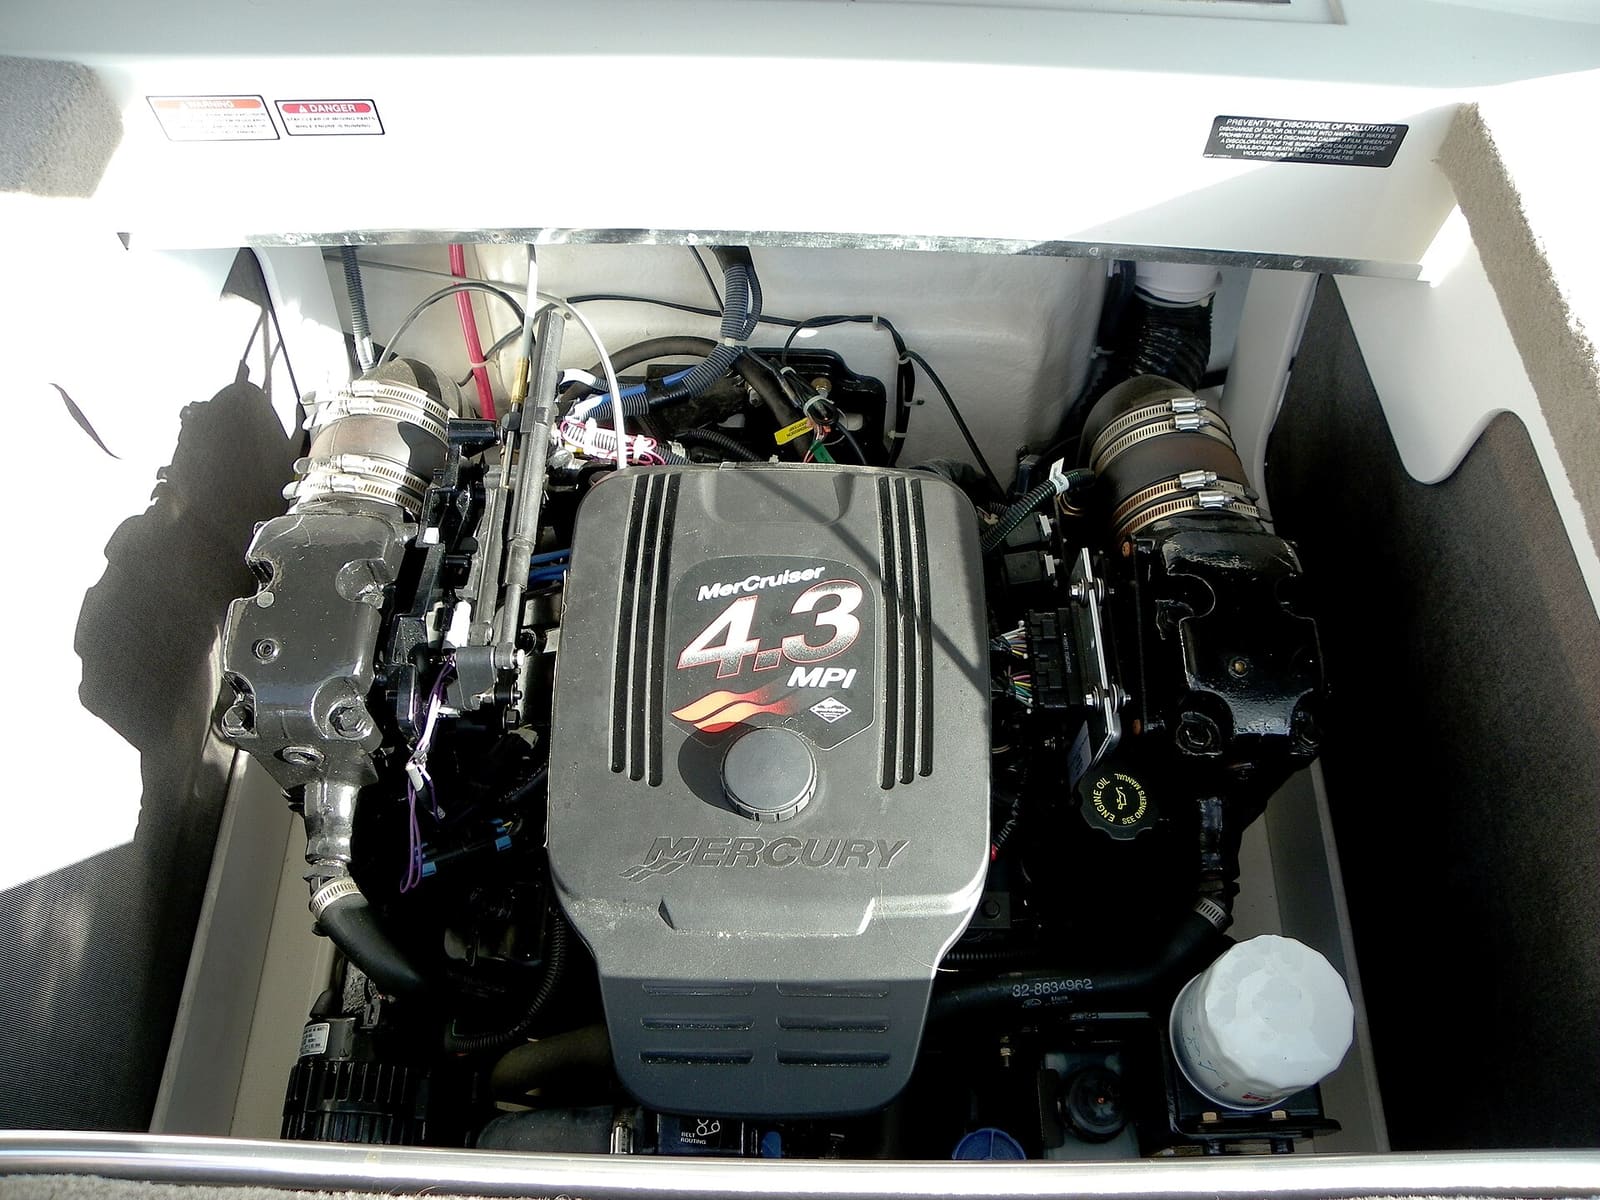
Wipe down the engine so leaks are easy to spot (and so the surveyor can see there are none). Check oil and coolant levels, belts and exhaust hoses, and know when risers and manifolds were last replaced on inboards and sterndrives. Most surveyors only inspect the engine externally and check temperature, RPM and charging during a short run. If the engine is a big part of the boat's value, the insurer may also accept or ask for a separate engine survey by a technician for that brand.
Arrive early, unlock everything and stay available to answer questions. Surveyors generally welcome the owner but work faster if you do not hover. Ask how they would rank what they find, and take notes and photos as you go.
Most reports split recommendations by priority: safety items that must be fixed before coverage or right away, and lesser items to plan for. Fix the urgent ones first. Send your insurer proof (receipts and photos) by the deadline they give you, and keep a copy of the report and your fixes with your boat records. If something in the report is unclear, call the surveyor: most are happy to explain.
Common mistakes
- Asking for a "cheap survey, it's just for insurance." A short report may be rejected and you will pay twice.
- Hiring a surveyor who works for the yard or broker selling or storing the boat.
- Leaving lockers full of gear so the surveyor cannot reach through-hulls, wiring or the hull.
- Using automotive clamps with plain steel screws below the waterline.
- Ignoring expired extinguishers and flares: they are cheap to fix and always end up on the list.
- Painting over or hiding problems. A surveyor will find wet core and soft spots anyway, and covering them up can void coverage.
- Not sending proof of completed repairs, so the recommendations stay open on the policy.
When to call a pro
- A fuel or propane smell, fuel in the bilge or a leaking tank
- Cracked or leaking through-hulls or seacocks below the waterline
- Burned, melted or overheated wiring, AC panel problems or anything involving shore power, inverters or battery banks
- Exhaust riser or manifold work on inboards and sterndrives
- Soft decks, cracks around the transom or stringers, or blisters found on the haul-out
- Any recommendation you do not understand or do not feel safe fixing
Tips
- Walk the boat a week ahead with a notepad, pretending you are the surveyor. Open every hatch.
- Keep a running list of what you fixed, with dates and receipts. It makes the next survey and an eventual sale easier.
- If your boat is a trailer boat, combine the survey with a trailer check: tires, bearings and lights.
- Ask the surveyor for rough repair costs on findings you plan to hire out.
- Keep the survey, upgrade invoices and maintenance log after the policy is written. If you ever have a claim, they are your proof of the boat's condition and equipment before the loss, and an insurer's first settlement offer can usually be discussed when you can document value it left out.
- If an insurer totaled your boat and you bought it back, expect it to carry a salvage history. Before another company will cover it, plan on a full C&V survey plus repair invoices and photos, and shop around through your agent early.
Official references
We read these to write this guide. Your engine's own manual always wins.
- BoatUS – Marine Surveyors (choosing a surveyor for insurance)
- BoatUS – 8 Things A Marine Surveyor Wants You To Know
- BoatUS – The Boat Survey
- BoatUS – What a Surveyor Should Look For
- BoatUS – Hose Clamps
- National Association of Marine Surveyors (NAMS) – Find a certified marine surveyor
- Mercury Marine – How to Insure Your Boat the Right Way
Safety: BoatMend is for information only and does not replace a certified marine technician. You are responsible for your safety and your boat. Read the full disclaimer.
Last updated 2026-10-24
Related guides
How to Inspect a Used Boat Before You Buy
A step-by-step checklist for looking over a used boat, from paperwork and the hull ID number to the transom, engine, compression test, sea trial and trailer. Know what to check yourself, what the red flags mean, and when to pay a marine surveyor.
How to Inspect and Exercise Seacocks, Through-Hulls and Hose Clamps
Check every hole in your hull below the waterline, work each seacock open and closed, and inspect the hoses and clamps attached to them. A single failed fitting or hose is one of the most common reasons boats sink at the dock.
How to Test and Clean Your Bilge Pump and Float Switch
Make sure your bilge pump actually moves water overboard, both on the manual switch and automatically through the float switch. A working bilge pump is one of the most important safety systems on any boat that stays in the water.
How to Check, Mount and Replace Boat Fire Extinguishers
A monthly five-minute check of every fire extinguisher aboard, plus how the 2022 Coast Guard rule changes affect you, where to mount them, and when to recharge or replace. A boat fire spreads in seconds, and an extinguisher with a dead gauge, missing pin or expired date will not help you or pass a boarding.

USCG Required Safety Equipment Check by Boat Length
Walk through your boat and confirm you carry every piece of safety gear the US Coast Guard requires for your boat's length and type, and that none of it is expired or worn out. Missing or expired gear is one of the most common tickets on the water, and it is the gear you need when things go wrong.
How to Prepare for a Free Vessel Safety Check
Volunteers from the Coast Guard Auxiliary and America's Boating Club will inspect your boat's safety gear for free, with no ticket if something is missing. Learn how to request a Vessel Safety Check, what the examiner looks at, how to get your boat ready and what to do with the fix list.

How to Find and Fix Corroded Electrical Connections on a Boat
Track down the green crust and loose terminals behind flickering lights, dead gauges and slow cranking with a simple voltage-drop test, then remake the connection the marine way: tinned wire, a proper crimp, adhesive-lined heat shrink and a protective coating.

Launch Day and Haul-Out Checklist for Trailer Boats
A step-by-step checklist for getting your boat off the trailer and back on again safely and quickly, from the drain plug and tie-downs to the blower and ramp etiquette. Following it in order prevents the classic mistakes that sink boats and back up the ramp.
How to Inspect Exhaust Manifolds and Risers on a Sterndrive or Inboard
Cast-iron exhaust manifolds and risers rust from the inside, and when they fail they can let water into the cylinders and ruin the engine. Learn the warning signs, how often to inspect them in salt and fresh water, how to check a riser yourself, and when replacement is a job for a pro.
Carbon Monoxide on Boats: Where It Comes From, CO Alarms and Warning Signs
Carbon monoxide can build up in cabins, under canvas and around the swim platform, and its first symptoms look like seasickness. Learn the danger zones, where to mount marine CO alarms, how to test and replace them, and exactly what to do if an alarm sounds or someone feels sick.