How to Test and Clean Your Bilge Pump and Float Switch
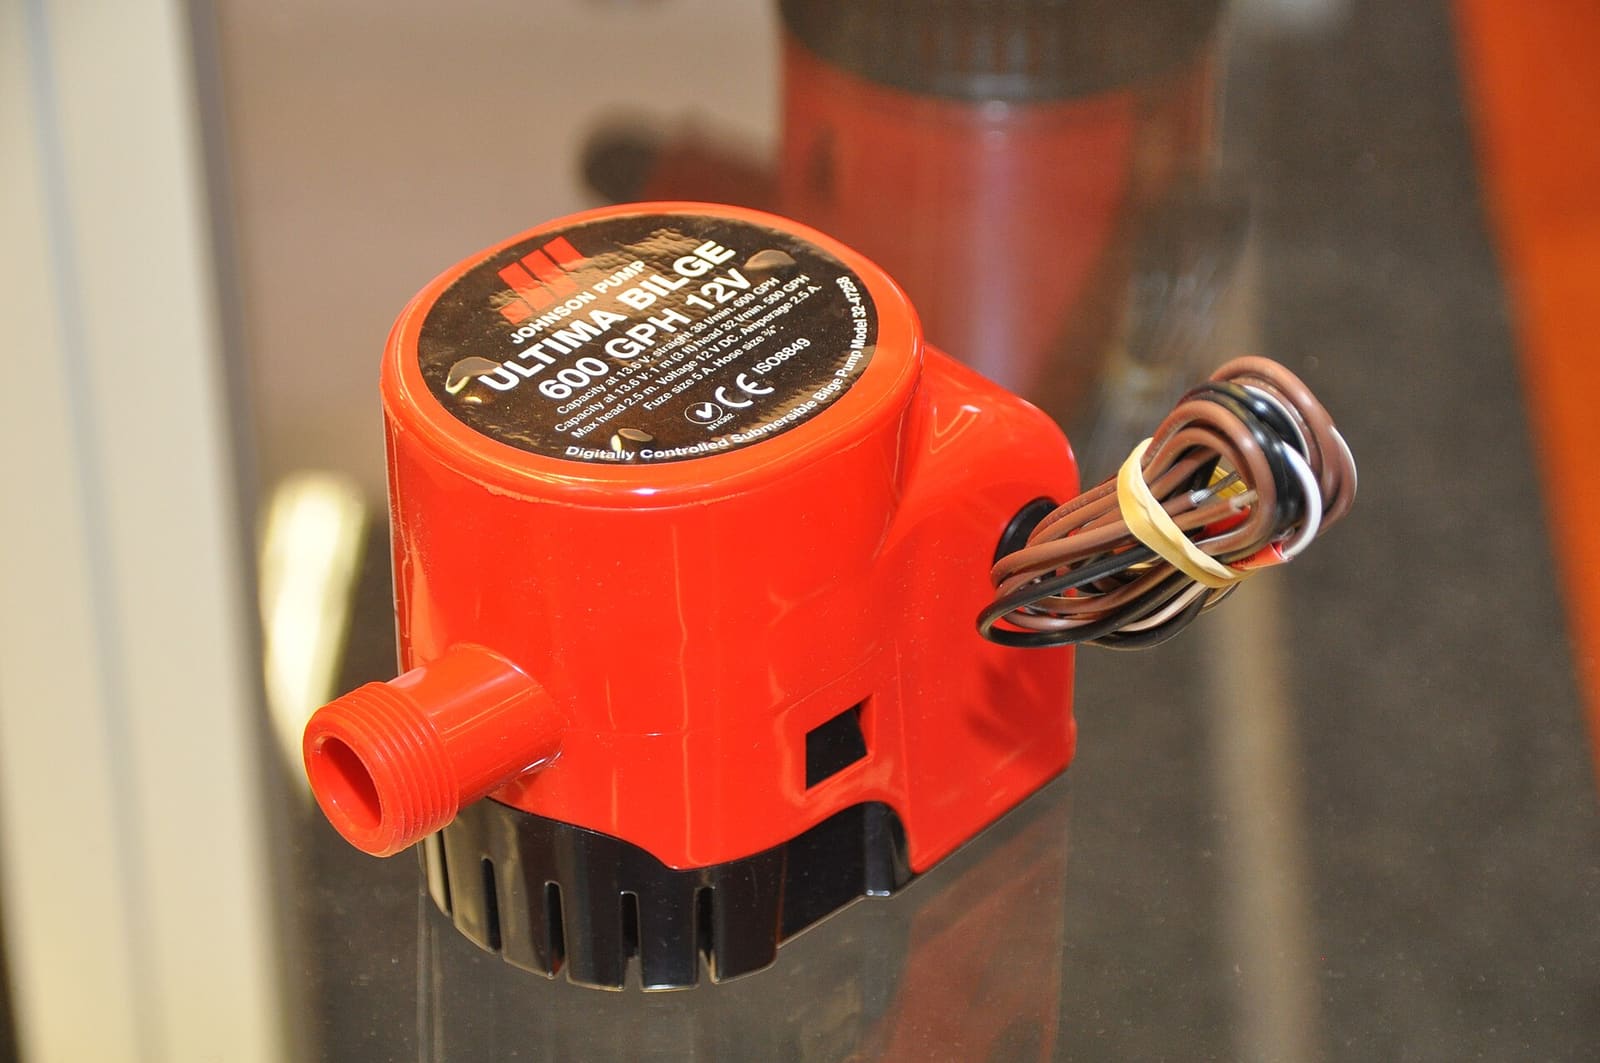
Make sure your bilge pump actually moves water overboard, both on the manual switch and automatically through the float switch. A working bilge pump is one of the most important safety systems on any boat that stays in the water.
Time
45 min
Shop would charge
$100-250
Applies to
All engines
Safety first: Never pump fuel or oil overboard; it is illegal and a fire risk. If you smell gasoline or see a sheen of fuel in the bilge, do not run the pump or any electrical switch: ventilate, get off the boat and call a marine mechanic. If water is coming in faster than the pump can remove it, put on life jackets, call USCG on VHF 16 or 911, and call Sea Tow or TowBoatUS. A bilge pump is a backup, not a fix for a leak.
Owners often ask
- My bilge pump keeps running or won't turn on automatically.
- Why is there water in my bilge every time I use the boat?
This guide walks you through it. Still stuck? Ask the AI Mechanic about your engine.
Tools
- Bucket and garden hose (or plenty of water)
- Flashlight or headlamp
- Screwdrivers and nut drivers
- Multimeter (for troubleshooting)
- Small brush and rags
- Oil-absorbent bilge pads
- Gloves
Parts & supplies
- Biodegradable bilge cleaner (optional)
- Heat-shrink butt connectors and marine-grade tinned wire (if repairs are needed)
- Stainless steel hose clamps
- Spare bilge pump cartridge or a complete spare pump (recommended)
- Correct fuse for the pump circuit
Before you start
Most powerboats have at least one electric bilge pump in the lowest part of the hull, an automatic float switch (sometimes built into the pump), a manual switch at the helm, and a discharge hose that exits through a fitting in the hull side. Larger boats often have a second, higher pump and a high-water alarm.
How often: test at the start of every season and regularly through it. BoatUS suggests testing at least quarterly and pulling and inspecting pumps at least twice a year. Test after any time the boat sits for weeks.
The real test: a humming motor does not prove anything. You have to see water leave the boat through the discharge fitting.
Know your setup: many automatic float switches are wired directly to the battery so they work with the main switch off. That is normal and intended. Make sure the battery is charged before testing.
Steps
Locate each pump, its float switch, the helm switch, the fuse or breaker, and the discharge fitting on the hull. Write down the pump size (GPH) and location. Shower and fish-box sump pumps count too.
Check for fuel smell, oil sheen and debris. Oil and dirt make sludge that clogs pumps and jams float switches. Soak up any oil with absorbent pads and dispose of them properly. An oil-absorbent bilge sock or pad left near the pump (not touching the float) keeps catching small drips between checks; Massachusetts' clean boating program recommends one, and it should be replaced when it gets dark and heavy. If there is more oily water than pads can handle, have it pumped out at a marina instead of running the bilge pump.
Most small pumps have a strainer base. Squeeze the release tabs (or remove the screws) and lift the motor cartridge off the base. Clear out hair, zip-tie ends, leaves and sludge. Clean the impeller opening with a small brush. Snap it back together firmly.
Lift the float or flapper by hand. It should move smoothly and not catch on hoses, wires or the hull. BoatUS recommends mounting it fore and aft with the hinge forward and the float pointing aft, so surging water on takeoff does not damage it.
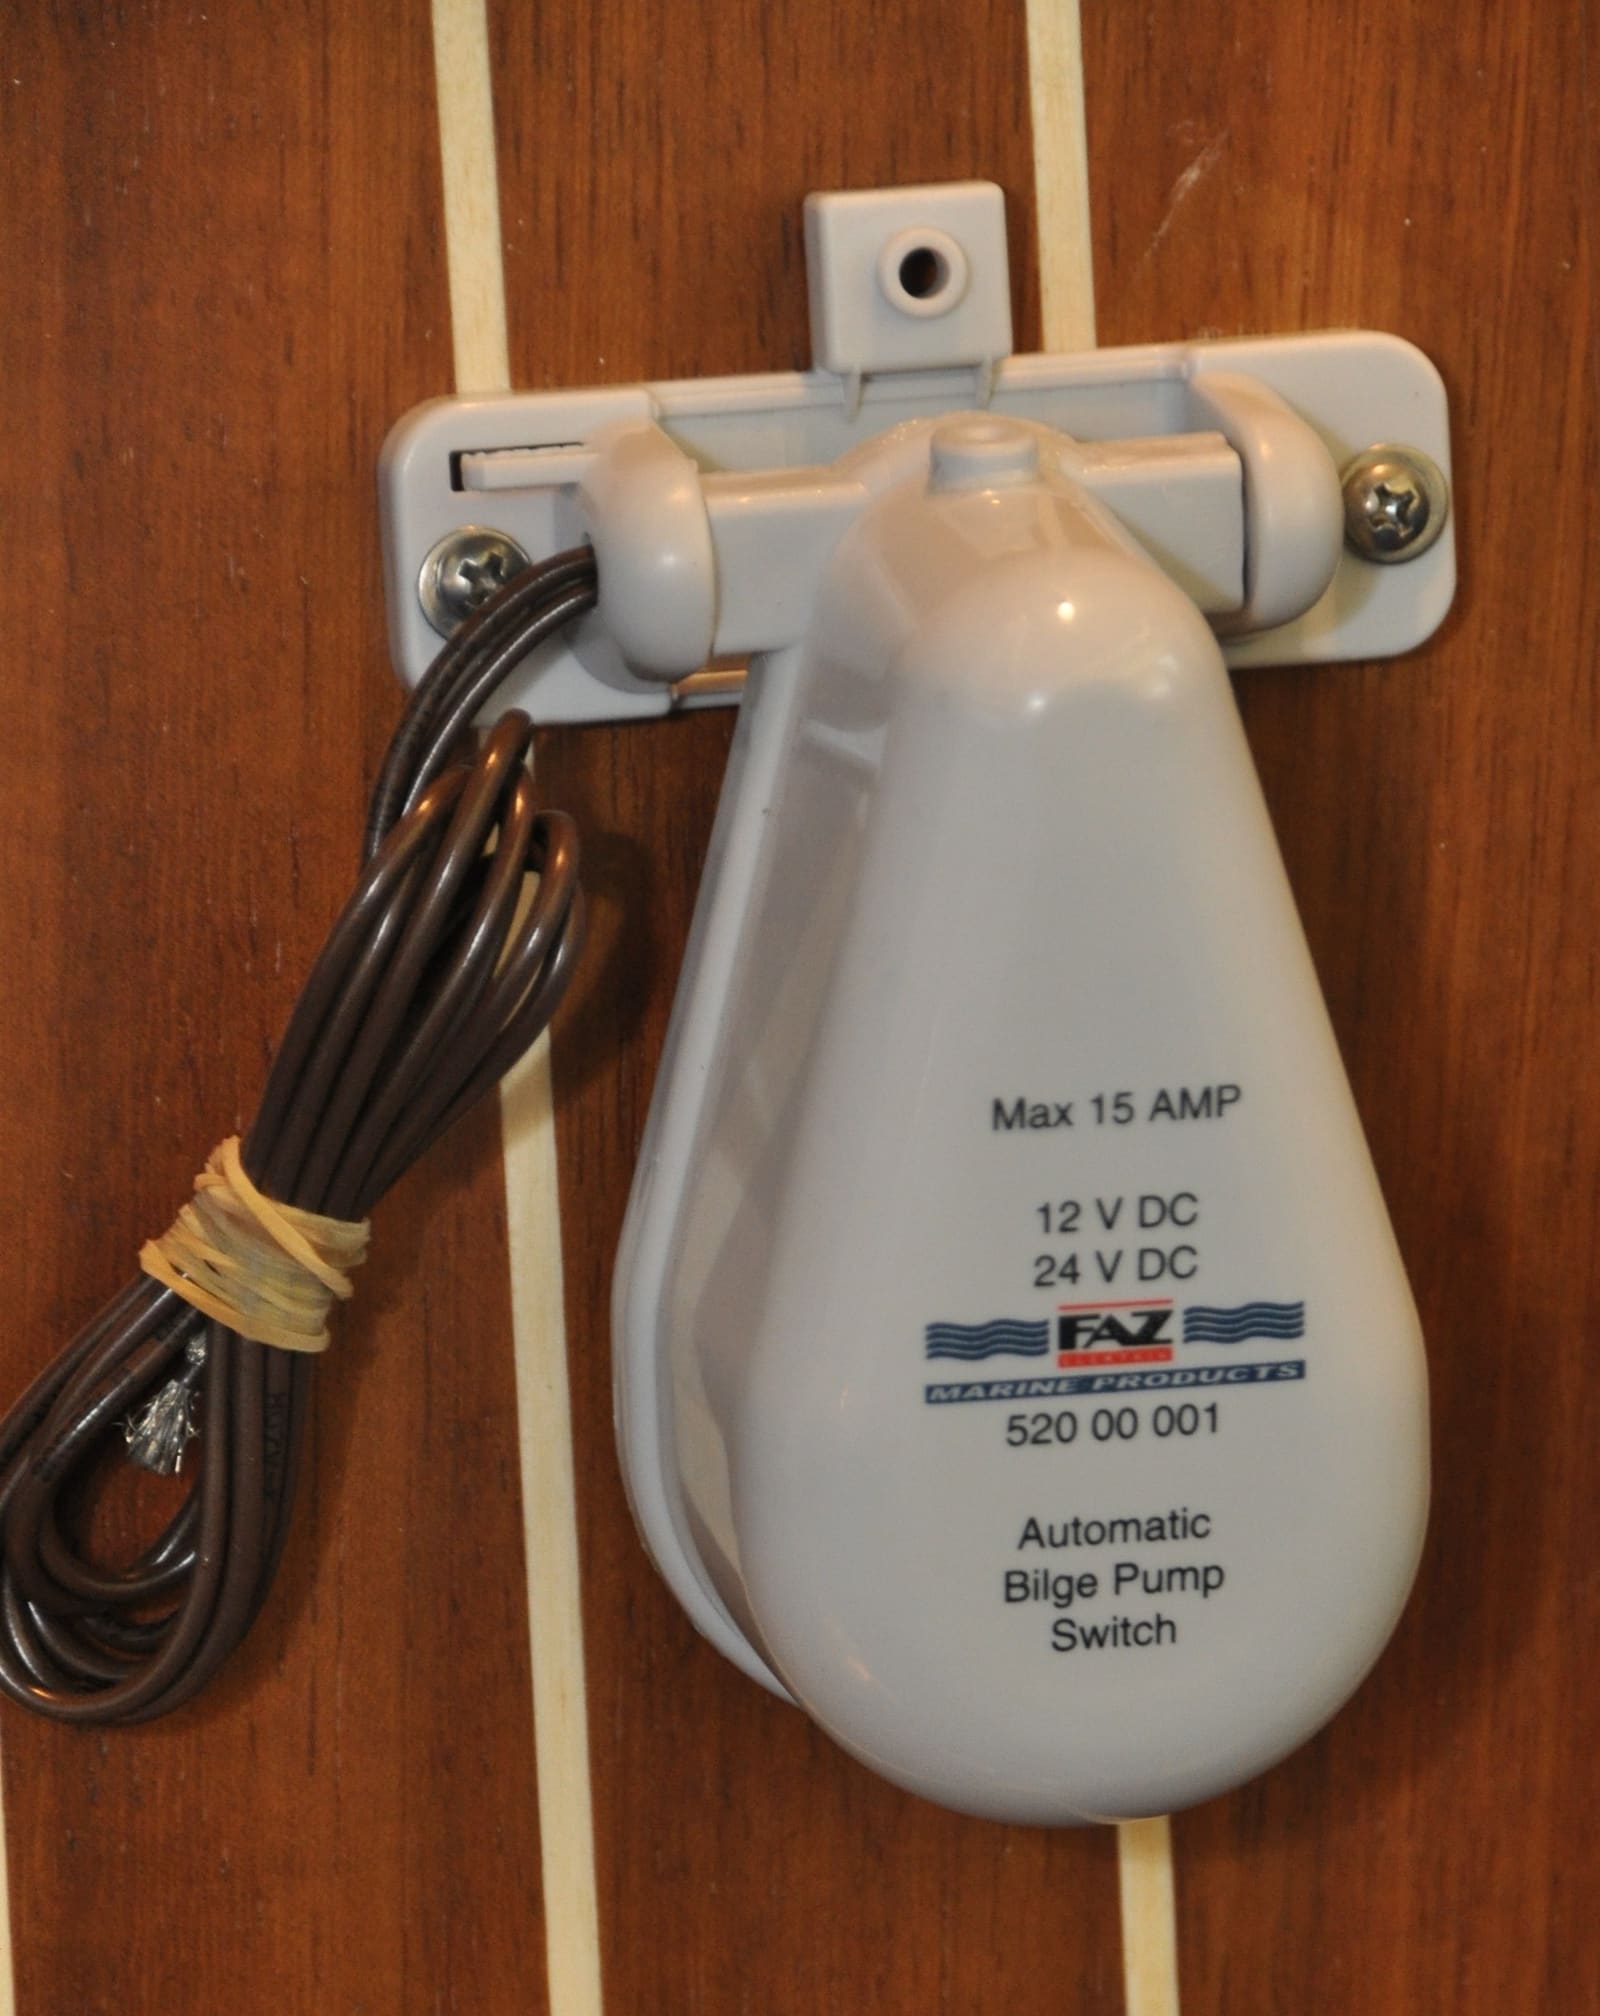
A typical automatic float switch. The float must swing up freely for the pump to turn on. Photo: S.J. de Waard / Wikimedia Commons · CC BY-SA 3.0 Turn the helm bilge switch ON. The pump should run. Turn it OFF.
Pour water (bucket or hose) into the bilge until the float rises. The pump should start on its own, pump the water down, and shut off when the float drops. If you cannot add water, lift the float by hand for a quick check, but a real water test is better.
Have a helper watch the discharge fitting outside the boat, or check it yourself. You want a strong stream. A weak dribble means a clogged strainer, a kinked or cracked hose, a worn pump, or low battery voltage.
Run your hand along the discharge hose. Look for kinks, cracks, soft spots and missing or rusted clamps (use stainless marine clamps). The fitting where the hose leaves the hull should be well above the waterline, or the hose should loop high (BoatUS suggests at least 18 inches above the waterline) so water cannot siphon back in. Remove any check valve in the line; BoatUS advises against them because they can stick or clog.
BoatUS notes most bilge pump failures come from corroded connections. Look for green corrosion, electrical tape, household twist-on connectors, or splices sitting in bilge water. Proper repairs use heat-shrink connectors placed as high as possible. Check the pump fuse is the size the pump maker specifies. Never replace a blown fuse with a bigger one or bridge it with wire; if the same fuse keeps blowing, a chafed wire or a jammed pump is likely, and that needs fixing first.
The pump and switch should be screwed or clipped down firmly. Mounts can crack from vibration. A pump that tips over will not pick up water.
If you have them, raise the water (or lift the higher float) until the backup pump runs and the alarm sounds. Alarms should be loud enough to hear over the engine.
Record the date and results in BoatMend. Keep a spare pump or motor cartridge, a fuse and a few connectors aboard.
Finding where the water comes from: if the pump keeps cycling, note whether it happens after rain or every day regardless of weather, then check the usual suspects with the boat at rest: rain getting past hatches and cockpit drains, the hull drain plug, livewell and washdown plumbing, hose clamps on through-hull fittings, a sterndrive's rubber bellows, the shaft seal on inboards, and the engine's exhaust and cooling hoses. A dry paper towel held against each suspect fitting shows a slow drip quickly.
Common mistakes
- Hearing the pump hum and calling it tested. Only water leaving through the hull fitting proves it works.
- Wiring the automatic float switch so it only works when the main battery switch is on. The boat then has no protection when you are not there.
- Splicing pump wires with electrical tape or household twist-on connectors down in the bilge water.
- Adding a check valve to the discharge line. It can stick shut or clog and stop the pump from moving water.
- Letting oil sludge, zip-tie ends and leaves pile up until they jam the float or the strainer.
- Relying on the pump to keep up with a leak instead of finding and fixing where the water gets in.
- Squirting dish soap or detergent into an oily bilge so the sheen "disappears" when it is pumped out. Washington State's boating program points out this is illegal and makes the pollution worse; the oil is still there, just hidden. Use absorbent pads and take oily waste ashore.
When to call a pro
- The pump runs often while the boat is sitting at the dock (that means water is getting in somewhere)
- Water is coming in faster than the pump can remove it (call USCG on VHF 16 or 911 and a tow service)
- You smell fuel or see fuel in the bilge
- The pump has no fuse, the wiring is melted, or you need to rewire the pump circuit
- The discharge fitting is at or below the waterline, or a through-hull fitting is cracked or leaking
- You want to add a larger backup pump or a high-water alarm
Tips
- A bilge pump counter or a helm "pump running" light can warn you of a slow leak long before it is serious.
- Keep a manual pump or a sturdy bucket aboard as a last-resort backup.
- If your boat lives in the water, ask a friend or the marina to check on it after big storms and confirm the battery stays charged.
- Clean the bilge at least once a season. A clean bilge makes leaks and fuel or oil drips easy to spot.
Official references
We read these to write this guide. Your engine's own manual always wins.
- BoatUS – Everything You Need To Know About Your Boat's Bilge Pump
- BoatUS – Time-Tested Spring Boat Launch Checklist
- Mercury Marine – Maintenance Made Easy, Battery Basics (fuses and circuit breakers)
- Discover Boating – How to Winterize a Boat (bilge pumps and float switches)
- Massachusetts CZM – Simple Steps to Clean Boating in Massachusetts
- Washington State Parks Boating Program – Boating and the Environment
Safety: BoatMend is for information only and does not replace a certified marine technician. You are responsible for your safety and your boat. Read the full disclaimer.
Last updated 2026-10-23
Related guides

Marine Battery Care: Test, Charge and Store for Winter
Check your boat battery's health, charge it the right way for its type (flooded, AGM or lithium), and store it so it is ready in spring. Most "boat won't start" calls start with a neglected battery.
Spring Commissioning - Getting Your Boat Ready for the Season
Wake your boat up after storage with a step-by-step check of the battery, fuel system, engine, drive and safety gear. Catching a cracked hose or dead battery in the driveway beats a tow on opening weekend, and saves a typical shop commissioning fee.
How to Winterize an Outboard Engine
Protect your outboard from freeze damage, stale fuel and internal corrosion over the off-season. Most owners can do it in an afternoon with basic tools, compared with a shop bill that often runs several hundred dollars.
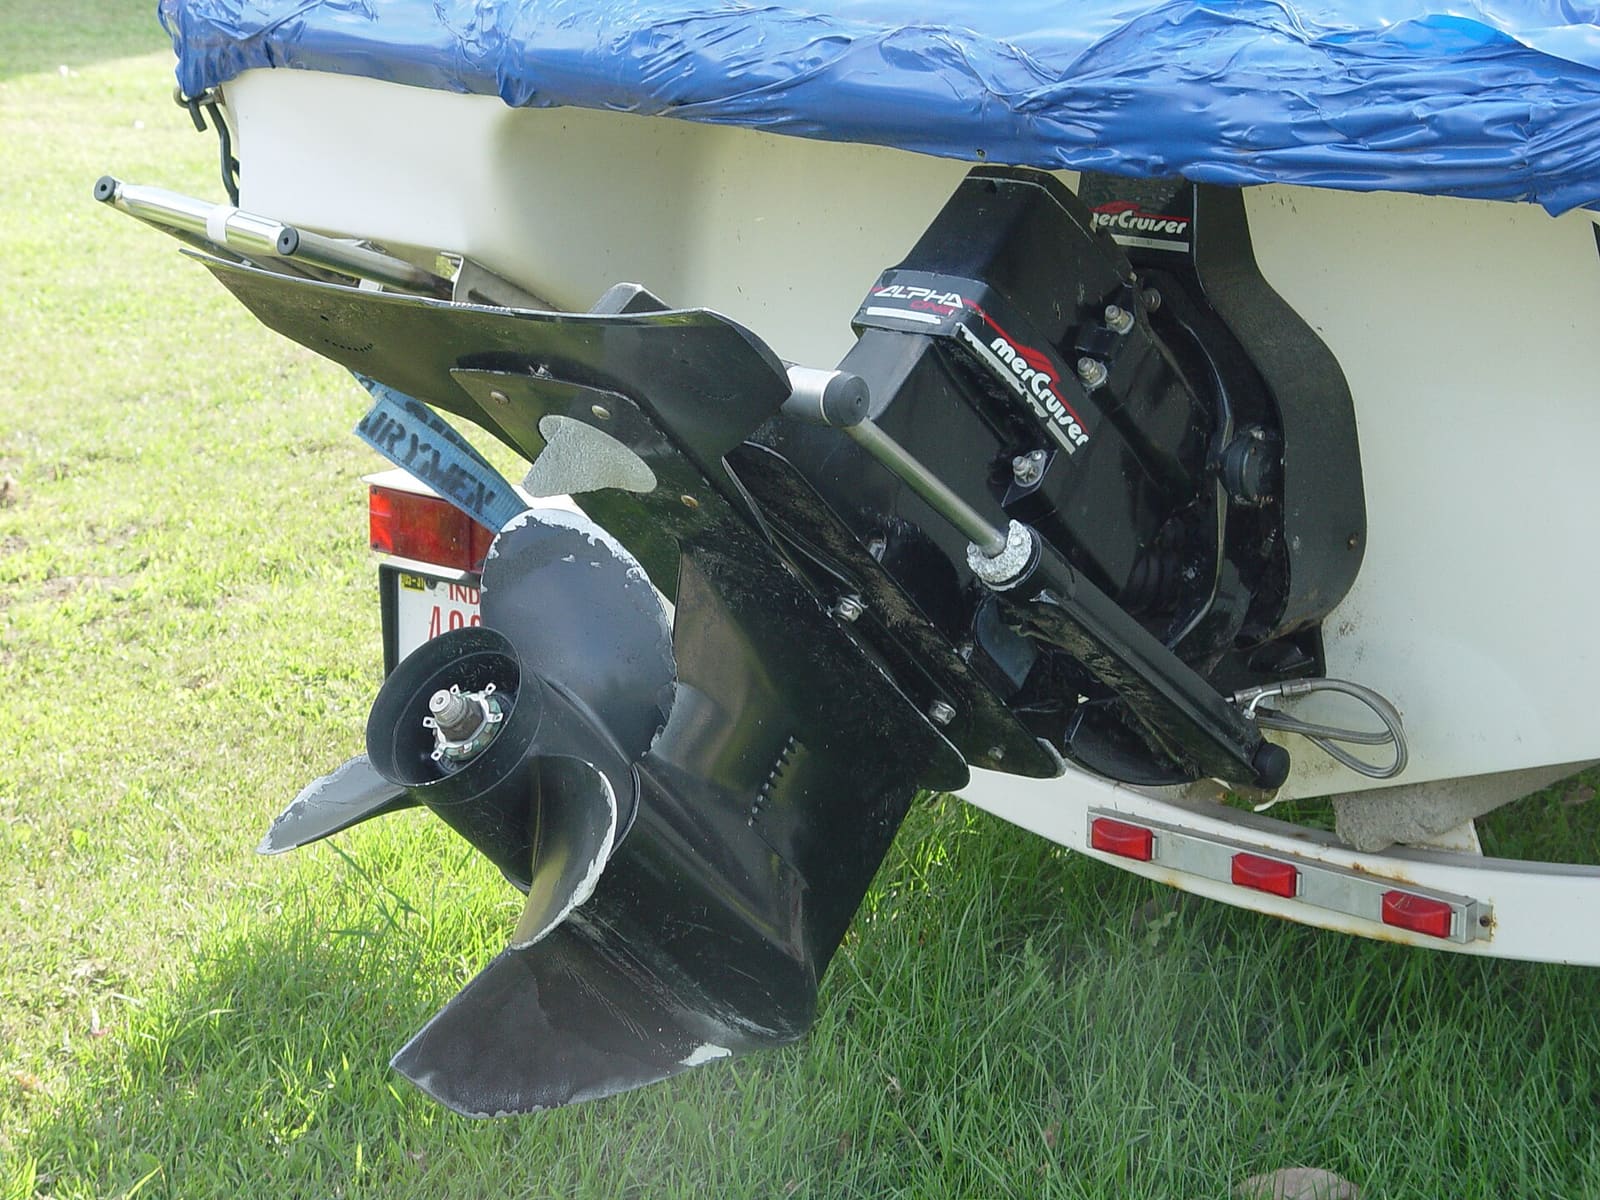
How to Winterize a Sterndrive (MerCruiser, Volvo Penta and Similar)
Get the water out of your sterndrive engine, protect it with antifreeze, and service the drive before storage. A cracked block or manifold from one missed drain plug can cost thousands, and doing it yourself saves a shop bill of several hundred dollars.