How to Find and Fix Corroded Electrical Connections on a Boat
Track down the green crust and loose terminals behind flickering lights, dead gauges and slow cranking with a simple voltage-drop test, then remake the connection the marine way: tinned wire, a proper crimp, adhesive-lined heat shrink and a protective coating.

Time
2 h
Shop would charge
$150-600
Applies to
All engines
Safety first: Turn the battery switch OFF and disconnect the battery (negative cable first) before you cut, strip or remake any wire. A battery can push hundreds of amps through a dropped wrench and start a fire, and charging batteries give off explosive hydrogen gas, so no sparks or flames nearby. Use a heat gun, never a lighter or torch, for heat shrink: gasoline vapor in a bilge can ignite. If you find a hot, melted or burned wire, smell burning insulation, or a fuse keeps blowing, stop and call a marine electrician. Do not touch shore power (120/240-volt AC) wiring yourself.
Owners often ask
- My nav lights and gauges flicker on and off. How do I find a bad connection?
- Should I solder or crimp wire connections on my boat?
This guide walks you through it. Still stuck? Ask the AI Mechanic about your engine.
Tools
- Digital multimeter
- Ratchet-type crimping tool sized for the terminals you use
- Wire stripper and side cutters
- Heat gun (not a torch or lighter)
- Battery terminal brush and a small wire brush
- Emery cloth or fine sandpaper
- Insulated wrenches and screwdrivers
- Safety glasses and gloves
- Flashlight or headlamp
Parts & supplies
- Tinned, stranded marine-grade wire of the same gauge or larger
- Heat-shrink crimp terminals and butt connectors (adhesive-lined) in the right sizes
- Adhesive-lined heat-shrink tubing
- Baking soda and water (for battery terminal corrosion)
- Dielectric grease or a marine corrosion-inhibiting spray
- Nylon-insert lock nuts or hex nuts with lock washers for battery studs
- Cable ties and cushioned clamps
Before you start
Salt air, spray and bilge moisture attack every connection on a boat. BoatUS lists bad connections behind no-power problems, intermittent faults, fires and even corrosion of underwater metals. Typical symptoms:
- Lights or electronics that flicker or work "sometimes"
- Slow cranking or a click from the starter
- Gauges that read low or jump around
- A bilge pump or nav light that quits when you hit a wave
- A battery that never seems to charge fully
Where corrosion hides: battery posts and clamps, the battery switch, fuse blocks and bus bars, ground (negative) connections on the engine, connector plugs in the bilge, navigation and trailer light sockets, and anywhere a wire was spliced by a previous owner with household parts.
This guide covers 12-volt DC low-current circuits and battery terminals. Large cables (starter, windlass, inverter, thruster), shore power and anything on the AC side belong to a marine electrician.
Steps
Turn the battery switch OFF. If you will work at or near the battery, remove the negative clamp first and tuck it away so it cannot spring back onto the post. Wear safety glasses: dried battery corrosion is acid residue and flakes into eyes easily.
Start with your eyes and hands. Yamaha recommends wiggling wires and connections to find looseness. Look for:
- White, blue or green powder on terminals and pins
- Black, dull strands under clear or cracked insulation (corrosion that has wicked up inside the wire)
- Swollen or brittle insulation, melted plastic or brown heat marks
- Wire nuts, electrical tape splices or twisted wires (none of these belong on a boat)
- Crushed or chafed wires where they pass bulkheads or hatches
Make a list. Anything showing heat damage goes straight to the "call a pro" pile.
A connection can look fine and still be bad inside. The voltage-drop test finds it with the circuit actually working. Turn the battery back on and switch on the device you are testing (for example the nav lights).
- Set the meter to DC volts.
- Put one lead on the battery-side end of a wire or connection and the other lead on the device-side end of the same wire. You are measuring the voltage lost across that piece of the circuit.
- A clean connection reads close to zero. A reading that jumps or is more than a few tenths of a volt points to corrosion or a loose joint right there.
- Test the negative (return) side the same way: from the device's negative terminal back to the battery negative.
Move along the circuit (switch, fuse holder, splices) until you find the spot where the voltage is lost. Yamaha also suggests an ohmmeter check with the circuit off: a healthy wire should show very little resistance end to end.
With the switch off, remove the negative clamp first, then the positive. Scrub the posts and the inside of the clamps with a terminal brush until they are bright metal. BoatUS suggests a baking soda and water solution to neutralize acid residue (keep it out of the battery cells), then rinse lightly and dry.
Reinstall positive first, then negative. Use hex nuts with lock washers or nylon-insert lock nuts on threaded studs, as Yamaha recommends, instead of wing nuts that vibrate loose. Tighten firmly but do not crack the post; your battery maker may list a torque. Once tight, coat the outside of the connection with petroleum jelly, dielectric grease or an anti-corrosion spray.
For screw terminals, ring terminals and bus bars: remove the fastener, clean both the terminal and the stud or bar with emery cloth or fine sandpaper, reinstall and tighten (Yamaha's method). For molded engine and accessory plugs, separate them, look for green pins or water inside, clean with electrical contact cleaner, let dry and reconnect.
If a terminal's metal is eaten away or the wire under it has turned black, cleaning will not last. Cut it off and remake it (steps 6 to 9).
Trim the wire a little at a time until the strands are shiny copper (or bright silver if tinned) with no black or green. If the corrosion has traveled far up the wire, or you run out of slack, replace the whole run rather than add splice after splice.
- Wire: stranded, tinned copper marine wire. BoatUS warns untinned wire is cheaper but corrodes easily. Federal rules for boats with gasoline inboard engines already require insulated, stranded copper conductors; solid household wire cracks with vibration.
- Size: match the original gauge or go one size larger. Never go smaller. If the wire was already too small for the load, that may be why it overheated. If you are rerouting or lengthening a run, size it with a marine wire chart: Blue Sea Systems' chart has you measure the circuit from the source to the device and back, then pick the gauge for a 3% voltage drop on circuits that affect safety (running lights, bilge blowers, electronics, panel feeds) or 10% for others like cabin lights.
- Terminals: heat-shrink crimp terminals and butt connectors with adhesive (glue) lining that seals out water. BoatUS says a crimp connector is the only kind that should be on your boat, and wire nuts should never be used aboard.
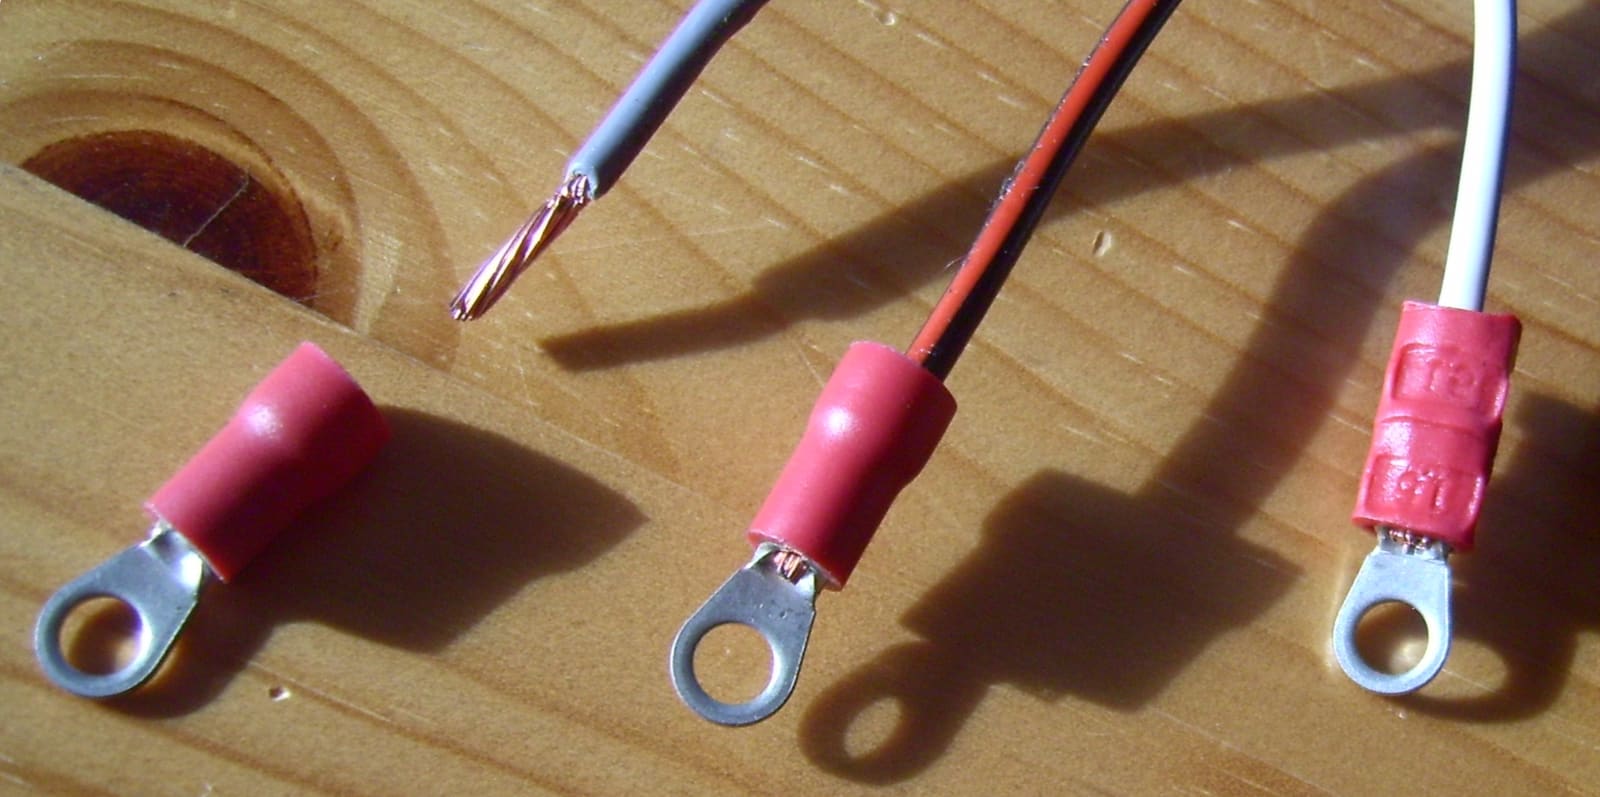
Strip just enough insulation for the wire to fill the terminal barrel, then crimp. On a boat, choose terminals with adhesive-lined heat shrink. Photo: Hundehalter / Wikimedia Commons · CC BY-SA 3.0 Following the BoatUS method:
- Cut off any ragged end.
- Strip only enough insulation for the wire to go fully into the terminal barrel, without nicking the strands and with no bare wire showing.
- Twist the strands lightly so they slide in together.
- Slide the terminal on, push it fully home and crimp with a crimper whose die matches the terminal color. A ratchet crimper will not release until it has applied full pressure.
- Tug firmly. If the terminal moves at all, cut it off and start again.
- Shrink the sleeve with a heat gun until the adhesive just shows at the ends.
Practice on a few spare pieces first. A good crimp is quick once you have the feel for it.
Crimping is the marine standard. Solder wicks up the strands and makes a stiff spot right where the wire flexes, and vibration can crack the wire there. ABYC's wiring standard does not allow solder to be the only thing holding a connection together, and BoatUS expert Don Casey notes that soldering is not an allowable substitute for properly crimped lugs on heavy cables. If you like to solder, crimp first, then solder, and support the wire close to the joint. Never use acid-core solder on wiring. For most owners, a good ratchet crimp with adhesive heat shrink is the better choice.

Separate heat-shrink tubing can seal a terminal that has no built-in sleeve. For boats, pick the adhesive-lined kind. Photo: oomlout / Wikimedia Commons · CC BY-SA 2.0 - Over terminals without built-in heat shrink, slide on a piece of adhesive-lined tubing before crimping and shrink it over the joint.
- On plug-in connectors, a thin film of dielectric grease on the seal and pins keeps water out. It is an insulator, so it goes on as a protective coating, not as a substitute for clean, tight metal contact.
- Spray exposed terminals, switch backs and bus bars with a marine corrosion inhibitor. Yamaha and Mercury both recommend these products for electrical connections; keep them off alternator internals, belts and oxygen sensors as their labels direct.
Support wiring with cable ties or cushioned clamps at regular intervals (BoatUS cites ABYC guidance of at least every 18 inches). Keep wires up out of bilge water, add a drip loop so water runs off before it reaches a connection, and protect wires where they pass sharp edges or bulkheads.
Every positive wire you add or replace must still be protected by a fuse or breaker sized for that wire, close to the power source. On boats with gasoline inboard or sterndrive engines, federal rules require it within 7 inches of the source (or within 40 inches if the wire is sheathed in a protective enclosure). Never "fix" a blowing fuse by fitting a bigger one: find the short.
Motor circuits are special. Bilge pumps, livewell pumps, blowers and macerators have a maximum fuse size printed on the label. A BoatUS surveyor calls over-fusing these one of the most common problems he finds: if the impeller jams, an oversized fuse never blows, and the stalled motor overheats until it melts or catches fire. Match each motor's fuse to its label exactly. While you are at the battery, make sure every positive terminal has its rubber boot so a dropped tool can't short it.
Reconnect the battery (positive first, then negative), turn the switch on and run each repaired circuit. Repeat the voltage-drop test. The drop should now be close to zero and the device should work steadily when you wiggle the wiring.
Common mistakes
- Twisting wires together and wrapping them in electrical tape, or using household wire nuts.
- Using untinned automotive or household solid wire.
- Crimping with cheap pliers that squash the terminal without gripping the wire, then never doing a pull test.
- Shrinking tubing with a lighter in the bilge.
- Soldering without crimping and with no strain relief, so the wire snaps next to the joint.
- Cleaning only the visible outside of a battery clamp instead of removing it and cleaning both mating surfaces.
- Packing dielectric grease between a ring terminal and its stud before tightening, instead of coating the finished joint.
- Replacing a fuse with a larger one after it blows.
- Stacking a pile of ring terminals on one battery post instead of adding a proper bus bar or terminal block.
- Sizing a replacement wire by the one-way distance to the device. Voltage drop depends on the full loop, out and back.
- Trusting a resting voltage. A battery can read normal at rest yet collapse when the starter cranks, and big cables that get hot after running point to high resistance at a terminal, ground or switch. Have the battery load tested and the heavy cables checked by a pro before buying a starter.
When to call a pro
- Melted, burned or heat-discolored wires, a burning smell, or a fuse or breaker that keeps tripping
- Battery cables, starter, windlass, bow thruster, inverter or any other high-current circuit
- Anything on the AC side: shore power inlet, AC panel, generator, outlets
- Corrosion on bonding wires to through-hulls, or on outdrive anti-corrosion systems (such as impressed-current anodes)
- Widespread corrosion through a harness or panel, where rewiring is needed
- Adding new circuits, a new panel or a second battery
Tips
- Keep a small kit aboard: crimper, a few heat-shrink terminals and butt connectors, a short length of tinned wire, spare fuses and a meter. Shrink the tubing later with a heat gun at the dock if you have no safe heat source aboard.
- Label wires at both ends when you redo a circuit, and update a simple wiring sketch in your boat profile.
- After every saltwater season, spray the battery area, switch, fuse block and outboard connections with corrosion inhibitor.
- Buy terminals and wire from marine suppliers. Makers such as Ancor sell tinned copper "Marine Grade" wire and connectors designed to meet UL, ABYC and Coast Guard standards.
Official references
We read these to write this guide. Your engine's own manual always wins.
- BoatUS – How To Make The Perfect Crimped Connections
- BoatUS – Got Juice? Lessons Learned From Your Battery
- Yamaha Outboards – Maintenance Matters, Electrical System
- Mercury Marine – Maintenance Made Easy, Preventing Corrosion
- Ancor (Navico Group) – Marine Grade tinned copper wire and connectors
- eCFR – 33 CFR Part 183 Subpart I, Electrical Systems
- Blue Sea Systems – Voltage Drop in Conductor, Wire Sizing Chart
- BoatUS – Avoiding Boat Electrical Mistakes
- BoatUS – Battery Charger Location (crimped lugs, not solder)
Safety: BoatMend is for information only and does not replace a certified marine technician. You are responsible for your safety and your boat. Read the full disclaimer.
Last updated 2026-10-24
Related guides

Marine Battery Care: Test, Charge and Store for Winter
Check your boat battery's health, charge it the right way for its type (flooded, AGM or lithium), and store it so it is ready in spring. Most "boat won't start" calls start with a neglected battery.
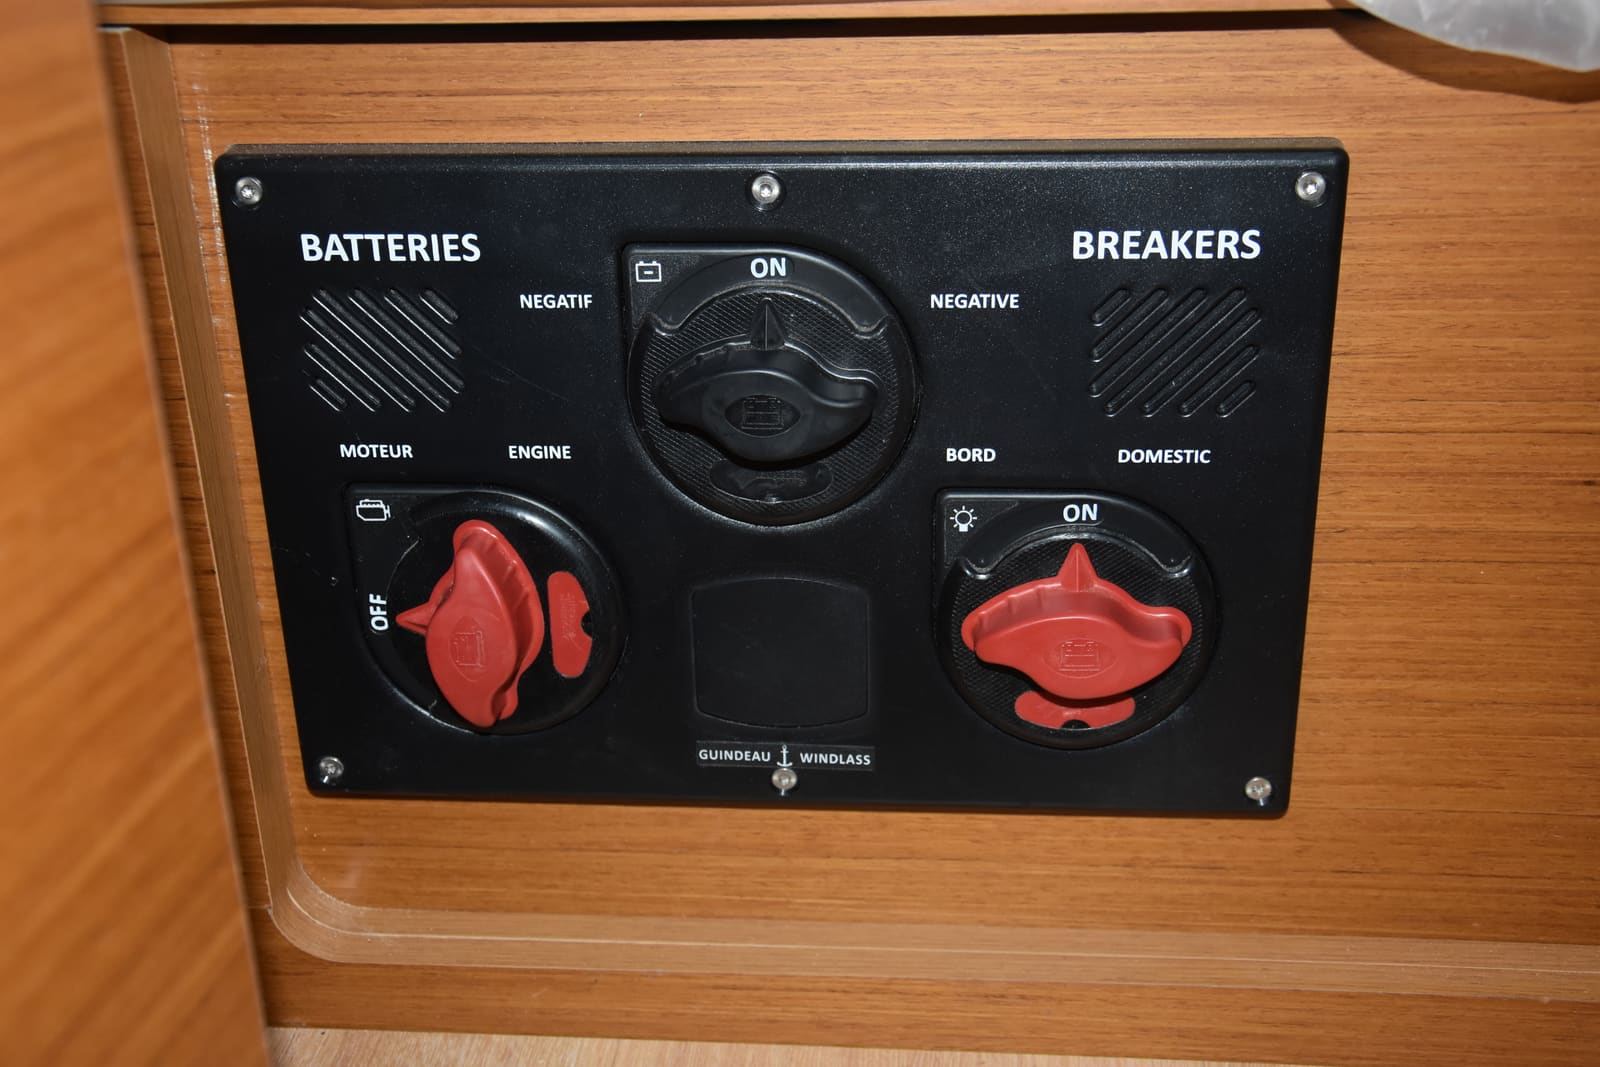
How to Use a 1-2-Both Battery Switch and Run Two Batteries
Learn what the 1, 2, Both and Off positions really do, a simple routine that keeps one battery ready to start the engine, how to check that both batteries are charging, and when an automatic charging relay makes life easier. Rewiring high-current cables is a job for a marine electrician.
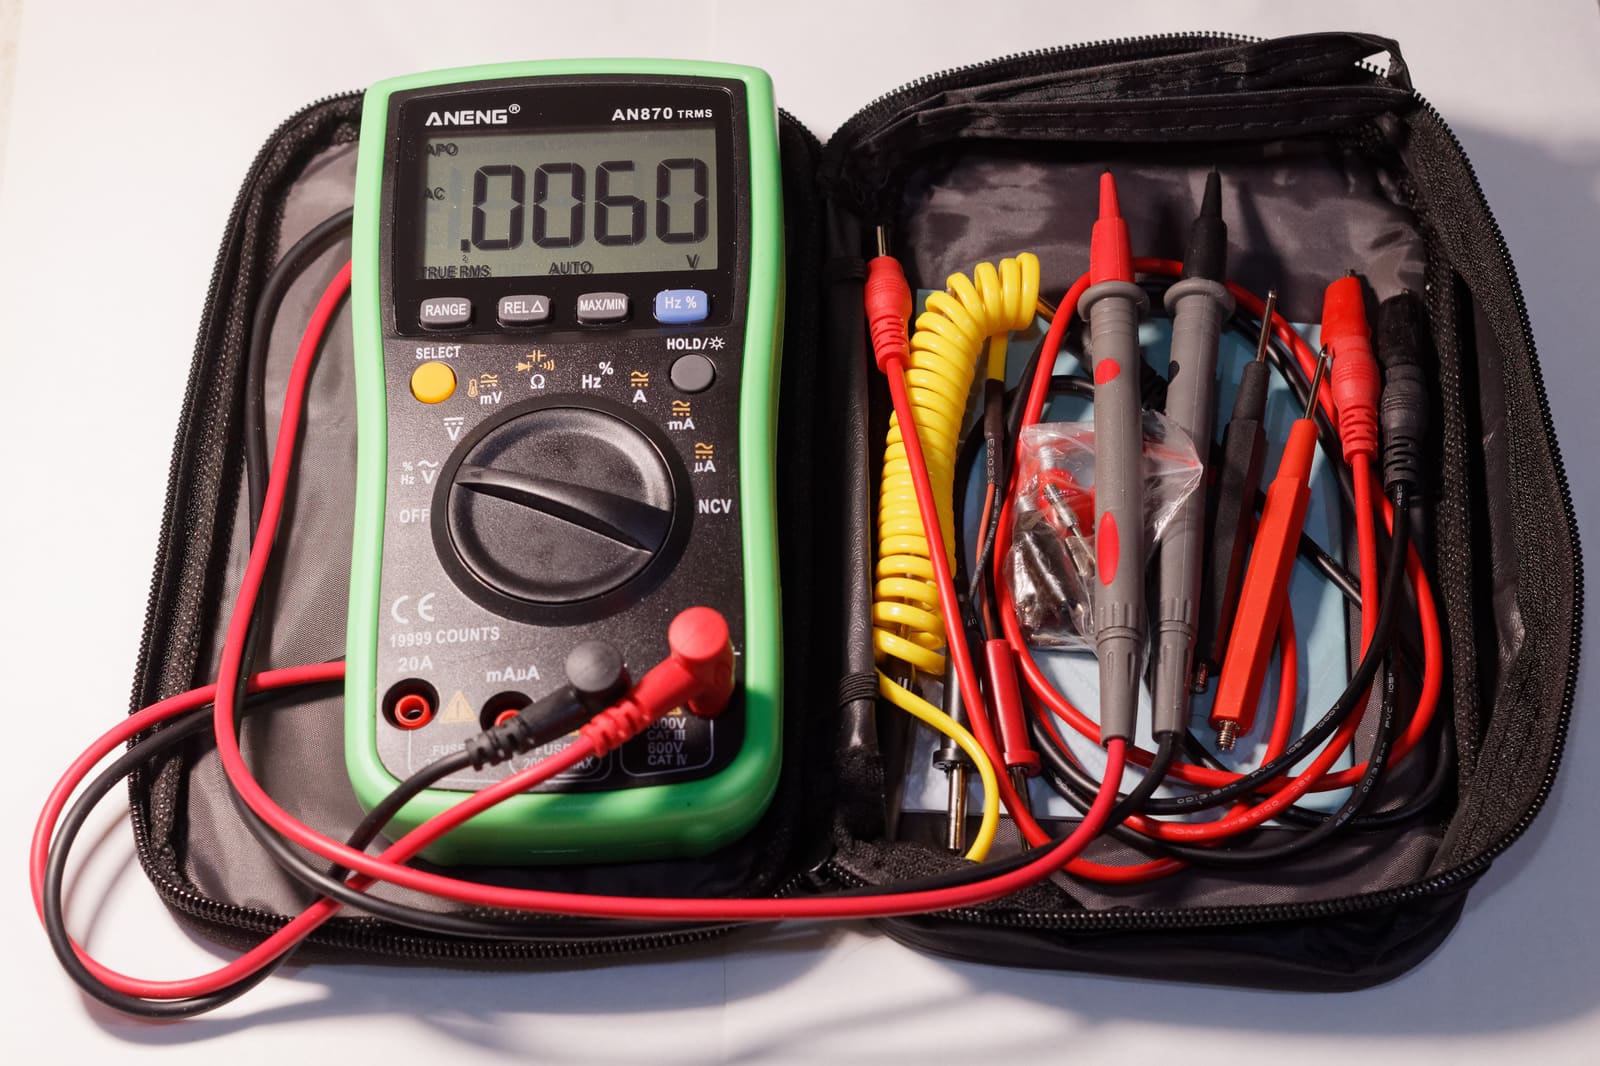
Is My Engine Charging the Battery? Test the Charging System With a Multimeter
A step-by-step way to find out whether your outboard's stator and rectifier/regulator or your inboard's alternator is really charging the battery, what the voltage readings usually mean, and when the problem is just a dirty connection. Exact test specs come from your engine's service manual.

How to Test and Fix Your Boat's Navigation Lights
Learn which navigation lights your boat must show and when, then test them and fix the usual culprits such as corroded sockets, loose pole-light plugs and blown bulbs. Working lights are legally required at night and in poor visibility and are how other boats see which way you are heading.
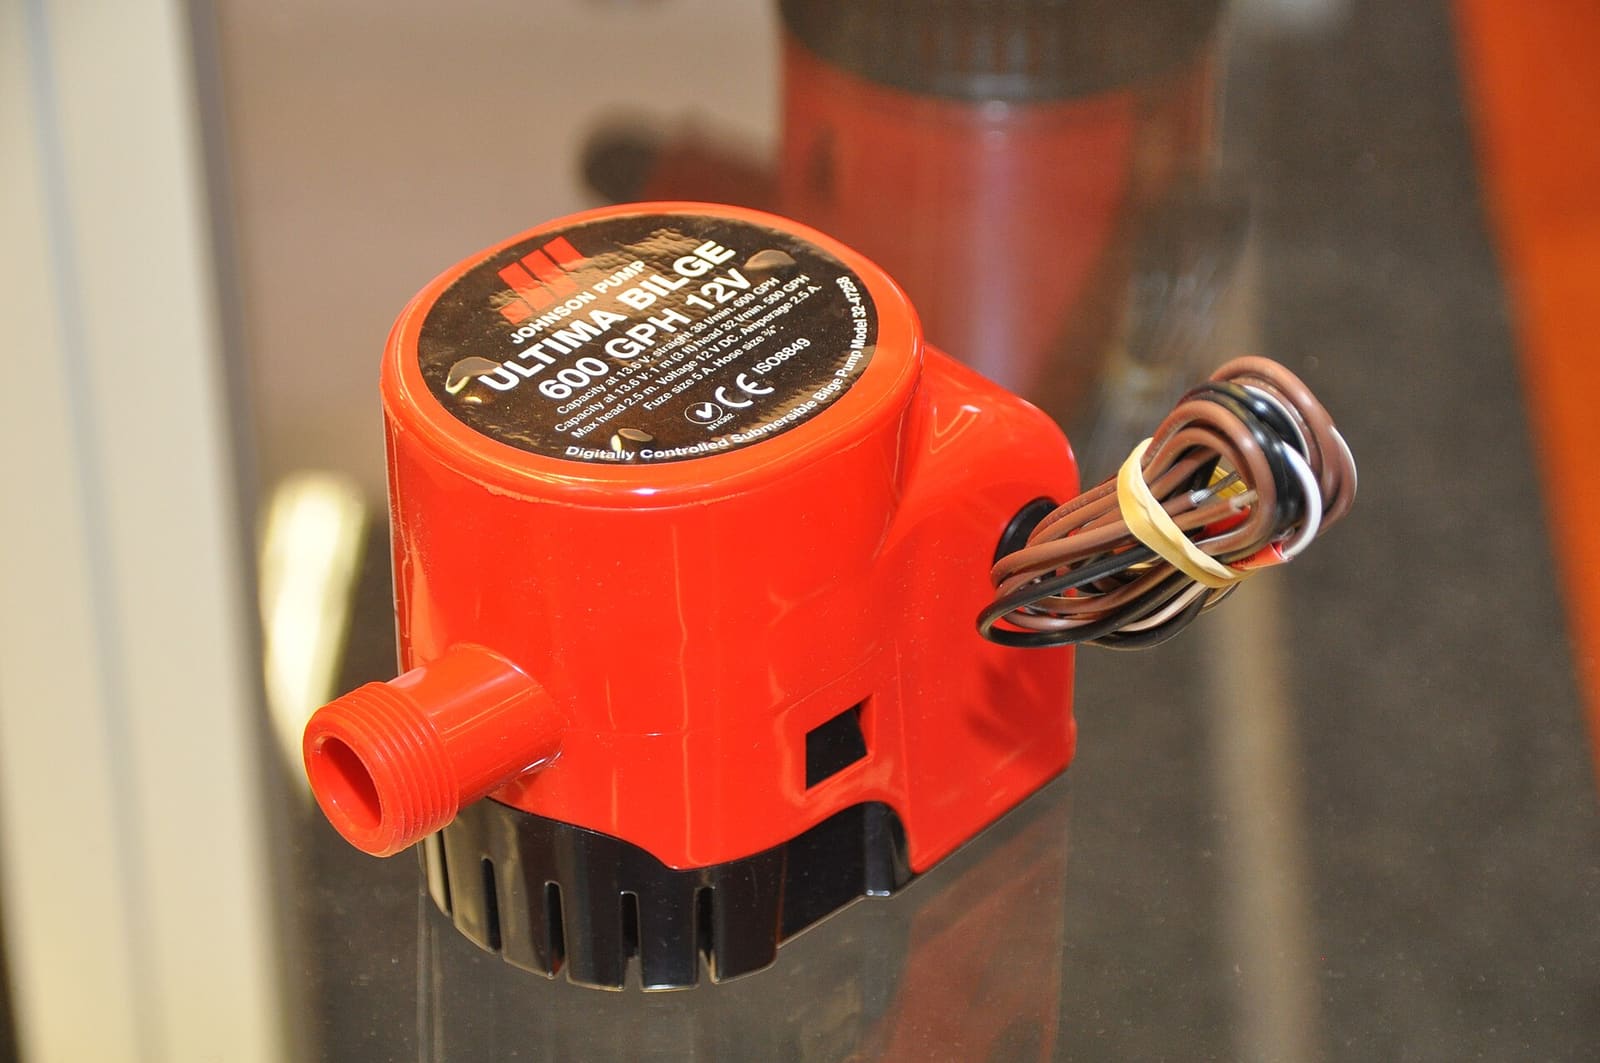
How to Test and Clean Your Bilge Pump and Float Switch
Make sure your bilge pump actually moves water overboard, both on the manual switch and automatically through the float switch. A working bilge pump is one of the most important safety systems on any boat that stays in the water.
How to Fix Boat Trailer Lights That Flicker, Dim or Don't Work
Track down the real cause of dead or flickering trailer lights, from a bad ground to a corroded plug, and fix it so the repair lasts. Working brake, turn and tail lights are required by law and keep the driver behind you from rear-ending your boat.
How to Troubleshoot Dash Gauges, a Dead Tachometer or a Wrong Fuel Gauge
Work through dead or wrong dash gauges from the cheapest check to the most involved: fuses and breakers, power and ground, the gauge-versus-sender test, the tachometer's pulse setting and the extra checks for digital network gauges. Most gauge problems turn out to be a bad connection, not a bad gauge.