Boat Ignition Key Switch: Diagnosing No-Crank and Intermittent Problems and Replacing It Right
A worn or corroded key switch can leave you with no crank, an engine that cuts out over bumps, or one that won't shut off. Learn how to rule out the battery, neutral switch and kill-switch lanyard first, test the switch with a meter, and replace it with the engine maker's switch wired exactly like the original.
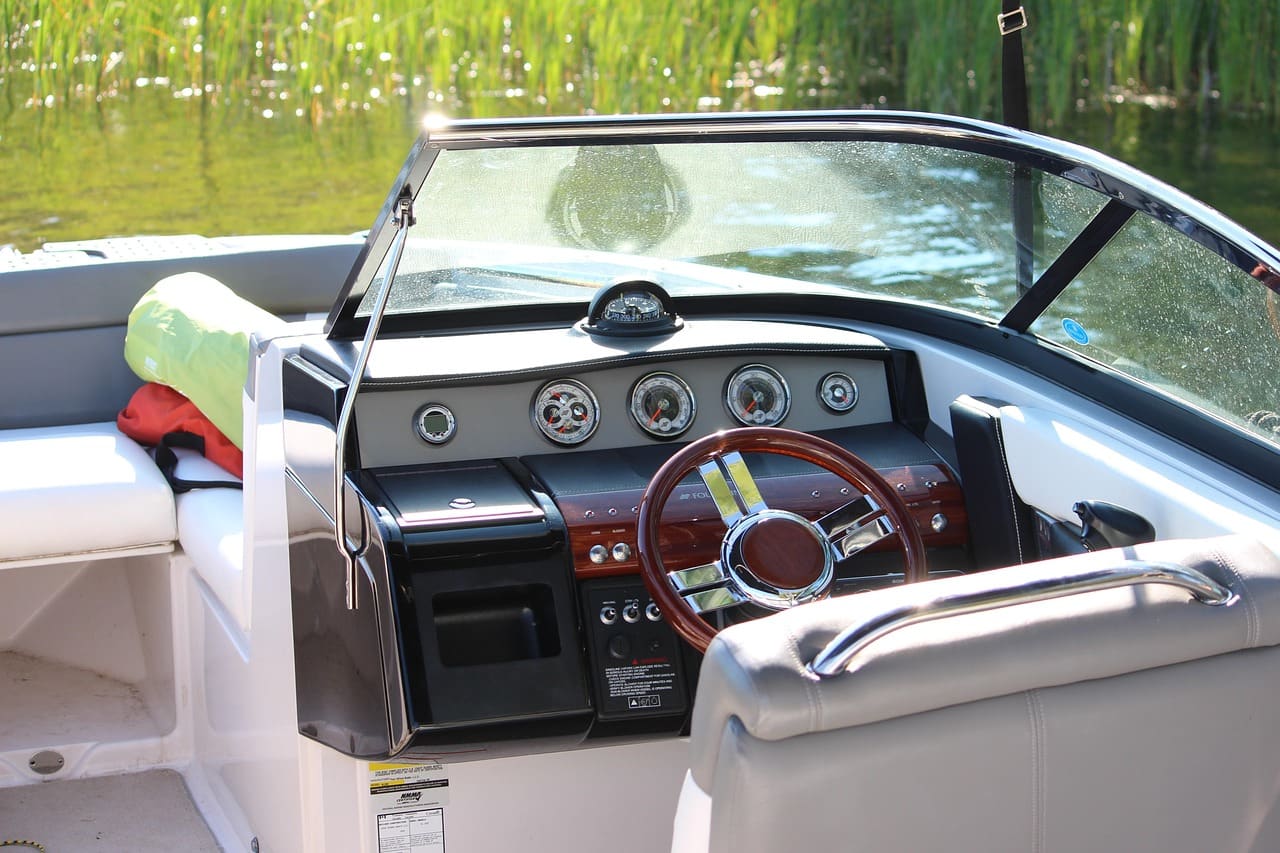
Time
1 h 30 min
Shop would charge
$150-400
Applies to
Outboard, Sterndrive (I/O), Gas inboard
Safety first: Disconnect the battery (negative cable first) before you unplug or rewire anything behind the switch: the battery feed to a key switch is live whenever the battery switch is on, and a slip can short it. On gasoline inboards and sterndrives, run the bilge blower for at least four minutes and sniff the engine compartment before every start. If the key won't shut the engine off, stop it with the kill-switch lanyard and don't use the boat until it's fixed. Boats with digital throttle and shift, push-button or keyless start systems need a dealer.
Owners often ask
- Turning the key does nothing, but the gauges work. Is my ignition switch bad?
- Can I use a cheap auto parts store ignition switch on my outboard?
This guide walks you through it. Still stuck? Ask the AI Mechanic about your engine.
Tools
- Multimeter (digital volt-ohm meter)
- Screwdrivers and small nut drivers
- Phone camera
- Masking tape and a marker (to label wires)
- Wire brush or fine abrasive pad
- Crimp tool and heat gun (if any terminals need replacing)
- Flashlight or headlamp
Parts & supplies
- Replacement key switch from your engine maker (or listed by them for your engine, harness and control)
- Dielectric grease or corrosion-inhibiting spray
- Marine-grade heat-shrink crimp terminals of the right type (if any are corroded)
- Spare keys cut to the new switch
Before you start
What the key switch does. With the battery switch on, battery power sits at the back of the key switch all the time. Turning the key to ON sends power to the engine's ignition or computer, fuel pump and gauges. Turning to START also sends a signal to the starter solenoid or start relay. Many outboard switches do more: OFF grounds the engine's stop circuit to shut it down, pushing the key in works the choke or electric primer, and the switch may connect to the warning horn and the kill-switch lanyard circuit. Some have an ACCESSORY position.
Symptoms of a failing switch:
- No crank and no click at the key, but lights and gauges work
- Gauges and beeps don't come on at ON (no power going through the switch)
- The engine stalls or the gauges flicker when you hit a wave or touch the key
- You have to wiggle or jiggle the key to start
- The engine won't shut off with the key (the stop circuit isn't being grounded)
- Rarely, an internal short makes the starter engage as soon as the battery switch is turned on
Many "bad switch" problems aren't the switch. The battery, battery switch, neutral safety switch, kill-switch lanyard, a fuse, a start relay or a corroded harness plug can all cause the same symptoms. The steps below check those first.
Why the engine maker's switch matters. Key switches look alike, but the terminals and what each position connects differ between brands and even between models. A generic switch (especially an automotive one) may not ground the stop circuit in OFF, may lack the push-to-choke function, may not fit your harness plug, and usually isn't sealed against spray and salt. Buy the switch your engine maker lists for your engine, control box and harness, or one an engine dealer confirms is a direct equivalent. Bring your engine model and serial number (see our engine serial number guide).
Steps
BoatUS's no-start checklist starts here. Make sure the battery switch is ON (or on the right bank) and the battery is charged. Turn the key to ON and see if gauges and lights work. A weak battery can make a key switch seem dead or intermittent. With the charger off, a meter on the battery posts gives a quick answer: BoatUS lists about 12.65 volts or more as fully charged, about 12.2 volts as half charged, and below 12 volts as effectively flat (typical for a lead-acid battery at rest; your battery maker's chart rules). See our marine battery guide.
Put the shift lever firmly in neutral; most engines won't crank in gear. Make sure the kill-switch lanyard clip (or wireless fob) is in place and the switch isn't stuck in the "stop" position. On many boats the engine won't even crank with the lanyard off. Remember that federal law requires the operator of most motorboats under 26 feet to wear the cut-off link when on plane or above displacement speed, so keep that circuit working (see our kill switch lanyard guide).
Turn the key to ON. On many modern engines you'll hear a horn self-test beep and the fuel pump hum, and the gauges will wake up. If nothing happens at ON but the battery and lanyard are good, suspect the switch, a fuse or the harness plug. See our "no key-on beep" guide for fuel-injected engines.
Find the engine's main fuse and any fuses in the helm or key switch circuit; your manual or the fuse box label shows where. Replace a blown fuse only with the same rating; if it blows again, stop and have the wiring checked. Then find the plug where the boat's harness meets the engine harness (often under the cowling, in the rigging tube or behind the control box). Yamaha notes that loose or corroded connections can cause intermittent problems or a full "no run" condition. Unplug it (battery off), look for green corrosion or bent pins, clean, add dielectric grease and reconnect firmly.
With the key at ON (engine off), gently wiggle the key and then the wires behind the switch. If gauges flicker, the horn chirps or power drops out, you've found a worn switch or a loose connection at the back of it.
Turn the battery switch off and disconnect the battery's negative cable. Then remove the dash panel screws or, on side-mount controls with the switch built in, the control box cover (see our remote control box guide). Keep track of every small screw and spring.
Before you disconnect anything, take clear photos of the back of the switch from several angles. Put a strip of masking tape on each wire and write the terminal letter or position it came from. Switch terminals are often stamped with letters such as B (battery), I (ignition/run), S (start), M (stop circuit on many outboards), C (choke) and A (accessory), but the letters and colors vary by brand. Don't trust colors alone: boats get rewired over the years.
Look for green or white corrosion, burnt or discolored terminals, broken strands and loose ring or spade terminals.
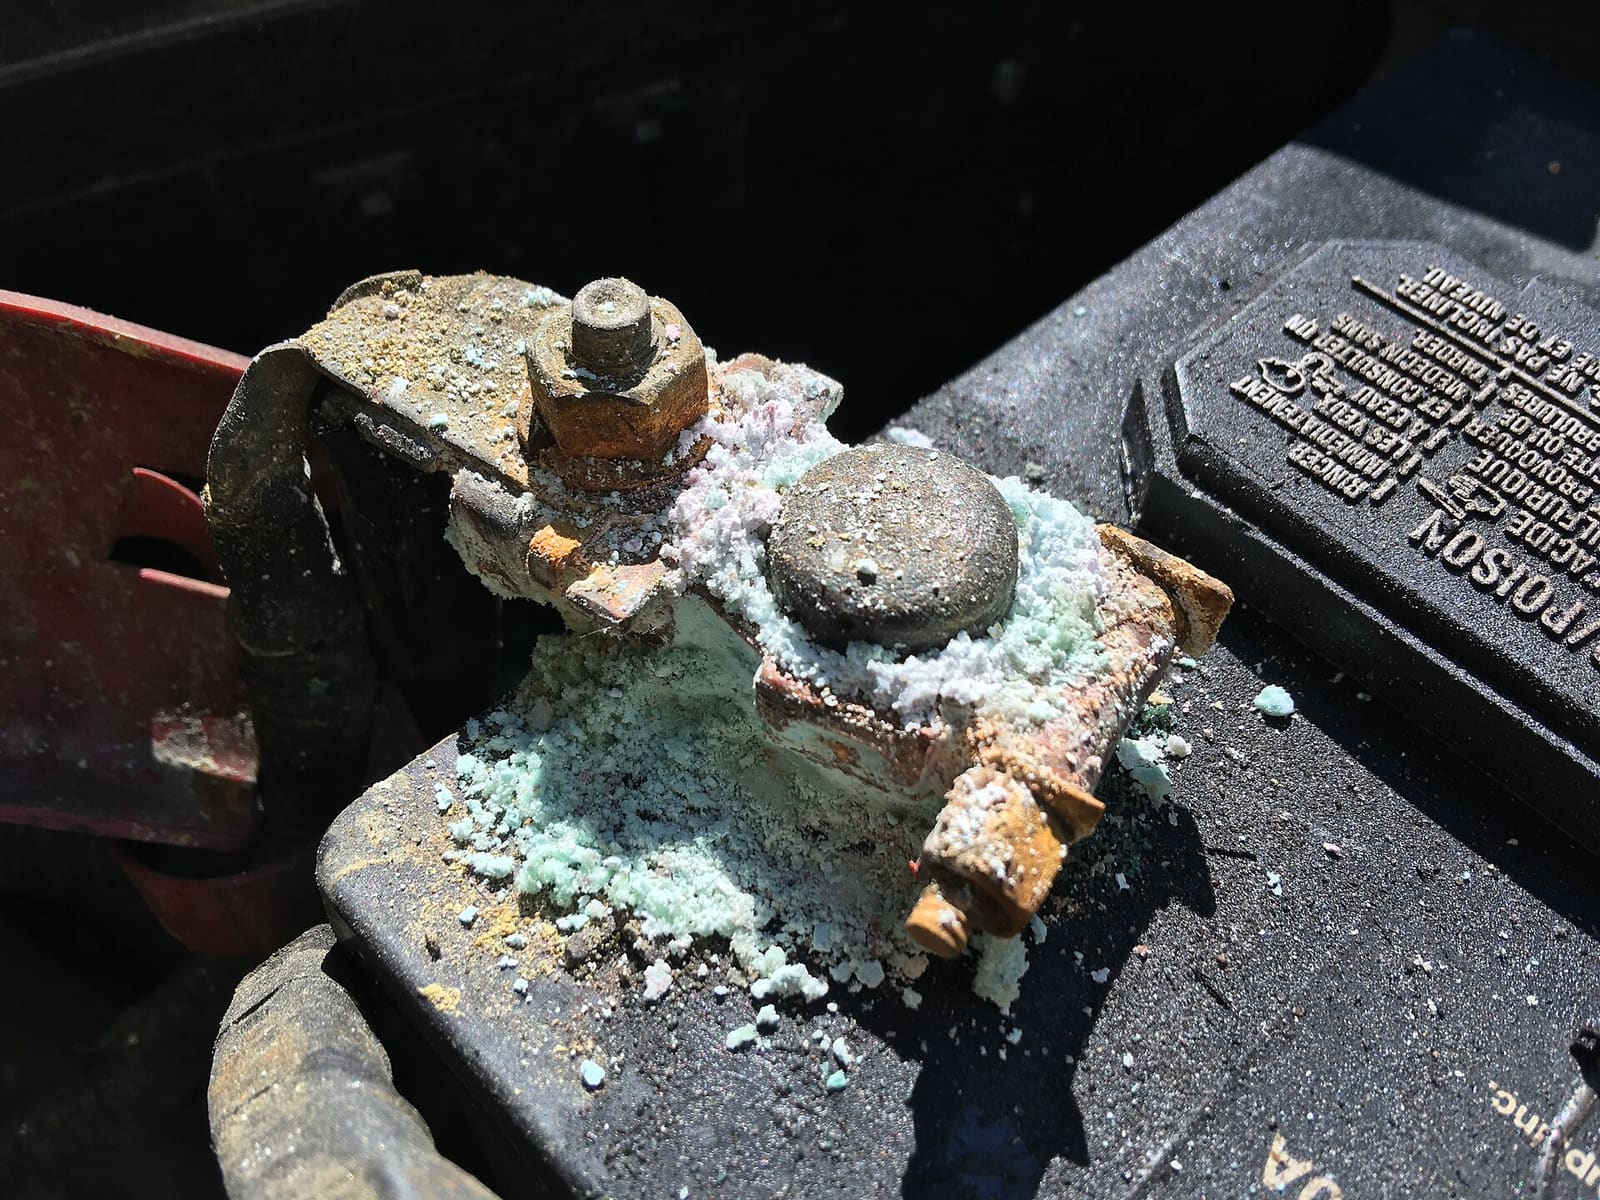
Corrosion like this on a key switch terminal or harness plug causes no-crank and intermittent faults. Photo: MarkBuckawicki / Wikimedia Commons · CC0 Clean light corrosion down to bright metal with a wire brush or fine pad. Replace any terminal that's crusty, cracked or loose on its wire with a marine heat-shrink crimp terminal of the same type. Yamaha recommends spraying electrical connections with a corrosion inhibitor afterward. If cleaning fixes the problem, you may not need a new switch.
With the battery still disconnected and the wires removed or the plug unplugged, set the meter to continuity or ohms. Using the wiring diagram for your switch (owner's manual, service manual or the maker's parts diagram), check which terminals should connect in each position:
- OFF: on many outboard switches, the stop-circuit terminal connects to ground here.
- ON: battery to ignition (and accessory, if used).
- START: battery to ignition and to start.
- Push in (if fitted): battery to choke or primer.
How to read the meter, as BoatUS explains it: "OL" (open) means no connection, and a closed contact should read close to zero ohms. A pair of terminals that should connect but reads more than a few ohms has worn or burnt contacts inside, which is exactly what causes the "jiggle the key" problem. Work each position several times, since a worn switch can test good once and fail the next time.
A position that doesn't connect when it should, or connects when it shouldn't, means the switch is bad. If you don't have the diagram, a dealer can test it, or you can compare it with the new switch's diagram.
Order the switch your engine maker lists for your engine, control and harness. Check:
- Same number of positions (OFF/ON/START, or with ACCESSORY)
- Same functions (push-to-choke, stop circuit, warning horn connection)
- Same connector or terminal type, and a mounting length that fits your panel
- Keys: the key code is often stamped on the switch or key; order spares
Don't buy an automotive or "universal" switch just because it has the same number of terminals.
On some engines the "switch" is really a panel. Yamaha, for example, sells its key switches as switch panels matched to the rigging: its single-engine panel for conventional mechanical controls comes with the plug for the main harness, connectors for the gauge harness and the engine-stop lanyard switch built in; its twin-engine mechanical panel includes the warning buzzer and a push-to-choke main switch; and its Command Link panels work only with Yamaha's digital system. Newer push-button panels and second-station panels exist too. If your key sits in a small plate with the lanyard switch beside it, look up the panel by your engine and rigging type (mechanical or digital), not just "Yamaha key switch," and let a dealer handle anything on a digital system.
Mount the new switch loosely, then transfer one wire at a time from the old switch to the matching terminal on the new one, checking your photos and labels. If the switch uses a plug, make sure it clicks fully home. Common examples on many boats are a red or red/purple battery feed, a purple ignition wire, a yellow/red start wire and, on many outboards, a black/yellow stop-circuit wire, but follow your labels and diagram, not this list. Tighten terminal screws snugly without stripping them.
Fit any rubber boot, seal or weather cap that came with the switch; a missing boot lets spray reach the contacts. Tighten the mounting nut so the switch can't turn in the panel. Coat exposed connections with dielectric grease or a corrosion inhibitor. Keep wires away from sharp edges and steering cables.
Reconnect the battery (positive cable first, then negative) and turn on the battery switch. Then, with the engine in the water, in a test tank, or (outboards) on external flush muffs with the water running first:
- OFF: nothing should happen.
- ON: gauges, horn self-test and fuel pump work.
- START in gear: the engine should not crank.
- START in neutral: the engine cranks and starts. Release the key; it should spring back to ON.
- Pull the lanyard: the engine stops. Reset it.
- Key OFF while running: the engine stops.
If the key won't stop the engine, shut it down with the lanyard and recheck the stop-circuit wire. Don't use the boat until the key stops the engine.
A miswired switch or accessory terminal can leave something powered with the key off. With everything off, see our parasitic battery drain guide if the battery goes flat between trips.
Common mistakes
- Replacing the switch when the real problem was the lanyard clip, neutral switch, a fuse or a corroded harness plug.
- Installing an automotive or generic switch that doesn't ground the stop circuit, so the key won't shut the engine off.
- Pulling all the wires off at once without photos or labels.
- Trusting wire colors on an older boat that's been rewired.
- Leaving off the weather boot, so the new switch corrodes in a season.
- "Hot-wiring" around a bad switch to get home, then leaving the bypass in place. A bypass can leave you with no way to shut the engine off except the lanyard, and exposed live wires are a fire risk.
- Forgetting to test that the lanyard and key-off both stop the engine after the job.
When to call a pro
- Digital throttle and shift, push-button start, keyless fob or multi-engine start panels (these need dealer setup or calibration)
- The switch is fine but the problem continues: a start relay, solenoid, neutral switch or engine harness may be at fault (see our starter solenoid test guide)
- Burnt, melted or overheated wiring behind the dash
- Fuses that keep blowing
- You can't find a wiring diagram and the colors don't match anything you recognize
Tips
- Spray the back of the key switch and harness plug with a corrosion inhibitor each spring.
- Use a floating key ring, and keep a spare key aboard in a hidden spot.
- Don't hang a heavy key chain from the switch; the weight wears the switch over time.
- Log the switch part number and key code in your BoatMend boat profile.
Official references
We read these to write this guide. Your engine's own manual always wins.
- BoatUS – What to Do if Your Outboard Won't Start
- Yamaha Outboards – Maintenance Matters, Electrical System
- U.S. Coast Guard Boating Safety – Engine/Propulsion Cut-Off Devices
- BoatUS – Electrical Troubleshooting Using A Multimeter (2016)
- BoatTEST – Bad Ignition Can Ruin Your Whole Day
- Yamaha Outboards – Boat Rigging Switch Panels
Safety: BoatMend is for information only and does not replace a certified marine technician. You are responsible for your safety and your boat. Read the full disclaimer.
Last updated 2026-10-25
Related guides
Engine Won't Start or Won't Crank - Troubleshooting Guide
Find out why your boat engine will not turn over or will not fire, starting with the simple things owners miss most, like the kill switch lanyard and battery switch. Many no-starts are fixed at the ramp in minutes without a tow.
Engine Clicks but Won't Crank - Testing the Battery, Cables, Neutral Switch, Solenoid and Starter
A click (or nothing) when you turn the key is usually a power delivery problem, not a dead engine. Work from the battery and cables through the neutral switch, start relay and solenoid to the starter motor using simple voltage-drop tests, and learn how to jump-start safely when gasoline vapor may be around.
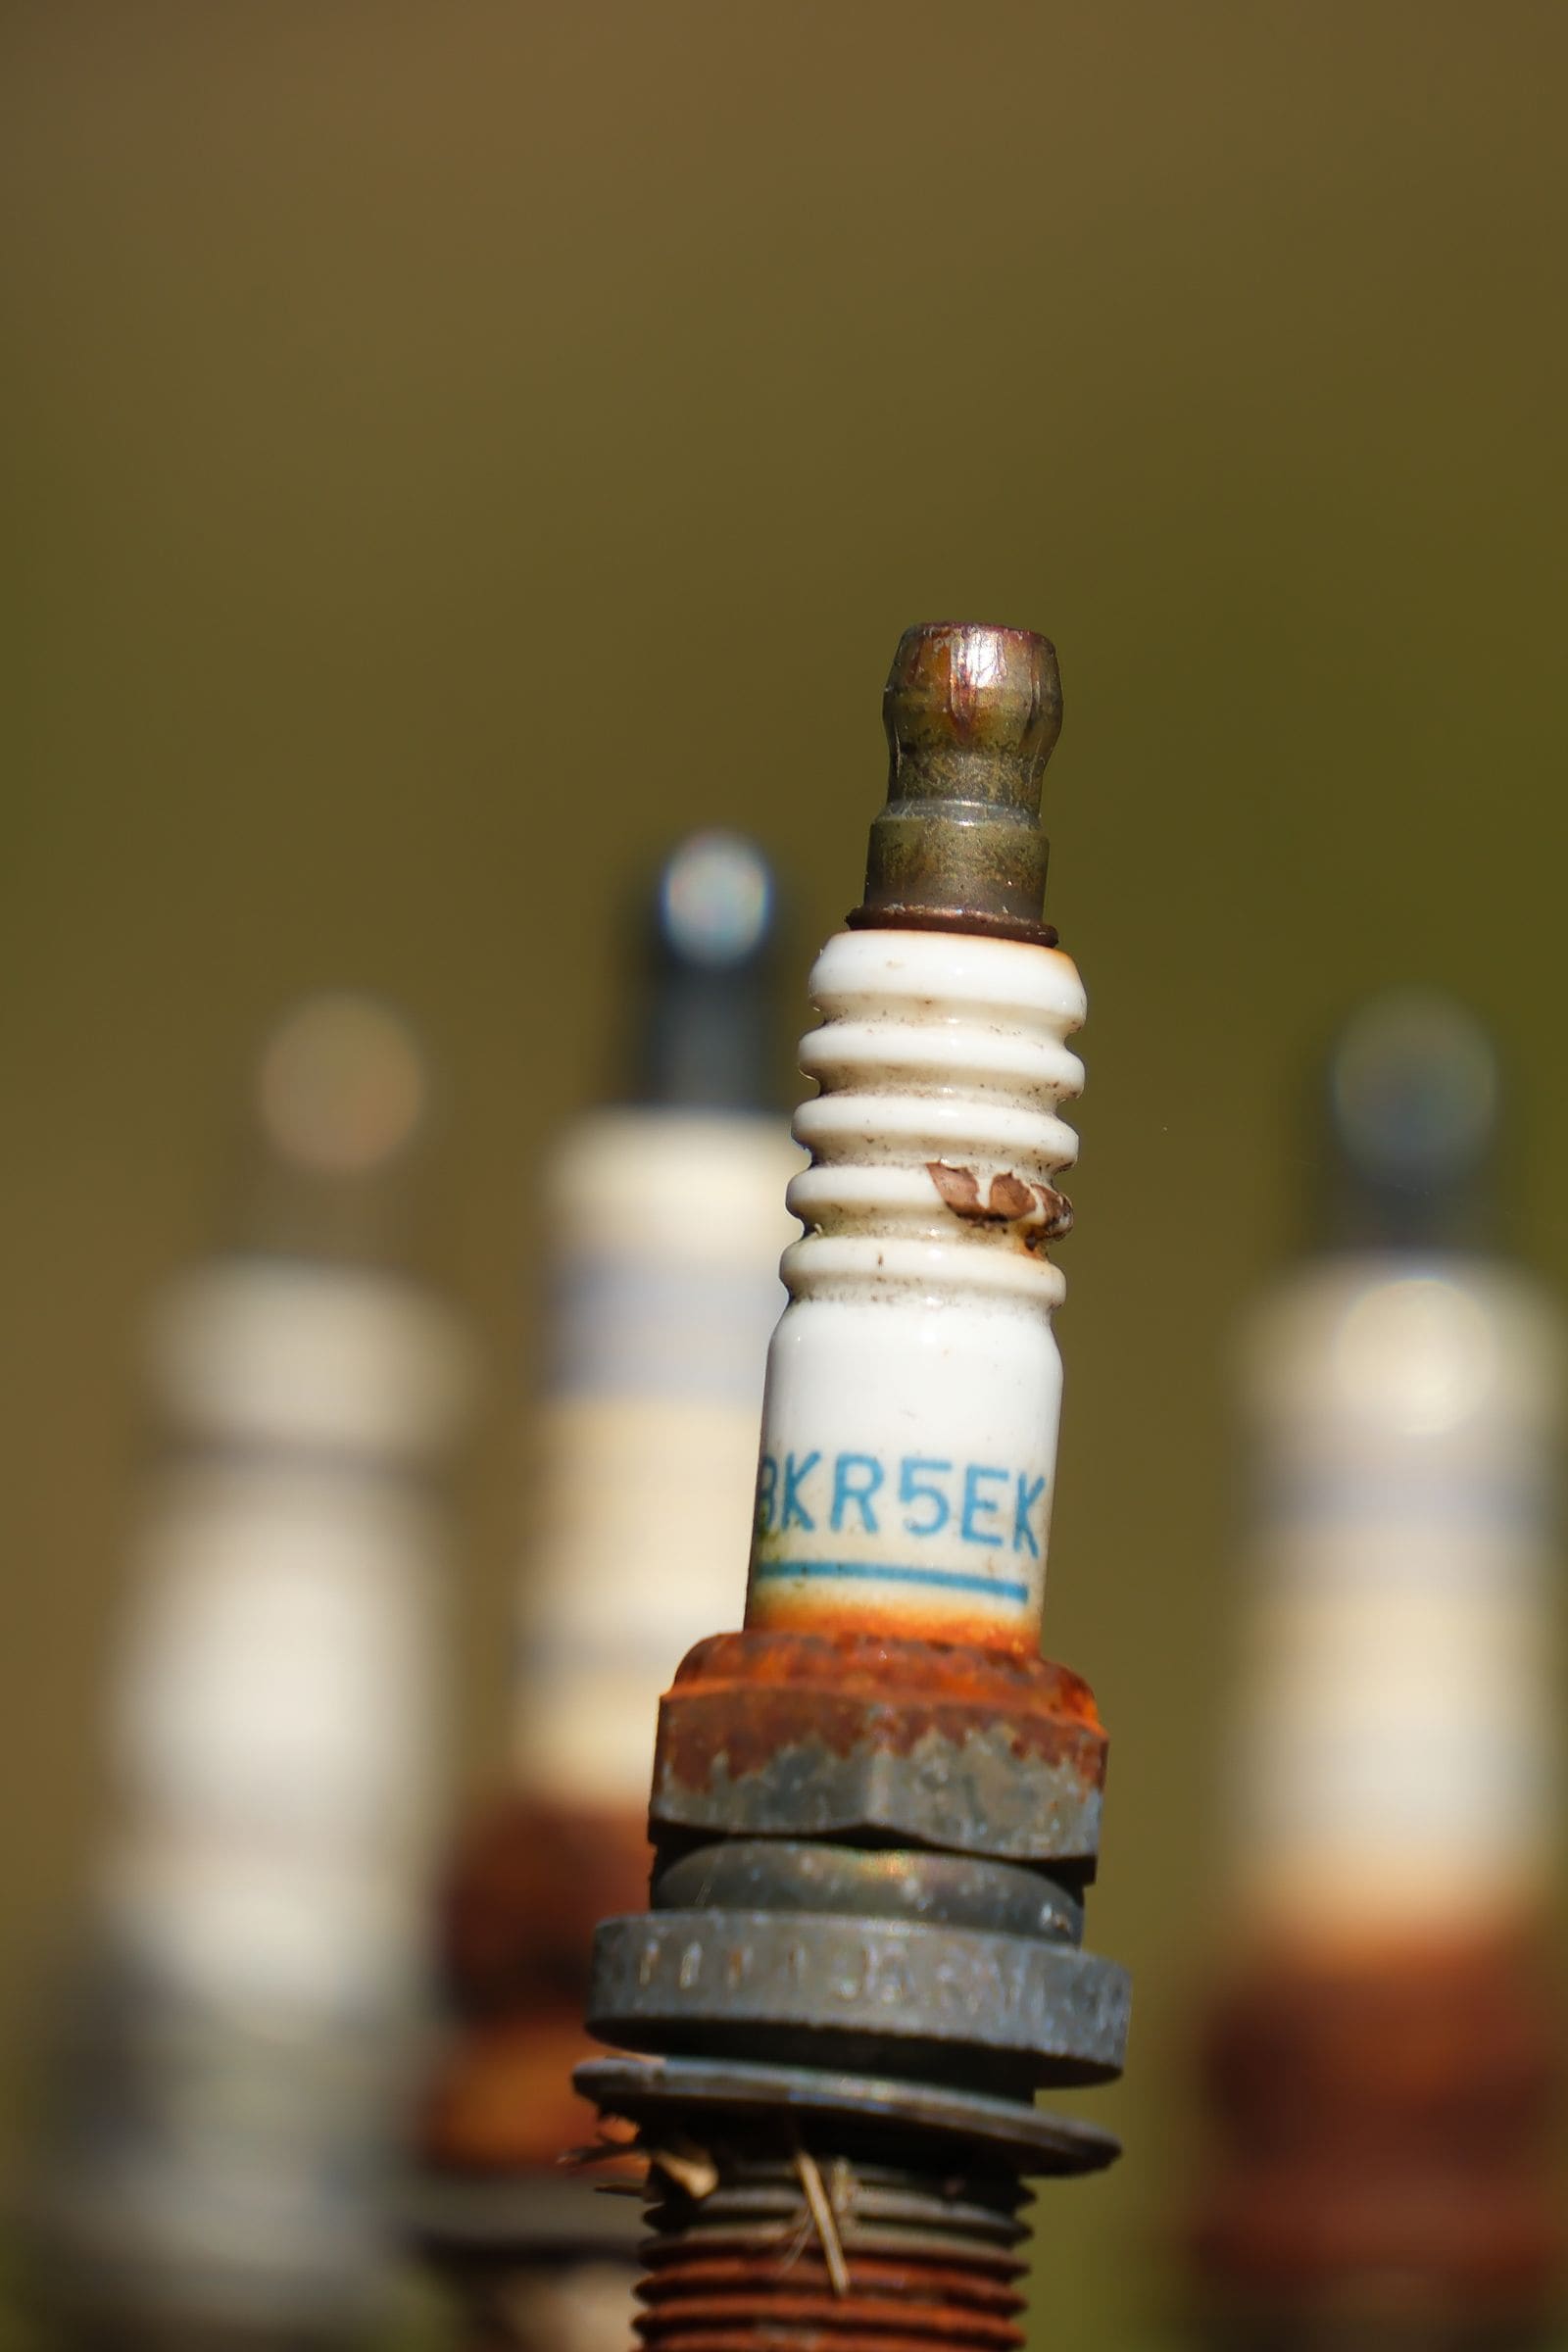
No Spark - Safe Ignition Checks for Outboards, Sterndrives, Inboards and PWCs
Engine cranks but never fires, and you suspect the ignition? Work from the cheap, common causes (kill switch lanyard, key switch, plug wires and caps, plugs, battery) to a proper spark test, and learn what the stator, CDI and coils do and when it is time for a dealer.
Engine Cut-Off Switch (Kill Switch) and Lanyard: The Law, Testing and Daily Use
How the engine cut-off switch (ECOS) and its lanyard or wireless fob work, when federal law requires you to wear it (boats under 26 feet, 3 hp or more, on plane), how to test it before every trip, and why a spare clip aboard matters.

Wireless Engine Cut-Off (ECOS) Fobs: Pairing, Battery Checks, Testing and the Law
How wireless kill-switch systems such as Fell Marine MOB+, Mercury 1st Mate, Garmin OnBoard and Yamaha's wireless MOB tags work, how to pair and test them, when to change fob batteries, how they fit the federal engine cut-off law compared with a lanyard, and why you should always carry a spare.
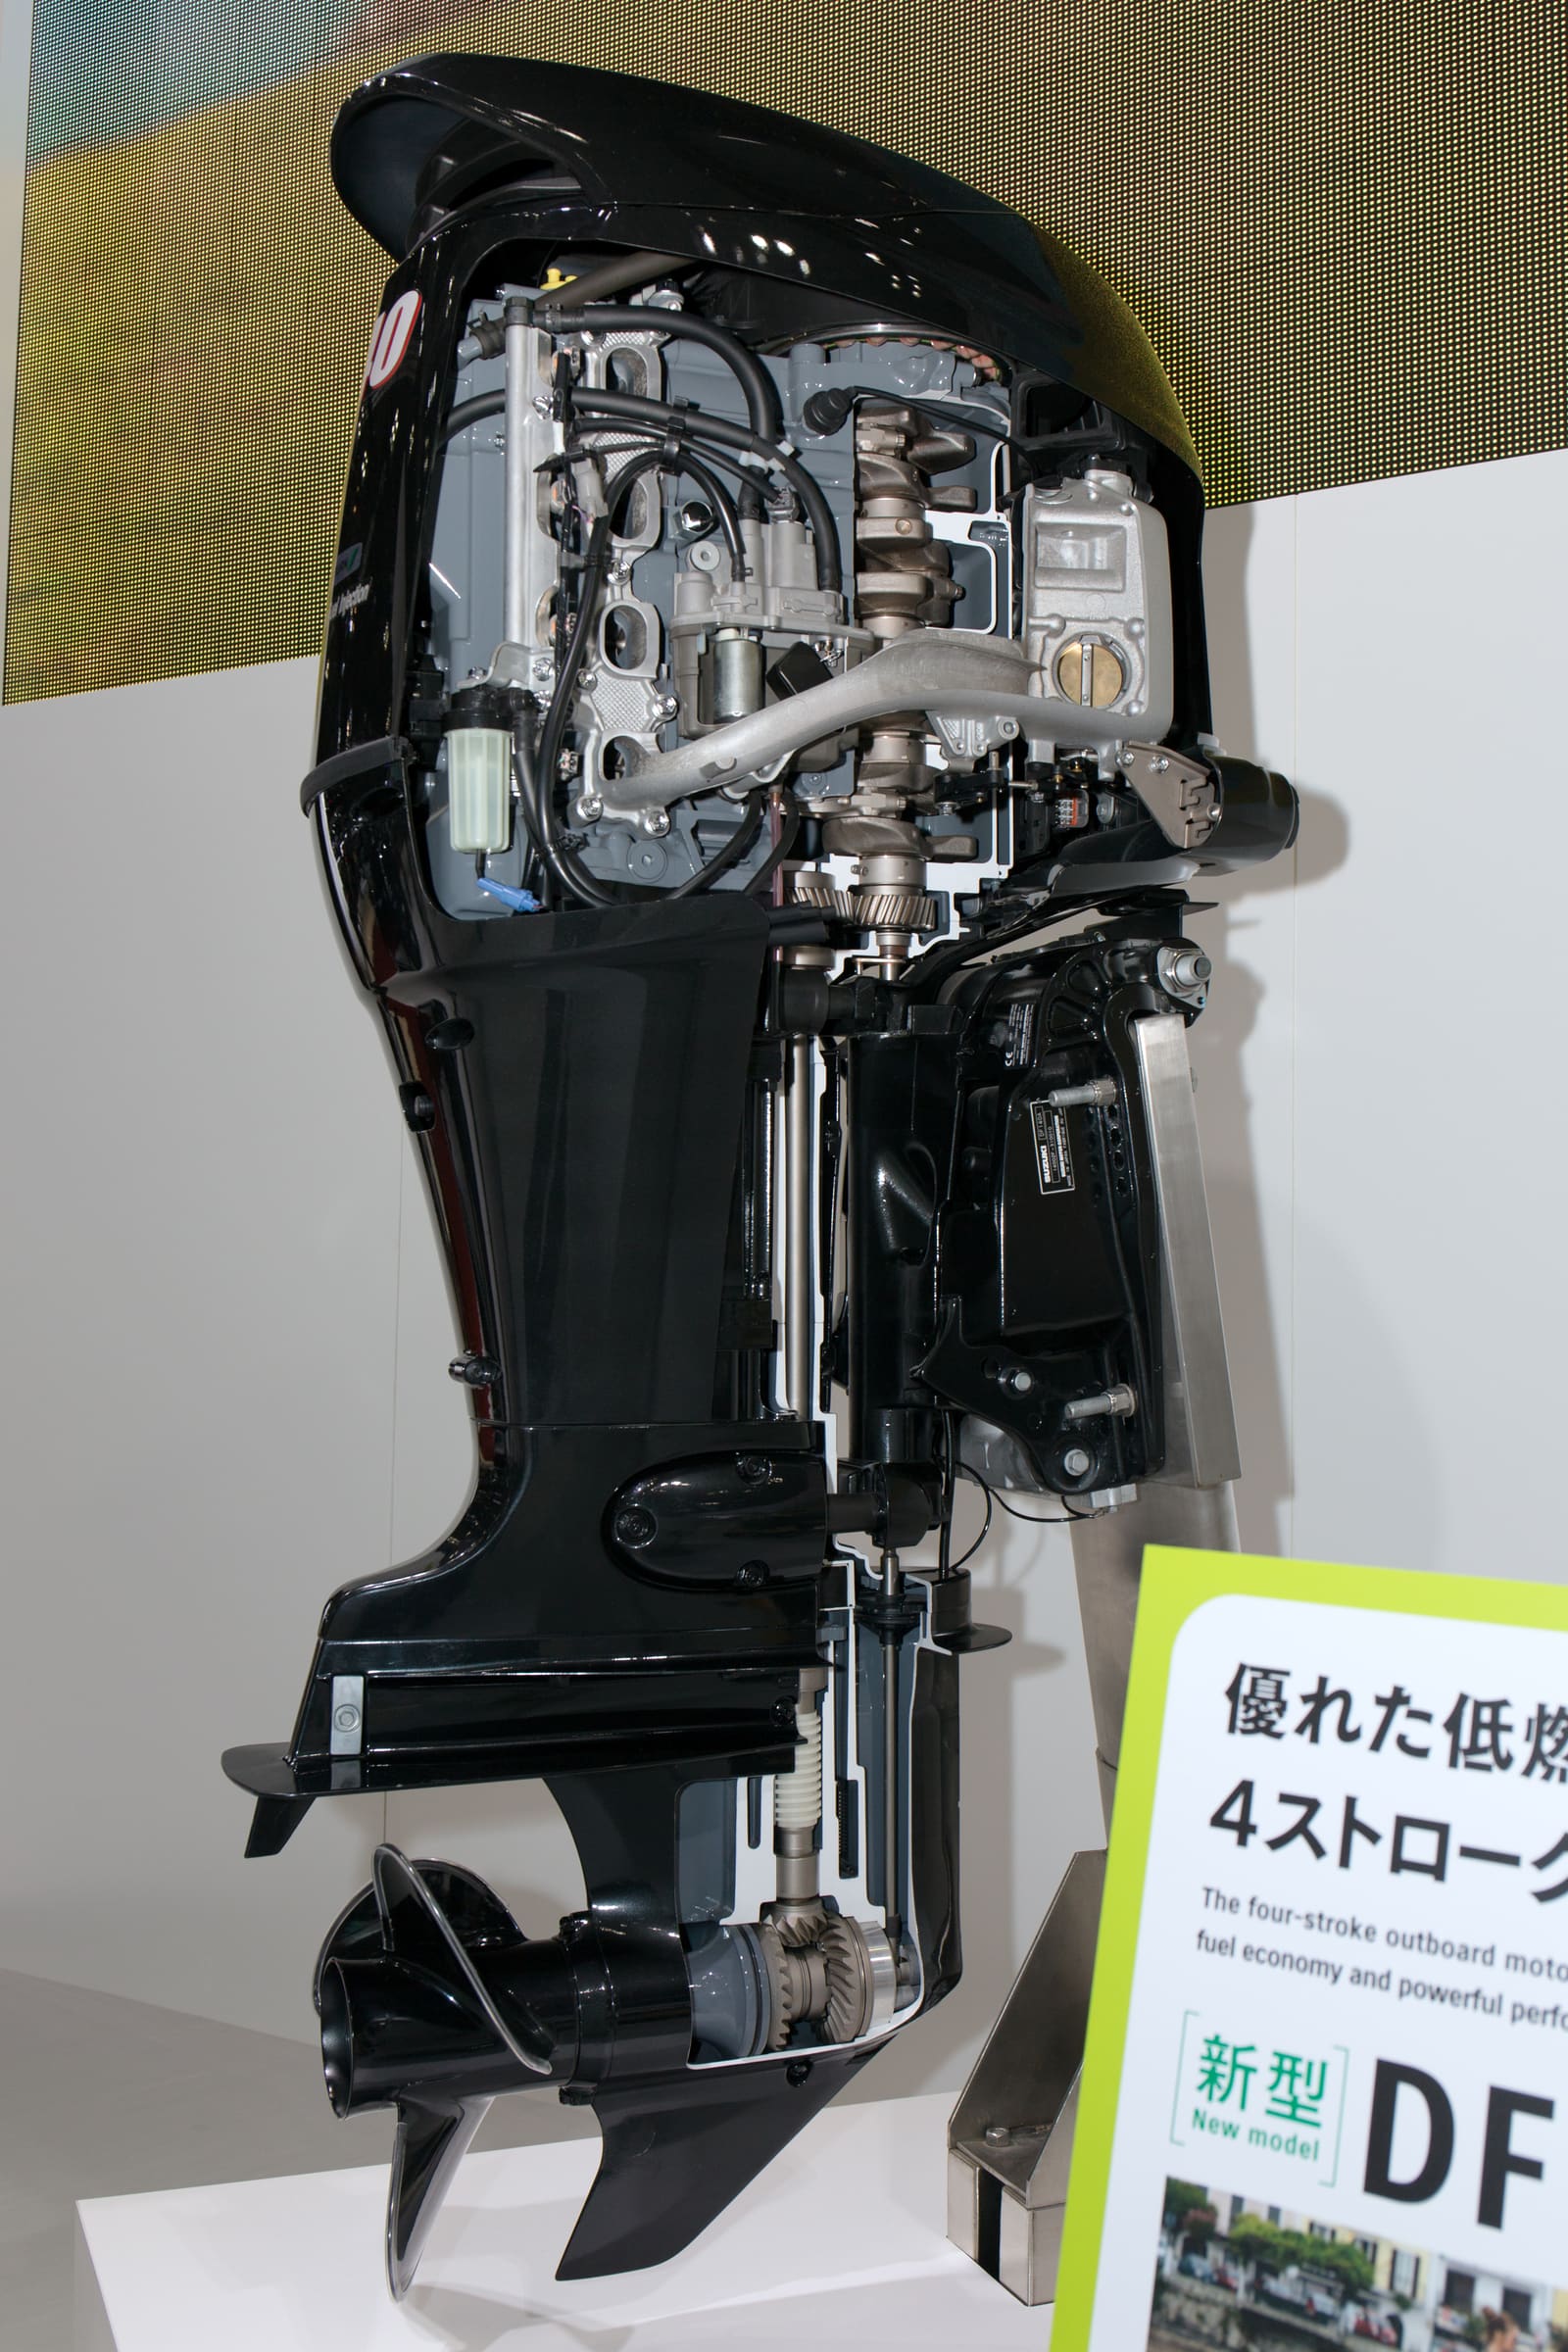
EFI Outboard Cranks but Won't Start, No Key-On Beep or Fuel Pump Hum
When a fuel-injected outboard turns over but stays silent at key-on (no warning-horn chirp, no fuel pump priming), the engine computer usually isn't waking up. Work through the lanyard, battery voltage while cranking, main fuses, relays, harness plugs and grounds before anyone blames the computer.
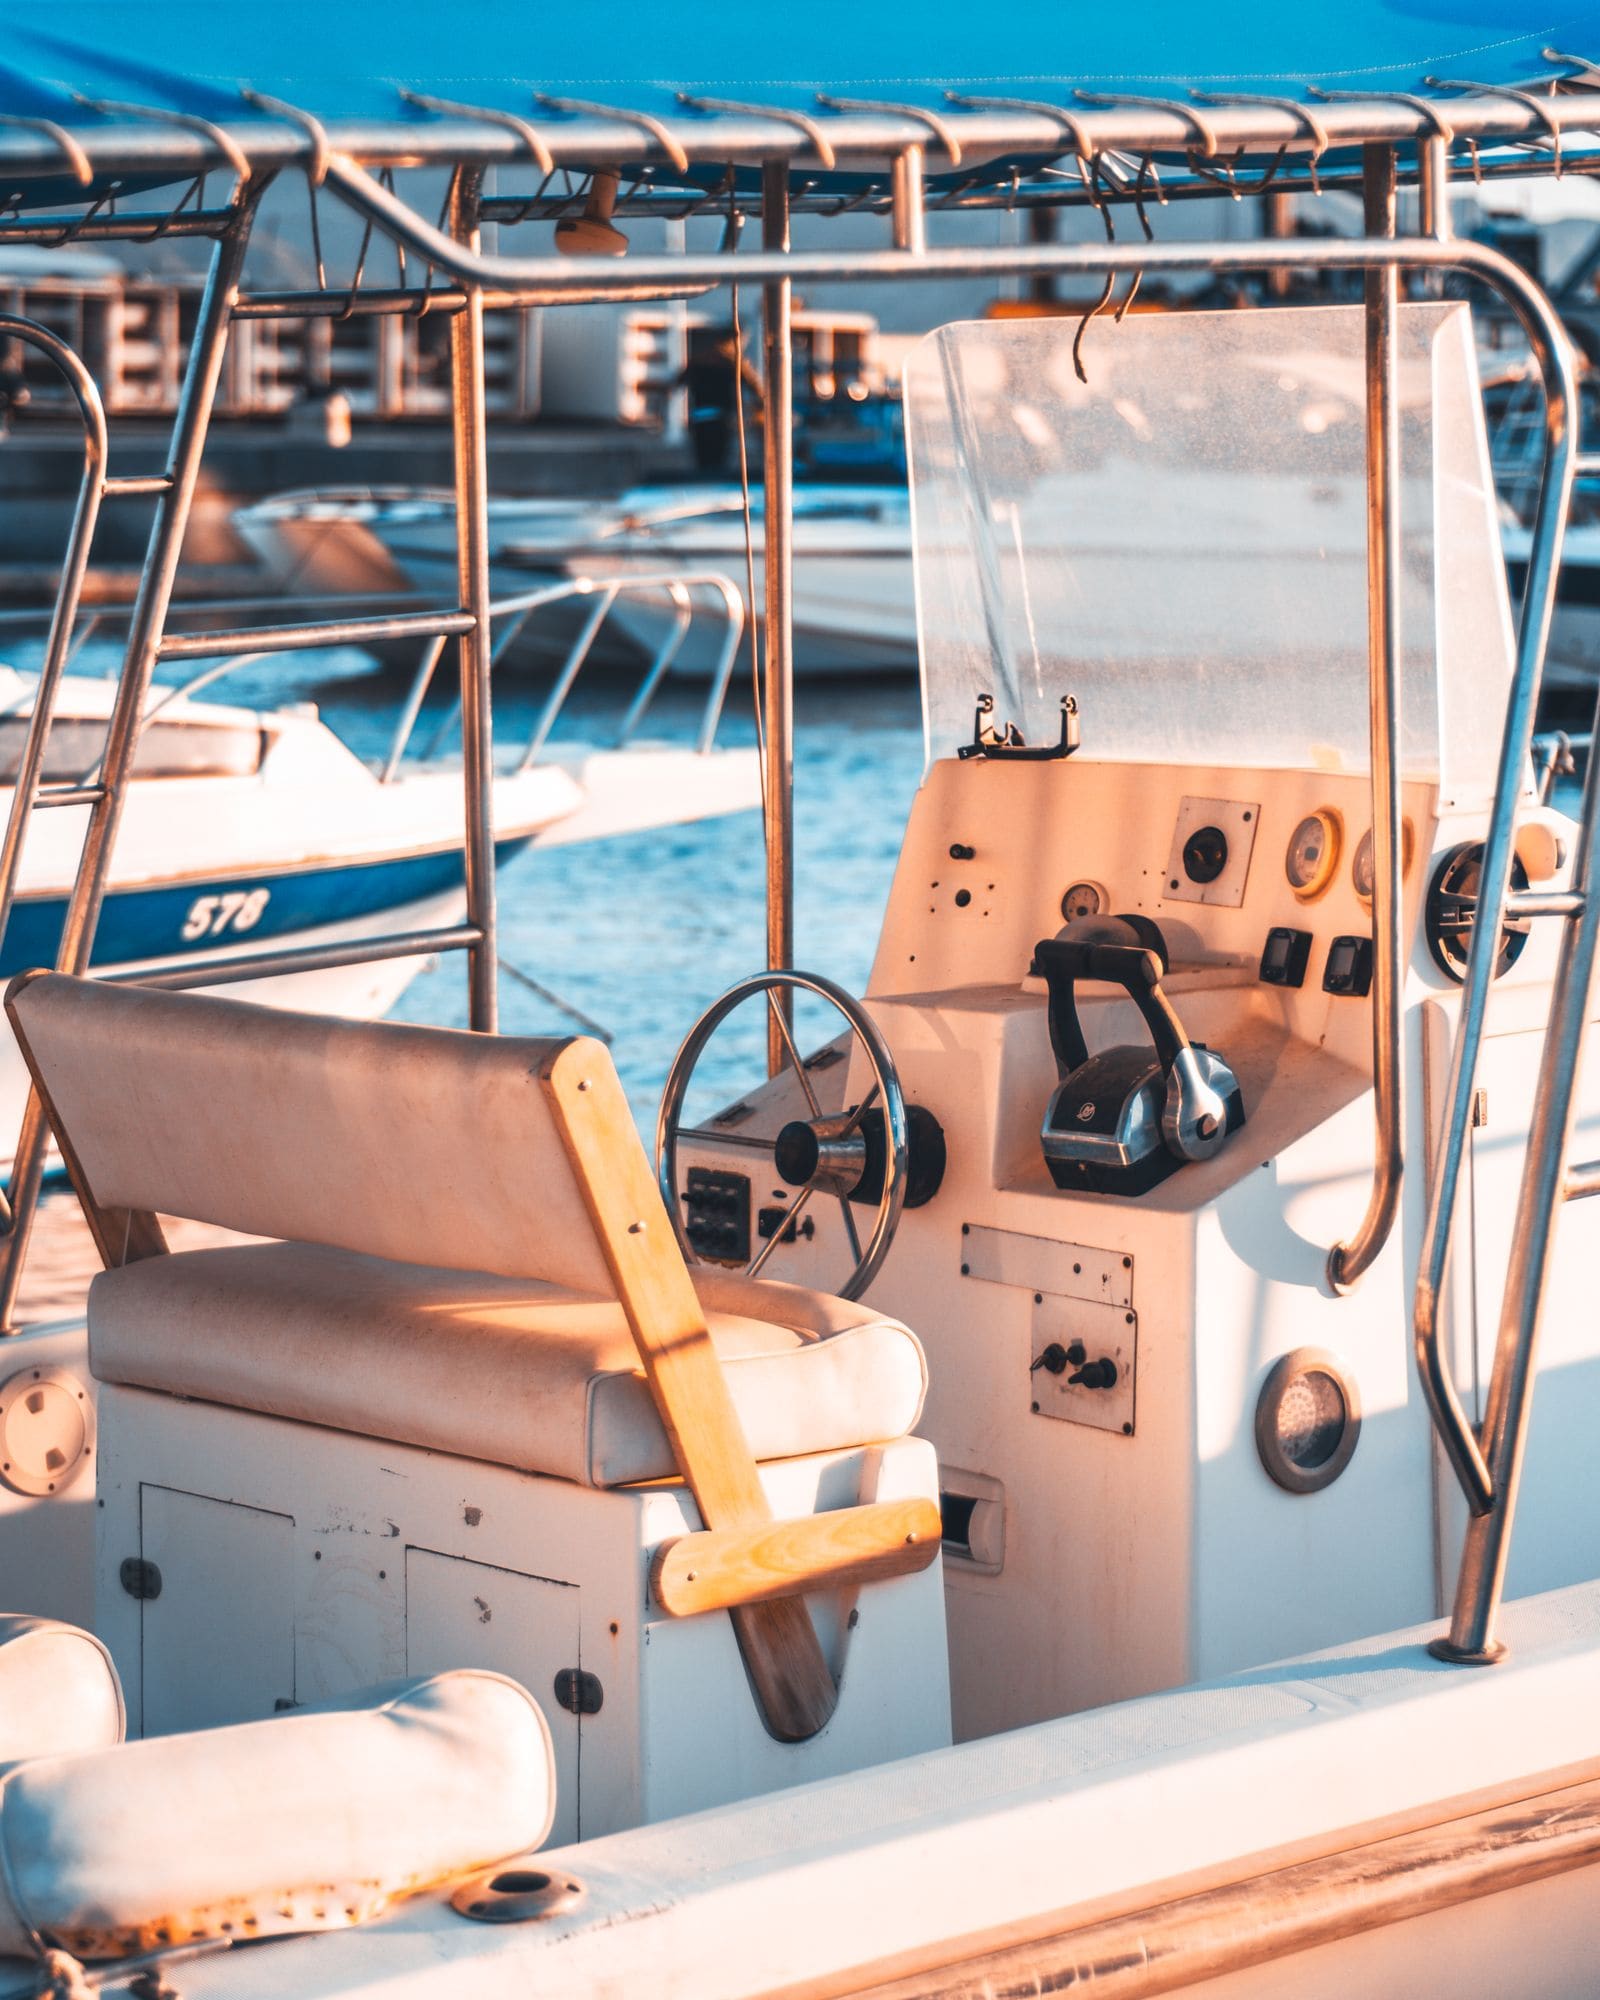
Remote Control Box Troubleshooting: Stiff Lever, Won't Crank, Trim Switch
The throttle and shift control at the helm (side-mount or binnacle) takes a beating. Learn how to find out why the lever is stiff, why the engine will not crank even with a good battery, why the trim button on the handle quit, and when the whole control box should be replaced along with its cables.

How to Find and Fix Corroded Electrical Connections on a Boat
Track down the green crust and loose terminals behind flickering lights, dead gauges and slow cranking with a simple voltage-drop test, then remake the connection the marine way: tinned wire, a proper crimp, adhesive-lined heat shrink and a protective coating.
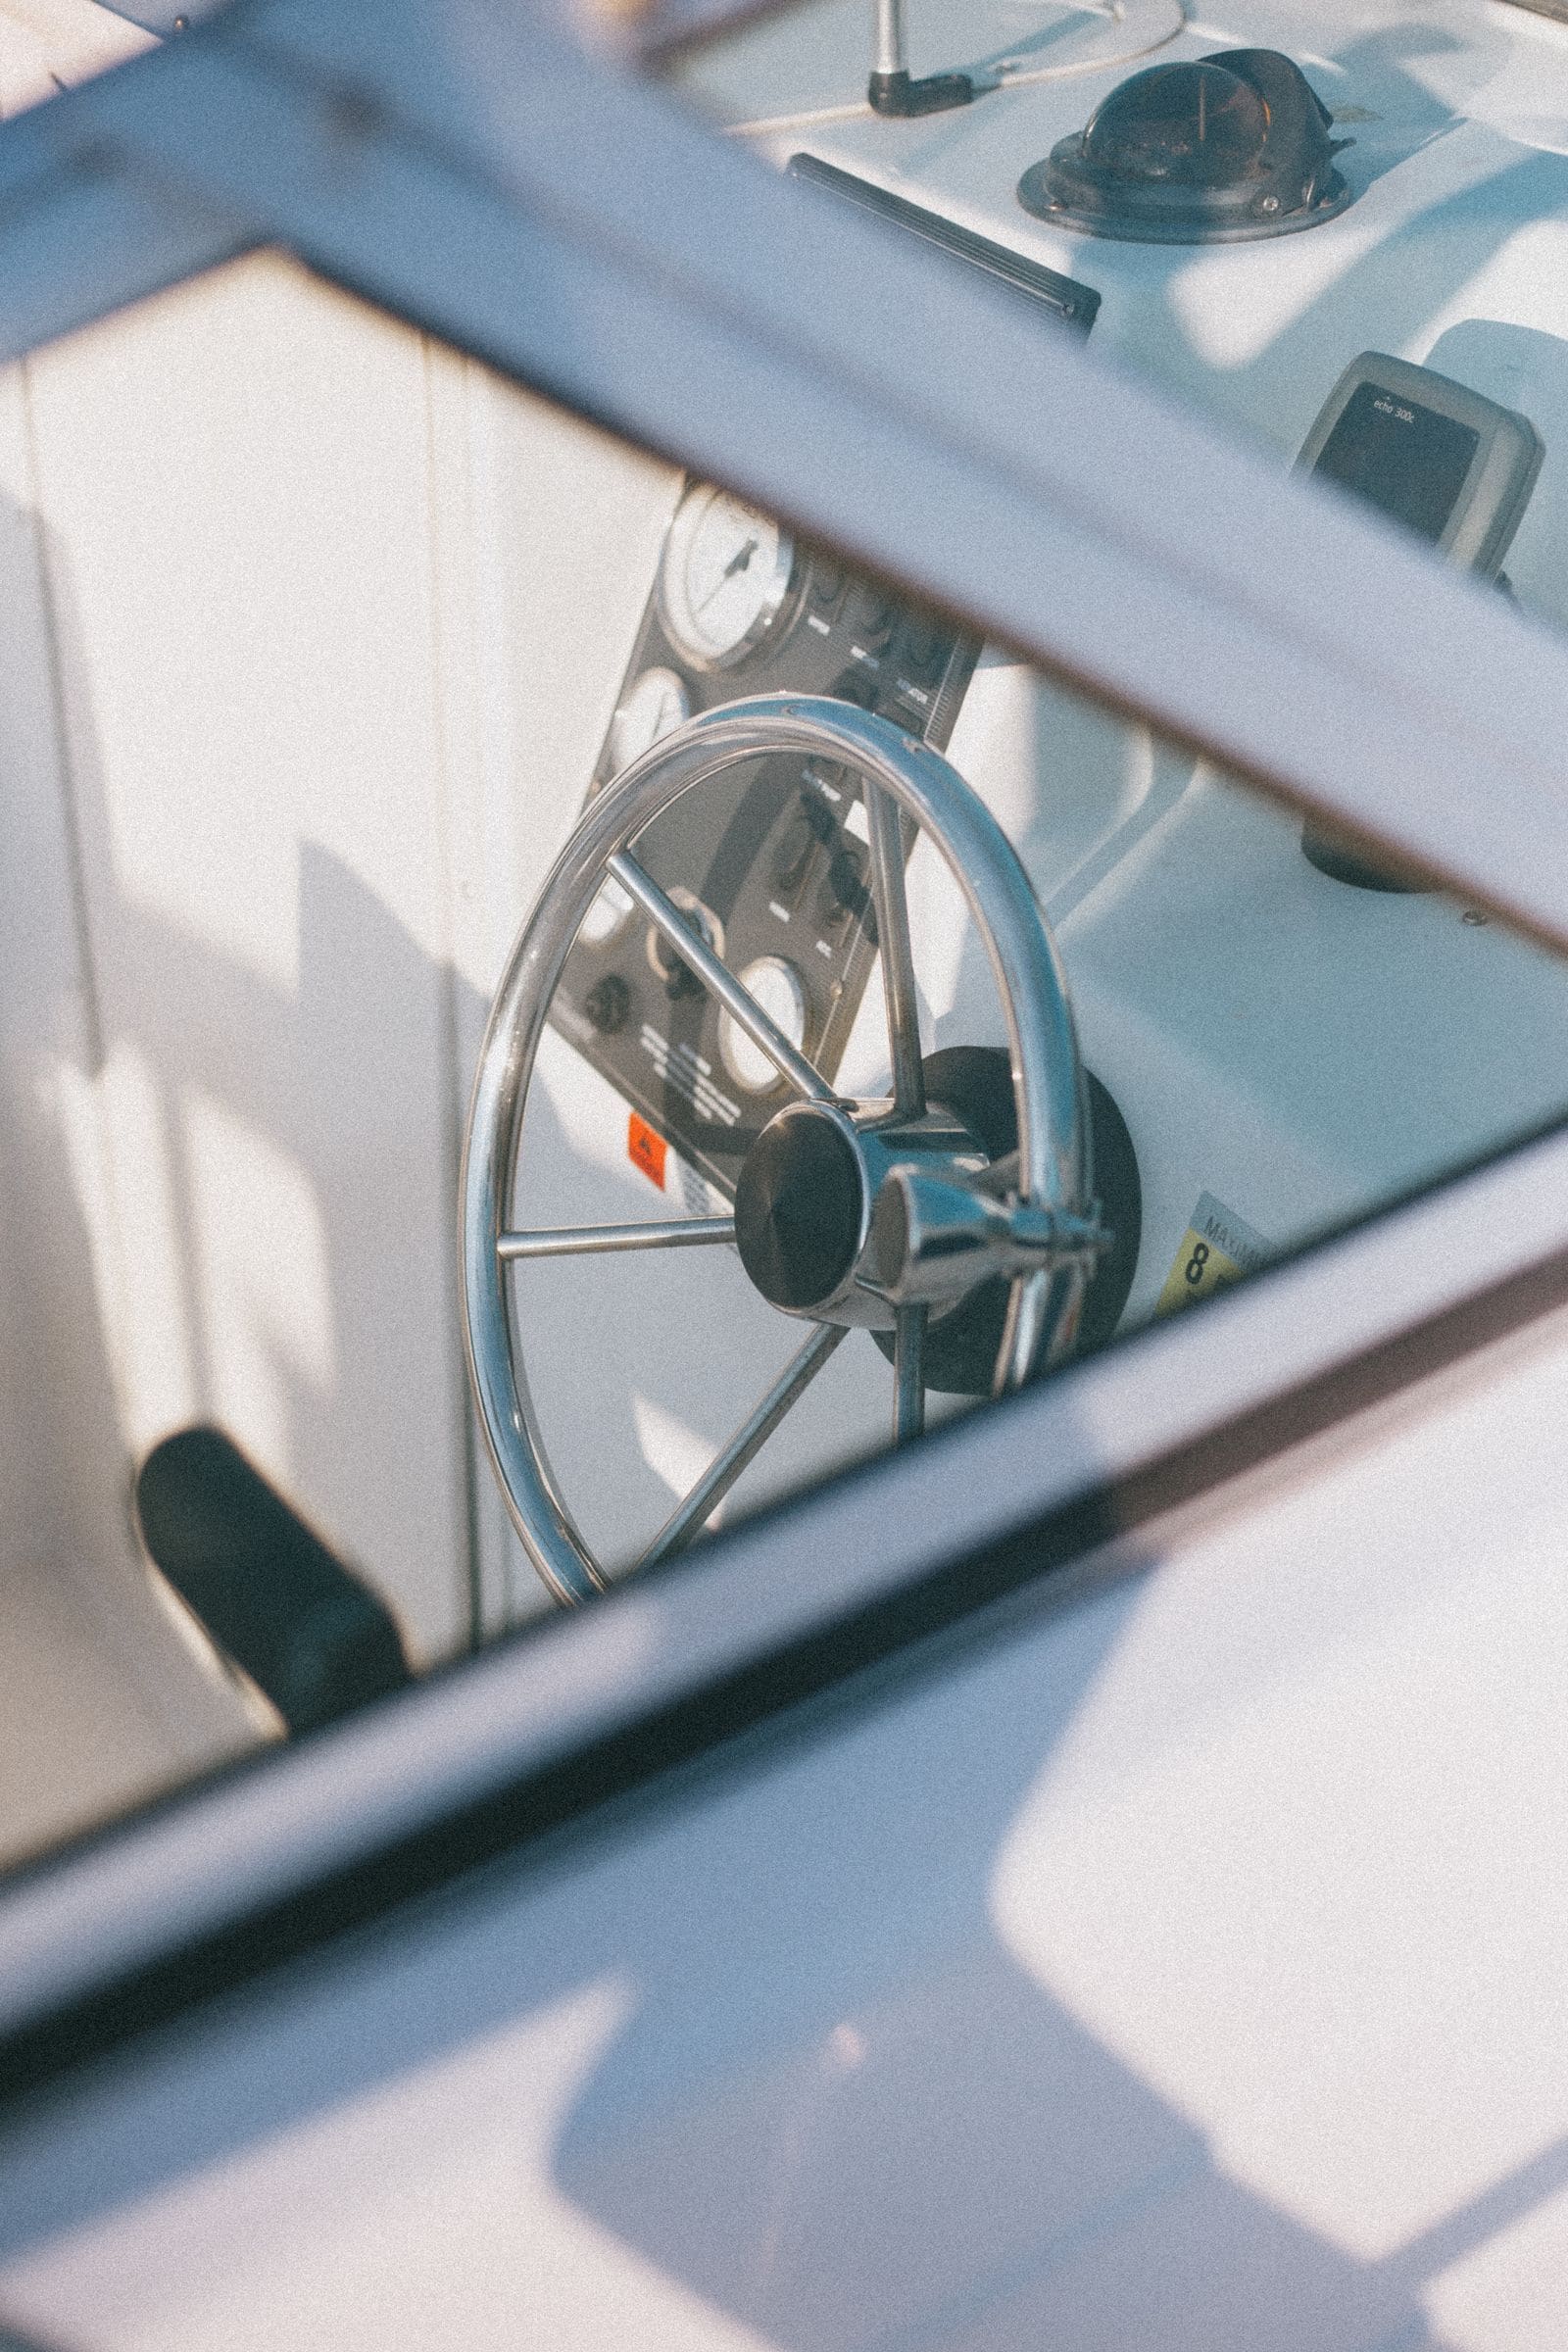
12-Volt Boat Wiring Basics: Circuits, Color Codes, Fuses and Wire Size
Learn how your boat's 12-volt system is laid out, what the ABYC wire colors mean, how fuses and breakers protect the wiring, why voltage drop and tinned wire matter, and how to read a wiring diagram, so you can troubleshoot smarter and know which jobs belong to a marine electrician.

Marine Battery Care: Test, Charge and Store for Winter
Check your boat battery's health, charge it the right way for its type (flooded, AGM or lithium), and store it so it is ready in spring. Most "boat won't start" calls start with a neglected battery.
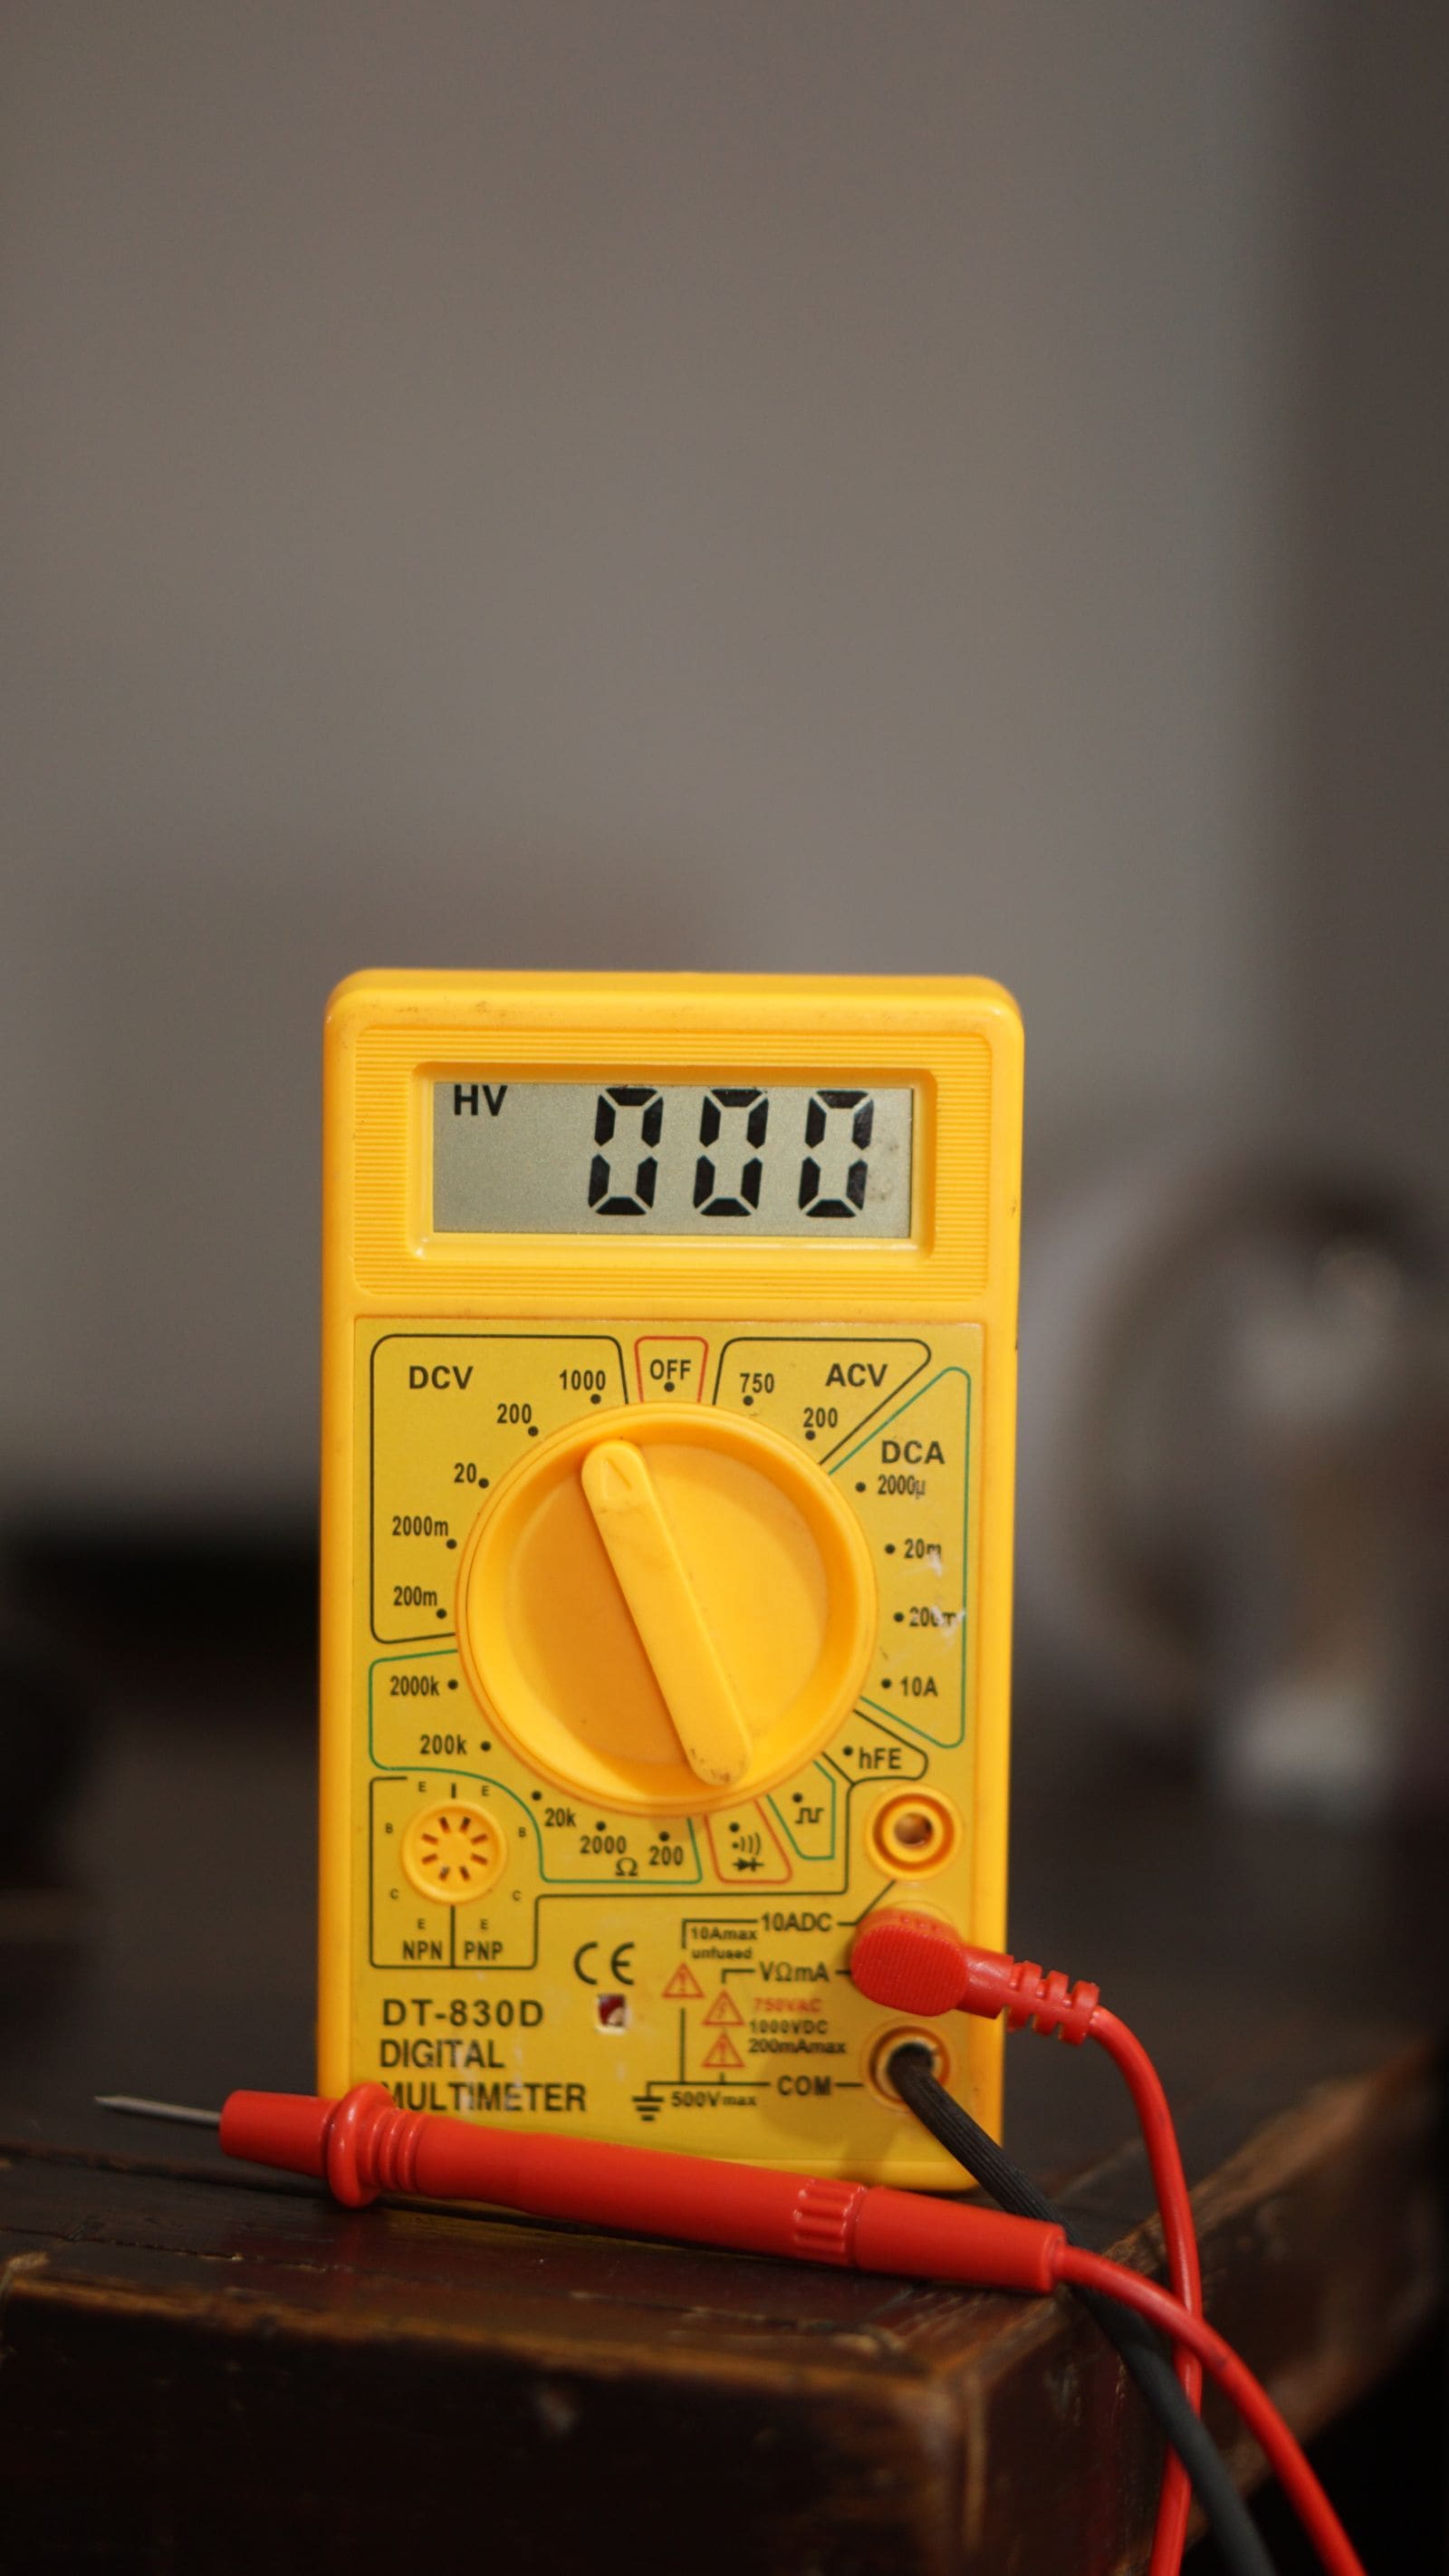
Battery Goes Dead While the Boat Sits - How to Find a Parasitic Drain
If your boat battery is flat every time you come back, something may be quietly drawing power while you are away. Learn how to tell a bad battery from a drain, find the circuit with a multimeter and the fuse panel, and fix the usual culprits without disabling your bilge pump.
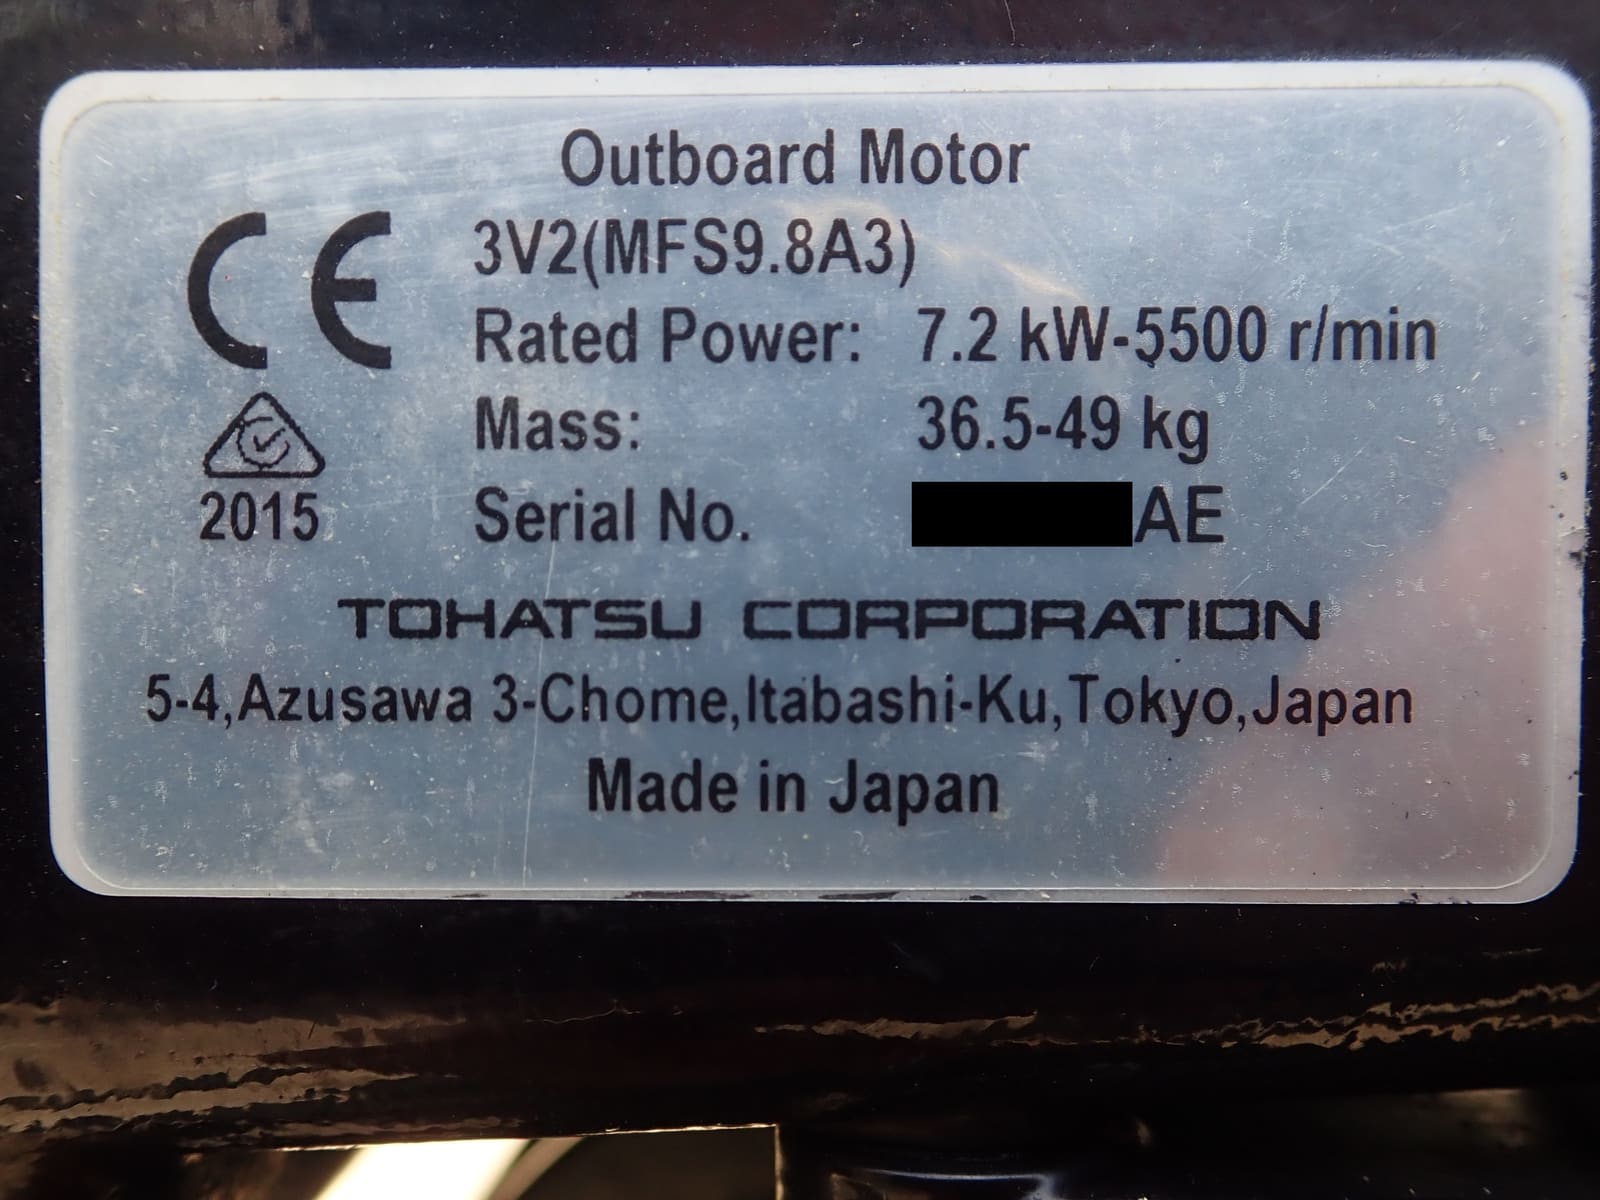
How to Find Your Engine's Serial Number, Model and Year (and Get the Official Manual)
Find the ID label on your outboard, sterndrive, inboard diesel or PWC, read the model and serial number correctly, tell it apart from the boat's HIN, and use it to open the free official owner's manual. It's the first step for ordering the right parts and following the right maintenance plan.