Marine Battery Care: Test, Charge and Store for Winter
Check your boat battery's health, charge it the right way for its type (flooded, AGM or lithium), and store it so it is ready in spring. Most "boat won't start" calls start with a neglected battery.

Time
1 h
Shop would charge
$50-150
Applies to
All engines
Safety first: Lead-acid batteries give off hydrogen gas that can explode, and they contain sulfuric acid. Wear eye protection, keep sparks and flames away, and never lay tools across both terminals. Disconnect the negative (–) cable first and reconnect it last. If a battery is hot, swollen, hissing, leaking or smells like rotten eggs, stop, do not charge it, ventilate the area and call a marine electrician. If you see smoke or fire from a battery aboard, get everyone off the boat and call 911 (or USCG on VHF 16 if underway).
Owners often ask
- My battery keeps dying. Is the engine charging it?
This guide walks you through it. Still stuck? Ask the AI Mechanic about your engine.
Tools
- Digital multimeter
- Battery terminal brush or wire brush
- Wrenches for terminal nuts (often 7/16 in, 1/2 in or 10 mm)
- Marine smart charger or maintainer with a setting for your battery type
- Baking soda and water, rags
- Safety glasses and chemical-resistant gloves
- Hydrometer (flooded batteries, optional)
Parts & supplies
- Distilled water (flooded batteries only)
- Terminal protector spray or dielectric grease
- Hex nuts with lock washers, or nylon locking nuts, for the threaded terminals (replace old wing nuts, which vibrate loose)
Before you start
Know your battery type. It is printed on the label:
- Flooded (wet-cell) lead-acid: removable caps, needs distilled water now and then. Cheapest and most common on small boats.
- AGM (absorbed glass mat): sealed, no watering, handles vibration well. Needs an AGM charging profile.
- Gel: sealed, sensitive to over-voltage. Needs a gel profile.
- Lithium (LiFePO4): much lighter, holds charge well, has an internal battery management system (BMS). Needs a lithium-compatible charger and has strict temperature limits for charging.
Starting vs deep-cycle: starting batteries deliver a big burst for cranking; deep-cycle batteries run trolling motors, electronics and house loads. Do not swap one for the other without checking your engine and accessory requirements.
Use the right charger. BoatUS warns that cheap automotive chargers can overcharge and "boil" a battery. A marine smart (multi-stage) charger with a setting that matches your battery is the safe choice. Never charge different chemistries together on one charger output.
Steps
Turn off all electronics and set the battery switch to OFF. Wait a few hours after charging or running the engine before you test (a "rested" battery gives an honest reading).
Look for cracks, bulges, leaks, melted terminals or loose hold-down straps. A battery must be strapped down and its positive terminal covered with a boot. Check cables for green or white corrosion, cracked insulation and loose lugs.
If there is corrosion, disconnect the negative cable first, then the positive. Scrub terminals and cable ends with a terminal brush. Neutralize acid residue with a baking soda and water paste, rinse lightly, and dry. Keep the cleaning solution out of the cell caps.
Wipe the whole top of the battery clean and dry too. Boating Magazine notes that an oily, dusty film on the case holds moisture and lets a small current leak from the positive post to the negative, which slowly drains a battery that is "off".
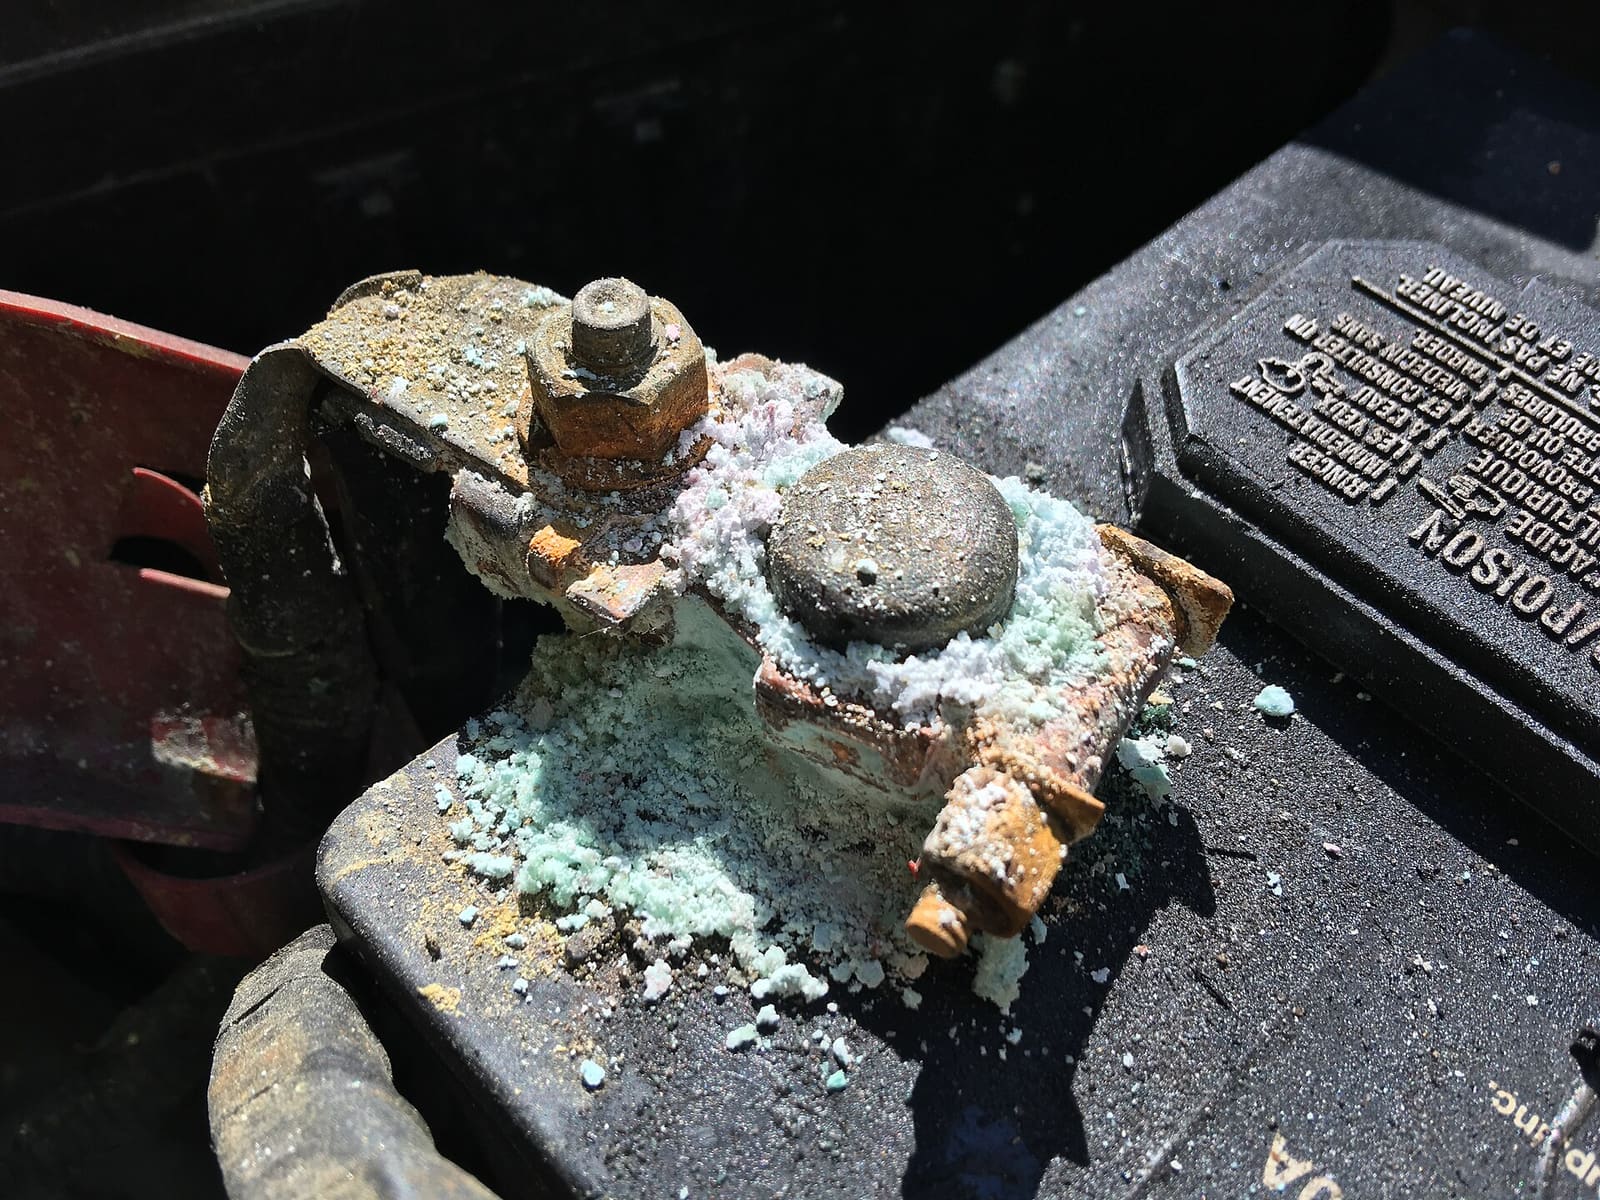
Heavy terminal corrosion like this raises resistance and can stop the engine from cranking. Clean it off as described above. Photo: MarkBuckawicki / Wikimedia Commons · CC0 1.0 Pop the caps and look. Plates should be covered. Top up with distilled water only, after charging (not before, unless the plates are exposed). Do not overfill. AGM, gel and lithium batteries are sealed; never open them.
Set the multimeter to DC volts and touch red to positive, black to negative. Typical readings for a rested 12-volt lead-acid battery (confirm with your battery maker):
- About 12.6 to 12.8 V: fully charged (AGM often reads a bit higher)
- About 12.4 V: roughly three-quarters charged
- About 12.2 V: roughly half charged; charge it soon
- Below about 12.0 V: deeply discharged; charge right away and then retest
Lithium batteries hold a nearly flat voltage until almost empty, so voltage is a poor fuel gauge for them. Use the battery's app or monitor if it has one.
Voltage alone can hide a weak battery. Have it load tested (most auto parts stores do this free) or use a load tester. Yamaha recommends a load test before storage so you know it will crank in spring. A battery that fails a load test after a full charge should be replaced.
Battery keeps going flat? Two quick checks tell you where to look. With the engine running above idle, the voltage at the battery should be clearly higher than your resting reading; if it is not, the engine's charging system is not doing its job (a dealer or marine electrician job). If it charges fine but goes flat while the boat sits, something is drawing power with everything off, such as a bilge pump cycling, a stereo memory or a fish finder left on.
To hunt a small drain yourself: with everything switched off, disconnect the negative cable and connect a multimeter set to amps (DC, on its amp jack) between the cable and the negative post. A reading well above zero means something is drawing power; pull fuses or open breakers one at a time and watch which one makes the reading drop. Never turn the key or run a pump or windlass with the meter connected this way, because the starting current will blow the meter's fuse or damage the meter. If the drain is not on any fuse, leave it to a marine electrician.
Set the charger to the correct chemistry. Connect positive first, then negative, then plug in the charger. Let it complete all stages (bulk, absorption, float). A good rule of thumb from BoatUS: charger amps around 10 to 15 percent of the battery's amp-hour rating.
Charge in a ventilated space, never in a closed cabin with a flooded battery.
- Boat on land in a freezing climate: remove the battery and store it indoors somewhere cool, dry and above freezing. A charged lead-acid battery resists freezing much better than a flat one; a discharged one can freeze and crack.
- Boat stays connected: turn the battery switch off, or disconnect the negative cable, to stop small parasitic drains.
- Boat in the water: your bilge pump needs power. Keep the bilge pump circuit live and the battery charged with a marine charger on shore power, or check it often.
Use a marine smart maintainer that drops to a safe float voltage, or recharge fully about once a month. Avoid basic trickle chargers that never shut off; they can boil a battery dry over a winter.
AGM and gel: follow the maker's float voltage. Lithium: many makers recommend storing at a partial charge (often around 50 to 80 percent) with the battery disconnected, and most LiFePO4 batteries must not be charged below freezing unless they have built-in heating. Follow your battery maker's instructions exactly.
Charge fully, reinstall, connect positive first and negative last, tighten the nuts snugly, and coat the terminals with protector spray or dielectric grease. If your cables are held on with wing nuts, replace them with proper hex or locking nuts: Boating Magazine notes wing nuts no longer meet industry standards because they loosen too easily. Make sure the hold-down is secure and the terminal boots are on.
Record the date, resting voltage and load-test result. A battery that loses voltage faster each year is nearing the end.
Common mistakes
- Turning the battery switch to OFF while the engine is running. That can damage the charging system on many engines.
- Leaving a dual-battery switch on BOTH all the time, so one weak battery drags the good one down.
- Hooking the cables up backward. Reversed polarity can destroy fuses, the regulator or engine electronics in an instant. Mercury strongly recommends a dealer inspection before using the boat if it happens, because the damage varies by model.
- Trusting a resting voltage reading and skipping the load test.
- Using a cheap trickle charger that never shuts off and boils the battery dry over the winter.
- Running a trolling motor or electronics off a starting battery, or installing a car battery to save money.
- Repairing cables with car-style crimp connectors and no heat-shrink, or leaving a loose, corroded ground.
When to call a pro
- The battery is swollen, hot, leaking, hissing or smells of rotten eggs
- You are adding a second battery, a battery switch, a combiner, an inverter or an onboard charger (high-current wiring needs proper fusing and wire size)
- You are converting to lithium (charging system, alternator and fusing often need changes)
- Cables or terminals are melted or discolored from heat
- The battery keeps going flat and you suspect a parasitic drain you cannot find
Tips
- Write the purchase date on the battery with a paint marker.
- Suzuki's battery advice: test it on a regular schedule and especially after winter storage, replace a cracked case right away, and protect the terminals with a grease film, anti-corrosion washers or terminal spray.
- Do not mix old and new batteries in the same bank.
- Most marine batteries last a few seasons (Mercury puts a well-kept, well-secured lead-acid starting battery at about four to five); plan to replace it before it leaves you stranded.
- Recycle old lead-acid batteries where you buy the new one; it is required in many states and often earns a core credit.
Official references
We read these to write this guide. Your engine's own manual always wins.
- BoatUS – Got Juice? Lessons Learned From Your Battery
- BoatUS – Installing a Marine Battery Charger
- Mercury Marine – How to Winterize Your Outboard (battery section)
- Yamaha Outboards – Maintenance Matters, Extended Storage
- Mercury Marine – Maintenance Made Easy, Battery Basics
- Yamaha Outboards – Maintenance Matters, Electrical System
- Boating Magazine – Top Spring Make-Ready Tips for Your Boat
- Mercury Marine – Owner FAQs (reversed battery connections)
- Suzuki Marine – FAQs (onboard battery care)
Safety: BoatMend is for information only and does not replace a certified marine technician. You are responsible for your safety and your boat. Read the full disclaimer.
Last updated 2026-10-23
Related guides
Engine Won't Start or Won't Crank - Troubleshooting Guide
Find out why your boat engine will not turn over or will not fire, starting with the simple things owners miss most, like the kill switch lanyard and battery switch. Many no-starts are fixed at the ramp in minutes without a tow.
How to Use a 1-2-Both Battery Switch and Run Two Batteries
Learn what the 1, 2, Both and Off positions really do, a simple routine that keeps one battery ready to start the engine, how to check that both batteries are charging, and when an automatic charging relay makes life easier. Rewiring high-current cables is a job for a marine electrician.
How to Winterize an Outboard Engine
Protect your outboard from freeze damage, stale fuel and internal corrosion over the off-season. Most owners can do it in an afternoon with basic tools, compared with a shop bill that often runs several hundred dollars.
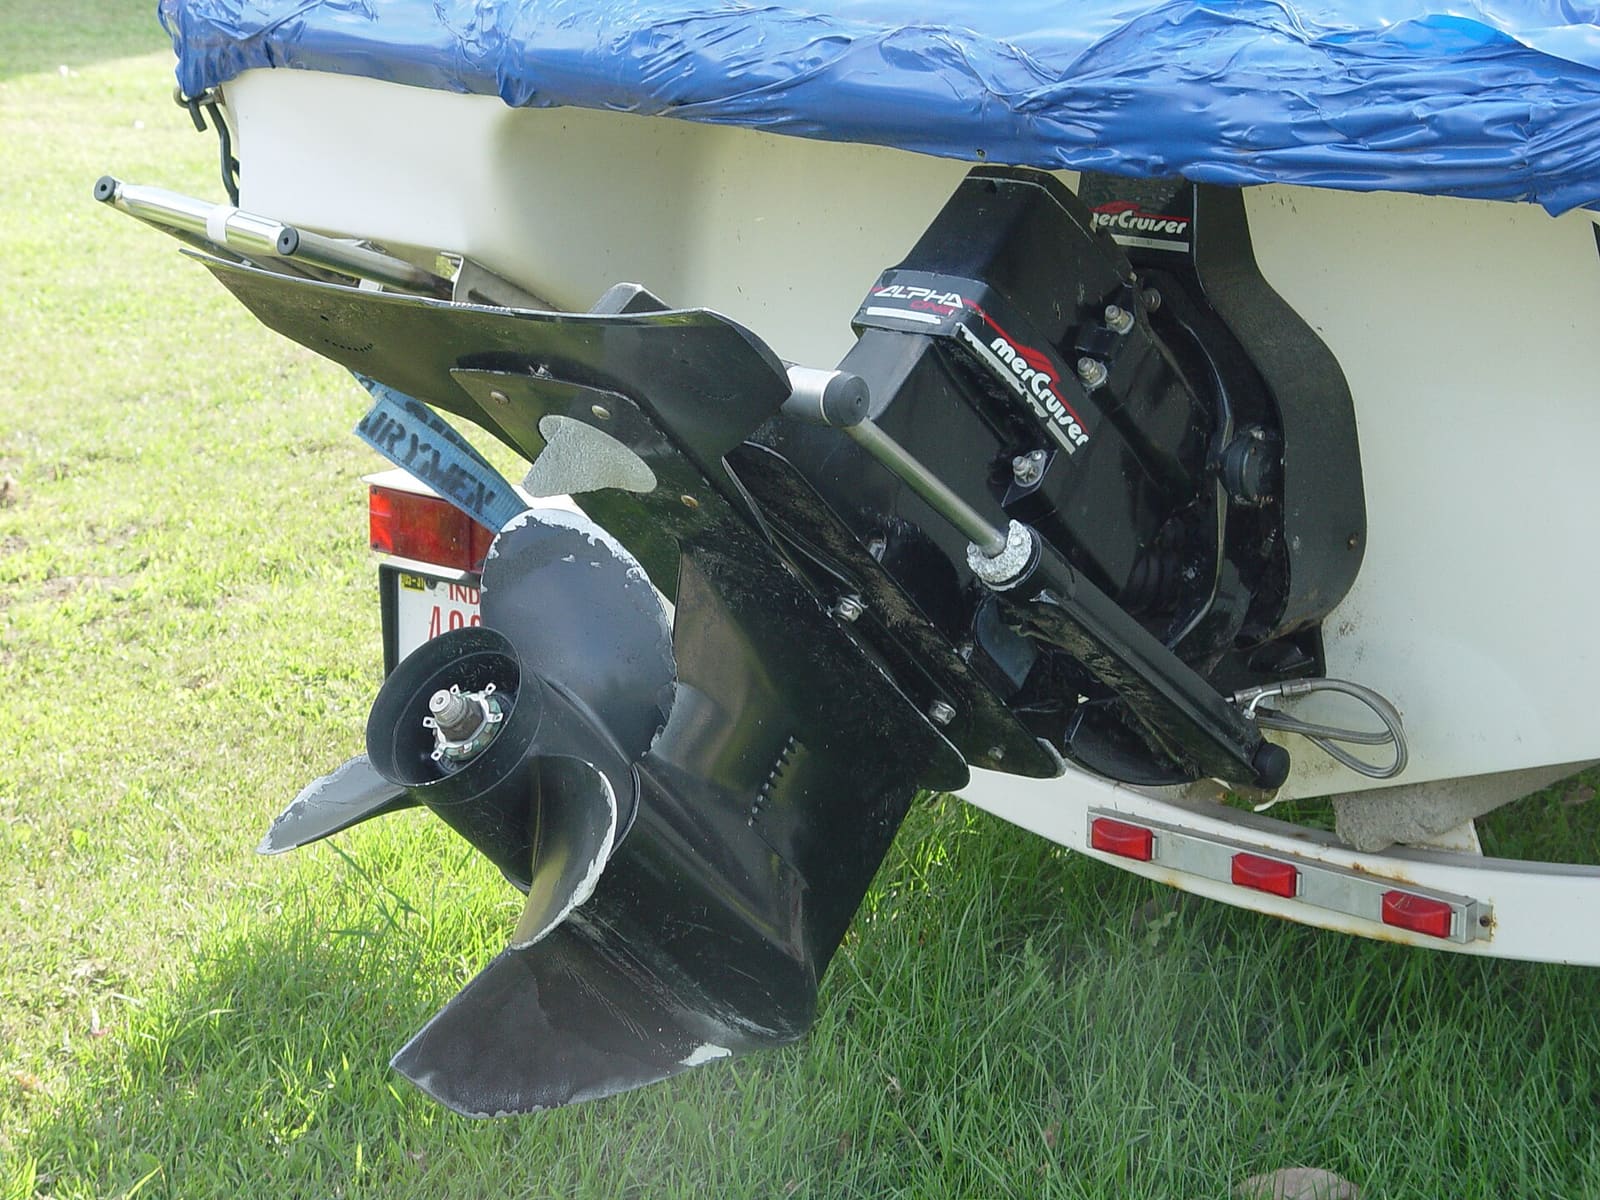
How to Winterize a Sterndrive (MerCruiser, Volvo Penta and Similar)
Get the water out of your sterndrive engine, protect it with antifreeze, and service the drive before storage. A cracked block or manifold from one missed drain plug can cost thousands, and doing it yourself saves a shop bill of several hundred dollars.
Spring Commissioning - Getting Your Boat Ready for the Season
Wake your boat up after storage with a step-by-step check of the battery, fuel system, engine, drive and safety gear. Catching a cracked hose or dead battery in the driveway beats a tow on opening weekend, and saves a typical shop commissioning fee.
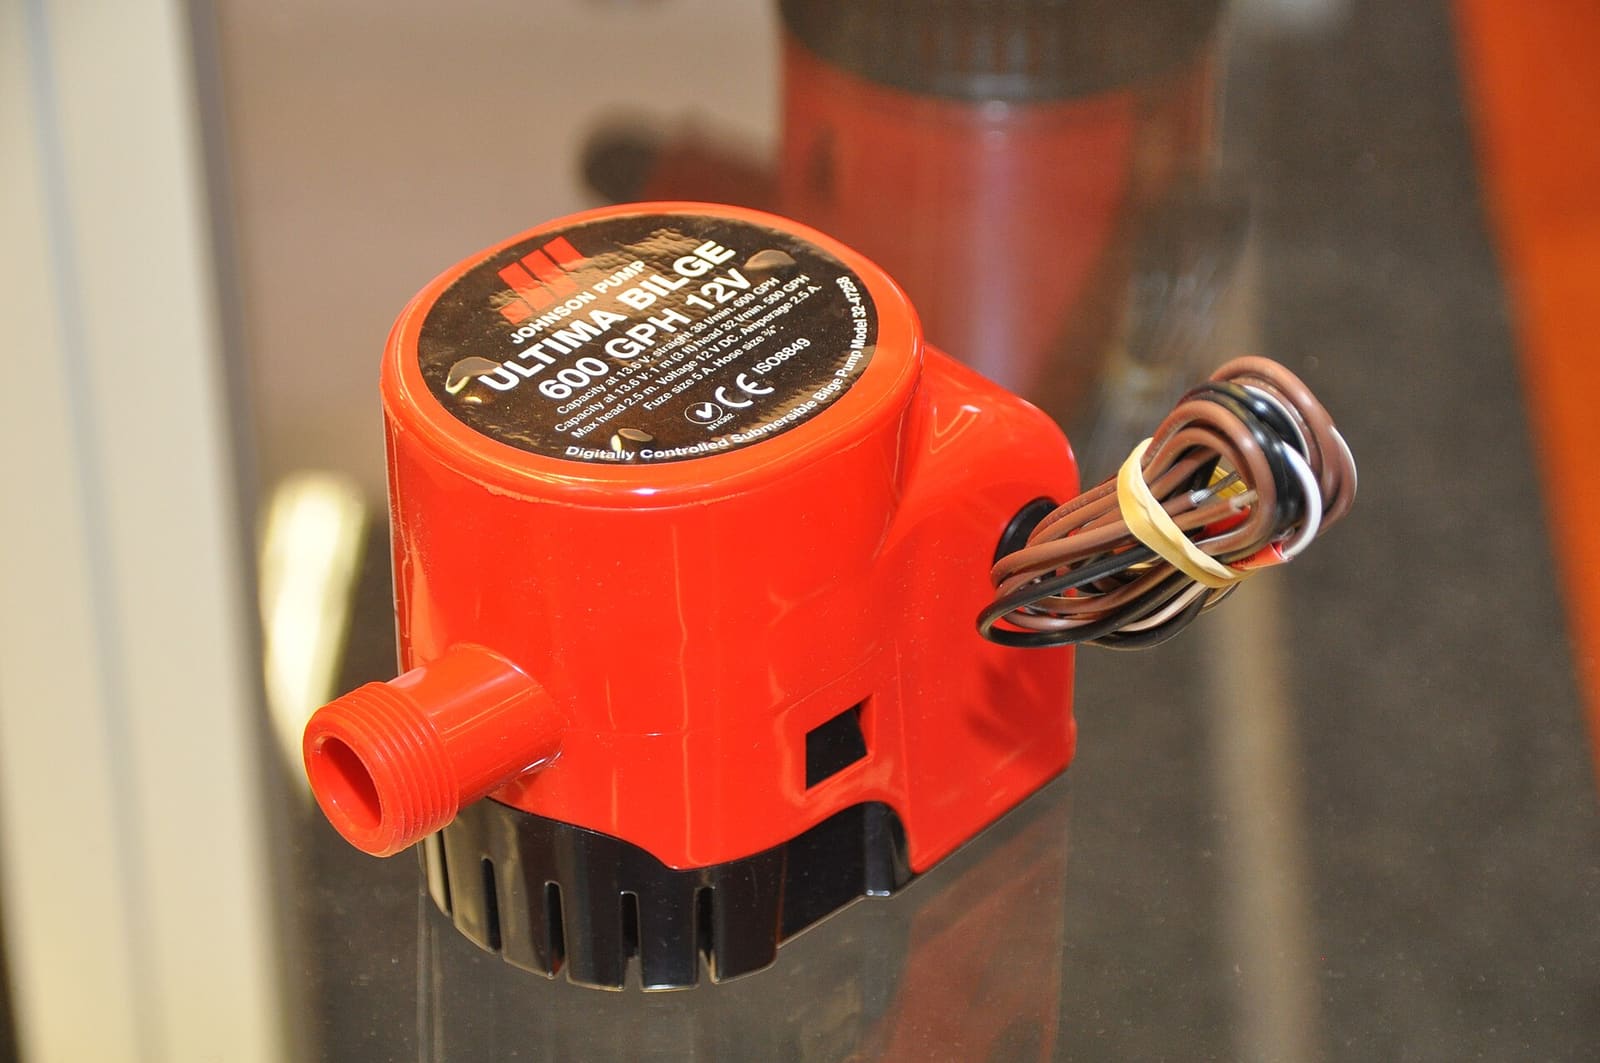
How to Test and Clean Your Bilge Pump and Float Switch
Make sure your bilge pump actually moves water overboard, both on the manual switch and automatically through the float switch. A working bilge pump is one of the most important safety systems on any boat that stays in the water.
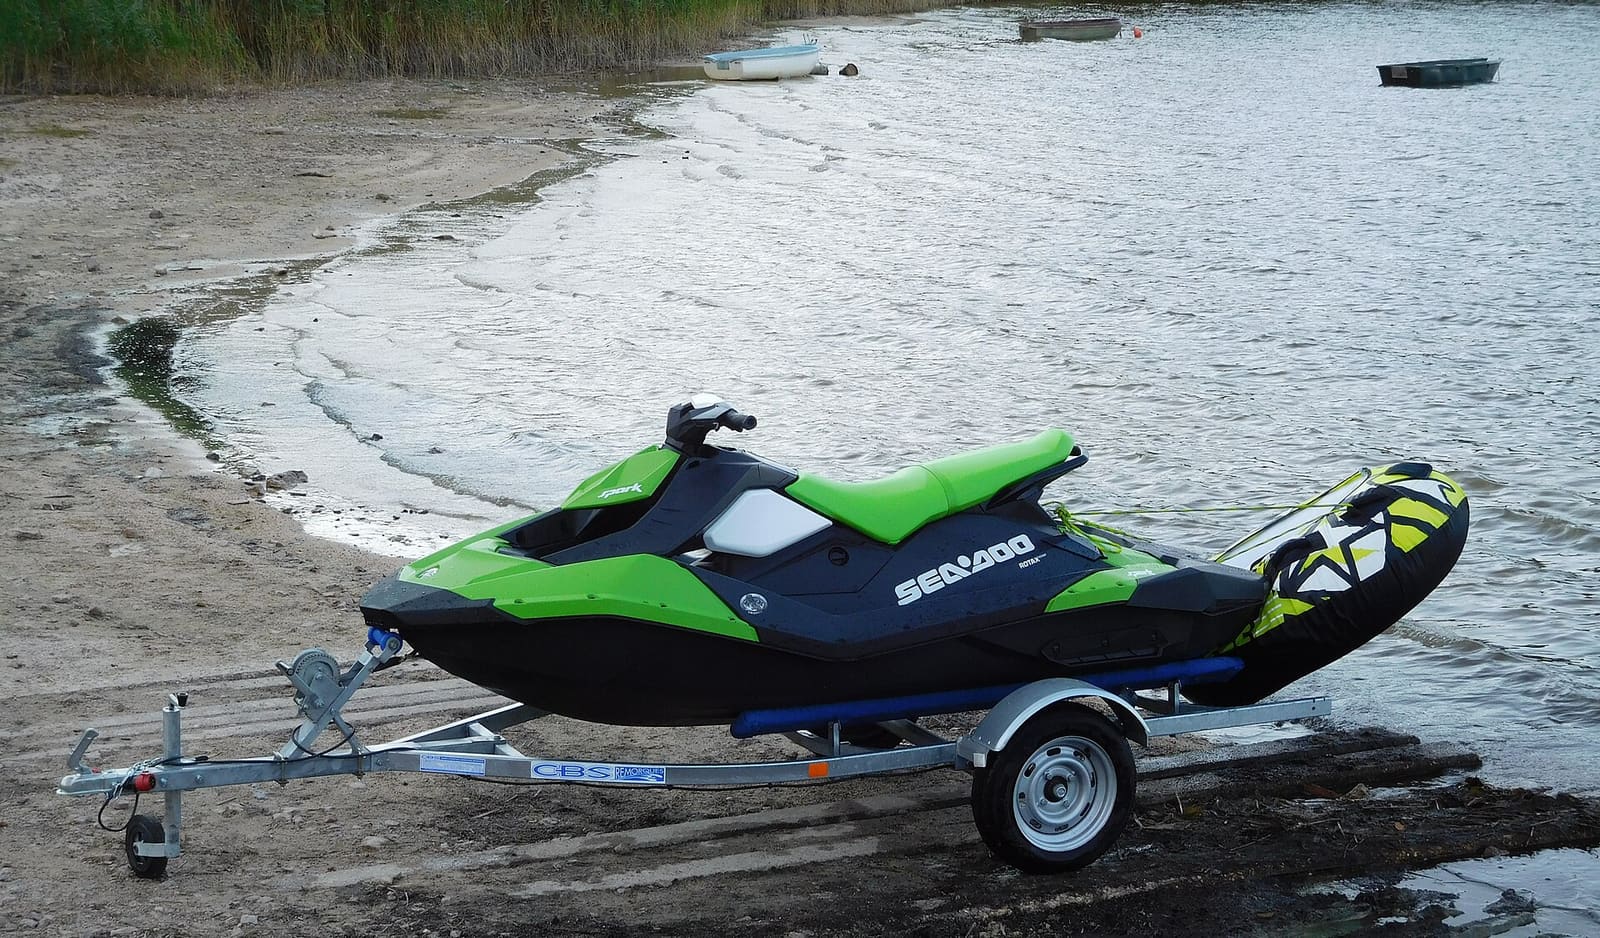
How to Winterize a Jet Ski or PWC (Sea-Doo, Yamaha WaveRunner, Kawasaki)
Get your personal watercraft ready for the off-season by flushing and draining the cooling and exhaust system, stabilizing fuel, changing oil, fogging, and storing the battery. Doing it yourself takes an afternoon and helps avoid freeze damage, corrosion and spring no-starts.