How to Keep a Dry Bilge, Including Dry Bilge Pump Systems
Standing water in the bilge causes odors, mildew and corrosion, and hides new leaks. Learn why your main pump leaves water behind and how to get rid of the last inch: cut the sources, clear limber holes, route AC condensate and showers to a sump, and add a small self-priming diaphragm pump if needed.
Time
4 h
Shop would charge
$300-900
Applies to
All engines · Cabin cruiser, Yacht, Sailboat
Safety first: A dry bilge pump is an add-on for nuisance water, never a replacement for your main automatic bilge pump, high-water alarm or backup pump. Don't pump oily or fuel-contaminated water overboard; it's illegal and a fire risk. If you smell fuel, stop and call a mechanic. Any new hole in the hull is a potential leak: if you're not sure where it's safe to drill a thru-hull, have a yard do it.
Owners often ask
- How do I get the last inch of water out of my bilge?
- Is it OK to drain my air conditioner condensate into the bilge?
This guide walks you through it. Still stuck? Ask the AI Mechanic about your engine.
Tools
- Small wet/dry vacuum, sponges and old towels
- Flashlight or headlamp and an inspection mirror
- Stiff wire (a straightened coat hanger) for limber holes
- Drill, hole saw sized for the thru-hull, and a step bit (for an installed system)
- Screwdrivers, nut drivers and a wire stripper and crimper
- Multimeter
- Heat gun (for heat-shrink connectors)
Parts & supplies
- Dry bilge pump kit (self-priming diaphragm pump, pickup hose and thru-hull), or a portable 12-volt diaphragm pump with hoses
- Marine-grade tinned wire, heat-shrink butt connectors, fuse holder and fuse as the pump maker specifies
- Panel switch or timer, as the pump maker recommends
- Marine sealant rated for above- and below-waterline use (for the thru-hull)
- Stainless steel hose clamps and hose supports
- Oil-absorbent bilge pads
Before you start
Most bilges are never completely dry. A standard submersible bilge pump needs to sit in water to work, so it stops with water still around it. Xylem, which makes Rule pumps, says its centrifugal bilge pumps by design always leave roughly 3/4 inch of standing water, and lists rain, rough seas, condensation, mast drip and aging hose connections among the usual sources. Add the water that runs back down the discharge hose when the pump shuts off, and every boat with an inboard ends up with a permanent puddle in the low spot.
That puddle matters. PassageMaker puts it simply: the key to a clean bilge is a dry one. Warm, stagnant water feeds odors and mildew that spread into the cabin, keeps hardware corroding, and hides new leaks, because you can't tell fresh water from old.
There are three levels of effort:
- Stop water getting in (free or cheap, and the most important).
- Remove the last of it by hand (sponge, wet-vac or a portable pump).
- Install a dry bilge system (a small self-priming diaphragm pump that picks up from the lowest point).
This guide covers all three. Plan a weekend if you install a pump.
Steps
Every bit of water you stop is water you don't have to pump. Work through where is the water in my bilge coming from. The common ones on cruisers and sailboats, from PassageMaker's list: spray through hullside air boxes, a dripping stuffing box or rudder post, leaky hoses and fittings, deck and hull joints, clogged hatch drains, overflowing shower sumps, and AC or refrigeration condensate.
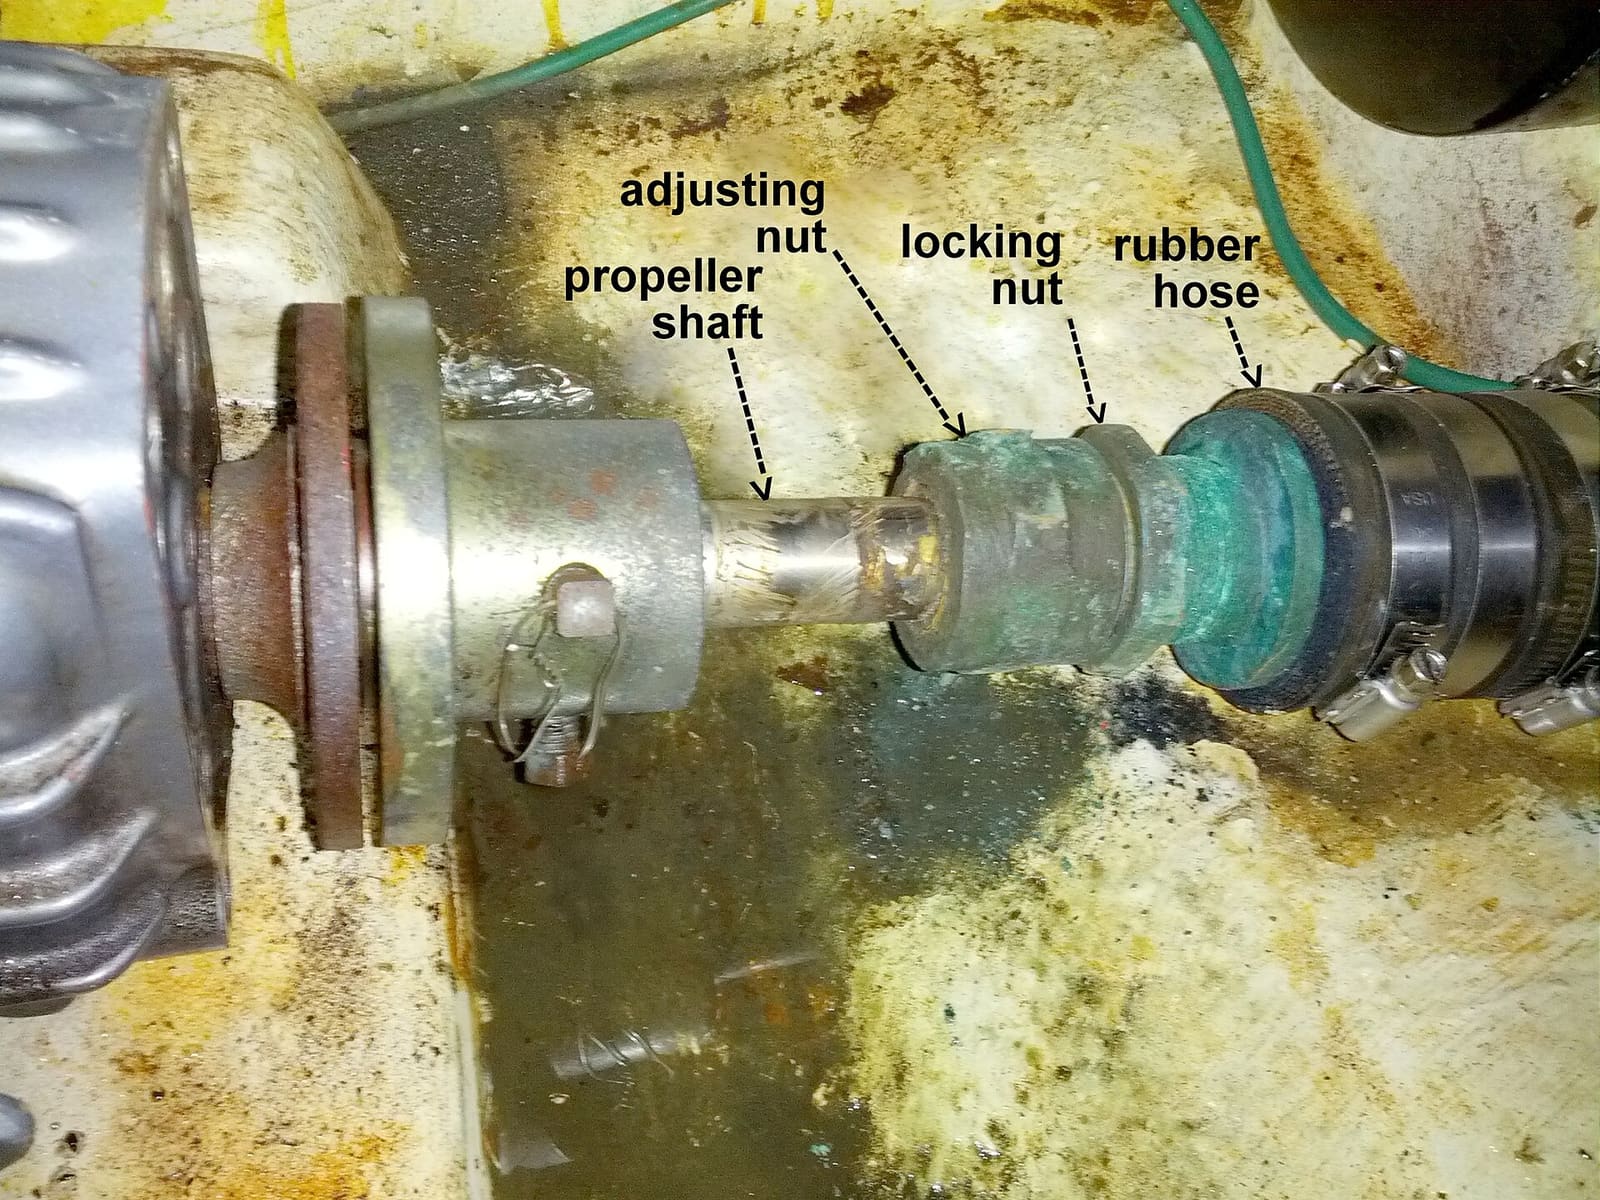
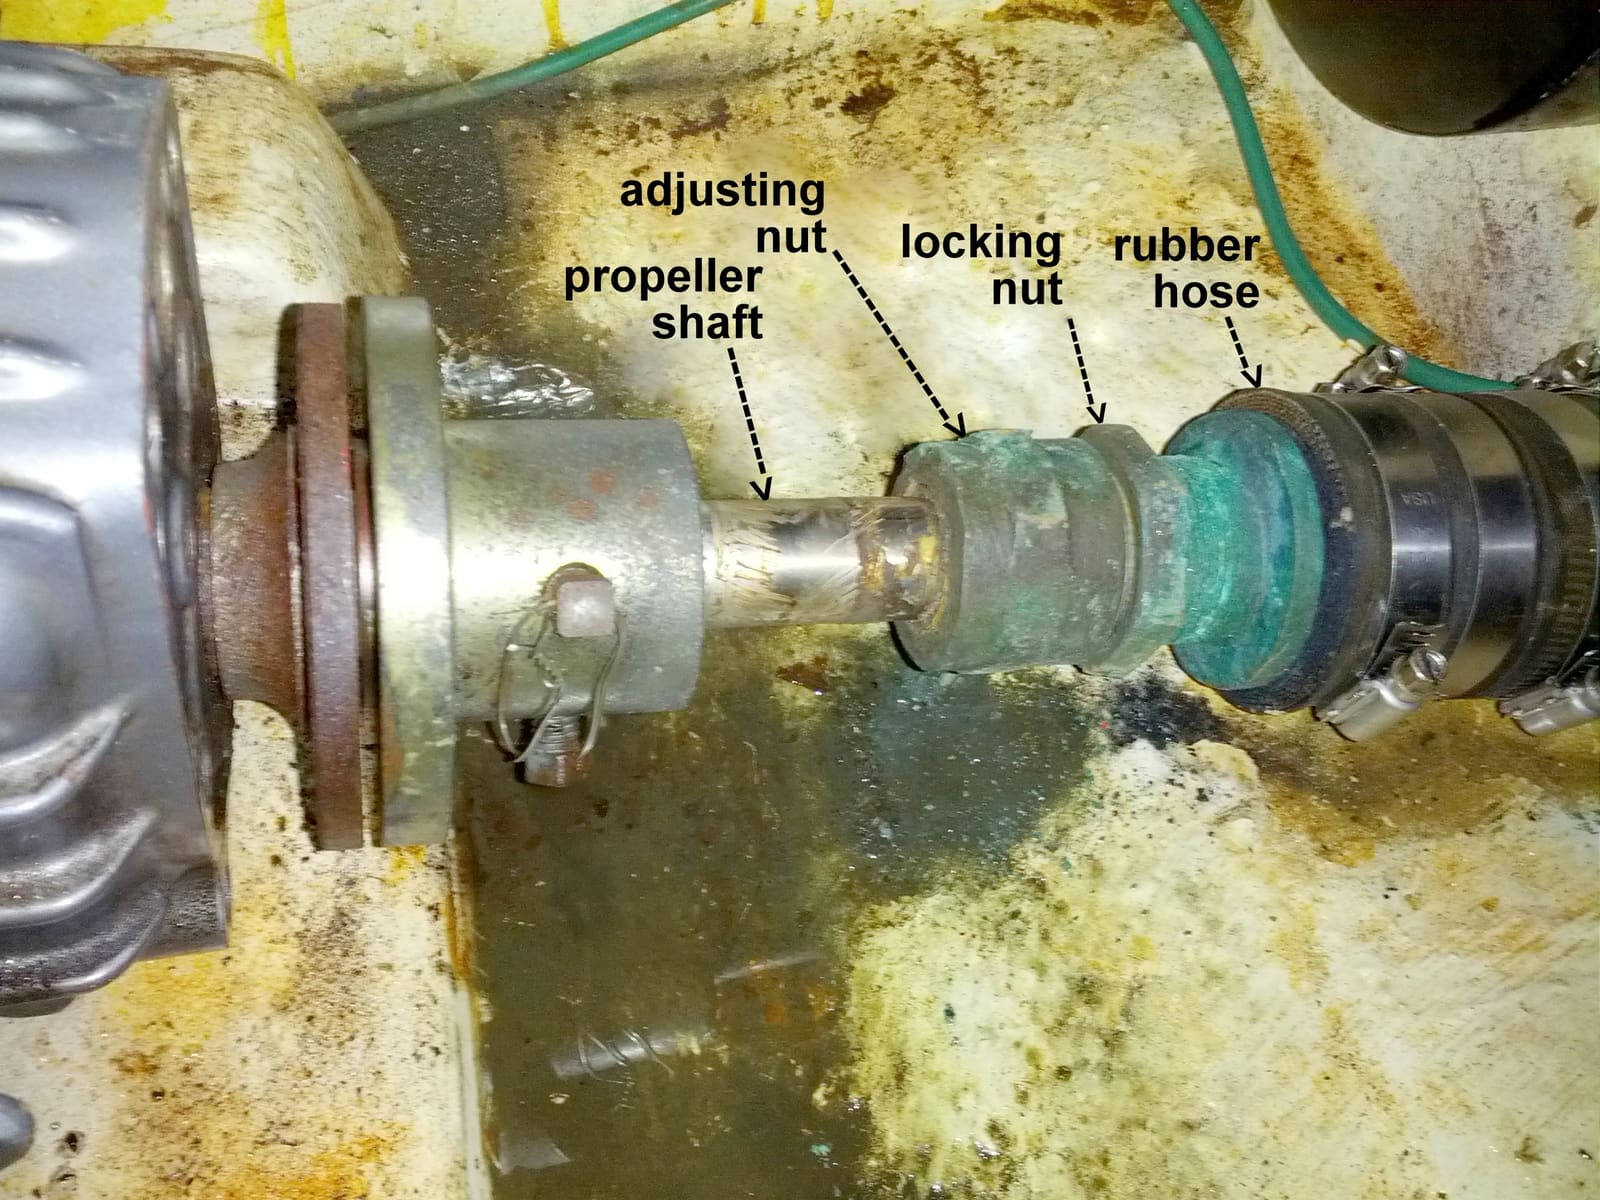
A traditional stuffing box is meant to drip a little while the shaft turns, and that water ends up in the bilge. PassageMaker suggests considering a dripless shaft seal at your next haulout if you want a dry bilge. If you keep the stuffing box, make sure it isn't dripping more than it should, especially at rest. See stuffing box and dripless seal.
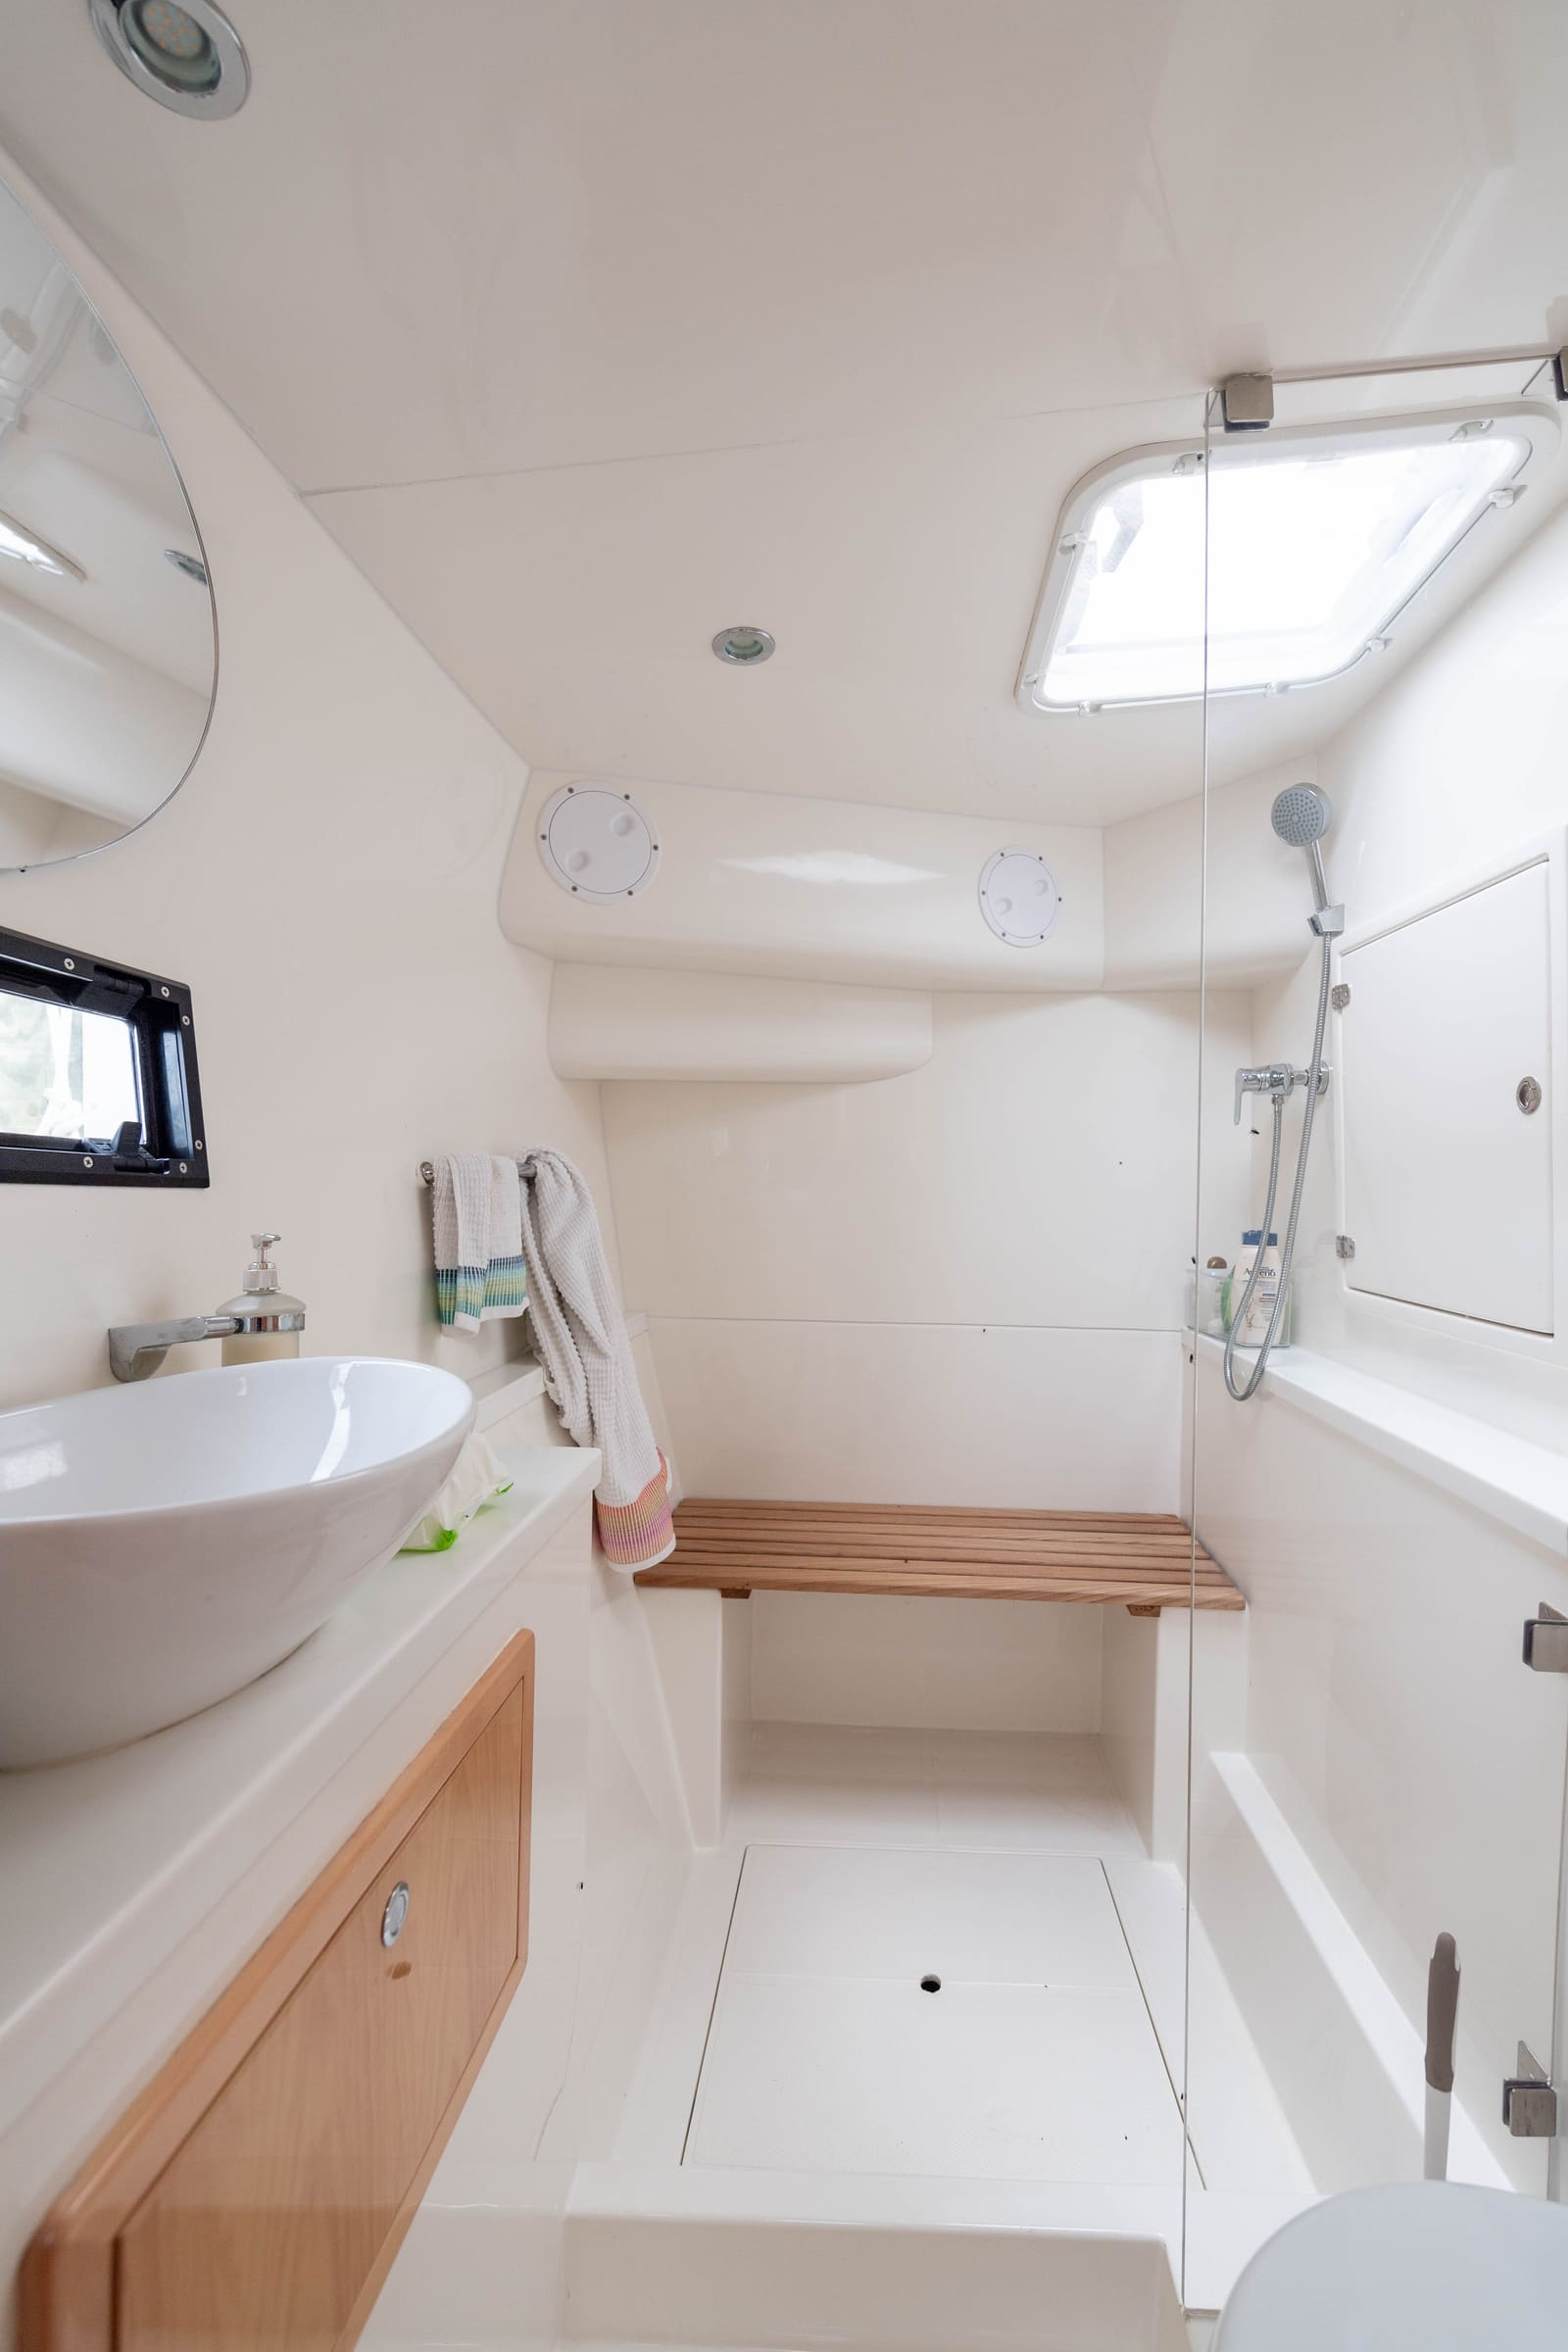
PassageMaker warns never to let shower water drain into the bilge: soap, hair, dirt and sunscreen quickly make it reek, and hair can clog the bilge pump.
- Shower and sink drains should go to a sump box with its own pump and float switch, then overboard. If the sump pump fails, fix it; don't disconnect the hose and let the shower drain into the bilge. See sump and macerator pumps.
- AC condensate from each unit's drip pan should run to a sump or an overboard fitting above the waterline, not into the bilge. A condensate line that just ends in the bilge can add a lot of fresh water on humid days.
- Refrigerator and icebox drains need the same treatment.
Limber holes are the drain openings through stringers and frames where they meet the hull, so water can run to the pump. PassageMaker recommends keeping them clean and clear, using a coat hanger to unclog them. Run the wire through each one and flush with a little fresh water. A blocked limber hole leaves a pocket of standing water the pump never reaches.
A dry bilge starts as a clean one. PassageMaker's method: wet-vac out the standing water, wipe surfaces with a household spray cleaner and rags, then dry by hand. Don't flood an oily bilge with sudsy cleaner: it spreads oil over more surfaces, and the BoatUS Foundation notes many bilge cleaners just suspend oil so it gets pumped overboard anyway. Use oil-absorbent pads under the engine and next to (not touching) the pump float. See bilge cleaning.
Knowing how your pumps work helps you choose the fix:
- Centrifugal pumps (most submersible bilge pumps) move a lot of water and can pass small debris, BoatUS explains, but they're designed to work submerged and they lose output as they push water higher.
- Diaphragm pumps are self-priming: they suck water up through a hose like a small vacuum, so the pump can be mounted up and away from the wet bilge. They move less water and cost more, and BoatUS notes their internal valves can clog if too much debris gets in.
That's why a dry bilge setup uses a small diaphragm pump for the last inch, while the big centrifugal pump stays in place for real volumes of water.
Before installing anything, see how dry you can get the bilge by hand. A sponge and bucket, or a small wet-vac, done after each trip may be all you need.
BoatUS describes an owner whose 1986 engine compartment still looks new because the bilge under the engine gets towel-dried after every trip: less humidity, less rust, and any new leak shows up right away.
For hard-to-reach pockets, Practical Boat Owner showed a simple portable setup: a cheap 12-volt diaphragm pump on a board that sits on a bucket, with a suction hose to reach into corners and a plug for a 12-volt outlet. Small diaphragm pumps like these, or a hand-operated one, reach water that never flows to the main sump.
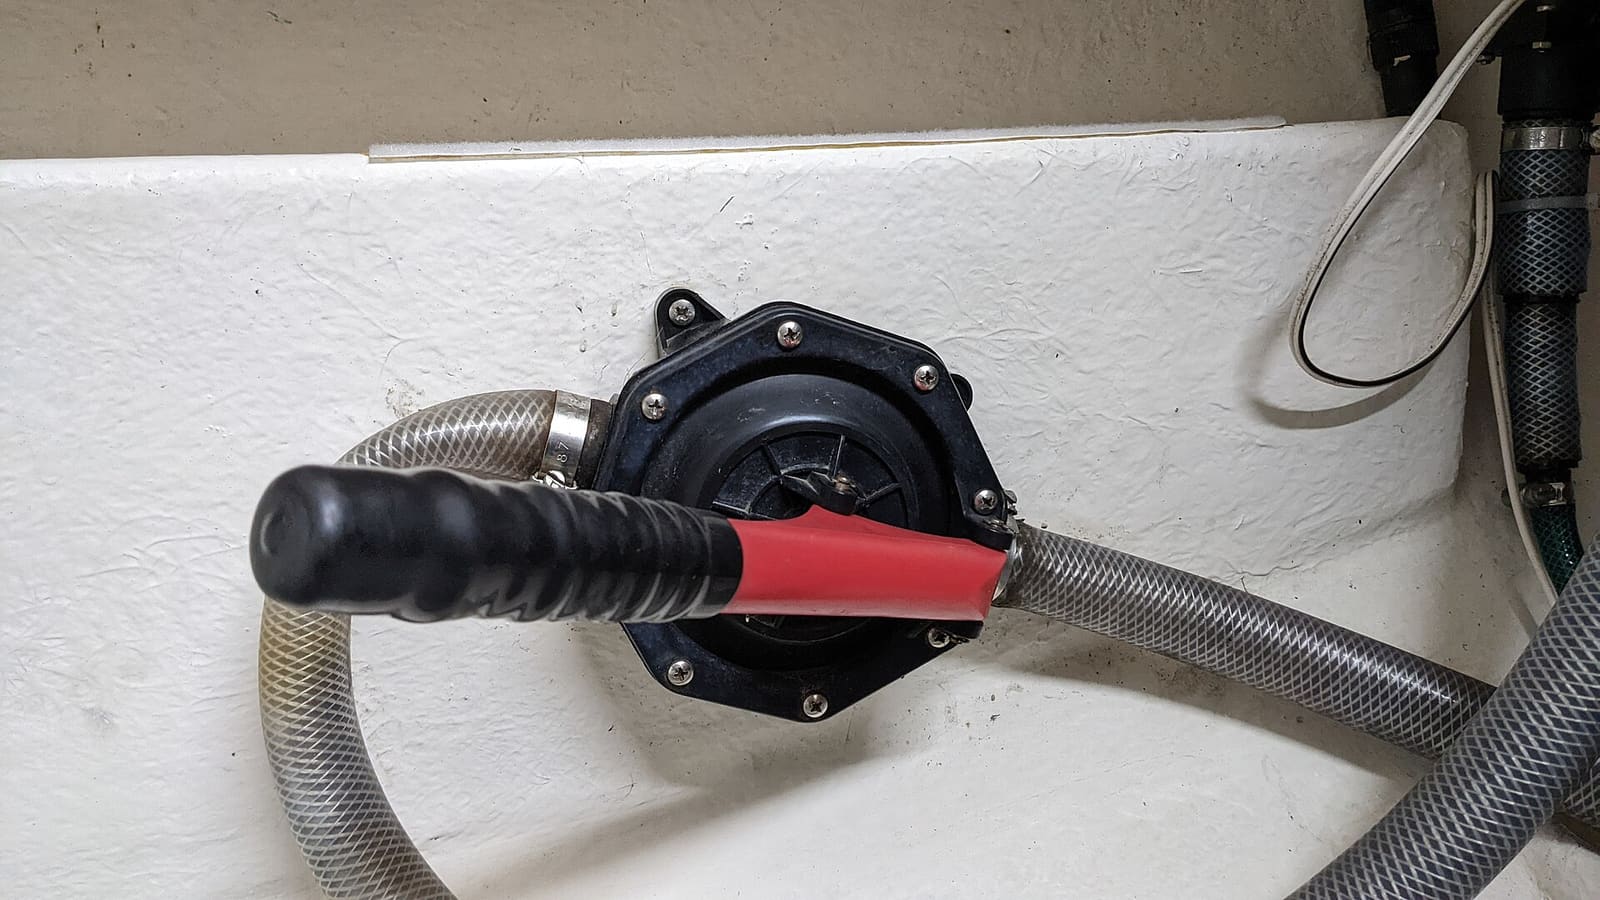
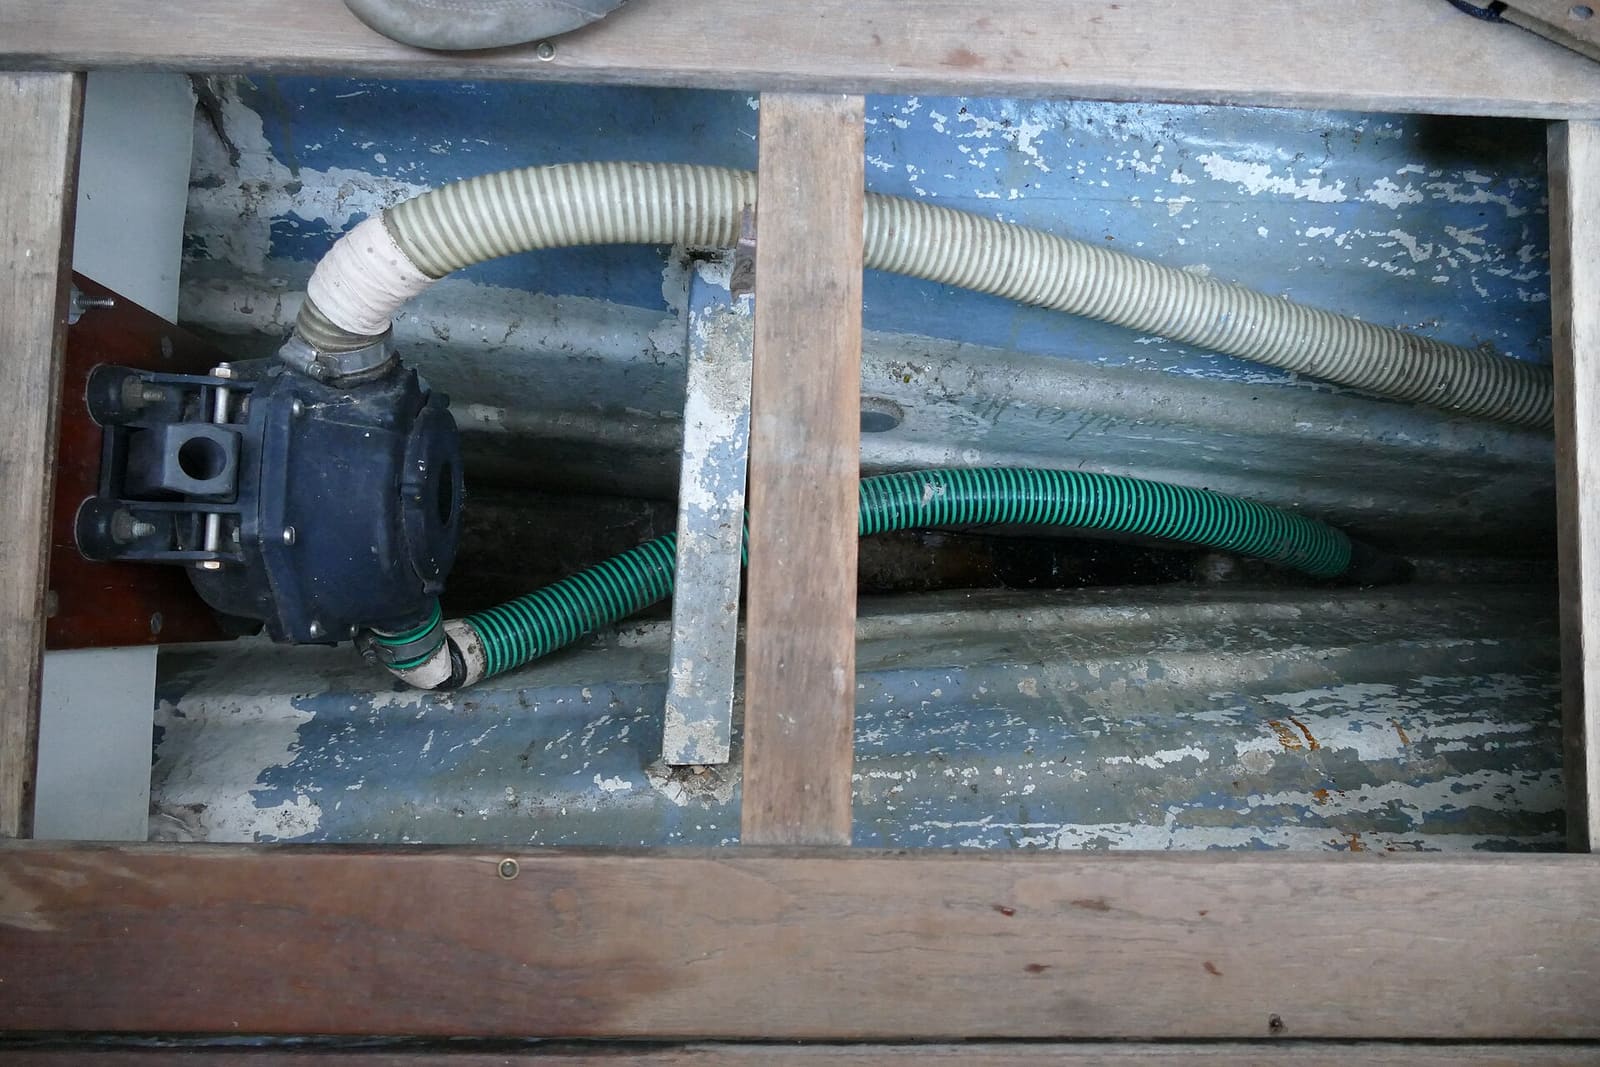
A manual diaphragm pump: like the electric dry bilge pumps, it sucks water up through a hose and can run dry without damage. Photo: Jbasic / Wikimedia Commons · CC BY-SA 4.0 If the water keeps coming back (a stuffing box drip, condensation), an installed system does the work for you. A typical kit, like the Rule Dry Bilge Pump described by Xylem, includes:
- A self-priming diaphragm pump, mounted high and dry, that can run dry without damage.
- A pickup hose that goes to the lowest point of the bilge.
- Built-in backflow prevention so water can't run back into the bilge.
- Its own small thru-hull fitting for the discharge.
- A panel switch.
The maker says this type of pump draws the bilge down to about 1/8 inch. Some systems have an inline strainer; the Rule kit is designed without one. Others run on a timer or a delay switch. Read the kit's instructions for wiring and hose limits before you buy, and confirm it suits your bilge depth and the distance from pickup to pump.
- Pickup: at the very lowest point of the bilge, usually just aft of or beside the main pump, secured so it can't wander. Make sure it doesn't foul the main pump's float switch.
- Pump: in a dry, easy-to-reach spot above the bilge water, within the suction distance the maker allows. Diaphragm pumps aren't waterproof.
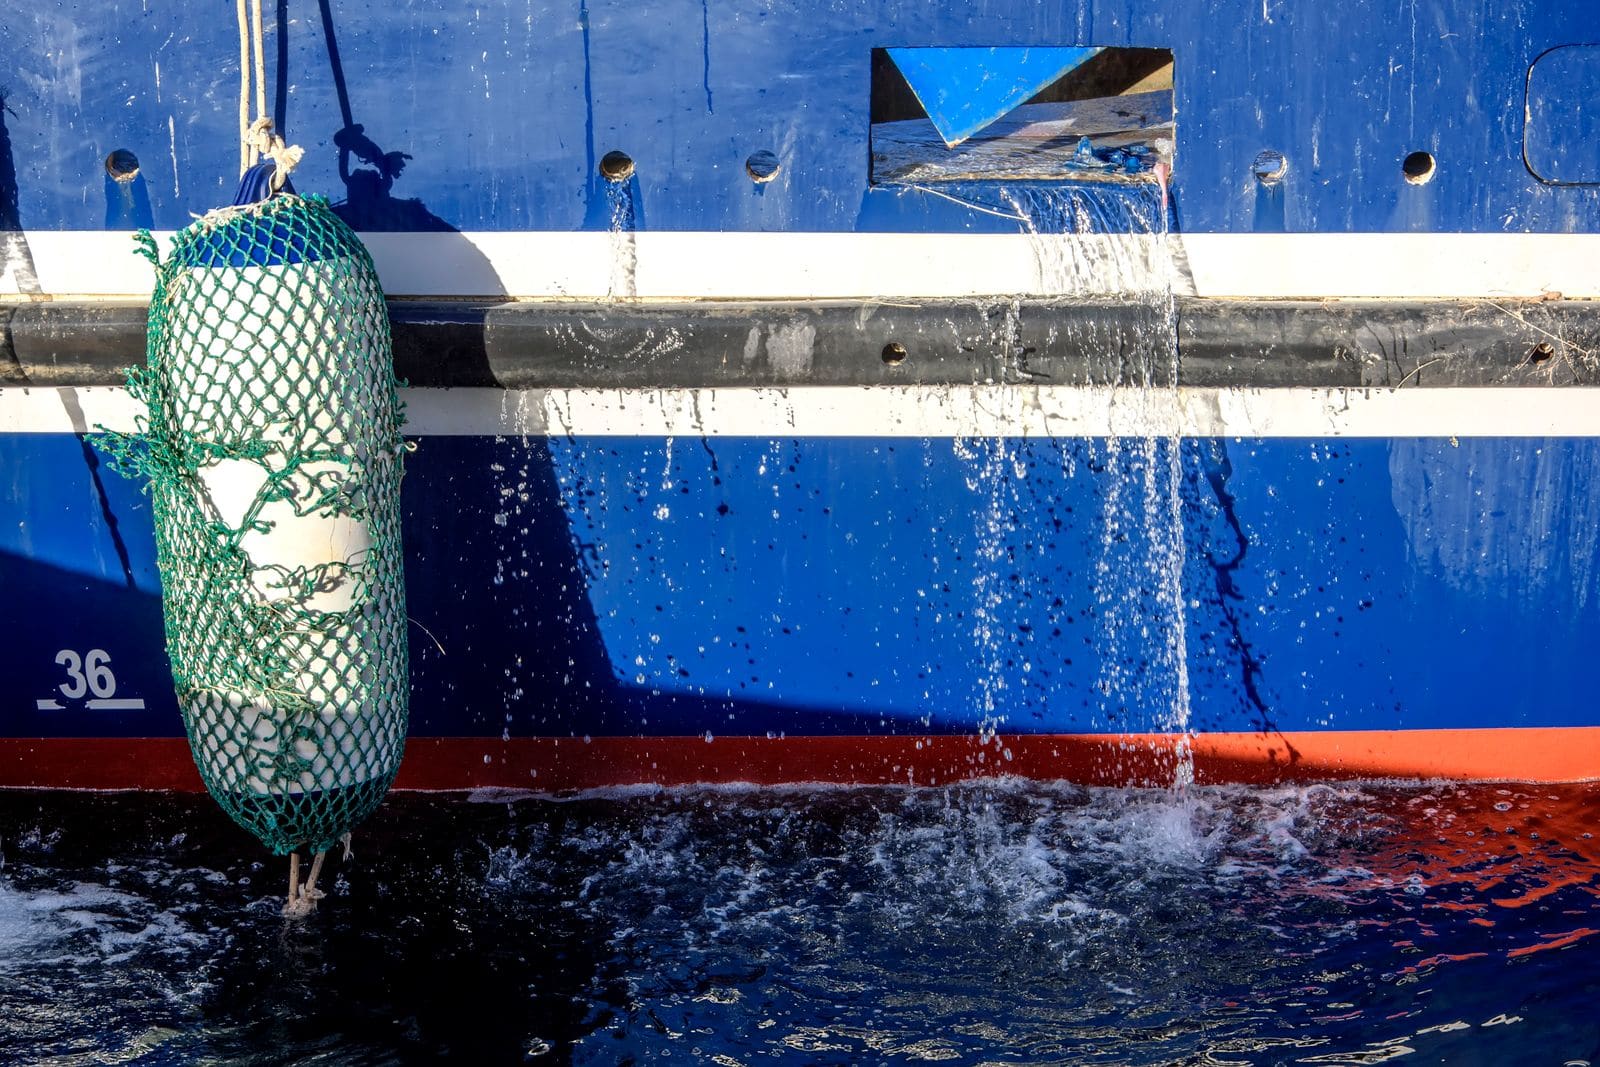
- Discharge: through its own thru-hull well above the waterline. BoatUS warns that low discharge fittings let water siphon back in when the boat is loaded or heels; on sailboats, think about where the waterline sits when heeled. Don't add check valves to bilge discharge lines; BoatUS advises against them because they can stick or clog.
- Hoses: as short and direct as possible, supported so they can't chafe or kink, with stainless clamps.
- Drill the thru-hull hole, seal the fitting with marine sealant and tighten it as the instructions say. If the hull is cored, seal the exposed core first or have a yard do it.
- Wire the pump on its own fused circuit, using the fuse size the maker specifies, with tinned marine wire and heat-shrink connectors.
- Keep every connection above the bilge water. Corroded connections down in the bilge are the most common cause of bilge pump failure, BoatUS notes.
- Wire it so it doesn't interfere with the main pump's automatic float switch. Your main pump must still work with the battery switch off.
- A very dry bilge makes a high-water alarm even more useful, because any water that does collect is news. Don Casey (BoatUS) mounts the alarm float above the main pump's switch so it sounds only if the pump can't keep up or fails; keep the dry bilge pickup well below it so the two never fight.
See bilge pump wiring for connection details. If you're not comfortable with 12-volt wiring, have a marine electrician do it.
Pour a bucket of water into the bilge. Let the main pump do the bulk, then run the dry bilge pump and watch it pull the last of the water. Check outside that it's discharging, that nothing drips at the thru-hull or hose connections, and that the bilge is down to a damp film. Then check the main pump still cycles automatically when you add more water.
Even a pumped bilge stays damp without air. PassageMaker's tips: on breezy dock days, open hatches, doors and drawers so air reaches every space; lift lazarette hatches if the underside is damp; check that hatch gutter drains are clear and run overboard; and dry the anchor rode once or twice a season. A small dehumidifier or a solar vent helps on a boat that sits closed up. See mold and mildew prevention.
- Run the dry bilge pump and look at the discharge monthly. BoatUS suggests the same monthly routine for the main pump: rinse the bilge with fresh water, clear debris from the pump and float, and test it from the helm switch and by lifting the float.
- Inspect the diaphragm and valves at least twice a year; BoatUS notes rubber parts in pumps crack and deteriorate with age even when the pump isn't used much.
- Keep oil out of the bilge so the pump never discharges a sheen.
- Before freezing weather, follow the maker's winterizing instructions so water left in the pump head and hoses can't freeze.
Log each check in BoatMend alongside your main bilge pump tests.
Common mistakes
- Treating the dry bilge pump as the boat's bilge pump. It's for the last inch only; keep the main automatic pump and alarm.
- Installing a dry bilge pump instead of fixing the leak that keeps refilling the bilge.
- Letting the shower or AC condensate drain into the bilge.
- Flooding an oily bilge with soapy cleaner so the pump sends the oil overboard.
- Teeing the dry bilge discharge into another pump's hose or putting the thru-hull too low, so water can siphon back.
- Mounting the diaphragm pump where it sits in bilge water. Most aren't waterproof.
- Forgetting the limber holes, so pockets of water never reach the pickup.
When to call a pro
- You need a new thru-hull in a cored hull, or you're not sure where it's safe to drill.
- The bilge keeps filling with more water than a slow drip (see bilge water source finder).
- You find fuel or a lot of oil in the bilge.
- You want the system tied into an existing bilge panel, alarm or monitoring system and aren't comfortable with the wiring.
- The stuffing box needs repacking or you want a dripless seal: that's usually a haulout job.
Tips
- Before buying anything, spend one season drying the bilge by hand after each trip. You'll learn where the water comes from and how much there really is.
- A dry bilge makes the first drop of a new leak, or a drip of oil, easy to spot.
- Mark the pickup location on your bilge diagram so the next owner or mechanic knows what the small hose is for.
- Keep a sponge on a stick and a bucket aboard for the spots no pump reaches.
Official references
We read these to write this guide. Your engine's own manual always wins.
- PassageMaker – Basics of the Bilge
- PassageMaker – How to Tame a Smelly Bilge
- Xylem – The Rule Dry Bilge Pump in Action
- Xylem – How to Achieve a Truly Dry Bilge, the Rule Dry Bilge Pump Explained
- BoatUS – Keep Your Bilge Beautiful
- BoatUS – Everything You Need To Know About Your Boat's Bilge Pump
- Practical Boat Owner – Pump bone-dry bilges (portable 12V diaphragm pump project)
- BoatUS Foundation – Bilge Care
- BoatUS – Install A High-Water Alarm (Don Casey)
Safety: BoatMend is for information only and does not replace a certified marine technician. You are responsible for your safety and your boat. Read the full disclaimer.
Last updated 2026-10-25
Related guides
Where Is the Water in My Bilge Coming From? A Step-by-Step Leak Finder
Track down the source of water in your bilge, from the cheapest clues (when it appears, salt or fresh) to the usual suspects: rain and deck drains, the freshwater system, AC condensate, the shaft seal, raw-water hoses and through-hulls. Fix the leak instead of relying on the bilge pump.
How to Test and Clean Your Bilge Pump and Float Switch
Make sure your bilge pump actually moves water overboard, both on the manual switch and automatically through the float switch. A working bilge pump is one of the most important safety systems on any boat that stays in the water.
How to Wire a Bilge Pump Correctly (Automatic Float, Panel Switch and Fuse)
Wire your bilge pump so the automatic float works even with the battery switch off, the helm switch gives you a manual override, and every circuit has the right fuse, wire size and connections kept above the bilge water. A pump that is wired wrong can leave the boat unprotected exactly when nobody is aboard.
How to Clean Your Boat's Bilge (Legally, and Without the Smell)
Get oil, sludge and debris out of the bilge without pumping pollution overboard, choose absorbents that actually work, track down bilge odors, clear limber holes and the pump pickup, and dispose of the mess the right way.
How to Check, Adjust and Repack a Stuffing Box (and Care for a Dripless Shaft Seal)
Learn the right drip rate for a traditional packing gland, how to adjust it safely, when to repack it, and how to inspect and service a dripless shaft seal. The shaft seal is one of the few holes in an inboard boat that moves, and a neglected one can sink a boat at the dock.
How to Clean and Maintain Shower Sump and Macerator Pumps (and Stay Legal)
The shower sump pump fights hair and soap scum every day, and the macerator empties the holding tank, but only where that is legal. Learn how to clean the sump and filter, test the float switch, avoid burning out pumps by running them dry, follow the 3-mile and no-discharge rules, and winterize both.

How to Maintain Your Boat's Air Conditioning Seawater System
Keep seawater flowing through your marine A/C by cleaning the strainer, checking the pump and overboard discharge, descaling the condenser coil when flow drops, cleaning the air filter, and winterizing the seawater circuit before a freeze. Most "A/C not cooling" calls are a water-flow problem.

How to Prevent and Remove Mold and Mildew on Your Boat
Stop the musty smell and black spots before they start. Find and fix the water source, keep air moving, control humidity safely, and clean mold off gelcoat, vinyl and cabin surfaces with products that won't damage them.
How to Install a Backup Bilge Pump and High-Water Alarm
Add a second, larger automatic bilge pump mounted above the primary, with its own overboard discharge and a loud high-water alarm wired so it works even with the battery switch off, then test it every month so it buys you real time if the boat starts taking on water.
How to Inspect and Exercise Seacocks, Through-Hulls and Hose Clamps
Check every hole in your hull below the waterline, work each seacock open and closed, and inspect the hoses and clamps attached to them. A single failed fitting or hose is one of the most common reasons boats sink at the dock.