How to Check, Adjust and Repack a Stuffing Box (and Care for a Dripless Shaft Seal)
Learn the right drip rate for a traditional packing gland, how to adjust it safely, when to repack it, and how to inspect and service a dripless shaft seal. The shaft seal is one of the few holes in an inboard boat that moves, and a neglected one can sink a boat at the dock.
Time
1 h
Shop would charge
$150-500
Applies to
Gas inboard, Marine diesel · Sailboat, Cabin cruiser, Yacht, Fishing boat
Safety first: The shaft seal sits below the waterline. Never open, repack or loosen a stuffing box, or pull a dripless seal apart, with the boat in the water unless a pro is guiding you. Keep hands, hair, sleeves and wrenches well clear of a turning shaft: stop the engine before every adjustment. If water is coming in faster than a steady drip and the bilge pump can't keep up, put on life jackets, call USCG on VHF 16 or 911 and your tow service (Sea Tow or TowBoatUS), and keep the pumps running.
Owners often ask
- How many drips per minute should my stuffing box have, and how do I adjust it?
- Do I need to burp my PSS dripless shaft seal after the boat goes back in the water?
This guide walks you through it. Still stuck? Ask the AI Mechanic about your engine.
Tools
- Flashlight or headlamp and a small inspection mirror
- Two packing-nut wrenches or two pipe wrenches sized to your stuffing box
- A short lanyard to tie each wrench to something solid
- Wire brush and a corrosion-blocking spray
- Packing extraction tool (corkscrew-style pick) for repacking
- Sharp utility knife and a small wooden dowel
- Clean rags and a notepad to log drips per minute
Parts & supplies
- Shaft packing of the correct size and type for your stuffing box
- All-stainless marine hose clamps for the shaft log hose
- Dripless seal maintenance kit from the seal maker (bellows, O-rings, set screws, clamps), when due
Before you start
Which seal do you have? Follow the propeller shaft aft from the transmission to where it leaves the hull.
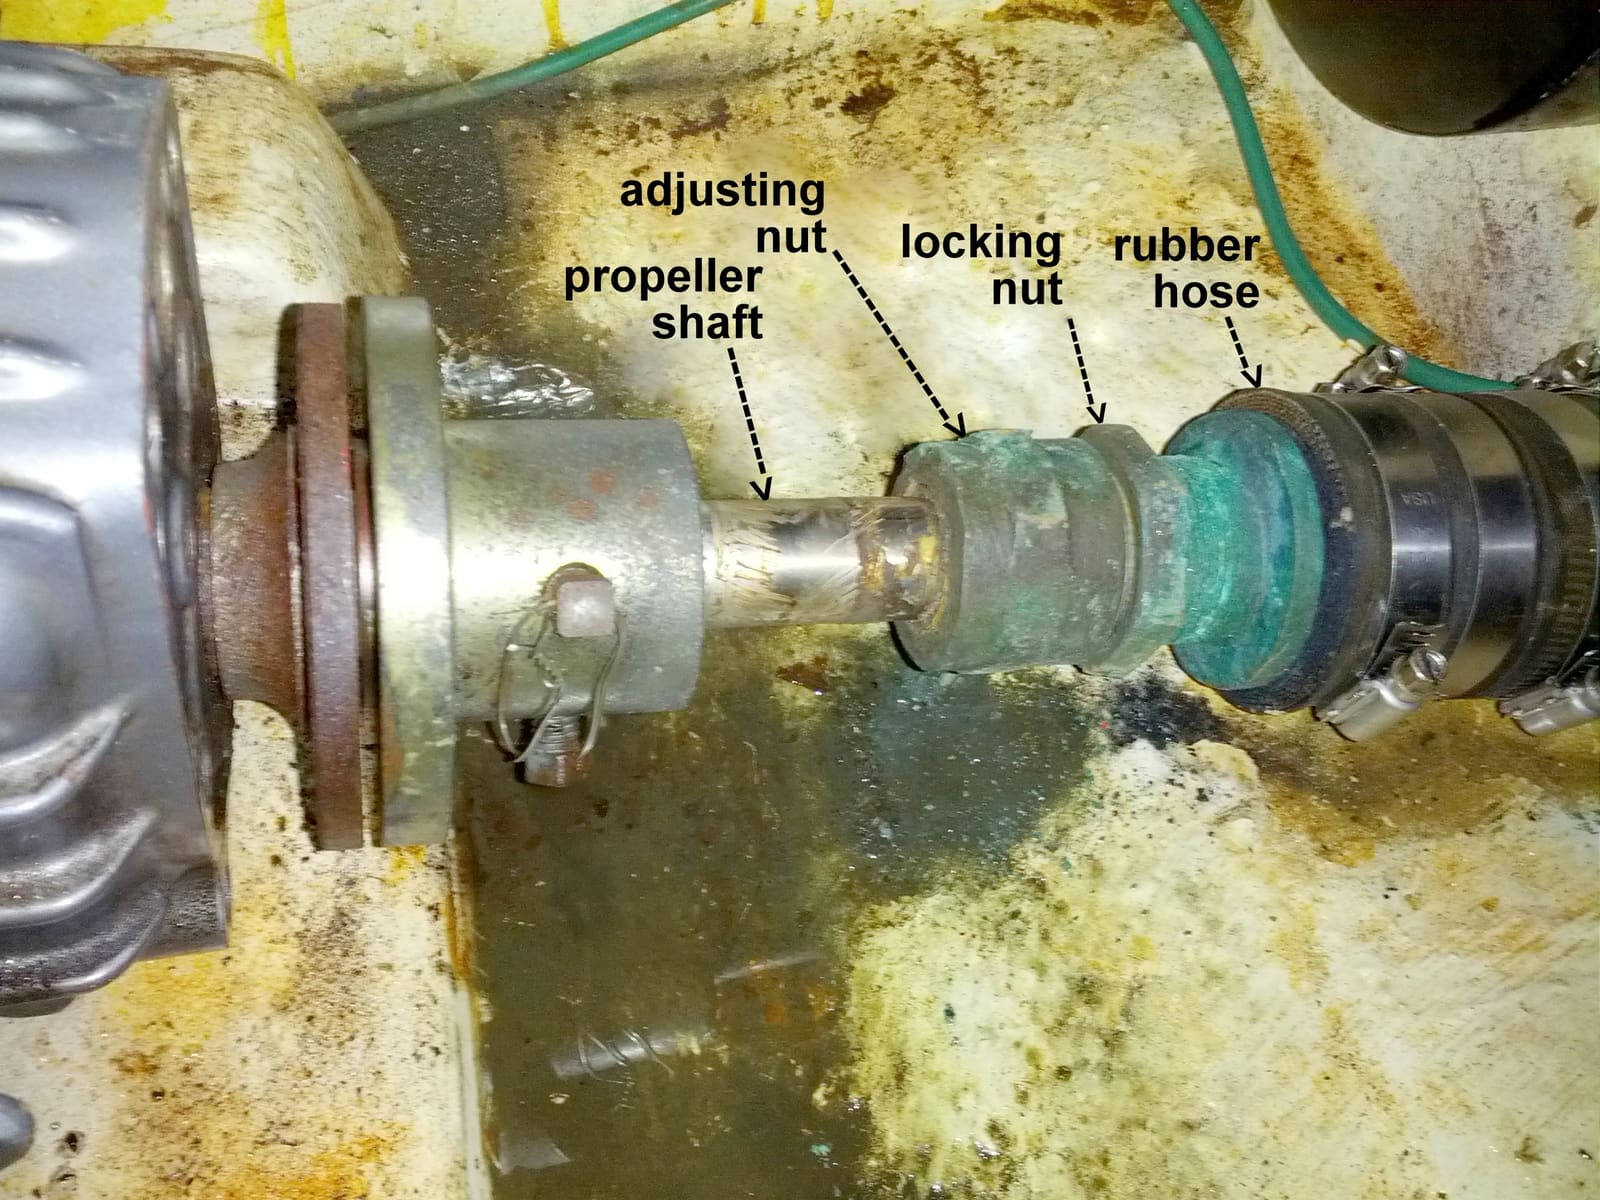
- Traditional stuffing box (packing gland): a bronze fitting with two large nuts (an adjusting nut and a locking nut) on a short rubber hose. Rings of square braided packing inside are squeezed against the shaft. It is meant to drip a little while the shaft turns.
- Dripless face seal (PSS style): a black rubber bellows with a carbon ring that presses against a stainless collar clamped to the shaft. It should not drip.
- Dripless lip seal (Tides style): a hose-mounted housing with rubber lip seals around the shaft and usually a small water-injection hose. It should not drip either.
Why it matters: BoatUS insurance claim files show badly leaking stuffing boxes are behind about one in 20 boats that sink at the dock. Practical Sailor also points out that a box that sprays water corrodes everything in the engine compartment.
How often: look at it every time you check the engine oil, and count drips at the start of each season and after any long trip. Typical repacking and dripless service intervals are in steps 9 and 12; confirm them in your boat and seal manuals.
Steps
With the boat in the water and the engine stopped, shine a light on the seal. A packing gland should be dry or nearly dry with the shaft still; Practical Sailor says drips while the shaft is not turning mean it needs attention. A dripless seal should be completely dry. Note any green crust, rust streaks or a puddle under it.
The short hose between the stuffing box (or dripless seal) and the hull tube holds back the sea. Squeeze it: it should be firm, not cracked, soft or swollen. It should have two all-stainless clamps at each end. BoatUS notes the clamps usually rust at the bottom first, so use a mirror, or loosen and rotate one clamp at a time to see all of it. Replace a tired hose at the next haul-out.
Tie the boat securely in its slip and run the engine in forward gear at idle, or check while underway with a helper. With a flashlight (and a mirror if needed), count drops for a full minute without getting close to the shaft.
- About 1 to 4 drops a minute: normal. BoatUS calls two or three adequate; Practical Sailor accepts three or four underway.
- 8 to 10 drops a minute or more: needs adjusting (step 4).
- A steady stream: stop the engine and adjust now, or have a pro look before you leave the boat.
After a long run, carefully touch the box. Good Old Boat's rule is warm is fine, hot is not.
Stop the engine and take the key. Find the two nuts (the photo at the top of this guide labels them). Figure out how to get one wrench on the adjusting nut and one on the locking nut, so you can push on one while pulling on the other. If the box is above a deep bilge, tie a lanyard to each wrench. If the threads are crusty, BoatUS suggests backing the nuts off, wire-brushing the threads bright and spraying them with a corrosion blocker.
Hold the adjusting nut still and turn the locknut to back it away a couple of turns. Then turn the adjusting nut in small steps (BoatUS says a half turn is often all a leaky box needs). Do not let the box or the hose twist: if the adjusting nut is stiff, hold the stuffing box body with a second wrench. Never crank it down hard to stop every drip; a box with no water running through it gets hot and can score the shaft.
Start the engine, put it in gear at the dock, and count again from a safe distance. Stop the engine before each small correction. When you have one to three drops a minute with the shaft turning, stop the engine, hold the adjusting nut so it does not move, and tighten the locknut firmly against it. Check it again after your next few hours of running.
If you keep tightening and it still drips heavily, runs hot, or the nut is near the end of its threads, the packing is worn out and hard. Practical Sailor warns that over-compressed packing will groove the shaft, and a grooved shaft has to be replaced before any seal will work. Time to repack (steps 8 and 9).
Packing is a square braided rope, usually wax- or grease-impregnated flax or a PTFE-impregnated type, sized to the gap between the shaft and the box. Match the old packing or measure that gap, and check your boat or engine manual. There is also moldable "dripless" packing used between two rings of regular packing; BoatUS notes it runs hotter, so it must never be over-tightened.
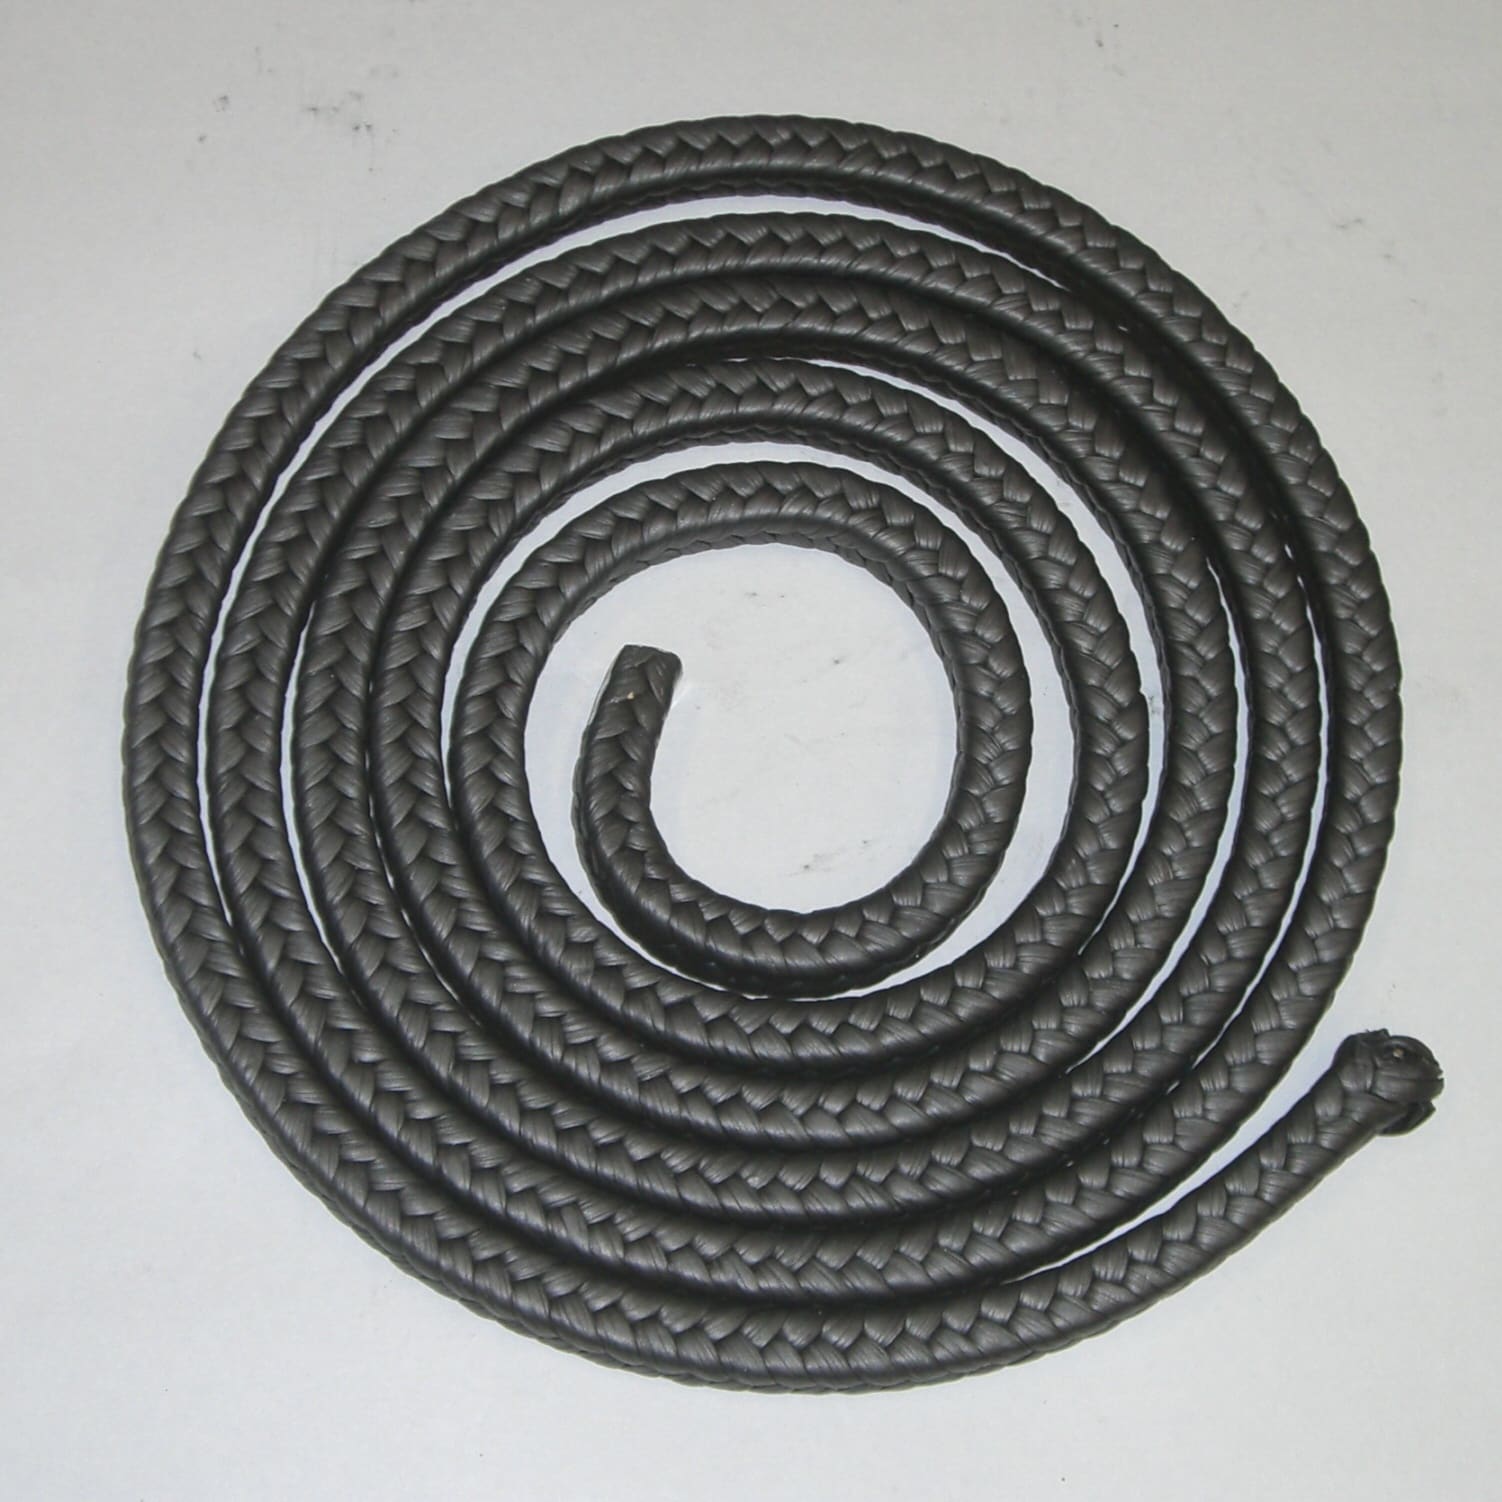
Braided square packing comes on a roll and is cut into individual rings. Photo: Miya.m / Wikimedia Commons · CC BY-SA 3.0 Do this with the boat hauled out: the packing is the only thing keeping the sea out while the box is open. BoatUS's typical interval is at least every other year for a powerboat used regularly, and up to five years or more on many sailboats, or sooner if it needs frequent adjustment or runs warm. The basic job:
- Back off the locknut and remove the adjusting nut completely.
- Dig out all the old rings with a packing pick, without scratching the shaft.
- Cut new packing into separate rings that just meet around the shaft. Never wind it on as a spiral.
- Push in one ring at a time with a dowel, turning each joint about a third of the way around from the last.
- Thread the nut on by hand, then set the drip rate after launch (steps 3 to 6). Expect to snug it again after the first couple of hours.
Look over the rubber bellows for cracks, hardening, swelling or oily residue, especially in the folds. Check that the stainless rotor collar has not slipped along the shaft (a piece of tape or a paint mark on the shaft makes this easy to see) and that its set screws are all in place. Check the hose clamps. If yours has a water-injection or vent hose, make sure it is not kinked, cracked or blocked.
- Vent hose (slower boats): PSS says a seal on a boat that never goes faster than about 12 knots can usually be vented instead of fed water. The open end should sit a couple of feet or more above the waterline and close to the centerline, so it never ends up underwater when the boat heels. If yours has sagged or been rerouted low, fix it.
- Water-feed hose (faster boats): PSS says boats that run faster than about 12 knots need a positive water supply to cool the seal faces. If you repowered or the boat got faster, ask a pro whether your seal is plumbed the right way.
After a haul-out, air can be trapped at the sealing faces of a dripless seal, so it runs dry. Many seal makers and yards have you briefly ease the seal open after launch (for a PSS, gently pulling the carbon ring or bellows back so a little water spurts in, then letting it close), or squeeze the bellows, until water instead of air comes out. Follow the exact method in your seal's instructions, keep the engine off while you do it, and confirm the seal is dry again afterward.
PSS's maintenance kit page recommends a new bellows every 6 years, with new O-rings, set screws and hose clamps at the same time (some older PSS guidance allowed longer for its PRO and Type B seals, so follow the manual for your exact seal). PSS adds that the carbon ring and stainless rotor usually don't need replacing, and that its cup-point set screws must never be reused. Lip seals (Tides style) have their own replacement schedule. Tides sells spare seal carrier kits for its SureSeal and StrongSeal, which hold spare lip seals on the shaft so they can be changed without uncoupling the shaft. Typical; confirm in your seal maker's manual. Warning signs:
- Leaks at rest: PSS says this usually means dirt between the carbon and stainless faces; their FAQ explains a careful clean between the faces.
- Squealing: the seal is likely running dry. Check the water supply or vent line.
- Spray underway after the first hour of running: compression may need adjusting, which means new set screws. That is a job for a pro or for the maker's instructions exactly.
Common mistakes
- Cranking the packing nut down until it is bone dry. The packing overheats and grooves the shaft.
- Leaving the locknut loose after adjusting. The setting creeps and the drip rate grows.
- Winding new packing on as one long spiral instead of separate staggered rings.
- Twisting the shaft log hose while turning the adjusting nut.
- Ignoring the hose and clamps because the box itself looks fine.
- Putting grease on the shaft under a dripless seal's collar. BoatUS warns grease damages the collar's O-rings.
- Reusing set screws on a PSS seal, or forgetting to burp a dripless seal after launch.
When to call a pro
- Water is coming in faster than a steady drip and adjusting does not slow it. If you can't keep up with it, call USCG on VHF 16 or 911 and your tow service.
- The stuffing box is hot to the touch after a normal run
- The shaft is grooved or pitted where the packing rides
- A dripless bellows is cracked, swollen or past its replacement age, or the rotor collar has slipped
- The seal leaks or sprays and you can't find why, or it needs set screws or compression changed
- The shaft log hose needs replacing (haul-out job)
Tips
- Write the date and drips per minute in your BoatMend log each time you check. A sudden change is your early warning.
- Keep the right size packing, two spare clamps and a seal kit aboard.
- A bilge pump cycle counter or high-water alarm will tell you if a seal starts leaking while you are away.
- Close-fitting gloves and short sleeves only near the shaft. Never reach over a turning shaft.
Official references
We read these to write this guide. Your engine's own manual always wins.
Safety: BoatMend is for information only and does not replace a certified marine technician. You are responsible for your safety and your boat. Read the full disclaimer.
Last updated 2026-10-24
Related guides
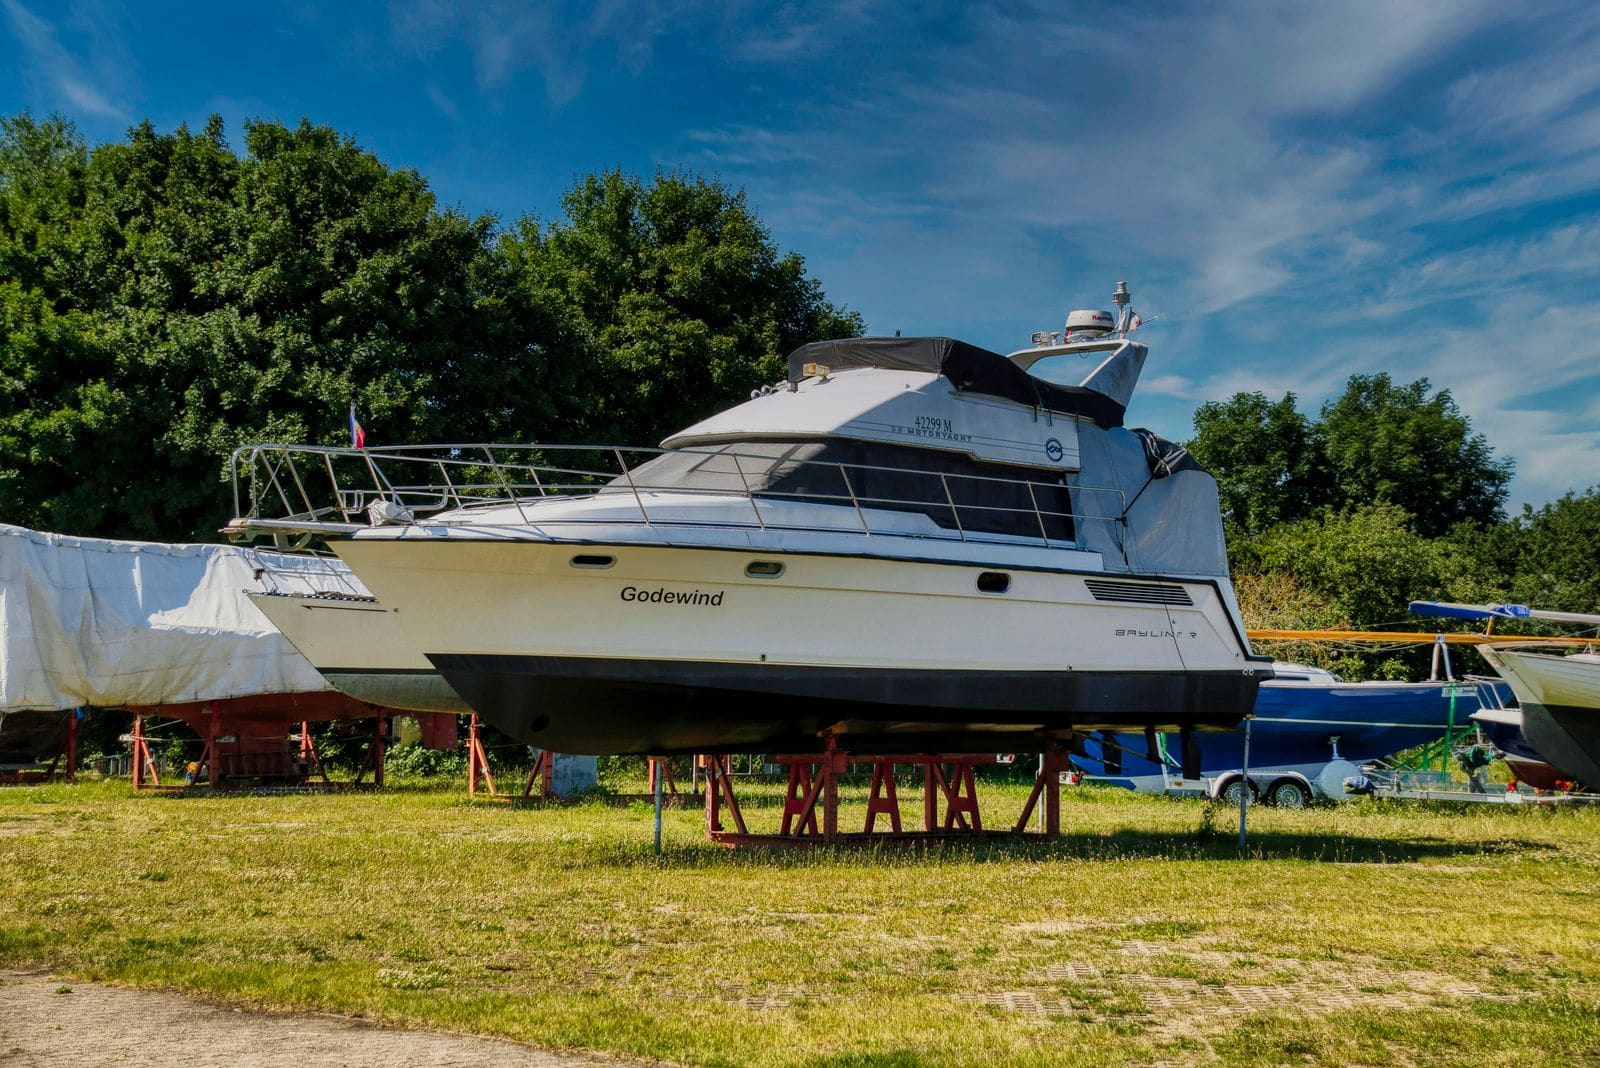
How to Inspect and Exercise Seacocks, Through-Hulls and Hose Clamps
Check every hole in your hull below the waterline, work each seacock open and closed, and inspect the hoses and clamps attached to them. A single failed fitting or hose is one of the most common reasons boats sink at the dock.
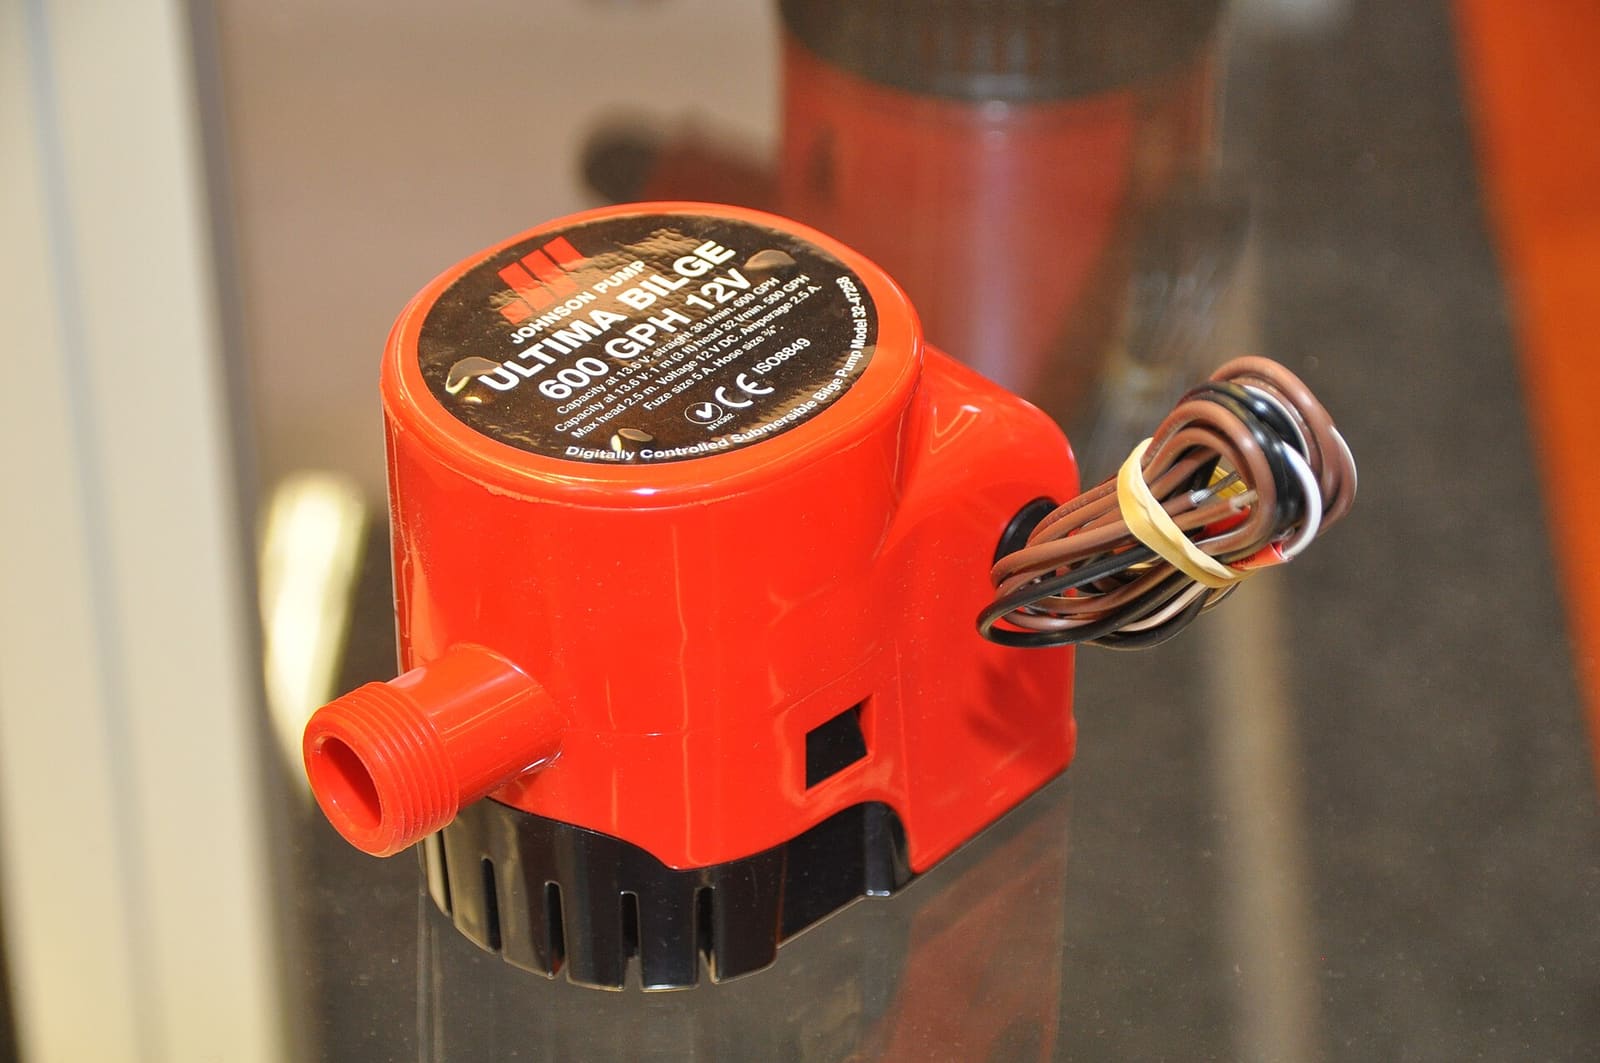
How to Test and Clean Your Bilge Pump and Float Switch
Make sure your bilge pump actually moves water overboard, both on the manual switch and automatically through the float switch. A working bilge pump is one of the most important safety systems on any boat that stays in the water.
How to Check the Cutless Bearing, Prop Shaft and Strut
Find out if new vibration or rumbling from the stern is a worn cutless bearing, a bent shaft, a loose strut or poor engine alignment, using simple checks you can do at the dock and at haul-out. Catching bearing wear early protects the shaft, the seal and the transmission.

Launch Day and Haul-Out Checklist for Trailer Boats
A step-by-step checklist for getting your boat off the trailer and back on again safely and quickly, from the drain plug and tie-downs to the blower and ramp etiquette. Following it in order prevents the classic mistakes that sink boats and back up the ramp.