Adding USB and 12V Outlets to Your Boat: Fusing, Wire Size and Placement
Phones, tablets and handheld radios need charging on every trip. Learn how to add a dedicated USB or 12-volt outlet the right way: choosing a quality marine socket, picking the wire size and fuse, deciding between a panel circuit and a direct battery feed, sealing the hole, and checking that the charger doesn't put noise on your VHF.
Time
3 h
Shop would charge
$120-350
Applies to
All engines
Safety first: Disconnect the battery (and any shore power) before you start, and don't reconnect until every connection is finished and insulated. Every new positive wire needs a fuse or breaker sized to protect that wire, placed at the power source. If you plan to wire near a gasoline engine or fuel tank, anything you mount there must be ignition protected; if you smell fuel, stop and get the leak fixed first.
Owners often ask
- My new USB charger puts static on the VHF. How do I fix it?
- Can I wire a USB outlet straight to the battery so it works with the switch off?
This guide walks you through it. Still stuck? Ask the AI Mechanic about your engine.
Tools
- Digital multimeter
- Drill with a hole saw sized to the socket's barrel
- Ratcheting crimper for insulated terminals
- Wire stripper and cutters
- Heat gun
- Screwdrivers and a small wrench set
- Fish tape or a stiff wire for pulling cable (optional)
- Handheld VHF radio (for the interference check)
- Safety glasses and a dust mask
Parts & supplies
- Marine USB charger socket or 12V accessory socket with a cover, rated for your system voltage
- Tinned, stranded marine wire in red and yellow, sized for the load and run (never smaller than 16 AWG for a single wire run on its own)
- Inline fuse holder (or a spare position on your fuse block or breaker panel) and the right fuse
- Insulated crimp terminals that match the socket and panel connections, with adhesive-lined heat-shrink
- Cable clips or cushioned clamps and wire ties
- Removable bedding compound (not a permanent adhesive sealant)
Before you start
A plug-in adapter in an old cigarette-lighter socket works, until it doesn't. BoatUS points out that the contact in those sockets is often poor, which is why a phone can sit "charging" all day and still be flat at sunset. A dedicated USB socket, wired properly, is always there, never borrowed, and sits nearly flush with the panel.
You have two kinds of outlet to choose from (or a combo unit with both):
- USB socket: converts boat power to the 5 volts (or more, for USB-C fast charging) that phones and tablets want. Look for marine units with a cover, corrosion protection and a 12/24-volt rating.
- 12V accessory socket: the round "cigarette lighter" style. Useful for a portable fridge, spotlight, inflator or a tablet's own charger. It can carry much more current than a USB port, so its wire and fuse must be sized for that.
Plan the job before you buy: where the outlet goes, where the power comes from, how long the wire run is, and what the outlet will power. BoatUS suggests measuring the run carefully and buying a couple of feet extra; running short is the classic second trip to the store.
Steps
Write down the biggest thing you'll plug in. A dual USB-A charger might be rated around 5 amps total at 5 volts; BoatUS describes a current marine USB-C unit that delivers up to 32 watts on a 12-volt boat (more on 24 volts), and a 12-volt socket in the same line rated for 150 watts. To estimate the current on the boat side, divide the watts by 12 and add a margin for the charger's losses. A 32-watt USB-C charger works out to roughly 3 amps; a 150-watt socket load is over 12 amps.
That number drives the wire size and fuse in steps 4 and 5.
Cheap chargers are where most problems start. Look for:
- A 12/24-volt rating and a wide input range (Blue Sea's dual USB charger, for example, lists 9 to 32 volts), so a low battery or engine cranking doesn't reset it.
- Short-circuit, reverse-polarity and thermal protection.
- A real IP rating with the cover closed (Blue Sea lists IP45 for that unit; the BoatUS-reviewed Scanstrut units are IPX4 with the cover shut).
- A low standby (parasitic) draw. Blue Sea lists 1 milliamp for its unit.
- A maker that publishes specs. If a charger's box only says "fast," keep shopping.
Marine makers also design for low radio interference. You'll check that yourself in step 12.
Good spots are where people actually sit and where spray can't reach: under the helm overhang, inside a console, on a vertical bulkhead in the cabin, next to the berth. Avoid:
- Horizontal surfaces where water pools around the cover.
- Spots that get hit by spray or washdown.
- Anywhere inside a gasoline engine compartment or fuel-tank space.
Check behind the panel before you drill. You need room for the socket's barrel and wires, and you don't want to drill into a wire bundle, hose or fuel line.
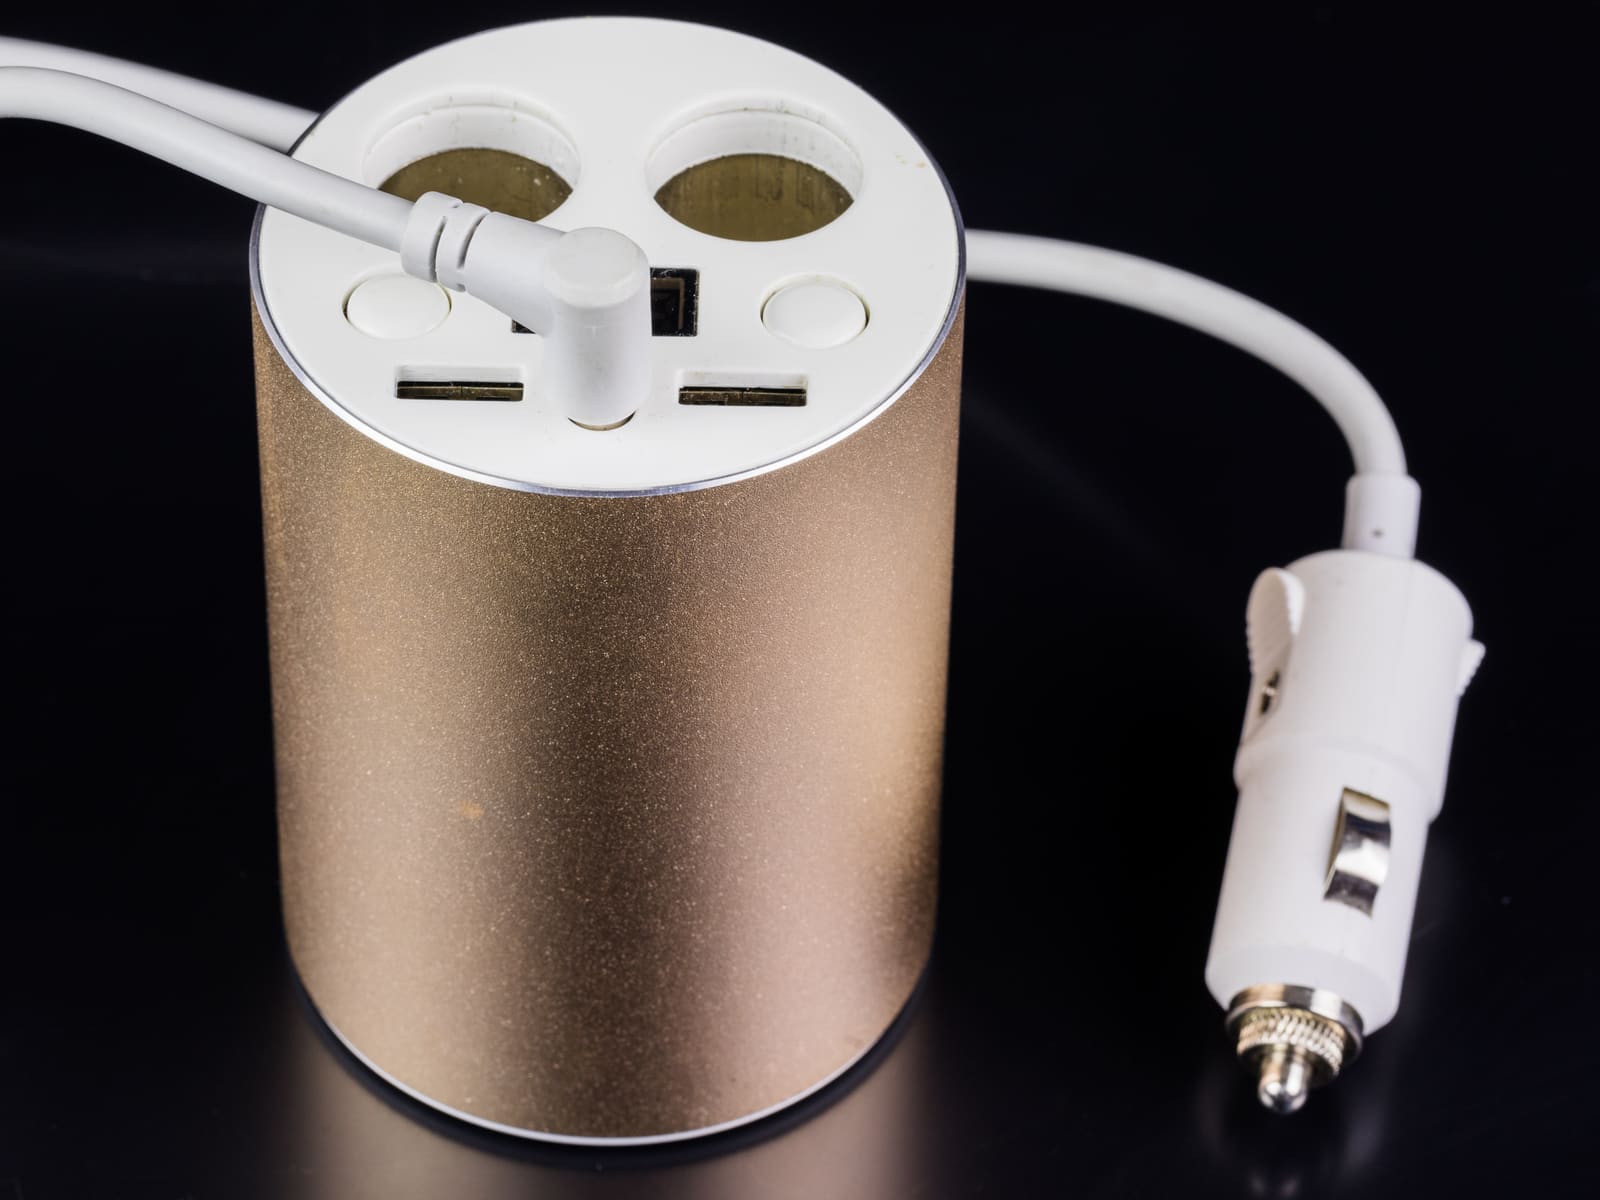
A plug-in splitter like this is handy, but it depends on a loose-fitting socket and on electronics you know nothing about. A hard-wired marine charger is the better fix. Photo: Raimond Spekking / Wikimedia Commons · CC BY-SA 4.0 Use tinned, stranded marine wire: Blue Sea notes ABYC calls for stranded, tin-plated copper, and the Coast Guard rule requires insulated stranded copper and at least 16 AWG for a single wire run on its own.
Then use a voltage-drop chart (Blue Sea's is free and based on ABYC). Two things people get wrong:
- Length is round trip: from the power source to the outlet and back along the negative.
- Pick the drop allowance: Blue Sea treats electronics as critical circuits (3% drop) and general appliances as non-critical (10%). If the outlet will power a tablet you navigate with, size it like an electronics circuit.
When in doubt, go one size bigger. A slightly heavier wire costs little and keeps the charger happy at the end of a long run.
The fuse protects the wire, not the gadget. Blue Sea's method: the fuse must not exceed what your wire size can safely carry, and if the socket maker specifies a smaller fuse, use theirs. Blue Sea suggests a fuse around 125% of the device's rated current as the low end of the range, to avoid nuisance blows. Write the fuse size on the holder or the panel label so the next person replaces it correctly.
From the panel (the usual choice). Take power from a spare breaker or fuse position on your DC panel, or from the switched side of the panel's main breaker through its own inline fuse, as the BoatUS installer did. The outlet then goes dead when you turn off the panel or battery switch, so it can't slowly drain the battery while the boat sits.
Direct from the battery (always live). Handy if you want to charge with everything else off, but the charger's standby draw is always on the battery. The Coast Guard rule requires the fuse at the source: within 7 inches of the battery terminal, or up to 40 inches only if the wire is fully enclosed in a panel or box. Consider adding a small switch, or wire it through a low-voltage disconnect (see our guide) so a forgotten phone charger can't flatten the start battery.
Never tap into the wiring of another device (a stereo, a bilge pump, a nav light) to save a wire run.
Turn off the battery switches and disconnect the battery negative, and shut off shore power if you have it. BoatUS recommends making sure nothing is live before you begin and keeping it that way until you're done.
Mark the center, check behind the panel one more time, then cut with a hole saw just slightly larger than the socket's threaded barrel. A hole saw leaves a cleaner edge than a spade bit. Wear eye protection and a dust mask; fiberglass dust is nasty. On a cored panel, seal the exposed core edge so water can't soak in.
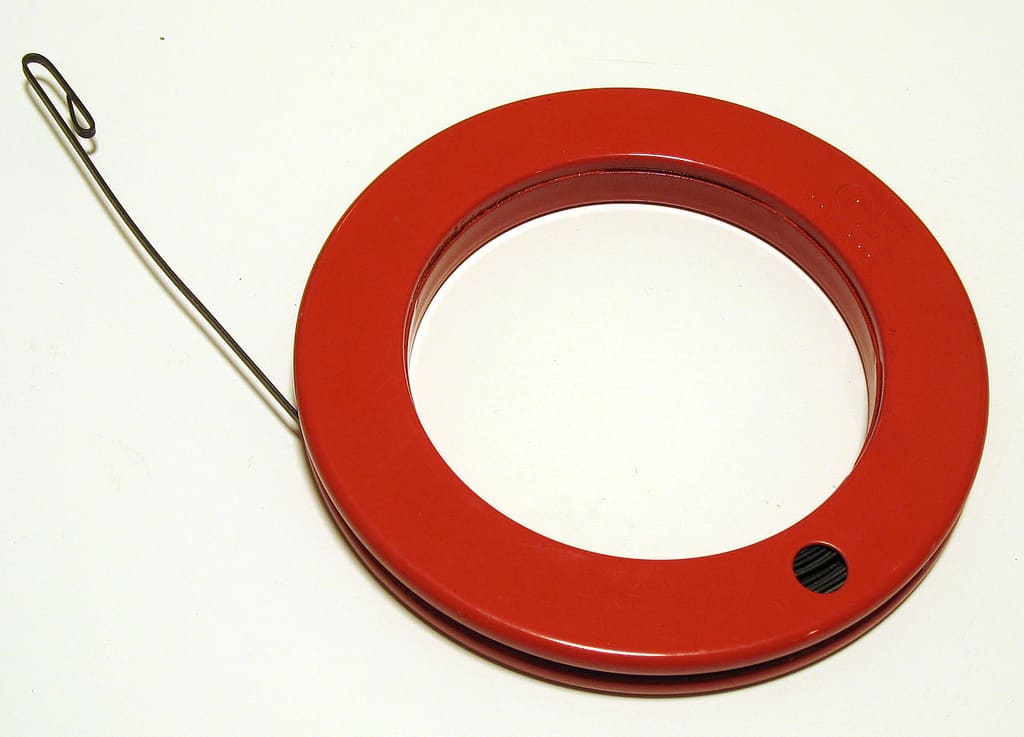
Leave about a foot of slack at the outlet end and tape it outside the hole so it doesn't slip back. Route the wire to the power source along existing harnesses, supported every 18 inches or so with clips. BoatUS is firm that new wire must never be tied to throttle or shift cables or fuel lines. Keep it away from sharp edges and hot surfaces, and use a grommet anywhere it passes through a bulkhead. Our wire-chase guide has tricks for long runs.
Use crimped, insulated terminals sized to the wire and to the stud or screw, and seal them with adhesive heat-shrink:
- Red positive to the fuse holder or panel position.
- Yellow negative (the US marine color for DC negative; older boats may use black) to the DC negative bus bar, never to a random ground screw or the engine block.
Mount an inline fuse holder on a solid surface near the source, not dangling in the wire bundle.
Slip the socket's mounting ring over the wire inside the panel before you crimp. Connect red to positive and yellow to negative on the back of the socket, matching the markings. Bed the flange with a removable bedding compound (BoatUS warns that a permanent adhesive sealant will make the socket impossible to remove later), set it straight, add any screws, and snug the ring. Wipe off the squeeze-out.
Reconnect the battery and turn on the circuit. With a multimeter, confirm battery voltage at the socket (12V type) or simply plug in a phone and confirm it charges (USB).
Then do a quick noise check, borrowed from the method BoatUS describes for LED lights:
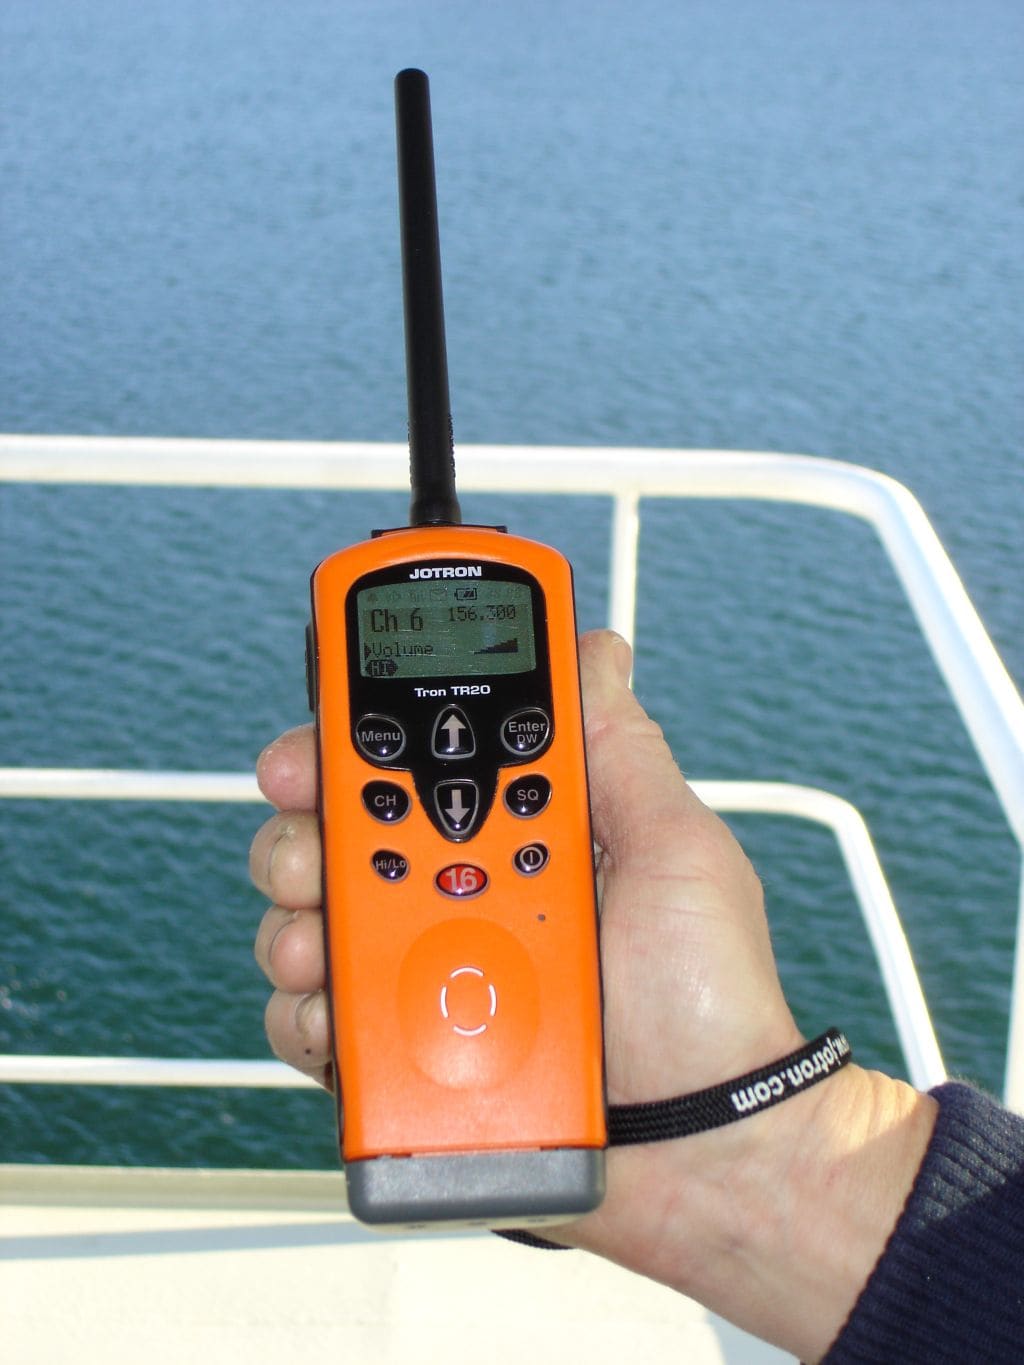
- With the charger unplugged, turn on a handheld VHF, pick an unused channel and open the squelch until you hear faint static.
- Hold the radio's antenna an inch or two from the outlet, then plug in a phone so the charger is working.
- Listen and watch the signal bars. If the static jumps when charging starts and drops when you unplug, the charger is radiating noise. Repeat on a few channels.
A noisy charger near your VHF or AIS antenna, or on the same circuit as your electronics, can cut your receiving range. Replace it with a quieter unit rather than living with it. Our LED and VHF interference guide covers tracking down other noise sources.
Common mistakes
- Using solid household wire or bare copper wire instead of tinned, stranded marine wire.
- Fusing for the gadget instead of the wire, or skipping the fuse because "it's only a USB port."
- Measuring the run one way and choosing wire too small for the round trip.
- Wiring an always-live outlet straight to the battery with no fuse near the terminal.
- Tapping into the stereo or a navigation light circuit.
- Mounting the socket flat on a deck or gunwale where water sits around the cover.
- Gluing the socket in with a permanent adhesive sealant.
- Buying the cheapest charger and then hunting for VHF static for a month.
When to call a pro
- No spare position on your panel, or a panel already running warm or crowded
- High-current 12V sockets for fridges, inverters or compressors, which may need heavier wire and their own feed
- Any wiring in or near a gasoline engine compartment or fuel-tank space
- Running a new circuit from the battery on a boat with several banks or an isolator, ACR or lithium battery
- Burned or melted sockets, fuse holders that get hot, or fuses that keep blowing
- Persistent VHF or AIS interference you can't trace
Tips
- Put a label at the panel and note the circuit, wire size and fuse in your boat profile.
- Install outlets where people actually sit: one at the helm and one in the cabin or near the bow beats three at the console.
- A dual-port charger with one USB-A and one USB-C covers both older and newer devices.
- Replacing an old cigarette-lighter socket? Many marine USB chargers are made to fit the same mounting hole as a standard 12V dash socket (Blue Sea says this of its dual USB 2.1A unit), so you may not need to cut anything. The existing wire is usually fine, but check the fuse: that unit's listing says the supply fuse is not included and gives its own small rating, which is likely much lower than the fuse that protected the old 12V socket. Fit the fuse size the charger's instructions call for, within what the wire can carry.
- Close the covers when you leave the boat; most socket ratings only apply with the cover shut.
- If an outlet stops working, check the fuse first, then look for corrosion on the contacts inside the socket.
Official references
We read these to write this guide. Your engine's own manual always wins.
- BoatUS – Installing a USB Socket
- BoatUS – A USB Phone Charger for Your Boat
- Blue Sea Systems – Part 1, Choosing the Correct Wire Size for a DC Circuit
- Blue Sea Systems – Part 2, Select a Fuse and Fuse Holder for Your DC Product Installation
- Blue Sea Systems – 12/24V DC Dual USB Charger 4.8A (specifications)
- Blue Sea Systems – 12/24V Dual USB 2.1A Charger (product page)
- eCFR – 33 CFR 183.455, Overcurrent protection (fuse at the source, 7 and 40 inch rules)
- eCFR – 33 CFR 183.425, Conductors (stranded copper, minimum sizes)
- BoatUS – Are LED Lights Causing VHF Radio Interference?
Safety: BoatMend is for information only and does not replace a certified marine technician. You are responsible for your safety and your boat. Read the full disclaimer.
Last updated 2026-10-25
Related guides

12-Volt Boat Wiring Basics: Circuits, Color Codes, Fuses and Wire Size
Learn how your boat's 12-volt system is laid out, what the ABYC wire colors mean, how fuses and breakers protect the wiring, why voltage drop and tinned wire matter, and how to read a wiring diagram, so you can troubleshoot smarter and know which jobs belong to a marine electrician.

Fuse Keeps Blowing? How to Troubleshoot a Boat Fuse Block or Breaker Panel
Work through a blown fuse or tripping breaker the safe way: confirm it, tell a short from an overload, isolate the device or wire at fault, replace a worn breaker or panel switch with the same rating, and label every circuit, without ever fitting a bigger fuse.
How to Run New Wires Through a Boat (Chase Tubes, Pull Lines and Deck Penetrations)
Get a new transducer cable, light or power wire from the stern to the helm or up through the deck without a fight: use the chase tube and a fish tape or pull string, protect the wire from chafe and heat, support it every 18 inches, seal every penetration and label both ends.
How to Find and Fix LED Lights That Interfere With Your VHF and AIS
Some LED bulbs and fixtures put out radio noise that quietly drowns weak VHF calls, DSC alerts and AIS targets. Run the Coast Guard's squelch test, track down the noisy light with a handheld radio, and fix it with distance, filtering or a quieter fixture.
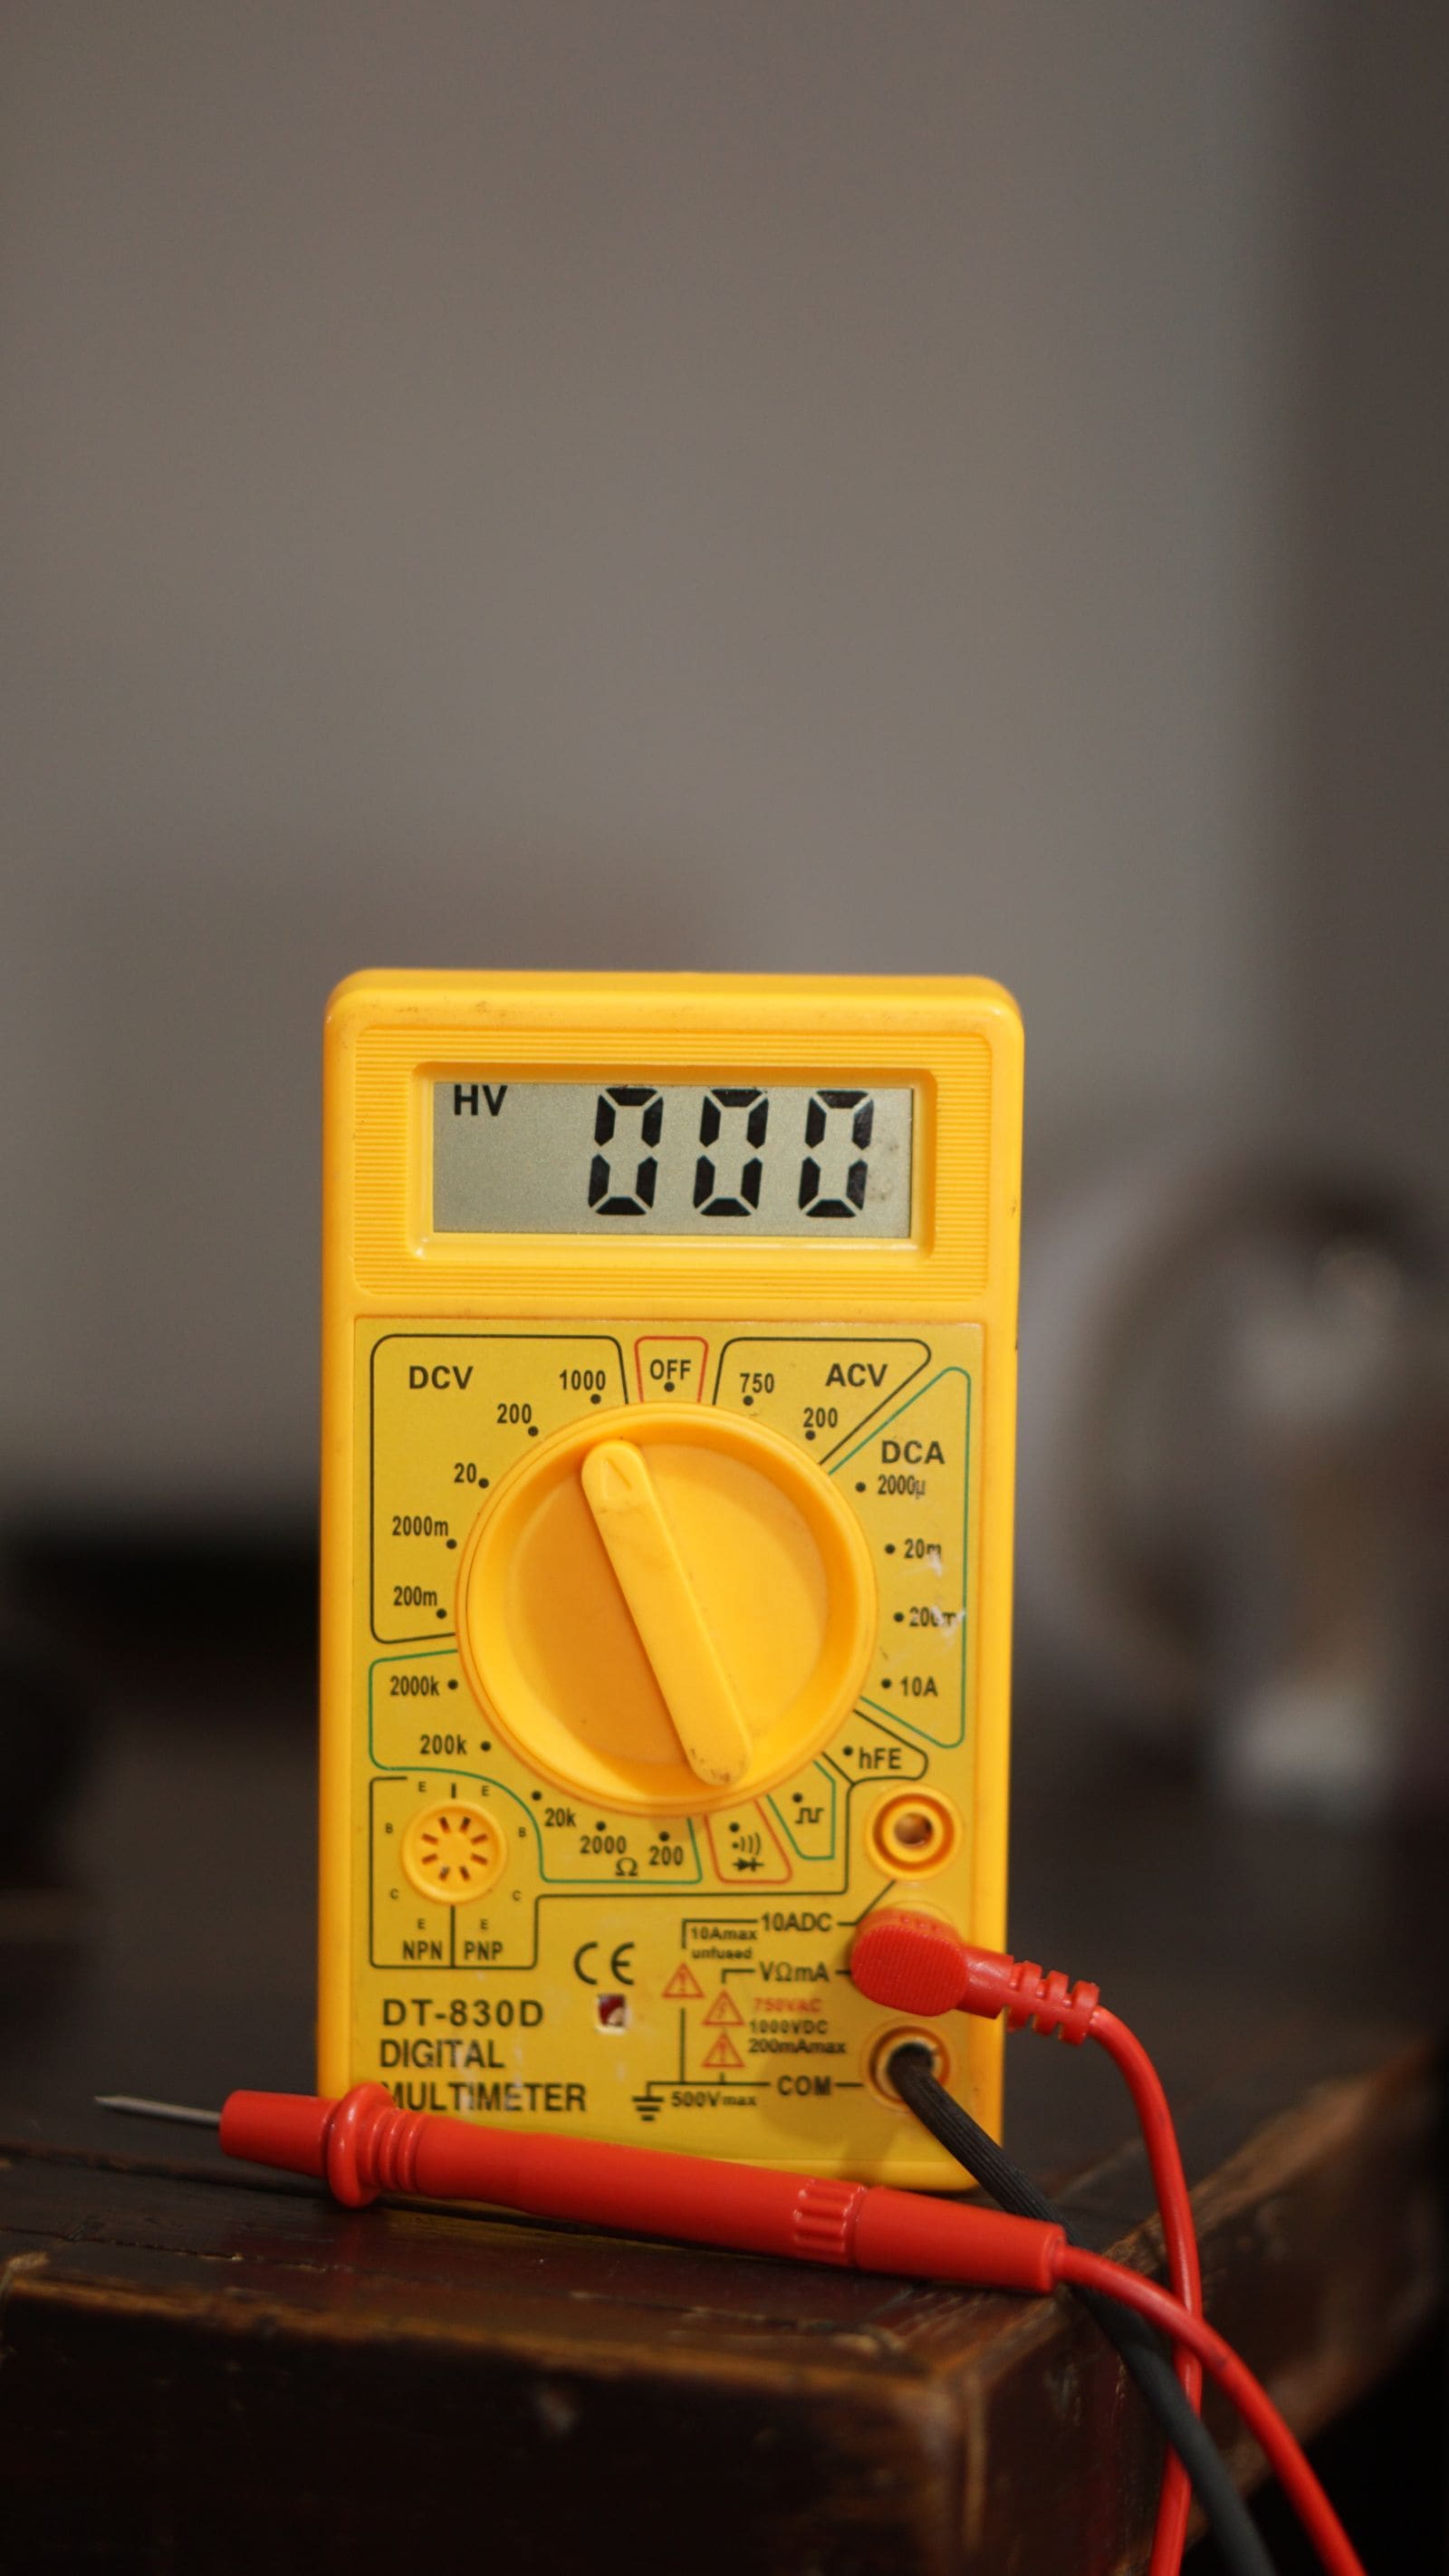
Battery Goes Dead While the Boat Sits - How to Find a Parasitic Drain
If your boat battery is flat every time you come back, something may be quietly drawing power while you are away. Learn how to tell a bad battery from a drain, find the circuit with a multimeter and the fuse panel, and fix the usual culprits without disabling your bilge pump.

How to Find and Fix Corroded Electrical Connections on a Boat
Track down the green crust and loose terminals behind flickering lights, dead gauges and slow cranking with a simple voltage-drop test, then remake the connection the marine way: tinned wire, a proper crimp, adhesive-lined heat shrink and a protective coating.
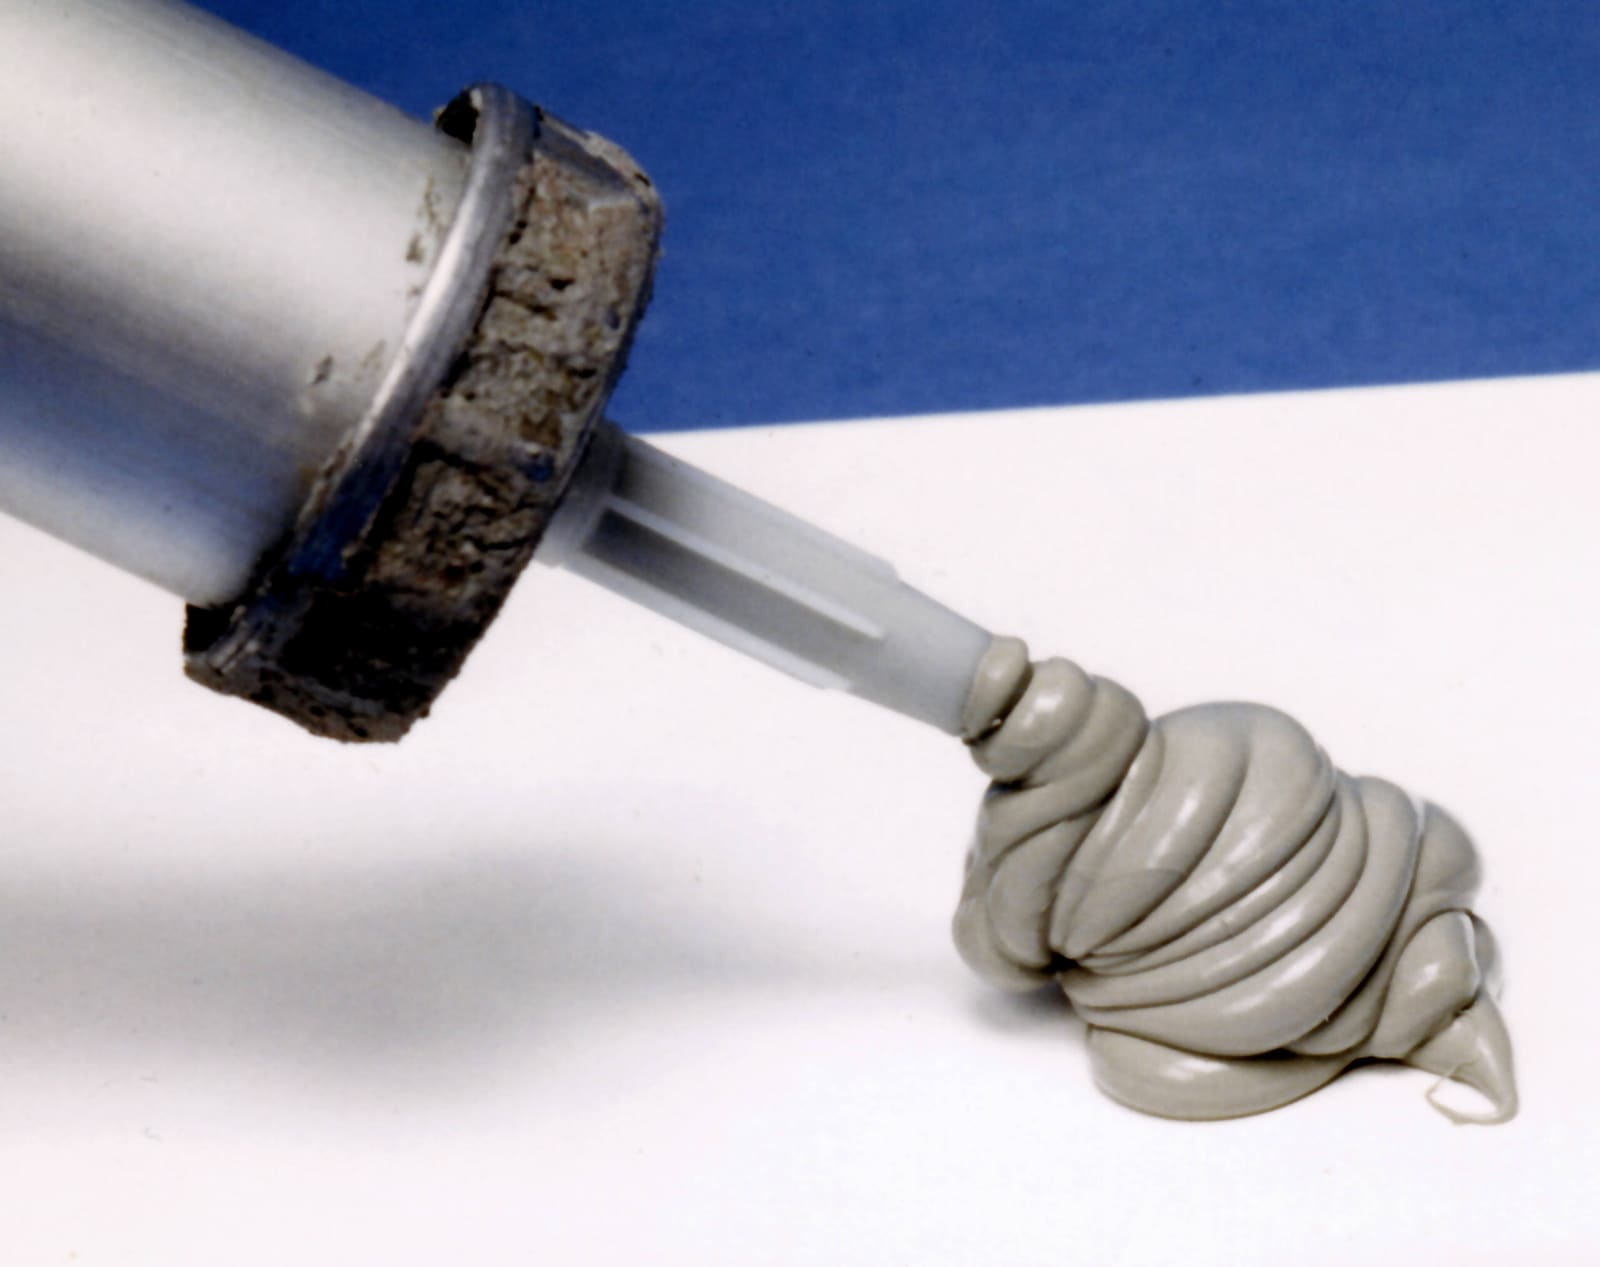
Marine Sealants Explained: 5200, 4200, 4000UV, Polysulfide, Silicone and Butyl Tape
Pick the right sealant before you bed a cleat, a through-hull, a window or a transducer. The wrong goo either leaks in a year or glues a part on so hard you damage the boat getting it off.
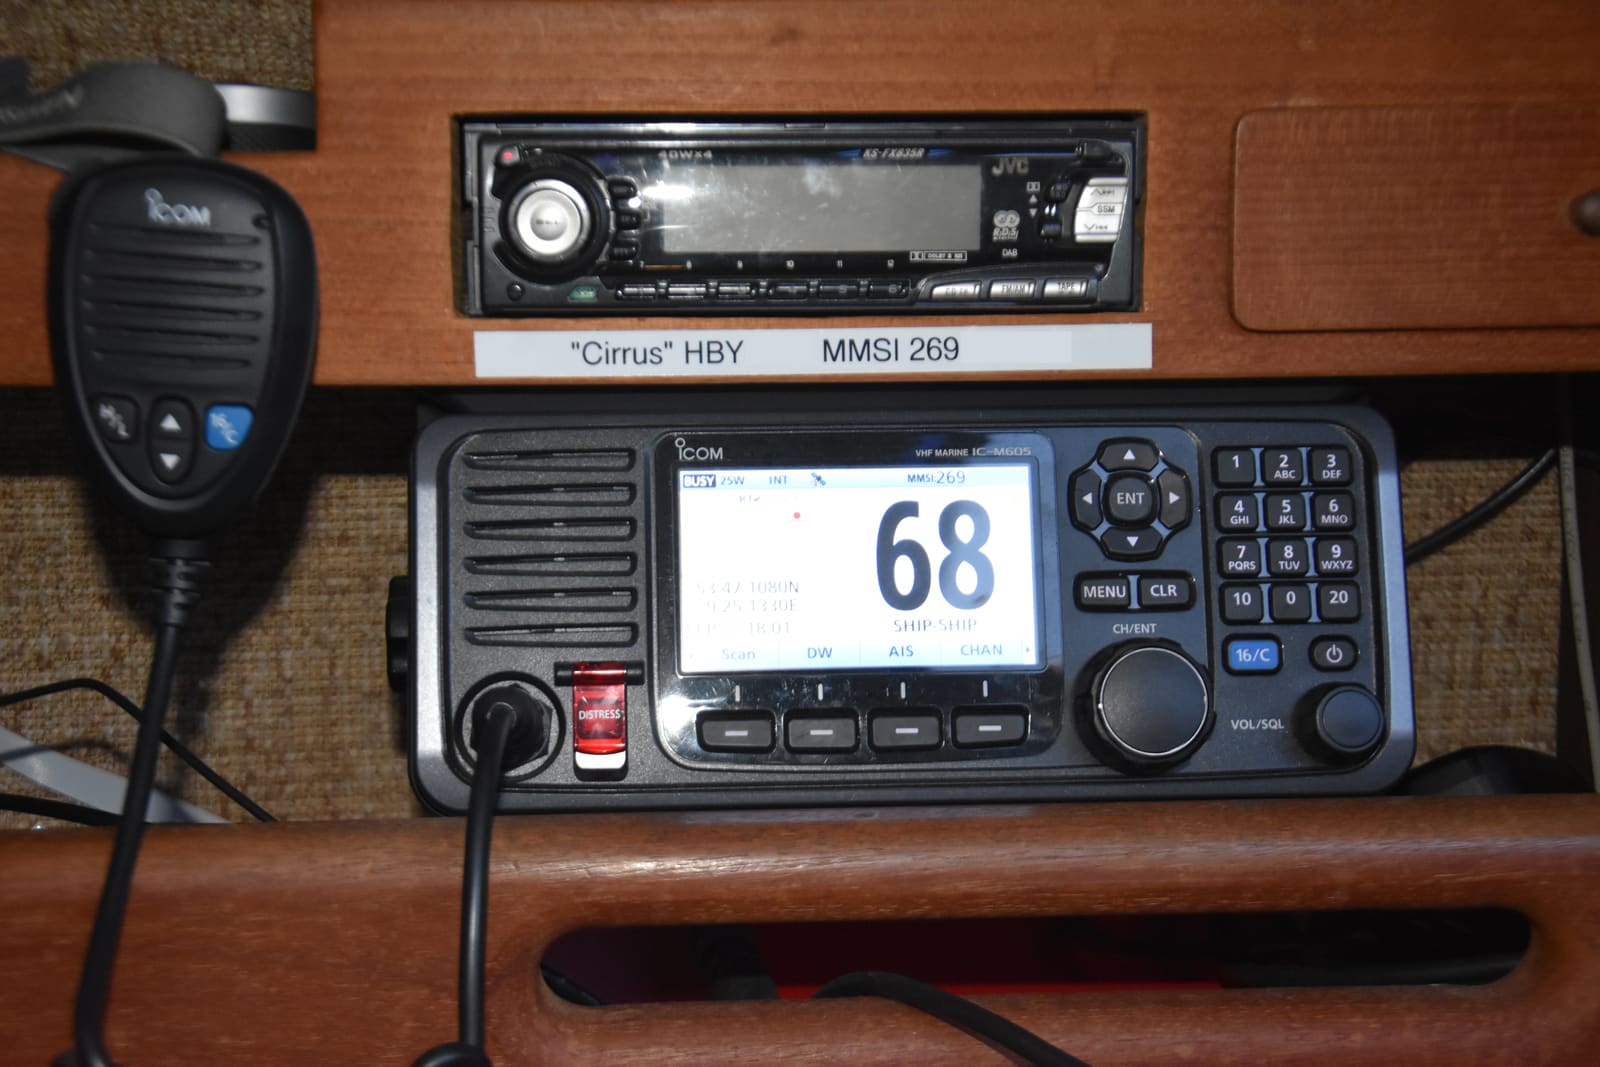
Set Up Your VHF Radio: MMSI, DSC, GPS Hookup and Radio Checks
Get a free or low-cost MMSI number, program it into your DSC radio, connect your GPS so a distress alert sends your exact position, check the antenna, and learn the Channel 16 rules and the right way to do a radio check.
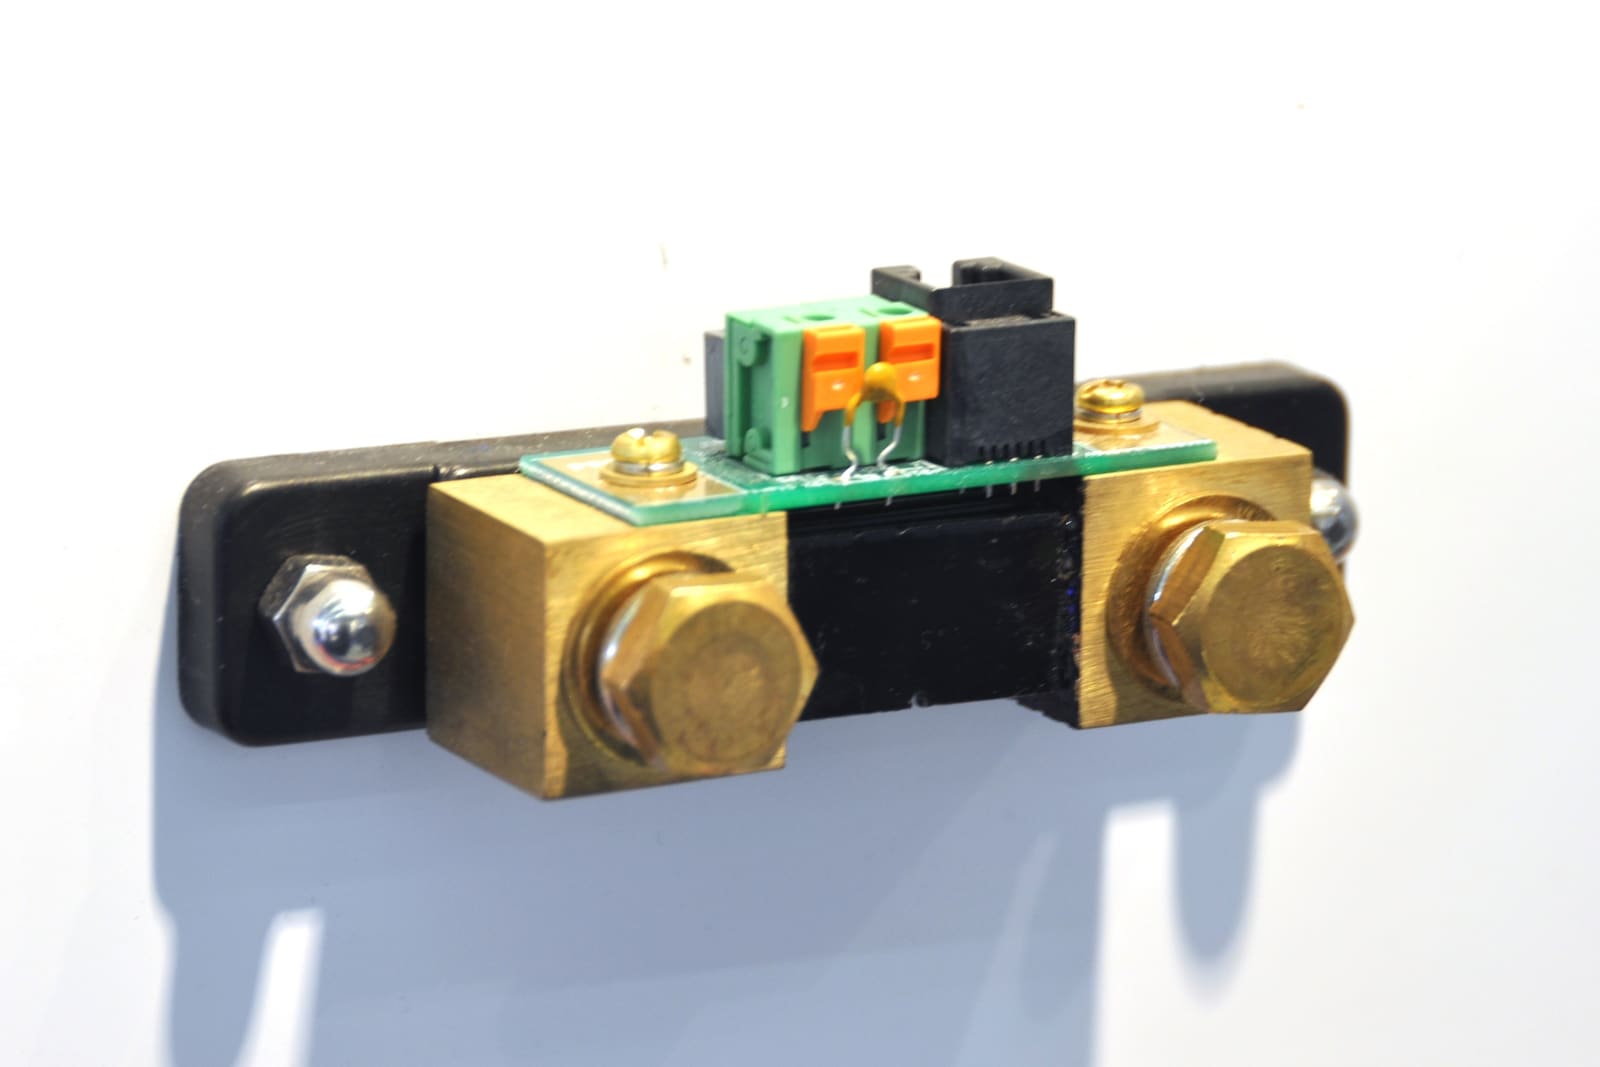
Battery Monitors with a Shunt: Installing, Setting Up and Reading State of Charge
A voltmeter can't tell you how full your house battery really is. Learn how a shunt-based battery monitor counts every amp going in and out, where the shunt goes on the negative side, which settings to change for lead-acid or lithium, and how to read the percentage without being fooled.
Low-Voltage Disconnects: Keep the Stereo and Fridge from Killing Your Battery
A low-voltage disconnect (LVD) automatically cuts non-essential loads like the stereo, fridge and cabin lights before they drain the battery you need to start the engine. Learn how these devices work, which loads belong behind one and which never do, how to pick the cut-off point for lead-acid or lithium, and how to install one safely.