Marine Sealants Explained: 5200, 4200, 4000UV, Polysulfide, Silicone and Butyl Tape
Pick the right sealant before you bed a cleat, a through-hull, a window or a transducer. The wrong goo either leaks in a year or glues a part on so hard you damage the boat getting it off.
Time
30 min
Applies to
All engines
Safety first: Most marine sealants and their solvents give off fumes and are flammable. Work with ventilation, wear gloves, and keep heat and sparks away. Never pull a through-hull, transducer or other fitting below the waterline while the boat is in the water. If a fitting below the waterline is leaking and you can't stop it, treat it as water ingress: get people into life jackets, start the pumps and call TowBoatUS, Sea Tow or the Coast Guard (VHF 16 or 911).
Owners often ask
- Should I use 3M 5200 or 4200 to bed my deck hardware?
- Can I use silicone to seal a through-hull fitting or a plastic window?
This guide walks you through it. Still stuck? Ask the AI Mechanic about your engine.
Tools
- Caulking gun
- Plastic putty knife or plastic razor blade
- Masking tape
- Clean rags
- Solvent recommended on the sealant label for cleanup
- Nitrile gloves
- Heat gun or hair dryer (for butyl tape in cool weather)
Parts & supplies
- The sealant that matches the job (see the chart in this guide)
- Butyl tape made for marine or RV use (for bolted deck hardware above the waterline)
- Sealant remover or debonder (when taking off old polyurethane)
Before you start
The tubes on the store shelf mostly say "marine sealant" or "adhesive sealant," which doesn't help much. What matters is the chemistry, because each type behaves differently:
| Type | Common examples | Strength | Best for | Watch out for |
|---|---|---|---|---|
| Polyurethane, high strength | 3M 5200 | Very high (an adhesive, really) | Parts that should never come off: hull-to-deck joints, some below-waterline fittings | Nearly impossible to remove without damage; yellows in sun |
| Polyurethane, medium strength | 3M 4200, Sikaflex-291 | Medium | Fittings you may service later, above or below the waterline | Softened by fuel and solvents; not for acrylic or polycarbonate windows |
| Polyether / silane-modified (SMP) | 3M 4000UV, other "hybrid" caulks | Medium | Topside seams, hatches, hardware where you want color that won't yellow | Still stronger than ideal for parts you remove often |
| Polysulfide | BoatLIFE Life-Calk | Low to medium, very flexible | Bedding metal and wood, fuel fills, teak, through-hulls | Attacks many plastics; slow to cure |
| Silicone (marine grade) | Several brands | Low | Gaskets and parts that must come apart, like light fixtures; plastic parts | Weak adhesion; leaves a film nothing else will stick to; can't be painted |
| Butyl tape | Marine or RV butyl | Not an adhesive | Bolted deck hardware, stanchions, windows with mechanical fasteners | Above the waterline only; dissolved by fuel and oil |
Strength is not the goal. Don Casey points out in BoatUS that 5200 is really a construction adhesive. For hardware that's held on by bolts, you want a sealant that stays flexible and keeps water out, not glue. A part bedded in 5200 often takes gelcoat with it when it comes off.
Read the label for your exact product. Brands change formulas and names (there are regular and Fast Cure versions of several), and the cure times and plastics compatibility on the tube are what count.
Steps
Ask: will someone need to remove this for service, replacement or rebedding in the next 10 to 20 years? Cleats, stanchions, hatches, transducers, inspection ports, lights and most deck hardware: yes. Choose a removable product (4200-type, 4000UV-type, polysulfide, butyl tape or silicone, depending on the job). Save 5200-type adhesives for joints that are truly permanent.
Below the waterline you need a sealant rated for constant immersion. The 3M 5200, 4200 and 4000UV product pages, BoatLIFE's Life-Calk and Sikaflex-291 all list below-waterline use. Butyl tape doesn't belong below the waterline: BoatUS notes its grip is too modest. Most ordinary silicones aren't rated for it either; a few marine silicones are, so check the label.
- Plastics: this is where most mistakes happen. BoatLIFE says polysulfide shouldn't go on plastics (and especially not polycarbonate), and BoatUS warns polysulfide attacks ABS and Lexan. Sika says Sikaflex-291 must not be used on plastics prone to stress cracking, like acrylic (Plexiglas) and polycarbonate. Silicone and butyl tape are the safest general choices for plastic parts. 3M lists plastics on its 5200, 4200 and 4000UV pages, but test first if you aren't sure what plastic you have.
- Acrylic and polycarbonate windows: use the sealant the window maker specifies. Many common caulks craze or crack these plastics.
- Metal and wood: polysulfide, polyurethane, polyether and butyl all work.
- Near fuel: polysulfide resists fuel best. Polyurethanes and butyl tape do not like fuel or solvents.
Quick picks (typical; always read the label):
- Bolted cleat, stanchion or rail base on deck: butyl tape, polysulfide, 4200-type or 4000UV-type.
- Through-hull or transducer below the waterline: polysulfide or a 4200-type sealant if you may ever replace it; 5200-type only if it's meant to be permanent.
- Fuel fill or vent fitting: polysulfide.
- Light fixture, plastic vent or part you open often: marine silicone.
- Topside seam you want to stay white: a UV-stable polyether or SMP like 4000UV.
- Hull-to-deck joint or rub rail on a rebuild: high-strength polyurethane, per the builder's practice.
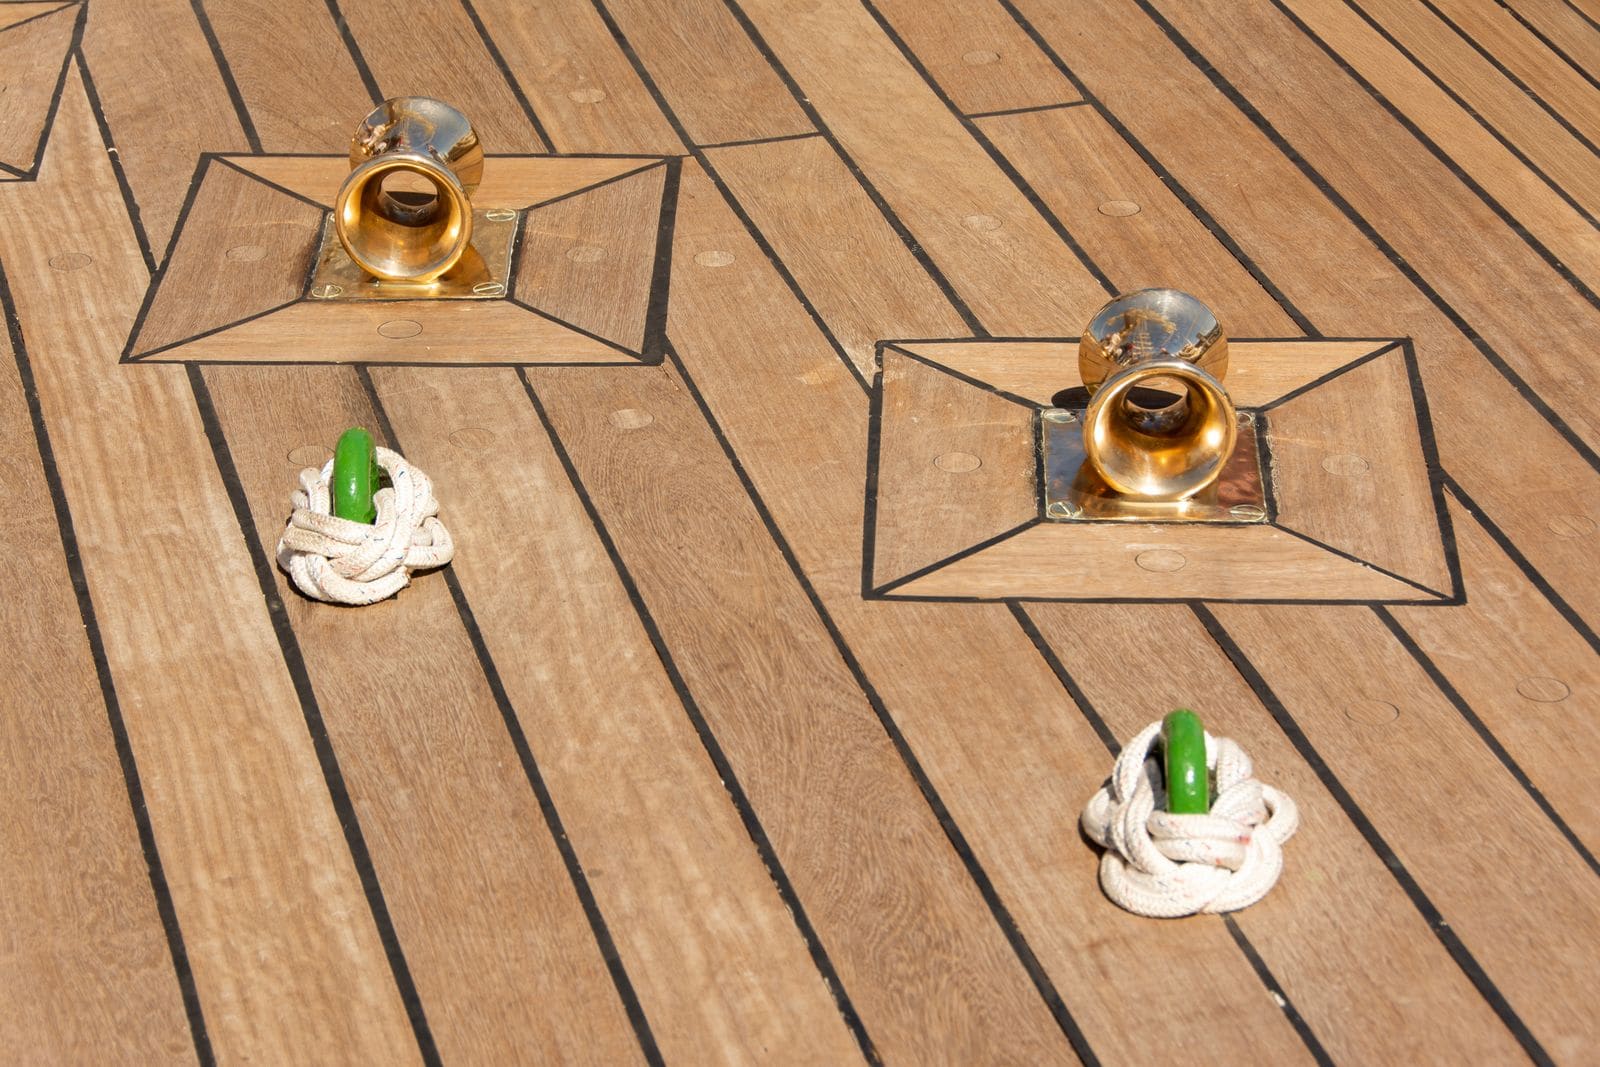
Teak seams and fittings set into wood need a flexible sealant made for that job; polysulfide is the traditional choice. Check the label before using any other type on teak. Photo: Jan van der Wolf / Pexels New sealant won't bond to old sealant, dirt or wax. Scrape with a plastic blade so you don't gouge gelcoat. For stubborn polyurethane, Boating Magazine's test found a dedicated debonder worked best: score the bead, soak it, wait and pry, repeating. BoatUS warns that old silicone leaves an almost permanent film that blocks new sealant, and it's a common hidden cause of leaks coming back. Scrub silicone residue off thoroughly with the cleaner the new sealant's maker recommends.
If a fitting won't lift after the fasteners are out, Don Casey's BoatUS advice is to assume it's bedded in polyurethane and get a debonder rather than prying, which can tear the deck. If you use heat, keep the fiberglass cool enough that you can still touch it.
Clean and dry both surfaces. Wipe with the solvent named on the label (often alcohol or acetone; test on gelcoat first). Mask around the fitting with tape so squeeze-out is easy to clean. On a cored deck, the holes need to be sealed before bedding; see the deck hardware rebedding guide.
Use enough sealant that some squeezes out all the way around the base and into the bolt holes. Put a ring around each bolt under the head and around the hole. Starved joints are the most common cause of leaks.
Butyl tape is different: roll small strands and wrap them around each bolt just under the head, then make a fat cone of tape where the bolt leaves the base, and cover the underside of the fitting. In cool weather, warm the tape with a hair dryer so it's workable. BoatUS adds three cautions: use it only on bolted hardware (turning a screw breaks the seal), skip black butyl because it stains, and expect to find the right grade at an RV store or a marine-specific supplier rather than a hardware store.
With curing sealants, don't crank the fasteners down right away and squeeze it all out. BoatUS explains that a paper-thin layer, especially of polysulfide, can tear with tiny movements. A common method is to snug the nuts so sealant oozes out, let it begin to cure, then tighten the rest of the way. Turn the nut from below, not the bolt head, so you don't break the seal. Butyl tape creeps slowly, so it often needs re-tightening several times over a few days.
Cut the excess away with a plastic blade once it has skinned or cured enough to hold its shape (timing depends on the product). Then pull the masking tape. Clean uncured sealant from tools with the solvent on the label. For butyl, peel away the extra; BoatUS suggests a cleaner wax rather than mineral spirits near the joint. Trim so only a thin edge of sealant shows under the fitting; Don Casey warns against leaving a raised fillet, because silicone collects dirt, polyurethane yellows and polysulfide weakens in the sun.
Cure times vary widely and slow down in cool, dry air. 3M lists full cure for regular 5200 as up to about 4 days, while its Fast Cure 4200 and 4000UV products typically cure in about 24 hours. Polysulfide is slower. Don't load a fitting or launch over a fresh below-waterline seal before the label says it's ready.
Practical Sailor's adhesion test of 14 common caulks adds some useful real-world notes:
- Polyurethanes cure with moisture from the air. In dry weather you can speed them up by raising the humidity, for example a damp towel or a bowl of water under a small tarp tent over the joint, or a light mist after the first 12 hours.
- A skin isn't a cure. Several products skinned over in hours but were still soft inside weeks later, especially on metal and plastic, which don't hold moisture the way fiberglass and wood do.
- For high-load joints, wait longer. Most products can go into normal service within the maker's stated time, but the testers suggest waiting about a month, if you can, before a bond takes heavy loads.
- Polyethylene (StarBoard-type plastic) barely bonds to anything. Only one product in the test bonded to it at all, so fasten polyethylene parts mechanically and use sealant only to keep water out.
Look for water trails, weeping around bolts or a damp spot below. Check below-waterline fittings right after launch and again before you leave the boat. Log the job in BoatMend with the product used, so whoever removes it later knows what they're dealing with.
Common mistakes
- Using 5200 on deck hardware "because it's the strongest," then destroying gelcoat or deck core trying to remove it.
- Using household or acid-cure silicone around metal. BoatLIFE warns acid-cure silicones can keep corroding nearby metal.
- Putting polysulfide or polyurethane on acrylic, polycarbonate or ABS parts and getting cracks or a bond that lets go.
- Laying new sealant over old silicone residue.
- Tightening fasteners until almost no sealant is left in the joint.
- Turning the bolt instead of the nut and breaking the seal.
- Using butyl tape near fuel fills or below the waterline.
- Assuming "marine sealant" on the label means it's right for every job.
- Sealing the nuts and washers on the underside of the deck too. BoatUS says to leave them dry: if the top seal ever fails, you want the drip to show up in the cabin where you'll notice it, not run into the core.
- Running a bead around the outside of a leaking fitting instead of rebedding it. It rarely stops the leak and hides it until the core is wet.
- Smearing sealant on the drain plug threads in a rush before launch. Owners who have done it end up fighting a plug that won't come out (sometimes replacing the whole drain fitting). A drain plug is meant to come out; its threads take a little marine grease, never sealant or adhesive.
When to call a pro
- A below-waterline fitting is leaking, loose or cracked, or you'd have to remove it with the boat in the water
- The deck around a fitting is soft, or a moisture meter shows wet core
- Large windows or windshields need rebedding, especially acrylic or polycarbonate
- Structural joints (hull-to-deck, transom, stringers) need re-bonding
- You can't identify what sealant is in a joint and it won't come apart
Tips
- Keep a small kit aboard: one tube of a removable all-purpose sealant, a roll of butyl tape and a plastic scraper. Partly used tubes skin over; a nail or screw pushed into the tip and some tape helps. Practical Sailor found that sealing the tip tightly with aluminum foil right after use and keeping the tube in a refrigerator kept every tested caulk usable after six months.
- Write the sealant type on masking tape inside the locker near the fitting, or note it in BoatMend.
- Silicone can't be painted; most of the others can. Check the label before choosing a color.
- Sealants have a shelf life. A tube that's stiff or lumpy in the cartridge won't cure properly.
- Mildew-stained caulk lines that are still sound don't need replacing. BoatUS tested a mild bleach-containing cleanser (Soft Scrub) dabbed onto the caulk with a cotton swab, left for several hours (longer on deep mildew), then rinsed off very thoroughly; a vinegar spray barely helped. Keep any bleach product off gelcoat and foam decking as much as you can, because left on it can dull the finish.
Official references
We read these to write this guide. Your engine's own manual always wins.
- BoatUS – Boat Sealants (Don Casey, sealant types and butyl tape)
- BoatUS – Bedding Deck Hardware (Don Casey)
- BoatUS – How To Clean Stained And Mildewed Caulk
- Boating Magazine – Choosing the Right Marine Caulk
- Boating Magazine – Solvents for Removing 5200
- 3M – Marine Adhesive Sealant 5200
- 3M – Marine Adhesive Sealant Fast Cure 4200FC
- 3M – Marine Adhesive Sealant 4000 UV
- BoatLIFE – Polysulfide vs Polyurethane
- BoatLIFE – Silicone and Silicone Hybrid Sealants
- Sika USA – Sikaflex-291 marine sealant
- Practical Sailor – Marine Sealant Adhesion Tests
Safety: BoatMend is for information only and does not replace a certified marine technician. You are responsible for your safety and your boat. Read the full disclaimer.
Last updated 2026-10-25
Related guides
How to Find and Fix Leaking Deck Hardware (Rebedding Cleats, Stanchions and Tracks)
Track down the cleat, stanchion base or track that is dripping into the cabin, then remove it, seal the deck core and bed it again with the right sealant so the leak stops for years instead of weeks. Catching it early protects the deck core from rot.

How to Fix Leaking Hatches and Portlights
Find out whether a leaking deck hatch or portlight is failing at the gasket, the lens or the frame, then fix it with the right seal or sealant. Learn when crazed or cracked acrylic needs a new lens and what never to put on plastic windows.

How to Inspect and Exercise Seacocks, Through-Hulls and Hose Clamps
Check every hole in your hull below the waterline, work each seacock open and closed, and inspect the hoses and clamps attached to them. A single failed fitting or hose is one of the most common reasons boats sink at the dock.
How to Mount Rod Holders, Fish Finders, Cleats and Antennas Without Causing Leaks
Add accessories to your boat the right way, with through-bolts, backing plates, sealed core and proper wire pass-throughs, so every new hole stays dry and strong. Also learn where you should never drill.

Fish Finder and Depth Sounder Transducers: Mounting, Fixing Bad Readings and Cleaning
Where and how to mount a transom-mount transducer so it reads cleanly at speed, how to track down lost bottom readings and noisy screens, how to clean and paint a transducer without ruining it, and why thru-hull transducers are a haul-out job for a pro.

How to Clean and Care for a Boat Windshield (Acrylic, Polycarbonate or Glass)
Clean your windshield without scratching it, tell acrylic, polycarbonate and glass apart, deal with haze, crazing and small cracks, stop frame leaks, and keep wipers and the walk-through door working.

How to Repair Small Gelcoat Chips and Scratches
Fill and blend small chips, dings and scratches in your boat's gelcoat with a repair kit so they stop letting water into the fiberglass and look close to new. Also learn to spot damage that is structural and needs a pro.