Battery Monitors with a Shunt: Installing, Setting Up and Reading State of Charge
A voltmeter can't tell you how full your house battery really is. Learn how a shunt-based battery monitor counts every amp going in and out, where the shunt goes on the negative side, which settings to change for lead-acid or lithium, and how to read the percentage without being fooled.
Time
3 h
Shop would charge
$250-700
Applies to
All engines
Safety first: The shunt sits in the main negative cable, which carries every amp the boat uses, including engine cranking if the start battery shares it. Turn off all chargers, solar and shore power, switch the battery switches off, and disconnect the battery negative first before you touch anything. Never lay a wrench across battery posts. If you find hot, melted or discolored cables, a swollen battery or a burned smell, stop and call an ABYC-certified marine electrician.
Owners often ask
- My battery monitor says 80% but the voltmeter reads 12.2 volts. Which one do I believe?
- I installed a shunt and my shore charger never shows up as charging current. What did I wire wrong?
This guide walks you through it. Still stuck? Ask the AI Mechanic about your engine.
Tools
- Digital multimeter
- Wrenches or sockets to fit the battery and shunt studs
- Hydraulic or ratcheting lug crimper (or have cables made up by a marine store)
- Heat gun and adhesive-lined heat-shrink tubing
- Drill and screwdriver for mounting the shunt
- Smartphone with the monitor maker's app (for Bluetooth models)
- Safety glasses and insulated gloves
- Phone camera for photos of the existing wiring
Parts & supplies
- Shunt-based battery monitor sized for your largest current (with its fused sense wire, usually supplied)
- Short negative cable from the battery to the shunt, the same size as the existing main negative cable, with tinned lugs
- Heat-shrink tubing and cable labels
- Display head and data cable, if your model has a separate display
Before you start
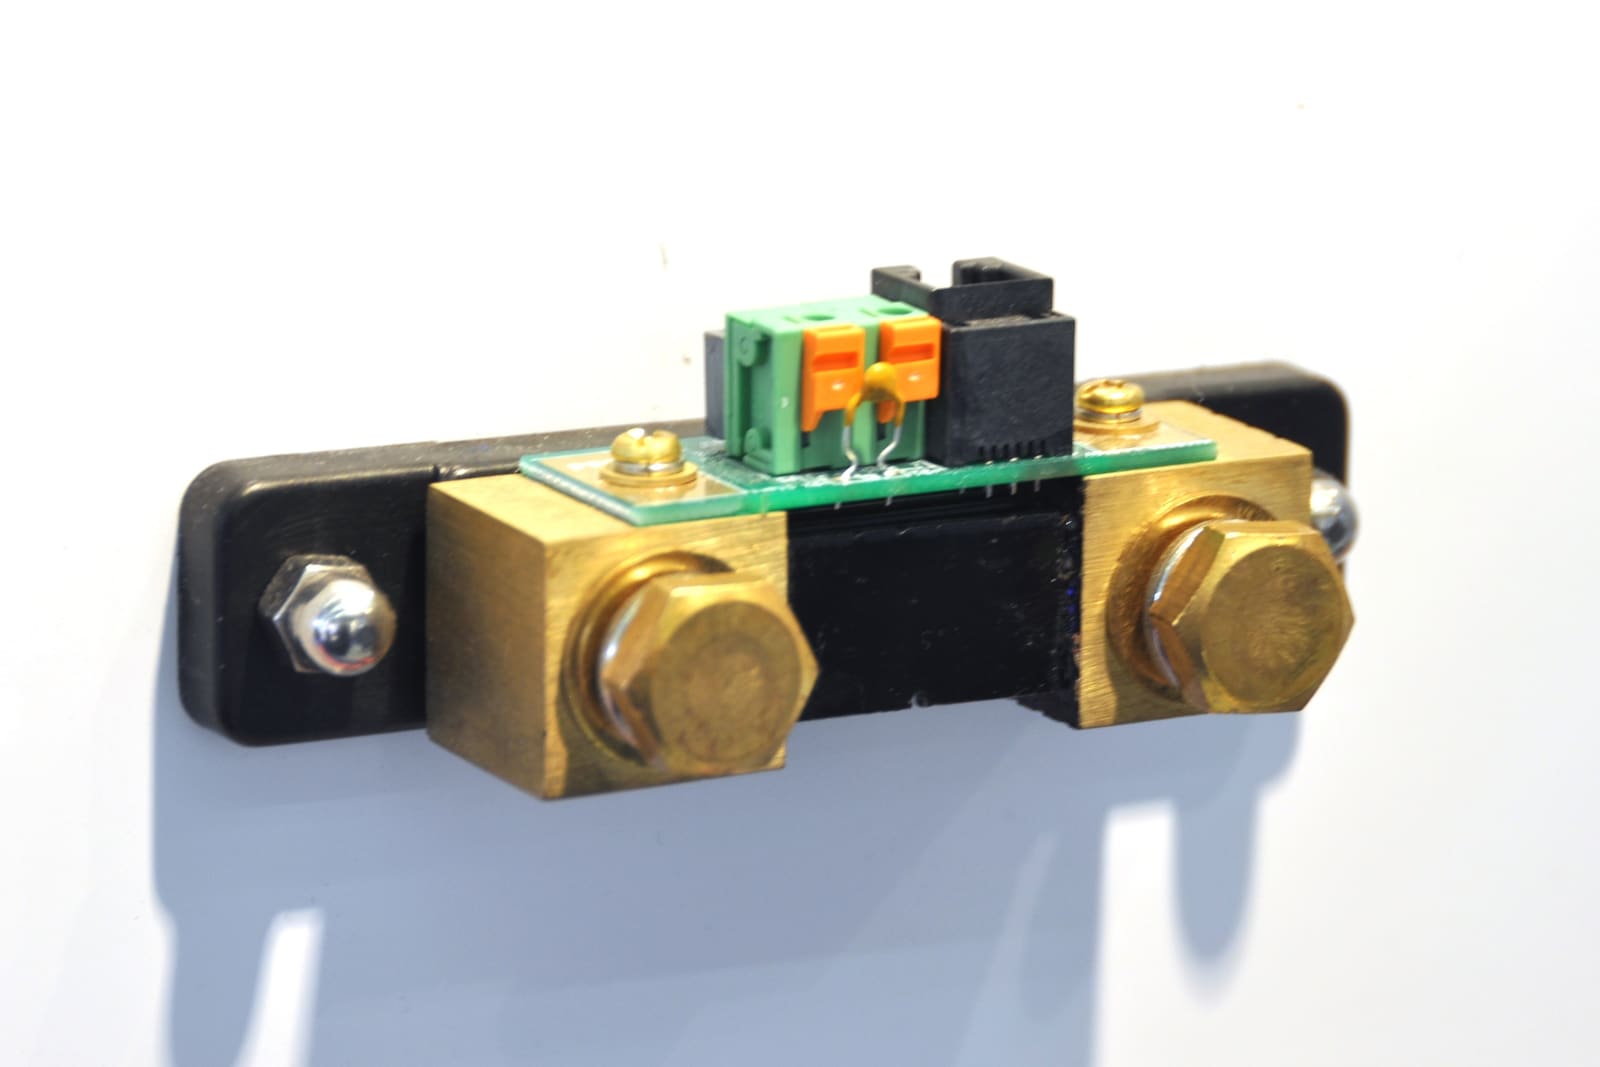
A battery monitor is a fuel gauge for your batteries. The kind worth buying uses a shunt: a precise, low-resistance metal bar placed in the battery's negative cable. Every amp that leaves or enters the battery passes through it, and the monitor measures that current and adds it up over time. Victron describes the math simply: a 10-amp load for 2 hours removes 20 amp-hours. Knowing how many amp-hours you've used, and how many the battery holds, gives you a real state of charge (SoC) in percent.
This guide is mostly for boats with a house battery or bank that powers things at anchor or on the hook: a fridge, lights, a trolling motor bank, a cabin. A day boat that runs the engine all the time rarely needs one.
What you need to decide first:
- Which bank to monitor. One shunt measures one bank (usually the house bank). Many monitors have an auxiliary input that can also show the voltage of the start battery.
- Shunt size. Shunts are rated by current (Victron's SmartShunt comes in 300, 500, 1000 and 2000 amp sizes). It must handle the largest current that will flow through it, such as an inverter or windlass on that bank.
- Display. Some models have a wired display for the helm or cabin; others are read only on a phone app over Bluetooth.
- Battery chemistry support. Boating Magazine's test of dash-mounted battery monitors found that some units are set up only for flooded, gel or AGM batteries and are not meant for lithium, and it advises matching the monitor to the bank. It also found non-watertight terminal connectors on one kit, so check how and where yours will be mounted.
- "My lithium battery already shows a percentage in its app." Some lithium systems have battery monitoring built in; Power & Motoryacht describes a factory system whose batteries carry an integral management system and monitoring, read on a dedicated display. A separate shunt still earns its place when you have several batteries (each app may show only its own battery), several charge sources, or loads you want to see in one number. If the battery's own reading matches what you actually use over a few cycles, you may not need one.
Steps
Practical Sailor puts it bluntly: measuring a battery's voltage while it's in use is nearly worthless for telling how much charge is left. Voltage sags under load and rises while charging. It's only meaningful after the battery has rested with no load and no charging for a good while: Practical Sailor says about 30 minutes for a rough reading and an hour for real accuracy.
Lithium (LiFePO4) batteries make it worse. Their voltage stays almost flat from nearly full to nearly empty, so a voltmeter that reads "fine" can hide a battery that's close to its cutoff. Counting amp-hours with a shunt avoids that problem.
Write down:
- Battery type (flooded, AGM, gel or lithium) and nominal voltage (12, 24 volts).
- Capacity in amp-hours. For lead-acid, Victron recommends entering the 20-hour (C20) rating from the label or data sheet. For several batteries in parallel, add their amp-hours together.
- Your charger's absorption voltage and, for lithium, the battery maker's recommended settings.
- The biggest load on the bank (inverter, windlass, trolling motor) to size the shunt.
Open the battery compartment and photograph every cable on each battery's negative post and on any negative bus bar. On many boats, the battery negative has several cables: the engine ground, a cable to a negative bus, maybe a charger or solar controller. A shunt only works if all of those go through it.
Also note any negative battery switch (common on European sailboats) or any place where two banks share a negative. If your system has several banks with a common negative, or the start battery and house bank share one cable, sketch it out. That's when an electrician's half hour is money well spent.
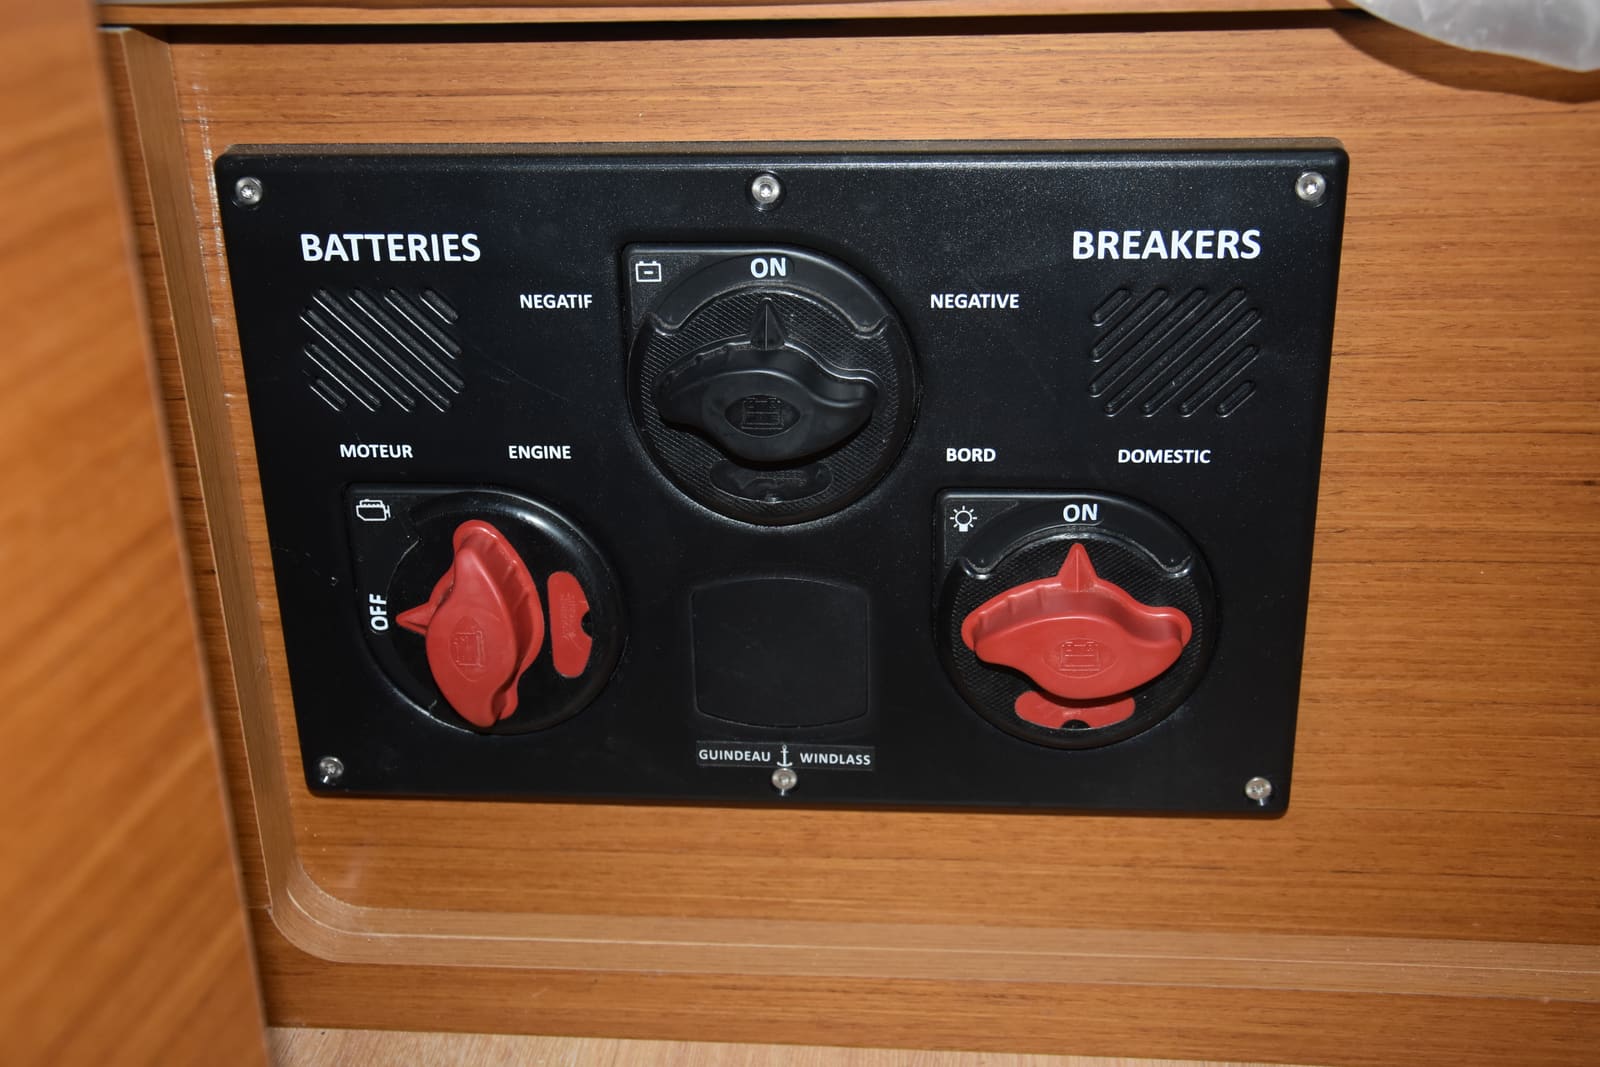
Some boats also switch the negative side, like this one. Note any negative switch or shared negative before choosing where the shunt goes. Photo: PaterMcFly / Wikimedia Commons · CC BY 4.0 Mount the shunt within a short cable length of the battery's negative post, where you can reach its terminals. It must be dry: Victron notes the standard SmartShunt is rated IP21 and isn't waterproof (a sealed IP65 version exists for damp spots). Keep it out of the bilge and away from spray. Screw it to a solid surface so cables don't hang on it.
Turn off shore power, chargers, solar controllers, inverters and every battery switch. Then remove the negative cable(s) from the battery you're monitoring, negative first. Cover the bare post with a rag or a boot so nothing can touch it while you work.
The shunt has two large studs. Victron labels them BATTERY MINUS and SYSTEM MINUS (older units say LOAD MINUS). Run one short cable, the same size as your existing main negative, from the battery's negative post to the battery side of the shunt.
The rule that makes or breaks the installation: nothing else goes on the battery post or on the battery side of the shunt. Victron warns that any load or charger connected there is left out of the state-of-charge calculation.
Torque every stud to the value in your monitor's manual, not by feel.
Now connect all the other negative cables (engine ground, negative bus, charger, solar controller, inverter, trolling motor bank feed) to the system side of the shunt, or to a negative bus that is fed only from that side. Victron's instruction is that the negatives of all loads and all charge sources connect "after" the shunt.
If the stud gets crowded, run one heavy cable from the shunt's system side to a negative bus bar and land the smaller cables there. Label each cable as you go.
Most monitors take a thin red wire with an inline fuse from the battery's positive post to a small terminal on the shunt (Victron calls it Vbatt+). That wire lets the monitor read voltage and powers it. Keep the fuse close to the battery, as supplied.
If you want to watch the start battery's voltage too, the second fused wire goes from the start battery positive to the auxiliary terminal. Victron notes the start battery's negative must also be on the system side of the shunt for this to work.
Reconnect, put the boots back over the positive terminals (the Coast Guard's battery rule requires that metal objects can't touch them), turn on the battery switch, and look for the monitor's status light or Bluetooth connection.
Open the app or display menu and set:
- Battery capacity in amp-hours. Victron's default is 200 Ah; it's almost never right for your boat.
- Charged voltage. Victron recommends about 14.0 volts for a 12-volt lead-acid bank and 13.9 volts for 12-volt lithium; it should sit just below your charger's absorption voltage. Confirm with your battery and charger makers.
- Auxiliary input (start battery voltage, midpoint or temperature), if used.
- Change the Bluetooth PIN from the default if your model has one.
Victron's factory defaults suit lead-acid (AGM, gel, flooded). For other brands, look for the same settings under similar names.
Victron lists five settings to change for lithium iron phosphate:
- Charged voltage: about 13.9 volts for a 12-volt bank.
- Tail current: higher than the current at which your lithium charger stops.
- Peukert exponent: 1.01 unless the battery maker says otherwise.
- Charge efficiency: about 98%.
- Discharge floor: 10 to 20% instead of the lead-acid default of 50%, unless your battery maker advises otherwise.
The battery maker's numbers always win over these generic ones.
A new monitor doesn't know where the battery starts. Charge the bank fully on shore power or a long run. The monitor resets itself to 100% when three things happen together: voltage above the charged voltage, charge current below the tail current (Victron's example is 4% of capacity, so 8 amps on a 200 Ah bank), and both holding for the charged detection time (3 minutes by default). Until then it may show dashes instead of a percentage.
Victron explains the two ways this goes wrong. Set the charged voltage too low and a half-full battery on a fading solar charge can be marked 100%. Set it too high and the battery never reaches it, so the monitor never resets and the percentage slowly drifts.
Once it's synced, these are the readings that matter:
- State of charge (%): the one to watch. Victron calls it the best way to monitor the battery.
- Current (amps): negative means the battery is supplying loads; positive means it's being charged. With everything "off," a steady small negative number is a parasitic draw worth chasing.
- Consumed amp-hours: how much you've taken out since the last full charge.
- Time remaining: an estimate that jumps around with changing loads. Treat it as a rough guide only.
- Voltage: still useful for spotting a charging problem or a weak battery.
Practical Sailor also notes that these monitors are only as accurate as their setup, and that occasional tweaking keeps them honest.
Turn on a load you can estimate (a cabin light, the fridge) with chargers off, and confirm the current reads negative and roughly what you'd expect. Then plug in shore power and confirm the current turns positive. If a charger or load doesn't show up, its negative is still on the battery post or the battery side of the shunt.
The monitor itself draws a small current all the time (Victron rates the SmartShunt under 12 milliamps). That's nothing on a weekend, but over a long layup it adds up. Victron warns that a lithium battery left deeply discharged with even a tiny draw can be damaged permanently, and advises cutting the monitor's positive supply when the boat is left for long periods. Because the monitor's sense wire usually goes straight to the battery post, your main battery switch may not turn it off. Ask your installer how to isolate it, or pull its fuse for winter. See our parasitic drain guide for measuring standby current.
Common mistakes
- Leaving the engine ground, a bilge pump or a charger negative on the battery post, so the monitor never sees that current.
- Forgetting to change the capacity from the factory default.
- Setting the charged voltage above what the charger ever reaches, so the monitor never resets to 100% and the percentage drifts lower every week.
- Reading the percentage right after installation, before the first full charge has synchronized it.
- Trusting "time remaining" during a swinging load like a windlass or inverter.
- Mounting the shunt in a damp bilge.
- Using lead-acid settings on a lithium bank.
- Judging a lithium battery by its voltage instead of the monitor's state of charge.
When to call a pro
- Several battery banks with a shared negative, or a start battery and house bank on one negative cable
- A negative battery switch, or an inverter or windlass on the bank you're monitoring
- Making up or replacing heavy battery cables if you don't have a proper lug crimper
- Any lithium installation, where the battery's management system, charger and monitor settings have to agree
- Readings that don't make sense after you've checked the wiring and settings
- Any sign of overheating at the battery, shunt or cables
Tips
- Photograph the finished installation and save the monitor's settings file (many apps can export it) in your boat profile.
- A full charge every week or two keeps the monitor synchronized; if you rarely reach full, expect the percentage to wander.
- Watch the current reading with "everything off" once a season. A number that creeps up over the years points to a new parasitic load.
- Set a low state-of-charge alarm at a level your battery maker is comfortable with, not the lowest the battery can survive.
Official references
We read these to write this guide. Your engine's own manual always wins.
- Victron Energy – SmartShunt Manual, Introduction (why monitor your battery)
- Victron Energy – SmartShunt Manual, Installation (battery minus and system minus connections)
- Victron Energy – SmartShunt Manual, Configuration (capacity, charged voltage and lithium settings)
- Victron Energy – SmartShunt Manual, Operation (readouts and synchronising)
- Practical Sailor – Battery Monitors
- Boating Magazine – Boat Battery-Monitor Gauges Compared
- Power & Motoryacht – Switching to Lithium Batteries on Your Boat
- eCFR – 33 CFR 183.420, Batteries (terminal protection and venting)
Safety: BoatMend is for information only and does not replace a certified marine technician. You are responsible for your safety and your boat. Read the full disclaimer.
Last updated 2026-10-25
Related guides

Marine Battery Care: Test, Charge and Store for Winter
Check your boat battery's health, charge it the right way for its type (flooded, AGM or lithium), and store it so it is ready in spring. Most "boat won't start" calls start with a neglected battery.
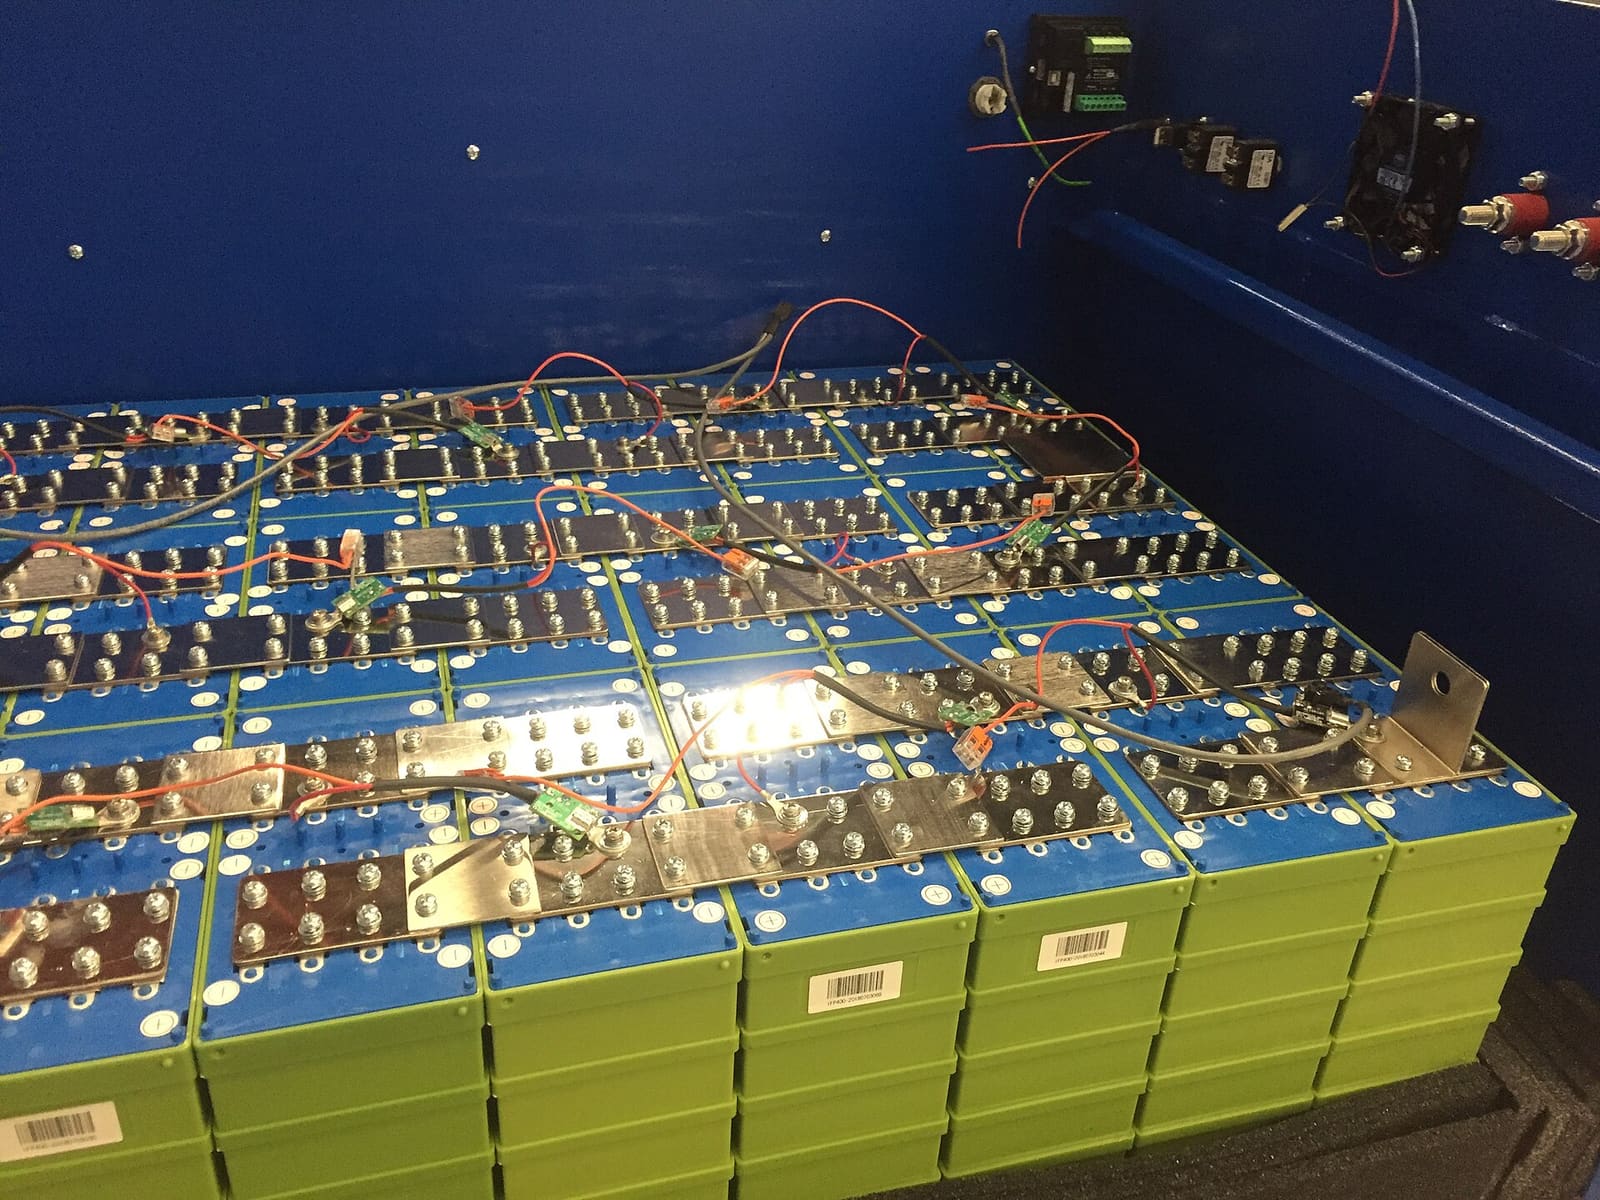
Switching to Lithium (LiFePO4) Boat Batteries: What Changes and When It's Worth It
What really changes when you swap lead-acid for lithium iron phosphate (LiFePO4) batteries on a boat: the battery management system, charger settings, protecting the alternator with a DC-DC charger, not mixing chemistries, cold-weather charging, and which jobs (trolling, house, starting) suit lithium. House-bank conversions should be designed and installed by a qualified marine electrician.
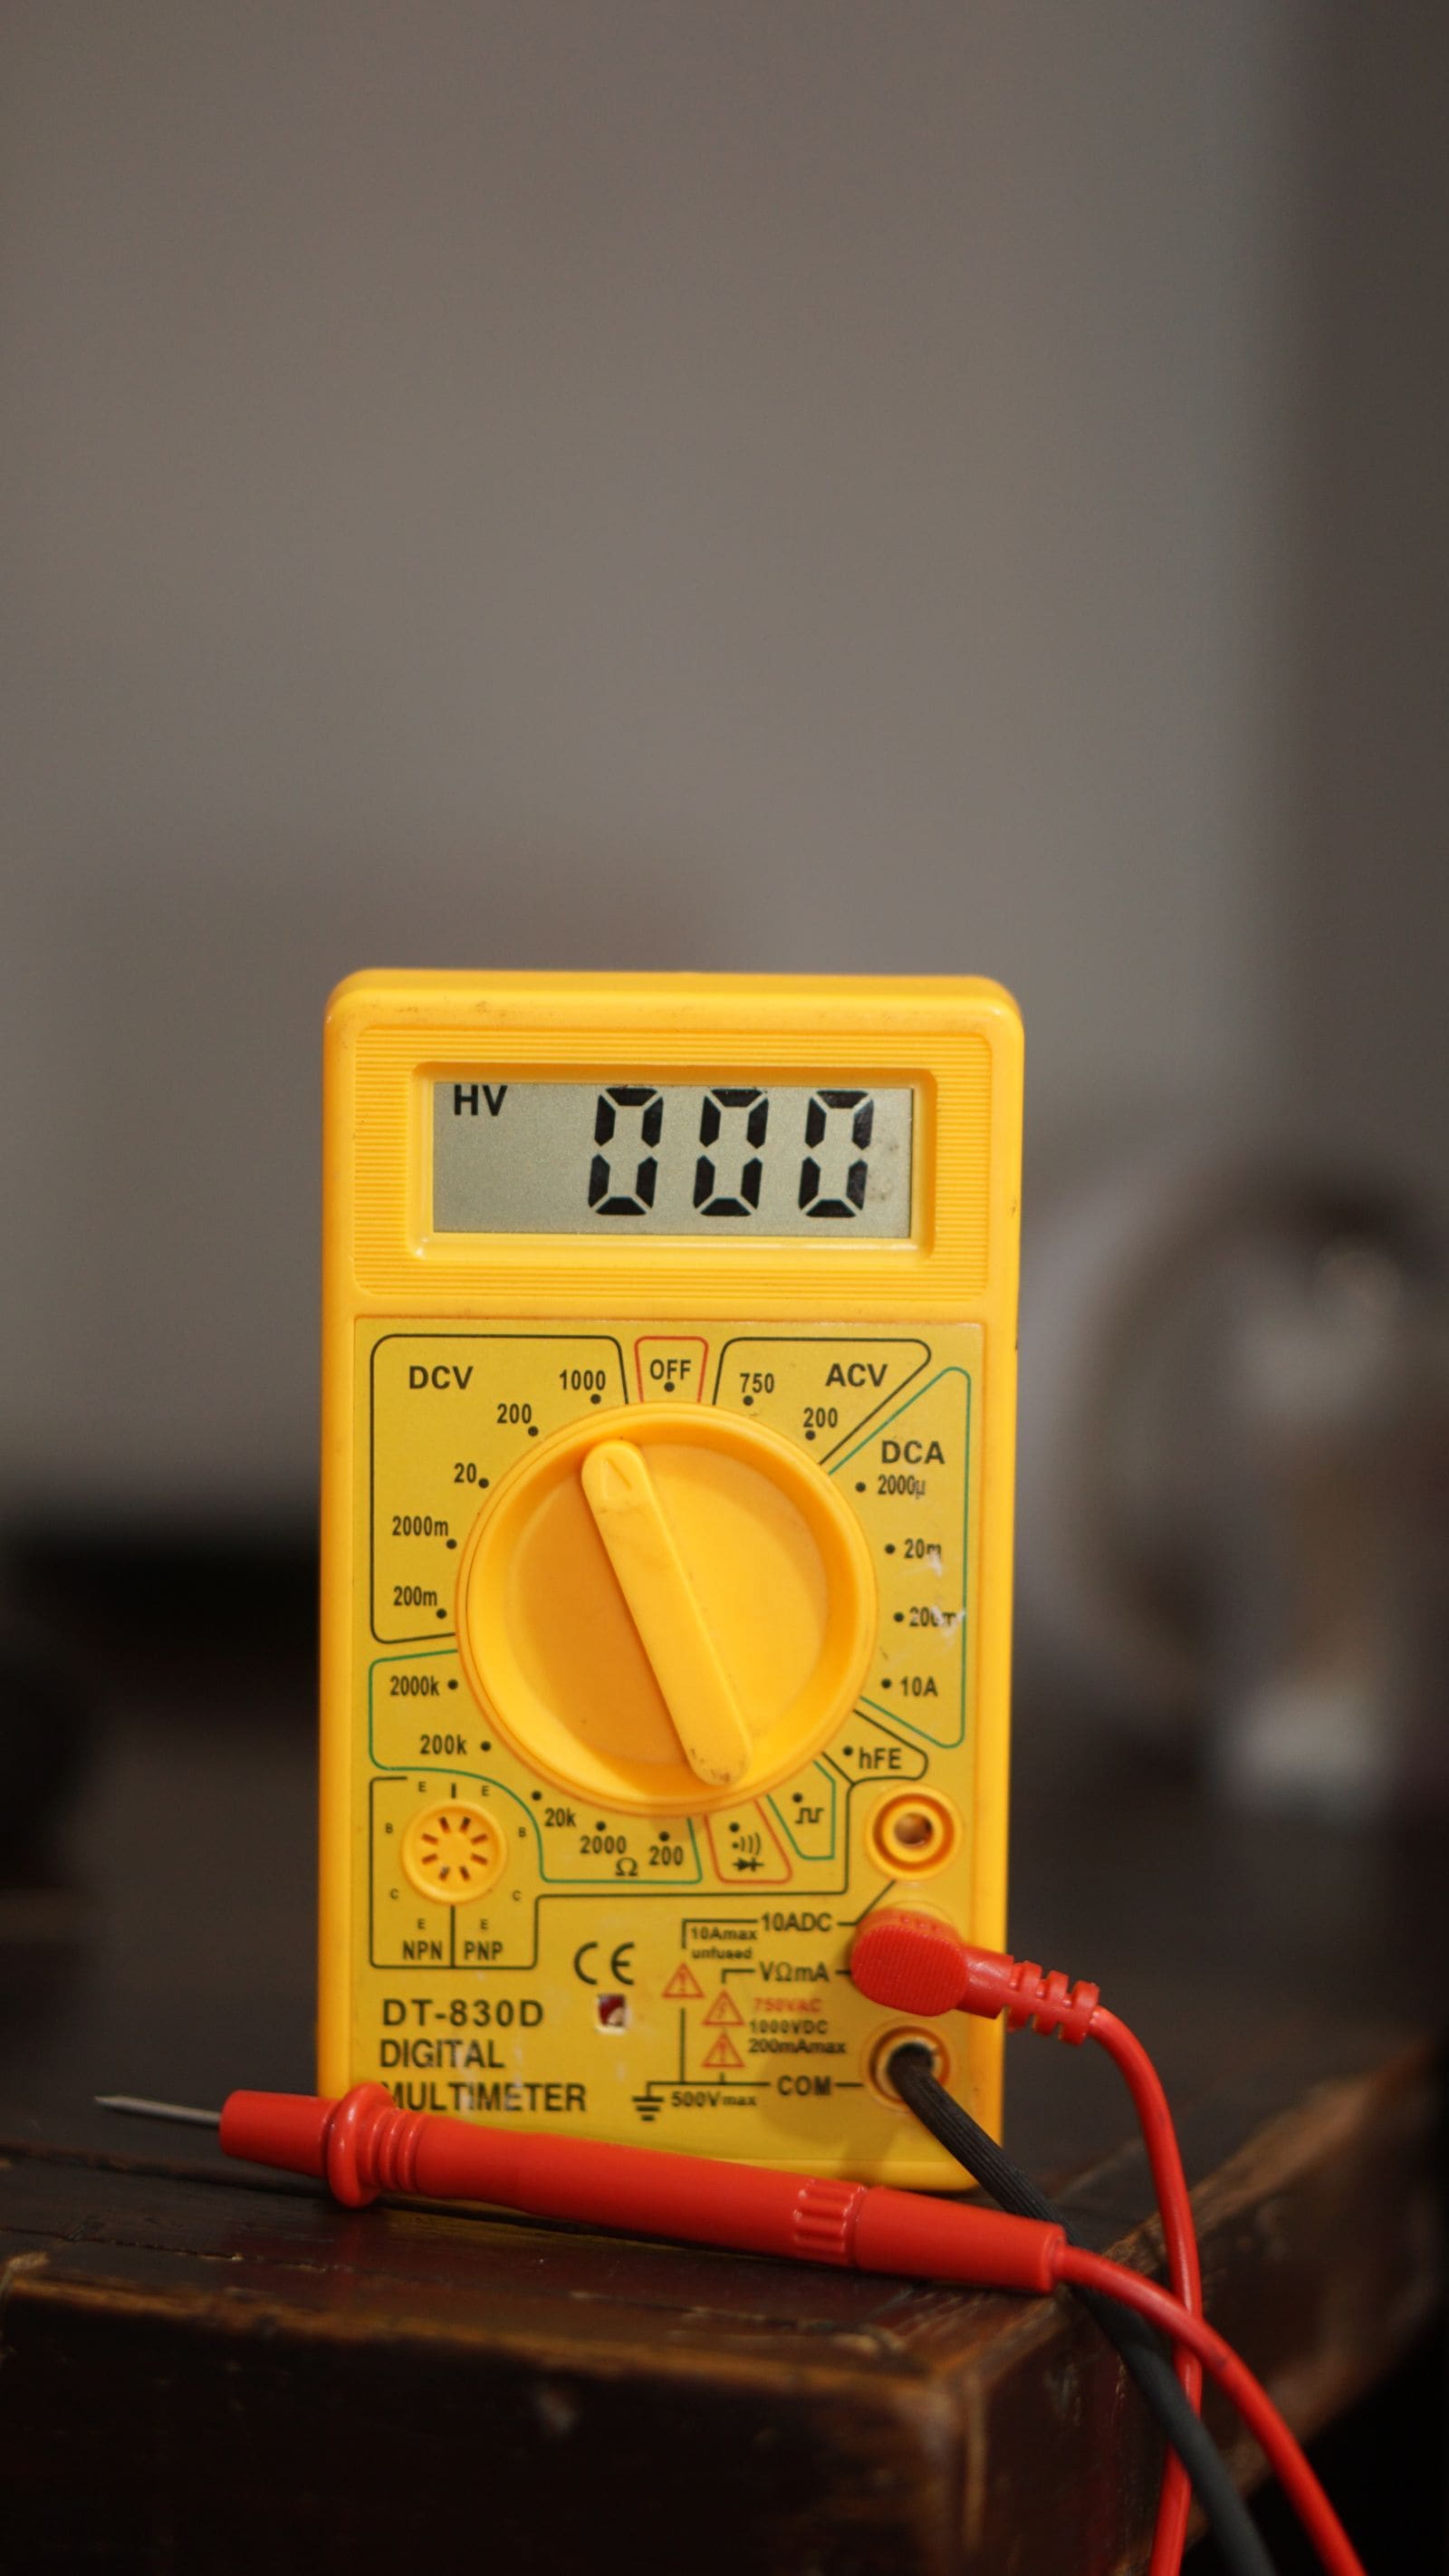
Battery Goes Dead While the Boat Sits - How to Find a Parasitic Drain
If your boat battery is flat every time you come back, something may be quietly drawing power while you are away. Learn how to tell a bad battery from a drain, find the circuit with a multimeter and the fuse panel, and fix the usual culprits without disabling your bilge pump.
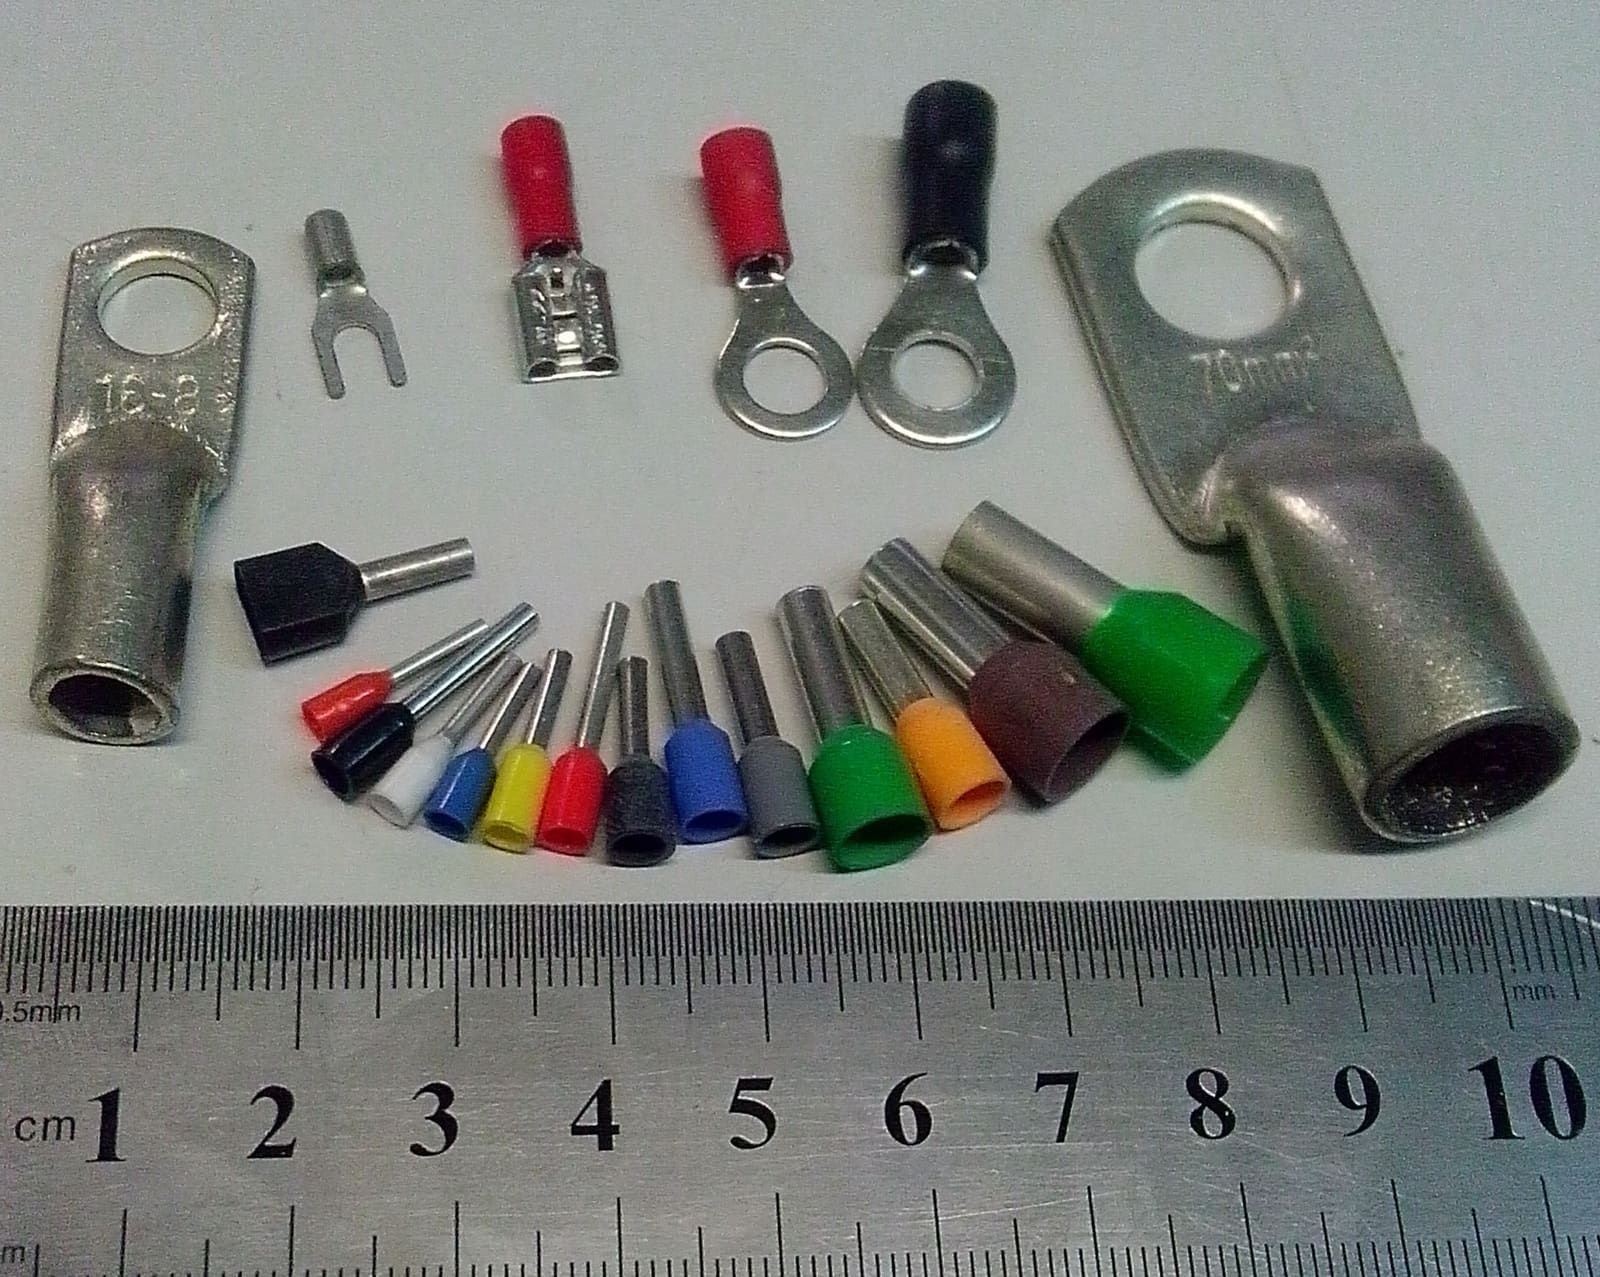
How to Replace Boat Battery Cables the Right Way
Swap corroded, cracked or undersized battery cables for tinned marine cable sized from a chart for its real length and load, with crimped lugs, adhesive heat shrink, terminal boots, solid support and a fuse close to the battery.
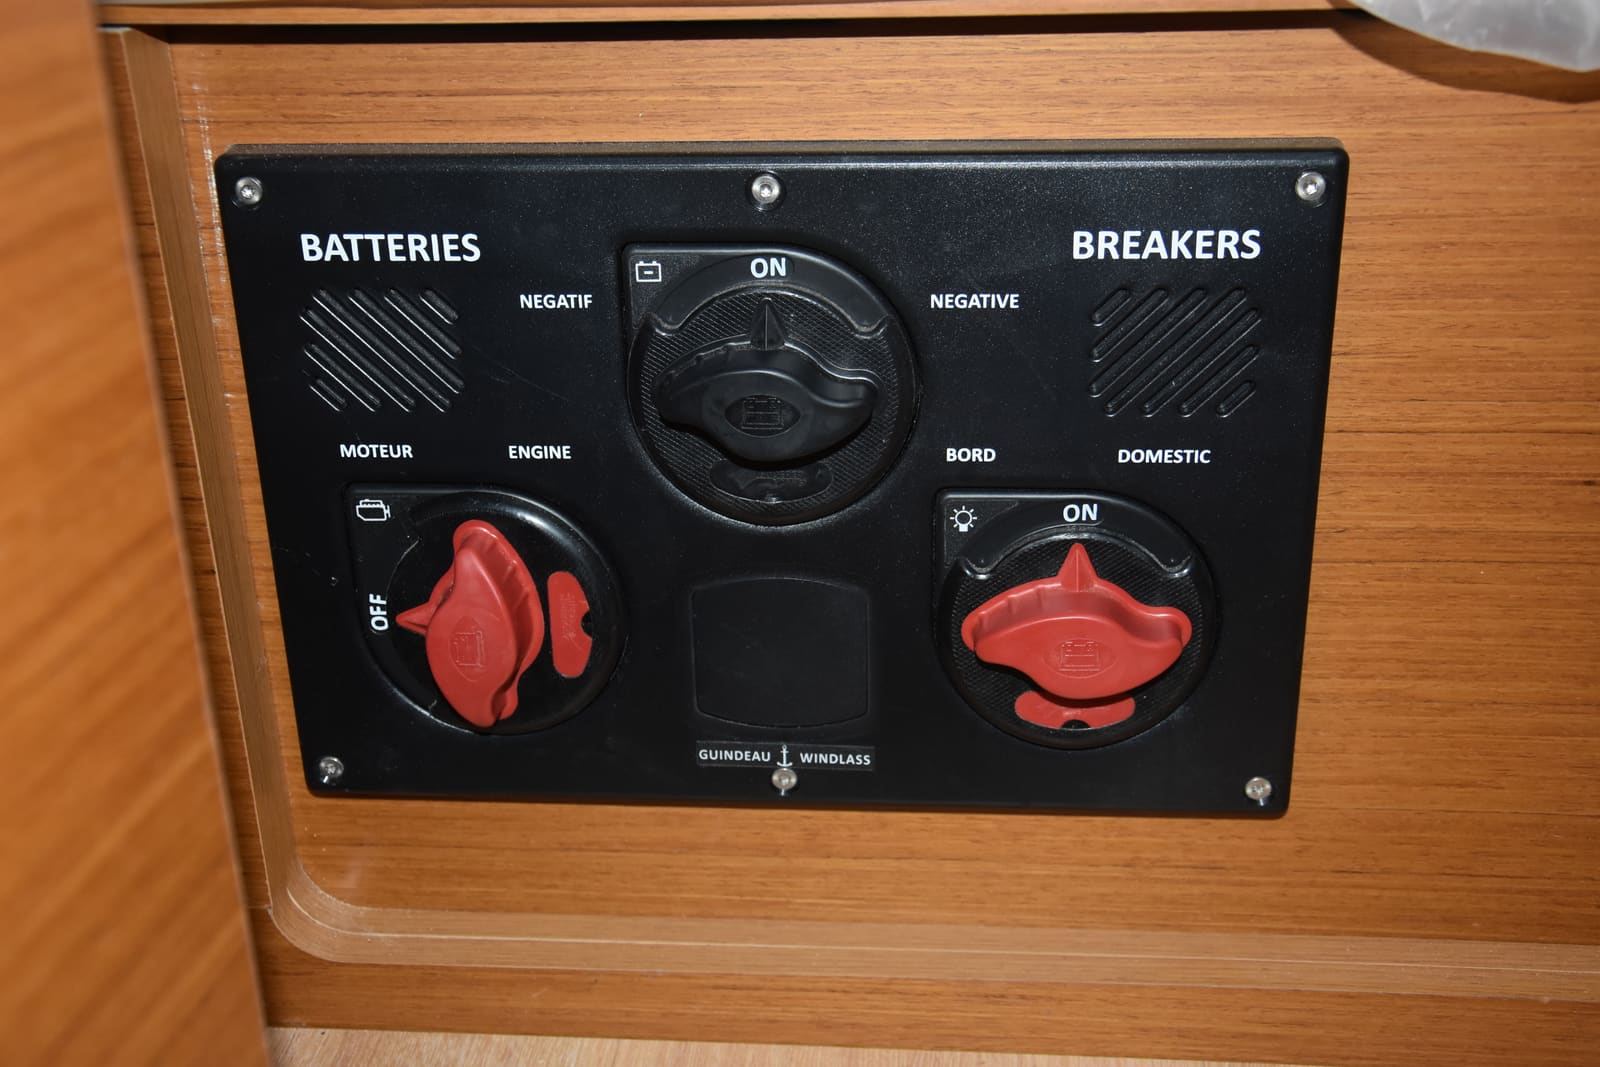
How to Use a 1-2-Both Battery Switch and Run Two Batteries
Learn what the 1, 2, Both and Off positions really do, a simple routine that keeps one battery ready to start the engine, how to check that both batteries are charging, and when an automatic charging relay makes life easier. Rewiring high-current cables is a job for a marine electrician.
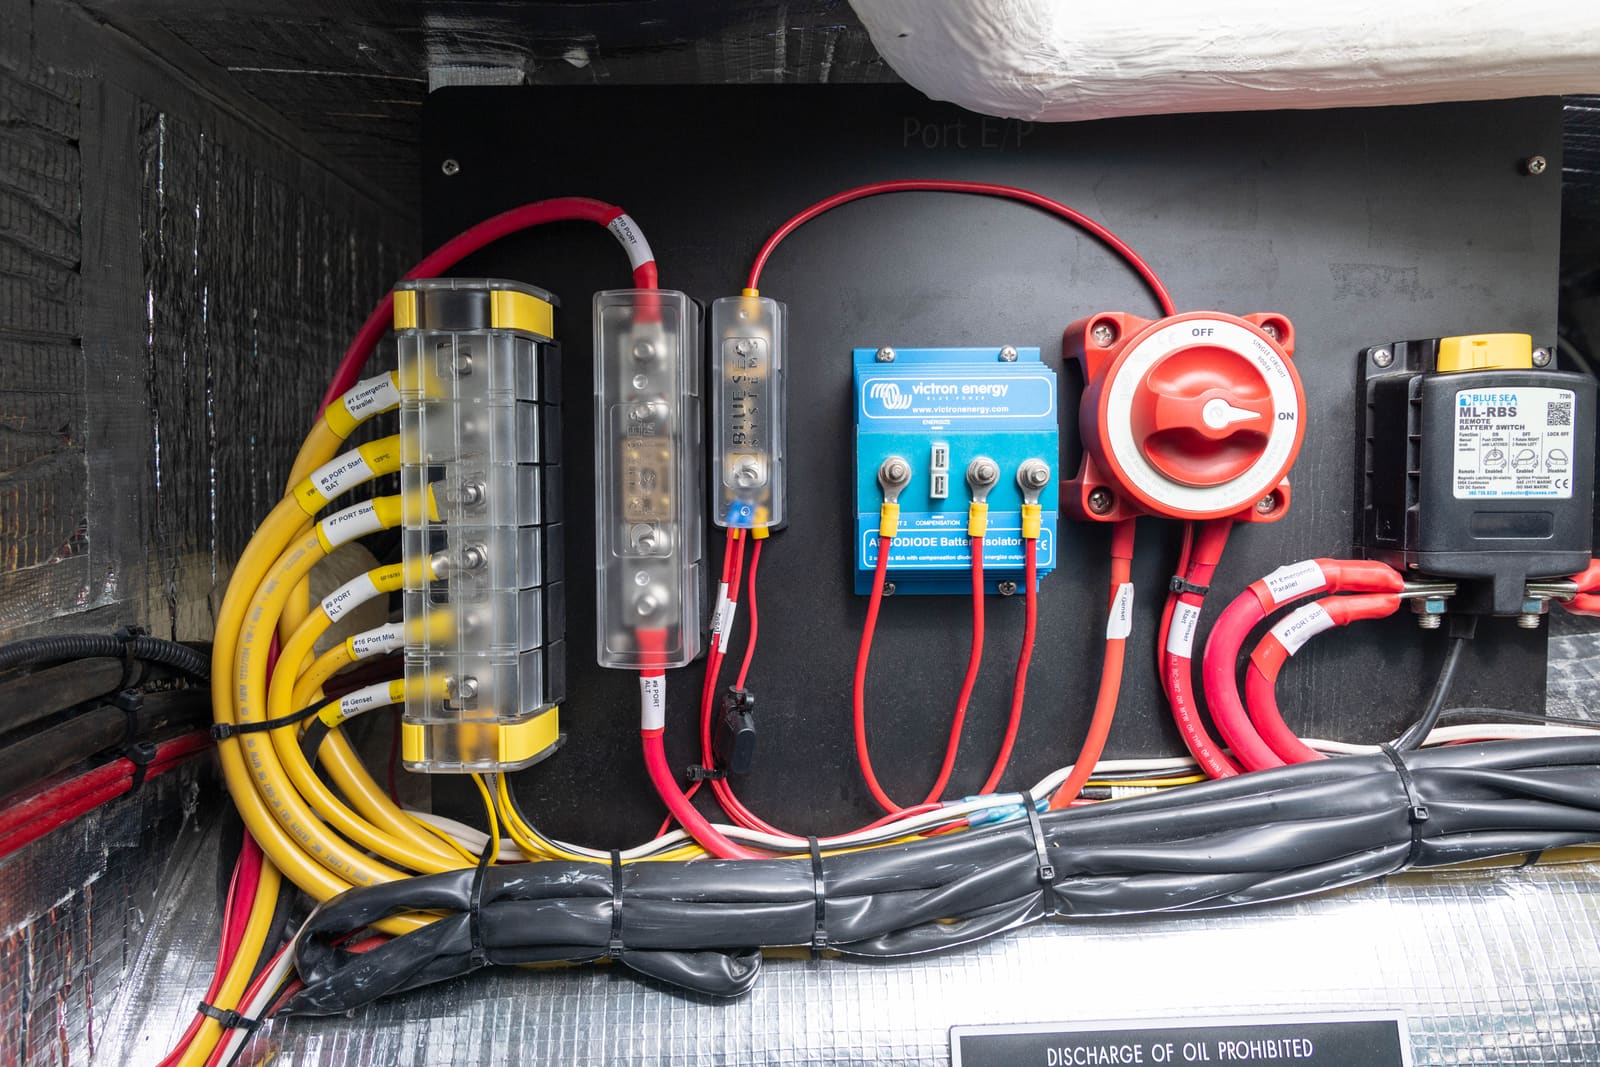
Battery Isolators Compared: Diode, ACR, Combiner and DC-DC Charger
Learn what the box between your engine and your batteries actually does, why an old diode isolator can leave batteries never quite full, and which charging setup suits an outboard, an inboard or a lithium house bank, plus a simple meter check of the one you have.
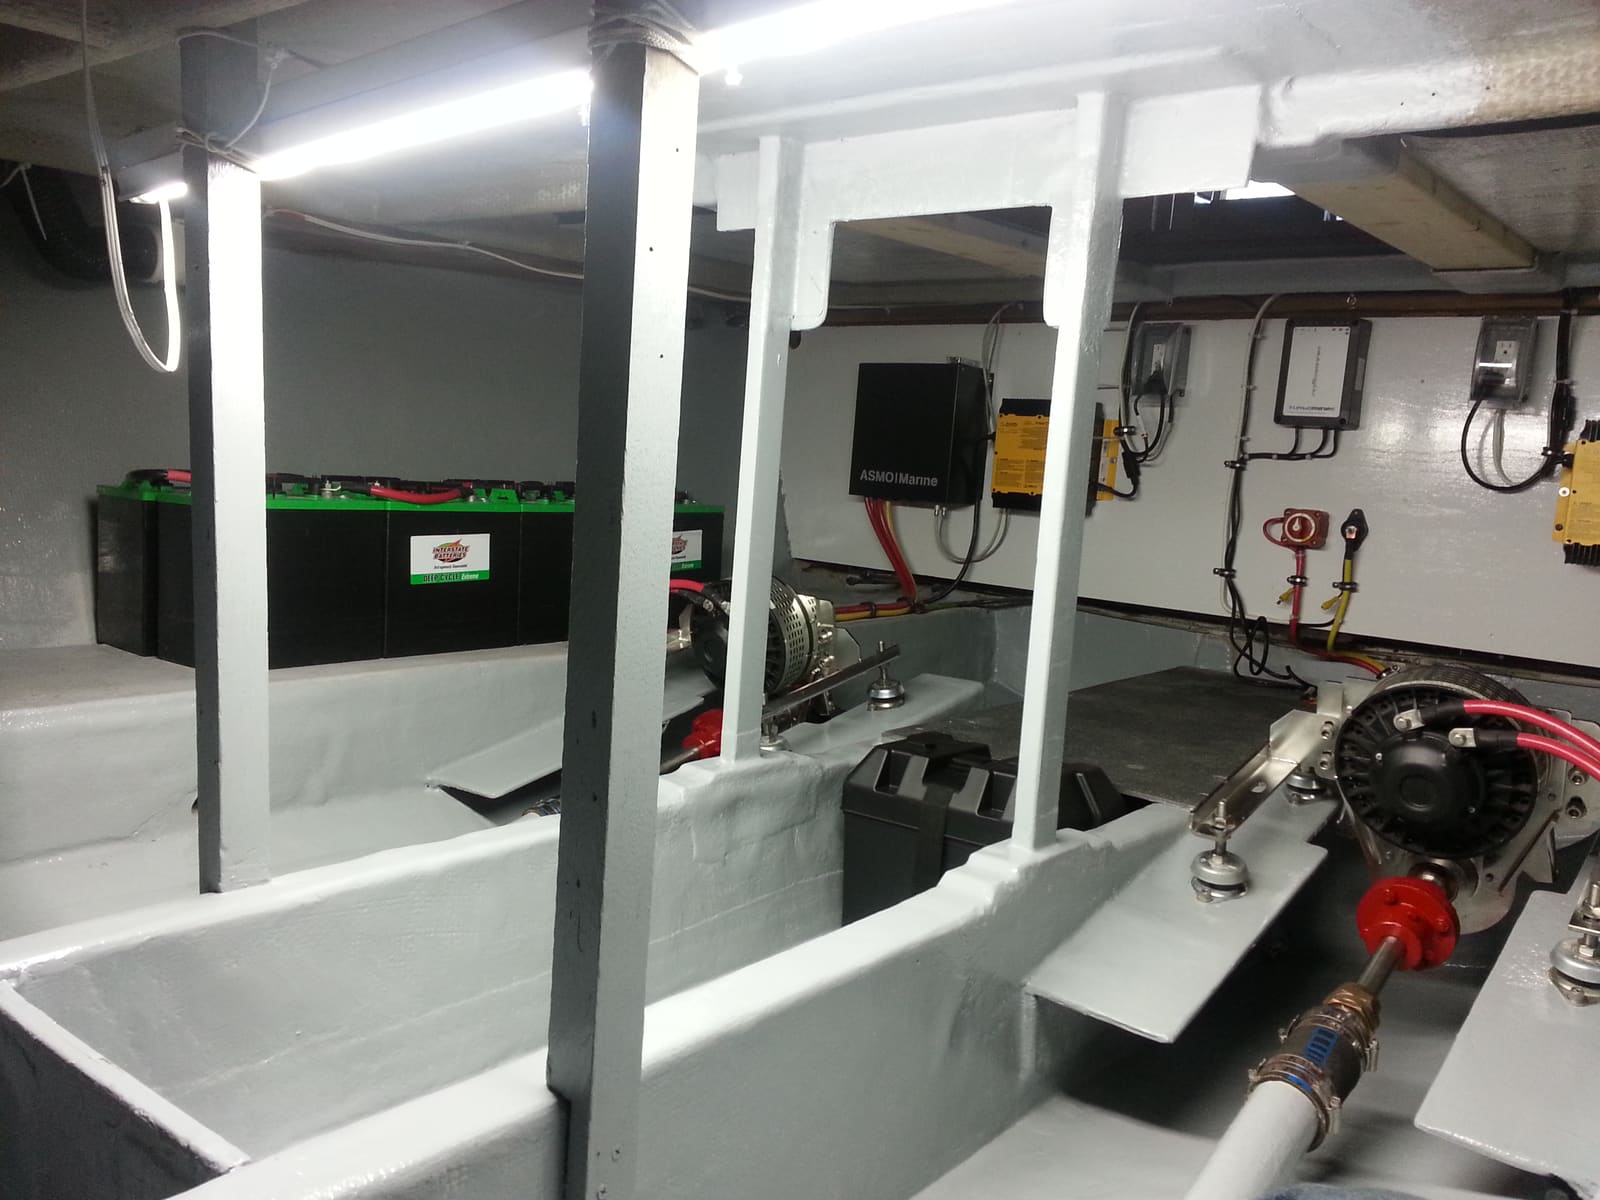
How to Choose, Install and Maintain an Onboard Battery Charger
Pick the right marine charger for your batteries (how many banks, how many amps, flooded, AGM or lithium), mount and fuse it safely, set the charge profile, and use it to keep batteries healthy all season and through the winter. The AC (shore power) side is a job for a marine electrician.

How to Care for Boat Solar Panels, Connectors and the Charge Controller
A boat solar setup is quiet and almost maintenance-free, but salt, shade, loose connectors and a wrong battery setting quietly cut its output or hurt the batteries. Learn the cleaning, inspection and controller checks to do each season, and how to leave the system for winter.

12-Volt Boat Wiring Basics: Circuits, Color Codes, Fuses and Wire Size
Learn how your boat's 12-volt system is laid out, what the ABYC wire colors mean, how fuses and breakers protect the wiring, why voltage drop and tinned wire matter, and how to read a wiring diagram, so you can troubleshoot smarter and know which jobs belong to a marine electrician.
Low-Voltage Disconnects: Keep the Stereo and Fridge from Killing Your Battery
A low-voltage disconnect (LVD) automatically cuts non-essential loads like the stereo, fridge and cabin lights before they drain the battery you need to start the engine. Learn how these devices work, which loads belong behind one and which never do, how to pick the cut-off point for lead-acid or lithium, and how to install one safely.