How to Choose, Install and Adjust Trailer Guide-Ons (Posts or Bunks)
Add or tune the side guides on your boat trailer so the hull lines up in wind and current, the posts stay visible at the ramp and nothing rubs the gelcoat on the road. Covers post vs. bunk guide-ons, lighted posts, mounting height, side clearance and yearly care.
Time
1 h 30 min
Shop would charge
$100-300
Applies to
All engines
Safety first: Guide-ons help you line the boat up; they are not tie-downs. Never tow with guide-ons in place of the bow strap, safety chain and transom straps. Don't stand between the boat and a guide-on while someone is powering or winching the boat onto the trailer, and never reach in to push a moving hull off a post. If a post or bracket is cracked or bent, take it off before the next tow.
Owners often ask
- Do I need guide posts or side bunks on my boat trailer, and how close should they sit to the hull?
- My lighted trailer guide posts stopped working after launching. What should I check?
This guide walks you through it. Still stuck? Ask the AI Mechanic about your engine.
Tools
- Tape measure and a marker or painter's chalk
- Two wrenches or a socket set sized for the kit's U-bolts
- Phillips screwdriver (for bunk-board brackets)
- Wire brush and penetrating oil (for old, rusted hardware)
- Multimeter or test light (lighted posts only)
- Hacksaw or tube cutter (only if you trim PVC sleeves)
Parts & supplies
- Guide-on kit sized for your trailer frame and boat (post, roller or bunk-board style)
- Spare PVC post sleeves, end caps or bunk carpet as needed
- Galvanized or stainless U-bolts, nuts and lock washers
- Sealed marine-grade butt connectors and heat-shrink (lighted posts only)
Before you start
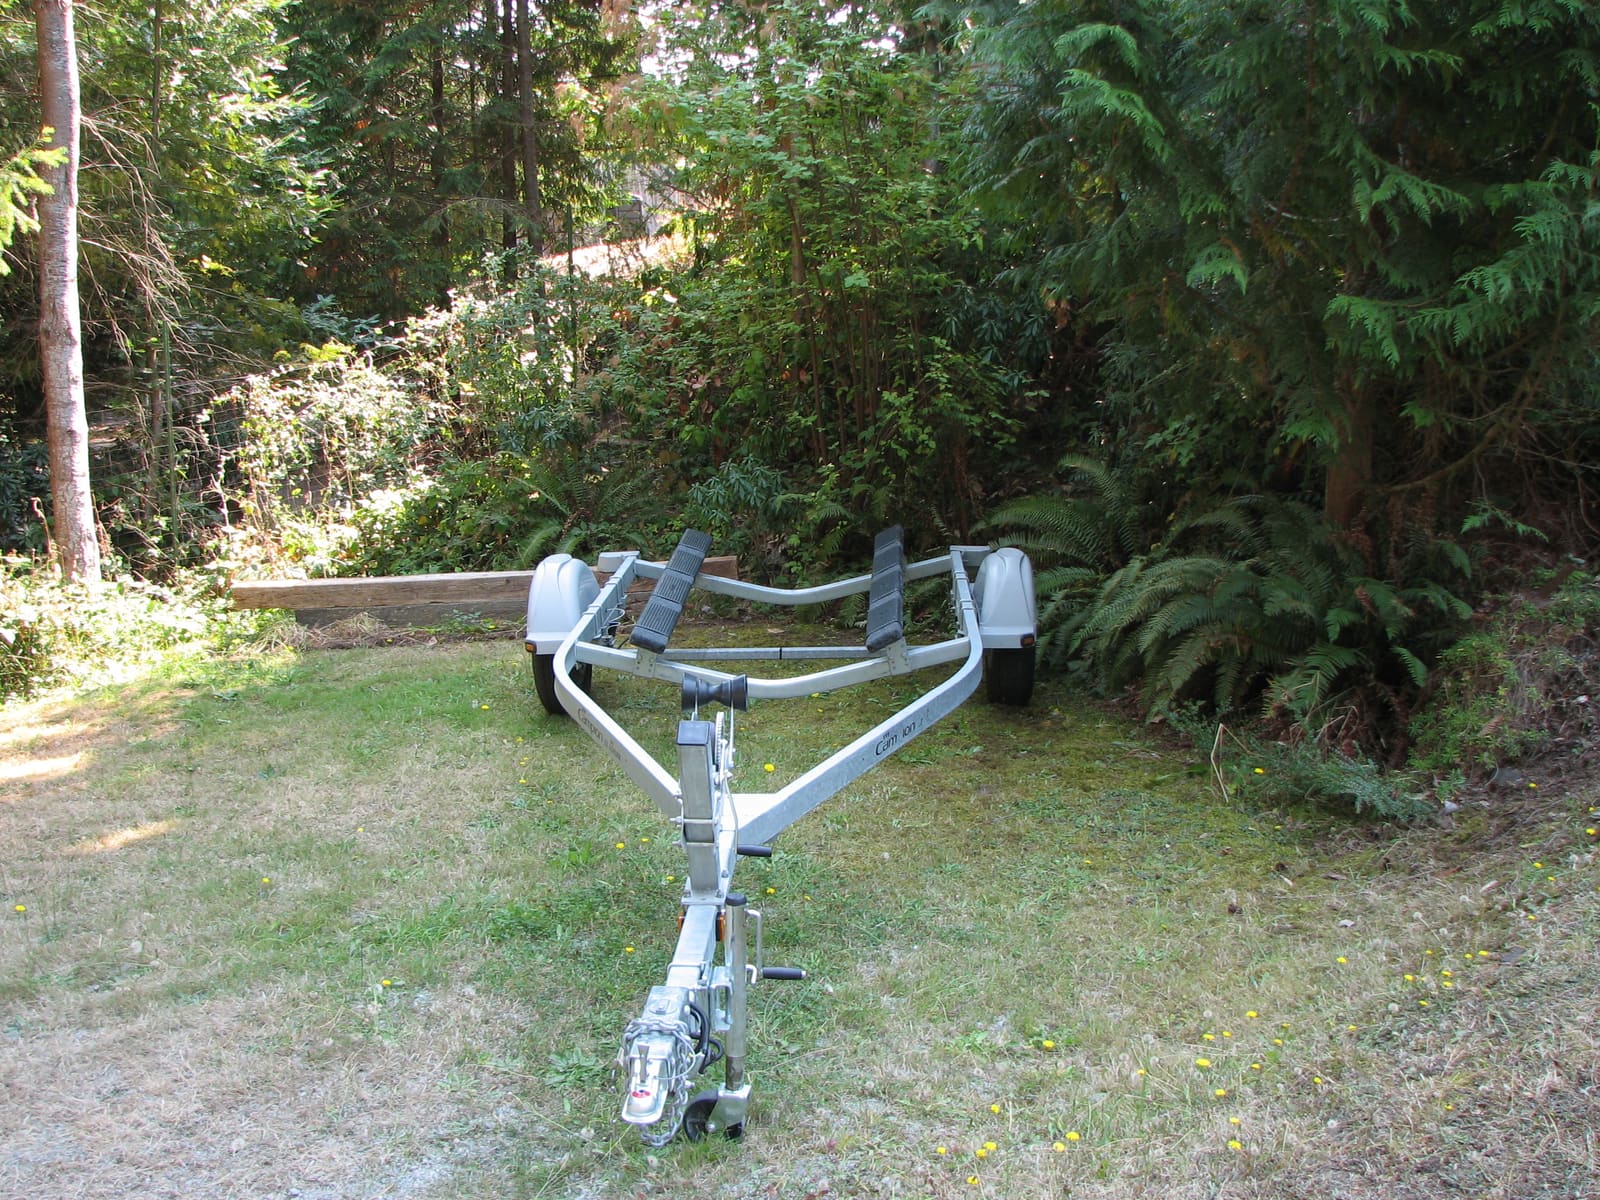
Guide-ons are the uprights at the back of a boat trailer, one on each side. They do two jobs. At the ramp, they stick up out of the water so you can see where the submerged trailer is and aim the boat between them. During loading, they keep a hull that drifts sideways in wind or current from landing on a fender or off the bunks.
Before you buy, rule out the most common cause of crooked loading: backing in too deep. When the bunks are far under water, the boat floats above them and drifts off center no matter what guides you have. Boating Magazine's crosscurrent advice is to back down just enough to get the boat on (too deep and the stern can swing off even after a good approach), angle the trailer slightly away from the current if the ramp allows, and use side guides as a big help on top of that. Try loading with the trailer a little shallower and see if the boat centers on its own.
There are three common styles:
- Post guide-ons: a steel upright inside a PVC sleeve. Cheap, light and very visible. BoatUS's writer found that plain PVC posts were good visual guides for backing down a steep ramp and lining up, but not strong enough to bounce a bow off in a crosswind.
- Roller guide-ons: a short upright with a rubber roller on top that the hull can roll along.
- Bunk-board guide-ons: a carpeted board on two uprights along each side of the boat. They're stiffer and give the hull a flat surface to lean on, which helps in wind and current.
Load Rite lists side guides as an option on its trailers, and notes that roller trailers handle wind, current and tidal ramps well because the rollers help center the hull. If you launch on a bunk trailer in rough ramp conditions, guide-ons often make the biggest difference.
Before buying, measure your trailer frame (width and height of the side rail or crossmember where the guide-ons will clamp) and check the kit's frame size range. Also measure your boat's beam at the transom and the height from the frame to the gunwale.
Steps
If you mostly launch on calm, well-built ramps and just want to see the trailer, posts are enough. If you fight wind, current or a tidal ramp, or you load single-handed, consider bunk-board guide-ons. BoatUS's writer switched to bunk guides after watching a friend use them to load in a strong side current. On a long or heavy boat, some owners pair tall posts (for visibility) with side bunks (for strength).
Posts should stick up well above the water when the trailer is at loading depth, and reach high enough to be seen from the helm. Common kits come in more than one height; pick one that ends a little above the gunwale or rub rail, not far above it where it can catch on a bow rail or swim ladder. Bunk boards should sit at the widest, flattest part of the hull side, below the rub rail and above the chine. Check that nothing will hit the trailer lights, fenders, steps or winch post.
Guide-ons work best at the back of the trailer, where the boat first meets the trailer. BoatUS's how-to rests each upright against the frame and moves it close to the side of the boat at every possible spot, then picks the four mounting points with no interference. Mounting next to a crossmember usually makes the post stiffer. Check that a tightened U-bolt won't pinch a light wire, brake line or bunk bracket.
Fit the U-bolts around the frame rail and through the guide-on brackets. BoatUS's install needed only two wrenches and a screwdriver for that kit. Snug the nuts but don't fully tighten yet; you'll be sliding things in and out to fit the boat. Make sure the brackets sit square on the frame so the uprights stand straight.
Slide the uprights in or out until there's a small gap between each guide and the hull, the same on both sides. You want the boat guided, not squeezed. Too tight and the hull rubs every time the trailer flexes; too loose and the boat can still land crooked. Many owners aim for about an inch or two per side on posts. With bunk guides, BoatUS's writer held the board loosely against the side of the boat to set the angle of the swivel brackets before tightening.
Tighten the U-bolt nuts evenly so the bracket doesn't twist, then tighten the upright clamps. Sight down the trailer from behind: both guides should be the same height and the same distance from the centerline. Push hard on the top of each one. A little flex is normal on PVC posts; a bracket that slides or rotates is not. Fit the end caps or plugs.
With the boat strapped down, look at each guide-on where it's closest to the hull. Bounce the back of the trailer by hand. If a post touches the gelcoat or the rub rail, move it out slightly. BoatUS notes that properly installed bunk guides, together with good transom straps, also help keep the boat on the trailer while you tow, so a light touch on bunk-board carpet is fine; a bare post or bracket touching the hull is not.
Guide-ons that stick out past the trailer fenders can push your rig past your state's maximum width. Measure the widest point of the rig (boat, fenders and guide-ons). If it's over your state's limit, slide the uprights in or see our oversize trailer permits guide.
Some post kits have LED lights in the top of each post. They help you find the trailer at night and in murky water. Keep these points in mind:
- They are extras. They don't replace the required tail, stop, turn and side marker lights.
- Tap into the trailer's running-light (tail) circuit with sealed, heat-shrink connectors, and run the wire along the frame with clips, away from moving parts.
- Use LEDs rated for submersion. Most lighted posts are made to go under water at the ramp.
- Test with the trailer plugged in. BoatUS's connector guide explains how the tow vehicle's wiring powers all the trailer lights, and some vehicles need an adapter for LED trailer lights.
On a calm day, practice loading. Back in until the bunks are wet and the posts are well out of the water, then idle the boat in between them. The guides should catch a drifting bow and steer it toward the centerline without stopping it dead. Watch from the dock with a helper the first few times. After you pull out on level ground, check the boat sits centered and readjust if needed.
At the start of the season and after any hard bump:
- Check U-bolt nuts and clamp bolts for tightness and rust.
- Replace cracked PVC sleeves, split roller covers and worn or torn bunk carpet before bare wood or staples touch the hull.
- Spin rollers by hand; replace any that are seized or flat.
- Check lighted posts work and their wiring isn't chafed.
- Rinse with fresh water after saltwater use, and add a guide-on check to your monthly trailer look-over (Mercury's checklist already includes bunks and rollers).
Common mistakes
- Setting the guides tight against the hull so the boat rubs on every bump down the road.
- Mounting posts so far forward that the boat is already crooked before it reaches them.
- Relying on guide-ons instead of the bow strap, safety chain and transom straps.
- Pushing a moving boat off a post by hand, or standing between the hull and a post during loading.
- Letting the rig get wider than the legal limit with guide-ons that stick out past the fenders.
- Wiring lighted posts with household connectors that corrode after a few dunks.
- Cranking the U-bolt nuts down so hard that a thin bracket bends; snug them evenly until the bracket stops moving, and follow the kit's instructions.
- Buying guide-ons to fix crooked loading when the real problem is backing the trailer in too deep.
When to call a pro
- The trailer frame is cracked, badly rusted or bent where you'd mount the guide-ons
- Your trailer has unusual frame shapes the kit's hardware doesn't fit
- Lighted posts blow fuses or make other trailer lights act up
- The boat still lands far off center even with guides; the bunks or rollers may need adjusting (see our trailer bunks and rollers guide)
- You're adding guide-ons to a large, wide boat that's near the legal width limit
Tips
- Mark the correct loading depth on a post with a strip of reflective tape at the waterline. It makes backing in to the same depth easy.
- Put a strip of bright tape near the top of each post if you load at dawn or dusk.
- If your boat is hard to center even in calm water, look at target (keel) bunks too. BoatUS describes them as a short V-shaped pair near the front of the trailer that steer the keel to the center.
- Keep a spare post sleeve and a set of U-bolts in the tow vehicle; posts are the first thing to break when someone misjudges a crosswind.
Official references
We read these to write this guide. Your engine's own manual always wins.
- BoatUS – How To Install Trailer Bunk Guide-Ons
- BoatUS – Load Your Boat Like A Pro With Target Bunks
- Load Rite – Trailers 101
- Load Rite – FAQs
- BoatUS – Connecting The Truck And Trailer
- Mercury Marine – Pre-Tow Checklist for Hauling Your Boat
- Boating Magazine – Tips for Loading a Boat on a Trailer in a Crosscurrent
Safety: BoatMend is for information only and does not replace a certified marine technician. You are responsible for your safety and your boat. Read the full disclaimer.
Last updated 2026-10-25
Related guides
How to Adjust and Replace Trailer Bunks and Rollers So Your Boat Sits Right
Set up your boat trailer so the hull is supported in the right places: bunks and rollers clear of the strakes, the transom fully supported, the bow snug against the winch stop and the weight balanced on the tongue. Also covers replacing rotten bunk boards and worn carpet or rollers.

How to Launch and Retrieve Your Boat Alone
A repeatable routine for putting a trailer boat in and taking it out by yourself: what to do in the staging area, how to rig one long line so you can control the boat from the dock, when power loading is off-limits, and the safety habits that keep you, your boat and the next boater out of trouble.

Launch Day and Haul-Out Checklist for Trailer Boats
A step-by-step checklist for getting your boat off the trailer and back on again safely and quickly, from the drain plug and tie-downs to the blower and ramp etiquette. Following it in order prevents the classic mistakes that sink boats and back up the ramp.
How to Fix Boat Trailer Lights That Flicker, Dim or Don't Work
Track down the real cause of dead or flickering trailer lights, from a bad ground to a corroded plug, and fix it so the repair lasts. Working brake, turn and tail lights are required by law and keep the driver behind you from rear-ending your boat.
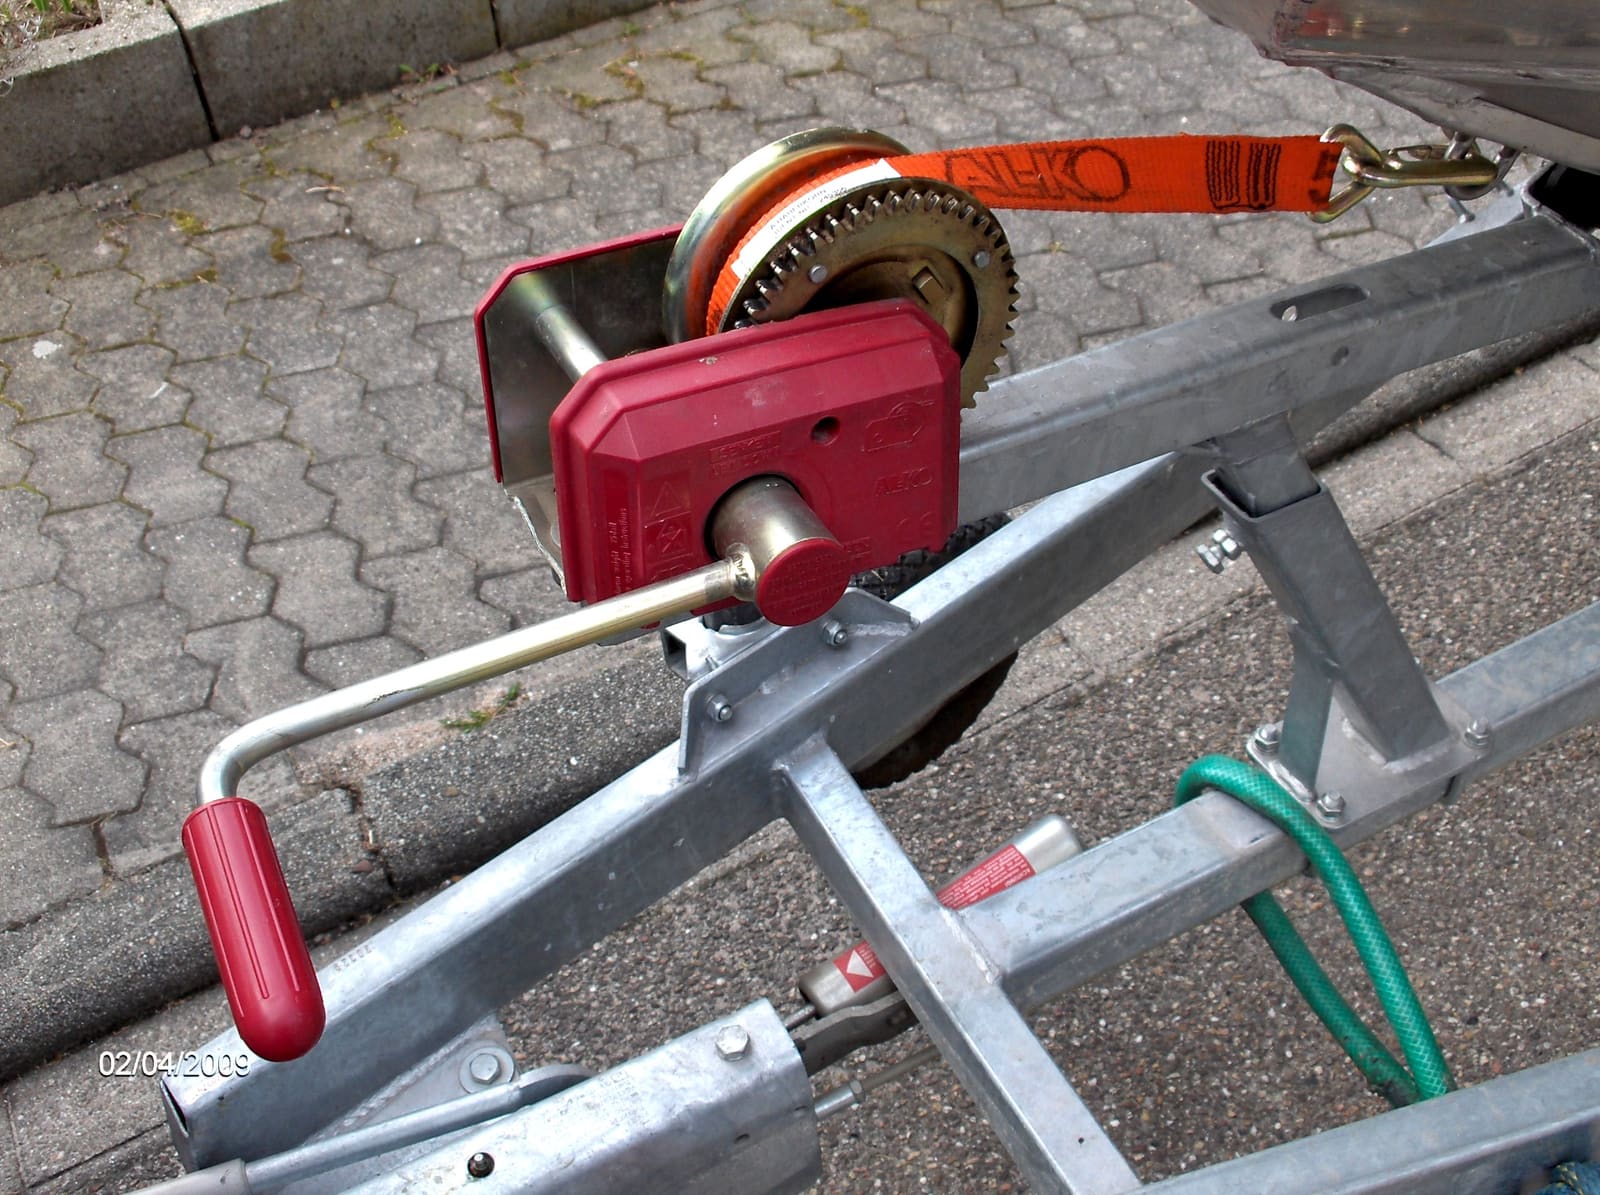
How to Inspect and Use the Trailer Winch, Strap, Tie-Downs and Safety Chains
Check the winch, strap or cable, bow safety chain, transom tie-downs and the safety chains to your vehicle, and learn how each one is meant to be used. These parts keep the boat on the trailer and the trailer behind your truck.
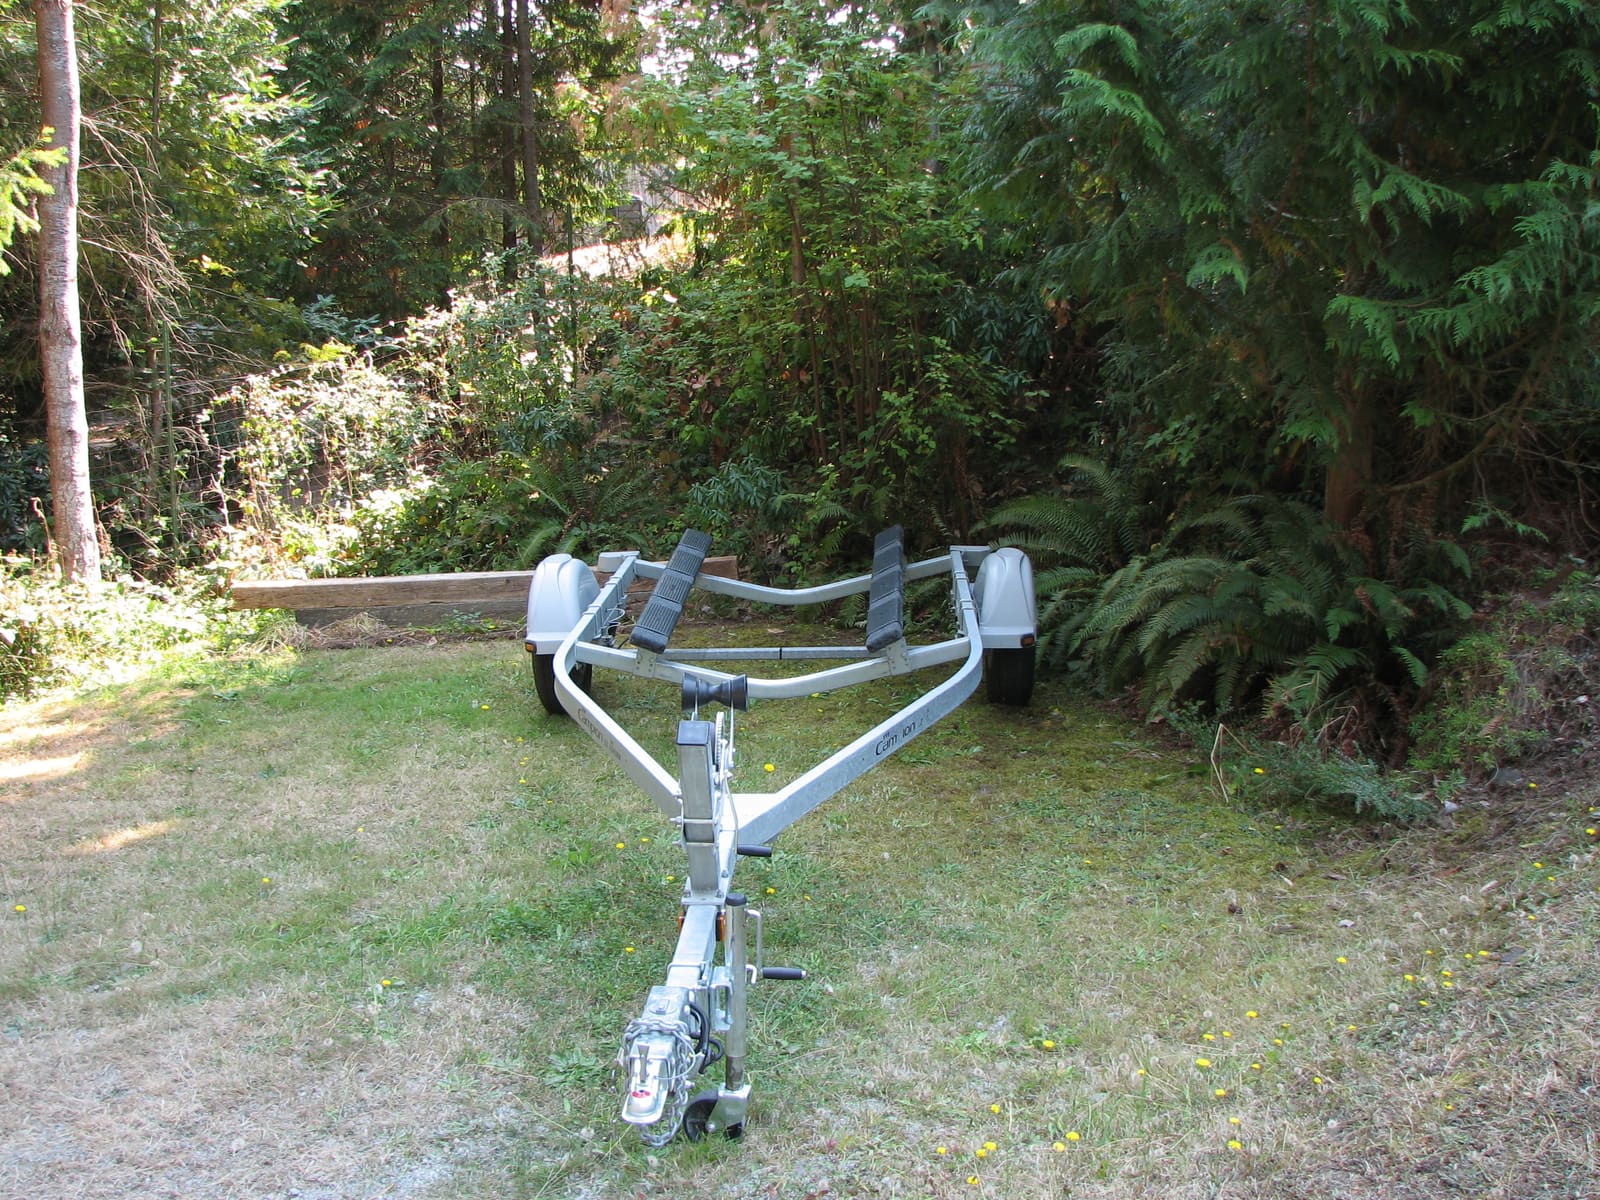
How to Inspect a Used Boat Trailer Before You Buy
A worn-out trailer can turn a good boat deal into hundreds or thousands in repairs, or a breakdown on the way home. Walk through the capacity plate and VIN, frame, axle and springs, hubs, brakes, tires, lights, coupler, winch and bunks, and the title paperwork before you hand over the money.