How to Add or Replace a Swim Platform on Your Boat
A swim platform makes swimming, fishing and climbing back aboard far easier, but it hangs off the most heavily loaded part of the hull, right next to the propeller and the exhaust. Learn the bolt-on options, how to check the transom and engine clearance, how to through-bolt with real backing plates, and the propeller and carbon monoxide rules that come with it.

Time
4 h
Shop would charge
$300-3000
Applies to
All engines
Safety first: The swim platform sits right beside the propeller and, on most boats, the engine and generator exhaust. Nobody uses the platform or ladder unless the engine is off and the engine cut-off lanyard is pulled, and nobody sits or hangs on it while any engine or generator is running: carbon monoxide collects at the stern and can make a swimmer pass out and drown. Before drilling, check behind every hole for fuel lines, wiring and hoses. If the transom is soft, cracked or wet, stop and have it repaired first; a platform is a lever that will tear a weak transom apart.
Owners often ask
- How high above the water should a bolt-on swim platform sit, and will it hit my outboard when I turn?
- Do I really need backing plates for a swim platform if my transom is thick?
- Can I mount swim platform brackets on the rounded bulge of my transom next to the sterndrive?
This guide walks you through it. Still stuck? Ask the AI Mechanic about your engine.
Tools
- Tape measure, level and a long straightedge
- Masking tape and a marker
- Drill with sharp bits sized for the bolts, plus a larger bit or hole saw for cored transoms
- Countersink bit
- Socket set and box-end wrenches (two of each size)
- Caulking gun
- Flashlight and inspection mirror
- Wood blocks or a 2x4 and shims to support a large platform while fitting it
- A helper inside the boat
- Safety glasses and gloves
Parts & supplies
- Swim platform or platform-and-ladder kit made for your type of boat and engine
- Stainless steel through-bolts, washers and nylon-insert locknuts (many kits don't include the transom bolts)
- Backing plates for the inside of the transom (aluminum, sealed marine plywood or marine polymer board)
- Marine sealant recommended by the platform maker
- Epoxy and filler, if the transom is cored
- Anti-seize compound for stainless threads (optional)
Before you start
Why add one. Boating Magazine points out that ABYC standard H-41 has required new boats since 2014 to have a way for a person in the water to get back aboard without help. Older boats, especially outboard boats with a cutout transom, often have nothing, and while adding one is not a legal requirement on those boats, it is a real safety upgrade. A platform also makes swimming, snorkeling and landing fish easier.
The main types:
- Small bolt-on platform with ladder (for outboard and sterndrive boats): a plastic or composite step about the size of a seat, held off the transom by stainless rails and struts, beside the engine. BoatUS installed one of these in a little over an hour.
- Full-width bolt-on platform (common on sterndrive and inboard runabouts and cruisers): a fiberglass, teak or composite platform across the stern on metal and plastic brackets, often with a ladder in the middle. Two-person job, and much more load on the transom.
- Integrated or extended platforms: molded into the hull, or built into an outboard bracket that moves the engine aft. Adding one of these is a structural modification for a boatbuilder or fabrication shop, not a DIY bolt-on.
Replacing an old platform. Look closely at what comes off. Wet, rotten brackets or a platform core that crumbles usually means water has also been getting into the transom through the old bolt holes; check it before reusing any holes.
Which way to go. A small side platform is a reasonable DIY job for a handy owner. For a full-width platform, a cored or questionable transom, or any integrated platform or bracket, get a marine fabricator or dealer to do it.
Steps
Tap the inside and outside of the transom with a plastic mallet and listen for dull spots, look for cracks and stress lines around existing fittings, and push on the top of the outboard or around the drive to see if anything flexes (the transom and stringer rot guide explains how). Find out what it's made of: BoatUS notes transoms are often wood-cored, so any new hole needs sealing. Measure the thickness where you'll drill, too; it decides the backing in step 9. Watch out for molded bumps and curves near a sterndrive or at the transom corners: owners in forums often find these are a thin fiberglass shell, sometimes filled with foam, not the full-thickness cored transom. Look (or put a phone camera) behind the spot, and put brackets on a flat, solid section instead.
Buy a kit designed for your setup: outboard or sterndrive, side or full-width, and your transom angle (BoatUS's kit mounted at a standard 10-degree transom angle). Read the maker's instructions before ordering, since they list the space you need. The maker of the kit BoatUS installed said outboard owners often discover their transom isn't tall enough to fit both the lower strut and the upper handrail on a single-handrail model (about 22 inches apart on the BoatUS boat). In that case a model with two handrails can work, as long as the inner rail still clears the engine.
Measure the flat area on each side of the engine, the height of the transom above the waterline, and where the rub rail, stern eyes, drain plug, trim tabs, transducer, livewell fittings and exhaust outlets are. On a full-width platform, Discover Boating's installation sets the platform top below the curved edge of the rub rail and supports it on the stern eyes while fitting it. Write the numbers down and compare them with the kit's dimensions before you drill anything.
This is where add-on platforms go wrong:
- Outboards: Boating Magazine's method is to turn the wheel so the motor swings as far as possible toward the platform side, mark a line on the transom at the motor's full swing, and keep the whole platform outside that line. Then tilt the motor all the way up at full turn and check again.
- Outboards on a jack plate or setback bracket: the motor moves up, down and aft, so the swing changes. Boating Magazine's jack plate install checks full steering range with the plate at its lowest position and then tilts the engine up to look for interference; do your platform check the same way, at both the lowest and highest jack plate positions, and remember the lower unit sits farther aft than on a plain transom.
- Sterndrives: check the drive trimmed fully up and at full trailer tilt, turned to both sides. The platform must clear the drive, the trim rams and the steering at every position, and leave room to service or remove the drive later.
- Both: the ladder, when lowered, must be well away from the propeller.

A transom ladder beside the outboard: it has to clear the motor at full turn and full tilt. Photo: Matti Blume / Wikimedia Commons · CC BY-SA 4.0 On outboard boats, BoatUS mounted its platform to port, a common choice that keeps swimmers from having to climb over the steering cables and rigging, which usually run on the starboard side inside the transom. Also look at where the engine and generator exhaust comes out and keep the platform and ladder as far from it as you can. Make sure there's a handhold within reach of someone standing on the platform.
For a small side platform, Boating Magazine positions it parallel to the waterline and about 3 to 4 inches above it, with room to through-bolt both the upper and lower mounting points. For a full-width platform, Discover Boating's instructions level it side to side, keep it parallel to the waterline with a slight downward slope toward the back, and support the outer end on a 2x4 while marking. Your kit's instructions win if they say otherwise.
Hold the assembled platform in place with a helper, mark the holes, and then go inside the boat and look and feel behind each mark with a light and mirror. Fuel lines, battery cables, bilge pump hoses, steering and trim lines often run along the inside of the transom. Move a hole rather than risk drilling through any of them.
Put masking tape over each mark. BoatUS starts each hole with the drill running in reverse so it doesn't chip the gelcoat, then switches to forward; Boating Magazine stresses keeping the drill square to the transom. If the drillings show wood or balsa core, protect it: drill oversize, fill the hole with thickened epoxy, let it cure, then drill the bolt hole through the epoxy plug (the through-bolting accessories guide shows the method). A countersink on each hole's edge helps prevent gelcoat cracks and gives the sealant a place to seat.
Washers alone are not enough. BoatUS notes that backing plates are often needed inside the transom to spread the load and keep the bolts from crushing the core, and the kit maker it quoted recommends a backing plate whenever the transom is less than 2 inches thick. Boating Magazine lists aluminum, marine plywood or a marine polymer board for the plate. Seal plywood with epoxy, and make the plate larger than the bracket's footprint. Full-width kits may come with their own plastic reinforcement blocks for the inside; use them as directed.
Fill each hole and coat the mounting feet with the sealant the platform maker recommends. Push stainless bolts through from outside, with a washer under the head; inside, use the backing plate (or a large fender washer on top of it) and a nylon-insert locknut. A coat of anti-seize on the threads, which Discover Boating's install also uses, keeps stainless nuts from seizing. Have your helper hold the bolt heads while you tighten evenly. Snug them firmly but don't crush the gelcoat; follow any tightening guidance in the kit instructions. Wipe away the squeeze-out.
Attach the ladder to the platform as instructed, then deploy and stow it a few times. BoatUS stresses that the bottom step must reach deep enough for a swimmer to get a foot on it, because most people climb with their legs, not their arms, and that handholds must be in the right place. Test it for real in calm, shallow water with the engine off and help nearby: can every regular crew member climb out unassisted? If not, add steps or a grab handle at the stern. Remember the ladder must be reachable and deployable by the person in the water.
Make it a habit before anyone goes near the stern:
- Engine off and the cut-off lanyard pulled whenever someone is on the platform, on the ladder or in the water nearby (Boating Magazine and BoatUS both insist on this).
- Generator off too, if it exhausts at the stern. The Coast Guard warns CO can build up around a boat when it is idling, moving slowly or stopped, can linger after engines shut down, and can come from the boat beside you.
- No riding on the platform while underway, and no "teak surfing" behind a running boat. The Coast Guard says never to sit, teak surf or hang on the swim platform while engines are running. The National Park Service reports two nine-year-olds who passed out from CO while holding a ski boat's platform on Jackson Lake in 2009 and had to be revived; teak surfing is illegal in all national park units and in a number of states.
- Nobody goes into the space under a swim platform where exhaust outlets are (to free a line, check a fitting or play) unless the area has been aired out first, as the Coast Guard advises.
See the CO detector and kill switch lanyard guides for more.
After the first few outings, check every bolt for tightness and look inside the transom for water around the holes. Rinse the platform and ladder with fresh water after use (Boating Magazine recommends soap and fresh water after every trip and an occasional polish of the stainless), and keep the ladder hinge and lock working smoothly. Any crack in the gelcoat around a mount, or a platform that moves when you stand on it, means stop using it until the mount is repaired.
Common mistakes
- Checking engine clearance with the motor straight down only. Collisions happen at full turn and full tilt.
- Mounting on a soft or wet transom. The platform will loosen, leak and make the rot worse.
- Washers instead of backing plates, especially on cored or thin transoms.
- Drilling into hidden fuel lines or wiring because nobody looked behind the transom first.
- A ladder that doesn't reach deep enough or has no handhold, so tired swimmers can't climb out.
- Putting the ladder by the exhaust outlet, or letting people use it with the engine or generator running.
- Reusing old, wet bolt holes from the previous platform without sealing them.
When to call a pro
- You want a full-width platform, an extended platform or an outboard bracket with a built-in platform
- The transom is cored and you can't reach the inside to fit backing plates and nuts
- Tapping finds soft spots, the old platform's holes were leaking, or the transom flexes
- The platform would sit close to sterndrive or inboard exhaust outlets, trim tabs or through-hulls
- Water appears inside the transom around the new bolts: if it is more than a damp spot, haul out or head in and get it fixed before the next trip
Tips
- A cardboard mock-up of the platform taped to the transom makes the clearance check much easier than holding a heavy kit in place.
- Photograph the inside of the transom before and after the install and save the photos in your BoatMend boat record.
- A small handrail or grab handle near the top of the ladder is one of the best upgrades for re-boarding.
- Classic boat owners: the Antique & Classic Boat Society notes some boats can't carry a platform without spoiling their lines or structure; a removable transom ladder is a good alternative there.
Official references
We read these to write this guide. Your engine's own manual always wins.
- BoatUS – How To Add A Swim Platform And Ladder To Your Boat (2018)
- Boating Magazine – Installing a Transom Swim Platform
- Boating Magazine – How to Install a Jack Plate
- Discover Boating – Installing A Swim Platform
- U.S. Coast Guard Boating Safety – Where CO May Accumulate
- U.S. Coast Guard Boating Safety – How to Protect Others and Yourself from CO
- National Park Service (Grand Teton) – Two Youths Overcome by Carbon Monoxide Exposure
- Antique & Classic Boat Society – Ladders and Platforms
Safety: BoatMend is for information only and does not replace a certified marine technician. You are responsible for your safety and your boat. Read the full disclaimer.
Last updated 2026-10-25
Related guides
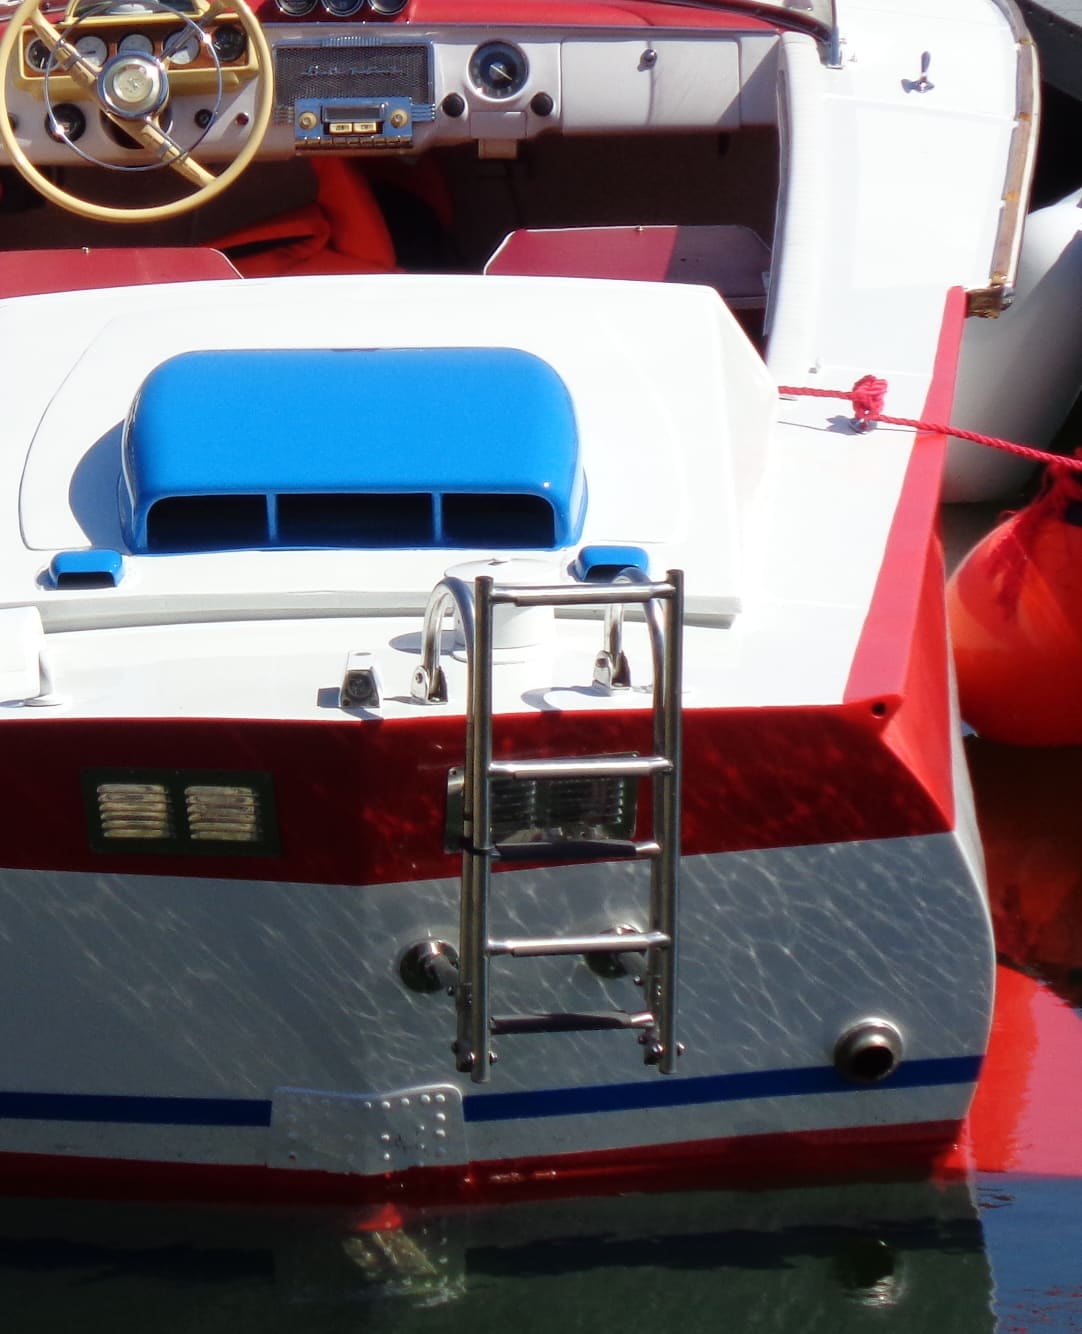
Boarding Ladder Upgrade: A Ladder You Can Reach and Use From the Water
Make sure anyone who ends up in the water - including you, alone - can pull down a ladder and climb back aboard. Compare ladder types, check how deep it reaches, mount it away from the propeller with proper backing, and test it from the water before you need it.
Man-Overboard Recovery Gear: Throwables, Lifesling, Ladders and MOB Alarms
Set up and check the gear that gets a person in the water back aboard - a throwable within reach, a floating rescue line or Lifesling-style sling, a boarding ladder someone in the water can pull down, and MOB alarms or AIS beacons - and practice the drill so it works when it counts.
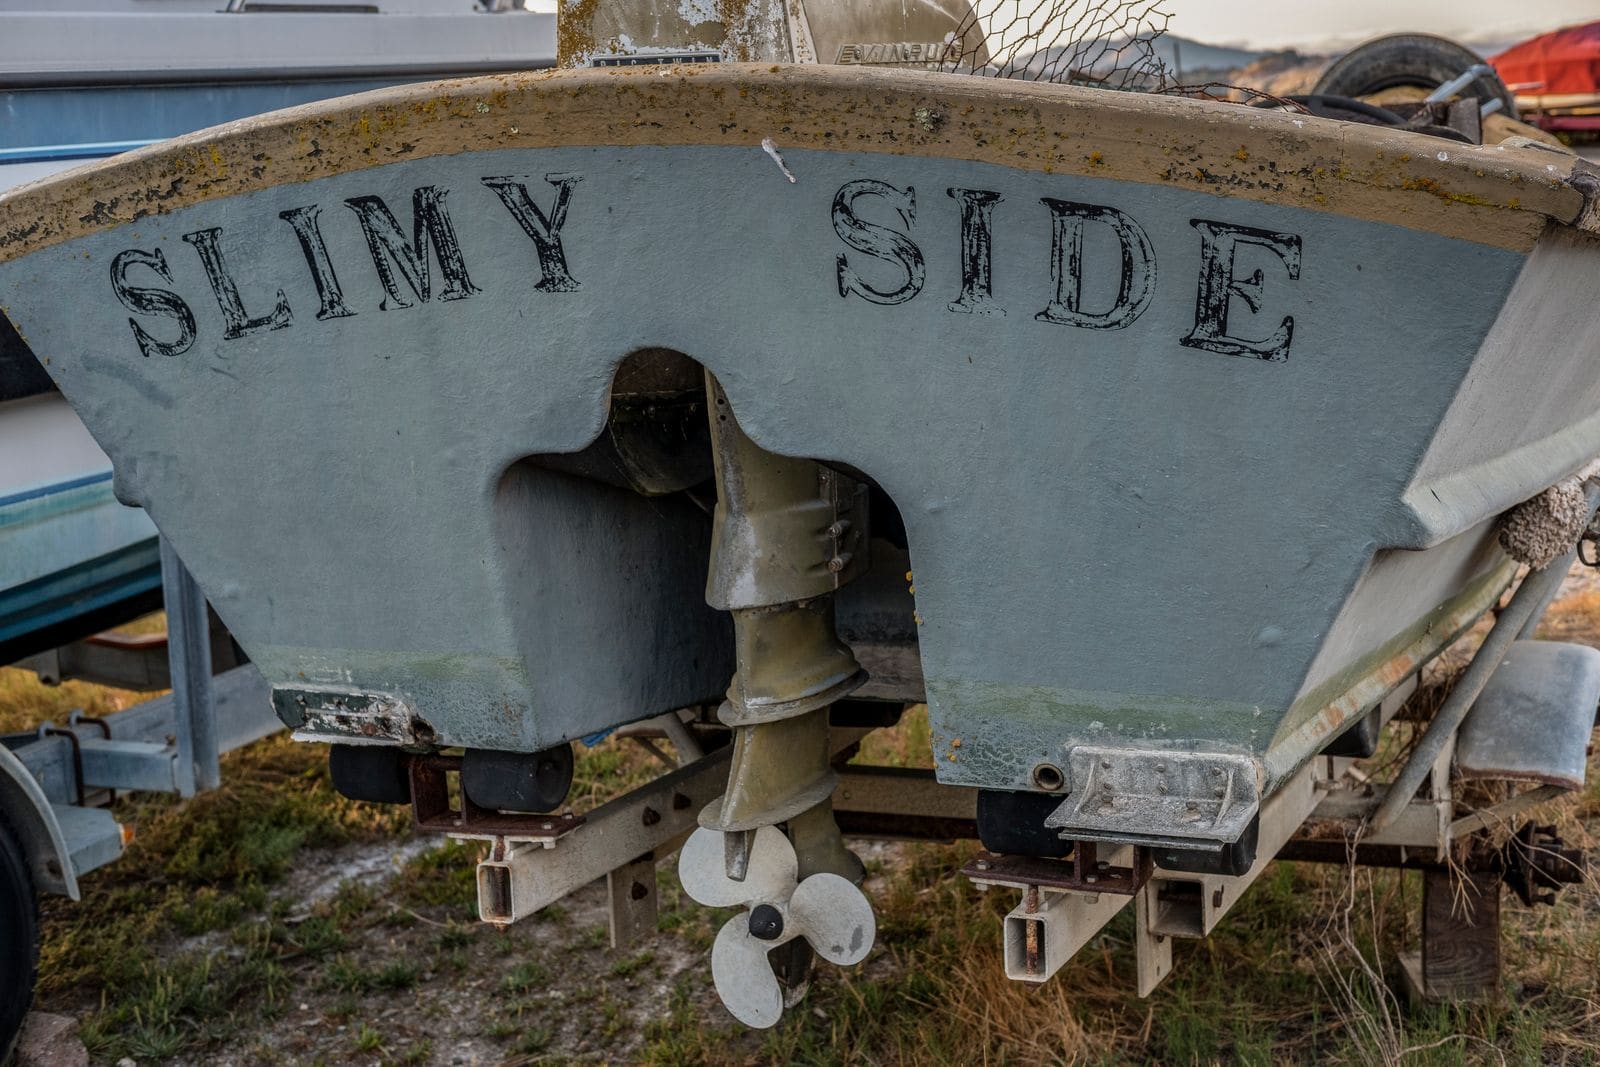
How to Check a Boat for Transom and Stringer Rot
Many older fiberglass boats have wood inside the transom, stringers and deck, and water that gets in slowly rots it. Learn the tap test, the flex test, how to read a moisture meter and the other warning signs, and why a rotten transom or stringer is a structural job for a pro, not a weekend patch.
How to Mount Rod Holders, Fish Finders, Cleats and Antennas Without Causing Leaks
Add accessories to your boat the right way, with through-bolts, backing plates, sealed core and proper wire pass-throughs, so every new hole stays dry and strong. Also learn where you should never drill.
Carbon Monoxide on Boats: Where It Comes From, CO Alarms and Warning Signs
Carbon monoxide can build up in cabins, under canvas and around the swim platform, and its first symptoms look like seasickness. Learn the danger zones, where to mount marine CO alarms, how to test and replace them, and exactly what to do if an alarm sounds or someone feels sick.

Engine Cut-Off Switch (Kill Switch) and Lanyard: The Law, Testing and Daily Use
How the engine cut-off switch (ECOS) and its lanyard or wireless fob work, when federal law requires you to wear it (boats under 26 feet, 3 hp or more, on plane), how to test it before every trip, and why a spare clip aboard matters.
How to Mount a Kicker Motor on a Boat With a Swim Platform or Bracket
Find a safe way to hang a kicker when there's no open, flat transom: pick an offset or setback bracket, prove the clearance with the main engine through every turn and tilt position, keep the tiller within reach, and make sure the platform or bracket can actually carry the load with proper backing.
Marine Sealants Explained: 5200, 4200, 4000UV, Polysulfide, Silicone and Butyl Tape
Pick the right sealant before you bed a cleat, a through-hull, a window or a transducer. The wrong goo either leaks in a year or glues a part on so hard you damage the boat getting it off.