How to Remove and Reinstall a Sterndrive for Service
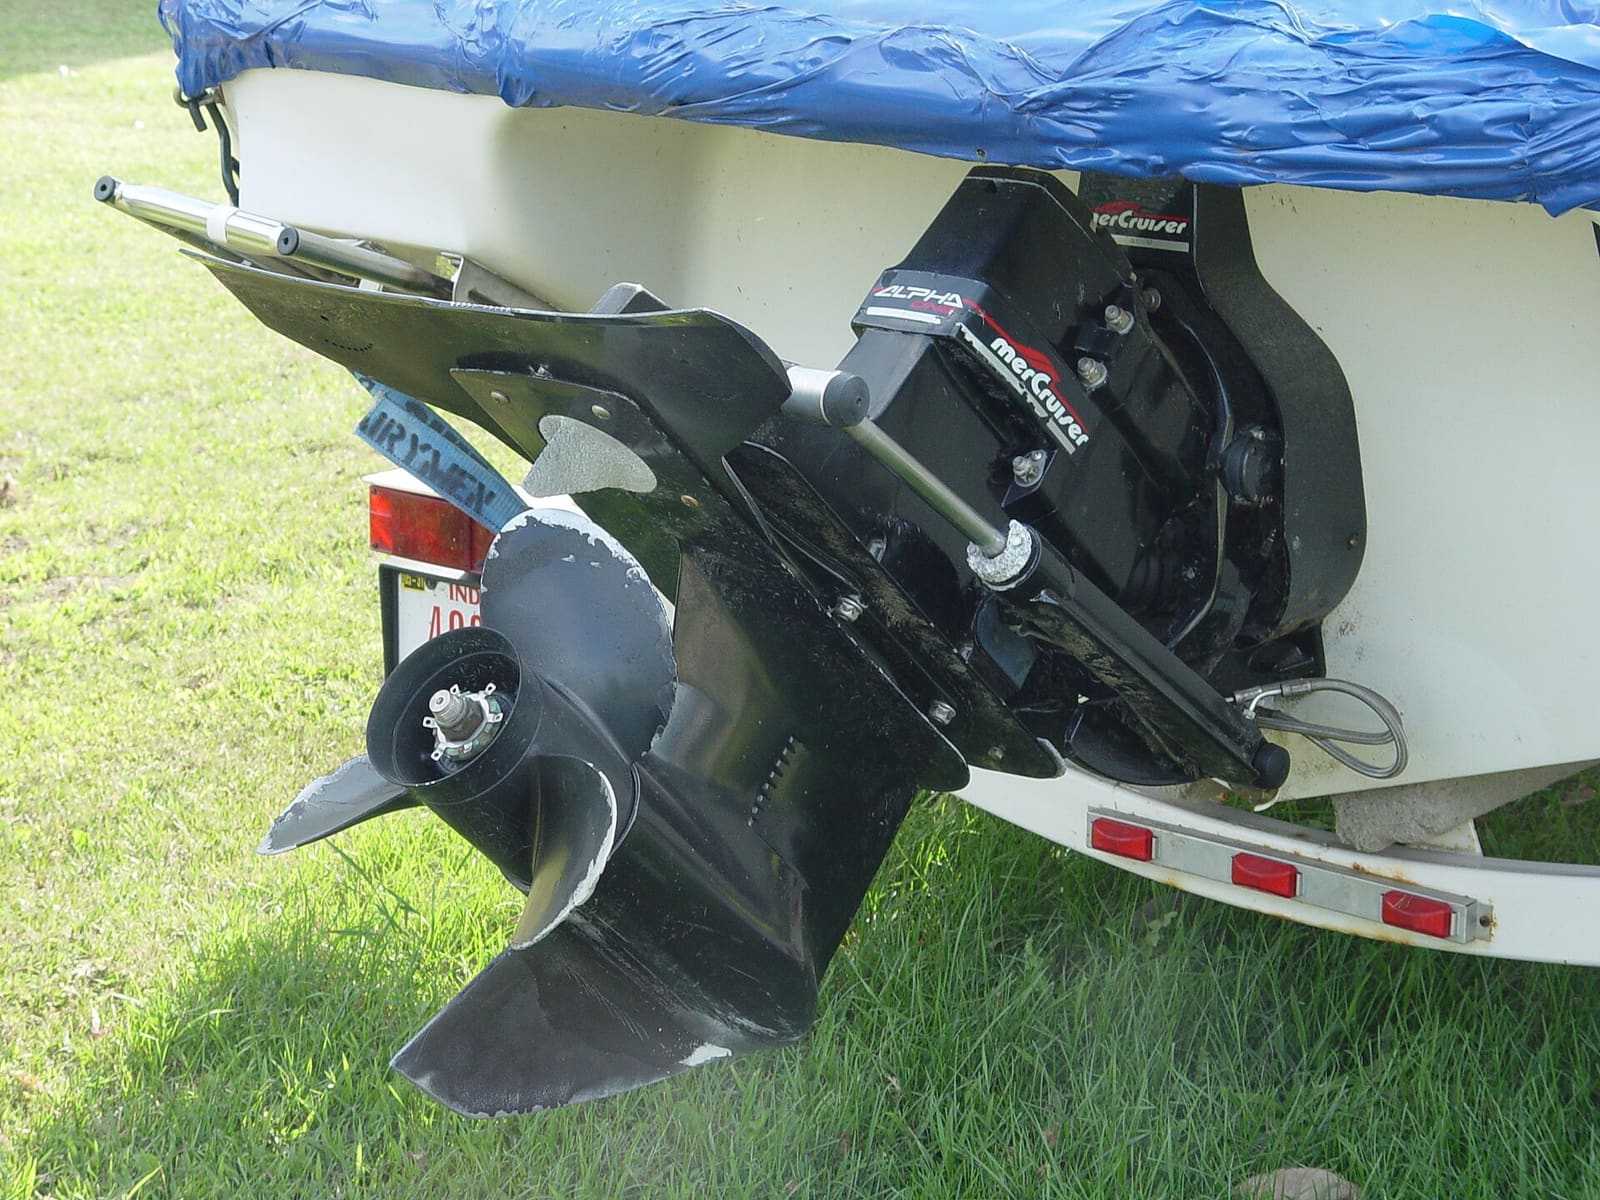
Pulling the drive off an Alpha-style sterndrive opens up the bellows, gimbal bearing, U-joints and engine alignment for inspection. Learn when it's a realistic DIY job and when to leave it to a shop, the overall sequence, what to inspect while it's off, and how to put it back without sinking the boat or wrecking the coupler.
Time
6 h
Shop would charge
$400-1200
Applies to
Sterndrive (I/O) · Bowrider / runabout, Cabin cruiser, Fishing boat
Safety first: Only do this with the boat out of the water, properly supported and with the trailer tires chocked. With the drive off there are open holes through the transom. Disconnect the battery and remove the key so nobody can crank the engine or run the trim pump while your hands are in the drive. A drive can drop suddenly when it breaks free and is heavy enough to hurt you; support it and keep feet clear.
Owners often ask
- Do I have to pull my Alpha One drive to replace the bellows, and can I do it myself?
- My outdrive won't slide back on the splines when I reinstall it. What am I doing wrong?
This guide walks you through it. Still stuck? Ask the AI Mechanic about your engine.
Tools
- Socket set, wrenches and a breaker bar
- Prop wrench or block of wood for removing the prop
- Hinge pin tool and any other special tools your service manual lists for your drive
- Engine alignment tool for your drive model (or have a shop do this part)
- Grease gun with the grease your manual specifies
- Sturdy drive stand, padded blocks or a helper (drives are heavy)
- Gasket scraper (plastic), rags and a parts tray
- Phone camera, masking tape and a marker for labels
- Safety glasses and gloves
Parts & supplies
- Complete drive gasket and O-ring kit for your drive model (never reuse old gaskets)
- Bellows kit and new clamps, if replacing bellows
- Gimbal bearing or U-joints only if inspection says so
- Marine grease and any anti-seize or sealant your service manual specifies
- New cotter pins, locking tabs or fasteners where the manual says not to reuse
Before you start
Why pull the drive? On a typical sterndrive, three rubber bellows seal the transom: one around the U-joints and drive shaft, one for the exhaust, and one for the shift cable. BoatUS reports that sterndrive bellows failures are the second most common reason boats sink at the dock, after hurricanes, and points out that the U-joint and shift cable bellows can only be replaced with the drive off. With the drive off, you or your mechanic can also check the gimbal bearing, U-joints and splines, and the alignment between the engine and the transom assembly.
How often. Follow your drive maker's schedule. Many owners have the drive pulled every year or two for inspection and greasing, and BoatUS notes that most manufacturers consider bellows around five years old to be living on borrowed time. Signs it is overdue: water in the bilge with no other source, a growling or rumbling sound from the back of the boat when turning under power, hard shifting, or a drive that has never been off in many years.
DIY or shop? This guide uses an Alpha-style drive as the example, since it is the most common on smaller boats. Boating Magazine notes that other drives, including Bravo and Volvo Penta models, come off in a similar but not identical way, so you need the service manual for your exact drive and year. It is a reasonable DIY job if you are handy, have the special tools, a helper and a sturdy stand. Leave it to a shop if fasteners are corroded, you have no alignment tool, the drive is a Bravo or a large Volvo Penta, or the boat is kept in the water.
Steps
Find your drive's model and serial number and get the service manual for it. Order the full gasket and O-ring kit before you start, plus bellows if they are due. Have the hinge pin tool, alignment tool and any other special tools on hand. A boat sitting for weeks with the drive off while you wait for parts is a boat that gets rained into.
Put the boat on its trailer or stands, out of the water, level and chocked. Disconnect the battery and remove the key. Trim the drive to the position your manual describes. Take photos of everything at the back of the boat: the trim cylinders, hoses, the shift cable area, any wires or sensors.
Remove the prop and its hardware, keeping the parts in order. Then put the remote control in the gear your service manual specifies for drive removal. The required position differs between drive models and years, and getting it wrong can make the shift cable hard to disconnect or reconnect, so check rather than guess.
Remove the trim cylinder pins or anchor hardware that hold the cylinders to the drive, as your manual shows. Boating Magazine suggests resting the cylinders gently against the boat and tying them up with cord so they do not swing, scratch the hull or strain their hoses. Do not open the trim hydraulic lines.
Depending on the drive, you may need to remove the speedometer pickup tube, a bonding (continuity) wire or a trim sender lead. Label each one and photograph it before you disconnect it.
Put the stand, padded blocks or your helper in place under the drive. Remove the nuts that hold the drive to the bell housing in the order your manual gives. A good tip from Boating Magazine: leave a couple of nuts threaded just onto the ends of the studs so the drive cannot pop off before you are ready. Drives are heavy; Boating Magazine puts a Bravo drive at about 180 pounds, and even smaller drives call for two people.
Work the drive loose gently and evenly, never by prying on the gasket surfaces. Once the drive has moved back far enough to reach inside, disconnect the shift cable from the drive as your manual describes, then slide the drive off the studs and set it on the stand. Cover or plug the open passages so nothing falls in.
With the drive off, look at all the bellows and their clamps for cracks, brittle or chafed rubber, and corrosion. Check the transom assembly for corrosion, the exhaust passage for damage, and the shift cable for fraying or stiffness. As BoatUS advises, if one bellows is worn, replace all of them. Our bellows and gimbal guide covers bellows replacement in more detail.
Reach through the bellows and turn the gimbal bearing by hand. It should feel smooth, with no roughness, grinding, play or rust weeping out. A rough bearing is the usual source of a growl when you turn under power. Removing and installing a gimbal bearing needs special pullers and drivers and often ends up as a shop job. On the drive, flex each U-joint by hand: any notchy feel, play or rust at the caps means the joints need attention.
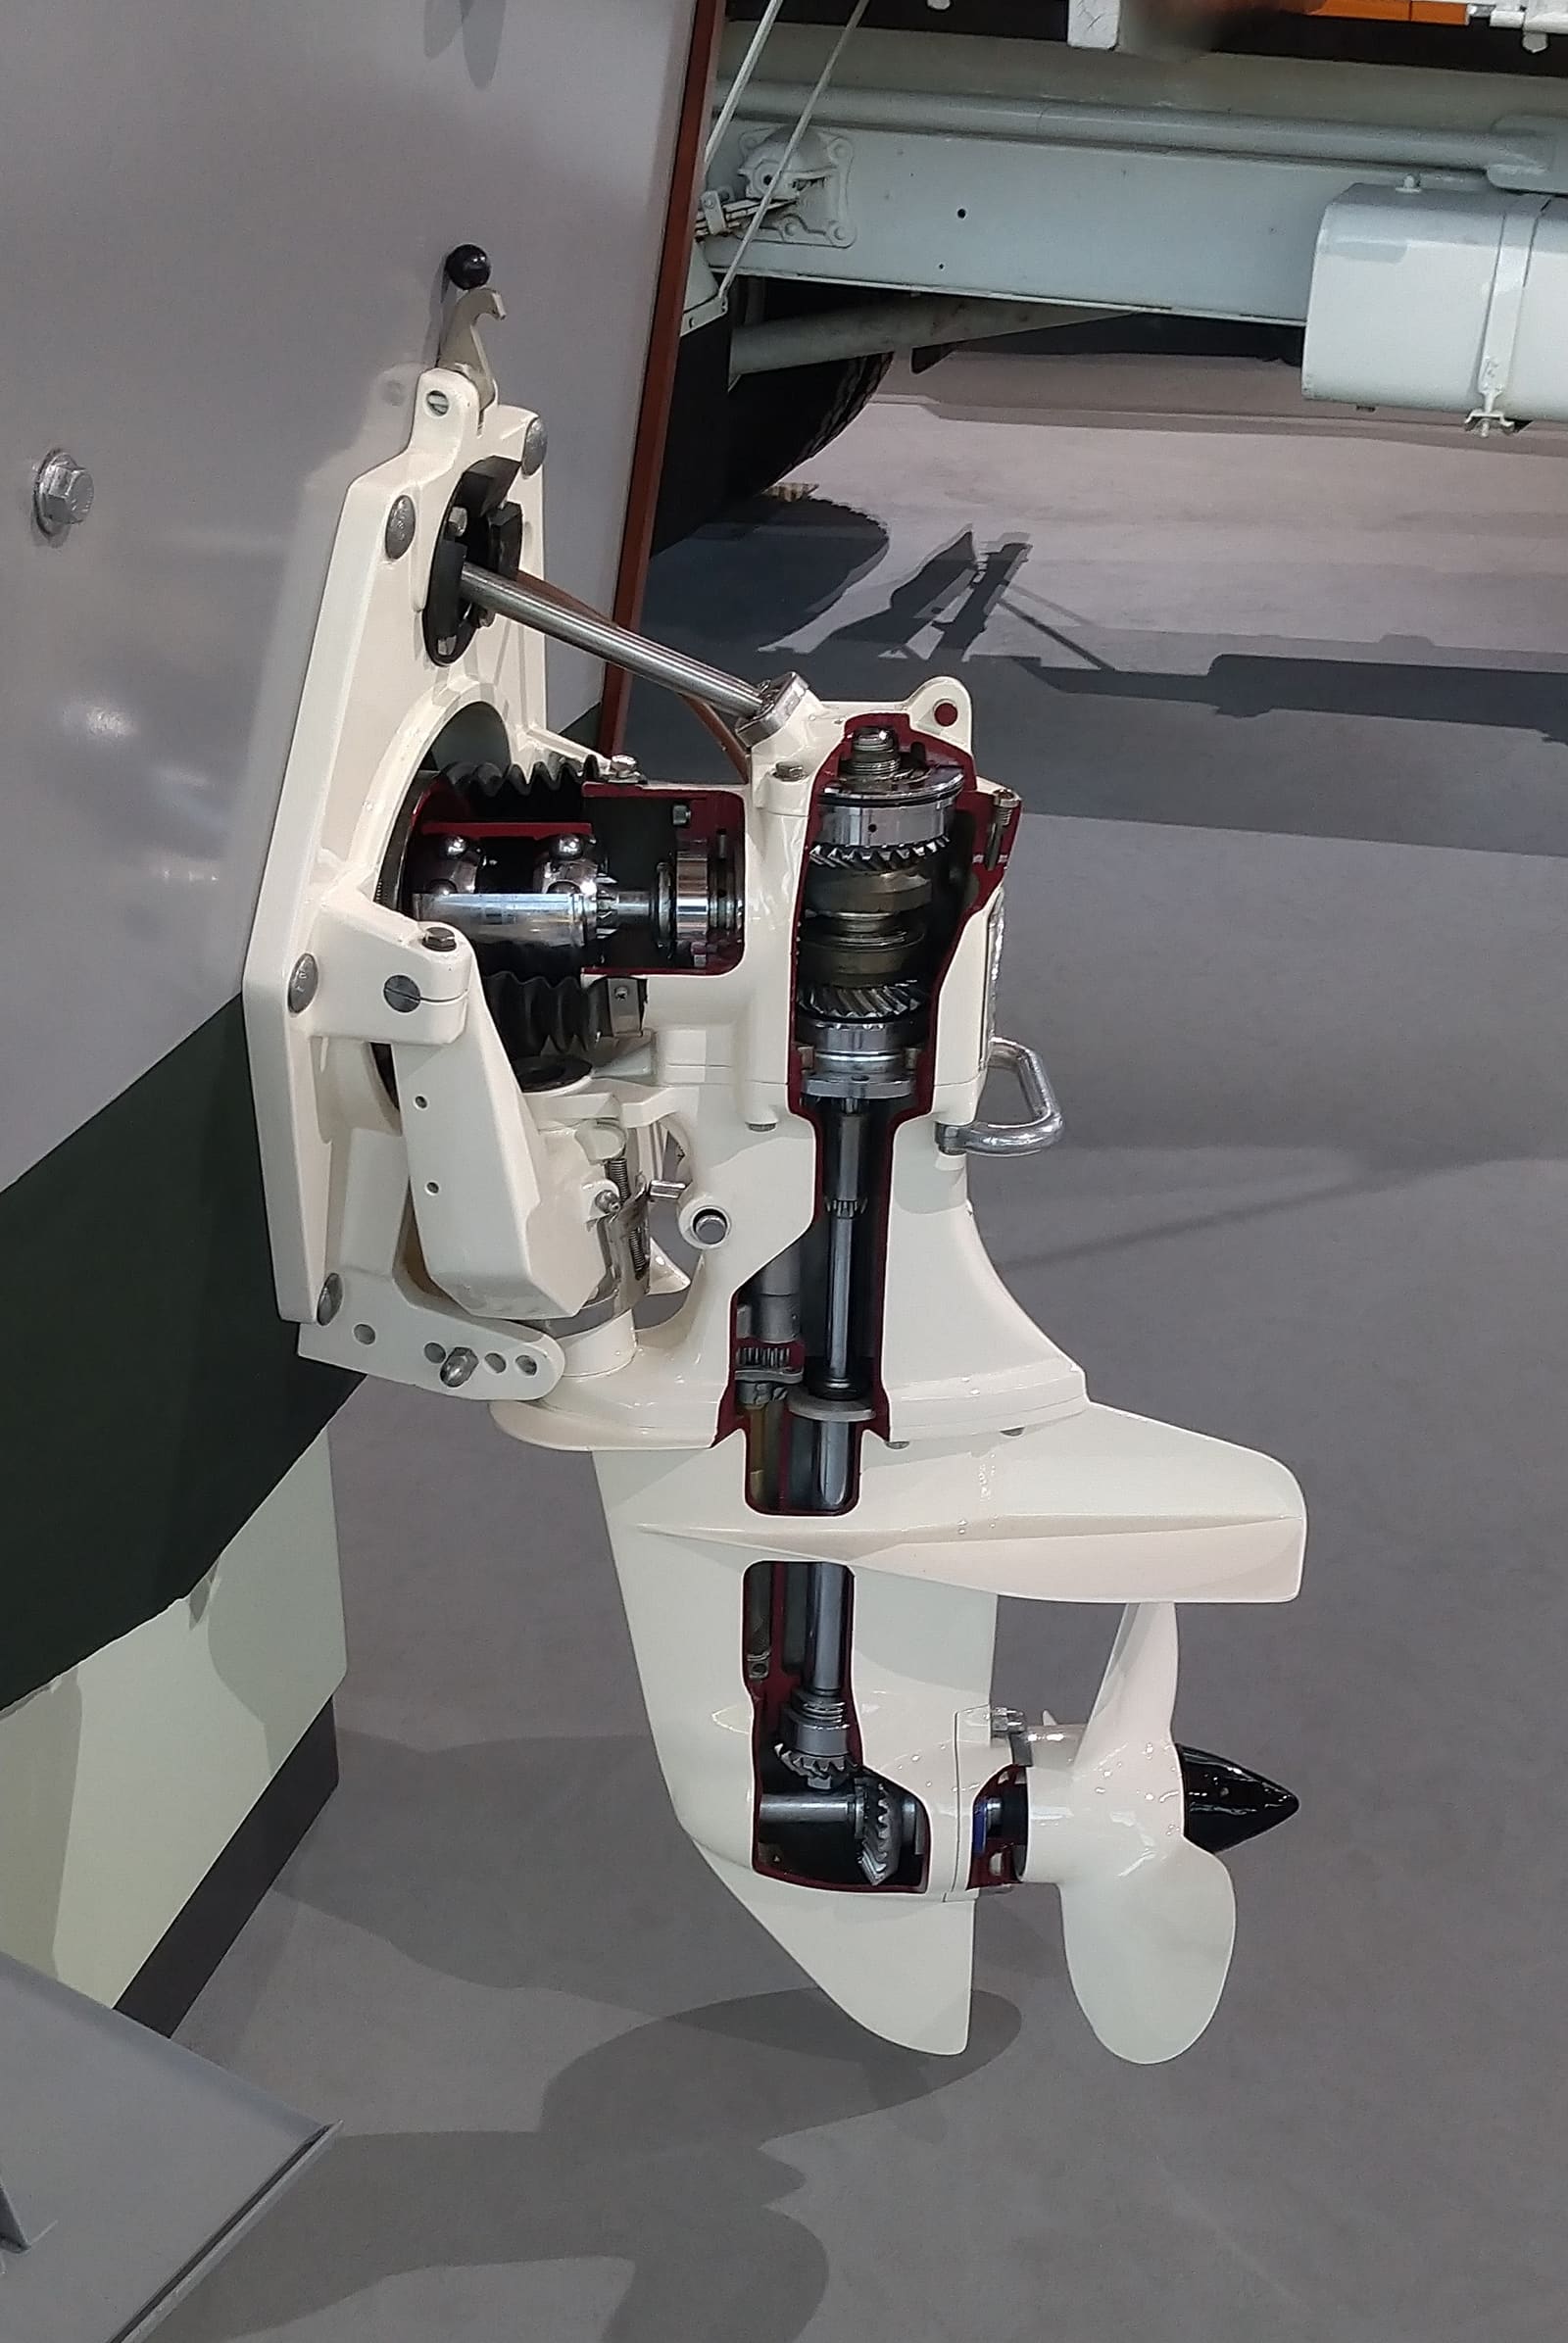
A cutaway of an early Volvo Penta sterndrive: the drive shaft and U-joint pass through the transom assembly inside a rubber bellows to the gears in the upper unit. Your drive's layout will differ. Photo: Herranderssvensson / Wikimedia Commons · CC0 1.0 Engine alignment is checked with an alignment tool that slides through the gimbal bearing into the engine coupler. Boating Magazine quotes a technician who says the tool should slide in and out with fingertip pressure; if it binds, the engine needs to be moved on its mounts. Poor alignment wears out the coupler and gimbal bearing quickly. If you do not have the correct tool for your drive, have a shop do this step while the drive is off. Our engine alignment guide explains what is involved. Mercury's owner FAQ explains why this is a recurring check: engines can drift out of alignment with the transom assembly over time, the coupler lasts longest when alignment is accurate, and damage from poor alignment or a dry coupler is not covered by its limited warranty. Lubricate the coupler splines with the grease your engine maker specifies.
Scrape the mating surfaces clean with a plastic scraper, without gouging the metal. Fit all the new gaskets and O-rings from the kit, including any in water and exhaust passages, exactly as the manual shows. Coat the U-joint shaft splines and the O-rings with the grease your manual specifies; Boating Magazine stresses greasing the splines and never reusing old gaskets. Grease any fittings on the U-joints if your drive has them.
With a helper, lift the drive into position, reconnect the shift cable as the manual describes, then line up the splines and slide the drive home. Turning the propeller shaft slightly can help the splines engage. Never force the drive or pull it in with the nuts; if it does not slide on, find out why. A drive that stops an inch or so short is one of the most common reinstall headaches owners report. Usual suspects: splines not lined up with the coupler (rotate the prop shaft a little and try again), rust or dried grease on the drive shaft or its O-rings, and a gimbal bearing that isn't centered, especially after it was replaced, which is what the alignment check is for. If it still won't seat, stop and have a shop look rather than forcing it. Install the nuts and tighten them in the sequence and to the torque in your service manual, not by feel.
Reinstall the trim cylinders and their pins, the speedometer tube, bonding wire and any sensors. Reinstall the prop. Reconnect the battery. With the engine off, check that the shift moves smoothly into forward, neutral and reverse and that the prop turns the right way in each gear (rotate it by hand, carefully, with the key removed). Trim the drive fully up and down and steer lock to lock to check nothing binds or pulls. Then run the engine on a flush setup your manual approves for that drive, or on the water, and check for leaks and correct shifting. Check the bilge right after launching and again after the first run.
Common mistakes
- Reusing old gaskets and O-rings to save a few dollars.
- Putting the remote in the wrong gear and then fighting the shift cable on reassembly.
- Letting the drive drop off the studs with no support.
- Forgetting to grease the U-joint splines, or using the wrong grease.
- Skipping the alignment check, then wearing out a new coupler or gimbal bearing.
- Replacing only the exhaust bellows from outside the boat and leaving the older U-joint and shift cable bellows in place.
- Launching without checking all gears, steering and trim on the trailer first.
- Tightening drive nuts by feel instead of to the manual's torque and sequence.
When to call a pro
- Corroded or seized studs and nuts, or a drive that will not come off with gentle effort
- A rough gimbal bearing, worn U-joints or a damaged coupler
- You do not have the alignment tool for your drive
- Bravo, Volvo Penta or other drives you do not have the service manual or tools for
- Water in the bilge after reinstalling: haul the boat or call for help right away; in an emergency call VHF 16 or 911
- Hard shifting, clunking or noises after reinstalling
Tips
- Pull the drive in the fall so the bellows and bearings can be replaced over the winter, not in the spring rush.
- Use a shop for the alignment check even if you do the rest yourself. It's a small cost compared with a coupler replacement.
- Bag and label every bolt and pin as it comes off, and photograph each stage.
- While the drive is off, check the drive's gear lube and anodes and look over the prop shaft for fishing line. Mercury's FAQ says a fine, powder-like metal haze in drained gear lube is normal wear, but actual metal chips mean the gear housing needs a dealer inspection. Creamy lube can mean water, though fresh assembly grease mixed in can look creamy too; let a sample settle in a glass jar to tell.
- Once the drive is back on and the boat is stored with it installed, keep it trimmed down. Mercury warns that storing a sterndrive in the up position can permanently deform the transom bellows.
Official references
We read these to write this guide. Your engine's own manual always wins.
Safety: BoatMend is for information only and does not replace a certified marine technician. You are responsible for your safety and your boat. Read the full disclaimer.
Last updated 2026-10-25
Related guides
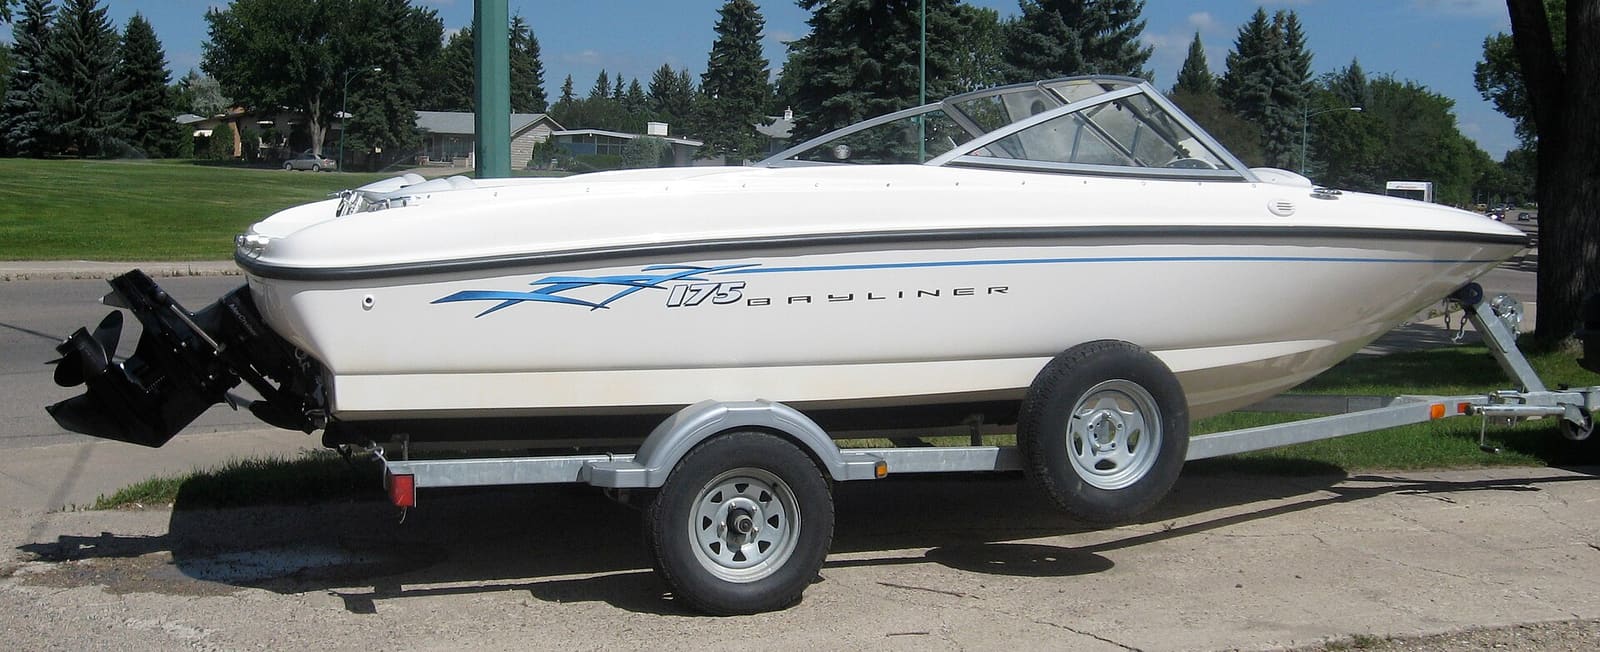
How to Inspect Sterndrive Bellows, Gimbal Bearing, U-Joints and Shift Cable
Learn to spot a cracked sterndrive bellows before it lets water into the boat, and to recognize the warning signs of a worn gimbal bearing, U-joints and shift cable. A failed bellows is one of the top reasons boats sink at the dock, and a 20-minute inspection can catch it.
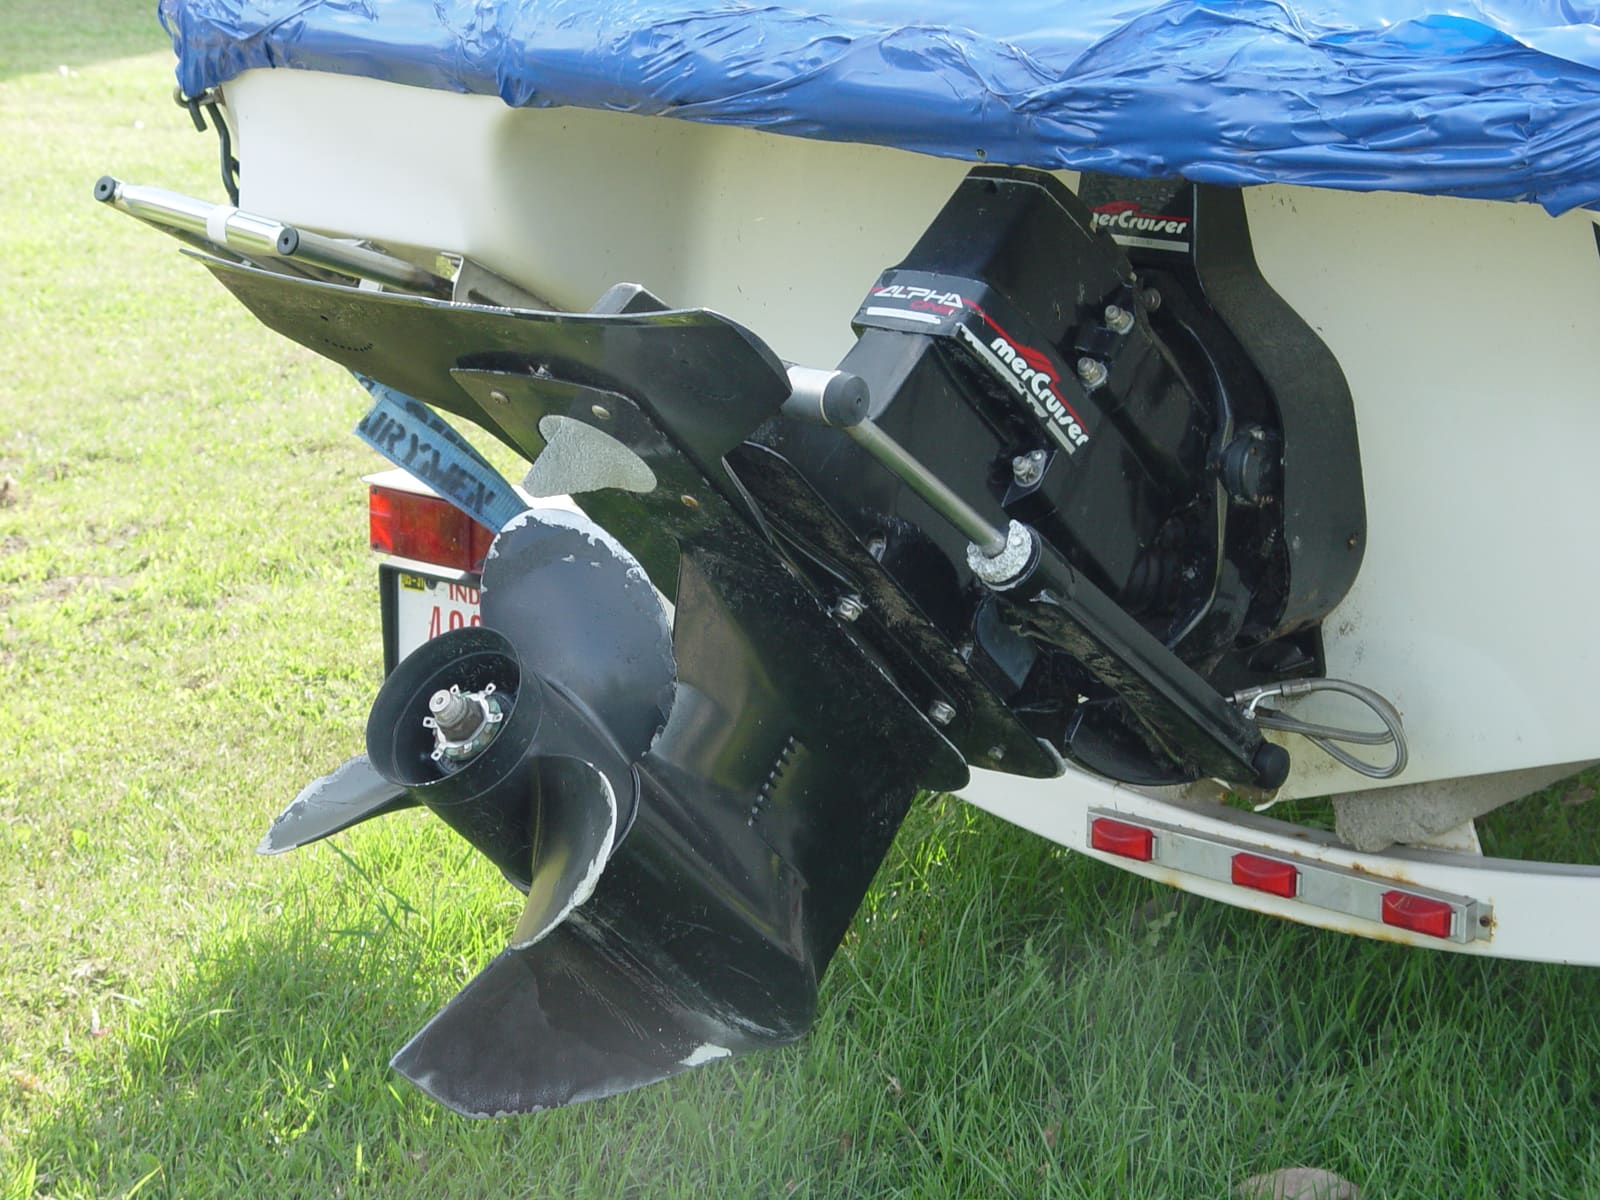
Engine Alignment on Sterndrives and Inboards: What to Check and When
A sterndrive engine must line up with its gimbal bearing and coupler, and an inboard engine with its prop shaft. When it drifts out of line you get vibration, noise and worn-out couplers, bearings and seals. Learn the warning signs, the checks you can do yourself and why the alignment itself is a job for a pro with special tools.
How to Check and Adjust Boat Shift and Throttle Cables
Hard shifting, a lever that will not go fully into gear, or a gear that lands in a different spot every time usually point to the control cables. Learn how to find out whether the problem is the cable, the control box or the engine, how to adjust the cable ends, and when it is time to replace both cables.
Sterndrive Hard or Clunky Shifting: Cables, Shift Interrupt Switch and Cone Clutches
A sterndrive that bangs into gear, is hard to pull out of gear, stalls when you shift or hesitates and then slams in is telling you something about its shift system. Learn the checks you can do (idle speed, technique, cables, linkage and drive oil), what the MerCruiser shift interrupt switch and Volvo Penta cone clutches do, and when it's a shop job.
Trim Leaks: When the Motor or Drive Won't Stay Up
Track down why your outboard or sterndrive slowly sinks, trails down on the trailer or leaks trim fluid. Work from the free checks (release valve, fluid level) to hoses, ram seals and internal leaks, and learn when a rebuild or a new cylinder makes more sense.
How to Change Lower Unit (Gearcase) and Sterndrive Oil
Drain and refill the gear oil in your outboard lower unit or sterndrive, and learn to spot water intrusion before it destroys the gears. It is a 30-minute job that protects a gearcase costing thousands to replace.
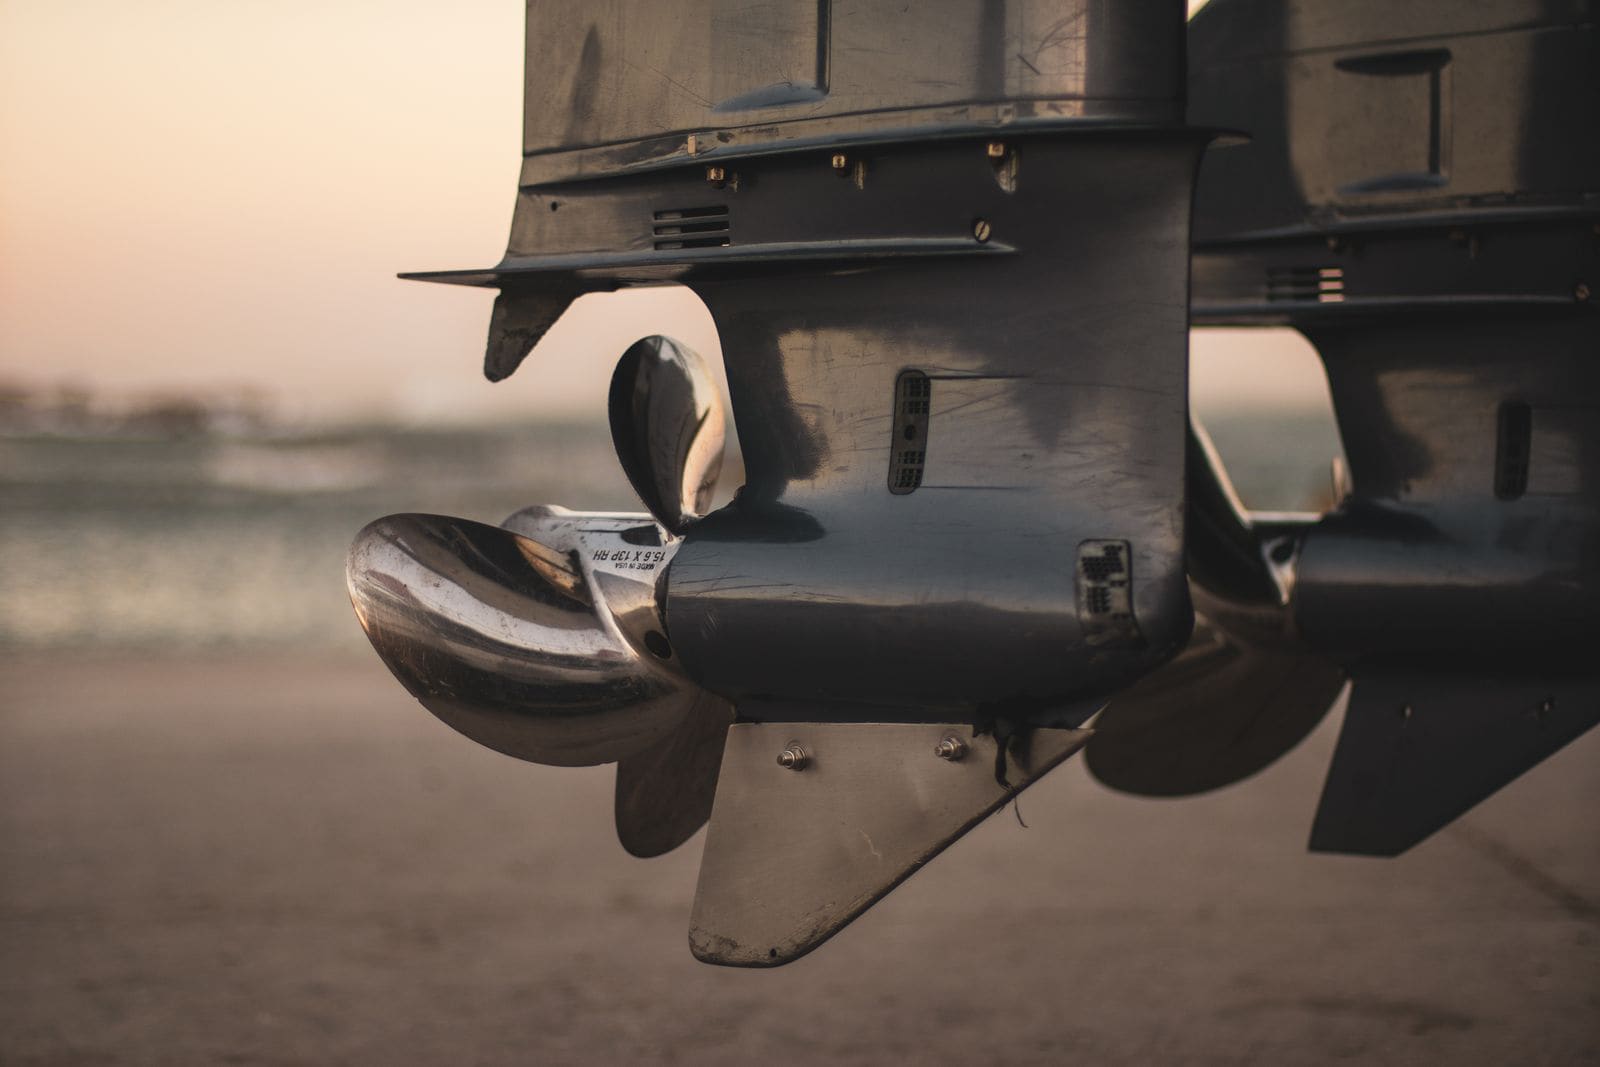
Propeller Care: Inspect, Remove, Replace and Choose the Right Pitch
Check your prop for damage, pull it to clear fishing line and grease the shaft, reinstall it correctly, and learn how pitch affects your engine's wide-open-throttle RPM. The right prop in good shape protects your engine and often makes the boat run better and use less fuel.
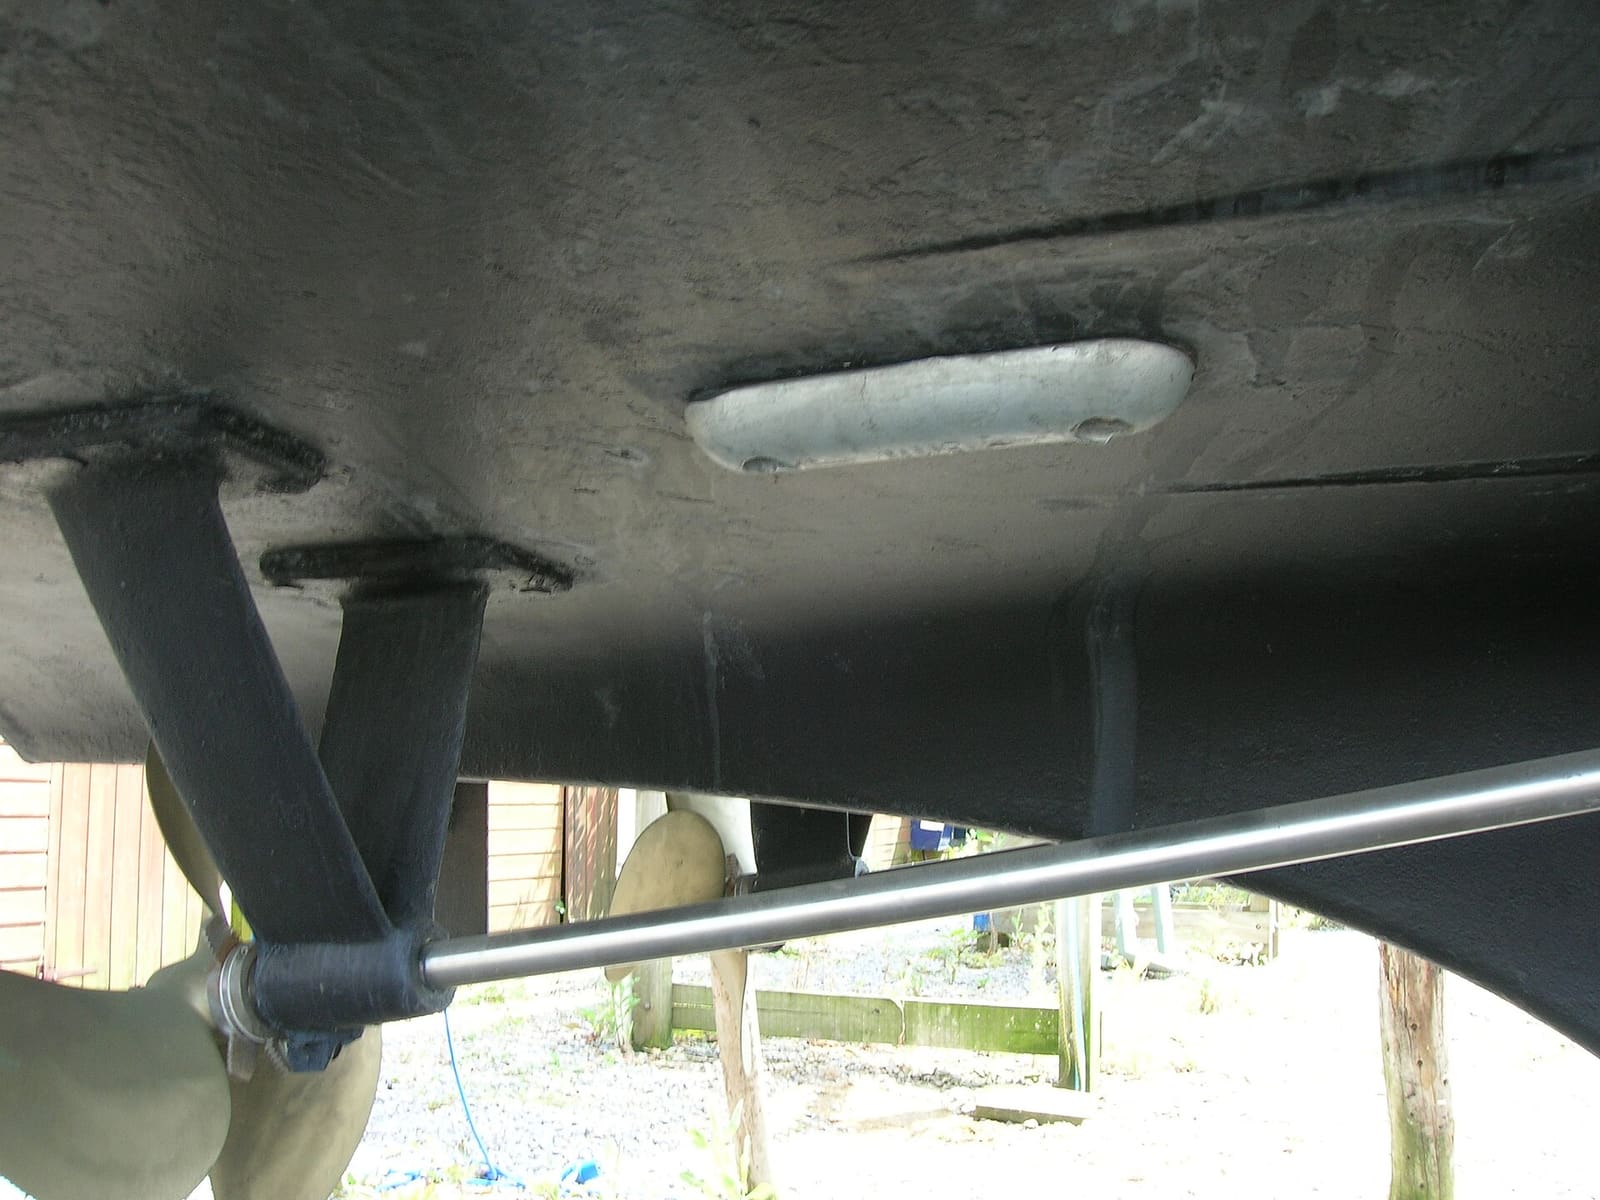
How to Inspect and Replace Sacrificial Anodes (Zincs)
Check the anodes on your outboard, sterndrive or inboard running gear, replace them when they are half gone, and choose the right metal for the water you boat in. Fresh anodes are cheap insurance against expensive corrosion damage to your lower unit, drive and prop.
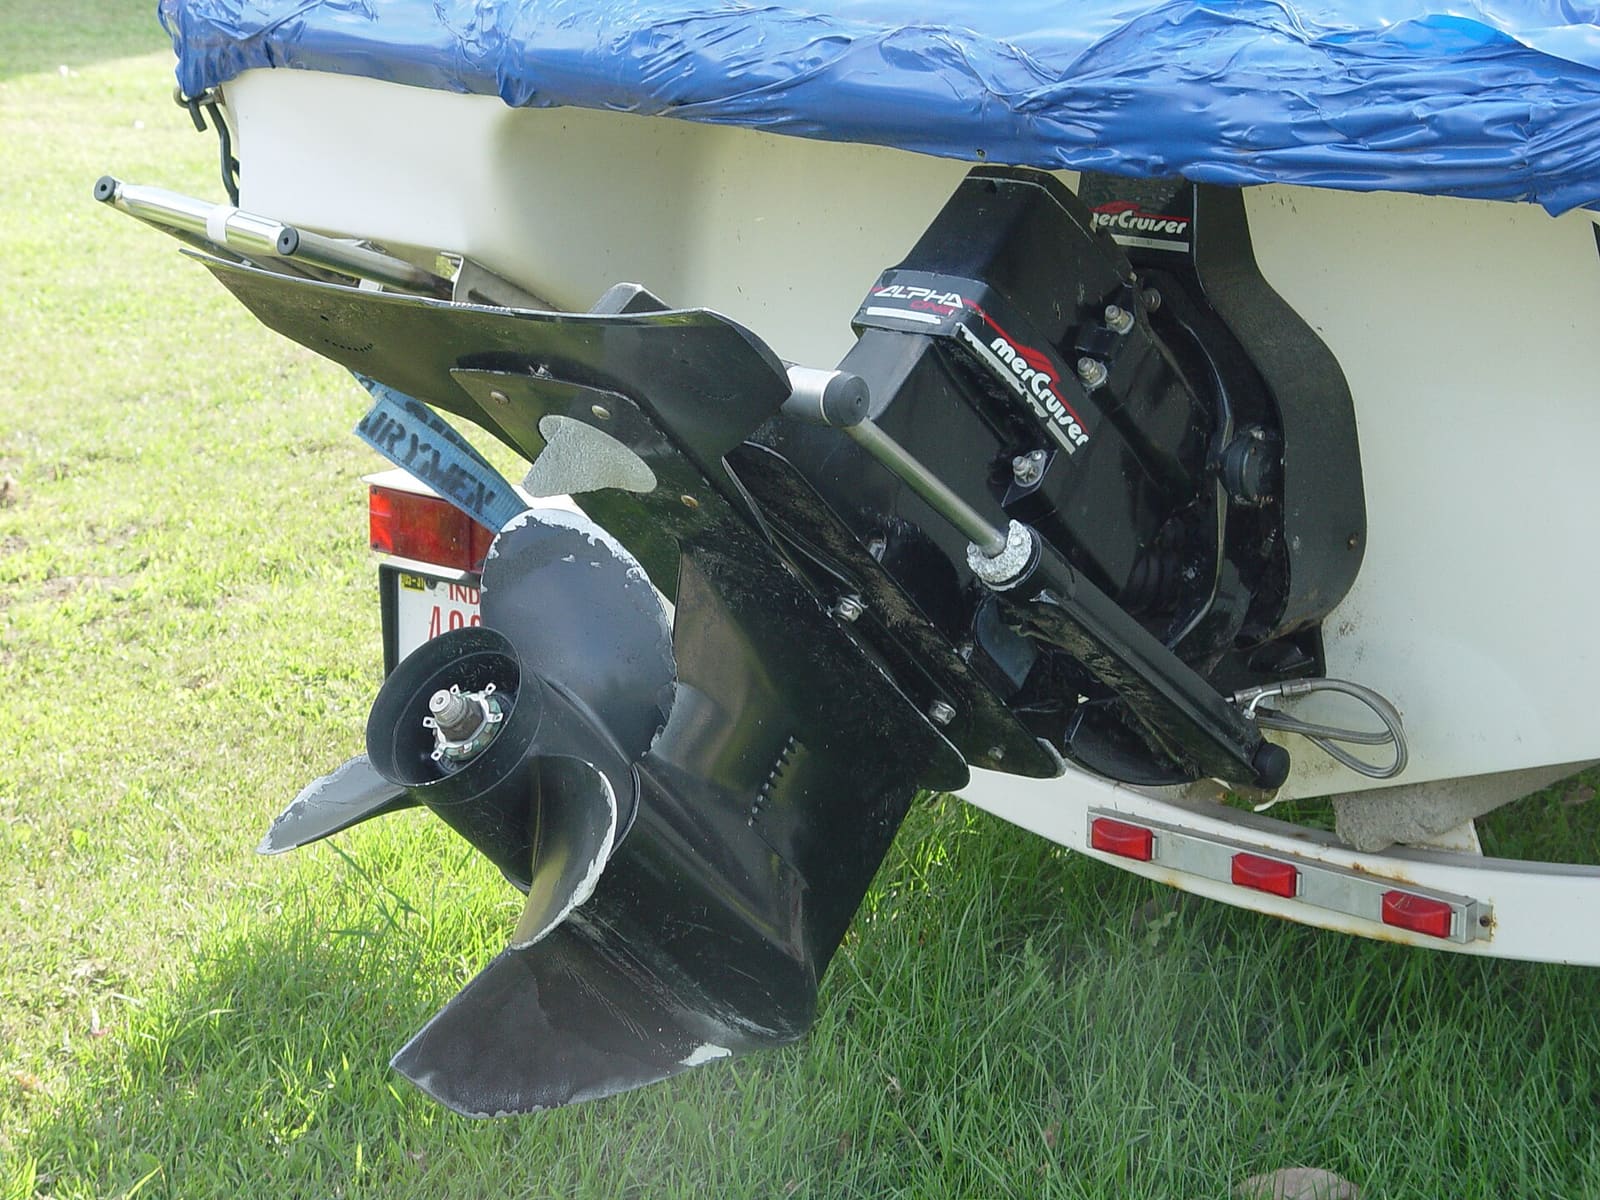
How to Winterize a Sterndrive (MerCruiser, Volvo Penta and Similar)
Get the water out of your sterndrive engine, protect it with antifreeze, and service the drive before storage. A cracked block or manifold from one missed drain plug can cost thousands, and doing it yourself saves a shop bill of several hundred dollars.

How to Sea Trial Your Boat After Maintenance or Repair
A step-by-step test run after service work: dock checks first (leaks, fluids, steering, kill switch), then a gradual climb through the RPM range while you watch temperature and pressure, a wide-open-throttle check against your engine's spec, shifting and trim tests, and a bilge check afterward. Catch a loose clamp or a missed step at the dock, not miles out.