How to Check and Adjust Boat Shift and Throttle Cables
Hard shifting, a lever that will not go fully into gear, or a gear that lands in a different spot every time usually point to the control cables. Learn how to find out whether the problem is the cable, the control box or the engine, how to adjust the cable ends, and when it is time to replace both cables.
Time
1 h 30 min
Shop would charge
$250-800
Applies to
Outboard, Sterndrive (I/O), Gas inboard
Safety first: A boat that unexpectedly goes into gear, or will not come out of gear, can injure people and hit docks. Do all inspection and adjustment with the engine off, the key out and the kill switch clip removed, because you will be turning the propeller by hand. Never run the engine in gear on the trailer or out of the water. If the engine will start in gear, or the lever will not return to neutral, do not use the boat until it is fixed. If shifting fails on the water, shut the engine off and call TowBoatUS or Sea Tow; in an emergency use VHF 16 or dial 911.
Owners often ask
- My outboard is hard to shift or won't go into gear. How do I adjust the shift cable?
This guide walks you through it. Still stuck? Ask the AI Mechanic about your engine.
Tools
- Open-end wrenches and a socket set
- Needle-nose pliers and screwdrivers
- Flashlight
- Masking tape and a marker
- Phone camera
- Marine grease
- A helper
Parts & supplies
- New cotter pins and lock nuts or clips for the cable ends
- Replacement shift and throttle cables (same length and style, if needed)
Before you start
Most boats with mechanical controls use two push-pull cables from the helm control box to the engine: one for shift and one for throttle. On a single-lever control, one handle does both; on a twin-lever control, each function has its own lever. On outboards both cables run to the engine. On sterndrives and inboards the shift cable goes to the transmission or drive, so the two cables are often different lengths.
If your boat has electronic (digital) shift and throttle, there are no cables to adjust: see your dealer.
Typical cable symptoms:
- The lever is stiff, sticky or clunks when shifting.
- The lever does not stop at the same spot for forward, neutral or reverse each time (a classic sign of a worn cable).
- The engine grinds or will not go fully into gear, or pops out of gear.
- Idle speed is too high, or full throttle never reaches full RPM.
Many shifting problems show up right after a water pump or lower unit job. In that case, suspect the shift shaft or linkage at the engine before blaming the cable.
Steps
Engine off, key out, kill switch clip off. On outboards, tilt the motor down. Before you disconnect anything, photograph both ends of each cable and put a piece of tape on the threads next to each adjustment barrel (the threaded block, also called a trunnion, that locks the cable to its bracket). That way you can always go back to where you started.
Many side-mount controls have a neutral lock trigger under the handle that must be squeezed before you can shift. Make sure it releases cleanly. On some controls you can pull the handle out (or press a button) to use throttle only, without shifting: confirm this mode is off. A loose or cracked control box mount can also make shifting feel vague.
Follow both cables from the helm to the engine. Look for:
- Sharp bends and kinks. Cables need gentle curves.
- Zip ties pulled tight around the cables, or cables bundled tightly with wiring. Cables should be held loosely.
- Chafe points where the jacket rubs on a sharp edge.
- On outboards, enough slack (a loop or a long enough rigging tube) for the motor to steer and tilt fully without the cables pulling.
Turn the steering lock to lock and tilt the motor while a helper works the lever. If shifting gets harder in one position, the routing is binding.
Disconnect the shift cable at the engine end: remove the clip or nut holding the cable end to the shift lever, then lift the barrel out of its anchor without turning it.
Now work the lever at the helm. If it moves smoothly, the cable and control box are fine and the stiffness is at the engine or drive. If it is still stiff with the cable disconnected, the cable or the control box is the problem.
Next, move the engine's shift lever by hand. Turning the propeller slowly by hand helps the gears engage. Forward and reverse should click in clearly. If the engine side is stiff, see step 6.
If the trouble started right after the lower unit was removed (for a water pump or seal job), the cable is rarely the cause. On many outboards the upper and lower shift shafts must both be set to the gear position the service manual specifies before the gearcase goes back on, and a gearcase installed one position off will shift wrong no matter how you adjust the cable. That fix means dropping the lower unit again, by the manual or by a shop.
Replace the cable if you see:
- A cracked, split or swollen outer jacket, or rust weeping from the ends
- A bent, pitted or corroded end rod
- Water inside the jacket
- Stiffness that remains with the cable disconnected at both ends
A cable that is stiff but intact can be lubricated as a short-term fix (step 10).
Clean and grease the exposed cable end rod, the pivot pins and the shift and throttle linkages at the engine with marine grease. Check for worn or loose pivots, missing bushings and corrosion. On outboards, follow your owner's manual grease chart. On sterndrives, corrosion, sand or mud in the shift linkage area can also make shifting hard.
The goal: when the helm control is in neutral, the cable end drops onto the engine's shift lever with the engine also in neutral, without pushing or pulling it.
- Put the helm lever in neutral.
- Put the engine's shift lever in neutral (the propeller turns freely in both directions).
- Push and pull the cable end lightly to find the middle of its free play, and hold it there.
- Turn the barrel until it lines up with its anchor hole, then install it and the cable end, with new cotter pins or clips.
Your engine maker may want the adjustment biased slightly toward forward or reverse, or may specify a number of barrel turns. Follow your service manual for your exact engine: it overrides this general method.
With the engine still off, have a helper shift while you turn the propeller by hand. In forward, the propeller should lock in one direction; in reverse, the other direction; in neutral, it should turn freely both ways. The lever should reach each detent fully and land in the same place every time. If forward engages fully but reverse only barely (or the other way round), the cable is off center: adjust the barrel a turn at a time and test again.
Put the lever in neutral, at idle. At the engine, the throttle arm should rest against its idle stop without the cable holding it open. Then, with the engine still off, have a helper move the lever slowly to full throttle (using the throttle-only feature if your control has one): the throttle arm should reach its full-throttle stop. If it does not, adjust the throttle barrel the same way, using the specs in your manual. A throttle cable that holds the idle too high makes every shift harsher and can cause gear clunk or grinding.
Spraying lubricant into the ends of a cable only reaches a few inches. BoatUS describes a deeper stopgap: remove the cable from the boat, hang it vertically, seal a bag of motor oil around the top end of the jacket and let the oil drain through. It can buy a season, but replacement is the real fix, and a cable that is hard to remove is a good reason to replace it instead.
Check what kind of cable you have first. BoatUS points out that many modern control cables have a Teflon (PTFE) lined core that is not meant to be lubricated: oil and grease can gum up the inside and make it worse. Older unlined cables may call for periodic lubrication. If the cable maker's instructions or the printing on the jacket don't tell you, ask the manufacturer before you pour anything in.
On many sterndrives (MerCruiser is the most common), the helm cable connects to a shift plate on the engine, and a second shift cable runs through the transom to the drive. A shift interrupt switch on the shift plate briefly cuts the ignition as you shift, unloading the gears so they can disengage.
Signs of a problem: the engine stalls or hesitates every time you shift, shifting out of gear is very hard, or the drive clunks loudly into gear. Check the helm cable and grease the linkage as above, but the lower shift cable and the interrupt switch need exact adjustments from the service manual and often special tools. That is a good job to leave to a sterndrive technician.
Some sterndrives (Volvo Penta SX and DP drives, for example) shift with cone clutches. A common owner complaint is a drive that seems to engage, then does nothing until more throttle is added and it slams into gear. A new helm cable rarely fixes that: the shift linkage at the drive needs adjusting, and every hard engagement wears the clutches further. Stop using it hard and have a technician adjust the linkage before the shift mechanism needs a rebuild.
With the boat in the water, tied securely to the dock and with the area behind clear, start the engine in neutral. The engine should only start in neutral; if it cranks in gear, stop and have the neutral safety switch fixed. Shift into forward and reverse at idle, pausing for about one second in neutral between directions, as BoatUS recommends. Shifting should be crisp, quiet and repeatable.
Replace the cables if they stay stiff after lubrication, are damaged, or the lever does not land on the same position each time. Experts recommend replacing both shift and throttle cables together, since one worn cable means the other is close behind.
- Order the same length: it is usually printed on the cable jacket, often near the helm end. If it has worn off, measure tip to tip; replacement cables are sold in whole feet.
- Order the same style of end fittings for your engine and control.
- Tape the new cable to the old one and pull it through, or use a fish tape. Install the end fittings after routing.
- Keep the new cables loose, with no tight zip ties and no bundling with wiring, and leave enough slack for an outboard to steer and tilt.
- Adjust both cables as in steps 7 to 9, then test at the dock.
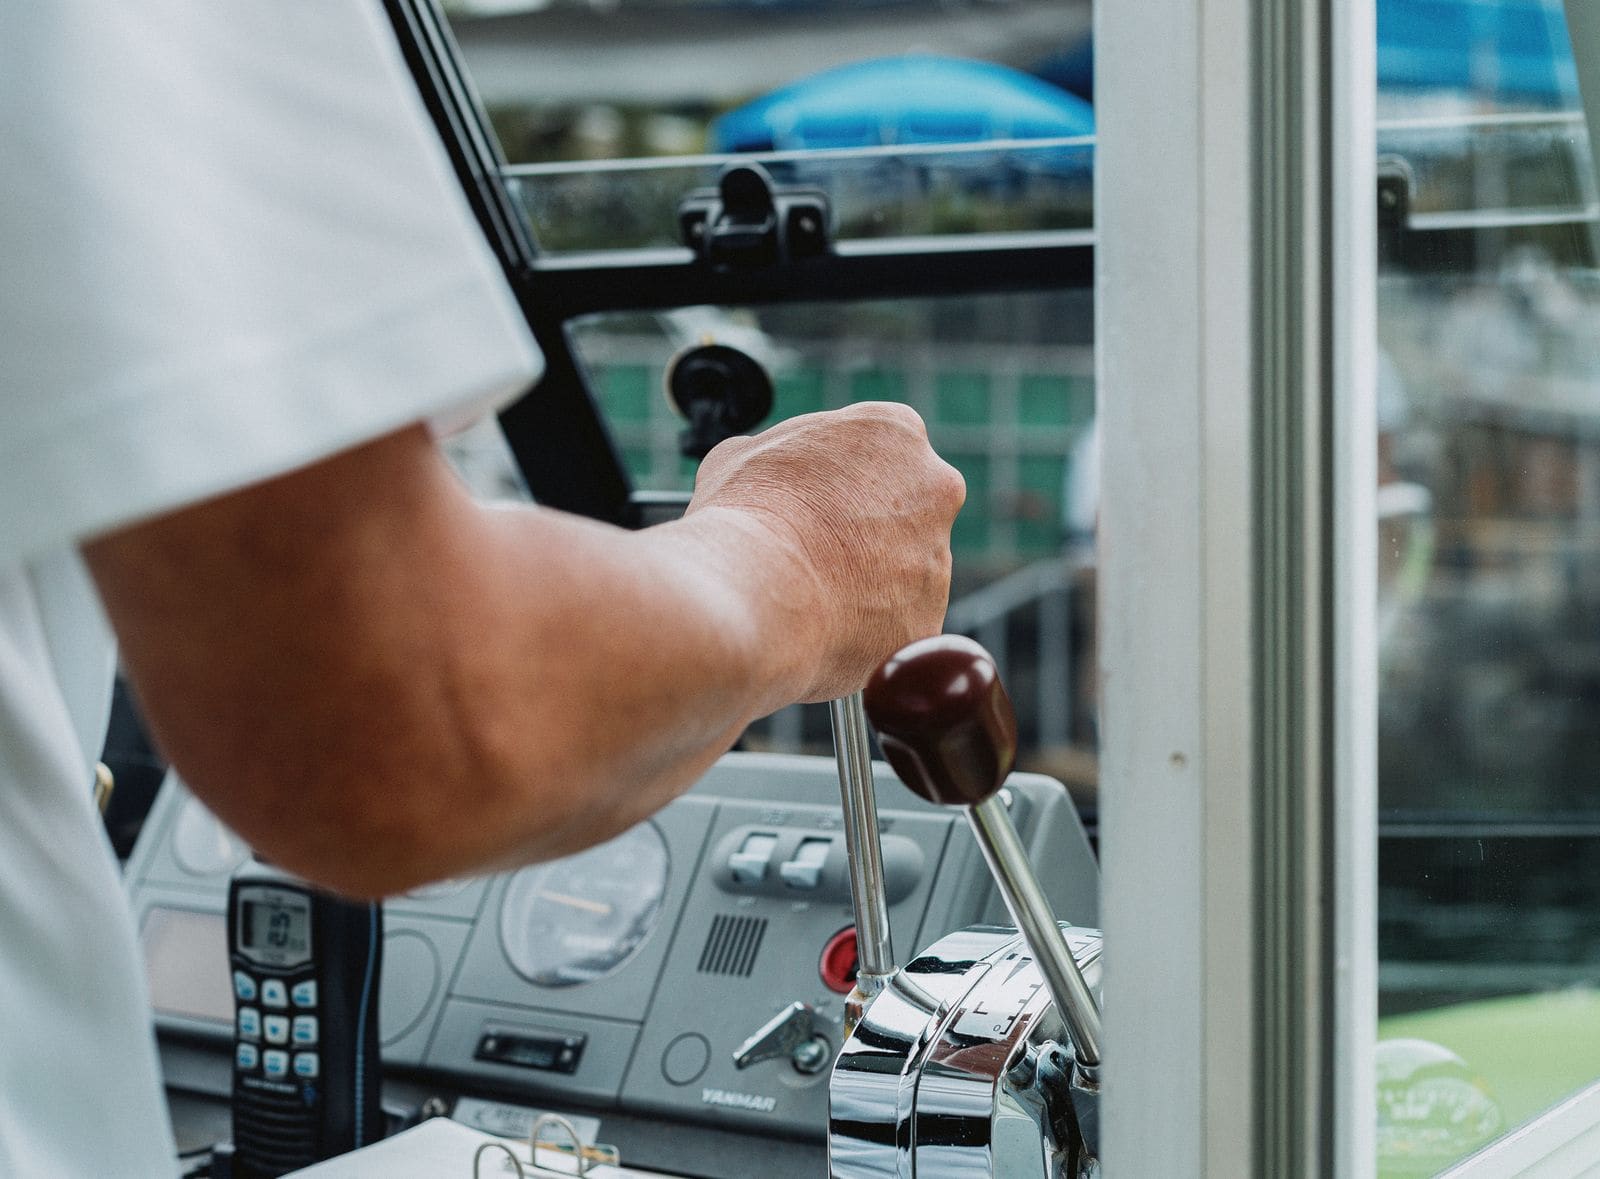
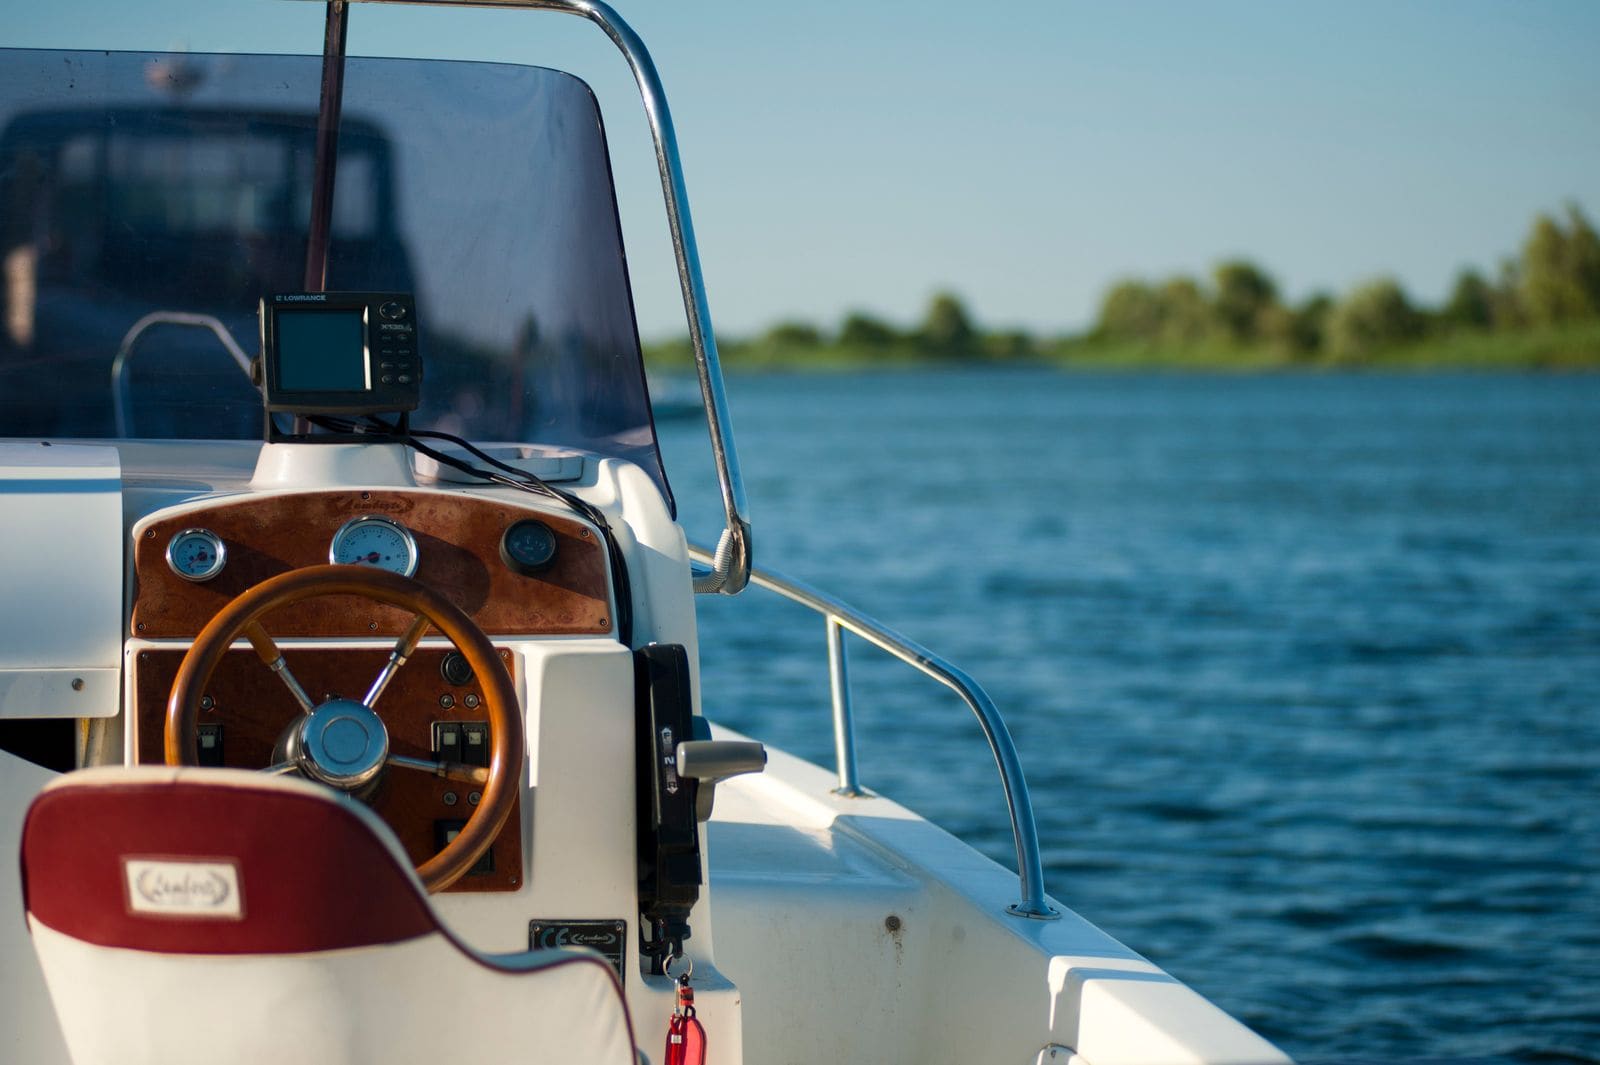
On a twin-lever control, shift and throttle each have their own lever and their own cable. Photo by Gu Ko on Pexels · Pexels License
Common mistakes
- Turning the barrel without marking where it started, then losing neutral completely.
- Tightening the cable end nut so hard that it binds on the shift lever, which makes shifting stiff.
- Blaming the cable when the lower unit was just reinstalled with the shift shaft out of position.
- Zip-tying cables tightly to wiring harnesses, or routing them with sharp bends.
- Replacing only the shift cable when the throttle cable is just as old.
- Testing gear engagement with the engine running on the trailer.
- Shifting quickly from forward to reverse at high RPM, which wears out gears and can stall the engine.
- Forgetting to replace cotter pins or clips, so a cable end falls off underway.
- Oiling a Teflon-lined cable that was never meant to be lubricated, then wondering why it got stiffer.
When to call a pro
- Sterndrive lower shift cable and shift interrupt switch adjustment
- The engine starts in gear, or the lever does not return to neutral
- The engine side will not go into gear even with the cable disconnected (possible lower unit or transmission damage)
- Electronic (digital) shift and throttle systems
- The control box itself is worn or broken inside
- You lose shifting on the water: shut down, anchor if safe, and call TowBoatUS or Sea Tow; in an emergency VHF 16 or 911
Tips
- Check both cable ends whenever you grease the engine; it takes two minutes.
- Keep a spare set of cotter pins and cable-end clips in your toolbox.
- When you replace the control box, replace the cables too: they are just as old.
Official references
We read these to write this guide. Your engine's own manual always wins.
Safety: BoatMend is for information only and does not replace a certified marine technician. You are responsible for your safety and your boat. Read the full disclaimer.
Last updated 2026-10-24
Related guides
How to Grease Your Outboard's Lubrication Points
Grease the swivel bracket, tilt tube, steering and shift linkages, trim rams and prop shaft splines on your outboard. Grease keeps salt and water out of the moving joints. A 30-minute job once or twice a season prevents seized steering, stuck props and corroded brackets.
How to Replace the Water Pump Impeller
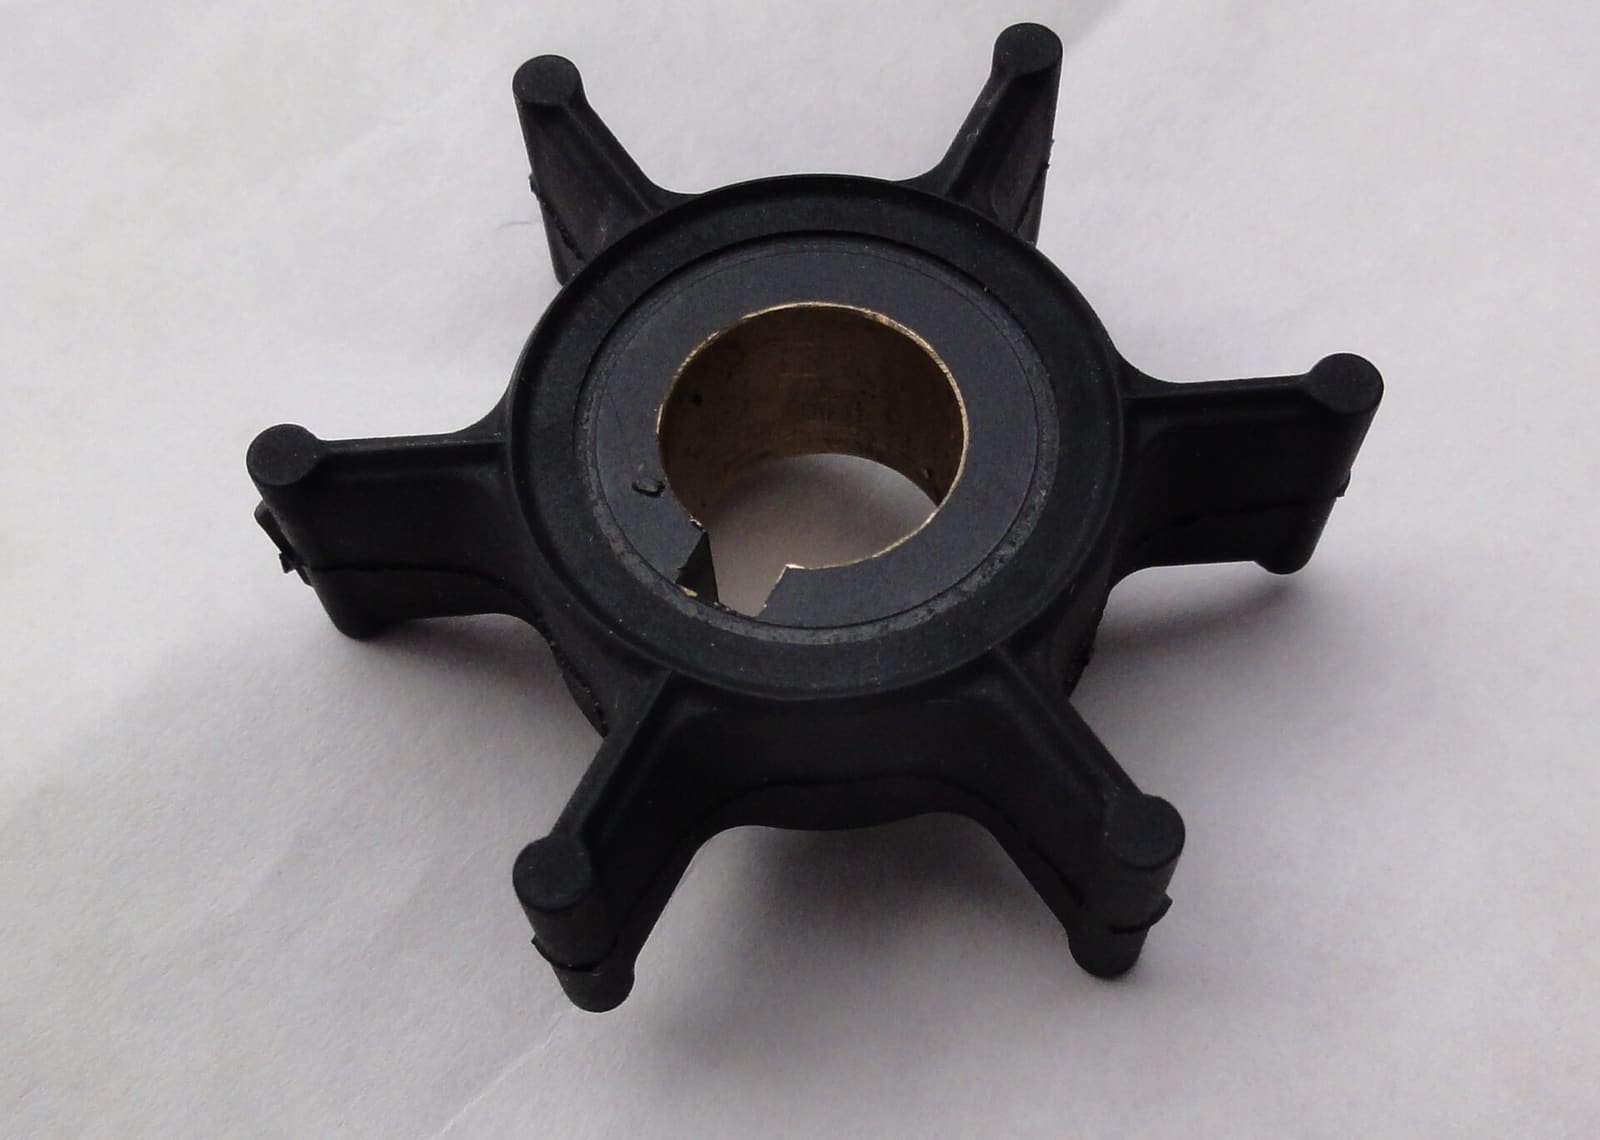
Replace the rubber impeller that pumps cooling water through your engine, the part most often behind overheating. On many outboards it is a two-hour driveway job that saves a shop bill of several hundred dollars and prevents far costlier heat damage.
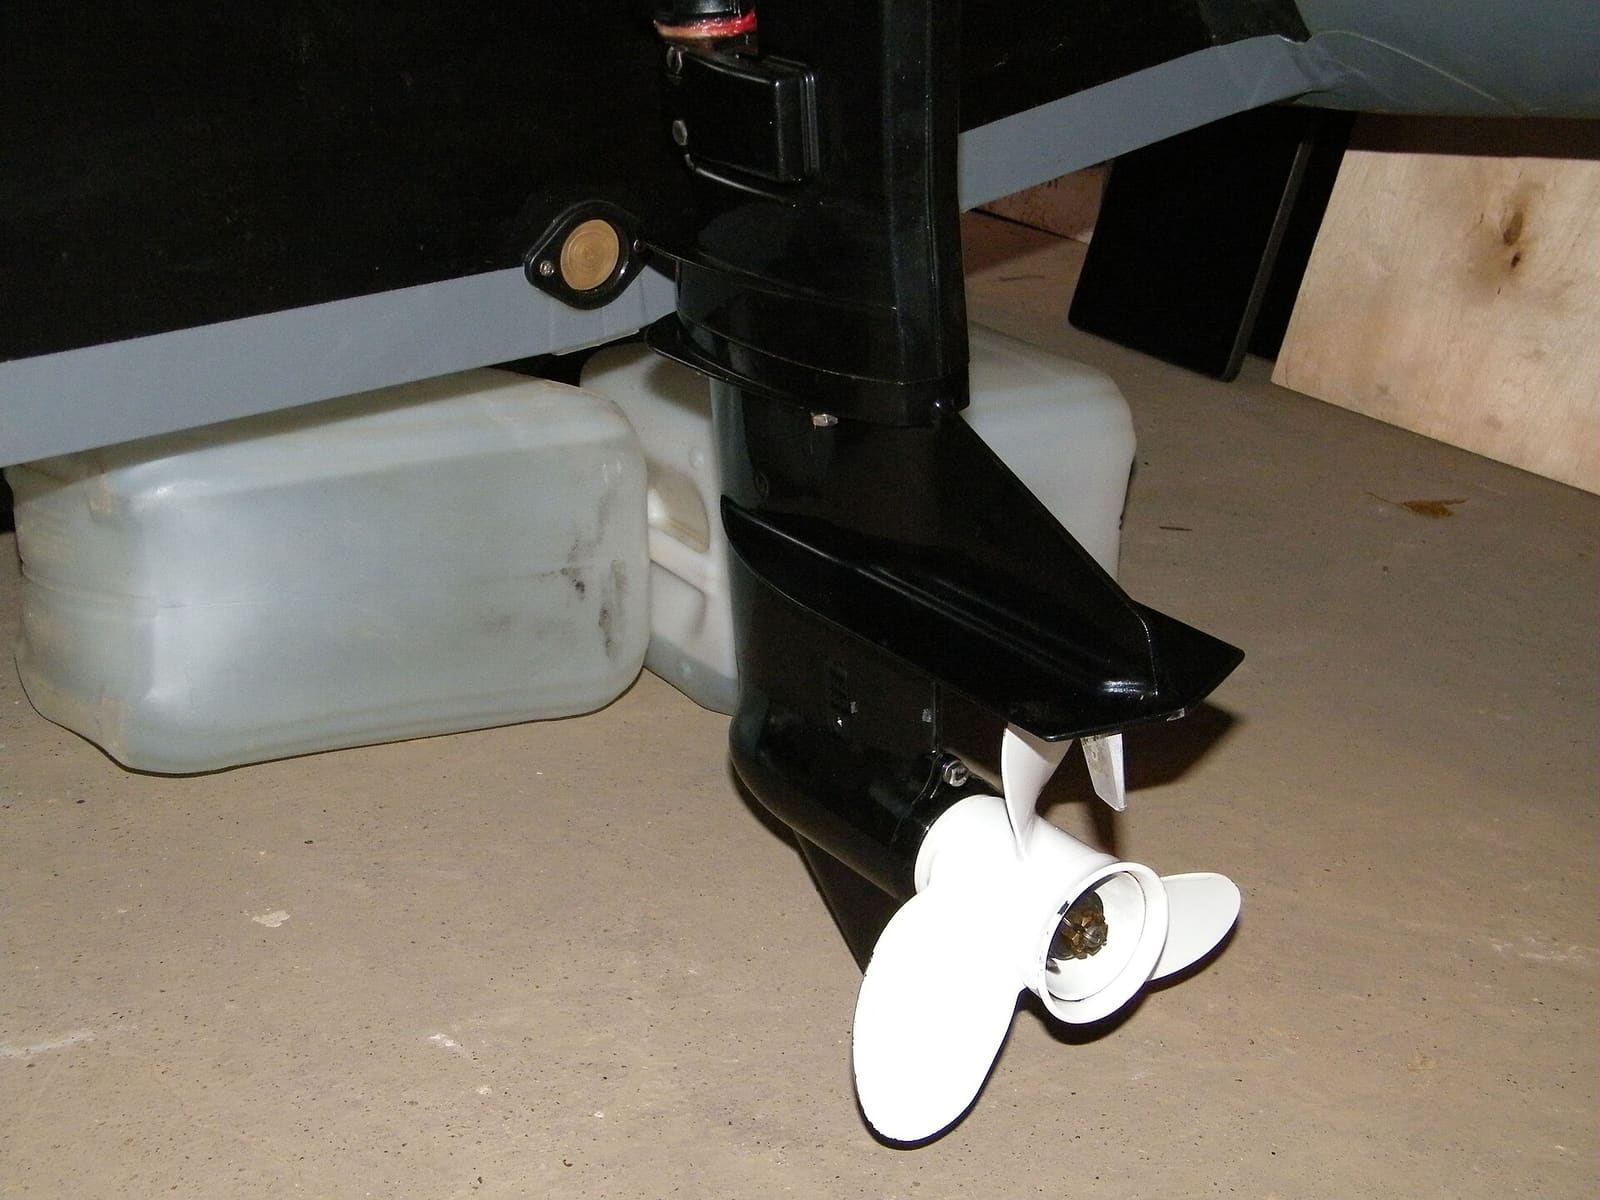
How to Change Lower Unit (Gearcase) and Sterndrive Oil
Drain and refill the gear oil in your outboard lower unit or sterndrive, and learn to spot water intrusion before it destroys the gears. It is a 30-minute job that protects a gearcase costing thousands to replace.
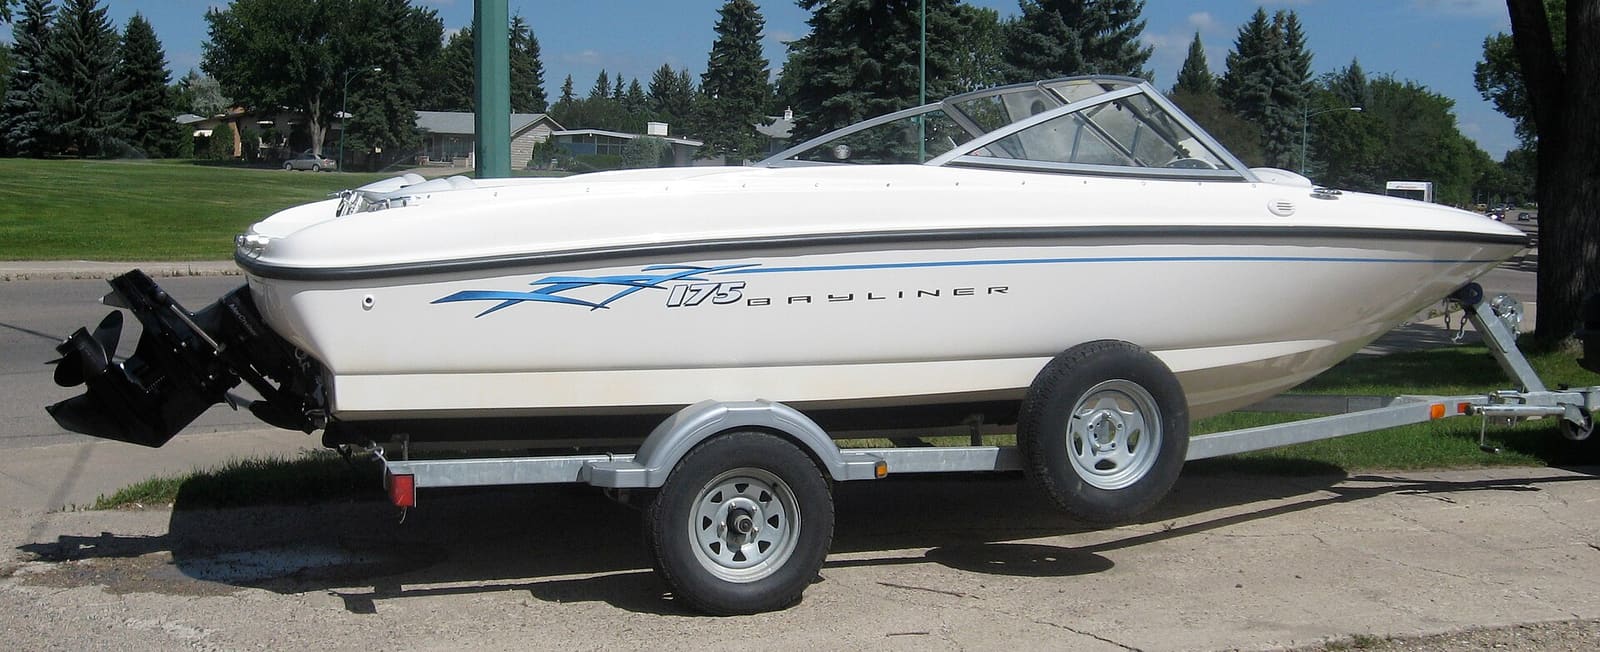
How to Inspect Sterndrive Bellows, Gimbal Bearing, U-Joints and Shift Cable
Learn to spot a cracked sterndrive bellows before it lets water into the boat, and to recognize the warning signs of a worn gimbal bearing, U-joints and shift cable. A failed bellows is one of the top reasons boats sink at the dock, and a 20-minute inspection can catch it.
Hydraulic Steering: Check Fluid, Bleed Air and Fix Stiff or Loose Steering
Check the fluid in your hydraulic steering helm, bleed out the air that makes steering spongy, and track down the usual causes of stiff, loose or noisy steering. Includes notes for boats with mechanical cable steering.

Launch Day and Haul-Out Checklist for Trailer Boats
A step-by-step checklist for getting your boat off the trailer and back on again safely and quickly, from the drain plug and tie-downs to the blower and ramp etiquette. Following it in order prevents the classic mistakes that sink boats and back up the ramp.