How to Inspect and Replace Sacrificial Anodes (Zincs)
Check the anodes on your outboard, sterndrive or inboard running gear, replace them when they are half gone, and choose the right metal for the water you boat in. Fresh anodes are cheap insurance against expensive corrosion damage to your lower unit, drive and prop.
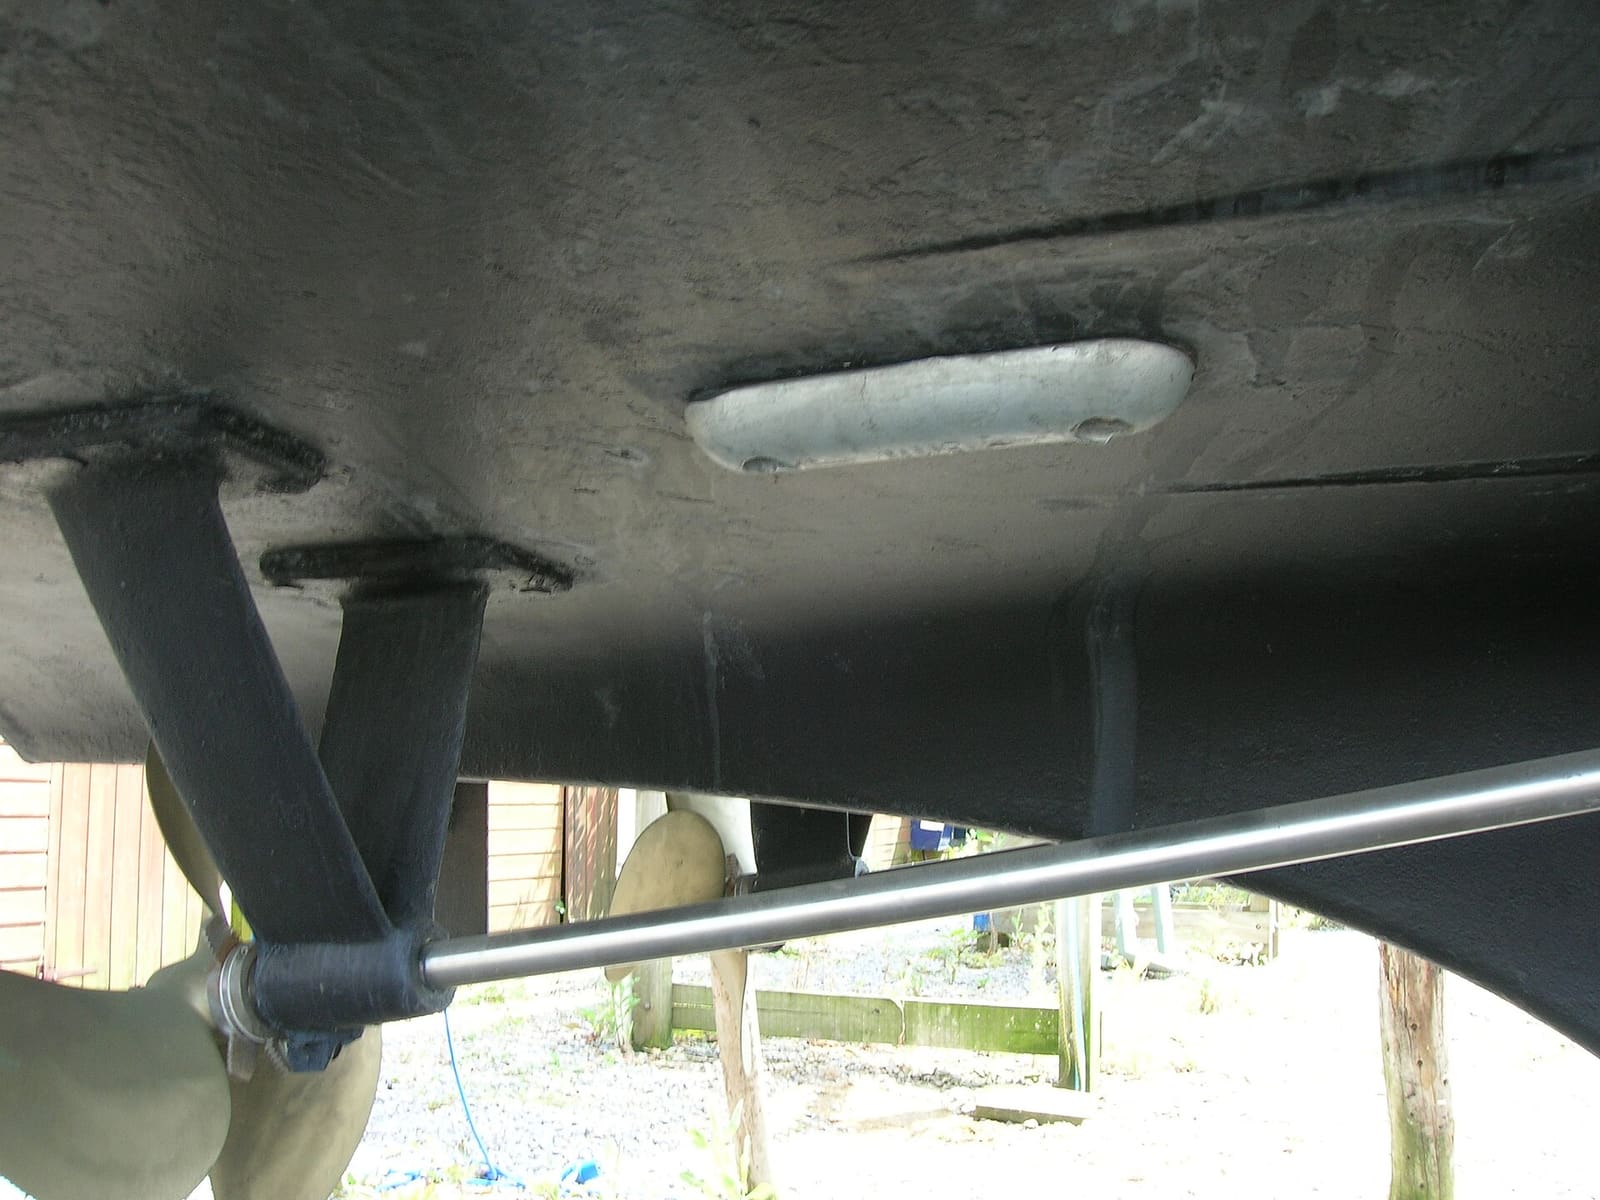
Time
45 min
Shop would charge
$100-300
Applies to
Outboard, Sterndrive (I/O), Gas inboard, Marine diesel
Safety first: If you change anodes with the boat in the water (inboard shaft collars, for example), never dive under a boat with the engine running or the key in, and do not dive near docks with shore power: stray current in the water can cause electric shock drowning. On a trailer or lift, make sure the boat is blocked and cannot shift, and remove the key and kill-switch lanyard so nobody starts the engine while your hands are near the prop.
Owners often ask
- Should I use zinc, aluminum or magnesium anodes?
This guide walks you through it. Still stuck? Ask the AI Mechanic about your engine.
Tools
- Socket set and wrenches (metric and SAE; many anode bolts are metric)
- Screwdrivers and hex keys
- Stiff wire brush or abrasive pad
- Torque wrench (if your manual gives a torque spec)
- Pick or small screwdriver
- Gloves and safety glasses
Parts & supplies
- Replacement anodes made for your engine or drive model, in the right metal for your water
- New mounting screws or bolts if the old ones are corroded
- Thread locker only if your manual calls for it
Before you start
When two different metals sit in water and are connected, the less "noble" one slowly dissolves. Anodes are blocks of a very active metal placed on purpose so they dissolve instead of your aluminum gearcase, drive, prop or shafts. They are often called "zincs" even when they are made of aluminum or magnesium.
When to check: at least every season, and more often in saltwater or if the boat stays in the water. Mercury and BoatUS both say to replace an anode when it is about half gone. In saltwater that can mean every six months or sooner. Warm water speeds corrosion up, so boats in southern waters usually go through anodes faster than boats up north.
Where they are: your owner's manual has a diagram. Common spots:
- Outboards: on the gearcase (trim tab/fin above the prop, side plates), at the bottom of the transom bracket, on trim rams and sometimes inside the cooling passages.
- Sterndrives: on the gimbal ring, the drive's cavitation plate, the trim tab, the transom assembly and the trim cylinders. Some drives also use a prop-shaft ring anode.
- Inboards and sailboats: collar anodes on the prop shaft, discs on the rudder and trim tabs, a hull plate on bonded boats, and sometimes pencil anodes in the engine's heat exchanger.
Choosing the metal (general guidance; confirm with your engine maker):
- Saltwater: zinc or aluminum.
- Brackish water: aluminum.
- Freshwater: magnesium, or aluminum if your engine maker approves it. Zinc tends to coat over and stop working in fresh water.
- Do not leave magnesium on a boat that will sit in saltwater or brackish water. It wears very fast and can over-protect, which can lift paint.
- BoatUS notes that aluminum anodes work well in both salt and fresh water and last longer than zinc for the same weight, which is why many boats now use them.
Do not mix metals on the same engine unless your manual says it is fine. If you move the boat between fresh and salt water, ask your dealer which alloy fits.
Steps
Put the boat on the trailer or lift, chock it, and remove the key and lanyard. Trim the outboard or drive so you can reach the lower unit comfortably.
Use the diagram in your manual and make a list. Owners commonly miss the ones on trim rams, inside the transom bracket, and in the heat exchanger of inboards. Check each one off as you go.
Clean off scum so you can see the real metal. Yamaha suggests a brush and mild soap for the thin film of growth that builds up (especially in fresh water). For a hard, white chalky crust, Mercury says to use sandpaper, not a wire brush; a coated anode cannot do its job. Judge how much is left compared with a new one:
- Less than half gone: reuse it.
- About half gone or more: replace it.
- Looks brand new after a full season: this is a warning, not good news. The anode may be painted, the wrong alloy for your water, or not making electrical contact. Corrosion may be eating something else instead.
- Disappearing much faster than usual: possible stray current from the boat or the marina. Have it checked (see When to call a pro).
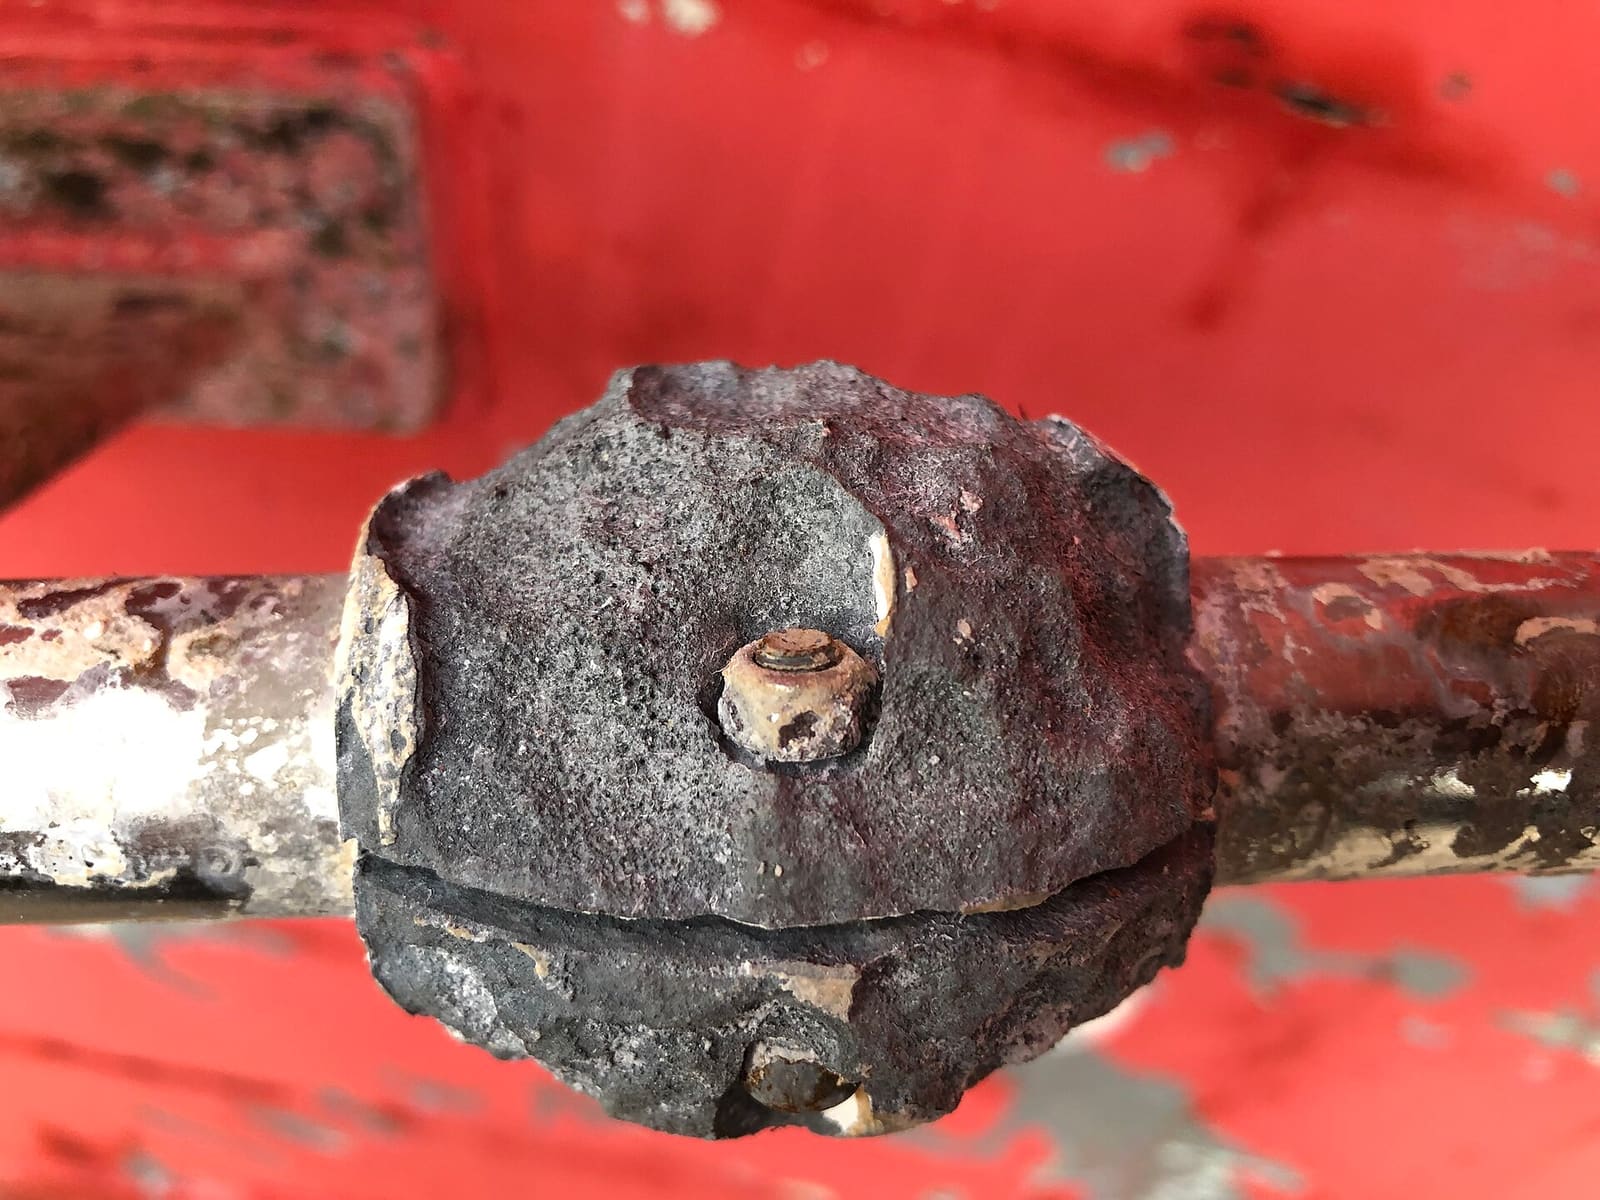
A shaft anode that has been eaten away to its bolts. This one is well past due for replacement. Photo: Springnuts / Wikimedia Commons · CC BY-SA 4.0 White powder, bubbling paint or pitting on the gearcase, drive or prop is a sign of corrosion that the anodes are not stopping. Take photos.
Undo the bolt or screws. Heavily corroded hardware may need penetrating oil and patience. If a bolt snaps in an aluminum housing, stop and get help rather than drilling.
Scrub the spot where the anode sits until it is clean, bare metal. Anodes only work with solid metal-to-metal contact. Clean the threads of the mounting holes too.
Fit the correct anode for your model. Use new hardware if the old screws are eaten up. Tighten firmly; if your manual lists a torque spec, use it. Do not use thread sealant or tape unless the manual says so, because it can block the electrical path.
Never paint, wax, or spray corrosion guard over an anode. A coated anode stops working. If you touch up paint or apply bottom paint, mask the anodes first. Also avoid copper-based antifouling paint on aluminum drives and lower units; use a paint made for outdrives.
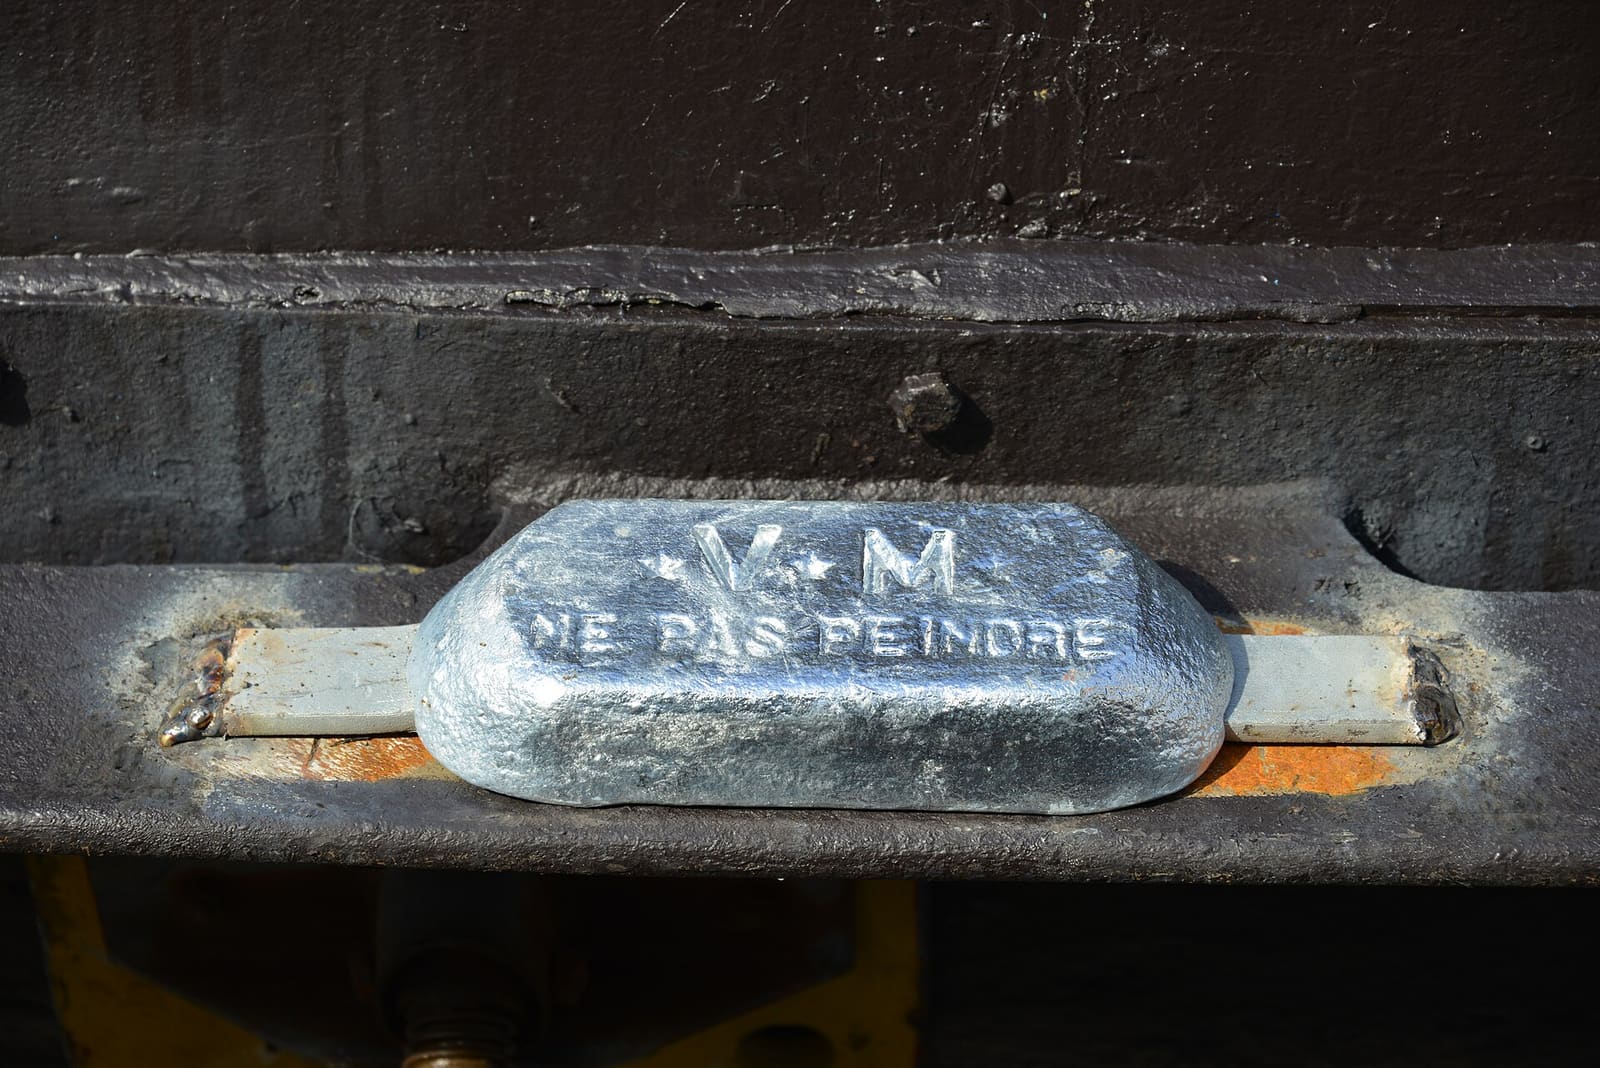
A fresh hull anode left bare while the hull around it is painted. The stamp says “do not paint” in French. Photo: Jean-Pierre Bazard / Wikimedia Commons · CC BY-SA 3.0 Make sure the shaft is clean and bright where the collar clamps on, and that the collar is tight and does not rub the strut or cutless bearing. Check rudder and trim-tab discs the same way.
If your hull has a bonding wire connecting through-hulls and running gear to a hull anode, check that the wire terminals are clean and tight. A broken bond means the through-hulls lose protection.
Outboards and sterndrives have their own small bonding wires: short bare or green wires linking moving parts such as the swivel bracket, tilt tube and trim parts to the engine. Boating Magazine notes they break easily. A broken one leaves that part cut off from the anodes, so replace it.
Note the date, location and metal of each anode in BoatMend. Over a few seasons you will learn how fast your anodes wear, which makes it easy to spot a sudden change.
Common mistakes
- Painting the anodes along with the lower unit, or spraying corrosion guard or wax over them. A coated anode does nothing.
- Feeling good because the anodes still look new. An anode that is not wearing is not protecting.
- Using the wrong metal for your water: magnesium left in saltwater, or zinc on a boat that lives in fresh water.
- Bolting a new anode onto a dirty or painted surface, or adding thread sealant, so there is no electrical contact.
- Checking only the obvious anode on the gearcase and missing the ones on the trim rams, transom bracket or in the heat exchanger.
- Buying the cheapest no-name anodes, which can contain impurities that make them stop working.
When to call a pro
- Anodes are wearing away much faster than normal (possible stray current from the boat or marina)
- You see bubbling paint, pitting or white powder on the gearcase, drive or prop even with good anodes
- Anode bolts are seized or a bolt breaks off in the housing
- Anodes need to be changed underwater and you are not trained to dive safely around a boat
- You are unsure which alloy to use because the boat moves between fresh, brackish and salt water
Tips
- Buy anodes made for your exact engine or drive model. Cheap no-name anodes may have impurities that stop them from working well.
- Keep a spare set aboard if you boat in saltwater.
- Mercury drives with an active (impressed-current) corrosion system depend on a charged battery. Keep the battery healthy if the boat sits in the water.
- A galvanic isolator on the shore power cord helps protect anodes on boats that plug in at the dock.
- Added a stainless steel prop, trim planes or aftermarket steering parts? Mercury warns stainless parts attached to an aluminum drive speed up its corrosion, so have the corrosion protection checked after adding them, and watch the anodes closely that season.
- Boat kept in the water? Leave the outboard or sterndrive trimmed down when you leave it, so the anodes on the drive stay submerged and keep working (Mercury).
- Suzuki notes that its outboards also have anodes inside the engine's cooling water passages. These are easy to forget because you cannot see them; your manual says when to check them.
Official references
We read these to write this guide. Your engine's own manual always wins.
- Mercury Marine – Quick Tip, How to Inspect and Replace Your Engine Anodes
- Mercury Marine – Maintenance Made Easy, Preventing Corrosion
- BoatUS – Boat Corrosion Protection With Anodes
- BoatUS – How Do Sacrificial Anodes Work?
- Suzuki Marine – How To, Inspect and Replace Anodes
- Mercury Marine – Owner FAQs (anodes and corrosion)
- Yamaha Outboards – Maintenance Matters, Corrosion Prevention
- Suzuki Marine – FAQs (zinc anodes)
- Boating Magazine – Top Spring Make-Ready Tips for Your Boat
Safety: BoatMend is for information only and does not replace a certified marine technician. You are responsible for your safety and your boat. Read the full disclaimer.
Last updated 2026-10-23
Related guides
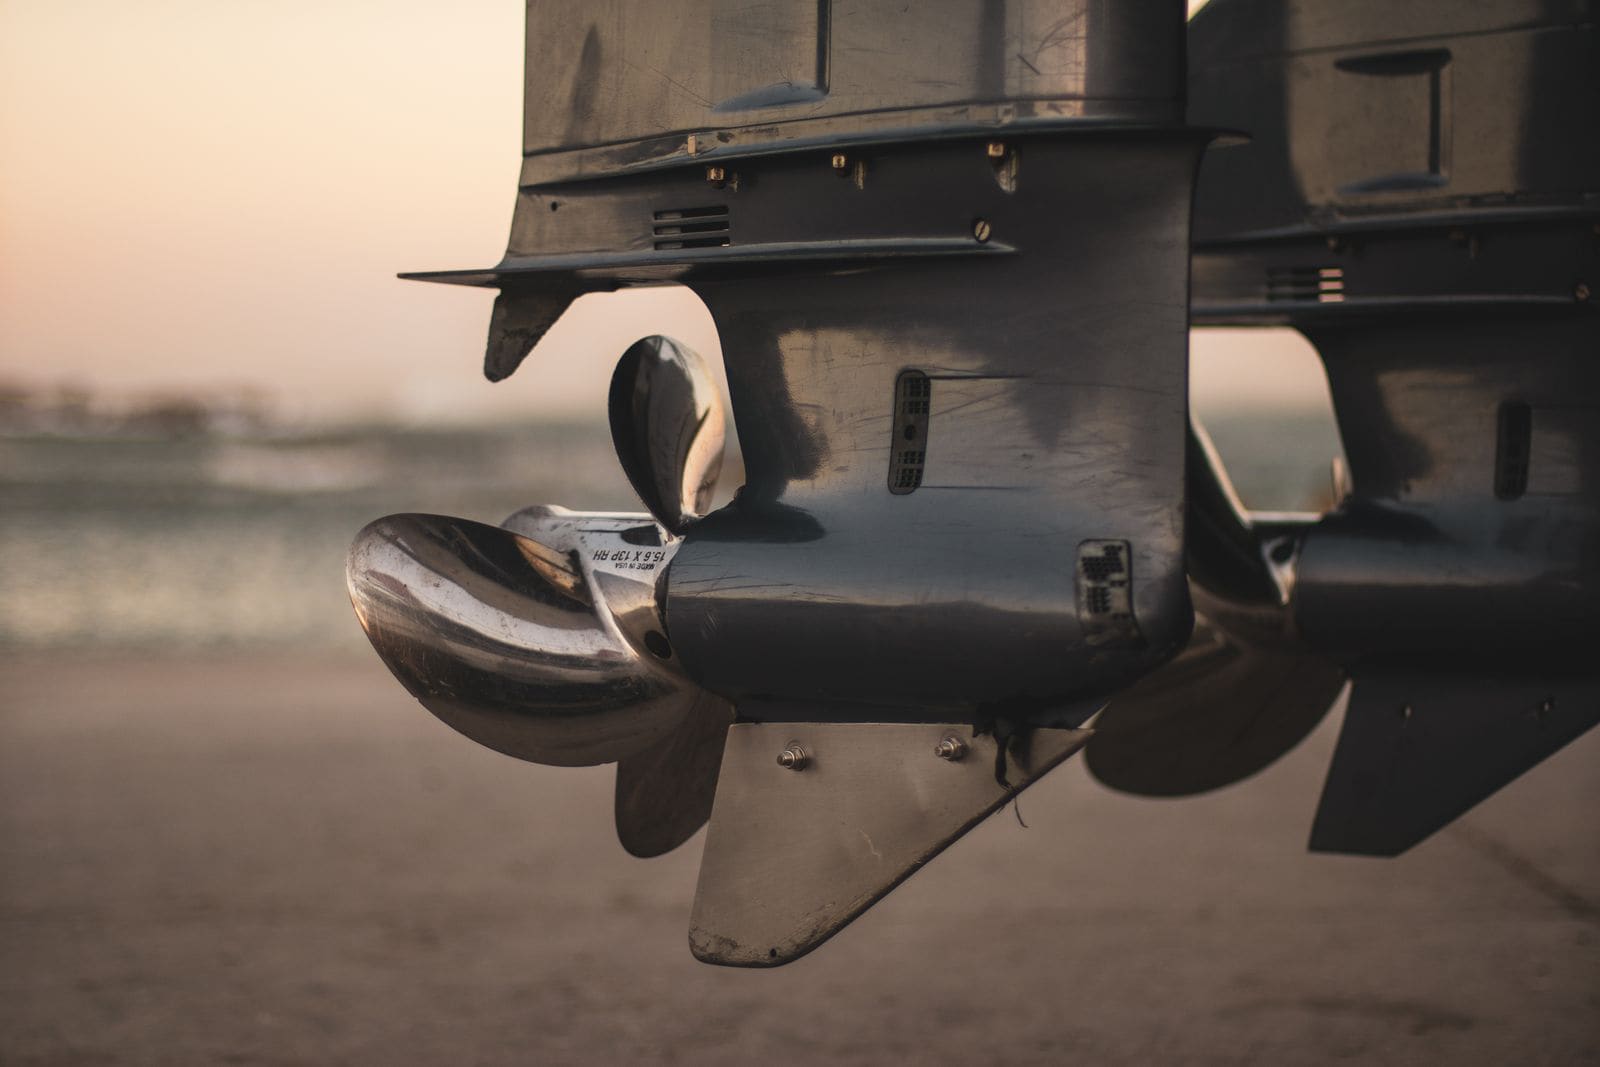
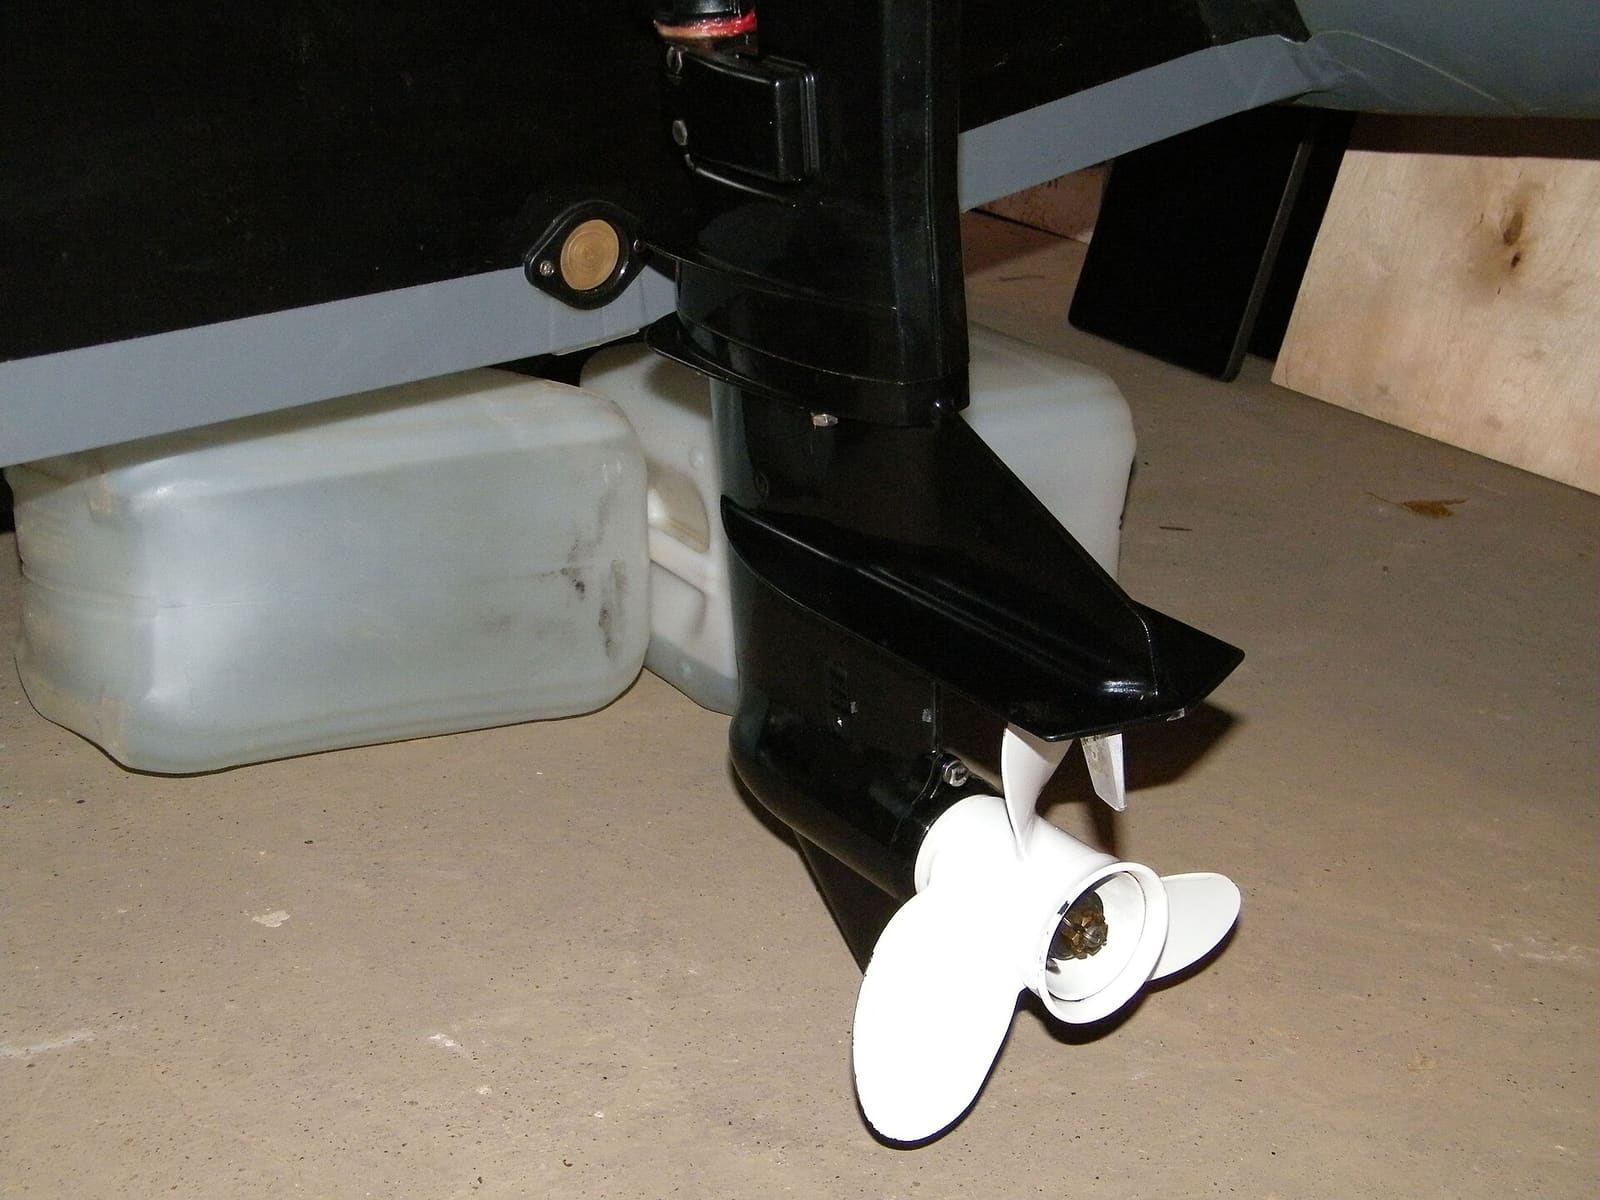
Propeller Care: Inspect, Remove, Replace and Choose the Right Pitch
Check your prop for damage, pull it to clear fishing line and grease the shaft, reinstall it correctly, and learn how pitch affects your engine's wide-open-throttle RPM. The right prop in good shape protects your engine and often makes the boat run better and use less fuel.
How to Change Lower Unit (Gearcase) and Sterndrive Oil
Drain and refill the gear oil in your outboard lower unit or sterndrive, and learn to spot water intrusion before it destroys the gears. It is a 30-minute job that protects a gearcase costing thousands to replace.
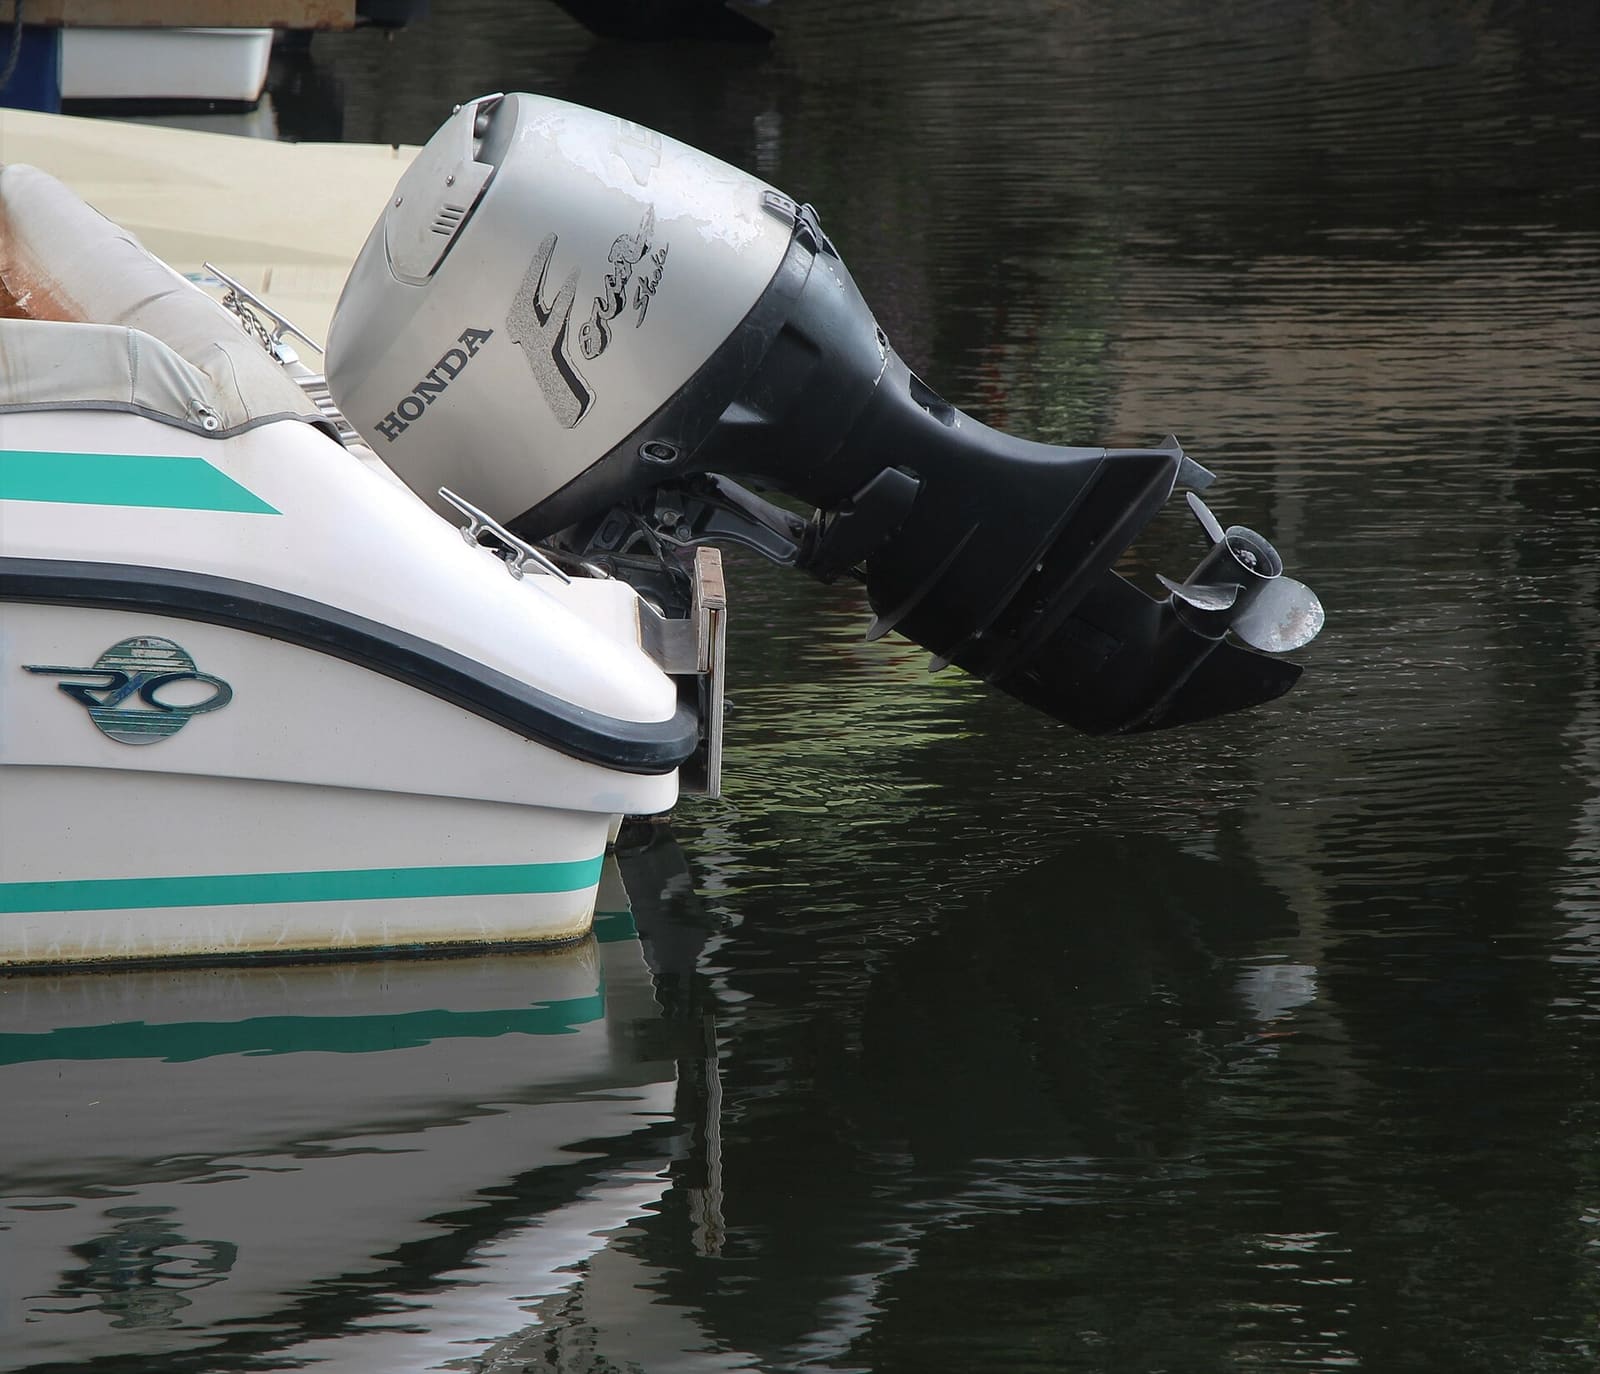
How to Winterize an Outboard Engine
Protect your outboard from freeze damage, stale fuel and internal corrosion over the off-season. Most owners can do it in an afternoon with basic tools, compared with a shop bill that often runs several hundred dollars.
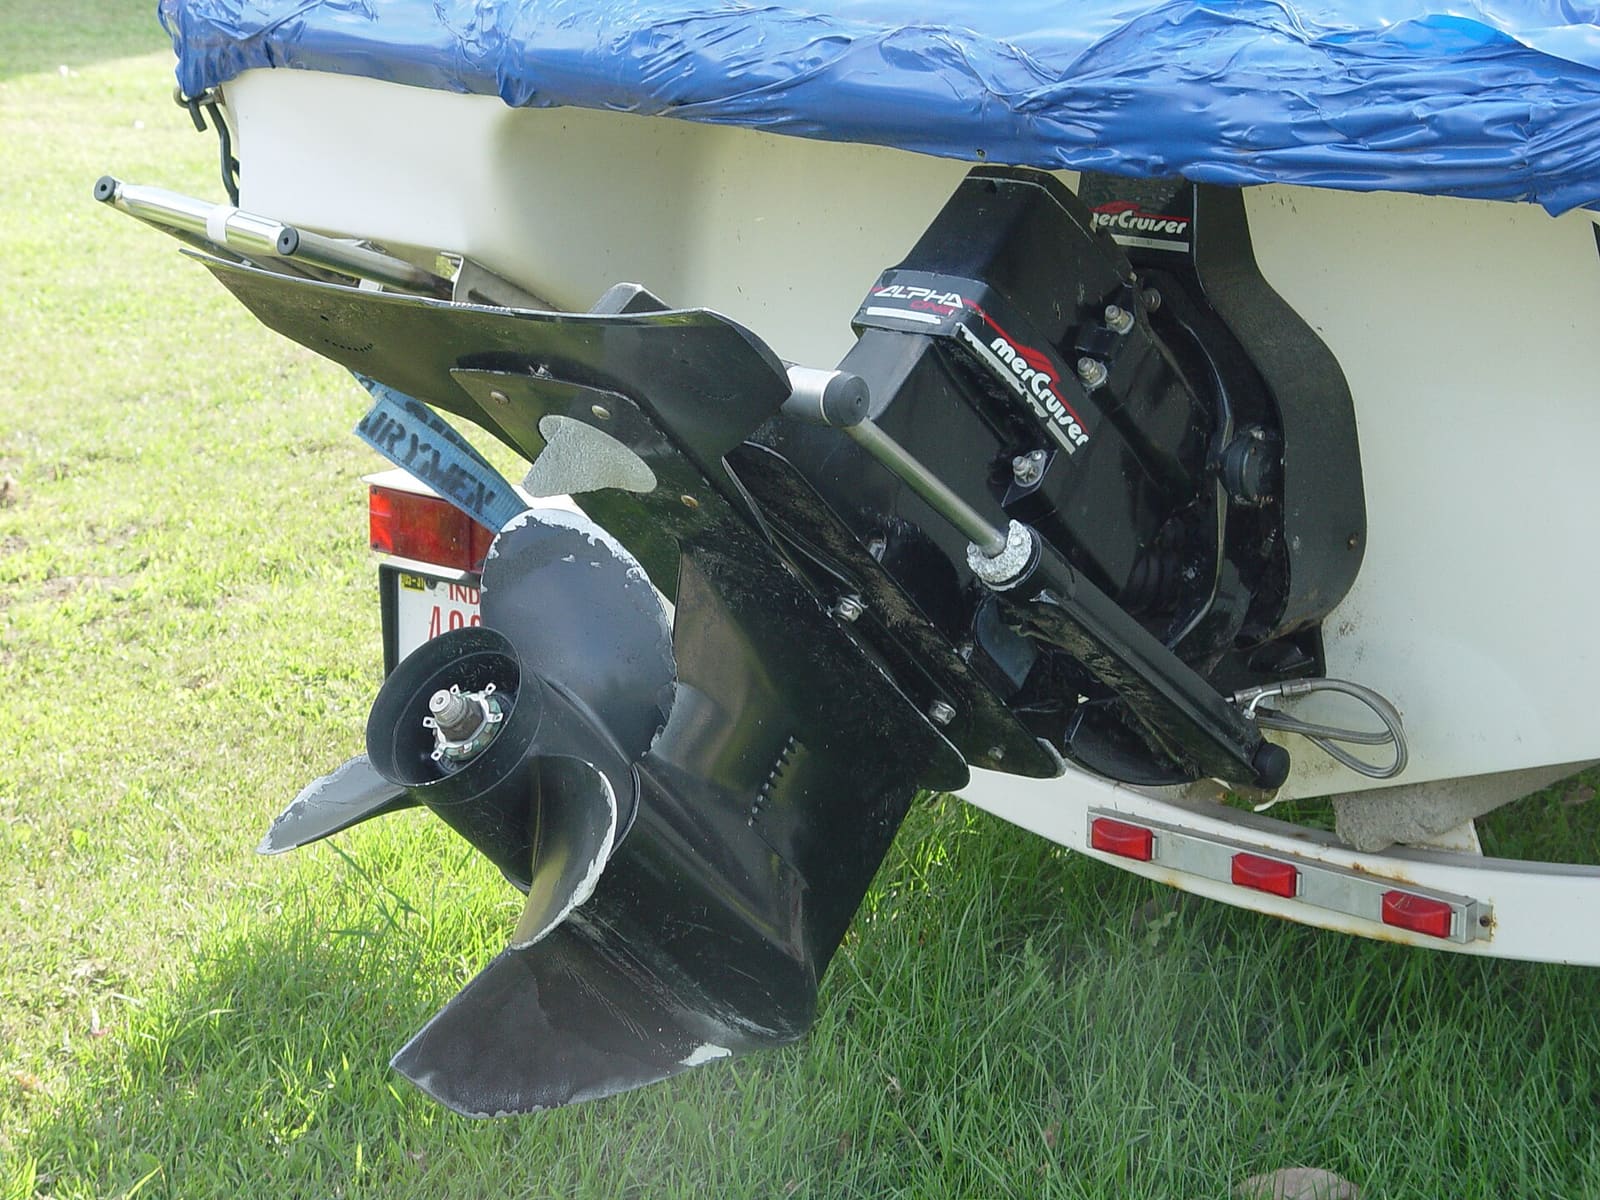
How to Winterize a Sterndrive (MerCruiser, Volvo Penta and Similar)
Get the water out of your sterndrive engine, protect it with antifreeze, and service the drive before storage. A cracked block or manifold from one missed drain plug can cost thousands, and doing it yourself saves a shop bill of several hundred dollars.
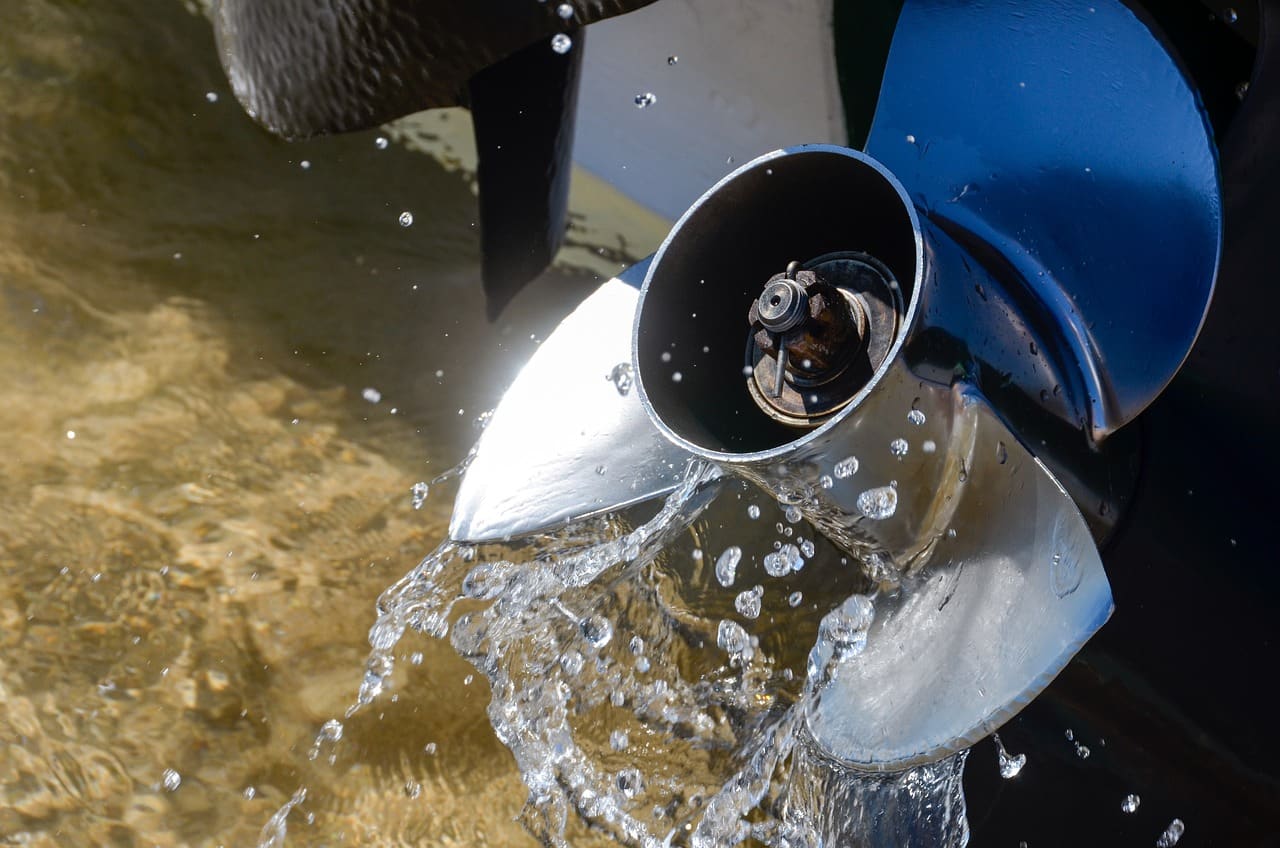
How to Flush Your Engine With Fresh Water
Rinse salt, silt and sand out of your outboard or sterndrive cooling system using the built-in flush port, flush muffs or a flush bag. Flushing after every saltwater trip is one of the easiest ways to prevent corrosion and overheating.