How to Change Lower Unit (Gearcase) and Sterndrive Oil
Drain and refill the gear oil in your outboard lower unit or sterndrive, and learn to spot water intrusion before it destroys the gears. It is a 30-minute job that protects a gearcase costing thousands to replace.
Time
45 min
Shop would charge
$80-200
Applies to
Outboard, Sterndrive (I/O)
Safety first: Make sure the engine is off and the key or kill switch lanyard is removed so nobody can start it while you work near the prop. Support the engine or drive securely; do not work under a tilted engine held only by the trim system.
Owners often ask
- My lower unit oil came out milky. How bad is that?
- Which plug do I open first when changing gear oil, and how do I refill it?
This guide walks you through it. Still stuck? Ask the AI Mechanic about your engine.
Tools
- Large flat screwdriver or the correct socket for the drain and vent screws
- Gear lube pump (hand pump that screws onto the bottle) or squeeze tube with fitting
- Clean drain pan
- Clear glass jar (for checking for water)
- Pick for removing stuck gaskets
- Prop wrench or socket, plus a block of wood (if the prop must come off)
- Rags, gloves and safety glasses
Parts & supplies
- Marine gear lube of the type and grade in your manual (enough for your capacity plus a little extra)
- New gaskets or crush washers for the drain and vent screws
Before you start
How often: a common interval is every 100 hours or once a season, plus a first change after the break-in period on new engines (Yamaha lists 20 hours). This is typical; confirm in your owner's manual. If you store the boat for winter, do it in the fall, because water in the gearcase can freeze and crack the housing. Never leave the gearcase empty over winter.
Get the right lube: use the marine gear lube your manual calls for. Some high-horsepower engines require a special heavy-duty lube, and automotive or tractor gear oil is not a substitute. Check the capacity in your manual so you buy enough.
Outboard vs sterndrive: both use a bottom drain/fill screw and a top vent screw. Some sterndrives (for example, MerCruiser Bravo models) also have a gear lube reservoir in the engine compartment that you fill to a mark after refilling the drive.
Do not check right after running: fresh-run gear lube is aerated and can look creamy even when there is no water. For a true check, let the engine sit for a few hours first.
Steps
Lower the outboard or sterndrive so it is vertical, with the drain screw at its lowest point. Place a clean pan underneath. A clean pan matters: you want to inspect what comes out.
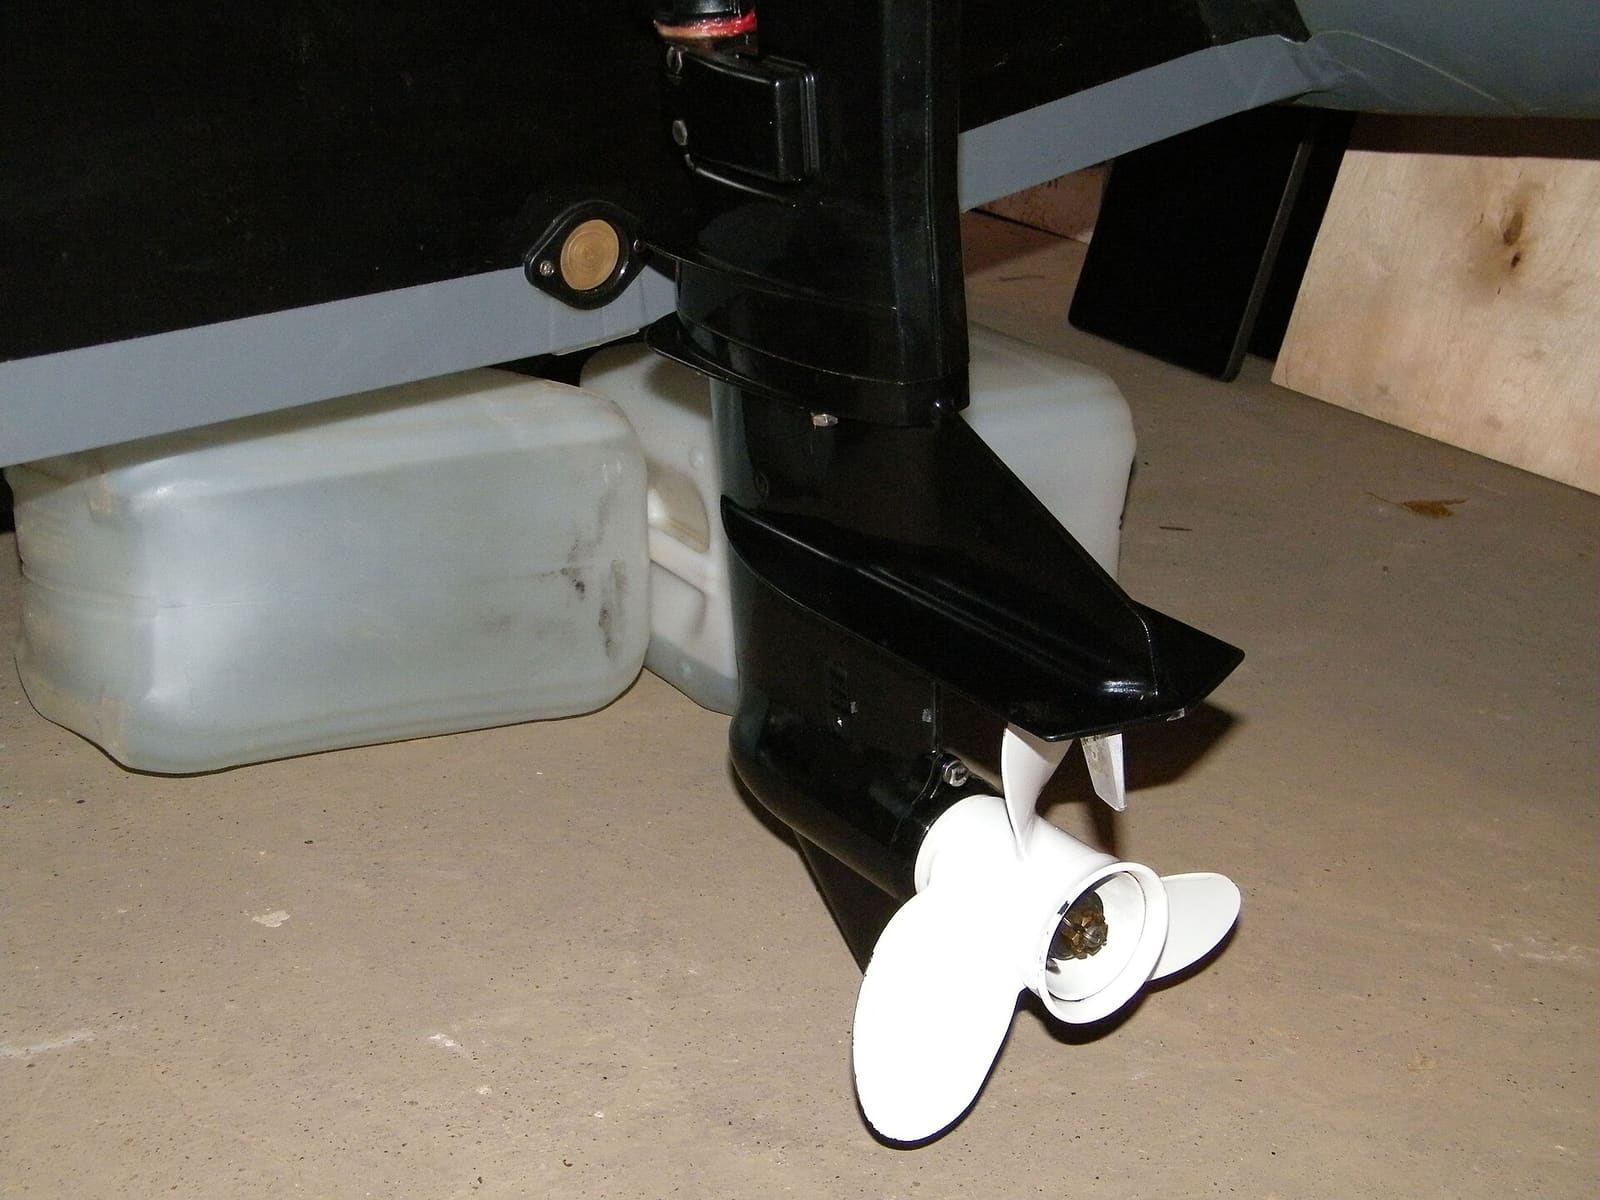
The drain/fill screw is near the bottom of the gearcase, often just above the skeg. The vent screw is higher up, usually just above the anti-ventilation plate. Some gearcases have more than one vent screw, and on some models you must remove the prop to reach the drain. Check your manual.
Do not confuse these with the screws that hold the gearcase together or the trim tab bolt.
Loosen the bottom drain screw first and pull it out. Then remove the top vent screw; air coming in lets the oil flow freely. Let it drain completely.
Most drain screws have a magnet. A fine gray paste on it is normal wear. Metal chips or slivers mean internal damage and a dealer inspection.
Look at the color and feel:
- Amber or dark, clear: normal
- Milky, creamy or gray: water is getting in, usually past the prop shaft or drive shaft seals
- Water drips out first, before the oil: definite water intrusion
- Burnt smell or very dark: overheated lube; something may be wearing
Not sure? Pour some into a glass jar and let it sit for a few hours. Water settles to the bottom as a separate layer.
Two false alarms, according to Mercury: lube from a gearcase that just ran can look yellowish from churned-in air, and lube mixed with assembly grease (common after a dealer replaced seals or rebuilt the gearcase) can look creamy white without any water in it. The jar test tells you which it is.
Water in the gearcase will rust gears and bearings and can freeze and crack the case. Refill with fresh lube so the parts are protected, but have a dealer pressure-test the gearcase and replace the leaking seals soon. Fishing line wrapped around the prop shaft is a common cause.
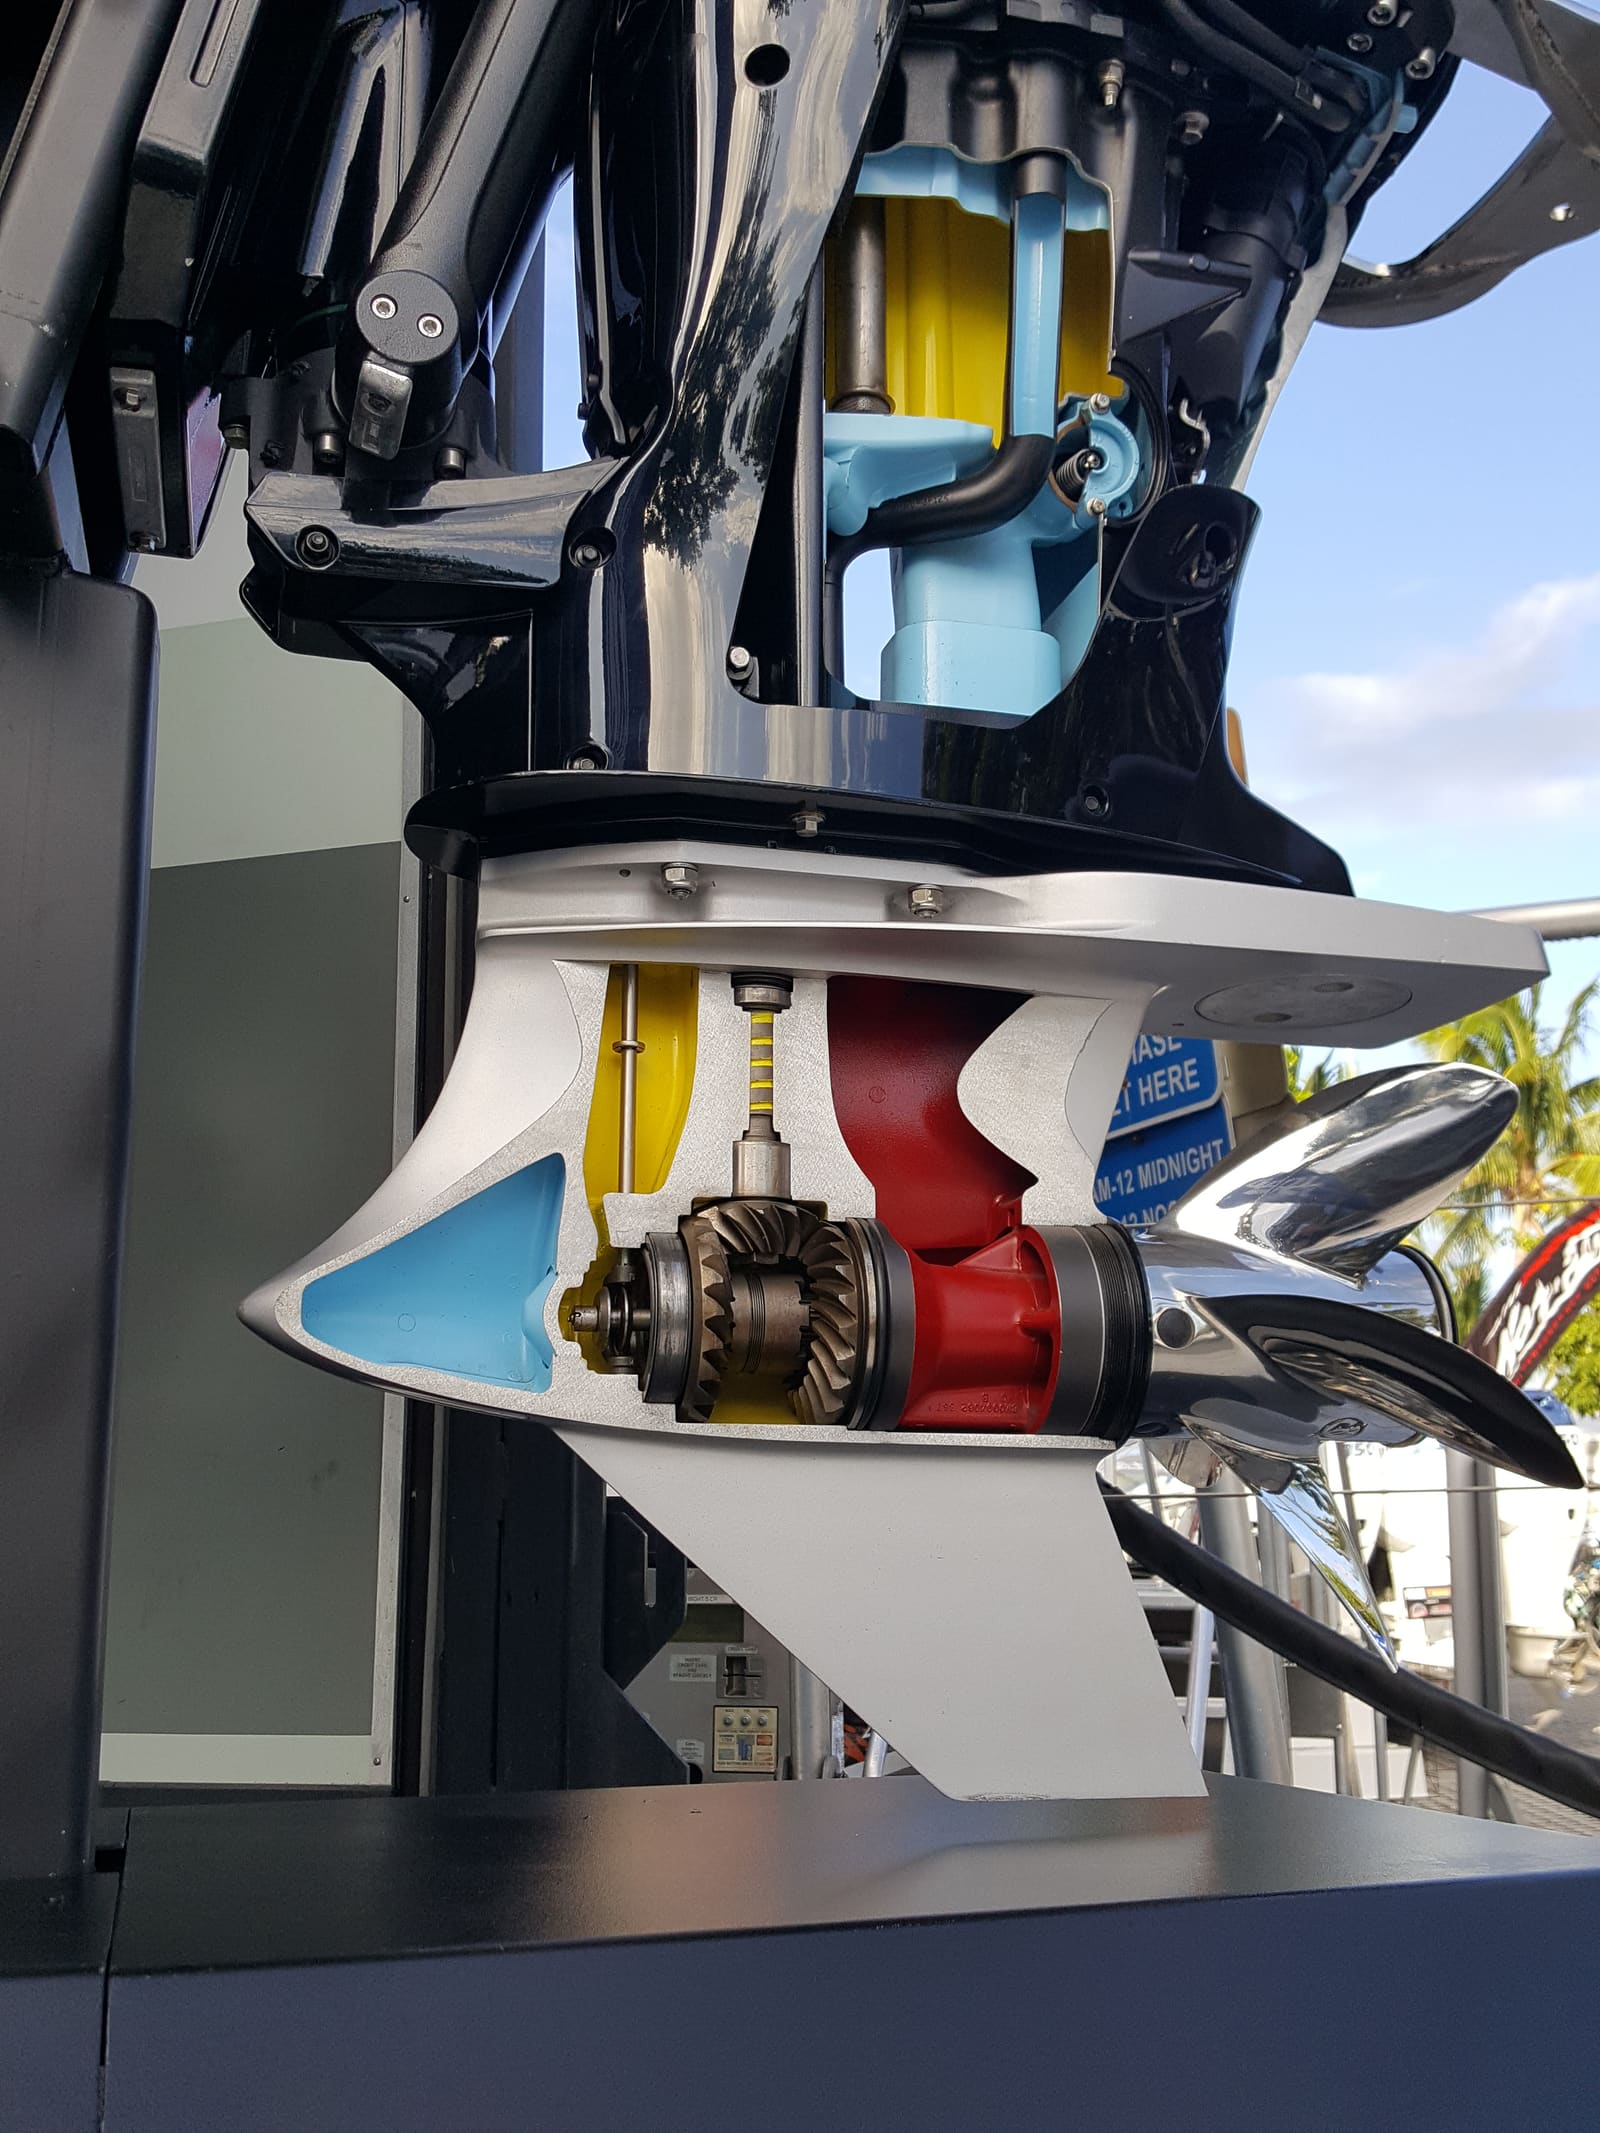
Inside the gearcase: these gears and bearings live in gear lube. Water that gets past the seals rusts them. Photo: OutboardListings / Wikimedia Commons · CC BY-SA 4.0 If you removed the prop, look behind the thrust washer for line wrapped near the seal. Line often hides in the old grease, so wipe the shaft and work it out carefully with a pick. If you pulled line out of the seal area, or it looks melted, treat it as a warning sign: look extra hard at the old lube for water. Grease the shaft before reinstalling the prop to the torque in your manual.
Remove the old gaskets or crush washers from both screws (use a pick if they stick to the gearcase). Install new ones. Reused gaskets are a common source of water leaks.
Thread the pump fitting into the bottom drain hole. Pump lube in until it flows out of the top vent hole with no air bubbles. Always fill from the bottom up; filling from the top traps air and leaves the case low.
Wait about 5 minutes for trapped air to rise, then pump in a little more until lube flows from the vent again.
With the pump still attached, install the vent screw first. This creates a vacuum that keeps lube from rushing out the bottom. Then remove the pump and quickly install the drain screw. Tighten both to the spec in your manual; they are small and strip easily.
On sterndrives with a gear lube monitor bottle in the engine compartment, fill it to the line marked on the bottle.
Wipe the gearcase clean so any new leak will be obvious. After your next run, check for drips around the screws and prop shaft. Log the date and hours. Recycle the old lube with your used motor oil.
Common mistakes
- Pulling the pump out of the bottom hole before the vent screw is back in. The lube rushes out and you lose your fill.
- Topping up through the vent hole instead of pumping from the bottom. Air gets trapped and the gearcase ends up low.
- Reusing the old drain and vent gaskets. They are a main barrier against water getting in.
- Seeing milky lube, changing it, and going back out without a pressure test. The leak is still there, and the new lube will turn milky too.
- Skipping the prop removal, so fishing line keeps cutting into the prop shaft seal.
- Checking the lube right after a run and mistaking normal foam for water.
- Removing the wrong screw, such as the trim tab bolt or a gearcase bolt, instead of the drain or vent screw.
When to call a pro
- Milky lube, water, or metal chips in the old oil
- Lube level drops between changes or oil leaks around the prop shaft
- Drain or vent screw threads are stripped
- The drive or gearcase makes grinding or clunking noises when shifting
Tips
- Keep a spare set of drain and vent gaskets in your boat kit.
- If you fish a lot or run through weedy water, pull the prop to look for fishing line a few times a season, not just at oil change time.
- Take a photo of the old lube in the jar for your maintenance log.
- Buy a little more lube than your manual's capacity. Running out halfway through with an open gearcase is no fun.
- If the vent screw is seized, do not force it with a bigger tool; penetrating oil and patience save the threads.
- Mid-season spot check: Yamaha suggests cracking the drain screw (and the vent) just enough to let a little lube run into a clean cup, then looking at its color and smell. If you do this, use new sealing washers when you snug the screws back down, and top the gearcase up if much came out.
- Not sure whether your sterndrive is checked at a dipstick, a vent plug or a reservoir bottle? It varies by drive model and year. The owner's manual for your drive (found by its serial number) shows the right check point.
Official references
We read these to write this guide. Your engine's own manual always wins.
- Yamaha Outboards – Maintenance Matters, Lower Unit
- Mercury Marine – Service and Support FAQs (gear lube inspection)
- Mercury Marine – How to Winterize Your Outboard (gear lube section)
- BoatUS – How to Winterize Boat Engines and Drives (sterndrive section)
- Honda Marine – Maintenance and DIY guides (gear case oil change)
- Mercury Marine – Maintenance Made Easy, Propeller Maintenance (fishing line and gear lube check)
- Mercury Marine – Quick Tip, Inspecting Your Prop and Prop Shaft
- Mercury Marine – Owner FAQs (all categories)
- Mercury Marine – Maintenance Made Easy, More Than Just Oil
Safety: BoatMend is for information only and does not replace a certified marine technician. You are responsible for your safety and your boat. Read the full disclaimer.
Last updated 2026-10-25
Related guides
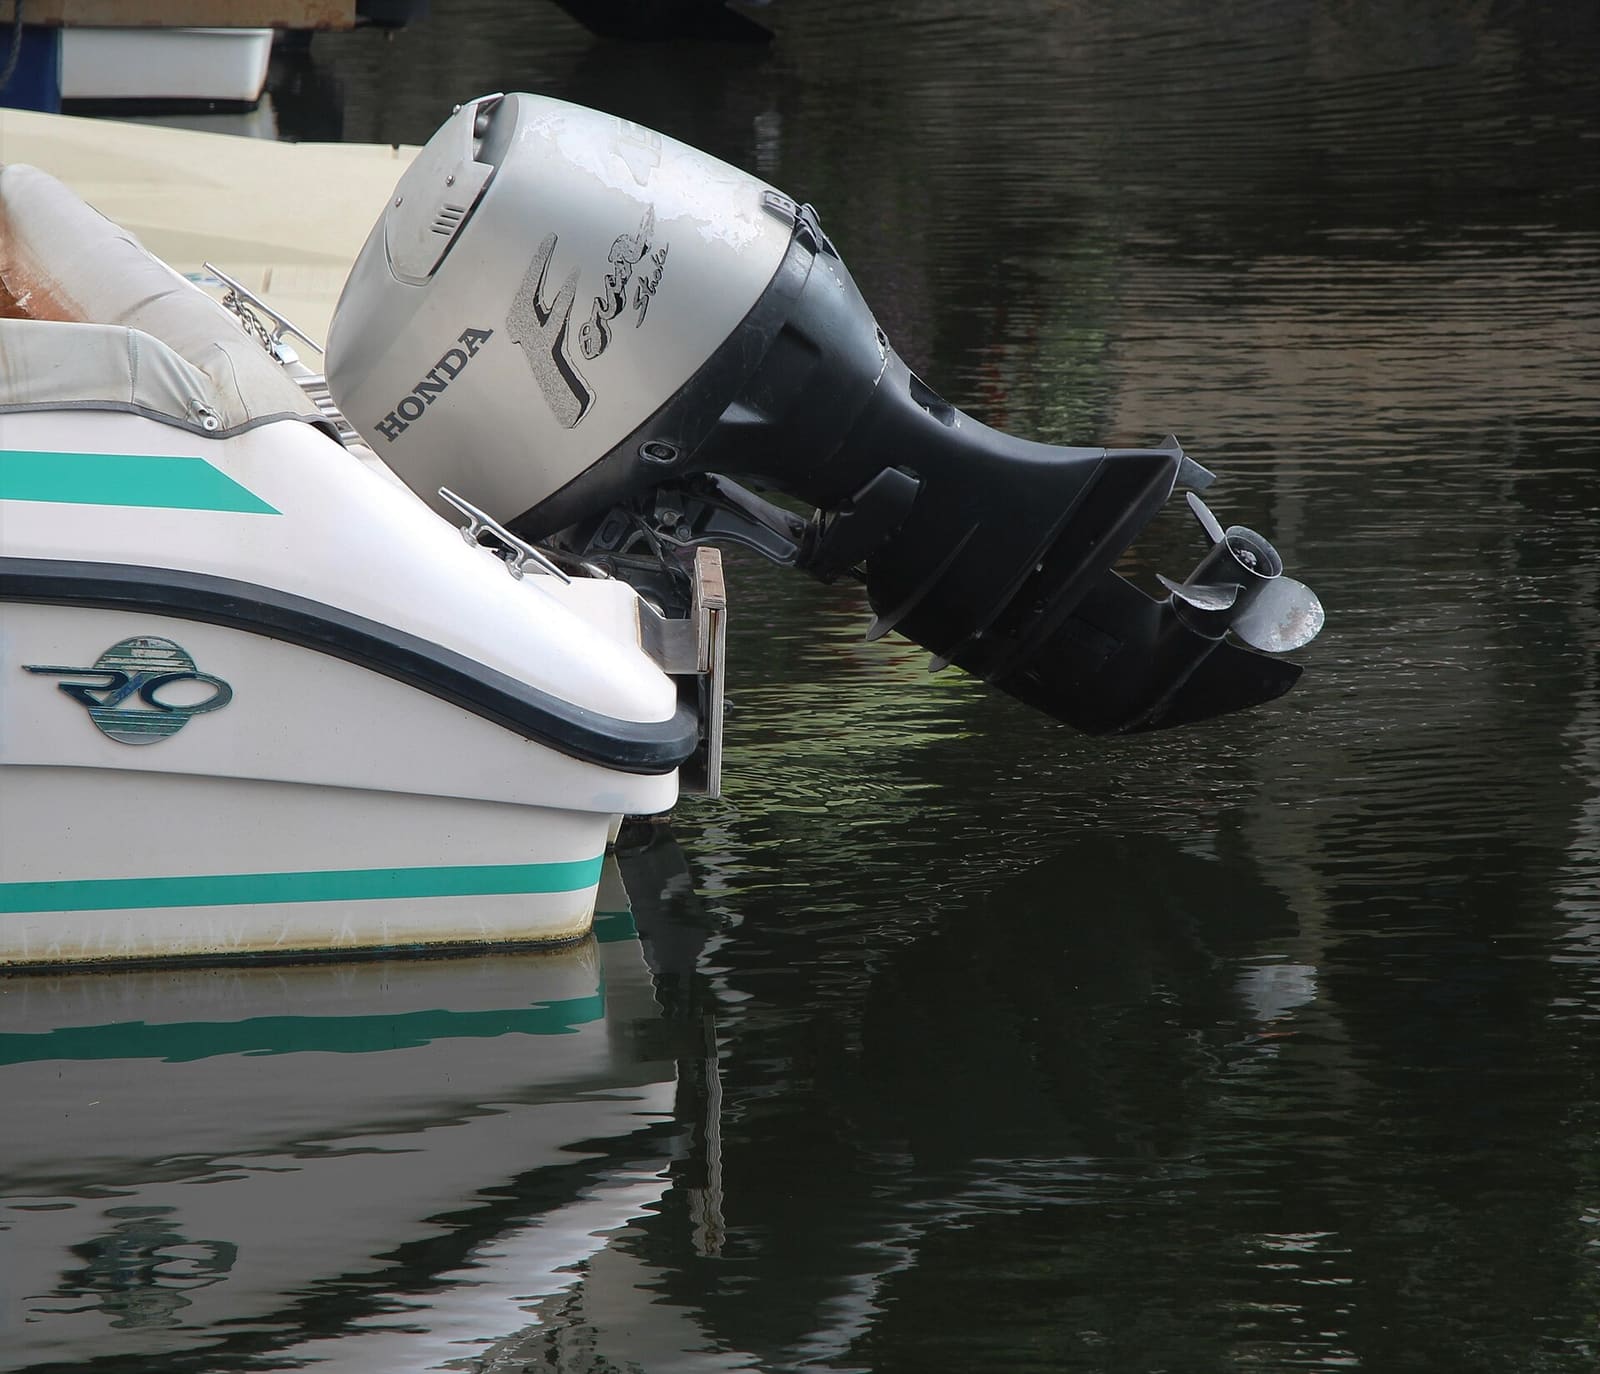
How to Winterize an Outboard Engine
Protect your outboard from freeze damage, stale fuel and internal corrosion over the off-season. Most owners can do it in an afternoon with basic tools, compared with a shop bill that often runs several hundred dollars.
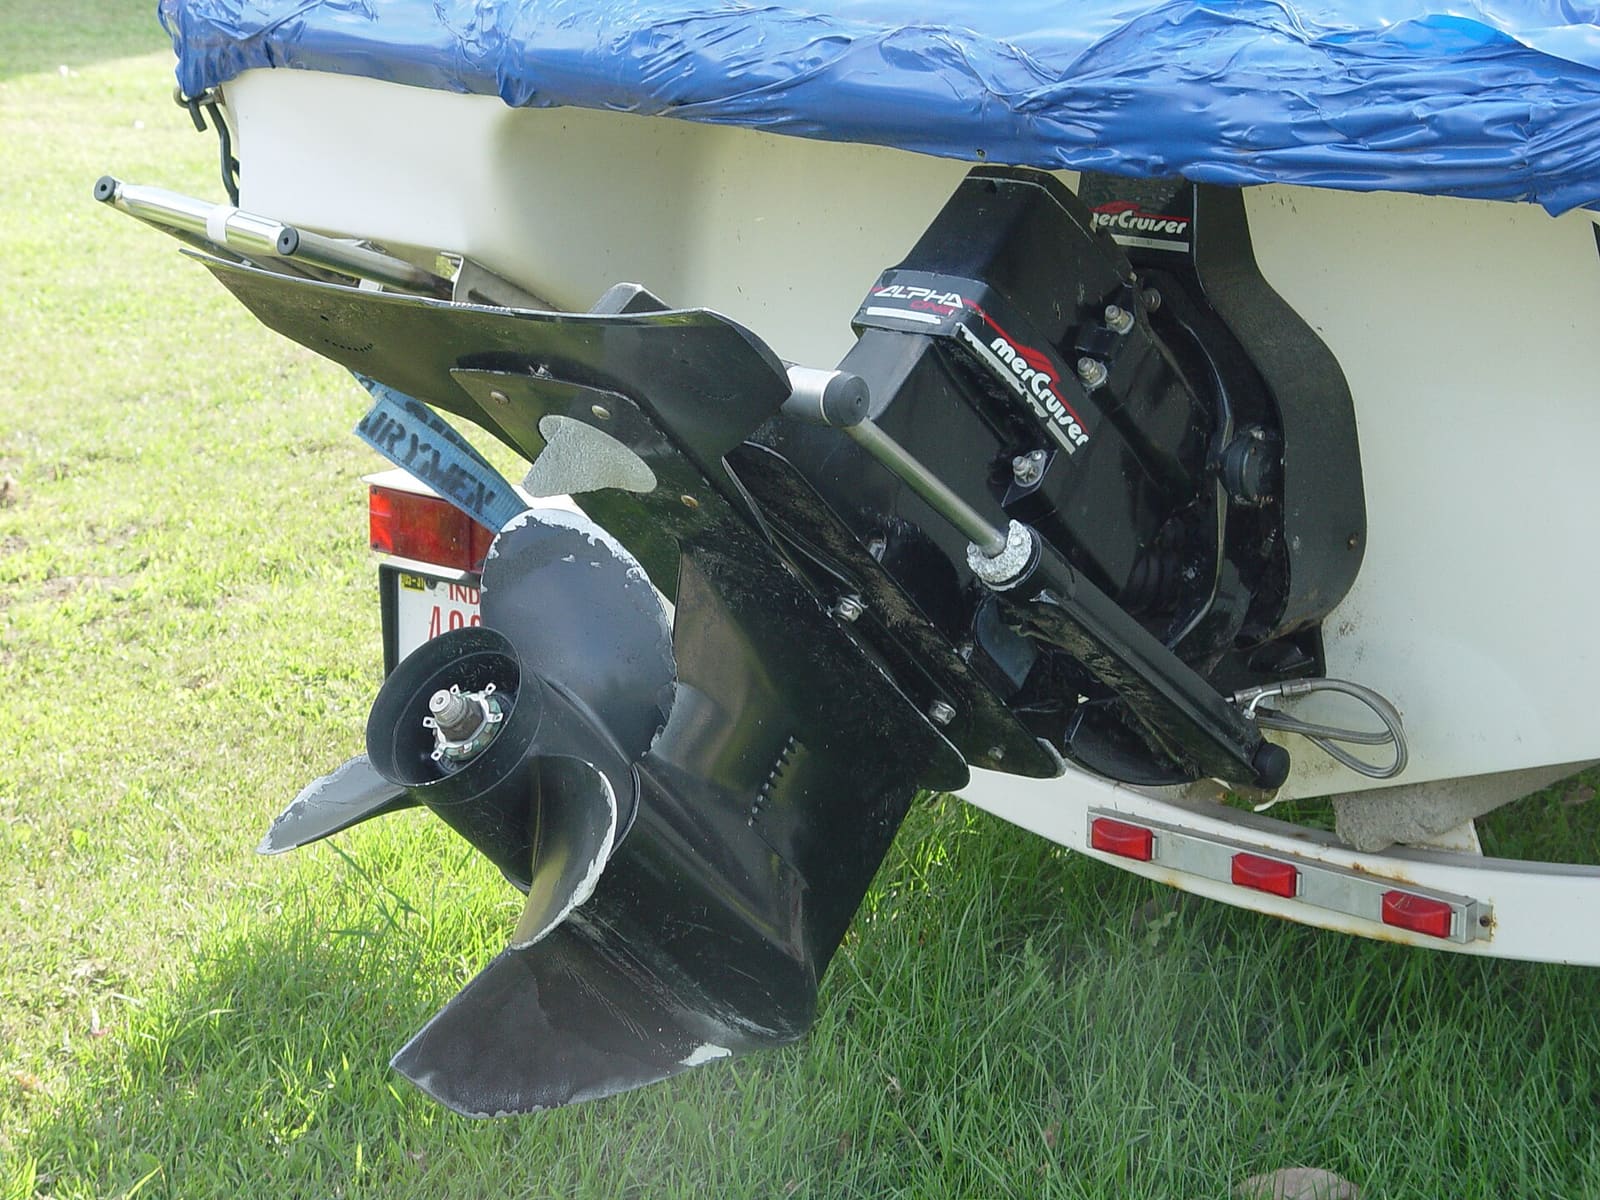
How to Winterize a Sterndrive (MerCruiser, Volvo Penta and Similar)
Get the water out of your sterndrive engine, protect it with antifreeze, and service the drive before storage. A cracked block or manifold from one missed drain plug can cost thousands, and doing it yourself saves a shop bill of several hundred dollars.
How to Replace the Water Pump Impeller
Replace the rubber impeller that pumps cooling water through your engine, the part most often behind overheating. On many outboards it is a two-hour driveway job that saves a shop bill of several hundred dollars and prevents far costlier heat damage.
Spring Commissioning - Getting Your Boat Ready for the Season
Wake your boat up after storage with a step-by-step check of the battery, fuel system, engine, drive and safety gear. Catching a cracked hose or dead battery in the driveway beats a tow on opening weekend, and saves a typical shop commissioning fee.