Recreational Radar Care: Radome and Open-Array Cleaning, Mounts, Cables and Alignment
Keep your boat's radar seeing small targets by cleaning the radome or open array the right way, checking the mount, cable and connectors for corrosion, and confirming that targets line up with the bow. Includes the safety rules for working near a radar that might transmit, plus winter care.
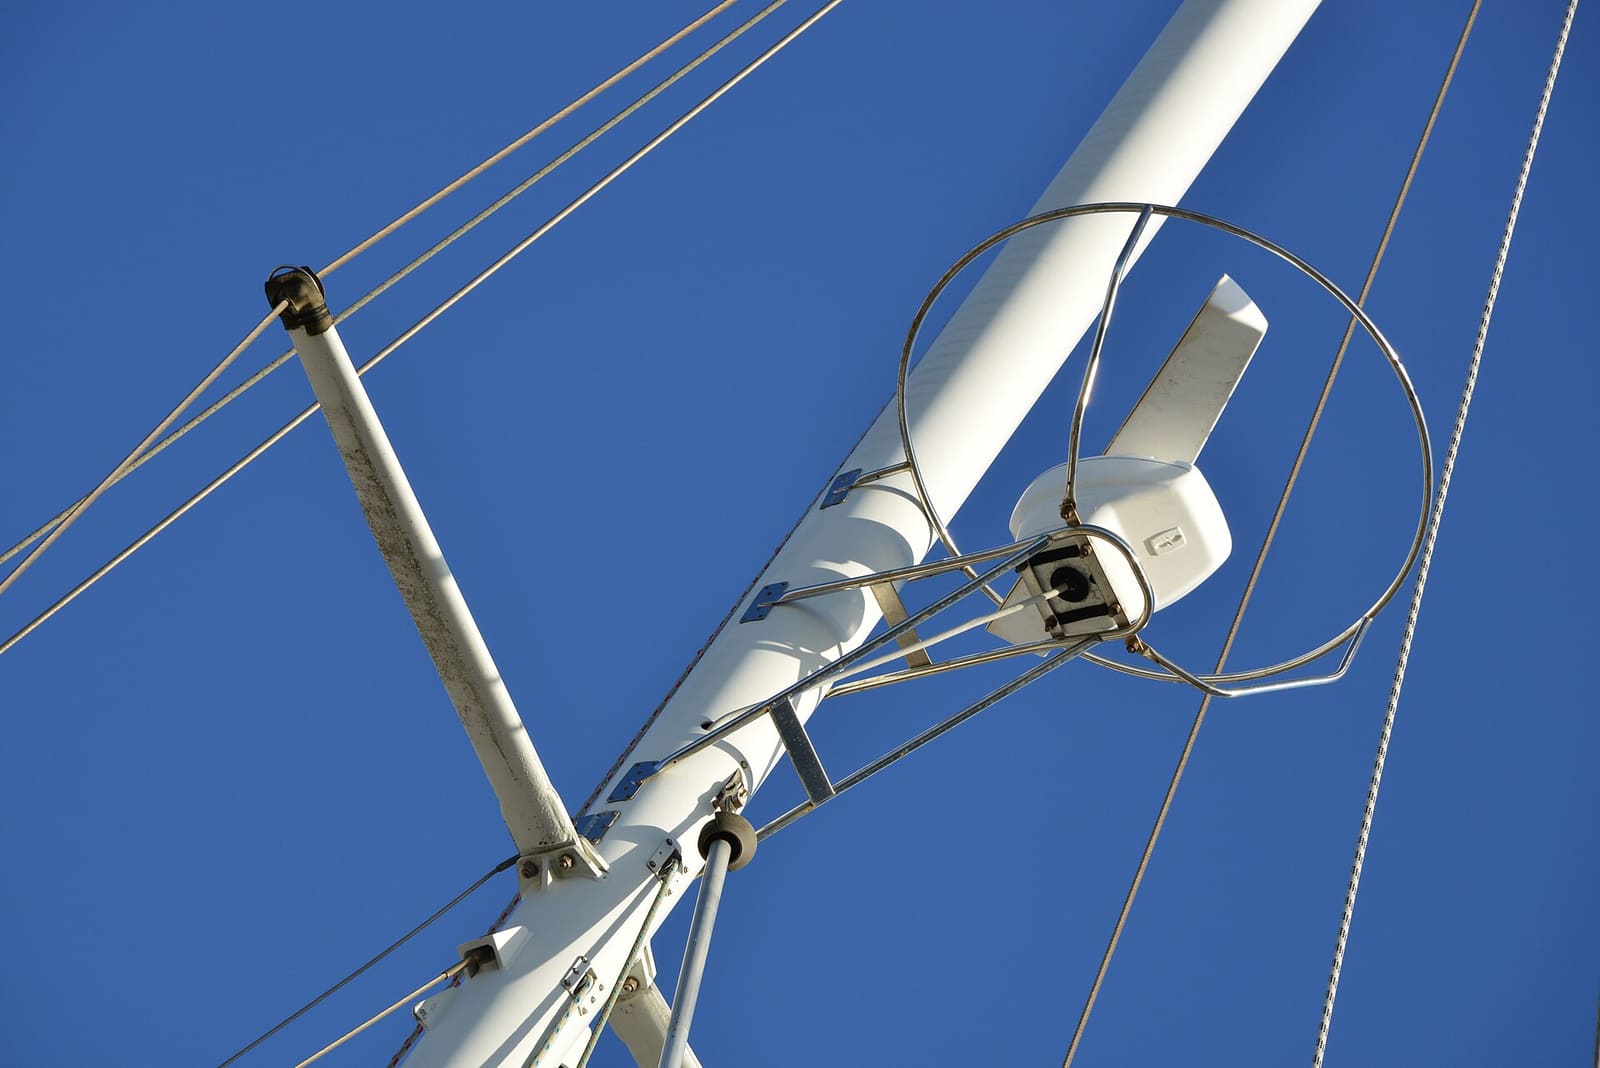
Time
1 h 30 min
Shop would charge
$150-500
Applies to
All engines · Cabin cruiser, Yacht, Sailboat, Center console
Safety first: A transmitting radar sends out microwave energy that can harm your eyes. Raymarine's own safety notice says to keep people clear of the scanner whenever it is powered and not to look at it from close range. Before you touch the antenna, switch the radar off at the display and at its breaker, then tape a "do not switch on" note over the breaker. An open array can also start spinning without warning and hit you. If the radar sits on a mast, arch or hardtop, use proper fall protection or have a rigger or installer do the work aloft. Anyone with a pacemaker should read the maker's warnings before working near a radar.
Owners often ask
- My radar picture shows buoys a few degrees off to one side of where they really are. How do I fix that?
- Is it safe to stand on the flybridge or hardtop while the radar is running?
This guide walks you through it. Still stuck? Ask the AI Mechanic about your engine.
Tools
- Soft sponge or microfiber cloths
- Bucket with mild boat soap and fresh water
- Soft brush or low-pressure air (for open-array slots and cobwebs)
- Flashlight and phone camera
- Screwdriver and wrenches that fit the mount bolts
- Digital multimeter (for checking supply voltage)
- Masking tape and a marker (for a "do not switch on" tag)
Parts & supplies
- Dielectric grease or connector protectant, only if your radar maker allows it
- Self-amalgamating (self-fusing) tape for exposed cable joints
- UV-resistant cable ties and cable clamps
- Replacement stainless mount bolts and washers if corroded
Before you start
Know which kind you have.
- Radome: a closed, round or dome-shaped housing, often 18 to 24 inches across, with the spinning antenna inside. Common on sailboats, center consoles and smaller cruisers because nothing sticks out to catch lines or sails.
- Open array: a long bar (often 3 to 6 feet) that rotates on top of a pedestal. More range and sharper picture, but heavier and needs clear space to turn. Common on larger cruisers, sportfish boats and yachts.
When to do it. Clean and look over the radar at spring commissioning, after a long trip offshore, and before winter. Do the alignment check after any new install, after the antenna or display has been removed, or whenever targets look like they sit off to one side of where they really are.
What you can and cannot do. Owners can clean the outside, check the mount and cables, set the bearing alignment and adjust everyday picture settings. Radar makers say there are no user-serviceable parts inside the radome or pedestal, and some older magnetron radars carry high voltage inside. Never open the housing.
Have your manual handy. Menu names and recommended cleaners differ by brand (Garmin, Raymarine, Furuno, Simrad/B&G and others). Most makers publish manuals on their websites. Where this guide and your manual disagree, follow the manual.
Steps
Put the radar in standby, then turn it off at the display. Switch off the radar's breaker or fuse at the panel and put a piece of tape with "radar work, do not switch on" over it. On boats with several helm stations, make sure no other display can wake the radar. Only then go near the antenna.
Before climbing up, look at the radar with a phone camera on zoom from the deck or dock. Note anything unusual:
- Cracks, chips or crazing in the radome shell or open-array cover
- Bird droppings, soot, salt crust or spider webs
- A tilted or loose mount, missing bolts, or rust streaks running down from bolt heads
- A cable that hangs loose, rubs on rigging or has cracked insulation
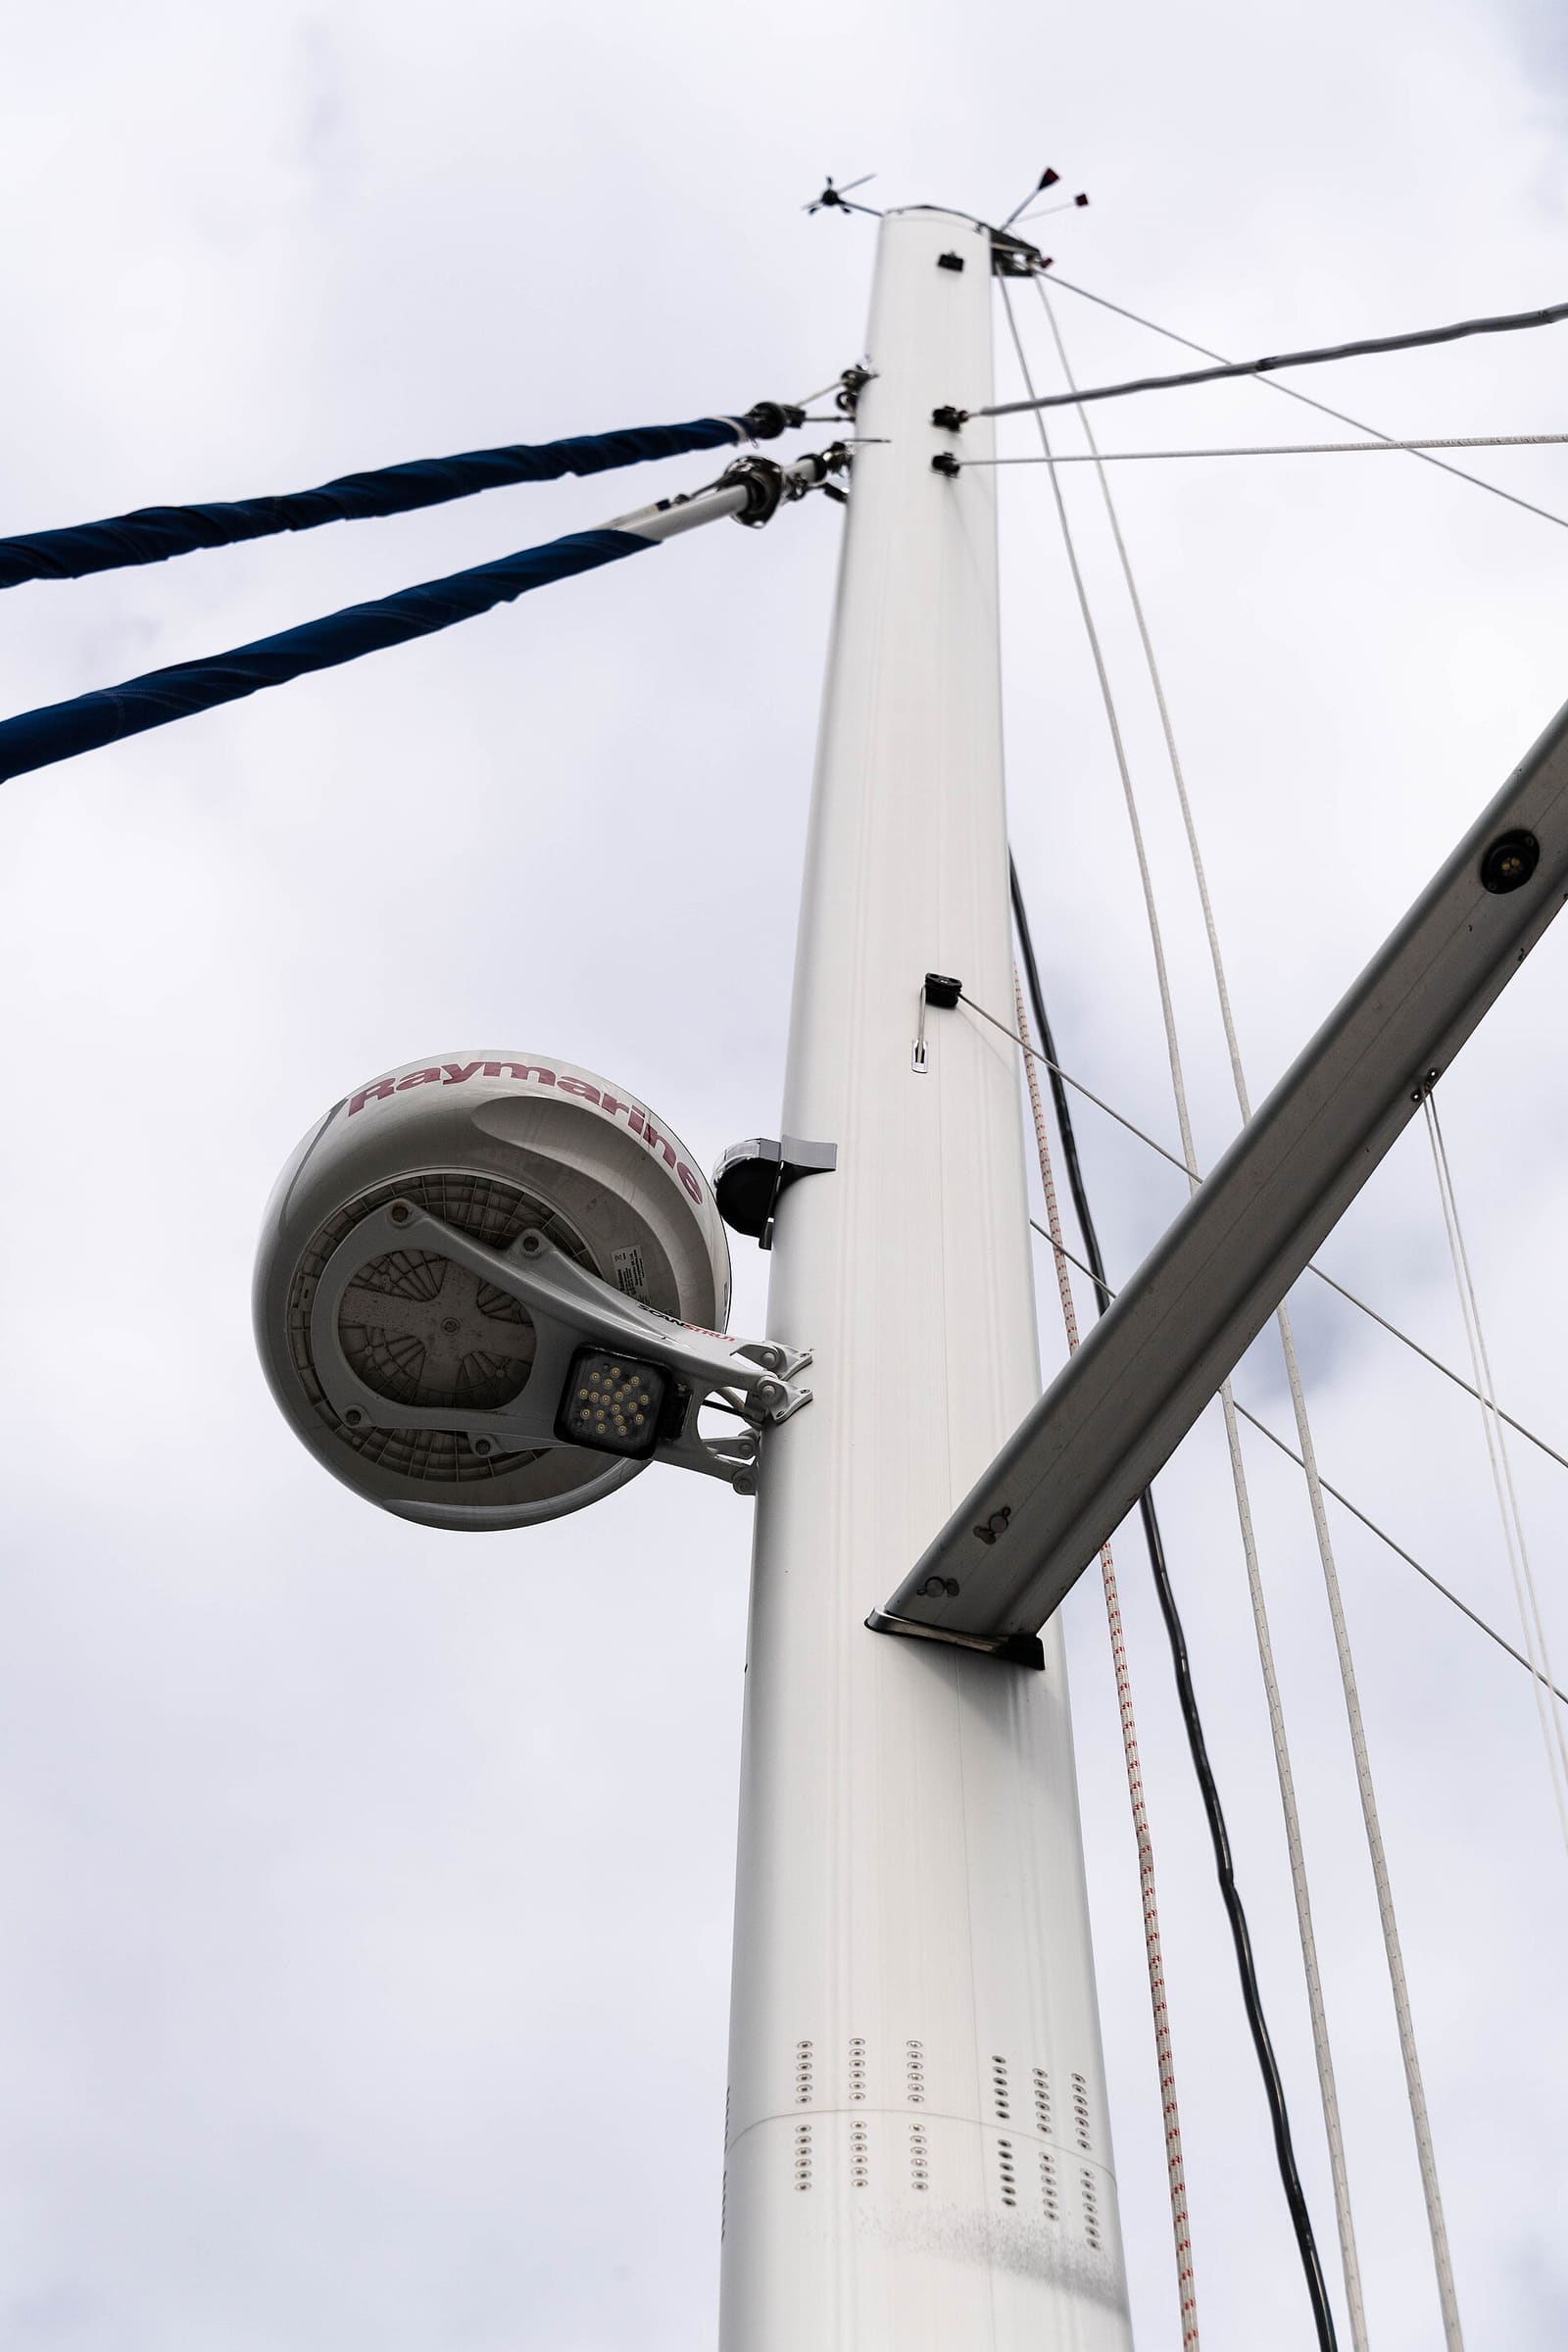
Photo: Craig Stanfill / Wikimedia Commons · CC BY-SA 2.0 A dirty radome does not stop the radar from transmitting, but salt, soot and grime weaken the faint echoes coming back, so small targets such as a crab-pot float or a small boat can fade from the screen. To clean it:
- Wash with mild boat soap and a soft sponge, rinse with fresh water and dry with a soft towel.
- Do not use solvents, abrasive pads, polishing compound or a pressure washer, and do not sandblast it.
- Never paint a radome. Paint, especially paint with metal in it, can block the signal. A light coat of wax is fine for looks but does nothing for performance.
The front face of an open array lets the signal through, so treat it gently. Wipe a flat array face lightly with a damp cloth and fresh water. If your model has an open slotted aluminum element, remove dust and spider webs with a soft brush or low-pressure air rather than scrubbing. Rinse salt off the pedestal and wipe it dry. Again, no solvents, no paint, no pressure washer.
Try to rock the radome or pedestal by hand. It should not move at all. Look for:
- Loose or missing bolts, and rust or white powder where stainless bolts meet an aluminum mast bracket or arch
- Cracks in the mounting plate, bracket welds or the hardtop around the base
- A mount that has drifted out of level, which can hurt performance in waves
Snug loose fasteners to the maker's spec. Replace corroded bolts one at a time with new stainless hardware so the antenna is never sitting loose. If the bracket itself is cracked or the hardtop is soft around the base, stop and have it repaired before you run the radar again. A falling radar is heavy and dangerous.
Follow the radar cable from the antenna to the display or network switch with a flashlight. Look for chafe where it passes over the mast step, through deck glands or around sharp edges, UV-cracked jacket on exposed runs, and kinks. On masts, the cable should be secured so it cannot slap inside the mast or rub on halyards. Replace UV-damaged cable ties with UV-resistant ones and add a clamp where the cable sags.
If a previous owner or installer cut the plug off to fish the cable through a smaller hole and spliced it back, note it. BoatUS warns never to cut the plug off a radar cable, because damaging the cable's shielding reduces the radar's performance. A spliced radar cable can cause weak pictures and dropouts; have it replaced with a proper cable from the maker.
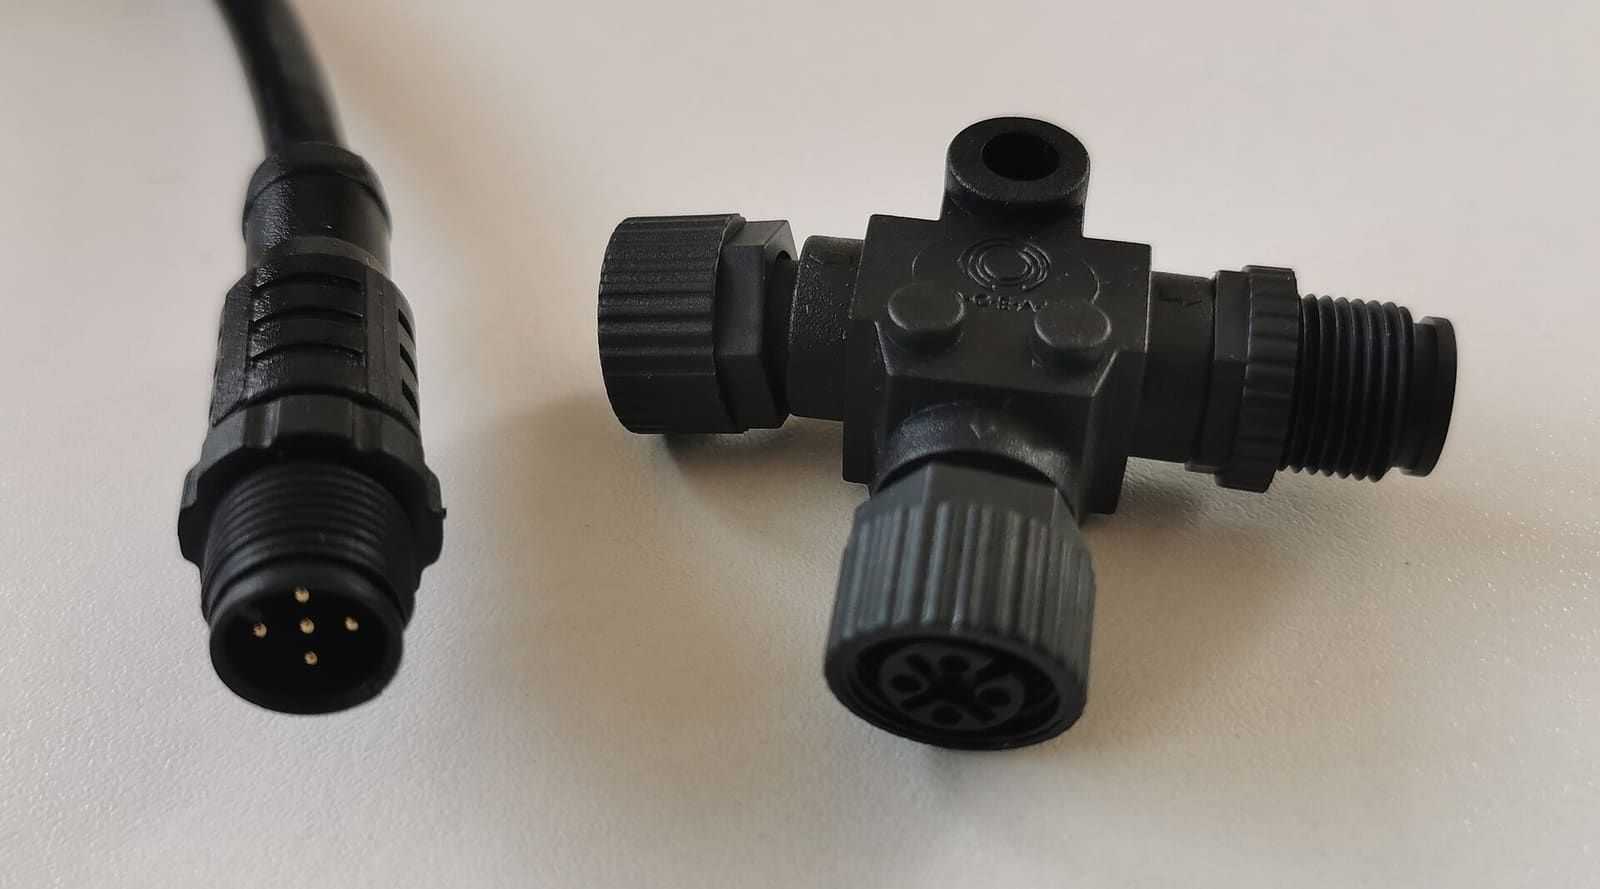
With power still off, unplug the connectors you can reach (at the pedestal, at any deck plug and behind the display). Look for green or white corrosion, bent or pushed-in pins, cracked collars and water inside. Clean light corrosion with electrical contact cleaner and let it dry fully. Use dielectric grease only if your radar maker allows it. Reconnect by hand and make sure each collar is fully seated. If you find pins that are badly corroded or a deck plug full of water, plan to replace the connector or cable section; a weak connection here causes dropouts and error messages.
Radars draw a burst of current when they start transmitting. With the radar powered on and in standby (stay well away from the antenna), measure supply voltage where it enters the radar or at its power cable, if your setup allows a safe measurement point. Then switch to transmit from the helm and watch the reading. A big drop points to a tired battery, an undersized or long supply wire, or a corroded connection or fuse holder. Low voltage can cause the radar to reset or refuse to transmit.
Remove your tag, switch on the breaker and turn on the radar. Before you press transmit, make sure nobody is up the mast, on the hardtop or standing level with the antenna. Watch for:
- Normal warm-up and no error messages
- A smooth, quiet rotation with no grinding or clicking
- A clear picture of nearby shoreline, buoys and boats
Know what "normal" looks like before you blame the hardware. BoatUS explains that traditional pulse (magnetron) radars have a blind ring right around the boat, often 100 feet or more, where they can't show anything; newer solid-state radars see much closer in. Small fiberglass boats can return weak echoes that come and go, and heavy rain can hide what's behind it. None of that means the radar is broken.
If the display shows a "no antenna," communication or motor error, go back to the cable and connector checks. If the error stays, call the maker's support or a marine electronics dealer.
Bearing alignment makes sure a target the radar shows dead ahead really is dead ahead. Raymarine's procedure, in short: point the bow at a fixed object such as a marker or a point of land a quarter mile to two miles away, turn the gain down so the target looks as small as possible, and see whether it sits right under the heading line on the screen. If it does not, adjust the bearing alignment setting (in the installation menu on many Raymarine displays) until it does.
Garmin calls the same setting the front-of-boat offset. Its manual describes taking a compass bearing on a fixed target, comparing it with the bearing the radar shows, and adjusting the offset if they differ by more than about one degree. Other makers have a similar setting in the installation menu. Do this check in calm water at low speed, with someone else steering and keeping a proper lookout.
For radar overlay on the chart and for target tracking (MARPA), the radar needs good heading data from a compass or heading sensor. If the radar picture looks rotated against the chart overlay even though bearing alignment is right, the heading sensor may need its own calibration. Follow your heading sensor's instructions.
Most modern radars tune themselves. If the picture looks weak, try the automatic gain, sea clutter and rain settings first, then compare with a known target. Many displays also have a "restore radar defaults" option. Write down any installation settings before you reset them.
- Rinse salt off the antenna and pedestal and let it dry before covering the boat.
- Turn the radar off at its breaker for the season so a stray switch cannot start it.
- If the mast is coming down, label and cap the radar connector at the mast step before it is unplugged, and coil the cable so it cannot be crushed or stepped on.
- Shrink-wrap and winter covers should not press on a radome or bend an open array. Ask the yard to frame around it.
- In spring, check connectors again before the first start.
Common mistakes
- Cleaning or working near the antenna with the radar in standby only. A touch on the wrong button can start it transmitting. Turn off the breaker.
- Standing on the flybridge or hardtop at antenna height while the radar transmits to "check if it spins." Watch from the helm screen instead.
- Painting or solvent-wiping a radome to make it look new. It can weaken the signal.
- Pressure-washing the radome or pedestal, which can force water past seals.
- Skipping bearing alignment after a new install, then wondering why buoys show up off to one side.
- Ignoring a chafed cable at the mast step until the radar starts dropping out offshore.
When to call a pro
- The radar shows a hardware or motor error that does not clear after cable and connector checks
- You hear grinding, see smoke or smell burning from the antenna
- The radome shell is cracked, the open array is bent, or water has gotten inside
- The mount, bracket, hardtop or arch is cracked or loose
- The radar is aloft on a mast or high arch and you do not have safe fall protection
- You want to move the radar, change mounting height or add a new radar to a network
Tips
- Take a screenshot of a clean radar picture of your home harbor on a calm day. It is your "known good" reference for later.
- Keep the radar cable and connector types in BoatMend so you can order the right replacement quickly.
- On sailboats, a radar guard (a hoop or bracket that keeps sails and halyards away from the radome) prevents a lot of chafe and damage.
- Learn your radar on clear days. Using it in fog for the first time is hard work. BoatUS suggests giving radar the whole screen (not a split screen), zooming in to the range you care about, leaving modern units on their auto settings, and practicing steering by radar alone in good weather with a lookout on deck.
- Thinking of moving the antenna higher for more range? BoatUS explains that the antenna should sit above head height so nobody stands in the beam, and that height sets the maximum range because of the Earth's curve, but raising a dome a few more feet often adds only about a mile. On sailboats, a lower mount (on a post or backstay) means less damage from halyards and sails and better close-in detection. On fast powerboats that run bow-up, installers sometimes fit a wedge under the antenna to level it.
Official references
We read these to write this guide. Your engine's own manual always wins.
- Raymarine – Magnum Open Array Radar Installation Instructions, Radio Frequency (RF) radiation hazard
- Raymarine – Magnum Open Array Radar Installation Instructions, Safety warnings
- Raymarine – Axiom LightHouse 4 Operation Instructions, Check and adjust bearing alignment
- Raymarine – Radome and Open Array Radars, What's Right for Me?
- Garmin – GPSMAP Owner's Manual, Measuring and Setting the Front-of-Boat Offset
- SAIL Magazine – Ask SAIL, Clear Eyes (radome cleaning)
- BoatUS Magazine – Where To Mount A Radome For Best Performance
- BoatUS Magazine – Learning To Love Your Boat Radar (2016)
Safety: BoatMend is for information only and does not replace a certified marine technician. You are responsible for your safety and your boat. Read the full disclaimer.
Last updated 2026-10-24
Related guides
NMEA 2000 Network Basics and Troubleshooting (Plus Chartplotter Updates)
Understand the backbone, terminators, power tap and drop cables that tie your chartplotter, engine data, GPS, depth and autopilot together, then track down why a device keeps dropping off. Finish by updating chartplotter and device software the safe way.

How to Find and Fix Corroded Electrical Connections on a Boat
Track down the green crust and loose terminals behind flickering lights, dead gauges and slow cranking with a simple voltage-drop test, then remake the connection the marine way: tinned wire, a proper crimp, adhesive-lined heat shrink and a protective coating.

12-Volt Boat Wiring Basics: Circuits, Color Codes, Fuses and Wire Size
Learn how your boat's 12-volt system is laid out, what the ABYC wire colors mean, how fuses and breakers protect the wiring, why voltage drop and tinned wire matter, and how to read a wiring diagram, so you can troubleshoot smarter and know which jobs belong to a marine electrician.

Fuse Keeps Blowing? How to Troubleshoot a Boat Fuse Block or Breaker Panel
Work through a blown fuse or tripping breaker the safe way: confirm it, tell a short from an overload, isolate the device or wire at fault, replace a worn breaker or panel switch with the same rating, and label every circuit, without ever fitting a bigger fuse.
How to Inspect Your Sailboat's Standing Rigging
A step-by-step owner's inspection of the wires, fittings, turnbuckles, pins, chainplates and mast that hold your rig up, plus how to decide when it is time for a rigger and new rigging. Includes what insurers commonly expect for older rigs.
Stepping and Unstepping a Sailboat Mast: Trailer Sailers and Yard Cranes
How to raise and lower a sailboat mast safely, whether you step a trailer sailer's mast at the ramp or help the yard crane do it, including power-line checks, mast wiring, basic tuning afterward, and when to leave the job to the yard.
Lightning and Your Boat: Protection, Storm Safety and After-Strike Inspection
How lightning damages boats, what a professionally installed protection system (ABYC and NFPA 780 guidance) can and cannot do, what to do when a storm catches you on the water, and a step-by-step inspection checklist after a strike, including the haul-out, compass, electronics, through-hulls and the insurance claim.
AIS on Your Boat: Receiver vs. Class B, MMSI Programming, Antennas and Checking You're Seen
Choose between a receive-only AIS and a Class B transponder, get the MMSI programmed the legal way, sort out the GPS and VHF antenna (or splitter), confirm other boats and the Coast Guard actually see you, and understand silent mode and AIS man-overboard beacons.