Stepping and Unstepping a Sailboat Mast: Trailer Sailers and Yard Cranes
How to raise and lower a sailboat mast safely, whether you step a trailer sailer's mast at the ramp or help the yard crane do it, including power-line checks, mast wiring, basic tuning afterward, and when to leave the job to the yard.
Time
2 h
Shop would charge
$200-800
Applies to
All engines · Sailboat
Danger: An aluminum mast that touches or even comes close to a power line can kill everyone touching the mast, boat or trailer. Look up and scan for overhead lines before you raise or lower a mast, and again when you move the boat. A falling mast can also crush or kill: never stand under or beside a mast that is being raised or lowered, never do it alone, and stop if the wind picks up. If a mast hits a power line, do not touch the boat, trailer or rigging, keep everyone away and call 911.
Fuel smell, water coming in, CO alarm or smoke? Stop, get everyone in life jackets and call USCG on VHF 16 or 911. For a tow: Sea Tow or TowBoatUS.
Owners often ask
- Can two people raise the mast on a trailer sailer, and what is the biggest danger?
- How do I retune the rigging after stepping the mast?
This guide walks you through it. Still stuck? Ask the AI Mechanic about your engine.
Tools
- Two or three helpers (one person is never enough)
- Mast crutch, tabernacle or mast-raising system made for your boat (gin pole or A-frame if your boat uses one)
- Spare clevis pins and new cotter pins or rings in the right sizes
- Pliers, screwdrivers and two well-fitting wrenches for turnbuckles
- Rigging tape or self-amalgamating tape
- Long tape measure
- Strong line for a temporary forestay and for side control lines
- Masking tape and a marker for labeling wires and turnbuckles
- Wheel chocks
Parts & supplies
- Cotter pins or rings (replace any that are bent or reused too often)
- Light dry lubricant for turnbuckle threads (if your rigging maker approves)
- Padding and ties for carrying the mast on the trailer
Before you start
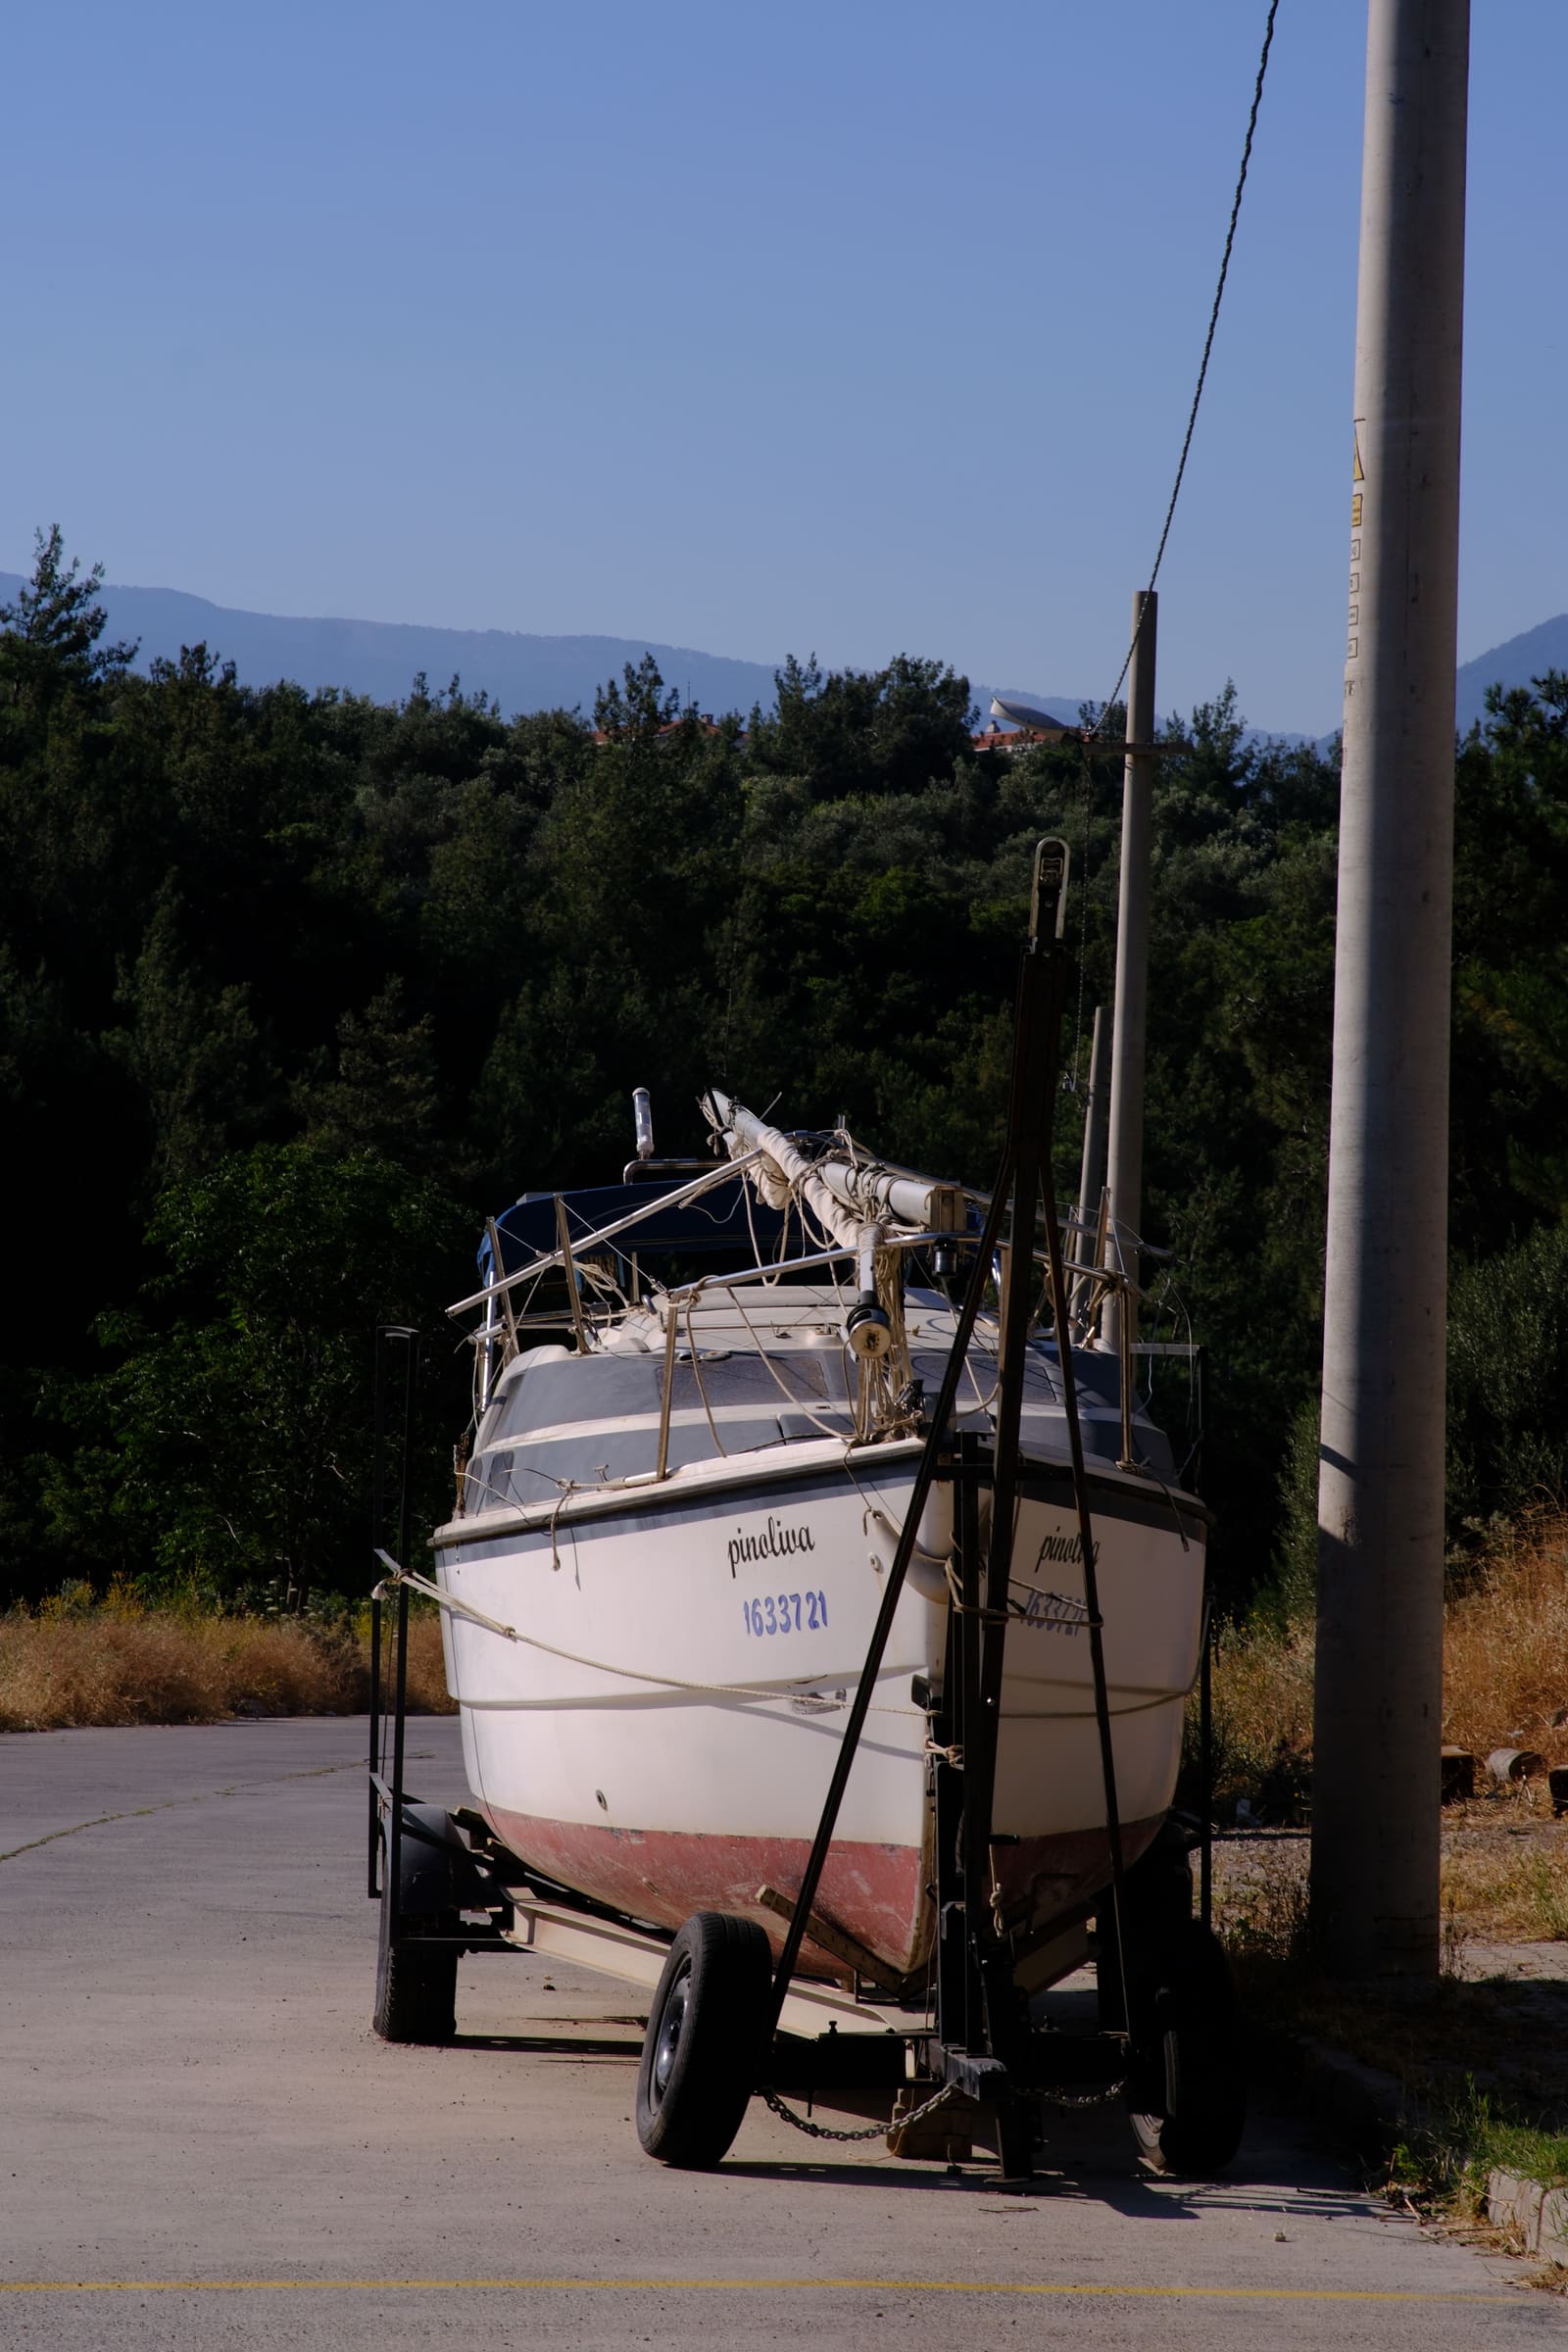
Who should do it. Many owners of small trailer sailers (roughly under 25 feet, with a deck-stepped mast in a hinged step or tabernacle) raise and lower their own mast at the ramp with a couple of helpers. Larger boats, keel-stepped masts (which pass through the deck down to the keel) and anything that needs a crane are normally stepped by the yard or a rigger. Your boat's owner's manual, the class association or the mast maker may describe the exact method for your model; follow it over this general guide.
Know your numbers. Find your mast height above the water (air draft) and the height of the masthead with the boat on its trailer. BoatUS reminds owners to add a mast-mounted VHF antenna, which typically adds about 36 inches. Write these numbers on a label near the helm and in BoatMend.
Why unstep at all? Trailering, winter storage, bridge clearance and maintenance. BoatUS notes that a deep-draft sailboat on a trailer or stands is much more stable in high wind with the mast down, and recommends unstepping to reduce windage for storm season.
Steps
Let the yard or a rigger do it if:
- The mast is keel-stepped or needs a crane or travel lift
- You do not have a raising system, crutch or gin pole designed for your boat
- The mast is heavy enough that two people cannot safely control it
- You have never done it and nobody experienced is helping
PBO notes that even with a crane, raising a mast is never without risk. Paying a yard is cheap compared with a dropped mast.
Before you choose a spot, look up in every direction. BoatUS describes a Seaworthy editor who pulled his 22-foot sailboat into a ramp staging area to lower the mast and heard a buzzing like angry bees near the masthead: it was a high-voltage line not far above the aluminum mast. Older ramps were not designed for sailboats and may have low lines. Remember:
- High voltage can jump the gap to a mast that gets close; it does not have to touch.
- Check again before you drive away with the mast up, and when you pull the boat out of the water.
- On the water, chart clearances for power lines are only accurate in the marked channel. Lines may hang lower elsewhere and sag in heat.
Choose level ground out of the ramp lane, with no wires, trees or lights overhead. Wait for calm wind; even a light breeze pushes a mast sideways. Hitch the trailer to the tow vehicle, set the brake and chock the wheels. Make sure the boat is tied to the trailer at the bow and stern so it cannot shift. Keep spectators, kids and pets well clear.
Give each person one job and decide who calls the commands:
- Lifter or mast walker: raises or lowers the mast from the cockpit.
- Forestay line handler: controls the line or winch at the bow that pulls the mast up or holds it back on the way down.
- Side watcher: watches shrouds and wires for snags and keeps the mast in line with the boat. Agree on a simple "STOP" call that everyone obeys instantly.
With the mast lying on the crutch or supports:
- Lay out the shrouds and stays so nothing is twisted or wrapped around the spreaders.
- Check that halyards run on the correct side of the spreaders and are tied off so they cannot flog.
- Inspect fittings, swages, spreader tips and pins (see the rigging inspection guide). It is far easier to fix things now than after the mast is up.
- Install the masthead wind indicator and any antennas.
- Tape spreader tips and any sharp cotter pins.
- Lay out clevis pins and new cotter pins next to each chainplate.
The Rigging Company's pre-step checklist also includes testing every masthead and spreader light through the mast wiring before the crane arrives.
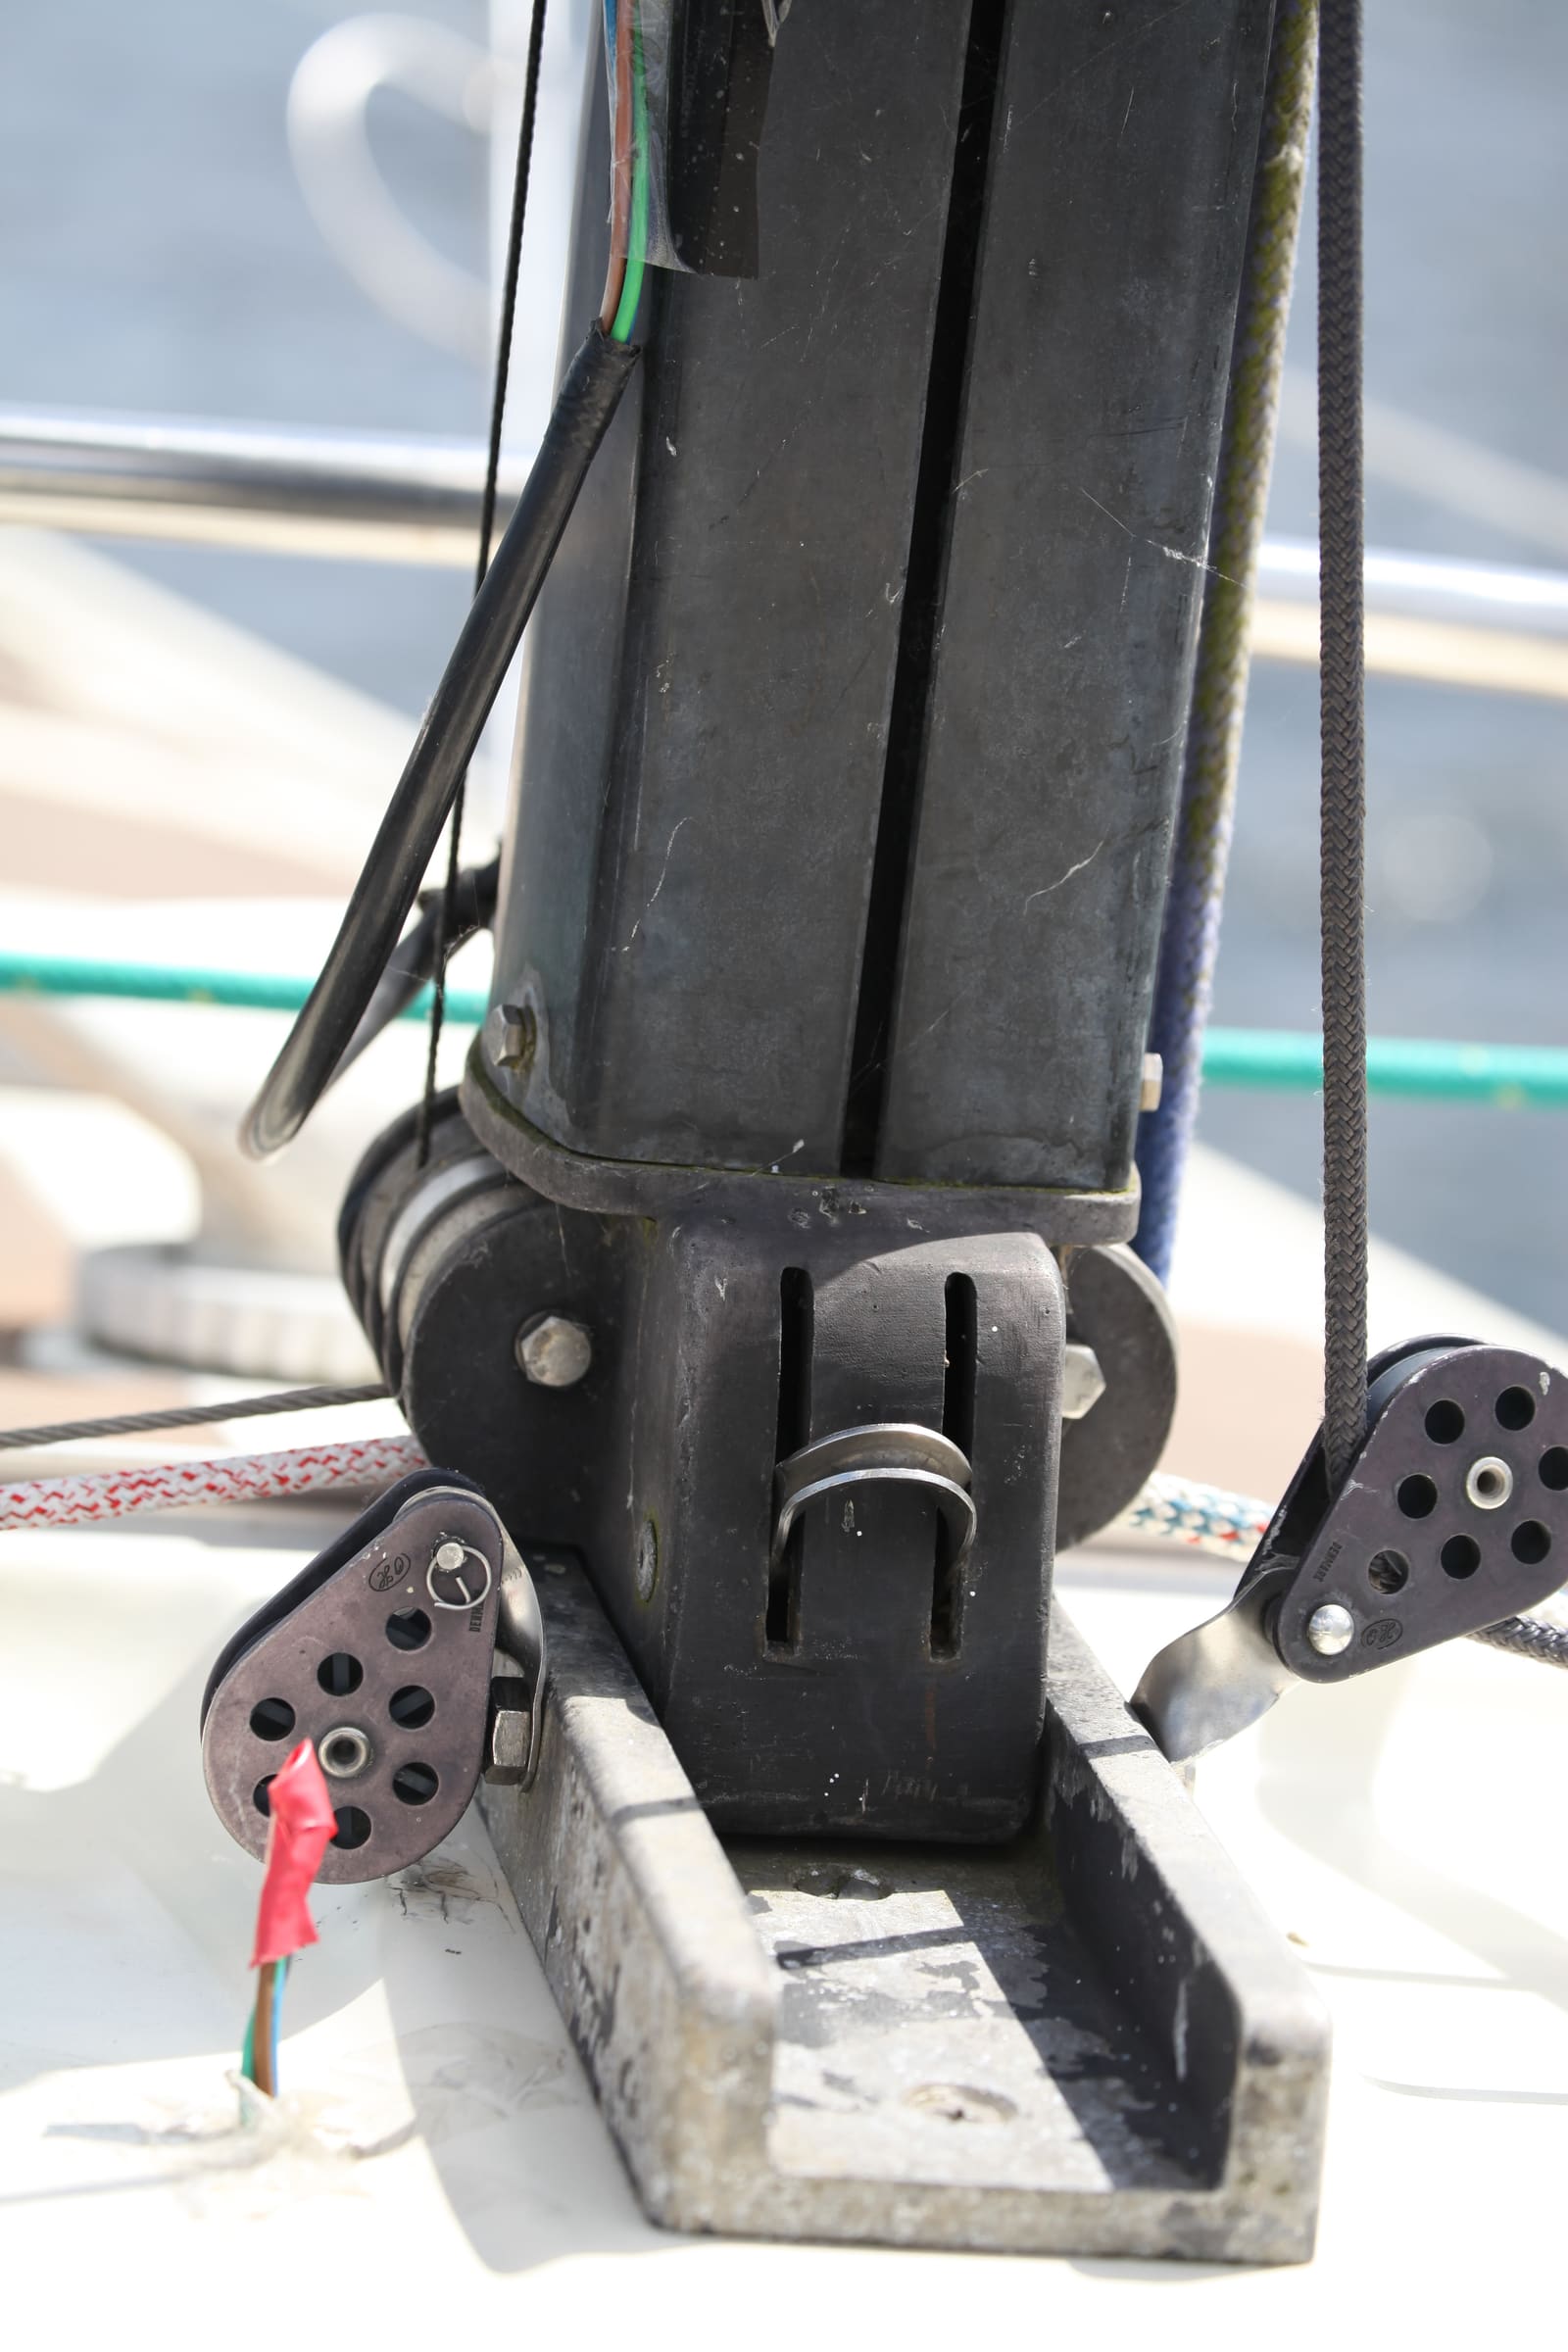
Photo: Jeuwre / Wikimedia Commons · CC BY-SA 4.0 Most masts carry wires for the masthead or anchor light, steaming and deck lights, the VHF antenna cable and sometimes wind instruments. On a deck-stepped mast they usually join the boat's wiring through a deck connector or a junction box near the mast heel.
- Label every wire and plug before you separate anything.
- Disconnect the wiring before lowering, and reconnect only after the mast is up and secured.
- Keep connectors dry and clean; replace corroded plugs rather than forcing them.
- Leave enough slack so the wiring is not pulled tight as the mast pivots, and protect the coax from kinks and crushing.
The details depend on your boat's system, but the general sequence is:
- Pin the mast heel into its hinged step or tabernacle.
- Attach the upper and lower shrouds to their chainplates first, loosely, so they will hold the mast sideways once it is up.
- Rig the forestay line (or gin pole) to the bow fitting or trailer winch.
- On "up", the lifter raises the mast while the line handler takes up slack steadily. Keep the mast in line with the boat; forums are full of stories about masts that swung sideways. Side lines or the shrouds themselves help keep it centered.
- Once vertical, hold it there with the line while someone connects the forestay and inserts its pin and cotter pin. Then connect the backstay.
Never trust a pin, hinge or furler to hold the mast up on its own: until the stays are connected, a person or a line must be holding it.
When the yard does the lift, your job is usually prep and line handling. The Rigging Company's tips for crane lifts include:
- Use a properly rated lifting sling around the mast, attached above the mast's balance point. A sling below the balance point can let the mast flip end-for-end.
- Tie a tag line to control the mast heel, and use lines to keep the mast from spinning.
- Place the stay that faces the crane on the side away from the crane, so it is not trapped when the mast is upright.
- Keep the crane holding the mast until all main stays are pinned and lightly tensioned.
The crane operator is in charge. Follow their signals, keep hands and feet clear of the mast heel, and never stand under a hanging mast. On keel-stepped masts the heel is guided down through the deck opening to the step on the keel; let the yard crew handle that.
With the mast up and all stays connected:
- Center the mast side to side. Bring the main halyard down to one chainplate and mark the length, then swing it to the same chainplate on the other side. Adjust the shrouds until both sides match.
- Set the rake (fore-and-aft lean) using your class, builder or sailmaker's guidance, adjusting forestay and backstay.
- Tension turnbuckles evenly, side to side, a few turns at a time. Use two well-fitting wrenches; PBO warns against using a screwdriver through the turnbuckle body as a lever.
- Fine-tune under sail on a moderate day: tighten the leeward (slack) shroud on one tack, then match it on the other.
- Secure every turnbuckle with cotter pins or rings, and tape over sharp ends.
Exact tension numbers belong to your rigging or mast maker; check your owner's manual or ask a rigger. If you recorded turnbuckle turns when the mast came down (Step 11), you can return to the same settings quickly.
Reconnect the mast wiring and test every light and instrument. On a keel-stepped mast, the yard will fit the wedges or chocks at the deck and the mast boot to keep water out. Attach the boom, run halyards and reefing lines, and check that nothing chafes. Walk around once more and look up at the spreaders and masthead.
Lowering is the same job in reverse, and the most dangerous moment is when the mast leaves the vertical:
- Look up again for power lines.
- Take off sails and the boom. Remove the masthead wind indicator if it could hit the ground. If you have a roller furler, The Rigging Company suggests marking the drum with an arrow for the direction the line winds on, then unspooling the furling line completely before the mast comes down; working on a furler lying on the ground is much harder.
- Record the number of turns showing on each turnbuckle (PBO's tip) or mark the threads with tape, so tuning is fast next time.
- Disconnect the mast wiring.
- Rig the forestay line or gin pole and take its load before you disconnect the forestay.
- Lower the mast slowly under control into the crutch. On a crane lift, PBO suggests two people holding lines on opposite sides of the mast heel to stop it swinging when it lifts off the step.
Keel-stepped masts coming out: the boot at the deck ring, the wedges (chocks) or poured mast collar, and any cross bolt or tie-down at the step all have to be released before the lift; the yard usually handles this. The Rigging Company warns that a mast that has not been pulled in 15 years or more may not come out easily, sometimes because the mast step has corroded onto the heel. If the yard quotes extra time for that, it is not padding.
- Support the mast in several places along its length, on padded supports, so it does not sag or bounce.
- Coil and tie the rigging to the mast so nothing drags on the road. Protect the masthead, spreaders and instruments.
- Mark any overhang beyond the trailer as your state requires.
- For winter storage, keep the mast off the ground, supported along its length, and clean out salt and grime from sheaves and fittings.
Rigging stretches and settles. After your first sail, look along the mast for bend, recheck side-to-side centering and tension, and make sure every pin and cotter pin is still in place.
Common mistakes
- Not looking up. Masts have hit power lines at ramps, in yards and in parking lots.
- Trying to raise or lower a mast alone, or with only one helper on a heavy rig.
- Letting go of the forestay line before the forestay is pinned.
- Raising the mast with a shroud wrapped around a spreader or a halyard on the wrong side.
- Pulling the mast wiring apart while it is still connected, or forgetting the VHF coax.
- Using a snap shackle to hold a lifting halyard. PBO recommends a bowline instead, because a snap shackle can open under load.
- Reusing old cotter pins, or leaving turnbuckles un-pinned "just until tomorrow".
- Cranking turnbuckles with a screwdriver as a lever instead of two proper wrenches.
- Lowering the mast in wind.
When to call a pro
- The mast is keel-stepped, heavy, or needs a crane
- You see cracks, corrosion or bent fittings at the mast step, tabernacle, chainplates or spreaders
- The mast step or the deck under it looks crushed or soft (a common problem on deck-stepped masts)
- The mast will not stand straight, or you cannot get both sides to match when tuning
- Mast wiring is corroded, shorts out or the lights do not work after stepping
- A storm is coming and you want the mast down quickly (call the yard early; cranes book up)
- Anyone is hurt, or a mast touched or came near a power line (call 911)
Tips
- Practice the first raise in the driveway or yard, not at a busy ramp.
- Label the shrouds and chainplates (port upper, starboard lower, and so on) with colored tape.
- Keep a small "mast bag" with spare pins, rings, tape and the right wrenches.
- Photos of the rig and turnbuckles before you lower the mast are your best tuning reference.
- Record mast height, stepping dates and tuning notes in BoatMend.
Official references
We read these to write this guide. Your engine's own manual always wins.
- BoatUS – Power Line Hazards (including a near miss while lowering a mast at a launch ramp)
- The Rigging Company – How to Step a Mast (pre-step checklist and crane rigging)
- The Rigging Company – Un-stepping the Mast
- Practical Boat Owner – Do-it-yourself mast stepping
- BoatUS – What To Look For In Winter Boat Storage (unstepping to reduce windage)
Safety: BoatMend is for information only and does not replace a certified marine technician. You are responsible for your safety and your boat. Read the full disclaimer.
Last updated 2026-10-24
Related guides
How to Inspect Your Sailboat's Standing Rigging
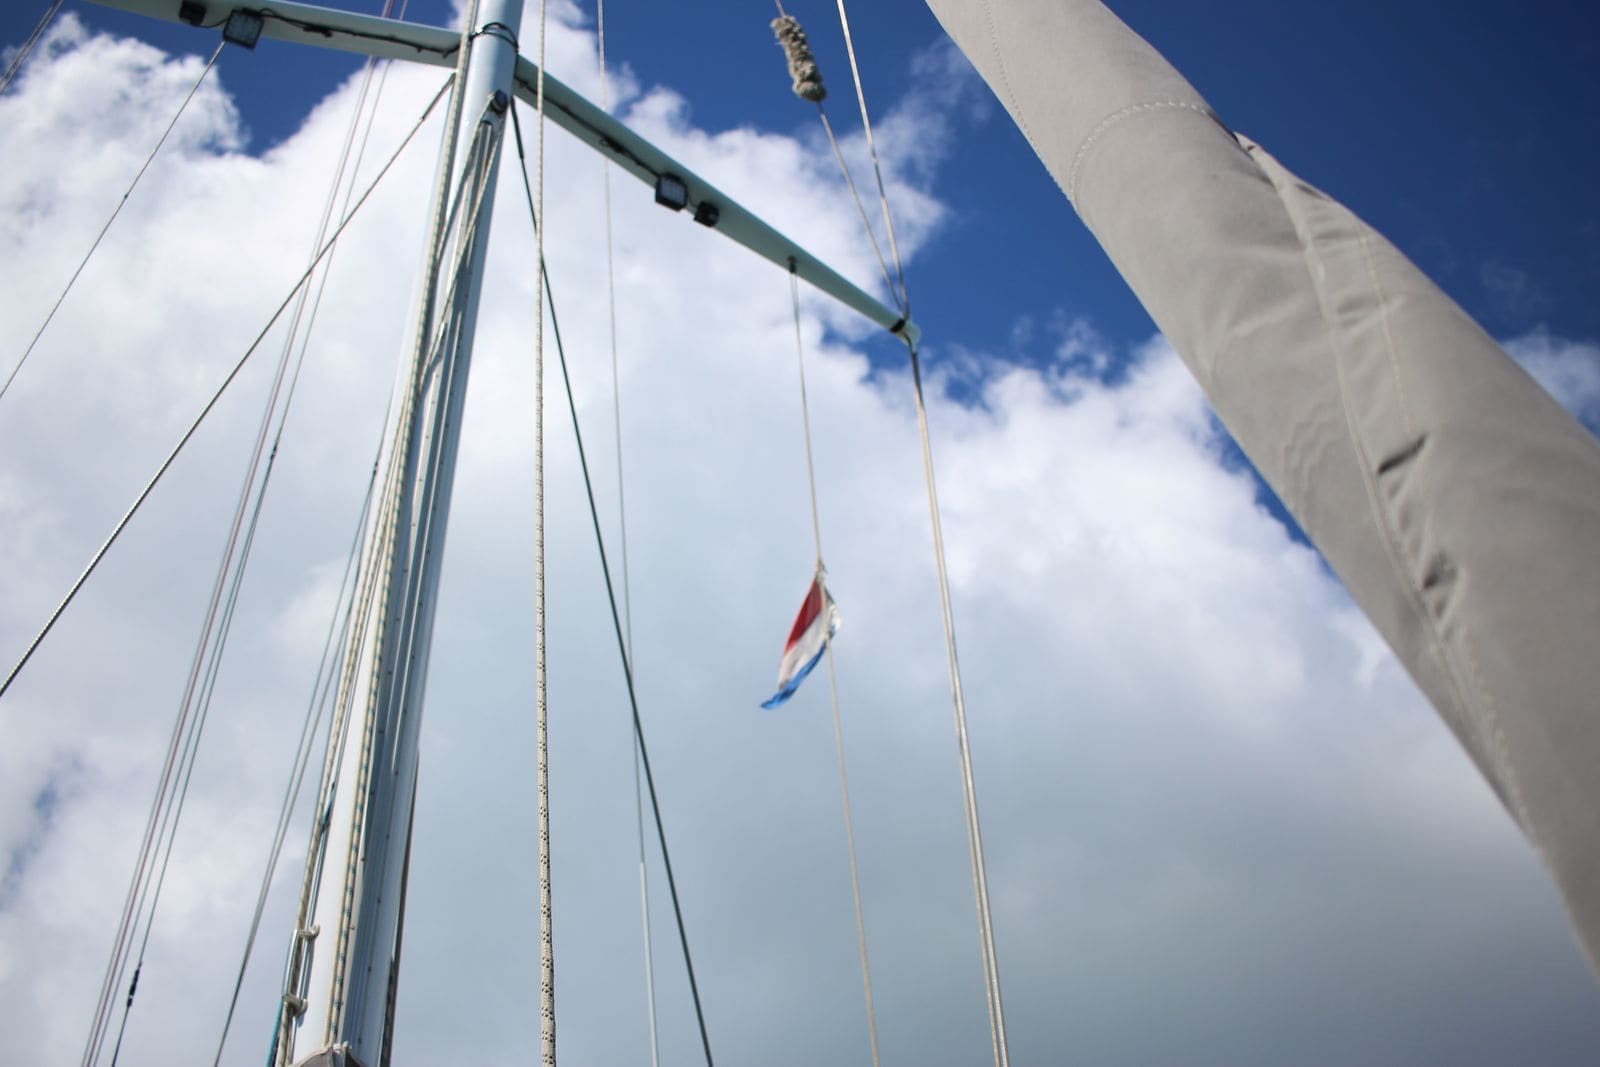
A step-by-step owner's inspection of the wires, fittings, turnbuckles, pins, chainplates and mast that hold your rig up, plus how to decide when it is time for a rigger and new rigging. Includes what insurers commonly expect for older rigs.
Running Rigging Care: Inspecting Halyards, Sheets and Dyneema Lines
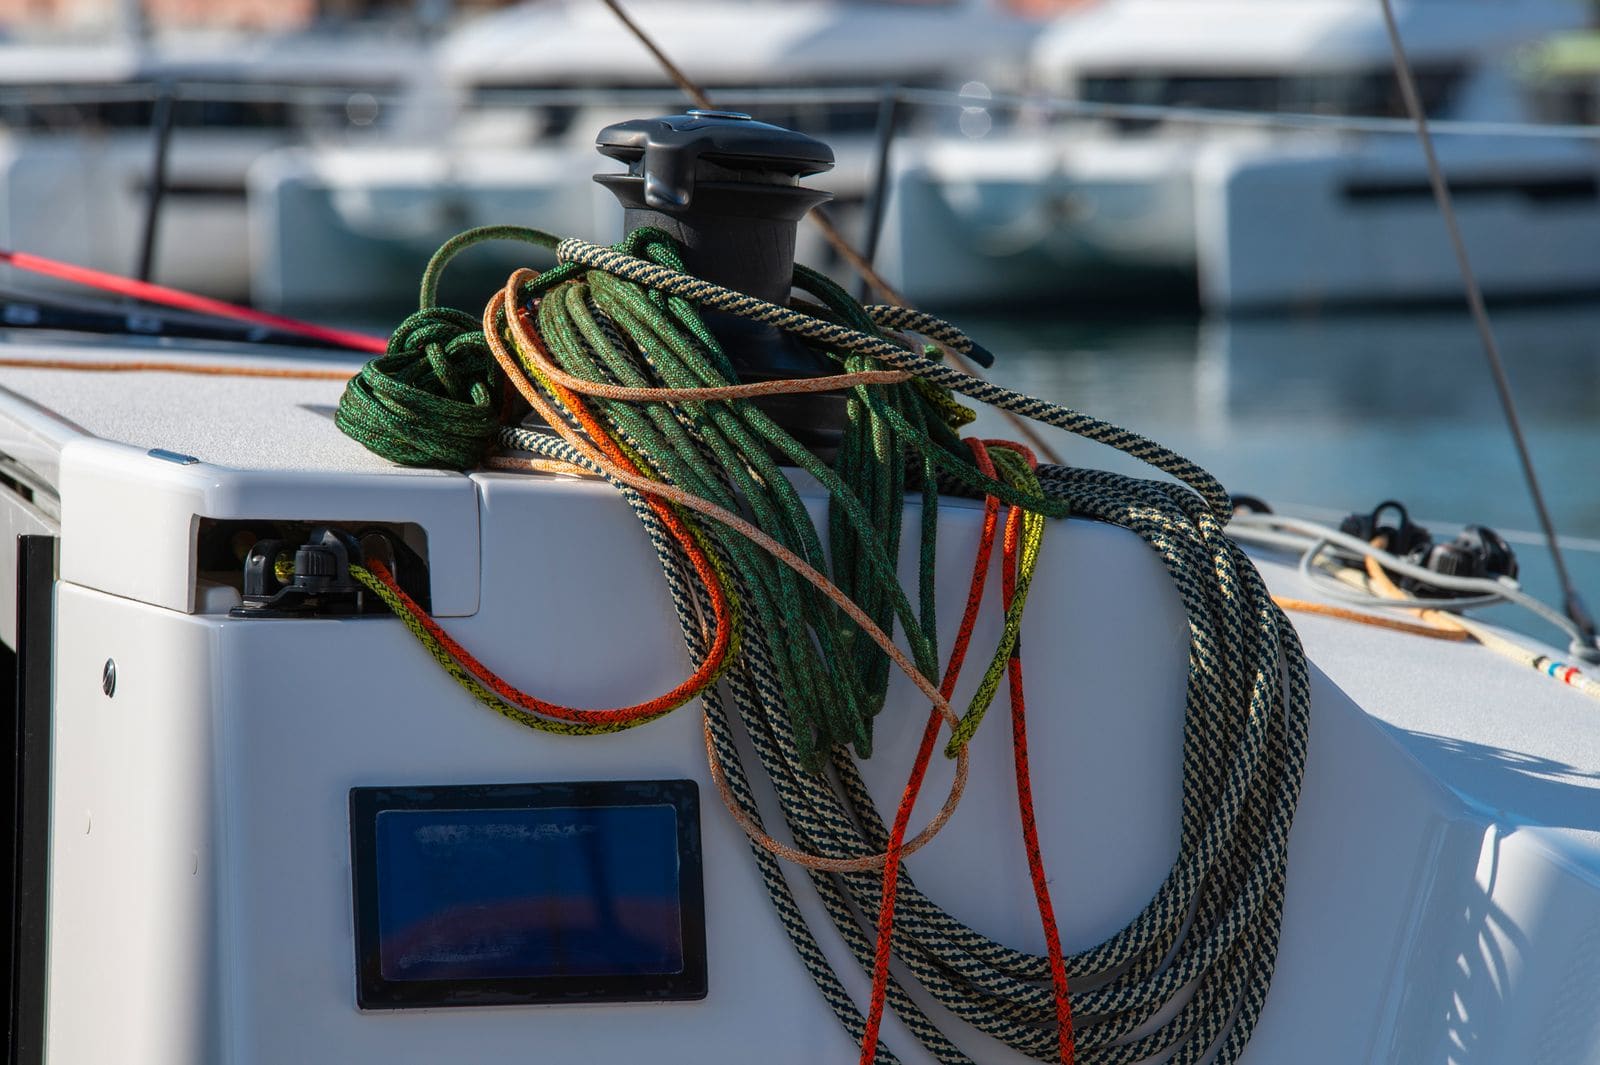
Check your halyards, sheets and control lines for chafe, sun damage, glazing and cover slip, wash them the right way, end-for-end them to spread the wear, and know when a line has to go. A halyard that parts drops a sail; a sheet that parts in a gust can be worse.
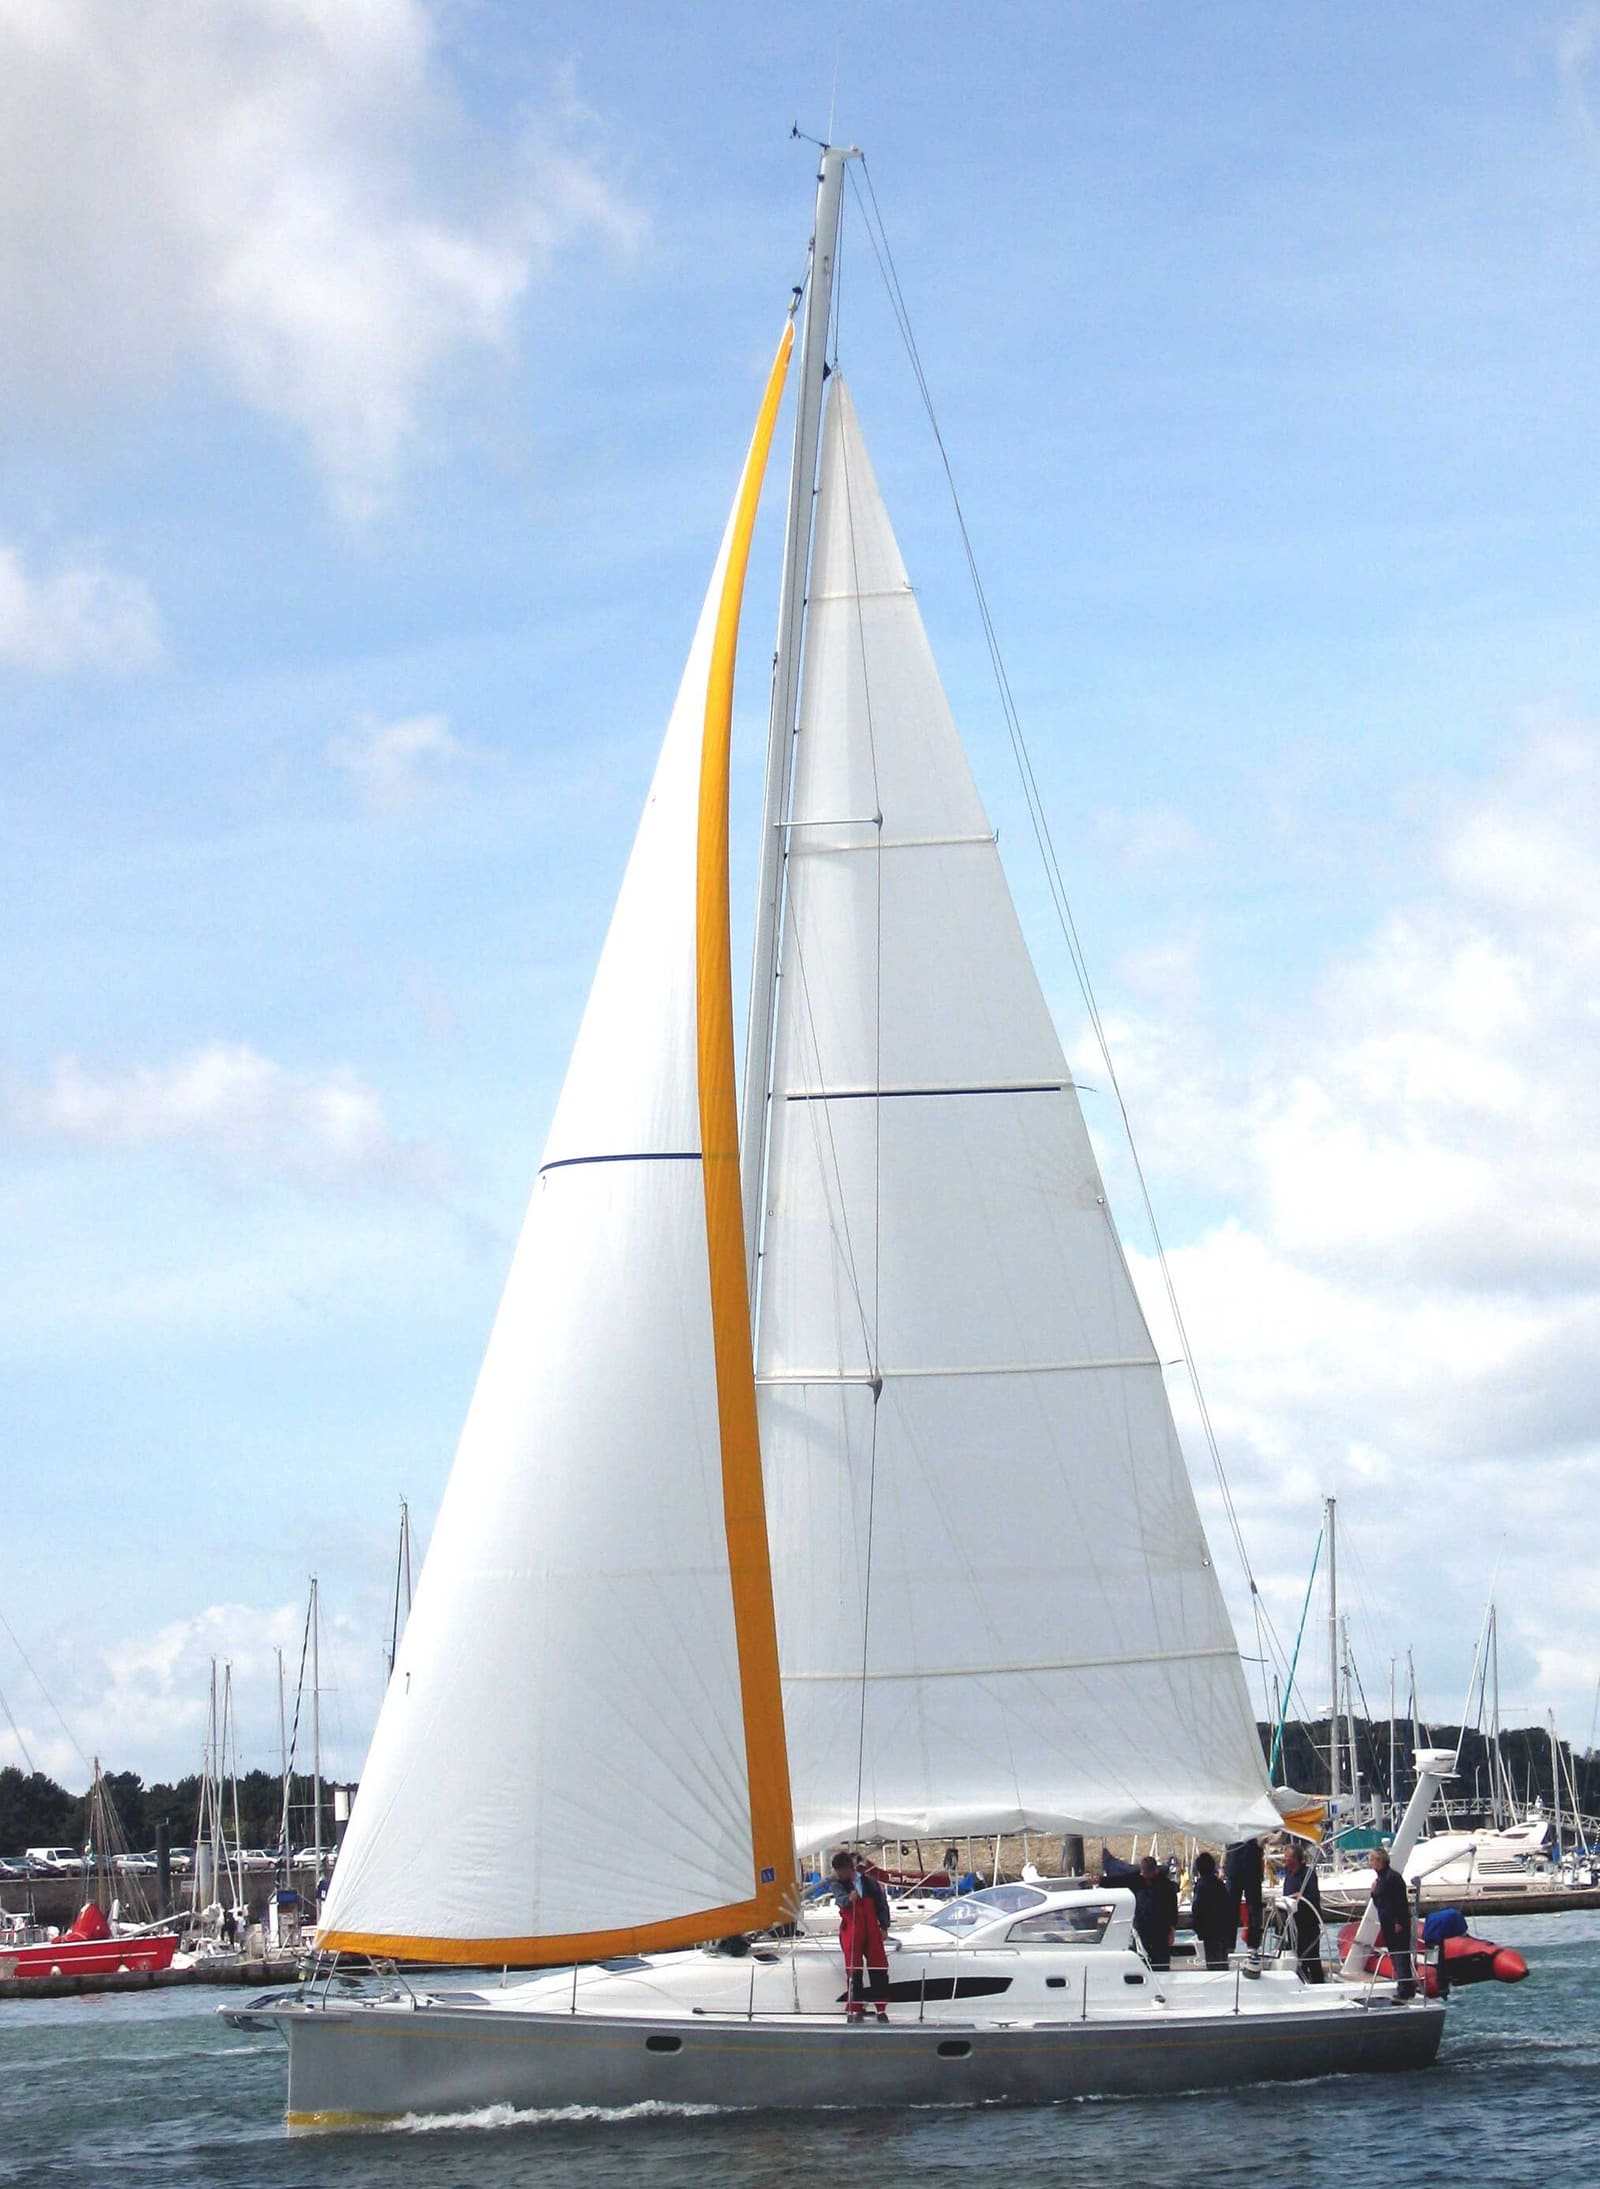
Sail Care and Winter Storage: Rinse, Dry, Inspect, Fold and Store
Keep your sails out of the sun, rinse and dry them before they go away, catch small tears and rotten stitching early, and fold and store them so they come back in spring without mildew or hard creases. Good habits can add years to an expensive set of sails.
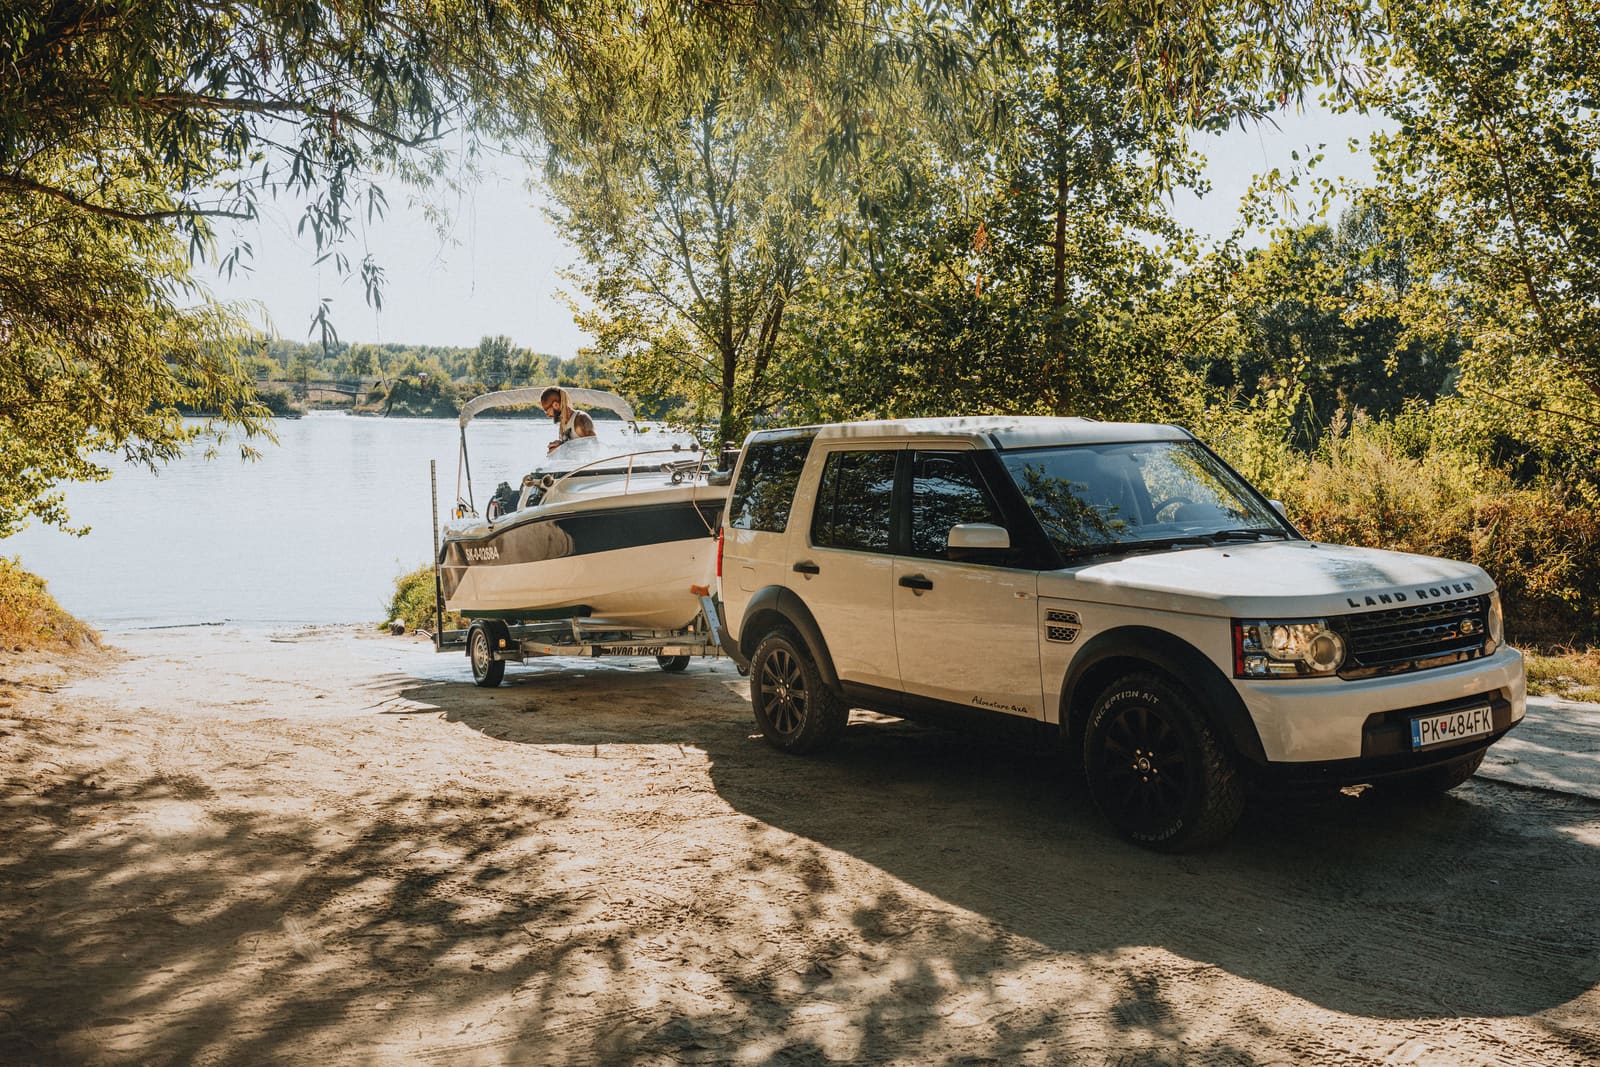
Get Your Boat Ready for the Road: Pre-Trailering Checklist
Most trailering trouble starts in the driveway: an engine left without support, a loose strap, a cover that balloons at 60 mph, gear that blows out or tongue weight that makes the rig sway. Work through this checklist before every trip and do a quick walkaround at each stop.
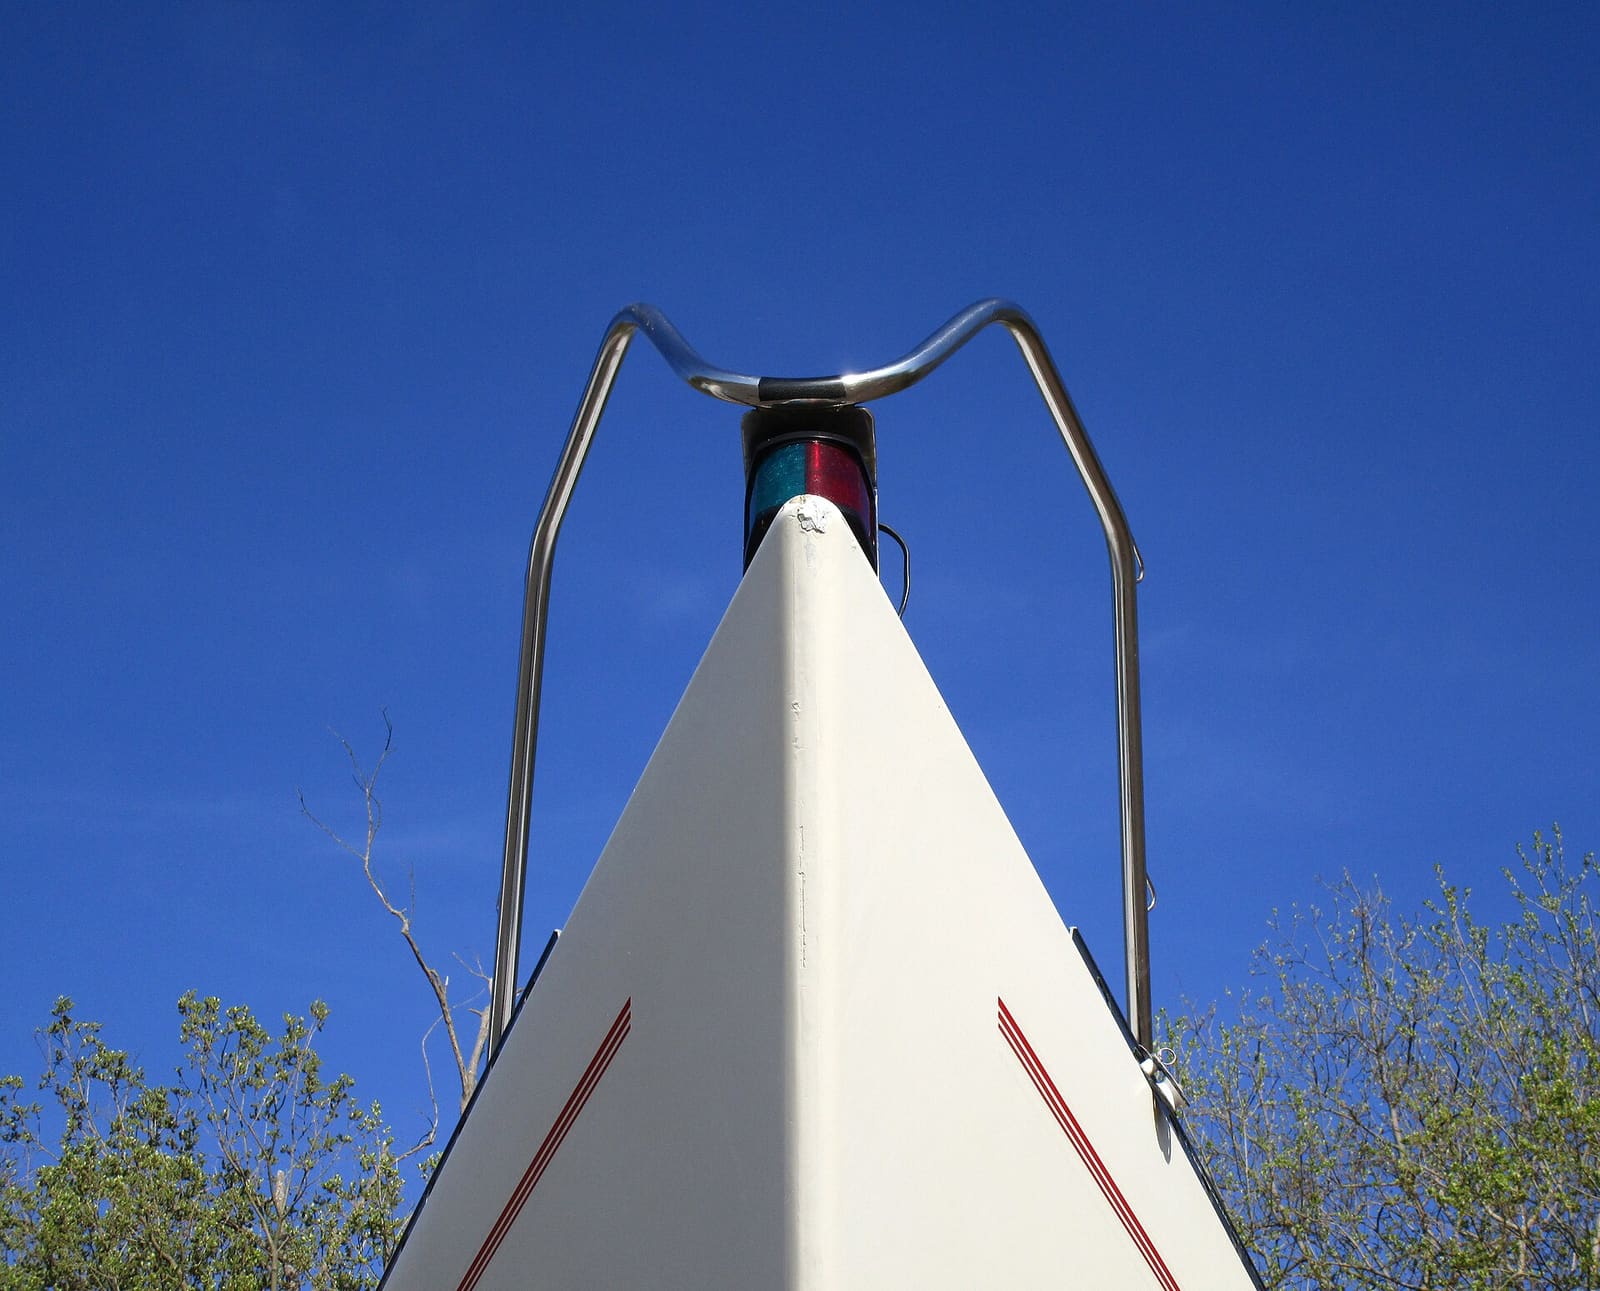
How to Test and Fix Your Boat's Navigation Lights
Learn which navigation lights your boat must show and when, then test them and fix the usual culprits such as corroded sockets, loose pole-light plugs and blown bulbs. Working lights are legally required at night and in poor visibility and are how other boats see which way you are heading.
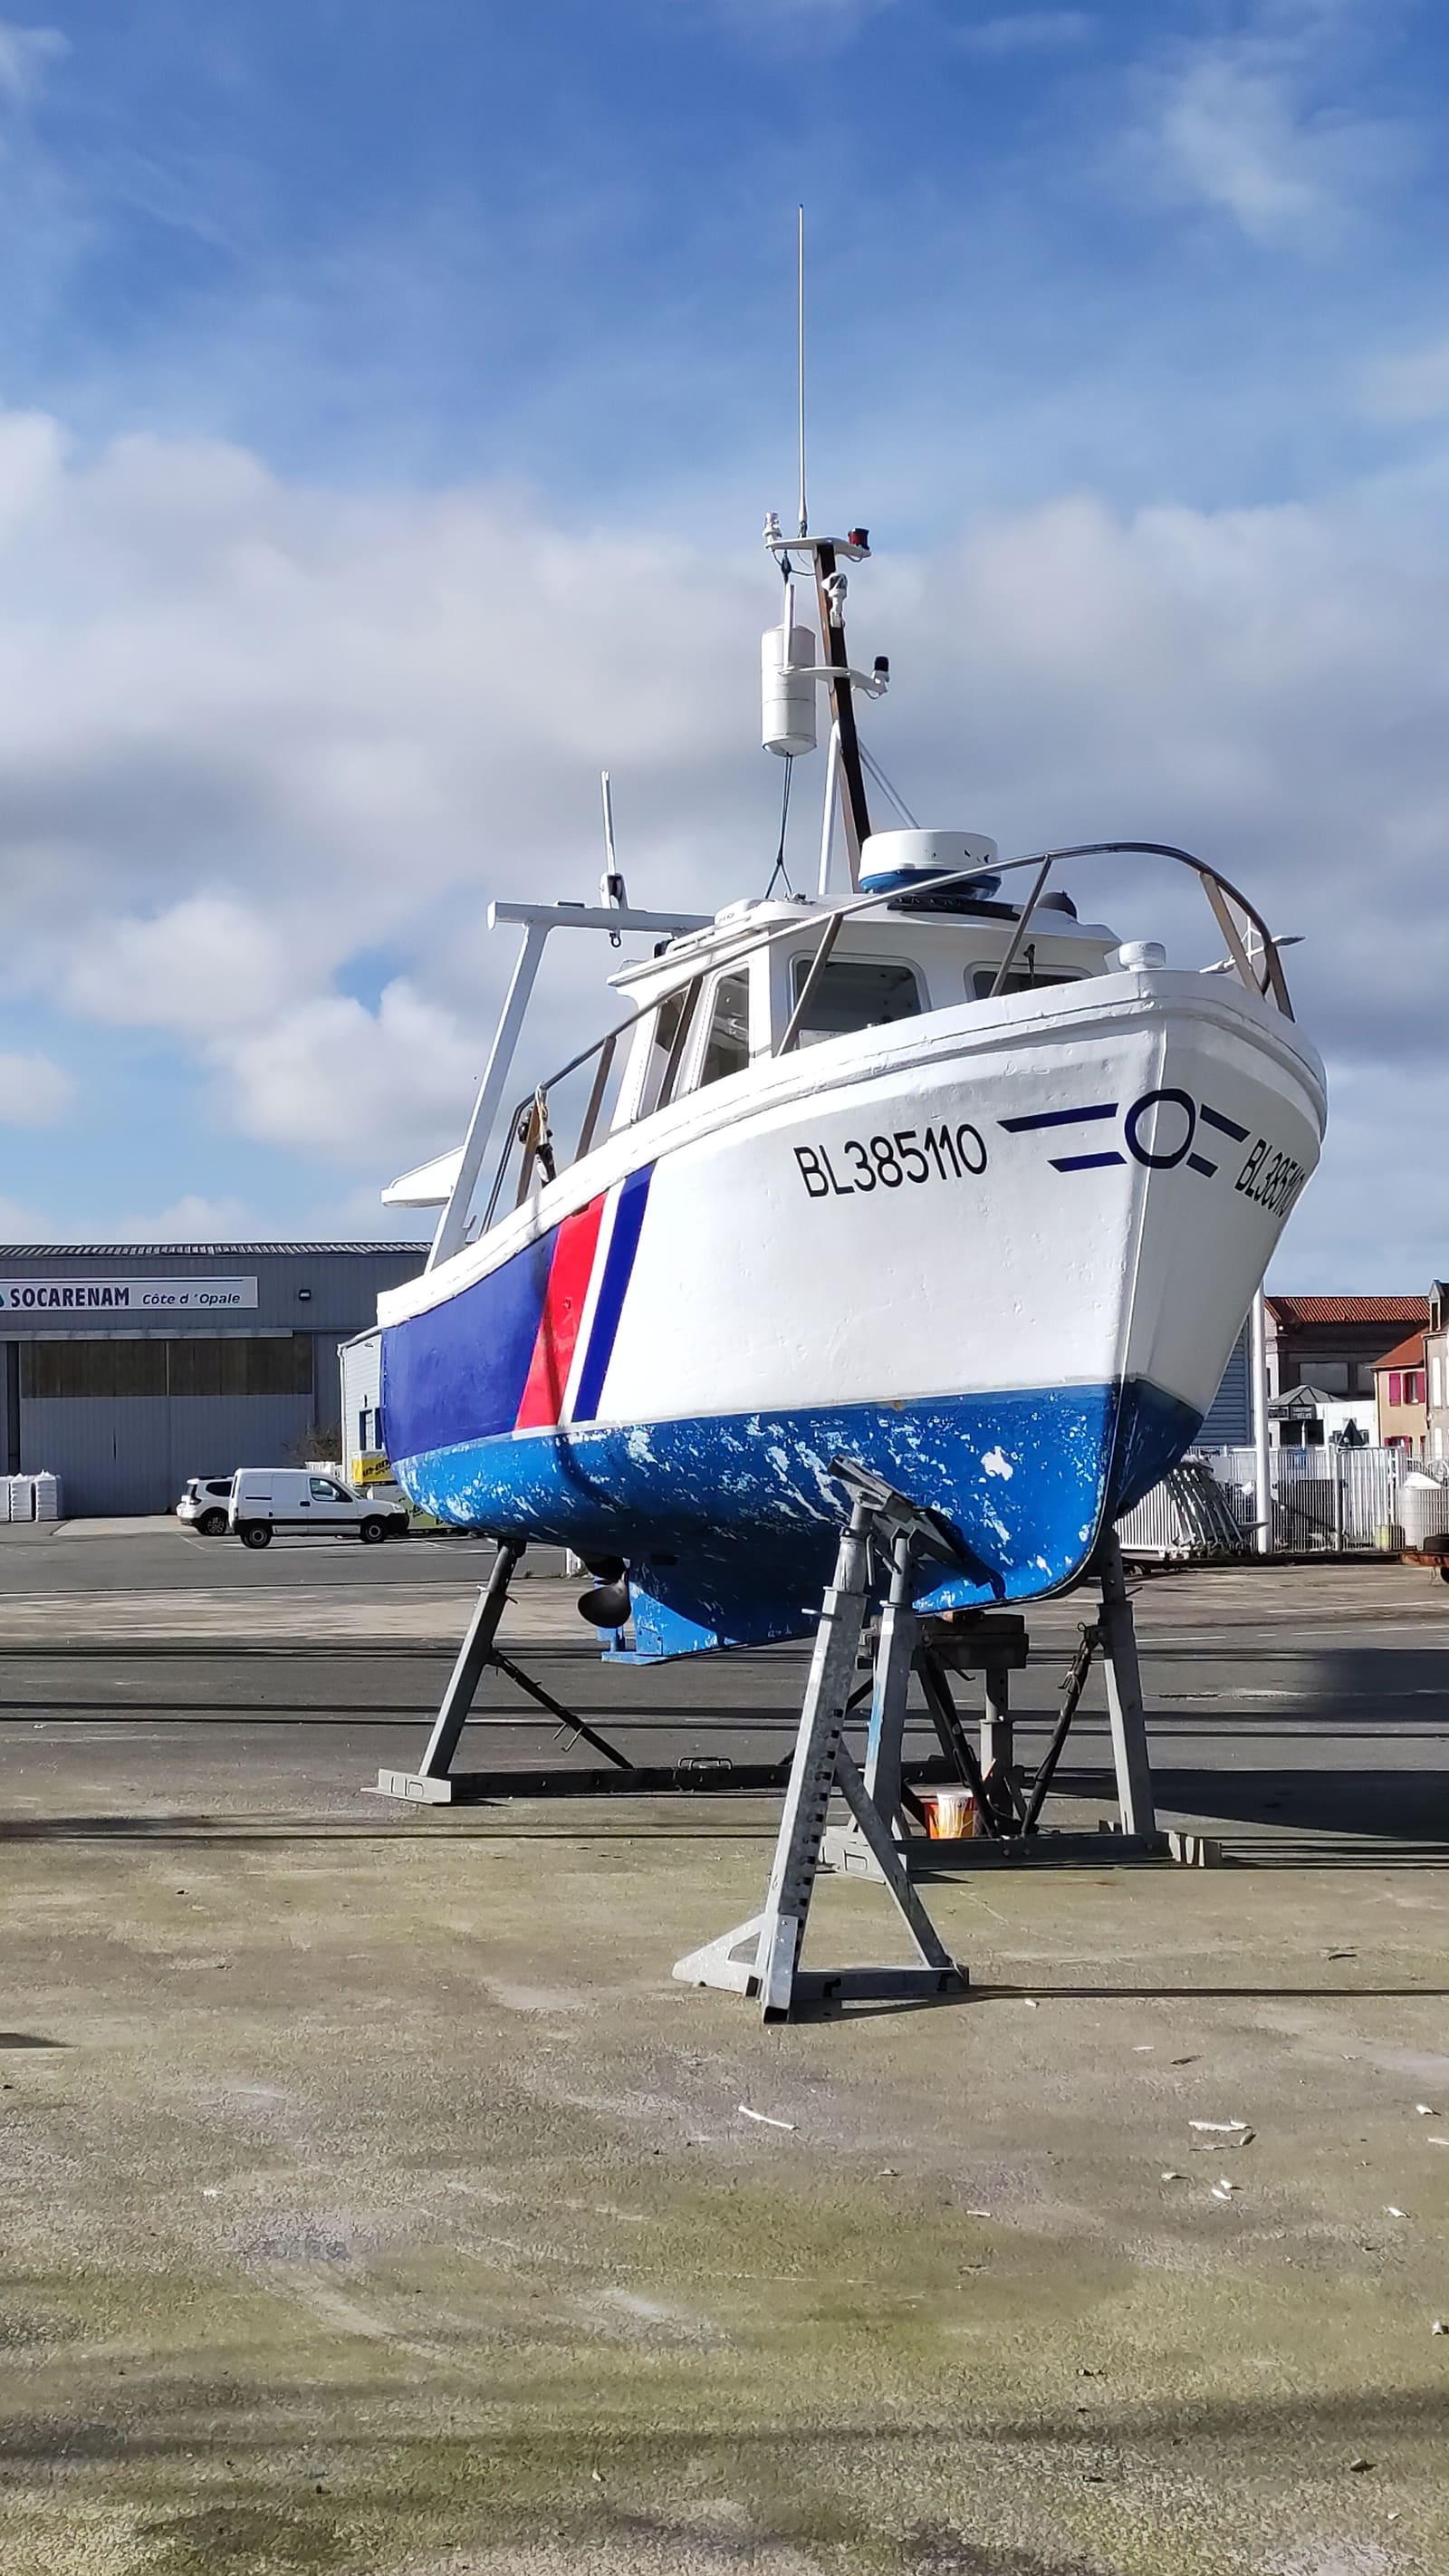
Storing a Boat on Stands and Blocks: Keel Blocking, Stand Placement and Safety Chains
Learn how a boat should sit on keel blocks and boat stands for winter or a haul-out, so you can check the yard's work, spot dangerous setups, and keep your boat from settling, distorting or falling over in wind, rain or a storm.