How to Inspect Your Sailboat's Standing Rigging
A step-by-step owner's inspection of the wires, fittings, turnbuckles, pins, chainplates and mast that hold your rig up, plus how to decide when it is time for a rigger and new rigging. Includes what insurers commonly expect for older rigs.
Time
2 h
Shop would charge
$300-800
Applies to
All engines · Sailboat
Safety first: Going up the mast is dangerous. Only go aloft in a proper bosun's chair or climbing harness, with an experienced person handling the halyard on a winch and a second safety halyard, in calm conditions, after checking the halyards and shackles that will hold you. If that is not you, inspect from deck with binoculars or a zoom lens and hire a rigger for the top. If you find a cracked fitting, broken wire strands or a damaged chainplate, do not sail the boat until it is repaired. A rig failure under sail can bring the mast down on the crew. If you are dismasted, check for injuries first, then deal with the wreckage; call the USCG on VHF 16 or 911 in an emergency, or Sea Tow / TowBoatUS for a tow.
Tools
- Magnifying glass (10x loupe is ideal)
- Bright flashlight or headlamp
- Metal polish and rags
- Tissue paper, cotton balls or an old nylon stocking (to find broken strands)
- Phone camera with zoom, or binoculars for looking aloft from deck
- Notebook or the BoatMend log to record each fitting
- Pliers and a screwdriver for cotter pins and tape
Parts & supplies
- Correctly sized stainless cotter pins (many riggers avoid ring pins on clevis pins and turnbuckles because they can spring open)
- Rigging tape (self-amalgamating or vinyl) if you re-cover pins
- Light lubricant for turnbuckle threads recommended by the turnbuckle maker
Before you start
What standing rigging is: the fixed wires or rods that hold the mast up: the forestay (headstay), backstay, and the shrouds on each side, plus their end fittings, turnbuckles, toggles, pins and the chainplates that tie them into the hull.
How often: BoatUS recommends an inspection at least once a year, with some parts checked more often during heavy use, and a professional inspection every year once the rigging is more than 10 years old until it is replaced. Inspect again after any grounding, knockdown, collision or severe storm.
How long rigging lasts: stainless wire rigging is generally considered to have a service life of about 10 years. It can be less in hot climates, saltwater, or with hard racing or offshore use. Wire often fails at or inside the end fittings, where you cannot see it, so a clean-looking rig is not proof it is sound.
Insurance: many insurers ask about the age of standing rigging, and for older rigs some require a rigger's survey or replacement as a condition of coverage. Practical Sailor notes that more restrictive policies require a specific rig inspection. Requirements vary by company. Check your policy and ask your insurer in writing what they require; a failure on an old, uninspected rig may lead to a denied claim.
Know the date: find out when your standing rigging was last replaced (receipts, previous owner, survey). If nobody knows, assume it is old. Practical Sailor's advice for buyers is the same: unless a replacement is documented, treat the rigging as original. It also suggests a professional rig survey every three to five years for boats that go offshore, with your own inspection in between.
Steps
Do it with the boat still and dry, ideally at haul-out. The best inspection is with the mast unstepped and laid on sawhorses, where you can see everything. With the mast up, check everything you can reach from deck and either go aloft safely or hire a rigger for the masthead, spreaders and upper fittings.
Start at one chainplate and work your way around the boat, writing down each item so you do not skip anything.
Polish the swage fittings, turnbuckles and toggles with metal polish. Dirt and staining hide cracks. Then look at each one with the magnifier in good light. A light rust film can appear even on good stainless and wipes off; a rigging specialist from a Seldén dealer warns that rust which won't come off with polish very likely marks a crack or deeper corrosion, so look at that spot extra carefully and have a rigger check it.
Swaged fittings (smooth tubes pressed onto the wire) are the most common failure point. Look for:
- Hairline cracks, especially along the length of the tube (serious) or around it (even worse, a sign of fatigue)
- Rust weeping from where the wire enters the fitting
- A bent, bulged or banana-shaped fitting
- Proud strands: wires bulging out where they enter the fitting, a common sign of broken strands hidden inside
Give the lower terminals extra attention. Practical Sailor points out that salt water runs down the wire and into the bottom fittings, so they tend to corrode first.
Any crack means replace that stay. Many riggers would replace the whole set if one fitting has cracked from age.
Run tissue paper, a cotton ball or a piece of nylon stocking along each wire in both directions, especially near the fittings. It will snag on broken strands ("fishhooks"). Do not use bare hands; broken strands cut (a sturdy glove works too). A broken inner strand can also show up as a small bump you can feel on the wire, often a hand's width or two from the terminal. Also look for kinks, sharp bends, flattened spots, pitting, and wire that has gone dull and rusty. Broken strands or kinks mean replace the stay.
If your rig has mechanical (compression-type) terminals instead of swages, check the body for cracks and look at where the wire enters for any sign that the wire has slipped or the strands have spread. If in doubt, a rigger can open and inspect them.
Each turnbuckle should turn smoothly, be lubricated, and be locked with cotter pins or locking nuts. Look for cracks in the body and bent threaded studs. There should be enough thread engaged on both ends; BoatUS suggests at least half to two-thirds of the available thread. A stud barely threaded in is a failure waiting to happen. After a haul-out or mast stepping, make sure every turnbuckle that was loosened has been retightened and pinned; BoatUS has paid rig-failure claims where that step was missed.
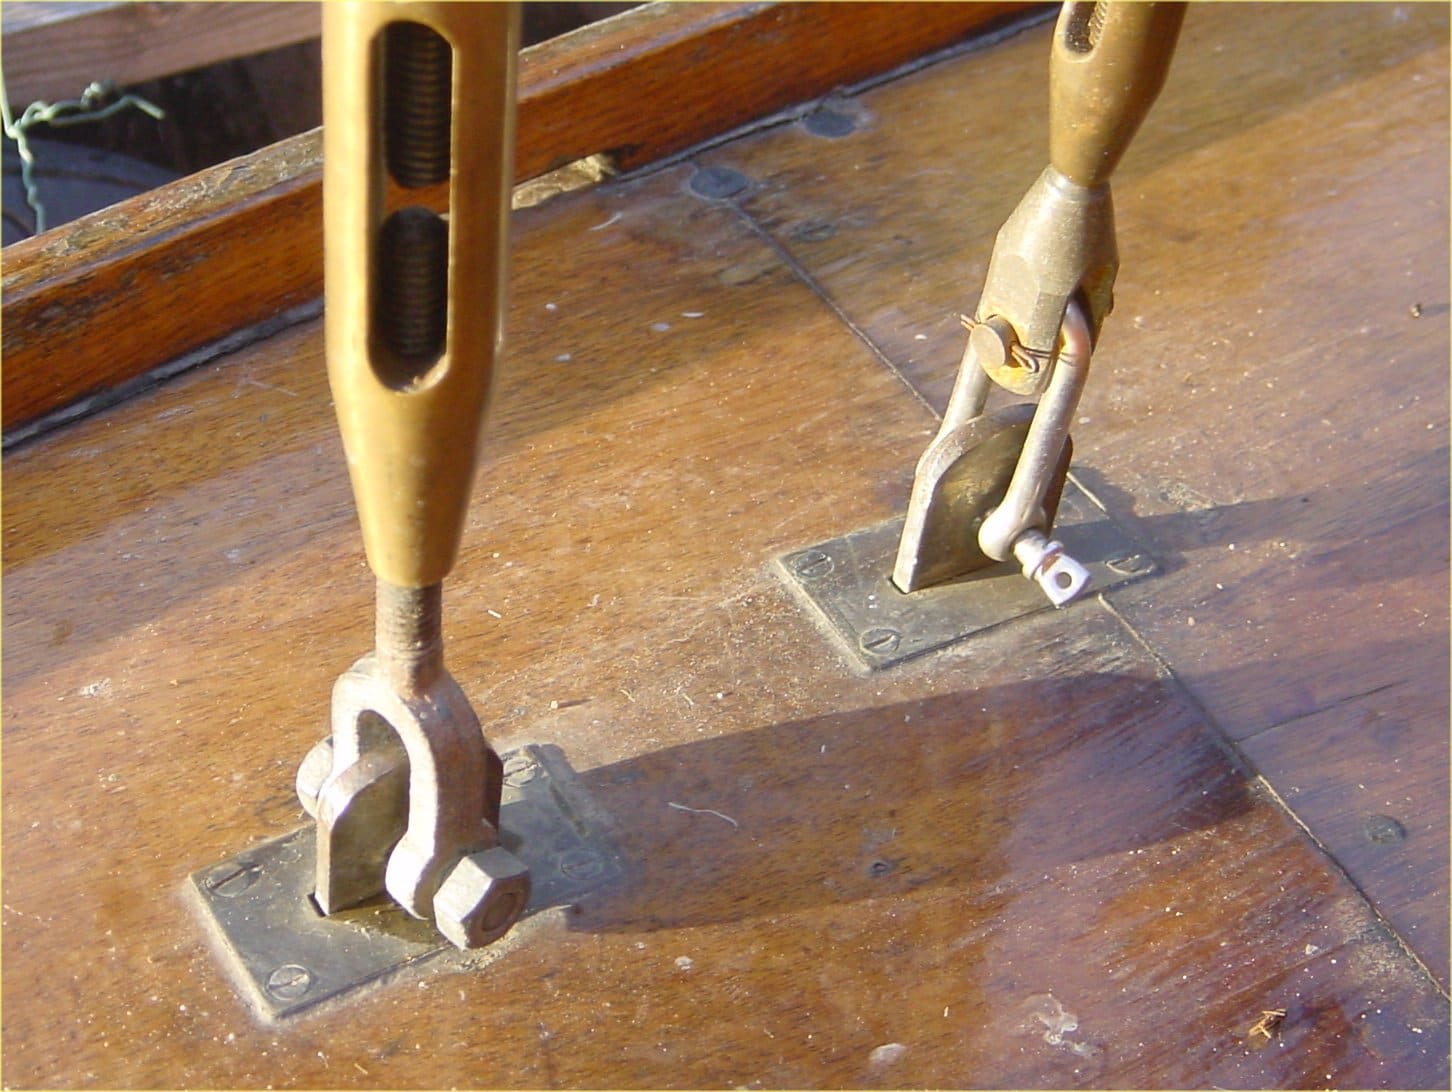
Photo: Sastognuti / Wikimedia Commons · CC BY-SA 3.0 Toggles let fittings move without bending. Make sure every fork lines up with its chainplate or tang without binding or being forced sideways. Look for cracks and elongated (oval) pin holes, which show wear.
Clevis pins should fit snugly. Cotter pins should be the right size, not much longer than needed, and spread at a modest angle rather than curled around (BoatUS suggests legs spread around 25 to 30 degrees). Tape hides problems: remove old tape, inspect, and re-tape only where needed to protect sails and lines.
Chainplates connect the rig to the hull and often fail where you cannot see, at or below the deck. Look at them above deck and below deck (you may need to remove trim):
- Bends, cracks, corrosion and rust stains, especially at the pin holes and where they pass through the deck
- Cracked or hard caulking around the deck opening (leaks rot the structure)
- Water stains, soft spots, delamination or rot in the deck, bulkhead or knee they bolt to
Never paint chainplates; paint hides corrosion. A chainplate can look perfect above and below deck and still be weak where it passes through the deck: Practical Sailor explains that stainless sitting in stagnant water inside a wet deck or core suffers crevice corrosion, which you can only see by pulling the chainplate. BoatUS recommends pulling and inspecting chainplates about every 10 years regardless of appearance, and sooner if you suspect leaks or wet core.
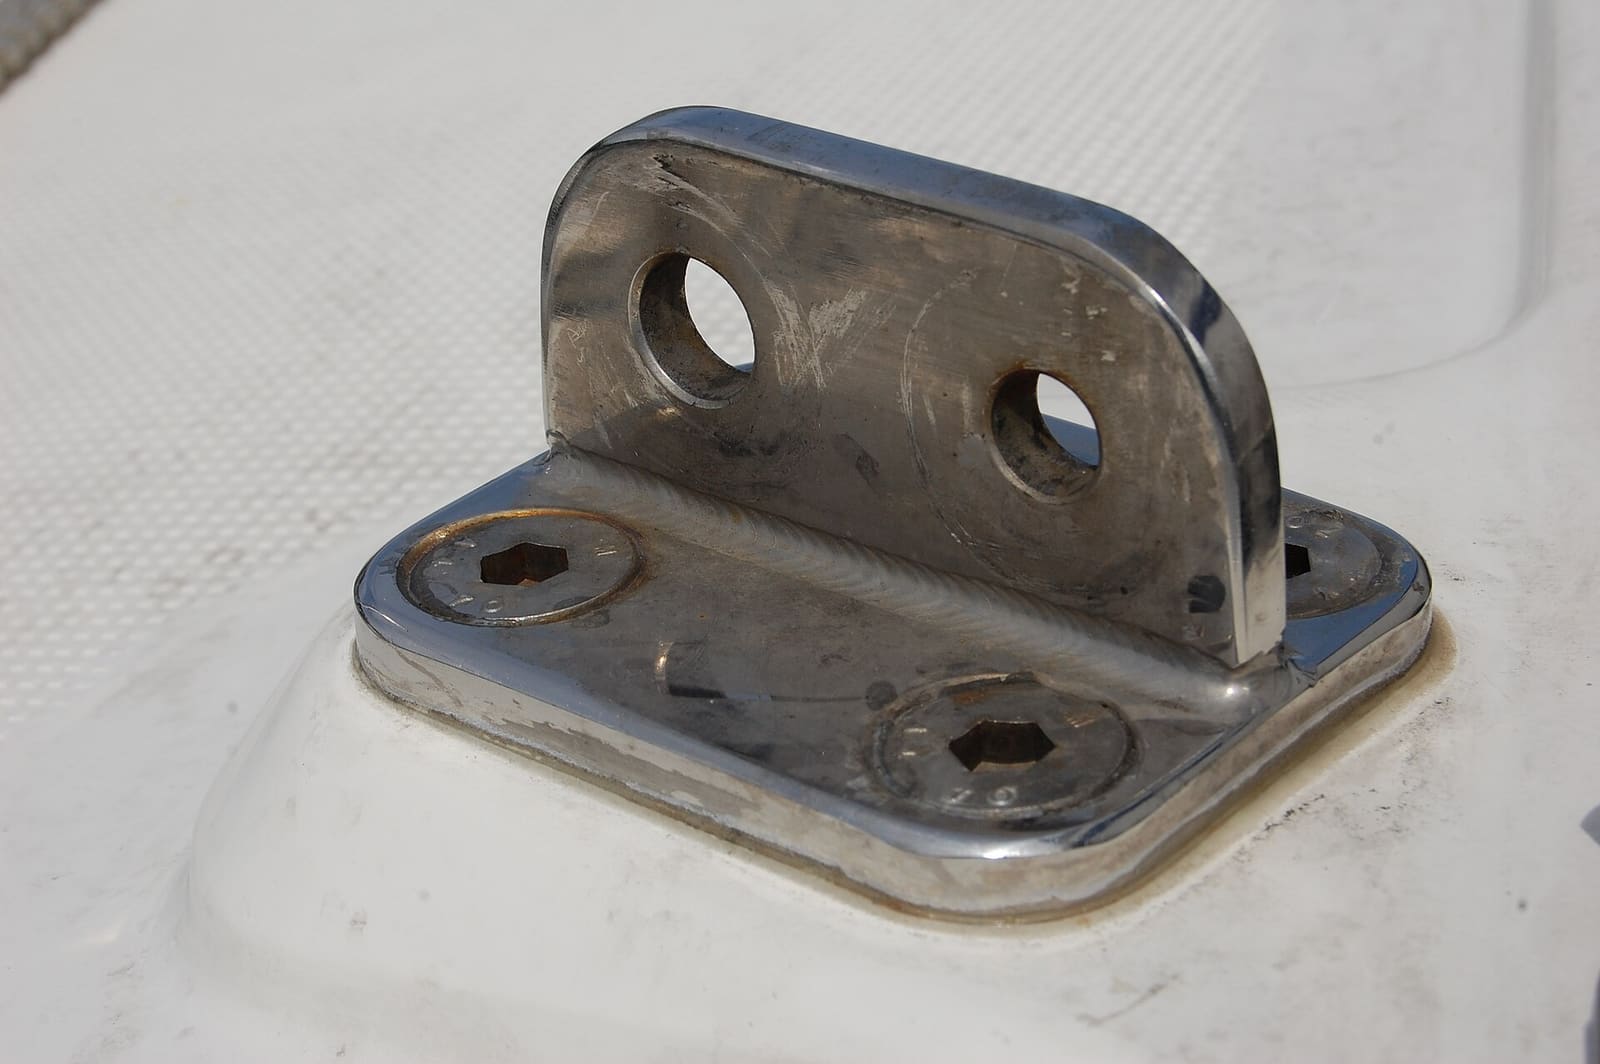
Photo: Prillen / Wikimedia Commons · CC BY-SA 3.0 If you have a roller furler, the forestay wire is hidden inside it. Check the lower fitting and the furler drum, and look at the top swivel when aloft. BoatUS recommends servicing furlers per the maker and, if the headstay is over 10 years old, replacing it when the furler is taken apart.
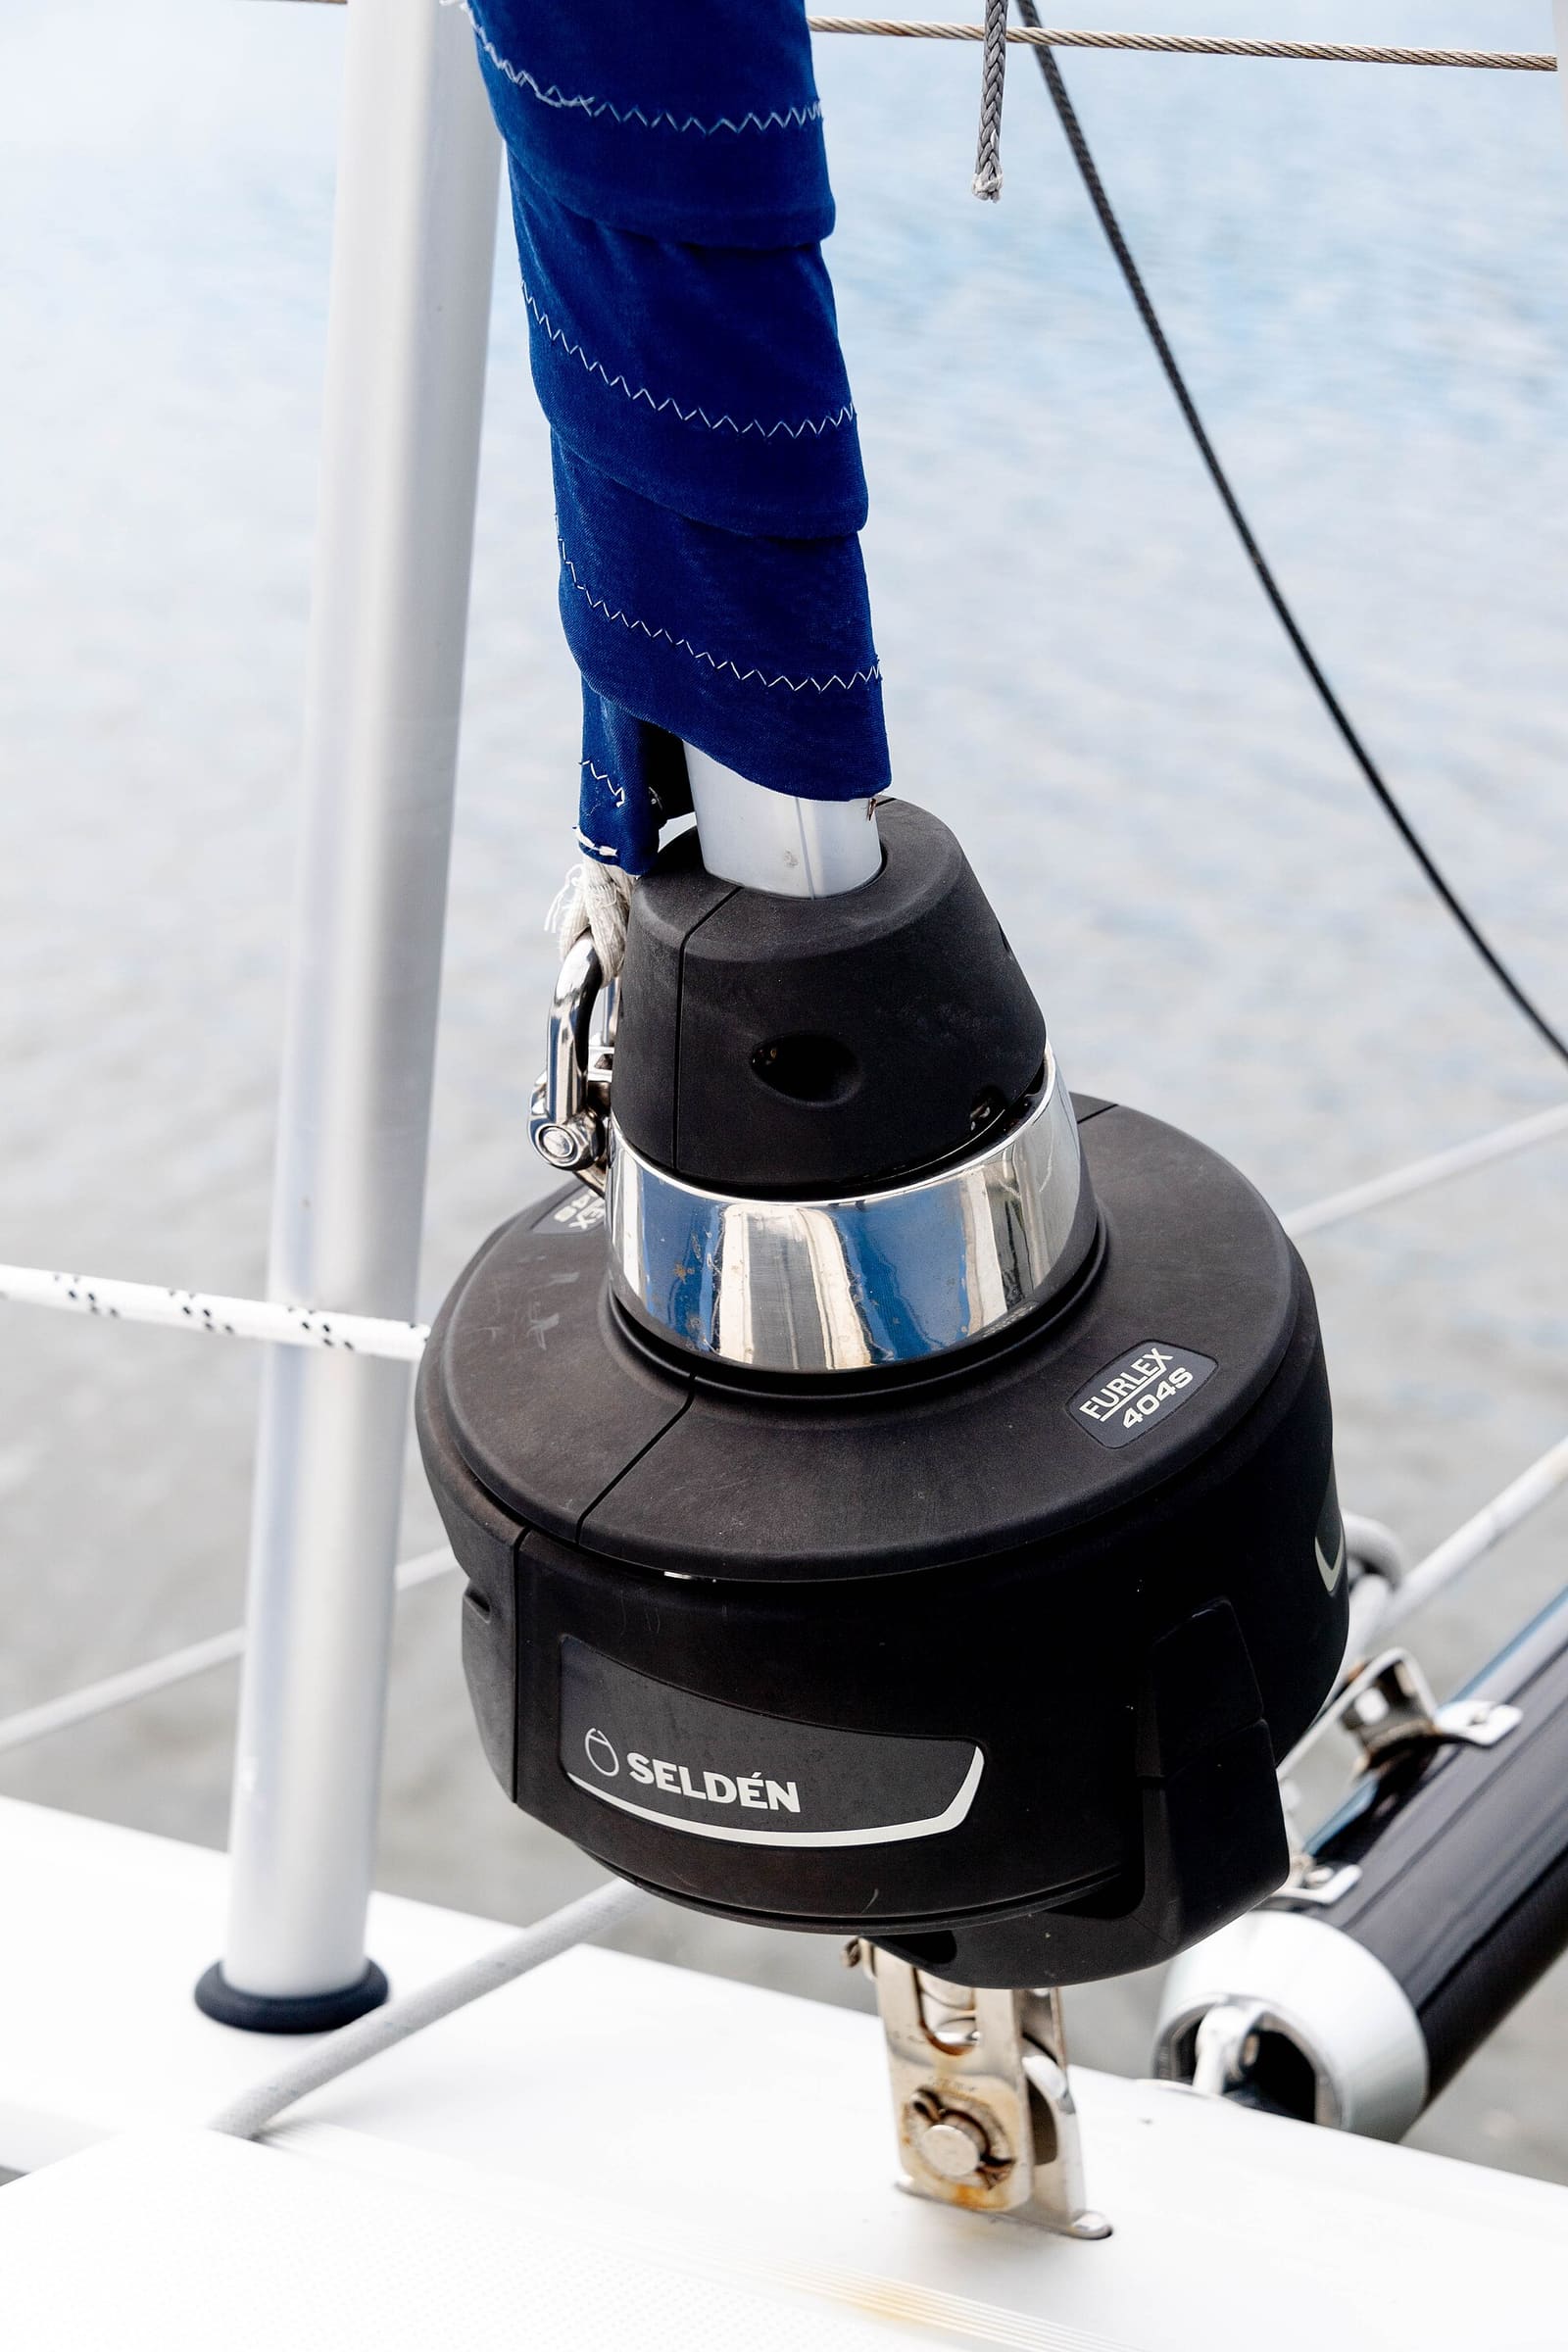
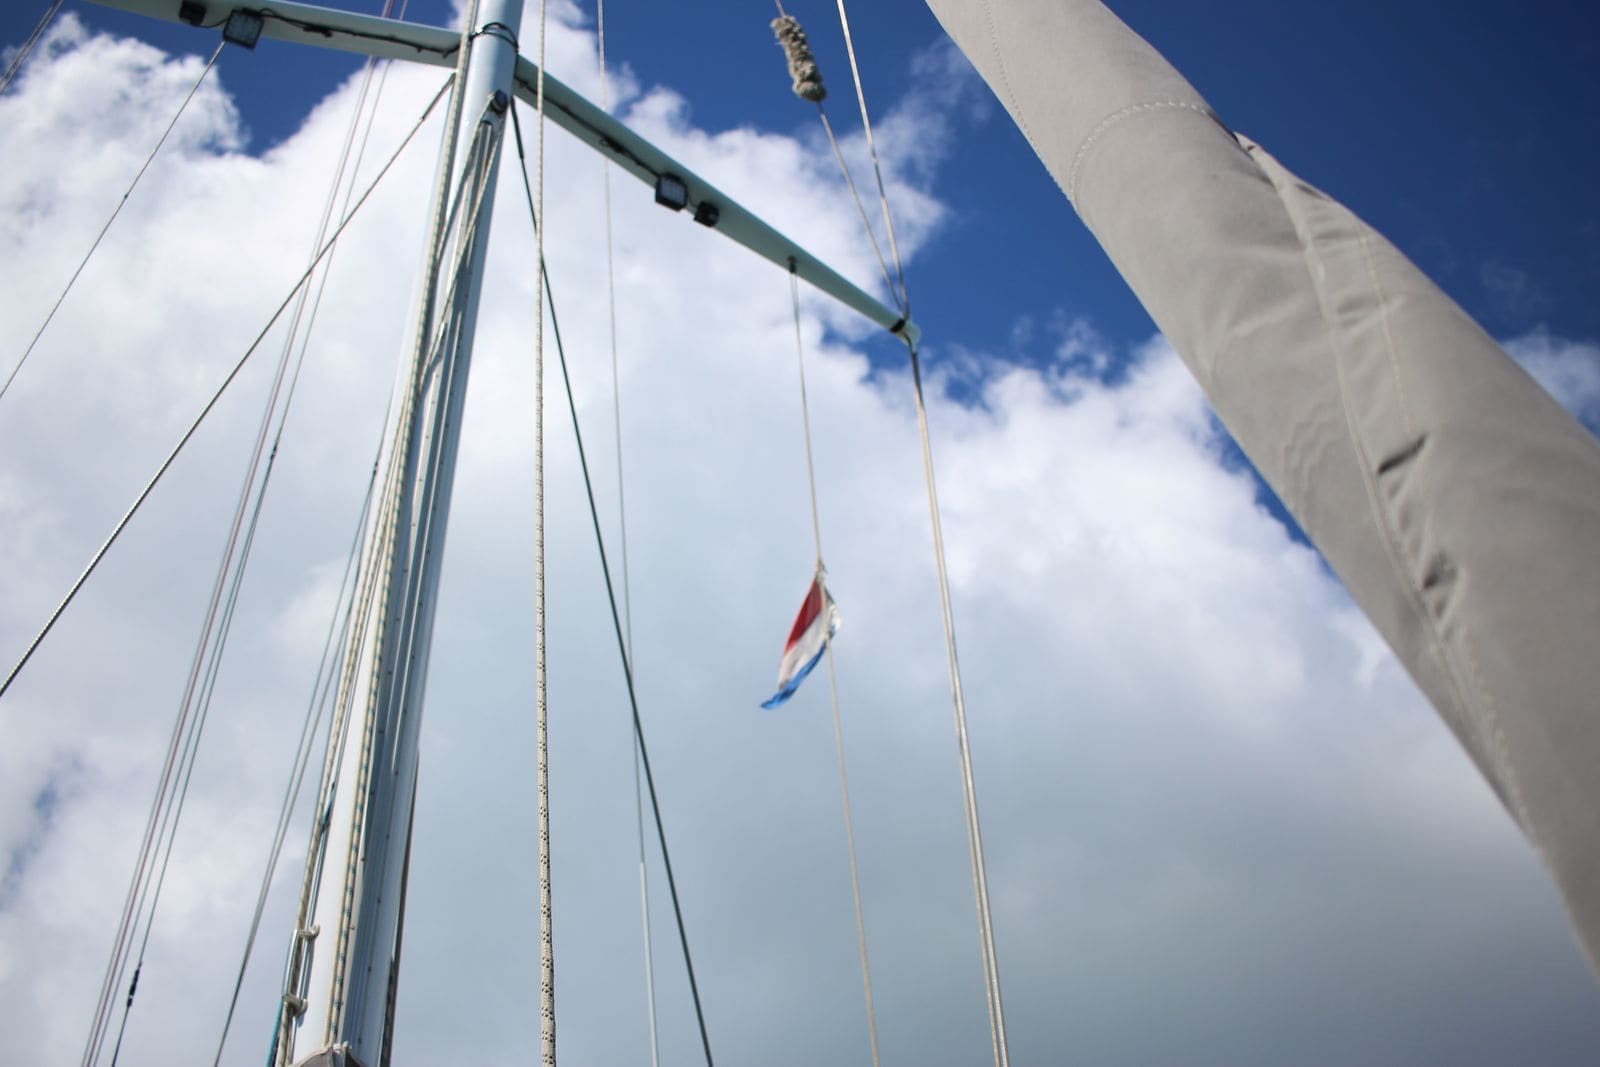
Photo: Craig Stanfill / Wikimedia Commons · CC BY-SA 2.0 Sight up the mast from the deck: it should be straight side to side and centered. Spreaders should sit at equal angles on both sides and their tips should be secure to the shrouds. Look for white powder or bubbling paint on aluminum, which means corrosion, especially where stainless fittings touch the aluminum, at the gooseneck, spreader roots and any welds. Check for loose or missing fasteners; lost bolts are a frequent cause of dismastings. At the foot of the mast, make sure the drain holes aren't blocked, since trapped water corrodes the mast base.
For a keel-stepped mast, look at the step and the floors around it below deck for corrosion, cracking or crushed supports. For a deck-stepped mast, check the deck around the step for cracks, crazing or soft spots, and look at the compression post or support bulkhead below.
A rig that is too loose lets the mast pump and fittings fatigue; one that is far too tight overloads the boat. A shroud that has gone floppy when it used to be tight is a warning, not just a tuning job: it can mean anything from stretched rigging to a sinking or failed mast step, so find out why. If the leeward shrouds go very slack when sailing, or you are unsure, have a rigger tune it. Many riggers tune during the annual inspection.
Check halyard sheaves at the masthead turn freely, shackles are secured (moused), and wire halyards have no fishhooks. Running rigging has its own care, but problems here are easiest to spot during a rig inspection.
Write down the date, what you inspected and anything you found, with photos, in BoatMend. Then decide:
- Everything sound and rigging under 10 years old: sail on, inspect again next year.
- Rigging around or over 10 years old: book a professional rig inspection now and plan replacement; check what your insurer requires.
- Any crack, broken strand, badly corroded chainplate or damaged mast step: do not sail until a rigger has fixed it.
Common mistakes
- Judging rigging by how shiny it looks. Stainless often fails inside the fitting or below deck.
- Leaving old tape on turnbuckles and pins for years, hiding cracks and trapping salt.
- Inspecting the chainplates only above deck.
- Replacing one broken stay on an old rig and assuming the rest are fine.
- Forgetting the headstay hidden inside the furler.
- Not knowing the rigging's age, then finding out after a claim that the insurer required an inspection.
When to call a pro
- Any cracked fitting, broken strand, kink or significant rust weeping from a terminal
- Standing rigging over 10 years old, or of unknown age
- Chainplate corrosion, leaks or soft deck or bulkhead around them
- After a grounding, knockdown, collision, lightning strike or dismasting
- Going aloft if you do not have the gear and experienced help
- Rig tuning, furler service and any rigging replacement
- Your insurer requires a rig survey
Tips
- Take close-up photos of every fitting each year and keep them in BoatMend; comparing year to year shows slow changes.
- Keep a sheet with the date each stay was replaced. It helps with insurance and resale.
- Rinse the rig and fittings with fresh water when you can, especially at deck level where salt collects.
- Ask your rigger to tag the date on new rigging at the turnbuckle.
- Shrouds are normally replaced in pairs, since new and old wire stretch differently. New wire also stretches noticeably in its first weeks of use, so have the tune checked again after the first few weeks of sailing.
Official references
We read these to write this guide. Your engine's own manual always wins.
- BoatUS – Keep Your Rig Standing
- BoatUS – Inspecting Older Sailboats
- BoatUS – Spring Commissioning Checklist
- Practical Sailor – Insurance For Older Sailboats
- Practical Sailor – Sailboat Do-it-Yourself Rig Survey
- YACHT – Rig Check, What Owners Should Look Out For (with a Seldén importer's rigging expert)
- BoatUS – 5 Spring Claims to Avoid (sailboat rigging)
Safety: BoatMend is for information only and does not replace a certified marine technician. You are responsible for your safety and your boat. Read the full disclaimer.
Last updated 2026-10-24
Related guides

Launch Day and Haul-Out Checklist for Trailer Boats
A step-by-step checklist for getting your boat off the trailer and back on again safely and quickly, from the drain plug and tie-downs to the blower and ramp etiquette. Following it in order prevents the classic mistakes that sink boats and back up the ramp.

USCG Required Safety Equipment Check by Boat Length
Walk through your boat and confirm you carry every piece of safety gear the US Coast Guard requires for your boat's length and type, and that none of it is expired or worn out. Missing or expired gear is one of the most common tickets on the water, and it is the gear you need when things go wrong.

How to Clean, Remove Oxidation and Wax Your Boat's Gelcoat (Plus Pontoon Tubes)
Wash your hull the right way, bring back chalky, faded gelcoat with compound, and seal it with wax so it stays glossy and protected from the sun. Includes how to clean and protect the aluminum tubes on a pontoon boat.