Jet Ski Taking On Water: Find the Leak and Drain It Safely
A little water in a personal watercraft's hull after a ride is normal; a lot is not. Learn how to tell the difference, drain the hull, and track the leak from the easy causes (drain plugs, seat and hatch seals, loose hose clamps) to the serious ones (driveshaft seal, exhaust, hull cracks), and when to stop riding.
Time
1 h 30 min
Shop would charge
$100-800
Applies to
Jet ski / PWC · Jet ski / PWC
Safety first: If your watercraft is sitting lower than normal, feels sluggish or the stern is going under, head for shore at a slow, steady speed now, keep your life jacket on and stay with the craft if it swamps (it will still float and is easier to spot than a swimmer). Call for help early: TowBoatUS or Sea Tow for a tow, or the Coast Guard on VHF channel 16 or 911 in an emergency. If a tow is needed, keep it slow, since water can be forced into the engine through the exhaust at speed. On land, never start an engine that may have water in it, and open the seat to air out fuel vapor before you work.
Owners often ask
- How much water in my jet ski hull after a ride is normal?
- Water comes into my jet ski's engine compartment at full throttle. Where should I look?
This guide walks you through it. Still stuck? Ask the AI Mechanic about your engine.
Tools
- Your Operator's Guide or owner's manual
- Flashlight
- Large sponge, towels or a small wet-vac
- Screwdrivers and a nut driver for hose clamps
- Garden hose
- Notepad or phone for photos
Parts & supplies
- Drain plugs and their O-rings or gaskets (if worn)
- Stainless hose clamps of the correct size
- Marine grease (for drain plug threads, if your manual calls for it)
Before you start
What is normal: a cup or two of water in the hull after a day of riding, especially after climbing aboard from deep water, riding in chop or spraying waves over the deck. Water finds its way past seals in small amounts on every brand.
What is not normal: water you can see sloshing around the engine, water up to the bottom of the engine or exhaust parts, a craft that sits stern-low or bow-heavy, or the same large amount after every short ride. That needs to be found and fixed before the next ride, because water in the hull can reach the air intake and the electrics, and a flooded hull can sink the craft.
How water gets out: most personal watercraft have drain plugs at the stern to empty the hull on land. Many also have a bilge system that removes water while you ride; on many models it works by suction from the jet pump and only works while moving, and some add an electric bilge pump. Your manual explains your system.
Work through the steps in order: the cheap, common causes come first.
Steps
After a normal ride, pull the craft out, keep it level and remove the seat. Note roughly how much water is inside and where it pools (front, around the engine, at the stern by the pump). Ask:
- Does it happen at idle or sitting at the dock? That points to something below the waterline: plugs, the driveshaft seal, a hull crack.
- Only when riding fast or in chop? That points to seals, hoses or vents that only get water under pressure or spray.
- Only after reboarding from deep water or with a heavy load? Often normal spray past the seat seals.
On the trailer, with the bow higher than the stern, remove the stern drain plugs and let the water run out. Yamaha's post-ride routine is to open the stern drain valves, rinse the bilge, then raise the bow so all the water drains and the hull dries. Mop up what is left with a sponge or wet-vac, and leave the seat off so it can dry.
Plug practice differs by maker: Yamaha's global post-operation advice is to keep the drain plug out while the craft is on land, while Yamaha's US storage checklist says to make sure the plugs are installed. Follow your manual, but always put a reminder on the steering or tow vehicle whenever the plugs are out.
A plug that is loose, cross-threaded or missing its O-ring lets water in steadily, even at the dock.
- Inspect each plug and its O-ring or gasket for cracks, flattening or sand.
- Clean the threads in the plug housing.
- Yamaha's pre-ride check says to make sure the plugs are correctly installed, and to lubricate dry fittings with marine grease.
- Tighten firmly by hand or as your manual describes. Do not crank on them with tools so hard the housing cracks.
Sea-Doo's launch advice is simple: install the drain plugs before you back down the ramp, and loosen them after you pull out.
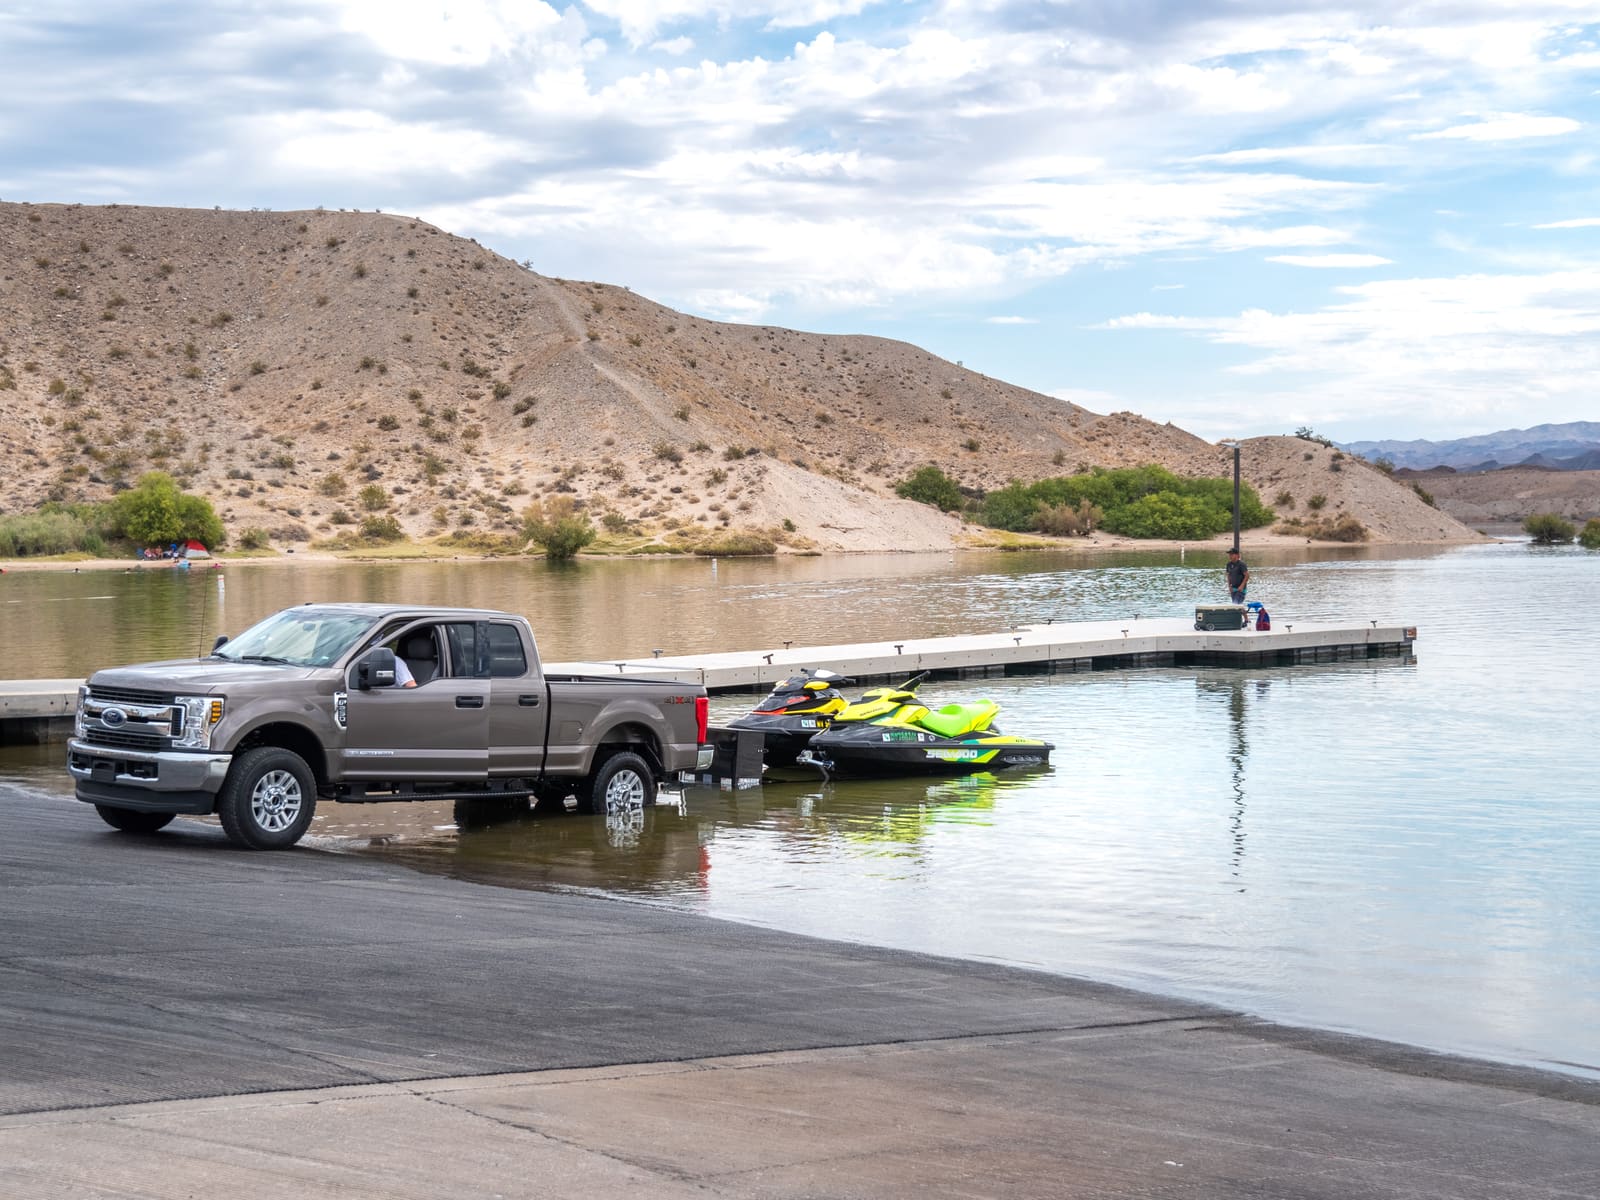
Plugs in before the trailer gets wet: forgotten drain plugs are the most common cause of a flooded hull. Photo: Andrew Cattoir, Lake Mead NRA / Wikimedia Commons · Public domain Yamaha notes that worn seat and hatch seals let water in and recommends treating them with a silicone protectant. Look for rubber that is torn, flattened, cracked or pulled away from the edge, and latches that do not pull the seat down tight. Water that enters this way shows up mostly after spray, waves over the deck or deep-water reboarding.
With the seat off and a flashlight, follow each hose you can see: cooling water lines, exhaust hoses, bilge hoses and the water box or muffler connections. Yamaha's post-operation checklist includes checking exhaust and cooling hose clamps for looseness and corrosion.
- Snug loose clamps. Replace rusted ones with stainless clamps of the same size.
- Replace any hose that is cracked, split or soft.
- Look for white salt trails or rust stains that show where water has been escaping.
A loose or split exhaust connection is especially important: it can let hot exhaust and water into the hull and, on some models, into the engine. If you find one, do not run the engine until it is fixed.
- Suction (siphon) bilge: small hoses run from the low point of the hull to the jet pump area. If a hose is cracked, kinked, disconnected or its pickup is clogged with debris, water stays in the hull while you ride. Clean the pickup screens and blow through the lines if your manual allows.
- Electric bilge pump (if fitted): test it, check its fuse, and make sure the outlet is not clogged. See our bilge pump guide for the general method.
- A failed one-way valve or a hose connected backwards can actually siphon water in when the craft sits. Compare against the diagram in your manual.
The driveshaft passes through the hull from the engine to the jet pump, and a seal keeps water out at that point. It is a wear item on every personal watercraft and one of the most common causes of serious water in the hull.
- Sea-Doo uses a carbon ring seal pressed against a ring on the shaft by a rubber boot.
- Yamaha and Kawasaki typically use rubber seals in a bearing housing, often with a grease fitting.
With the seat off, look at where the shaft goes through the back of the hull. Signs of trouble: water collecting right at the seal, a torn or cracked rubber boot, loose boot clamps, black carbon dust (on carbon ring seals) or a dry grease fitting. Many manuals list a seal or bearing housing check and a greasing interval: follow yours. Running the engine out of the water longer than the manual allows, worn engine mounts or misalignment can wear the seal faster.
Replacing the driveshaft seal usually means removing the jet pump and shaft and checking engine alignment. Most owners leave that to the dealer.
Look under the stern at the jet pump mounting, ride plate and intake grate. Missing or loose bolts, a damaged pump seal or a cracked area where the pump bolts to the hull can let water in. While you are there, check the intake grate for damage; our jet pump guide covers the pump itself.
Hulls crack from beaching, hitting submerged objects, poorly adjusted trailer bunks or jumping waves. Yamaha's pre-launch checklist includes checking the hull for damage, soft spots, blistering or cracks. Check:
- The bottom, keel and the area near the intake, especially after beaching on rocks or shells
- The bond line where the deck and hull are joined
- Holes for accessories such as speakers, cleats, mirrors or reboarding steps, and screws added by previous owners
- Inside the hull with a flashlight, for cracks or wet patches that keep coming back
Pick the gentlest test first:
- Fill test (on the trailer): with the plugs in and the craft level, pour a few gallons of water into the hull, then look underneath and around the stern for drips. Drain completely afterwards.
- Dock test: with the seat off, a helper holding the craft at a dock in calm water and the engine off, watch inside with a flashlight for 10 to 15 minutes. Look first at the plugs, the driveshaft seal and the pump area. Do not run the engine while you are leaning into the compartment.
- Pressure test: dealers can pressurize the hull with low air pressure and spray soapy water to show tiny leaks. Too much pressure can damage seals, so leave this to a shop.
Leak only shows up after half an hour of riding? That's a common forum puzzle, and it usually means water gets in only under load or when hoses get hot: cooling hoses and their fittings, exhaust and water-box hoses, freeze plugs on the engine, or bailer (bilge) lines that have been reconnected backwards and now push water in. Experienced riders find these by watching inside while the craft sits in the water on its submerged trailer, securely strapped down, with a helper giving it a little throttle so the engine and driveshaft are under load. Keep hands, hair and loose clothing well clear of the moving shaft, and let a dealer do this test if you're not comfortable with it.
If the water level got high, check:
- The air filter and air box: Yamaha recommends checking the air filter for signs of water intrusion. A wet filter or water in the air box is serious: do not start the engine; see the dealer.
- The engine oil: milky or rising oil means water may be in the engine.
- The electrical box and connectors: corrosion or water inside means you may see electrical faults later. See our PWC electrical troubleshooting guide.
On the water, a flipped craft should be rolled back upright in the direction shown on the decal at the stern (often printed upside down so you can read it when the craft is overturned). The boater-education course material used by many states warns that rolling it the wrong way can damage the craft; the usual concern is water running into the engine through the air intake or exhaust. If there is no decal, learn the direction from your owner's manual before your first ride.
Back on land, do not try to start it. Get it on the trailer, drain the hull, and follow the capsized or submerged watercraft procedure in your manual if it has one. Otherwise take it to a dealer the same day if possible: water in the cylinders can bend internal parts when the engine cranks, and salt water corrodes quickly.
Common mistakes
- Launching with the drain plugs still out, or losing them in the parking lot.
- Assuming any water in the hull means a major leak, or the opposite: ignoring a little more every ride.
- Overtightening drain plugs until the plastic housing cracks.
- Replacing a corroded hose clamp with a plain steel one that rusts again in a season.
- Running the engine on the trailer longer than the manual allows, which can wear the driveshaft seal.
- Cranking an engine that may have water in it.
- Towing a swamped craft at speed.
When to call a pro
- Water is collecting at the driveshaft seal, or the boot is torn
- The leak is at the pump mounting, ride plate or a hull crack
- Water reached the air box, the oil is milky, or the craft sank or flipped and will not start normally
- An exhaust leak, or exhaust smell or water inside the hull while running
- You cannot find the leak with the fill and dock tests (a pressure test is the next step)
- On the water and sinking or unable to make headway: TowBoatUS, Sea Tow, or VHF 16 and 911
Tips
- Keep the drain plugs on the same ring as the trailer lock key or the lanyard so they cannot be left behind.
- After every ride, take the seat off for a minute and look. Catching a slow leak early is cheap.
- Yamaha suggests standing the seat on end after washing so the foam can drain instead of dripping into a clean engine compartment.
- Write down how much water you find each time. A steady increase over a season usually means a seal is wearing.
Official references
We read these to write this guide. Your engine's own manual always wins.
- Sea-Doo – Complete Set-Up and Inspection Guide of Your PWC
- Sea-Doo – How Do You Launch and Load a Sea-Doo?
- Yamaha WaveRunners – Maintenance Matters
- Yamaha WaveRunners – How to Perform a Pre-Ride Check
- Yamaha WaveRunners – How to Perform a Post-Ride Check
- Yamaha Motor – Post-operation Checks (WaveRunner)
- Boat-Ed (Utah Boater Safety Course) – Reboarding a Capsized PWC
Safety: BoatMend is for information only and does not replace a certified marine technician. You are responsible for your safety and your boat. Read the full disclaimer.
Last updated 2026-10-24
Related guides
Jet Ski Won't Start or Won't Beep: A Step-by-Step Check
Most personal watercraft that refuse to start have a simple cause: the key or lanyard, a weak battery, a blown fuse, a security lock or a flooded engine. Work through these checks from the cheapest to the most involved and learn what each result means for Sea-Doo, Yamaha and Kawasaki models.
Jet Ski Electrical Problems: Dies in Waves, Low Voltage and Bad Connections
A personal watercraft that cuts out when it hits chop, shows low voltage, flickers its display or blows fuses usually has a corroded or loose connection, not a dead computer. Work from the battery and grounds to fuses, relays and module plugs, and learn when the job needs a dealer's diagnostic tool.
Jet Ski and Jet Boat Pump Care: Clearing the Intake Grate and Checking the Impeller and Wear Ring
Clear weeds, rope and rocks from the intake grate of a Sea-Doo, Yamaha WaveRunner, Kawasaki Jet Ski or jet boat, and learn to spot a damaged impeller or worn wear ring. A clogged or worn pump is the usual reason a jet craft revs high but goes slow.
What to Do When Your Boat Is Taking On Water: Emergency Steps and Prevention
A step-by-step emergency plan for water coming into the boat - life jackets on, call for help early on VHF 16, find and slow the leak, pump, and head for shallow water if needed - plus the maintenance checklist that prevents most sinkings.
How to Test and Clean Your Bilge Pump and Float Switch
Make sure your bilge pump actually moves water overboard, both on the manual switch and automatically through the float switch. A working bilge pump is one of the most important safety systems on any boat that stays in the water.

Launch Day and Haul-Out Checklist for Trailer Boats
A step-by-step checklist for getting your boat off the trailer and back on again safely and quickly, from the drain plug and tie-downs to the blower and ramp etiquette. Following it in order prevents the classic mistakes that sink boats and back up the ramp.
How to Winterize a Jet Ski or PWC (Sea-Doo, Yamaha WaveRunner, Kawasaki)
Get your personal watercraft ready for the off-season by flushing and draining the cooling and exhaust system, stabilizing fuel, changing oil, fogging, and storing the battery. Doing it yourself takes an afternoon and helps avoid freeze damage, corrosion and spring no-starts.
How to Change the Oil and Filter on a Four-Stroke Jet Ski (PWC)
Pump the old oil out through the dipstick tube, swap the filter, refill and check the level the way your model requires. A yearly oil change (or at the hours your manual lists) is the single most important service for a four-stroke Sea-Doo, Yamaha WaveRunner or Kawasaki Jet Ski.