Jet Ski and Jet Boat Pump Care: Clearing the Intake Grate and Checking the Impeller and Wear Ring
Clear weeds, rope and rocks from the intake grate of a Sea-Doo, Yamaha WaveRunner, Kawasaki Jet Ski or jet boat, and learn to spot a damaged impeller or worn wear ring. A clogged or worn pump is the usual reason a jet craft revs high but goes slow.
Time
45 min
Shop would charge
$150-600
Applies to
Jet ski / PWC, Jet boat · Jet ski / PWC, Jet boat
Safety first: The impeller blades are sharp and can start turning the instant the engine cranks. Before you reach anywhere near the intake or nozzle, stop the engine and remove the safety lanyard or key fob, and keep it in your pocket. Never put your hand in the intake while anyone is on the craft. If you have to clear debris in the water, stay clear of the stern, watch for other boats and wear your life jacket. If the hull is cracked, water is getting into the hull, or you smell fuel, stop riding and get the craft to shore or call for a tow (Sea Tow / TowBoatUS, or the USCG on VHF 16 or 911 in an emergency).
Owners often ask
- My jet ski is overheating. Could it be the wear ring or a clogged cooling line?
This guide walks you through it. Still stuck? Ask the AI Mechanic about your engine.
Tools
- Bright flashlight
- Cut-resistant or heavy work gloves
- Blunt hook, long screwdriver or wooden stick for pulling debris
- Utility knife (for cutting rope or fishing line, used carefully)
- Socket set if your grate bolts must be removed (check your manual)
- Garden hose and flush adapter for your model
- Phone camera
Parts & supplies
- Replacement grate bolts or anodes only if yours are damaged (match your model)
- Wear ring and impeller only if inspection shows wear (usually dealer-installed)
Before you start
How a jet pump works: water is sucked in through the intake grate on the bottom of the hull, then a spinning impeller inside a tight-fitting wear ring (also called a liner) pushes it out through the nozzle at the back. The tiny gap between the impeller tips and the wear ring is what creates thrust. On most models, the engine's cooling water is also picked up from the pump.
Signs of a pump problem:
- Engine revs high but the craft is slow or will not get on plane (cavitation)
- Sudden loss of power, vibration or a grinding or buzzing sound
- Engine overheating alarm, or a weak or missing pilot water stream (cooling water outlet)
- Poor steering or reverse
- Pulling to one side in calm water. Check the nozzle and grate for debris first; if they are clear, Sea-Doo describes a handlebar-to-nozzle steering alignment adjustment in its owner pages and operator's guide (the steps differ by model, and on iBR models the reverse gate has to be overridden first)
Before blaming the pump for low top speed, rule out the free stuff owners often miss: a learning or limited-speed key or mode (many Sea-Doo models have a learning key, and several brands have ECO or slow modes), a used craft whose key or settings were changed by the last owner, and on supercharged models a supercharger due for its service. A dealer can read the settings and fault codes.
The cause is usually, in this order: something caught in the grate or wrapped around the shaft (weeds, rope, plastic bags, fishing line), a damaged impeller from sucking up rocks or sand, or a worn wear ring from sand and grit over time.
Have your owner's manual ready. Yamaha and Sea-Doo both list a visual check of the intake grate in their pre-ride checks, and Sea-Doo's storage routine includes checking the grate and impeller for weeds, rocks and debris.
Steps
Some newer Sea-Doo models have the iDF (Intelligent Debris Free) system: stop, press the iDF button and follow the display; it reverses the pump to push debris out. Other models may have their own procedure in the manual. If that does not fix it, or you do not have such a system, go to the next step.
Stop the engine and remove the lanyard or key fob. If you are on the water, get to shallow water you can stand in (calm, away from traffic) or tow the craft in. The best place to work is on the trailer, on level ground, with the craft secured and the engine cooled.
With the flashlight, look up into the grate from underneath the hull. Pull out weeds, plastic, leaves and rope with a blunt hook or stick, working from the outside. Do not stick your fingers between the grate bars toward the impeller. Cut rope or fishing line carefully with a knife and pull out the pieces.
Rope and fishing line often wrap around the driveshaft just in front of the impeller, where it is hard to see. Shine the light through the grate at an angle. Tight wraps can damage the shaft seal and let water into the hull. If a rope is wrapped tight and you cannot remove it easily, the grate or pump may need to come off (step 9).
From the back of the craft, shine the light into the nozzle (and through the steering nozzle and reverse bucket) toward the impeller. Pull out anything lodged there. Check that the steering nozzle and reverse gate move freely when someone turns the handlebars and works the reverse lever, with the engine off and the lanyard removed.
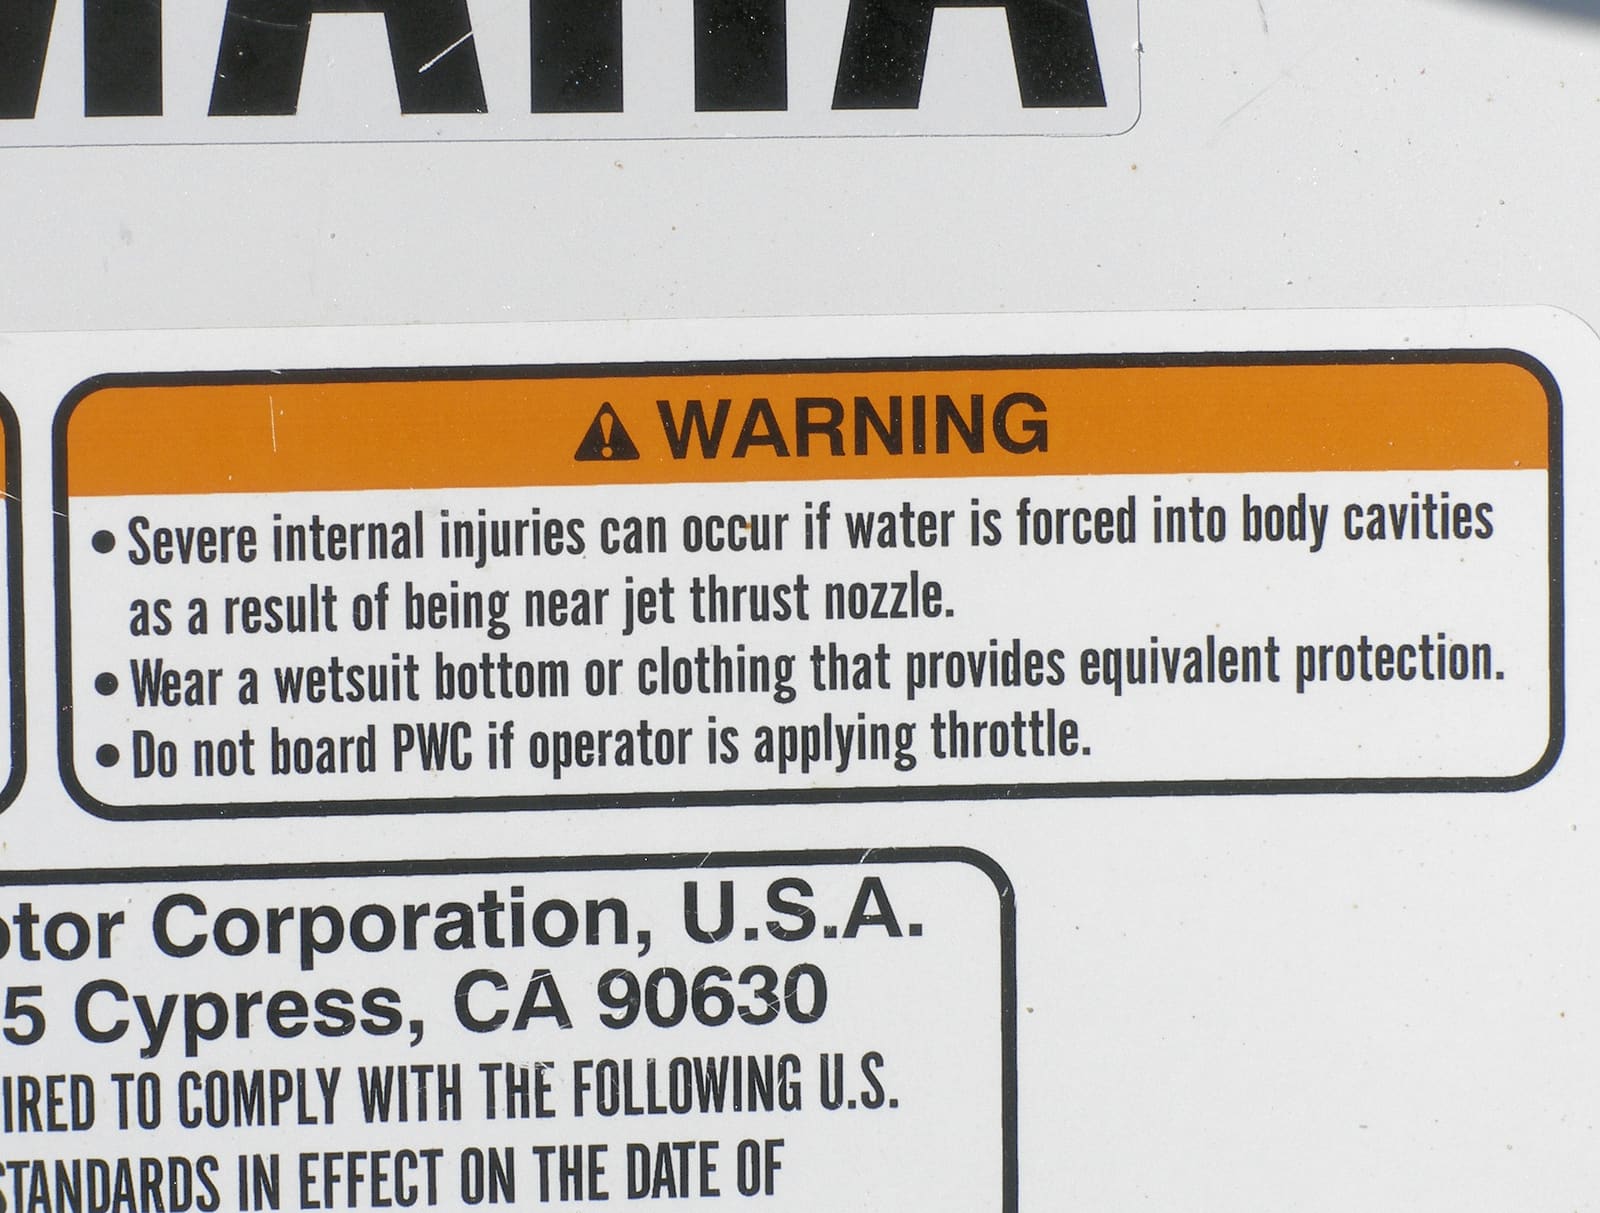
The warning labels on the hull mean it: the nozzle area is only safe to work on with the engine off and the lanyard in your pocket. Photo: Coolcaesar / Wikimedia Commons · Public domain Through the grate or nozzle, look at the leading edges of the impeller blades (photograph them with the phone for a closer look). Look for:
- Nicks, chips or dents: from rocks or sand. Small dings can cause vibration and cavitation.
- Rolled or bent edges: usually from sucking up rocks or running in shallow water.
- Cracks or missing pieces: stop riding; this needs a dealer.
Look at the gap between the impeller blade tips and the wear ring around them. It should be a very small, even gap. Warning signs are deep scratches or gouges in the ring, a ring that looks oval or worn more on one side, or a gap that looks noticeably larger than before. The exact allowed clearance is in your service manual and is measured with feeler gauges, usually with the pump removed. If the craft revs high, goes slow, and the grate is clear, a worn wear ring is the usual cause.
Sea-Doo describes its standard composite wear ring as a sacrificial part: when a stone or stick gets past the grate, the ring is meant to take the damage so the more expensive impeller and driveshaft don't. That is why a chewed-up ring is common and not a disaster, and why Sea-Doo lists wear rings among normal wear items (like filters) rather than warranty parts. For riders who beach often or run in shallow, gritty water, Sea-Doo also sells a tougher stainless wear ring for many models; ask your dealer if it suits your use.
Look at the pump housing, nozzle and ride plate for cracks or damage. Sea-Doo says to contact a dealer before your next ride if you see cracks or damage. Many pumps have an anode (sacrificial metal) that protects them from corrosion; replace it when it is heavily worn, as your manual describes.
On many models the intake grate is bolted on and can be removed with hand tools to clear stubborn debris; check your manual and use the correct tools. Removing the pump to replace the impeller or wear ring usually needs special tools to hold the shaft and remove the impeller, plus sealant and torque specs from the service manual. Most owners have a dealer or jet-pump shop do this.
After any ride in saltwater, dirty or sandy water, rinse the pump inside and out with fresh water. Flush the cooling system the way your manual describes. For example, Yamaha's routine connects a garden hose to the flush fitting and runs the engine at idle for a few minutes, while Sea-Doo models with closed-loop cooling only need the exhaust flushed. Do it exactly as your model's manual says; the order of turning on water and engine matters. If your craft has a flush connector or a flush hose inside the hull, put its cap back on afterward. Owners report that a flush fitting left uncapped sprays cooling water around the engine compartment while riding and can lead to overheating.
Once the craft is back in the water, start it and check that the pilot water stream (the small cooling water outlet) is flowing. On a test ride, note top speed and RPM if your gauge shows them. Record them in BoatMend. A slow rise in RPM with a drop in speed over time points to wear ring or impeller wear.
- Avoid shallow water. Yamaha suggests stopping the engine when the water is about 3 feet deep when coming to shore, and pushing back out to at least that depth before restarting, so sand and pebbles are not sucked in.
- Idle slowly (or turn off and push) through weed beds, and avoid running over lines, ropes and floating trash.
- Never ride up onto a beach or ramp under power.
- Check the grate before every ride, as part of your pre-ride routine.
Common mistakes
- Reaching into the intake with the lanyard still attached, or with someone sitting on the seat.
- Riding in water that is too shallow, especially near ramps and beaches; one bad pass can chew the impeller.
- Keeping on riding with cavitation "because it still goes." A damaged impeller can vibrate and damage the driveshaft and seals.
- Clearing the grate but missing rope wrapped around the shaft in front of the impeller.
- Assuming high RPM with low speed is an engine problem and spending money there first.
- Skipping the post-ride rinse after saltwater, which lets corrosion and scale build up in the pump.
When to call a pro
- Cracked, chipped or bent impeller blades, or a cracked pump housing or ride plate
- Cavitation or high RPM with low speed after the grate and shaft are clear
- Rope tightly wrapped around the driveshaft that you cannot remove
- Water in the hull after debris was pulled out (possible shaft seal damage)
- Replacing the impeller or wear ring, or any job that needs the pump removed
- Overheating alarms that continue after clearing debris and flushing
Tips
- Some makers sell anti-debris intake grates for certain models that block larger debris, usually at the cost of a little performance. Ask your dealer if one fits your use.
- Carry a pair of gloves and a small blunt hook in the storage compartment for clearing the grate in the water (engine off, lanyard removed).
- Note top speed and RPM when the craft is new or freshly serviced; it is the best reference for spotting wear later.
- If the craft will sit, inspect and rinse the pump before covering it so weeds and sand do not dry and harden in it.
Official references
We read these to write this guide. Your engine's own manual always wins.
- Yamaha WaveRunners – How to Perform a Pre-Ride Check
- Yamaha WaveRunners – How to Beach your WaveRunner
- Yamaha WaveRunners – Maintenance Matters
- Sea-Doo – How to Winterize Your PWC
- Sea-Doo – Intelligent Debris Free (iDF) Pump System
- Sea-Doo Official Store – Anodes and Wear Rings (composite vs. stainless wear rings)
- Sea-Doo – Maintenance Tips and FAQs (wear items)
- Sea-Doo – How to Check Your PWC Steering Alignment
Safety: BoatMend is for information only and does not replace a certified marine technician. You are responsible for your safety and your boat. Read the full disclaimer.
Last updated 2026-10-25
Related guides
How to Winterize a Jet Ski or PWC (Sea-Doo, Yamaha WaveRunner, Kawasaki)
Get your personal watercraft ready for the off-season by flushing and draining the cooling and exhaust system, stabilizing fuel, changing oil, fogging, and storing the battery. Doing it yourself takes an afternoon and helps avoid freeze damage, corrosion and spring no-starts.
How to Flush Your Engine With Fresh Water
Rinse salt, silt and sand out of your outboard or sterndrive cooling system using the built-in flush port, flush muffs or a flush bag. Flushing after every saltwater trip is one of the easiest ways to prevent corrosion and overheating.
How to Inspect and Replace Sacrificial Anodes (Zincs)
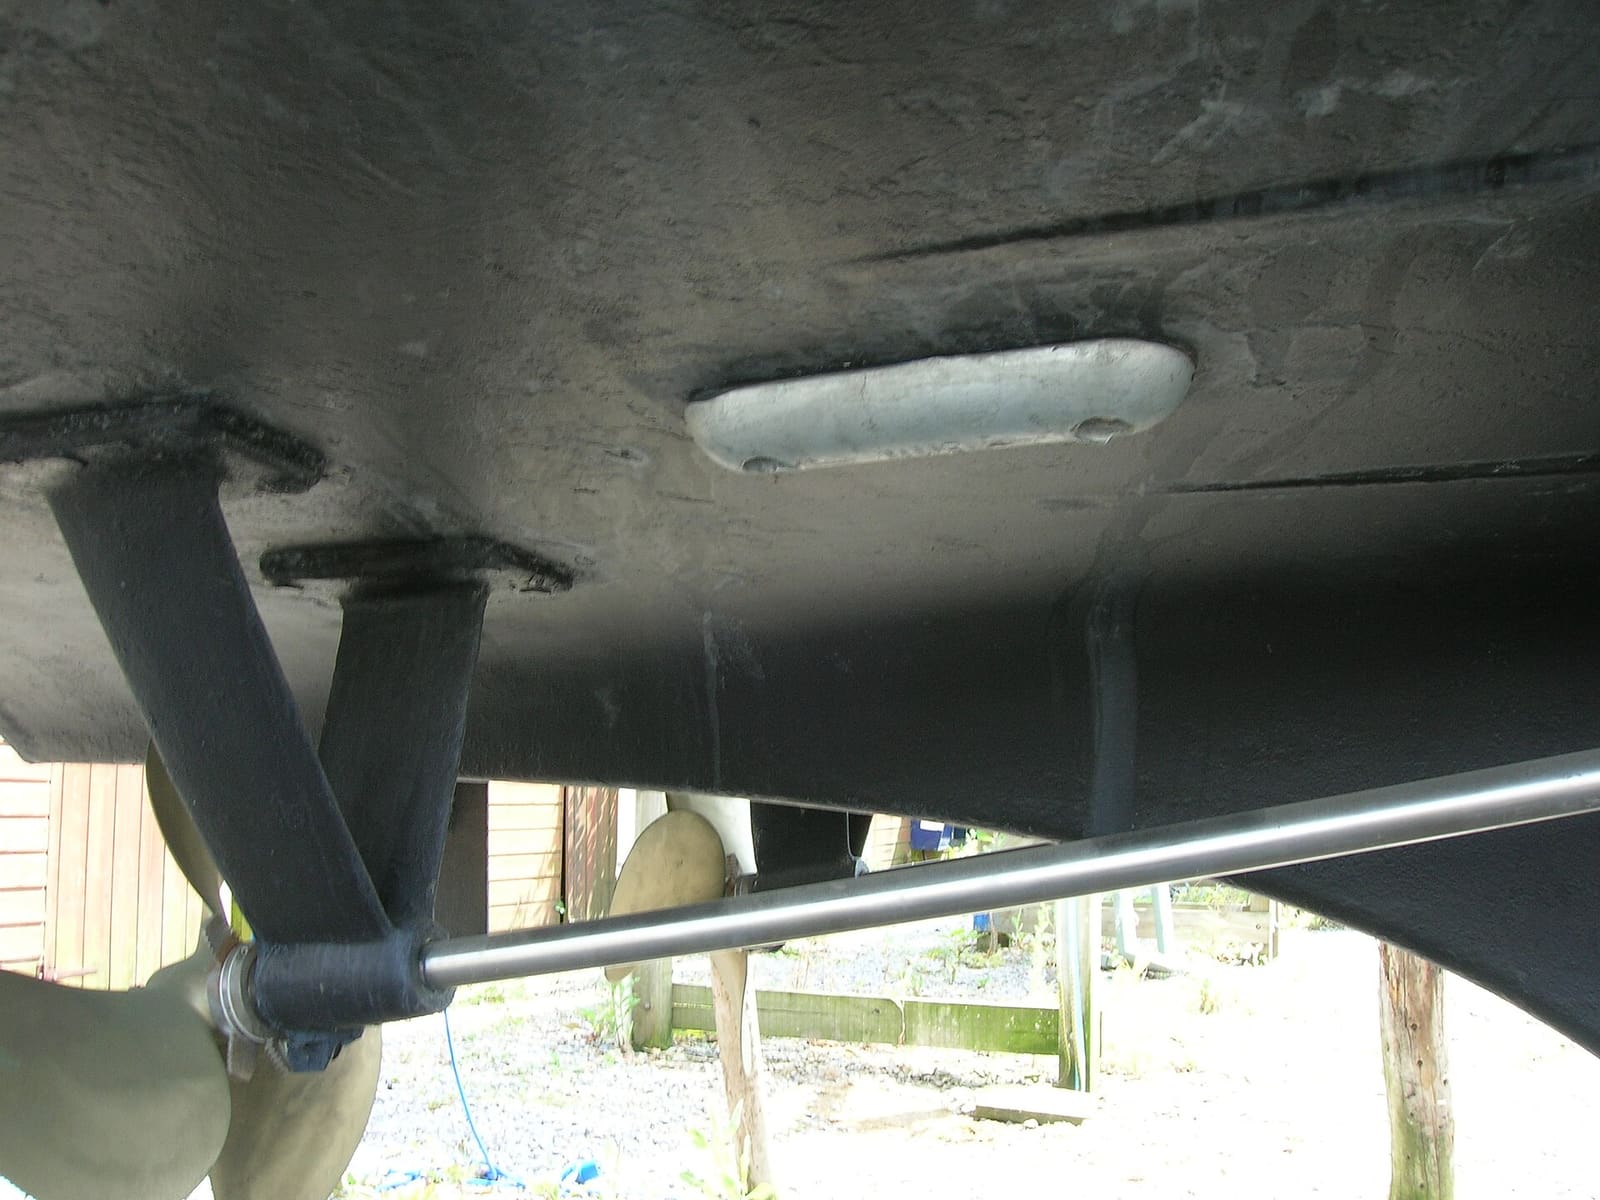
Check the anodes on your outboard, sterndrive or inboard running gear, replace them when they are half gone, and choose the right metal for the water you boat in. Fresh anodes are cheap insurance against expensive corrosion damage to your lower unit, drive and prop.
Loss of Power, Hesitation or Misfire - Troubleshooting Guide
Figure out why your engine bogs down, stumbles, will not reach full rpm or runs rough. Work from simple checks like trim, prop and fuel filter to ignition and engine protection modes before paying for diagnostics.

Launch Day and Haul-Out Checklist for Trailer Boats
A step-by-step checklist for getting your boat off the trailer and back on again safely and quickly, from the drain plug and tie-downs to the blower and ramp etiquette. Following it in order prevents the classic mistakes that sink boats and back up the ramp.