How to Upgrade Your Boat's Lighting to LED (and Keep Your Nav Lights Legal)
Switch cabin, cockpit and courtesy lights to LED to cut battery drain and bulb changes, choose navigation lights that are actually USCG-certified (not just LED bulbs), check voltage range and dimmers, seal every connection, and run the Coast Guard's simple VHF test to make sure the new lights aren't deafening your radio or AIS.

Time
3 h
Shop would charge
$200-800
Applies to
All engines
Safety first: Turn off the circuit's breaker (or pull its fuse) before you touch any light wiring. Navigation lights are required equipment: don't leave the dock at night with a nav light you've just modified until you've checked it works and shows the right color. Fixtures that go through the hull (underwater lights) can let water in if they're installed wrong, so leave those to a pro. If a wire gets hot, smells burnt or a breaker keeps tripping, switch that circuit off and have a marine electrician look at it.
Owners often ask
- Can I just put LED bulbs in my old navigation light fixtures?
- Why does my VHF radio hiss or miss calls after I installed LED lights?
This guide walks you through it. Still stuck? Ask the AI Mechanic about your engine.
Tools
- Digital multimeter
- Wire stripper, ratcheting crimper and heat gun
- Screwdrivers and nut drivers
- Flashlight or headlamp
- Masking tape and marker for labels
- VHF radio (for the interference test)
Parts & supplies
- LED bulbs or fixtures rated for the boat's voltage range (marine "multivolt" types handle charging voltage)
- USCG-certified LED navigation light fixtures (if you upgrade nav lights)
- Adhesive-lined heat-shrink crimp connectors
- Marine sealant suitable for the deck or hull material (for new exterior fixtures)
- LED-compatible dimmer (only if you want dimming)
- Fuses of the right rating for each circuit
Before you start
LEDs draw a fraction of the current of incandescent bulbs, last much longer and shrug off vibration, so an upgrade is one of the easiest ways to stretch battery life on a boat. Three things catch owners out:
- Navigation lights are legal equipment, not just bulbs. Under 33 CFR 183.810, each navigation light must be certified by a Coast Guard-listed lab and labeled. The label includes the bulb that was used in the test. Dropping a different LED bulb into a certified fixture doesn't make it a certified LED light.
- Radio interference. In 2018 the Coast Guard issued a safety alert after reports of poor VHF, DSC and AIS reception near LED lighting, including on a ship that couldn't be reached by radio during an incident. The interference can be silent: you just don't hear weak calls.
- Voltage and dimmers. A "12-volt" boat runs anywhere from about 12 volts at rest to well over 14 volts while charging. Cheap LEDs that aren't built for that range can flicker, fail early or make radio noise, and ordinary dimmers often don't work with LEDs.
Plan the job in two parts: interior and courtesy lights (easy, mostly bulb or fixture swaps) and navigation lights (buy certified fixtures).
Steps
Walk the boat and list each light: where it is, what it does, the bulb base or fixture type, and which breaker or switch feeds it. Note any that are already LED. This is also a good moment to measure a circuit's current draw before and after, so you can see what you've saved.
For cabin, head, cockpit, step and courtesy lights you can use LED replacement bulbs that fit the existing base, or new LED fixtures.
- Pick bulbs and fixtures rated for the boat's full voltage range. Marine LEDs are often sold as "multivolt" (for example 10–30 V); avoid bulbs meant only for a steady household or car supply.
- Choose the color temperature you like. Warm white looks more like the old bulbs. Red or dual red/white lights in the cabin and at the helm help protect your night vision.
- Check the fit: many LED bulbs are longer or wider than the bulbs they replace.
With the circuit off, remove the old bulb, clean the socket contacts and fit the LED. Turn the circuit on. If an LED stays dark, try turning the bulb around or swapping the wires: many LEDs only work one way, so a dead-looking LED may just be reversed. If it flickers, check the socket contacts and the voltage at the fixture with your multimeter.
33 CFR 183.810 says a certified navigation light carries a permanent label, visible without taking the light apart, that shows:
- "USCG Approval 33 CFR 183.810"
- "MEETS" and the standard it was tested to (for recreational boats, normally ABYC A-16)
- "TESTED BY" and the name of the Coast Guard-listed lab
- the maker's name and model number
- its visibility in nautical miles
- the date it was tested
- the identification and specifications of the bulb used in the compliance test
Lights too small for that label must be marked "USCG" plus their range, for example "USCG 2nm", with the full details on the package.
Because the bulb is part of the certification, the straightforward way to go LED on navigation lights is a complete LED fixture that carries the USCG label and the right visibility rating for your boat's length. Use an LED bulb in an old fixture only if the fixture maker lists that bulb for that fixture. The Coast Guard's boating safety site warns that some replacement lighting doesn't meet certification requirements, and that LEDs, rope lights, underwater lights and decorative lighting can break the navigation light rules. Decorative colored lights should never show red or green where they could be mistaken for sidelights. See the navigation lights guide for what your boat needs and where.
Read the voltage range printed on each light and make sure it covers your system, charging voltage included. On a 24-volt boat, use lights rated for 24 V. Lumitec says two of its 12 V lights can be run in series on 24 V, but only do that with lights whose maker says it's allowed, because if one fails the other goes out too.
LEDs draw less current, so the existing wire is usually big enough. Inspect it anyway: replace green, stiff or brittle wire and any splices that sit low in the boat. Blue Sea Systems' wire chart treats navigation lights as a critical circuit that should lose no more than 3% of its voltage along the wire, so long runs to a masthead or bow light may need heavier wire than you'd think. Keep each circuit fused to protect its wire.
Water is the enemy of LED fixtures and their wiring:
- Use adhesive-lined heat-shrink crimp connectors on every joint. No tape, no household twist-on connectors.
- Leave a drip loop so water runs off the wire before it reaches the fixture.
- Seal the screw holes and wire holes of exterior fixtures with a marine sealant suited to your deck.
- Keep connections up high, away from bilge water and spray.
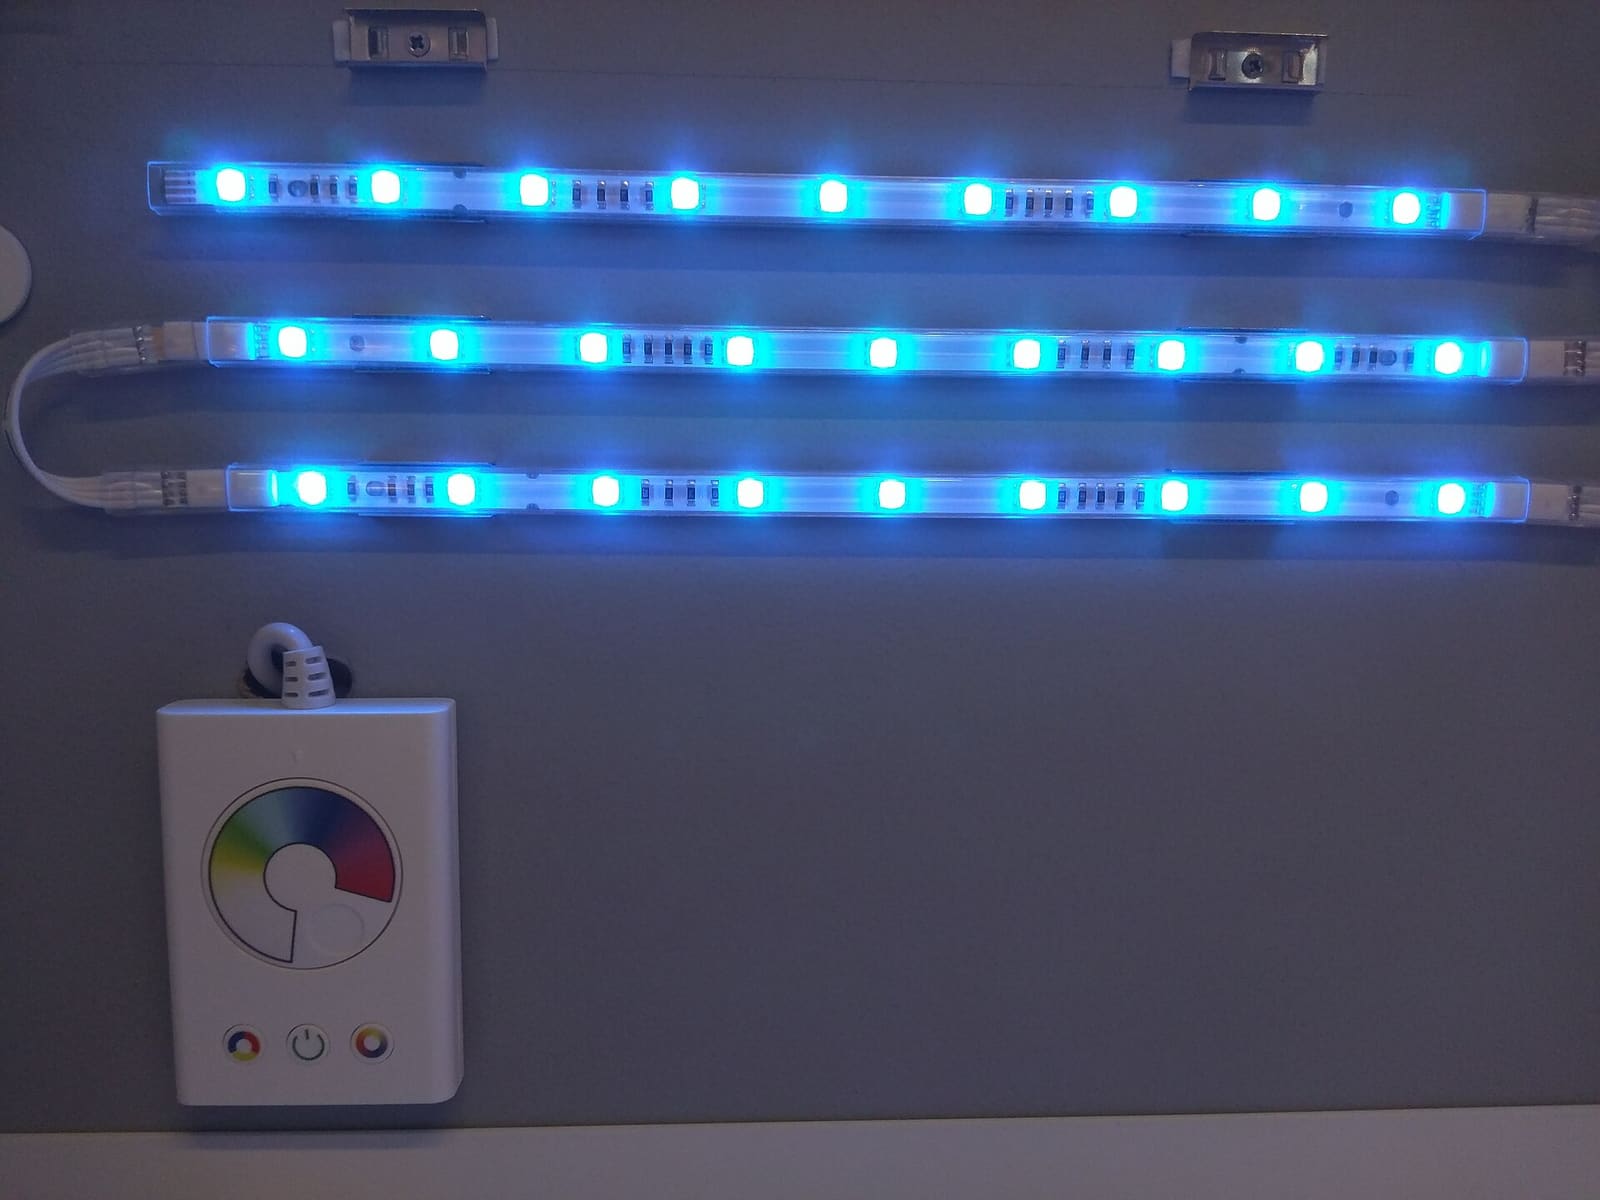
LED strip lights like these are popular for courtesy and accent lighting. Buy marine-rated, sealed strips for use on a boat. Photo: Maksym Kozlenko / Wikimedia Commons · CC BY-SA 4.0 Many older dimmers don't work properly with LEDs. Use a dimmer that the light's maker approves, or lights with built-in dimming. Lumitec notes that PWM dimmers (the common electronic type) can cause noise on stereo speakers, and that all LED lights with switching power supplies create some electrical noise.
Be careful with accent and underwater lights. BoatUS warns that mood lighting which could be mistaken for a light the Navigation Rules require for another kind of vessel can bring fines, and that blue underwater LEDs can seem to flash in waves, looking like the flashing blue light only law enforcement may use. Keep accent lighting dim, low and out of the helmsman's eyes so it doesn't spoil night vision or the lookout. Mercury's underwater-lighting article adds that blue underwater lights are illegal in some areas for that reason, and quotes the Coast Guard's Safety Alert 10-15: decorative lights, underwater or along the rub rail, must not hide or change the look of your navigation lights or get in the way of keeping a lookout.
Underwater lights come as thru-hull fixtures (a large hole in the transom, usually brightest), surface-mount units (small holes for screws and the cord, on the transom, hull sides or trim tabs) and "no-drill" lights that thread into an existing hole such as the drain plug. Mercury suggests looking for a marine-grade housing and an IP67 or IP68 rating. Wipe them clean with a mild cleaner and a soft cloth (abrasives scratch the lens), check now and then for water inside the lens or corroded wiring, and take surface-mount or no-drill lights off for winter storage.
Lumitec's first fix for noise from its lights is to keep the light's power wire away from other wiring: don't bundle it with stereo, radio or antenna wires, and cross other bundles at right angles. Lumitec says this cures the noise in about 9 out of 10 cases. Its second suggestion is a relay placed close to the power source, with the switch only controlling the relay. Keep LED lights and their wiring as far as practical from your VHF antenna and its cable, especially masthead lights.
The Coast Guard's safety alert describes a simple check. Do it after any LED upgrade, with each group of LEDs:
- Turn the LED lights off.
- Tune the VHF to a quiet channel, such as channel 13.
- Turn the squelch down until you hear noise.
- Turn the squelch back up until the noise just goes quiet.
- Turn the LED lights on.
- If the radio now hisses, the LEDs have raised the noise floor and are likely reducing your VHF and AIS reception. If it stays quiet, they haven't.
Switch the lights on one at a time to find the culprit. Then try, in order: rerouting its wiring away from the antenna cable and other bundles, moving the light or the antenna farther apart, adding a filter recommended by the light's maker, or replacing it with a better-designed fixture. The Coast Guard asked mariners who find interference to report it to the Coast Guard Navigation Center (choose "Maritime Telecommunications") with the make and model of the lights and radio and the distance between them.
At dusk, turn on every light and walk around the boat: nav lights showing the right colors in the right directions, no glare at the helm, nothing flickering. Record what you changed, the fixture models and their current draw in your BoatMend log, and keep a spare nav light bulb or fixture aboard.
Common mistakes
- Putting an LED bulb into a certified navigation light and assuming it's still legal. Check that the fixture maker lists that bulb, or buy a certified LED fixture.
- Buying cheap automotive or household LEDs that can't handle charging voltage, then fighting flicker and early failures.
- Skipping the VHF test, so the radio quietly misses weak calls and AIS targets.
- Zip-tying the new light wires to the VHF antenna cable or the stereo wiring.
- Keeping an old dimmer that makes LEDs flicker or buzz.
- Wrapping connections in electrical tape, or leaving them where spray and bilge water reach them.
- Mounting colored accent lights where they can be mistaken for red or green navigation lights.
When to call a pro
- Underwater lights or any fixture that needs a hole through the hull below the waterline
- Masthead or tower wiring you can't reach safely, or work that means going aloft
- Interference that doesn't go away after rerouting wiring and testing light by light
- A breaker that trips, wires that get warm, or a burnt smell
- Rewiring a whole panel, or a mix of 12 V and 24 V circuits
Tips
- A clamp-style DC ammeter (or the battery monitor, if you have one) shows how many amps you saved, which tells you how much longer your battery will last at anchor.
- Do one circuit at a time and test it before moving on. It makes problems much easier to trace.
- Keep the old certified nav fixtures until the new ones are installed and checked.
- Recheck the VHF test whenever you add new LEDs, an inverter or a charger.
Official references
We read these to write this guide. Your engine's own manual always wins.
- eCFR – 33 CFR 183.810, Navigation Light Certification Requirements
- U.S. Coast Guard Boating Safety – News Detail (unapproved navigation lights and LED lighting)
- BoatUS – Inspect Your Boat's Navigation Lights (LED bulb swaps, blue underwater lights)
- Panbo – USCG Warns About LED Lights Interfering with VHF and AIS (full text of USCG Safety Alert 13-18)
- Lumitec – FAQ, Why do I hear noise from my speakers when my Lumitec lights and radio are on?
- Lumitec – FAQ, Using 12 VDC lights on a 24 VDC system
- Blue Sea Systems – Choosing the Correct Wire Size for a DC Circuit
- Mercury Marine – Upfitting Your Boat with Underwater Lights
Safety: BoatMend is for information only and does not replace a certified marine technician. You are responsible for your safety and your boat. Read the full disclaimer.
Last updated 2026-10-24
Related guides
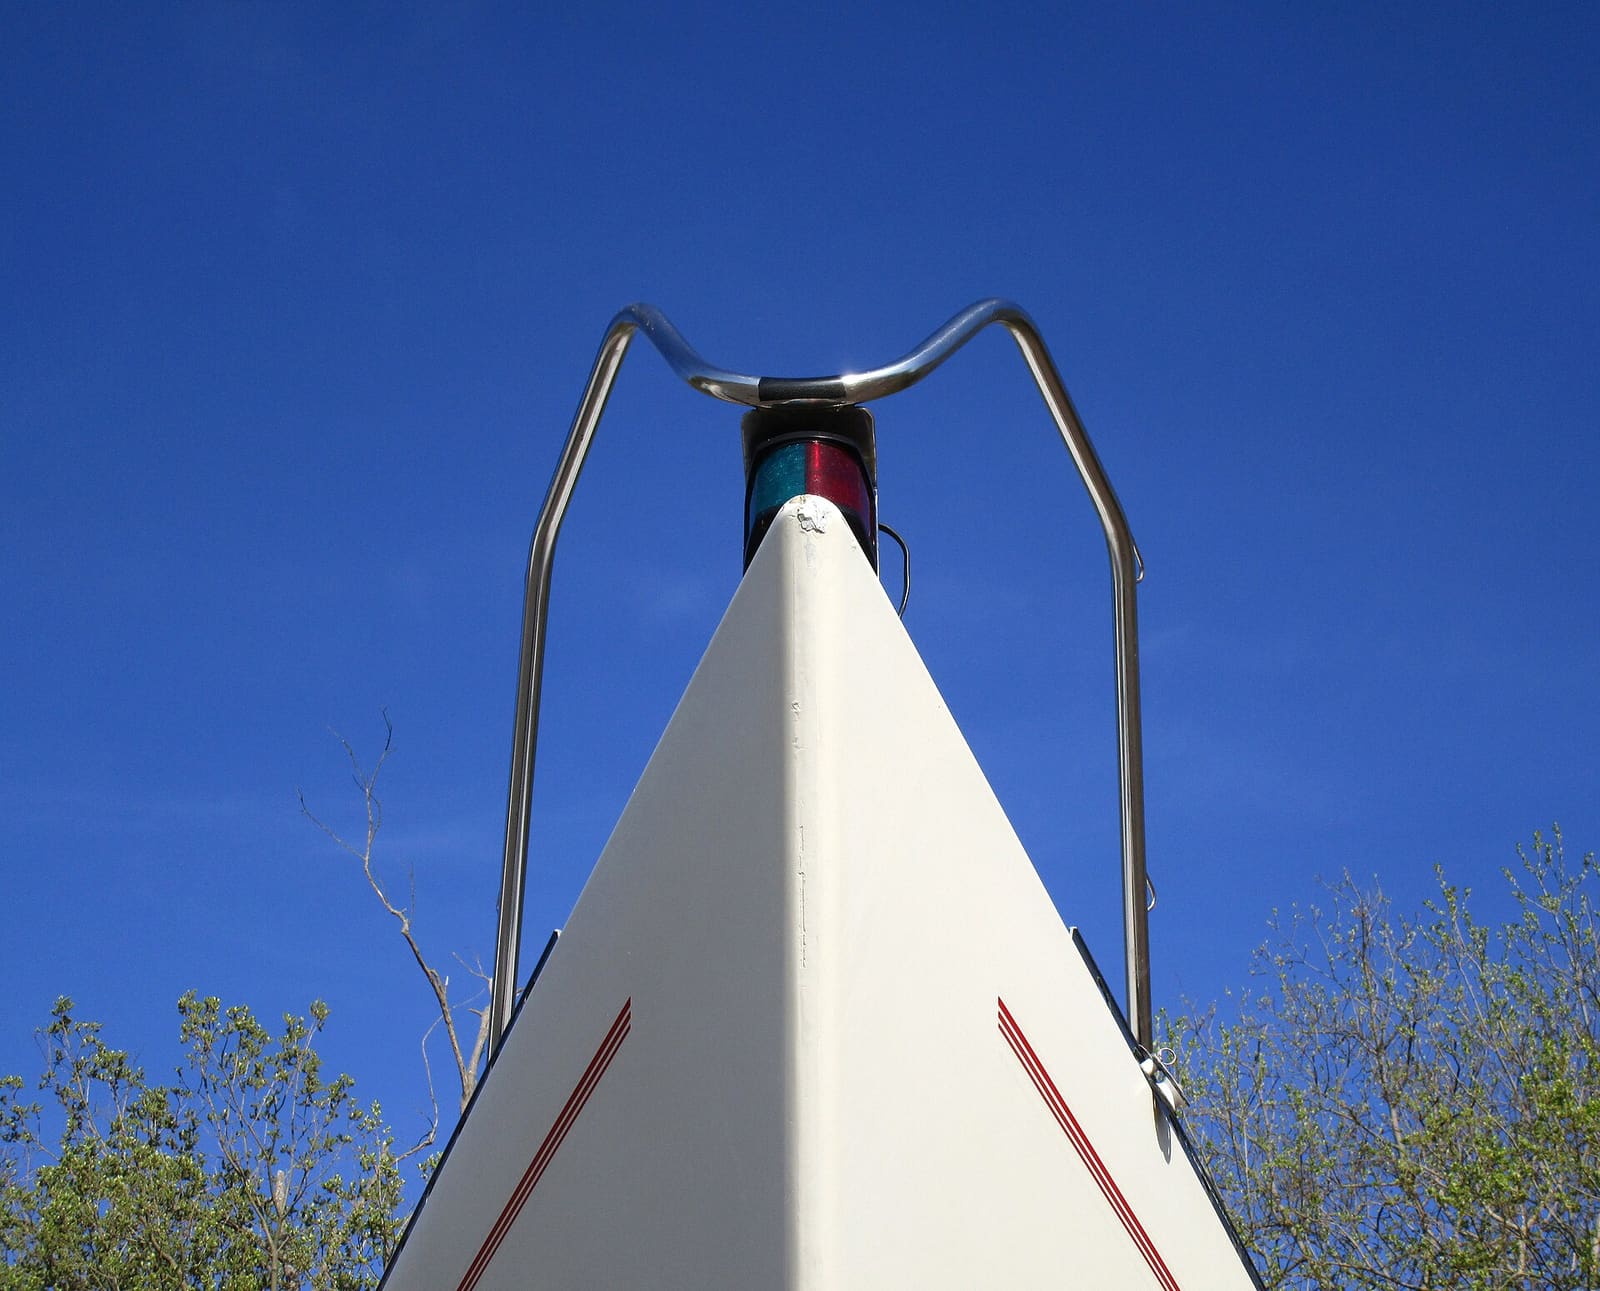
How to Test and Fix Your Boat's Navigation Lights
Learn which navigation lights your boat must show and when, then test them and fix the usual culprits such as corroded sockets, loose pole-light plugs and blown bulbs. Working lights are legally required at night and in poor visibility and are how other boats see which way you are heading.
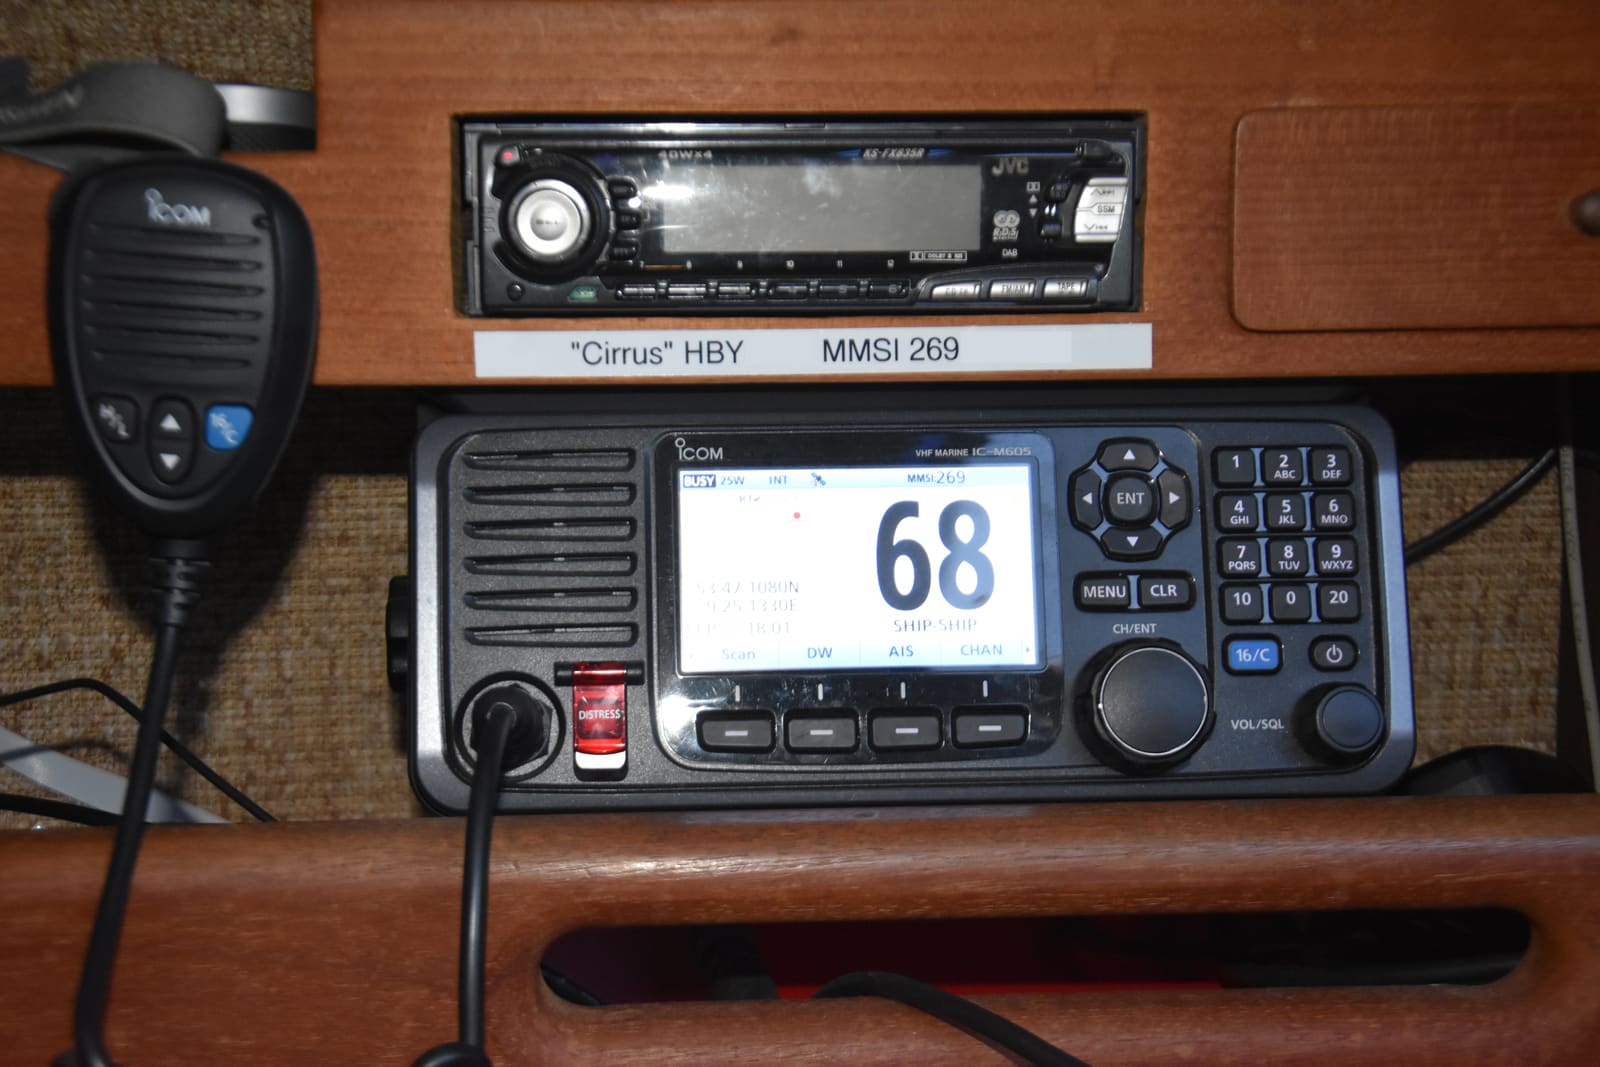
Set Up Your VHF Radio: MMSI, DSC, GPS Hookup and Radio Checks
Get a free or low-cost MMSI number, program it into your DSC radio, connect your GPS so a distress alert sends your exact position, check the antenna, and learn the Channel 16 rules and the right way to do a radio check.

How to Find and Fix Corroded Electrical Connections on a Boat
Track down the green crust and loose terminals behind flickering lights, dead gauges and slow cranking with a simple voltage-drop test, then remake the connection the marine way: tinned wire, a proper crimp, adhesive-lined heat shrink and a protective coating.
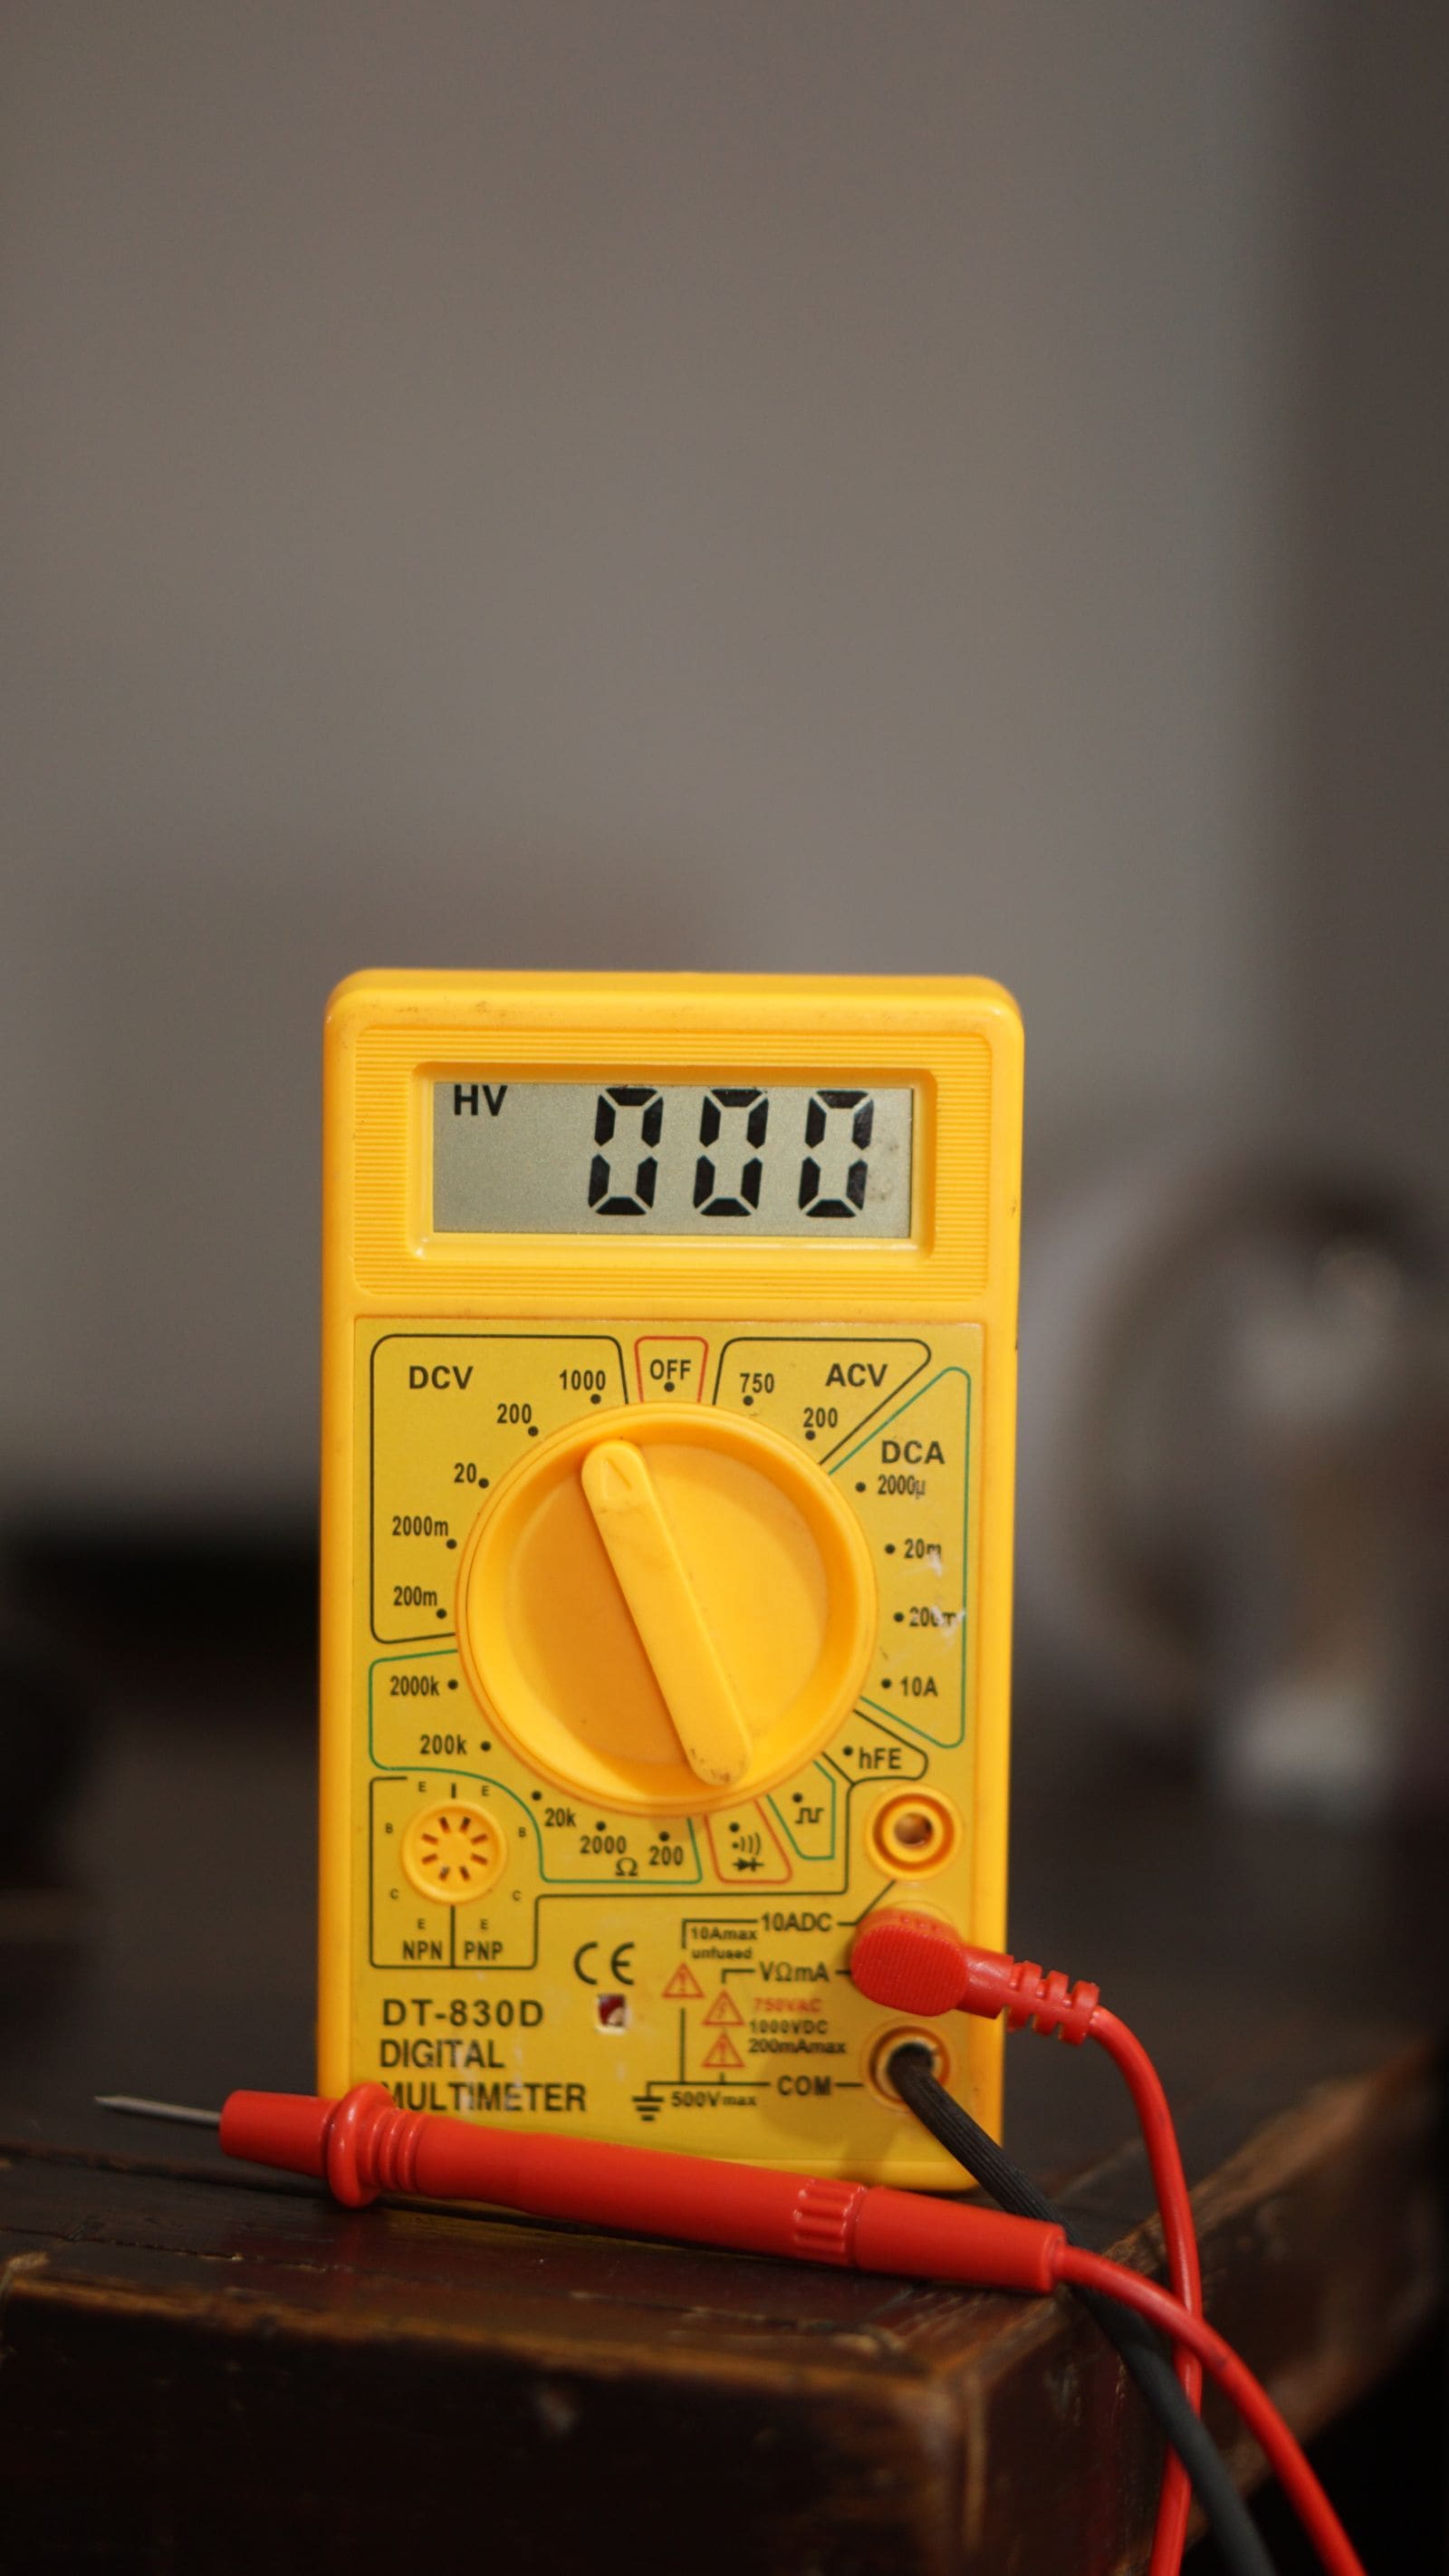
Battery Goes Dead While the Boat Sits - How to Find a Parasitic Drain
If your boat battery is flat every time you come back, something may be quietly drawing power while you are away. Learn how to tell a bad battery from a drain, find the circuit with a multimeter and the fuse panel, and fix the usual culprits without disabling your bilge pump.

Marine Battery Care: Test, Charge and Store for Winter
Check your boat battery's health, charge it the right way for its type (flooded, AGM or lithium), and store it so it is ready in spring. Most "boat won't start" calls start with a neglected battery.

USCG Required Safety Equipment Check by Boat Length
Walk through your boat and confirm you carry every piece of safety gear the US Coast Guard requires for your boat's length and type, and that none of it is expired or worn out. Missing or expired gear is one of the most common tickets on the water, and it is the gear you need when things go wrong.
NMEA 2000 Network Basics and Troubleshooting (Plus Chartplotter Updates)
Understand the backbone, terminators, power tap and drop cables that tie your chartplotter, engine data, GPS, depth and autopilot together, then track down why a device keeps dropping off. Finish by updating chartplotter and device software the safe way.