How to Test and Fix Your Boat's Navigation Lights
Learn which navigation lights your boat must show and when, then test them and fix the usual culprits such as corroded sockets, loose pole-light plugs and blown bulbs. Working lights are legally required at night and in poor visibility and are how other boats see which way you are heading.
Time
1 h
Shop would charge
$100-300
Applies to
All engines
Safety first: If your navigation lights fail while you are out after dark, slow down, keep a sharp lookout, shine a flashlight on your sails or hull when other boats approach, and head for the nearest safe dock. If you are disabled or in a busy channel, call TowBoatUS, Sea Tow or the USCG on VHF 16. If wiring at the helm feels hot, smells burnt or a breaker keeps tripping, turn the circuit off and have a marine electrician check it.
Tools
- Multimeter
- Screwdrivers (including a small one for lens screws)
- Fine sandpaper, an emery board or a pencil eraser
- Small wire brush or contact cleaner
- Wire stripper and ratcheting crimper
- Heat gun for heat-shrink
- Flashlight
Parts & supplies
- Correct replacement bulbs for each fixture (check the old bulb or fixture label)
- Replacement LED fixtures or LED bulbs approved for navigation use (if upgrading)
- Dielectric grease
- Heat-shrink butt connectors and marine tinned wire
- Replacement lens gaskets or a new pole-light base if needed
Before you start
When lights are required: from sunset to sunrise, and any time visibility is reduced by fog, rain, haze or snow. You must not show other lights that could be confused with navigation lights or that dazzle your lookout.
What most recreational boats show:
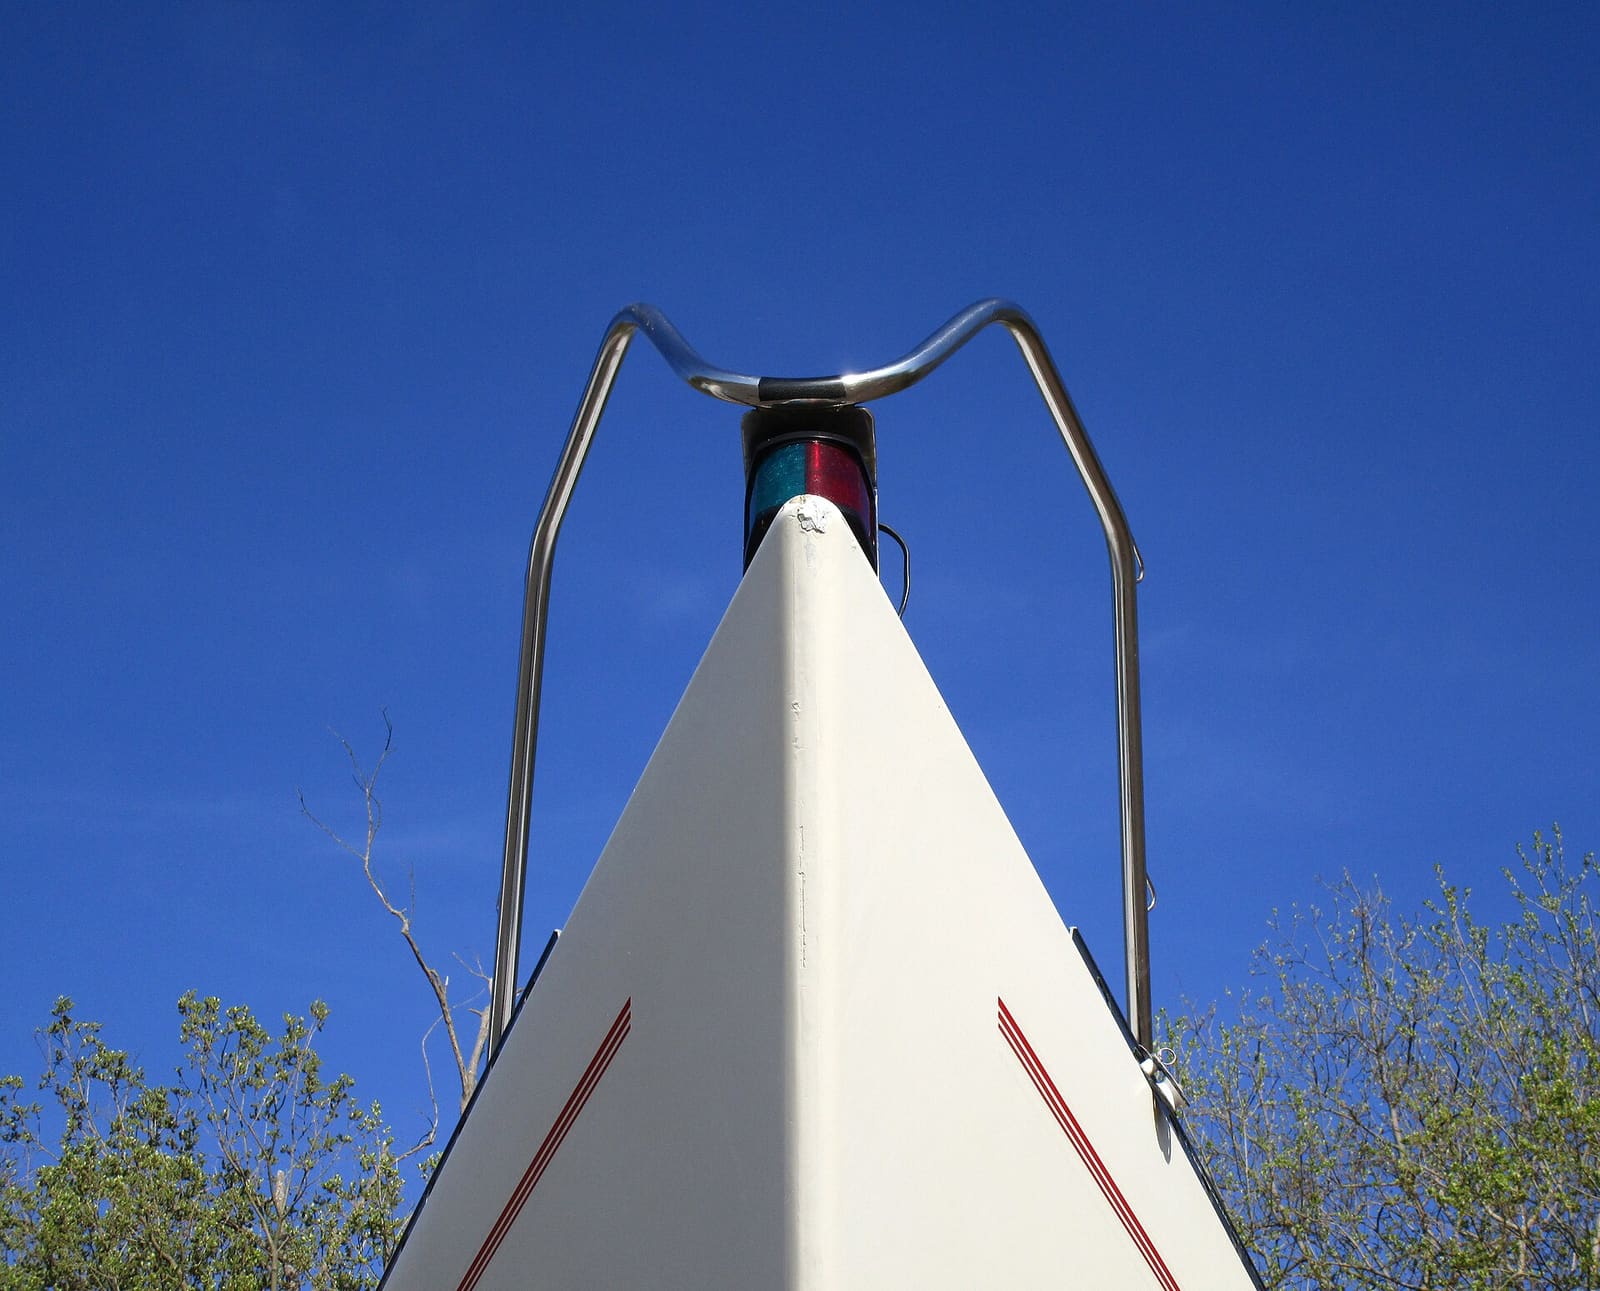
- Sidelights: red on the port (left) side, green on the starboard (right) side. Each shines from dead ahead to slightly behind the beam (112.5 degrees). They can be separate or combined in one bow fixture.
- Power boats under 12 meters (39.4 feet), underway: sidelights plus either a masthead light and a stern light, or one all-round white light (the common "pole light" on small boats).
- Sailboats under sail only: sidelights and a stern light, with no masthead light. With the engine running, even with sails up, a sailboat is a powerboat and shows powerboat lights.
- At anchor at night: an all-round white light, with limited exceptions for very small boats away from channels and anchorages. Showing it is always the prudent choice.
- Very small boats: power boats under 7 meters (about 23 feet) that cannot exceed 7 knots, and small sail or paddle craft, have simpler options. Check the Navigation Rules for your exact case.
Bulb or LED? Older fixtures use small incandescent bulbs. LEDs last much longer, draw less power and resist vibration. If you switch, the safest route is a complete LED fixture certified for navigation use. A BoatUS surveyor explains why: a navigation light is approved as a unit, fixture and bulb together (the federal label even lists the bulb used in the test), so dropping an LED bulb into an old fixture does not mean the light still complies. Some cheap LED bulbs are also too dim or show the wrong color through a colored lens.
It's more common than you'd think: the same surveyor estimates that up to about 30% of the boats he inspects fail on navigation lights, from cloudy lenses and dead bulbs to factory lights hidden behind pulpit stanchions or canvas.
Steps
At dusk or in a shaded spot, turn on the navigation light switch. Walk all the way around the boat (or have a helper on the dock). Confirm the red light is on the port side, green on starboard, and the white light(s) are lit and visible from all the angles they should be.
Many helms have a NAV position and an ANCHOR position, or two switches. Select anchor. Only the all-round white light should be on. If the sidelights stay lit in anchor mode, or the white light does not come on, note it for the switch check.
If a light is out, tap the lens and housing gently with your finger. If it flickers, the bulb's contacts or the socket are loose or corroded. That is usually a cleaning job, not a new fixture.
On boats with a stern pole light, pull the pole and look into the base on the deck or gunwale. These bases sit in spray and rain, and their contacts corrode. Clean the pins in the base and on the bottom of the pole until they are bright. Seat the pole fully and twist it until it locks. Light the pole up again.
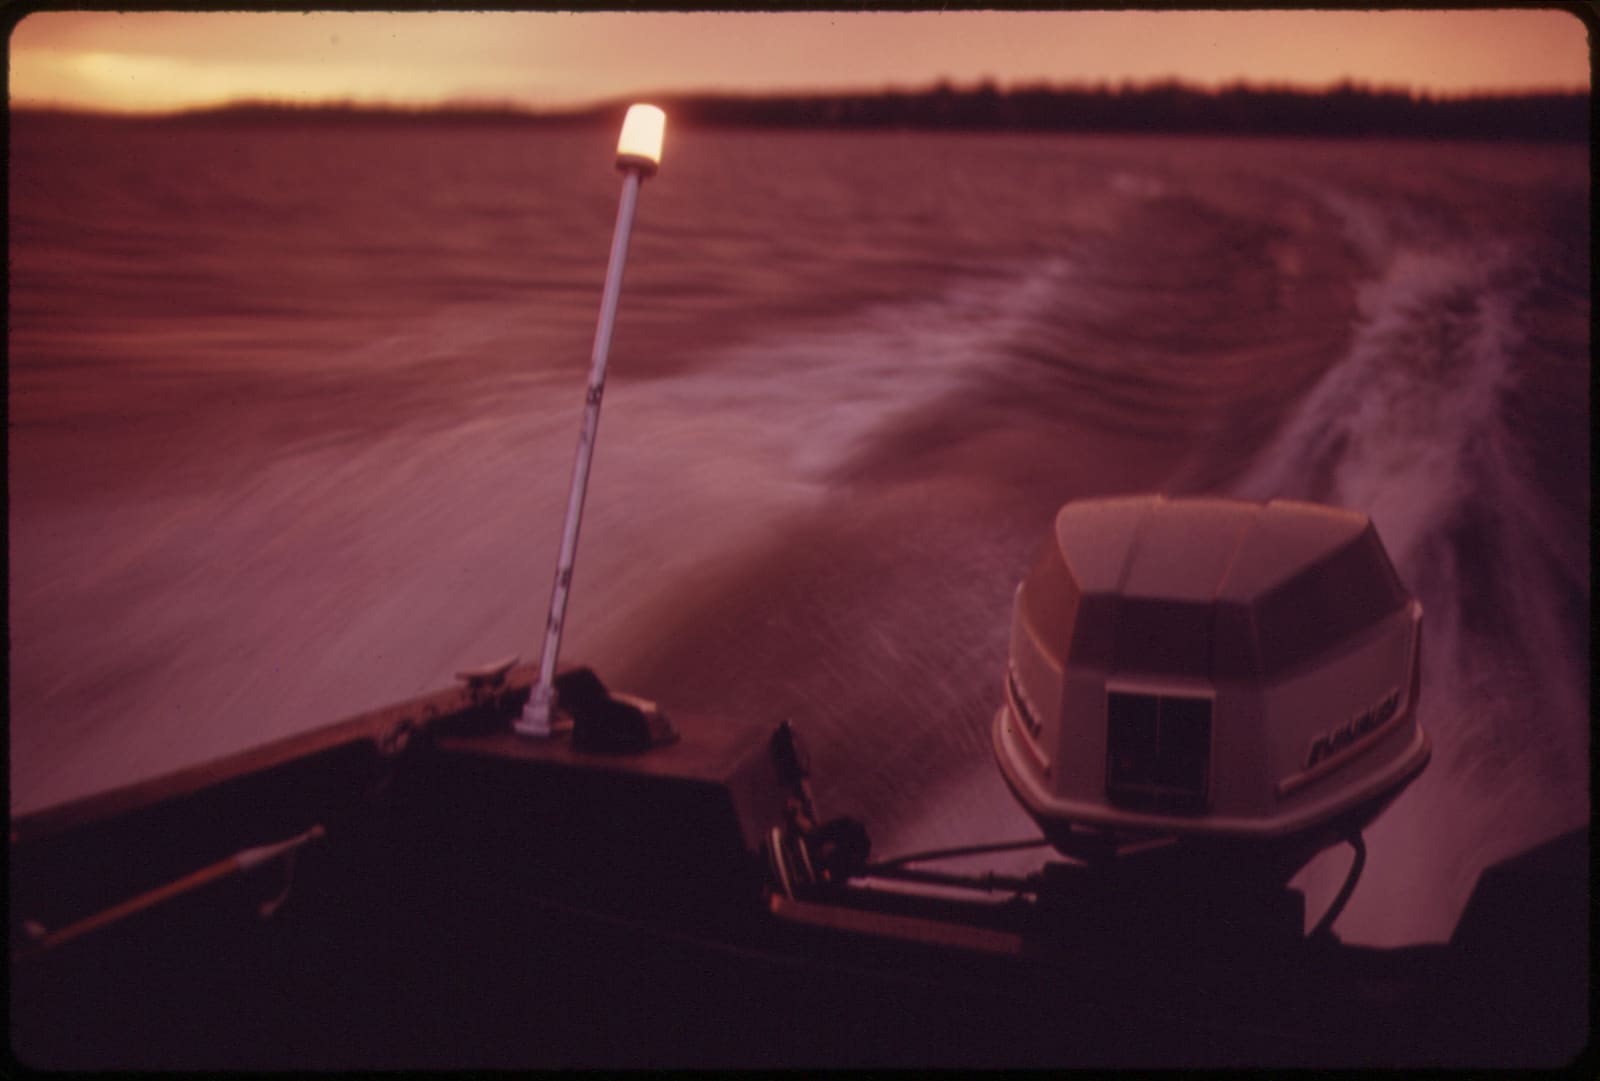
A white all-round pole light at the stern of a small outboard boat. It must be lit and visible from every direction. Photo: Bill Kuykendall, U.S. National Archives / Wikimedia Commons · Public domain Remove the lens screws or snap-off cover. Look for water inside, green or white corrosion, a blackened or loose bulb, or a cracked lens or torn gasket. Water inside the fixture is the root cause of most repeat failures.
Pull the bulb and look at the filament. If it is broken or the glass is black, replace it with the same type. If it looks fine, clean the bulb base and the socket contacts with fine sandpaper, an emery board or a pencil eraser. Put a light film of dielectric grease on the contacts and reinstall.
If the light still does not work, set your multimeter to DC volts. With the switch on, touch the red probe to the positive wire at the fixture and the black probe to the negative wire. You should see close to battery voltage.
- Voltage present, light dead: the bulb, LED or fixture is bad, or the socket has a bad contact.
- No voltage: the problem is upstream in the wiring, switch, fuse or breaker.
- Low voltage: look for a corroded connection somewhere along the circuit.
At the helm, check the fuse or breaker for the nav light circuit. Replace a blown fuse only with the same rating. If it blows again, there is a short: stop and find it before replacing more fuses. Test for voltage going into and coming out of the switch. Switches that crunch, stick or work only sometimes should be replaced.
Follow the wires from the helm to the light, especially where they pass through the anchor locker, under the gunwale, or through hatch hinges. Look for wire ties that broke, letting wires sag and get snagged, crushed or pulled apart. Check any connection that sits low or in the bilge.
Cut out damaged wire and splice in new tinned marine wire with heat-shrink butt connectors, then shrink them to seal. Keep splices high and dry. Do not use household twist-on connectors or tape-only splices.
Replace a cracked lens or a hardened gasket. If the housing is corroded inside or the lens is cloudy, replace the whole fixture. If you install LED fixtures, check the polarity: LEDs only work one way, so a reversed wire can look like a dead light. Buy by the label, not the picture. Under federal rules (33 CFR 183.810), a certified navigation light carries a permanent label you can read without taking it apart, with "USCG Approval 33 CFR 183.810," the testing lab, the model, its visibility in nautical miles and the bulb it was tested with. Lights too small for the label are marked "USCG" plus the range, such as "USCG 2nm." Cheap look-alike lights often skip all of it.
Check the arc too. A masthead light must cover 225 degrees forward and a stern light 135 degrees aft. The Coast Guard once warned about an LED light sold as a "masthead" or "navigation" light that only covered 180 degrees and met no requirement at all.
After any LED upgrade, do the radio check the USCG described in a safety alert: some LED lights quietly reduce VHF and AIS reception, especially masthead lights close to the antenna. With the LEDs off, tune the VHF to a quiet channel and turn the squelch up until the hiss just stops. Turn the LEDs on. If the radio starts hissing, the lights are raising the noise level and your radio may miss calls. Move the light or wiring, or replace the fixture with a better-filtered one.
Repeat the walk-around test in both NAV and ANCHOR modes. From out on the water or a distance away, make sure nothing aboard blocks the white light, such as a T-top, Bimini top or outboard cowling. Log the repair in BoatMend.
Common mistakes
- Never checking the lights until the first night trip. Test them every time you go out, even on day trips; you may be caught out after sunset.
- Leaving the pole light base uncovered. Water fills it and corrodes the pins. Use the cap or cover when the pole is out.
- Bimini tops and T-tops hiding the all-round white light. If people behind you cannot see your white light, you are not legal and you are hard to see.
- Cheap automotive LED bulbs in nav fixtures. They may be too dim or the wrong color through the lens. Use bulbs or fixtures made and certified for marine navigation use.
- Swapping fuses up to a bigger size. That can overheat wiring. Find the short instead.
- Running dock lights or deck lights that wash out or mimic nav lights underway. Keep extra lights off while running at night. Blue underwater or accent LEDs are a special problem: with waves they can look like the flashing blue light reserved for law enforcement.
- Swapping the red and green lenses when replacing sidelights. Surveyors find this on boats where the owner replaced the lights. Red goes on port (left), green on starboard (right).
- Holding a light on with tape or locking pliers. It cuts the light's visible arc and it will fall off.
When to call a pro
- The fuse or breaker keeps tripping and you cannot find the short
- Wiring at the helm or behind the panel is melted, burnt-smelling or a confusing mess of add-ons
- Masthead or mast-mounted lights on a sailboat need work aloft: going up the mast safely takes the right gear and experience
- You are adding new fixtures that need holes drilled in the hull or deck and want them sealed properly
- You need to confirm what lights a larger or unusual boat must carry
Tips
- Keep spare bulbs (or a spare LED fixture) and a few fuses aboard; it is on the BoatUS spring checklist for a reason.
- Fixtures with gold-plated or sealed contacts resist corrosion much better than bare brass ones.
- A cheap portable battery-powered navigation light set is a good emergency backup for small boats.
- Write your fixture models and bulb types in your BoatMend boat profile so you buy the right replacements.
Official references
We read these to write this guide. Your engine's own manual always wins.
- BoatUS Foundation – Navigation Lights
- Yachting – Essential Tips For Repairing Navigation Lights
- Boating Magazine – Maintaining Navigation Lights
- USCG Boating Safety – Frequently Asked Questions
- Panbo – USCG Warns About LED Lights Interfering with VHF and AIS (full text of the USCG safety alert)
- BoatUS – Inspect Your Boat's Navigation Lights
- eCFR – 33 CFR 183.810, Navigation light certification requirements
- US Coast Guard – Safety Alert 04-13, Navigation Lights - Not!
Safety: BoatMend is for information only and does not replace a certified marine technician. You are responsible for your safety and your boat. Read the full disclaimer.
Last updated 2026-10-24
Related guides
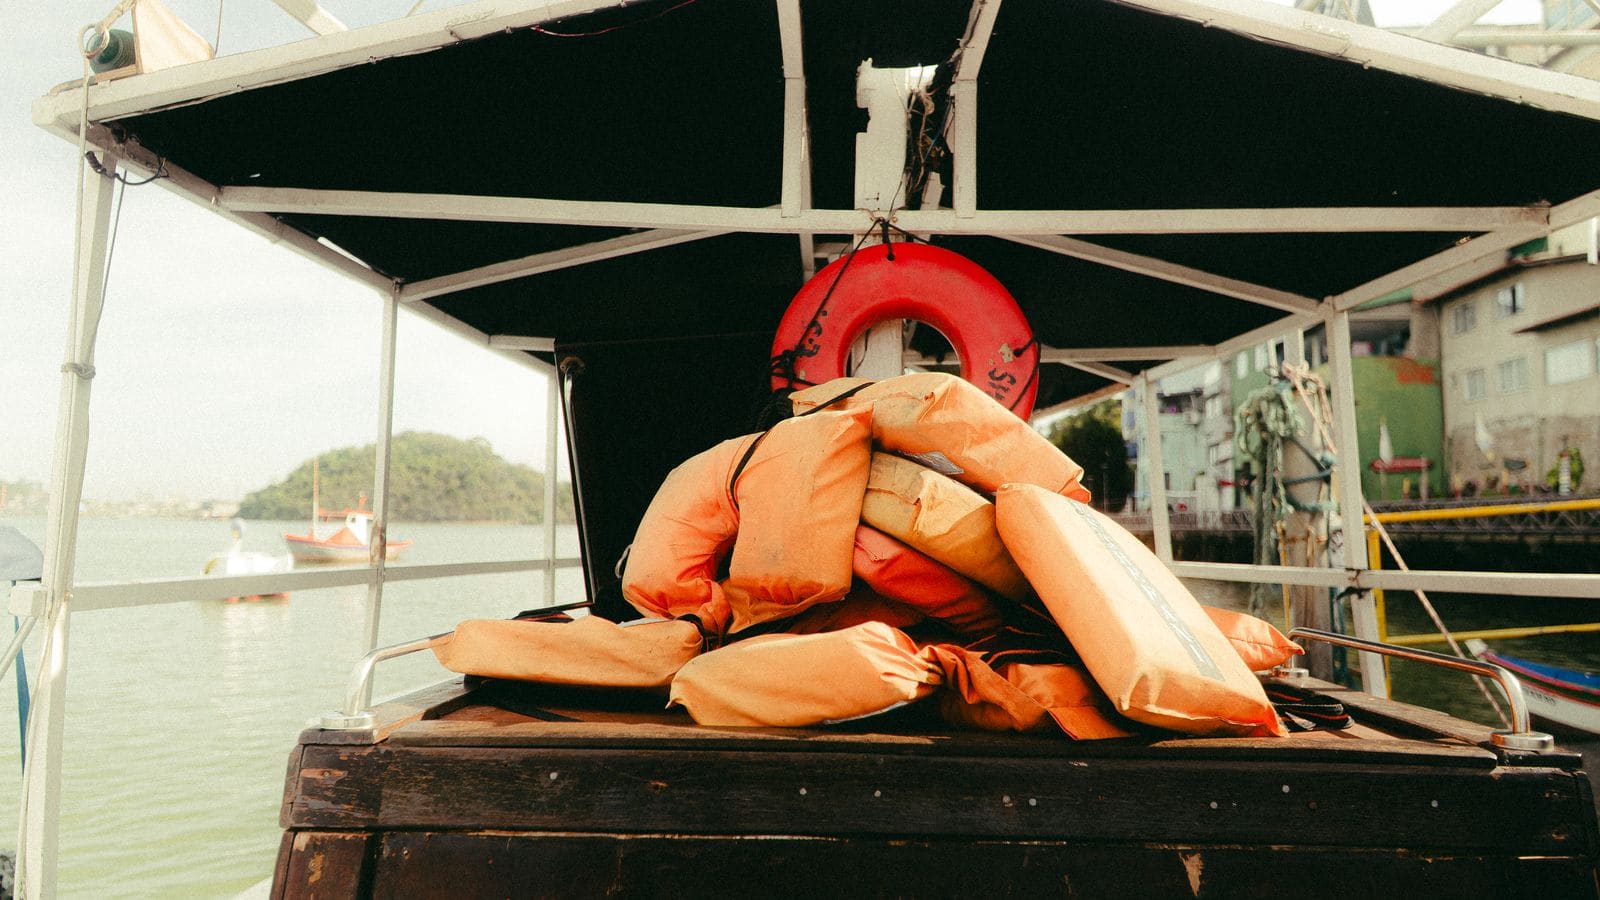
USCG Required Safety Equipment Check by Boat Length
Walk through your boat and confirm you carry every piece of safety gear the US Coast Guard requires for your boat's length and type, and that none of it is expired or worn out. Missing or expired gear is one of the most common tickets on the water, and it is the gear you need when things go wrong.

Marine Battery Care: Test, Charge and Store for Winter
Check your boat battery's health, charge it the right way for its type (flooded, AGM or lithium), and store it so it is ready in spring. Most "boat won't start" calls start with a neglected battery.

Launch Day and Haul-Out Checklist for Trailer Boats
A step-by-step checklist for getting your boat off the trailer and back on again safely and quickly, from the drain plug and tie-downs to the blower and ramp etiquette. Following it in order prevents the classic mistakes that sink boats and back up the ramp.