Ignition Tune-Up on an Older Sterndrive or Inboard V6/V8
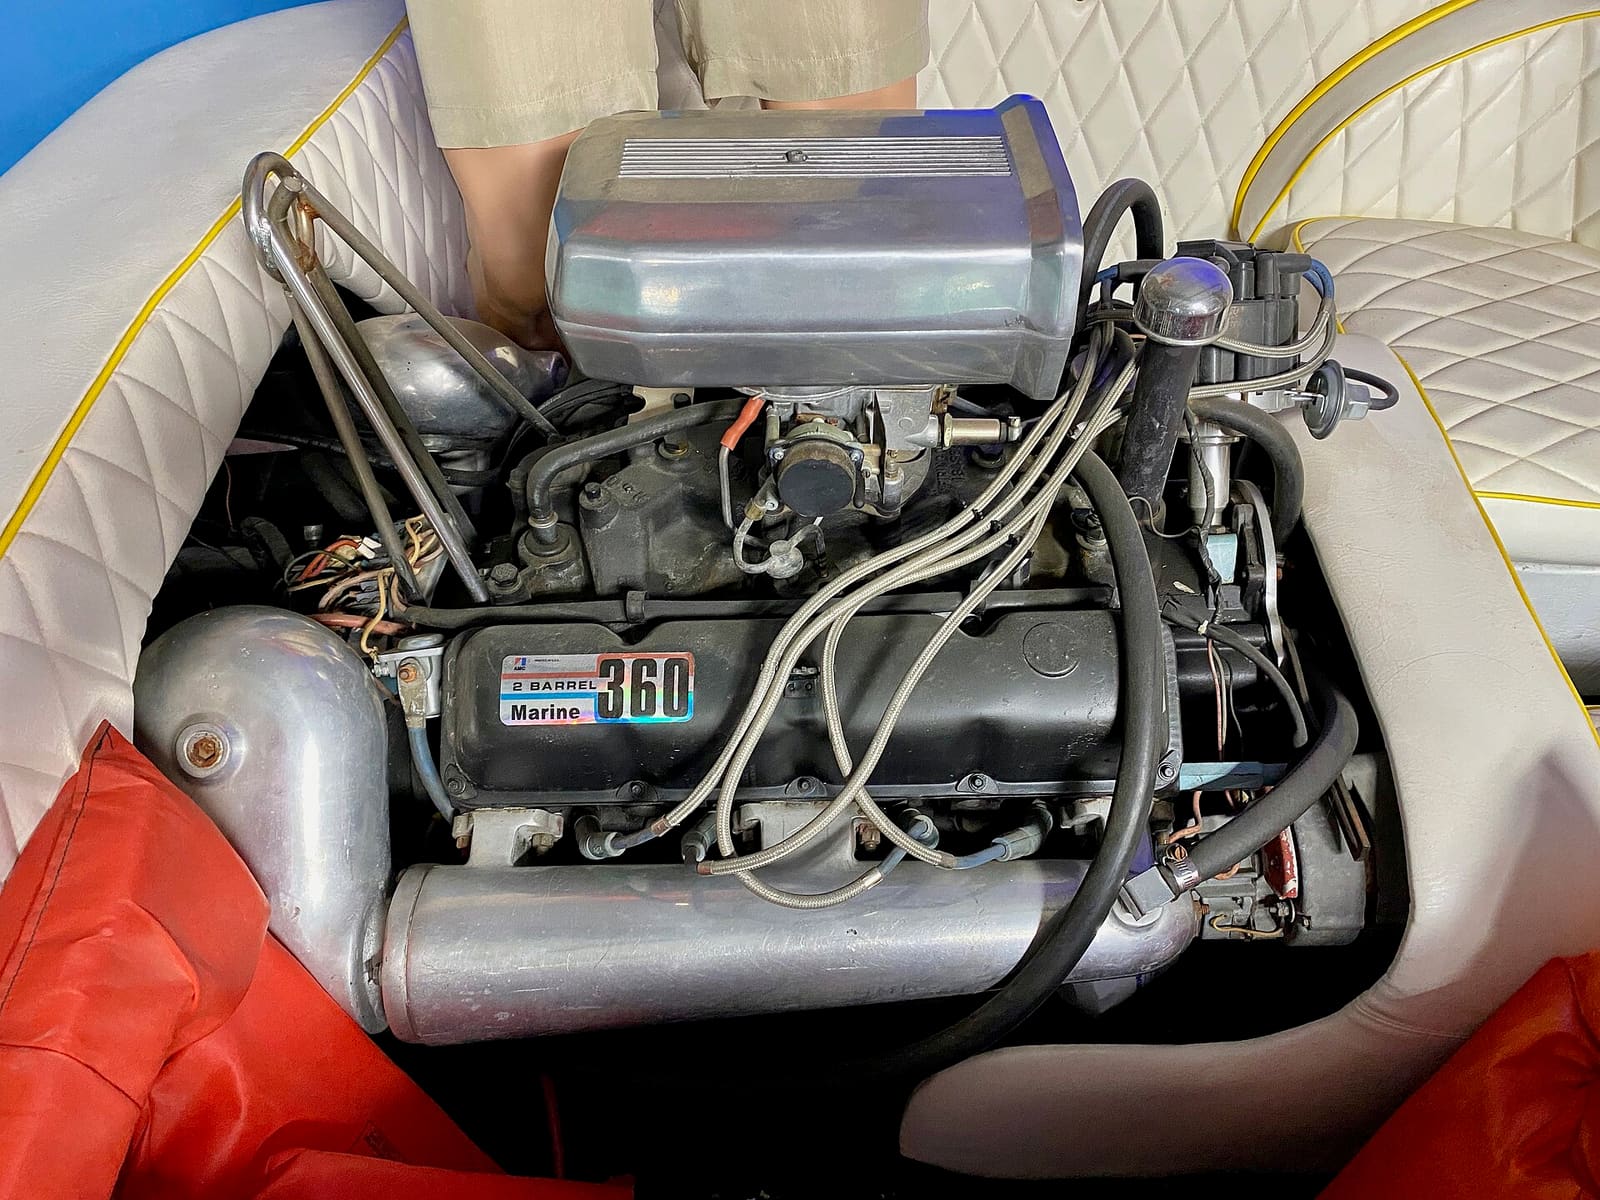
Older carbureted sterndrive and inboard V6 and V8 engines need regular spark plugs, plug wires, distributor caps and rotors to start easily and run smoothly. Learn the signs a tune-up is due, how to replace these parts one at a time, why only marine ignition-protected parts belong in a gas engine bay, and why ignition timing is a job for a shop.
Time
2 h 30 min
Shop would charge
$250-600
Applies to
Sterndrive (I/O), Gas inboard · Bowrider / runabout, Cabin cruiser, Fishing boat, Yacht
Safety first: Gasoline vapor in an engine compartment can explode. Before you work, open the engine hatch, run the bilge blower for several minutes and sniff for fuel. If you smell gas, stop: do not crank the engine or touch any electrical parts, and find the leak first (call a pro if needed). Use only marine, ignition-protected replacement parts in a gas engine bay; car parts can spark and ignite vapor. Disconnect the battery before working on the ignition, and keep clear of the belts and fan if the engine is running.
Owners often ask
- Can I use an auto parts store distributor cap and rotor on my MerCruiser V8?
- My old 5.7 sterndrive is hard to start and stumbles off idle. Will a tune-up fix it?
This guide walks you through it. Still stuck? Ask the AI Mechanic about your engine.
Tools
- Spark plug socket (a low-profile "shorty" socket helps under exhaust manifolds), extensions and a ratchet
- Torque wrench
- Spark plug gap gauge
- Plug wire puller pliers (optional)
- Screwdriver or nut driver for the distributor cap
- Flashlight, rags and compressed air or a soft brush to clean around the plugs
- Masking tape and a marker to label wires
- Phone camera
Parts & supplies
- Marine spark plugs with the exact part number from your owner's manual
- Marine spark plug wire set for your engine (if due)
- Marine distributor cap and rotor for your engine and ignition type (if due)
- Dielectric grease, if your parts instructions call for it
Before you start
Who this guide is for. Many older sterndrive and inboard boats run marinized GM or Ford V6 and V8 engines with a carburetor and a distributor (MerCruiser, OMC Cobra, Volvo Penta, Crusader, Indmar, PCM and others). Their ignition parts wear out like an old car's. Newer fuel-injected engines with coil-near-plug or computer-controlled ignition need less of this; check your manual for what applies to your engine.
Signs a tune-up is due.
- Hard starting, especially when warm or after sitting
- Rough idle, stumbling or misfiring when you open the throttle
- The engine no longer reaches its normal top RPM, or feels weak
- Worse fuel economy than last season
- Plugs that look black and sooty, oily, white or wet when removed
- No record of when the plugs, cap, rotor and wires were last replaced
Boating Magazine's survey of mechanics lists fouled plugs among the common reasons boats lose power on the water. Follow your owner's manual for intervals; many owners do plugs and a cap and rotor check every season (typical; confirm in your manual).
Why marine parts only. Federal rules (33 CFR 183.410) require electrical components in a gasoline engine compartment to be ignition protected, meaning they must not ignite a surrounding fuel vapor mixture. Marine distributors, starters and alternators are built to meet this. A car distributor cap and rotor may look identical and even fit, but they are not made to the same standard and often use contact materials that corrode quickly in the damp, salty air of a bilge. Discover Boating also notes that marine spark plugs use plated shells to resist corrosion. Buy parts listed for your engine's model and ignition type (points, electronic, or computer-controlled).
Steps
Write down the engine model and serial number from the engine's ID plate and look up the correct parts. Engines of the same size can use different distributors and ignition systems depending on the year, and the parts are not interchangeable. If your engine still uses breaker points and a condenser, those must be set with a special gauge and checked with a dwell meter afterwards. That is fine for experienced DIYers, but many owners have a shop do it or convert to electronic ignition.
Open the hatch, run the blower for several minutes and check for fuel smell. Let the engine cool so you don't get burned and so the aluminum plug threads in the head are not stressed. Disconnect the battery and remove the key.
Blow or brush away dirt and rust flakes from around each plug before removing it, so nothing falls into the cylinder. Label the plug wires with tape (cylinder numbers) if they are not already numbered.
Pull one plug wire by its boot, not the wire, then remove the plug. Working one at a time keeps the wires in the right order. Line the plugs up in order and compare them. Boating Magazine's guide to reading plugs:
- Deep brown insulator and no unusual deposits: healthy.
- Water droplets: a possible leaking head gasket or exhaust manifold. Stop and call a mechanic before running the engine.
- Specks of aluminum: possible pre-ignition damage. Stop and call a mechanic.
- Whitish insulator: a lean fuel mixture.
- One plug not "colored in" like the others: that cylinder may not be firing, from an ignition or fuel problem.
Black, dry soot usually means a rich mixture or too much idling.
Use only the plug part number in your owner's manual; Discover Boating warns that the wrong heat range can cause pre-ignition, which can melt a piston. Check the gap with a gauge against the spec in your manual, even on pre-gapped plugs, and adjust carefully if needed. Thread each plug in by hand first to avoid cross-threading, then tighten to the torque in your manual. On engines with plugs tucked under the exhaust manifolds, a low-profile spark plug socket makes the job far easier.
Look for cracked, hard or burned insulation, corroded terminals and boots that are brittle or loose. Wires that look fine can still be weak inside, especially on older engines. If replacing, swap one wire at a time, matching the length and routing of the old one, so the firing order stays correct. Keep wires away from the hot exhaust manifolds and clipped into their separators. Push each boot on until it seats firmly on the plug and on the cap.
Note the cap's position and which terminal goes to which cylinder (take a photo, and mark the number 1 terminal). Remove the cap's screws or clips without disturbing the distributor body, which would change the timing. Leave the wires attached to the old cap for now.
Inside the cap look for cracks, burned or corroded terminals, carbon tracks (thin dark lines between terminals) and a worn or missing center carbon button. On the rotor look for a burned or eroded tip and cracks. Moisture or a white crust inside the cap means water is getting in. Replace the cap and rotor as a pair if any of these show up, or as your manual's schedule says.
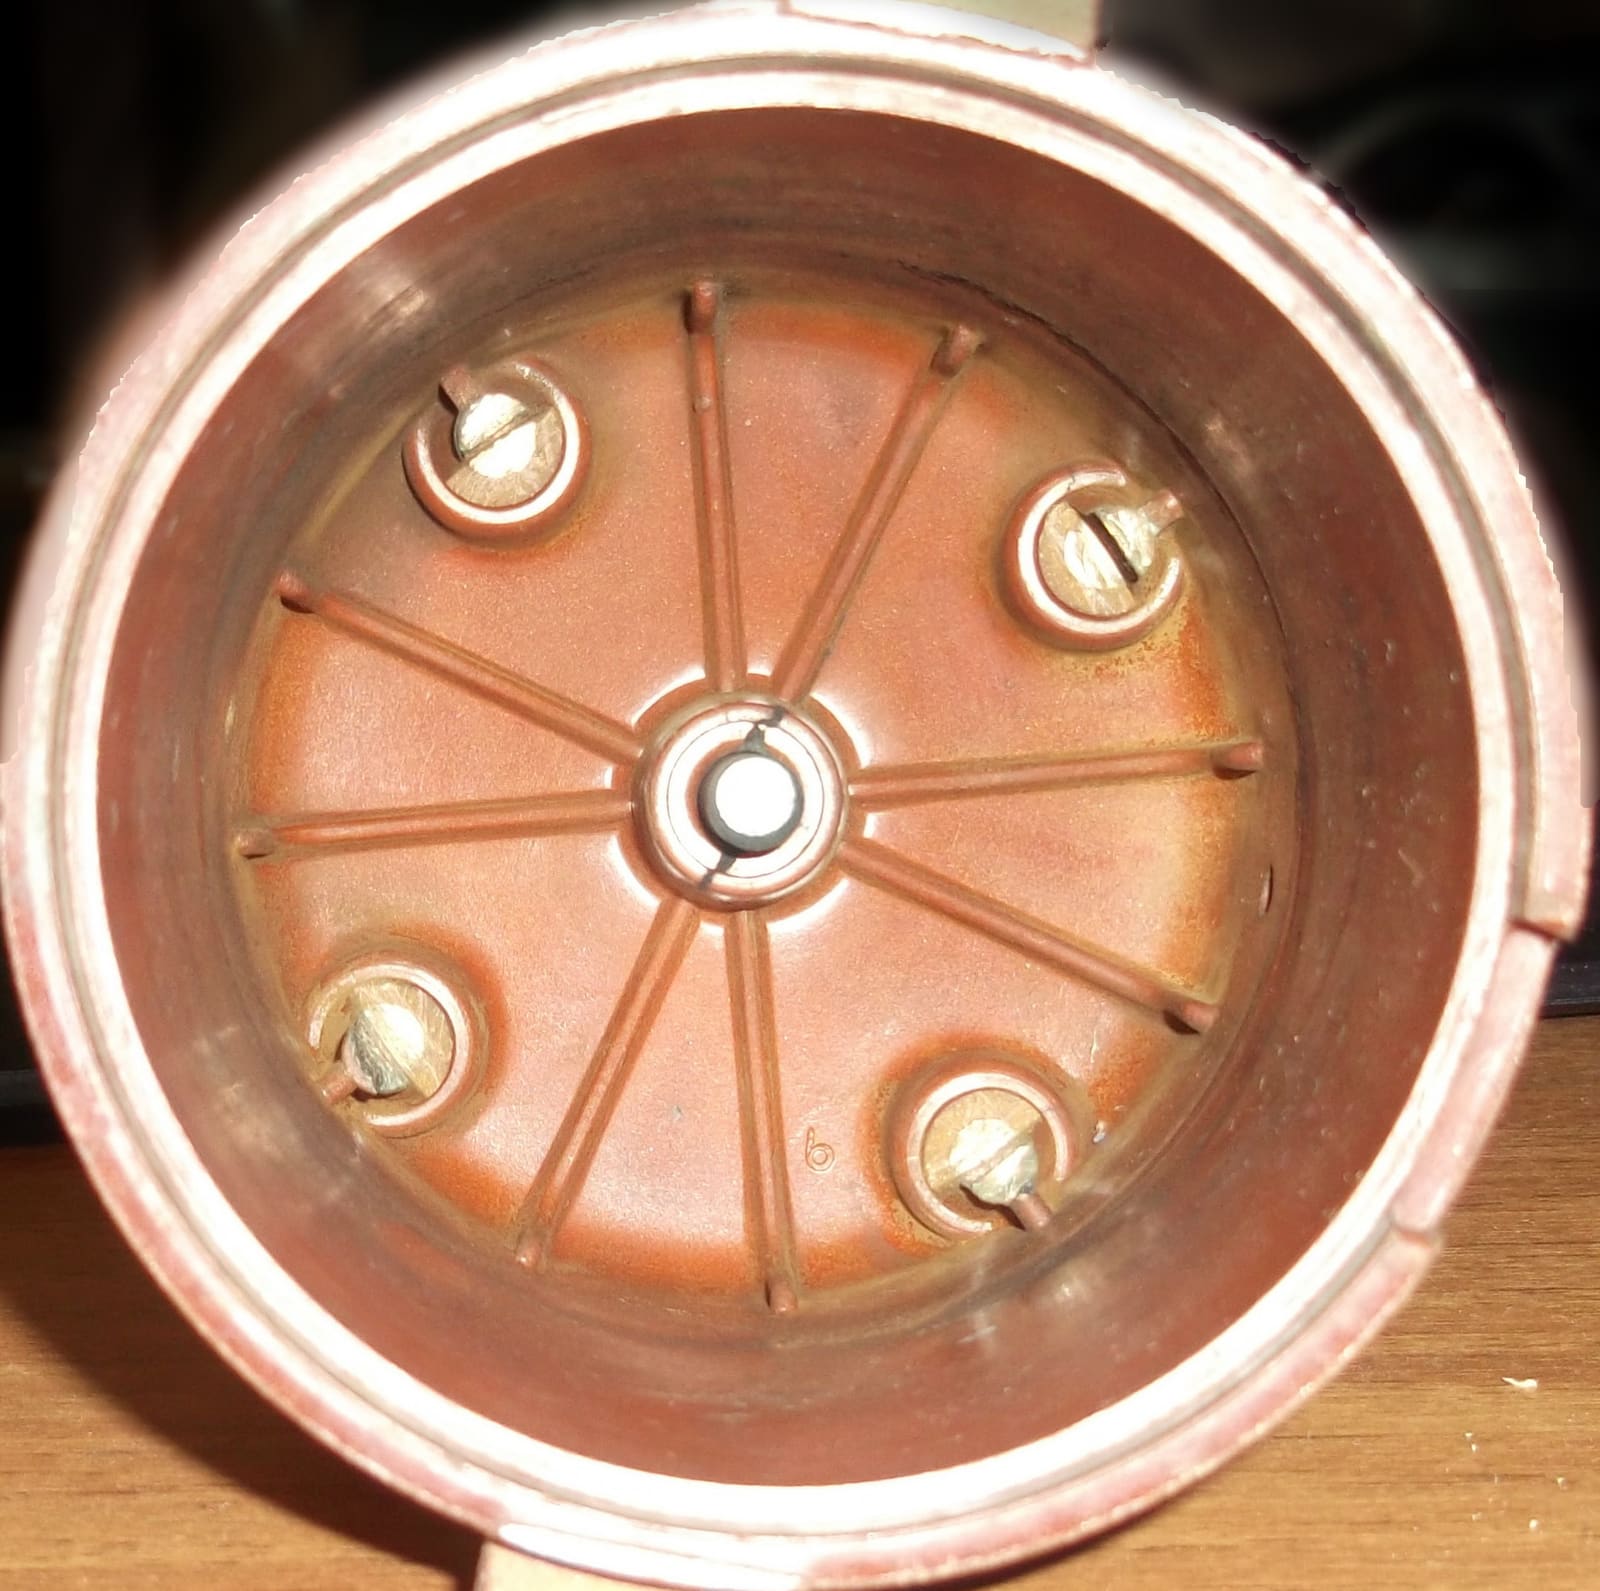
Inside a distributor cap: check the terminals for burning and corrosion and the center button and plastic for cracks. This one is from a 4-cylinder engine; a V8 cap has eight terminals. Photo: Racer009 / Wikimedia Commons · CC0 Install the new rotor so it seats fully on the distributor shaft in its only correct position. Set the new cap beside the old one in the same orientation, then move the wires across one at a time from the old cap to the matching terminal on the new one. Fit the cap, making sure any gasket or seal is in place, and secure it. A marine cap that screws down or seals is part of the ignition protection, so do not leave out screws, seals or vent screens.
Double-check every wire is pushed fully home at both ends and routed away from heat and moving parts. Reconnect the battery, positive cable to the positive post first, and double-check the polarity before you tighten anything. Mercury's owner FAQ warns that reversed battery cables can blow fuses and damage regulators, rectifiers, the engine computer, gauges and boat electronics; if it happens, have a dealer inspect the boat before you run it. Make sure nothing is left on the engine, such as tools or rags.
With water supplied to the engine (on the water or on a flush setup your manual approves), run the blower again, then start the engine. It should start readily and idle smoothly. A miss, a stumble or popping usually means a wire on the wrong terminal or not seated. Shut down and recheck the order. Never run a sterndrive or inboard without cooling water.
Timing sets when the spark happens and has a big effect on power, fuel use and engine health. Checking it needs a timing light, the correct spec for your engine, and on many engines a special procedure, such as putting the engine computer into a base timing mode. Wrong timing can cause detonation that damages pistons. Unless you have the service manual and experience, ask a mechanic to check the timing as part of the tune-up, especially if the distributor was disturbed.
Write down the date, engine hours and parts used in your BoatMend maintenance log. Keep a spare set of plugs on board, which Boating Magazine recommends along with the tools to change them.
Common mistakes
- Buying a car cap, rotor, starter or alternator because it "fits." Use only marine, ignition-protected parts.
- Pulling all the plug wires at once and losing the firing order.
- Turning the distributor body while removing the cap, which changes the timing.
- Using the wrong spark plug or skipping the gap check.
- Cross-threading a plug in an aluminum head by starting it with a ratchet.
- Ignoring water droplets or aluminum flecks on a plug and running the engine anyway.
- Leaving off the cap's screws, seals or vent screens.
- Treating a tune-up as the cure for a fuel problem. Old fuel, a dirty carburetor or a clogged filter cause many of the same symptoms.
When to call a pro
- Any fuel smell in the engine bay: do not crank the engine; ventilate and find the leak (in an emergency call 911 or VHF 16)
- Ignition timing checks, or engines with breaker points if you are not experienced
- Water droplets, aluminum specks or a dead cylinder found on the plugs
- The engine still runs rough or misfires after the tune-up
- A no-spark condition after replacing parts
- Fuel-injected engines with computer-controlled ignition and fault codes
Tips
- Do the tune-up in the fall during winterizing, so the boat starts easily in spring.
- Take your old cap and rotor to the parts counter to match them.
- Build a small spares kit while you are at it. Mercury's suggested MerCruiser spares include spark plugs, belts, oil, a water-separating fuel filter and the right fuses, plus a spare prop and a floating prop wrench.
- A small dab of dielectric grease inside the boots, if your parts instructions call for it, helps keep moisture out.
- Keep the old plugs labeled by cylinder in an egg carton until the engine runs right, so you can compare them if a problem shows up.
Official references
We read these to write this guide. Your engine's own manual always wins.
- eCFR – 33 CFR 183.410 Ignition protection
- Discover Boating – What Is a Marine Spark Plug?
- Boating Magazine – Five Things Your Sparkplugs Are Telling You
- Boating Magazine – Boating Spark Plug DIY (low-profile socket)
- Boating Magazine – Most Common Boat Engine Problems and How to Fix Them
- Discover Boating – The Life Expectancy of the Marine Engine
- Mercury Marine – Service & Support FAQs
Safety: BoatMend is for information only and does not replace a certified marine technician. You are responsible for your safety and your boat. Read the full disclaimer.
Last updated 2026-10-25
Related guides
How to Inspect and Replace Spark Plugs
Pull, read and replace the spark plugs on a gas outboard, sterndrive, inboard or PWC. Fresh, correctly gapped plugs help the engine start easily and run smoothly, and the old plugs tell you a lot about the engine's health.
No Spark - Safe Ignition Checks for Outboards, Sterndrives, Inboards and PWCs
Engine cranks but never fires, and you suspect the ignition? Work from the cheap, common causes (kill switch lanyard, key switch, plug wires and caps, plugs, battery) to a proper spark test, and learn what the stator, CDI and coils do and when it is time for a dealer.
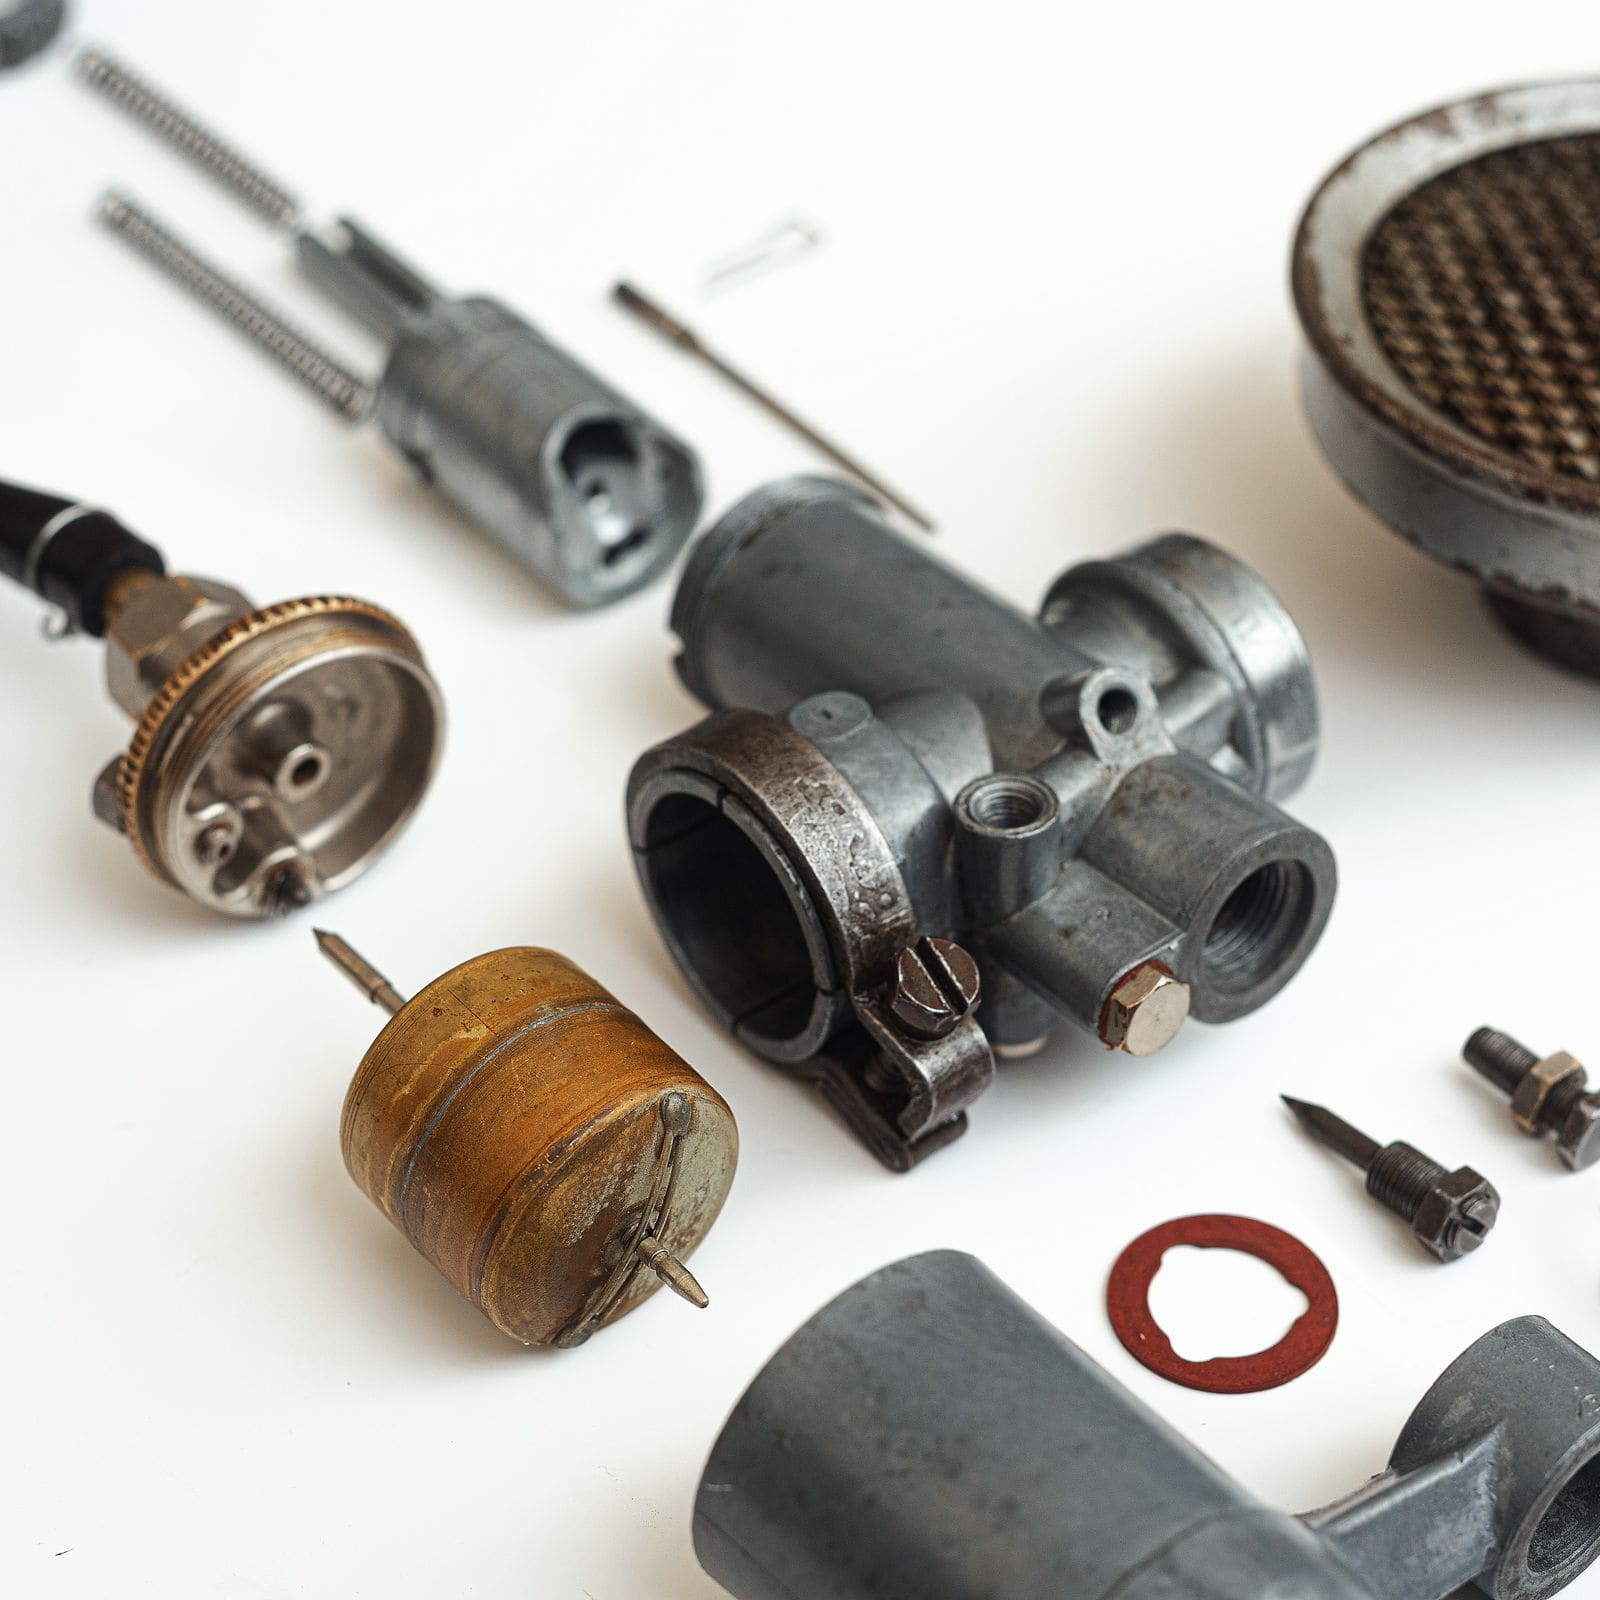
How to Clean the Carburetor on a Small or Older Outboard
Old fuel turns to varnish and plugs the tiny jets in a carburetor, so the engine only runs on choke, surges or will not idle. Learn when the carburetor really is the problem, how to drain and clean it, and when a rebuild kit or a replacement makes more sense.
Engine Won't Start or Won't Crank - Troubleshooting Guide
Find out why your boat engine will not turn over or will not fire, starting with the simple things owners miss most, like the kill switch lanyard and battery switch. Many no-starts are fixed at the ramp in minutes without a tow.
Engine Starts Then Dies - Troubleshooting Guide
Track down why your boat engine fires up and then stalls, whether at idle, when you shift into gear, or after a few minutes of running. Most causes are in the fuel supply and can be checked with no special tools.
Loss of Power, Hesitation or Misfire - Troubleshooting Guide
Figure out why your engine bogs down, stumbles, will not reach full rpm or runs rough. Work from simple checks like trim, prop and fuel filter to ignition and engine protection modes before paying for diagnostics.
How to Do a Compression Test on an Outboard, Sterndrive, Inboard or PWC
A compression test tells you whether the pistons, rings, valves and head gasket in each cylinder are sealing. Learn when to do one, how to do it safely, how to read the numbers by comparing cylinders, and what a wet test and a leak-down test add.
Bilge Blower and Engine Compartment Ventilation on Gas Inboards and Sterndrives
Learn why gas boats have a "run the blower 4 minutes" label, how to check that the blower and vent ducts actually move air out of the engine compartment, and how to replace a blower safely with an ignition-protected marine unit.
Fuel Smell on Board: What to Do and How to Find the Source
A gasoline smell on a boat is a fire and explosion warning. Learn what to do in the first minutes, the most common sources (fill and vent hoses, tank fittings, fuel lines, carburetors and injectors, overfilling), how to look safely, and when to stop and call a pro.
How to Winterize a Sterndrive (MerCruiser, Volvo Penta and Similar)
Get the water out of your sterndrive engine, protect it with antifreeze, and service the drive before storage. A cracked block or manifold from one missed drain plug can cost thousands, and doing it yourself saves a shop bill of several hundred dollars.