How to Clean the Carburetor on a Small or Older Outboard
Old fuel turns to varnish and plugs the tiny jets in a carburetor, so the engine only runs on choke, surges or will not idle. Learn when the carburetor really is the problem, how to drain and clean it, and when a rebuild kit or a replacement makes more sense.
Time
2 h 30 min
Shop would charge
$150-450
Applies to
Outboard
Safety first: Gasoline vapor ignites from a single spark. Work outdoors or in a well-ventilated space, far from water heaters, grinders and cigarettes, and keep a fire extinguisher within reach. Wear safety glasses: carburetor cleaner and fuel can spray back out of small passages. If you smell fuel in the bilge or see a leak you cannot stop, do not crank the engine; ventilate and call a pro. Stranded on the water? Call TowBoatUS or Sea Tow, and in an emergency use VHF channel 16 or dial 911.
Owners often ask
- My boat sat for a couple of years. Do I need to clean the carburetor?
This guide walks you through it. Still stuck? Ask the AI Mechanic about your engine.
Tools
- Screwdrivers that fit the slots exactly (flat and Phillips)
- Small socket or wrench set
- Aerosol carburetor cleaner
- Compressed air (can or compressor with a low-pressure nozzle)
- Safety glasses and nitrile gloves
- Parts tray or muffin pan, and a phone camera
- Clean glass jar and a fuel-safe drain container
- Flushing muffs or a test tank
- Fire extinguisher (ABC or B-rated) within reach
Parts & supplies
- Carburetor rebuild kit for your exact model (gaskets, O-rings, needle and seat)
- Carburetor mounting gasket
- Fresh gasoline (no more than 10% ethanol) and marine fuel stabilizer
- Fuel line, primer bulb or clamps (if cracked or soft)
Before you start
This guide is for carbureted outboards only. Many newer outboards, especially mid- and high-horsepower models, are fuel injected (EFI). They have no carburetor, and clogged injectors or fuel pumps are a dealer job. If your engine's cowling or manual says EFI, stop here and use our guides on an engine that starts then dies or loses power instead.
Typical signs that the carburetor is the problem:
- The engine only runs with the choke on or the primer pushed in.
- It surges or hunts at idle, or will not idle at all.
- It stumbles or dies when you open the throttle.
- It sat for months with untreated fuel, and the old fuel smells sour or like varnish.
Why it happens: fuel starts to oxidize within weeks and leaves a gummy film as it evaporates. Mercury notes that older carbureted engines are especially prone to this because the deposits clog the tiny jets and passages. Ethanol blends can also pick up water, and on older engines the rubber parts inside the carburetor can harden.
Rebuild kit or new carburetor? Clean it first. Buy a rebuild kit for your exact model (look up the model and serial number on the engine's ID tag). Consider a replacement carburetor instead if the body is cracked, badly pitted by white corrosion, has stripped threads, or the throttle shaft is loose in its bore (that leaks air and no cleaning fixes it).
Engines with more than one carburetor (common on older multi-cylinder 2-strokes) must be synchronized after removal. That linkage adjustment is often a dealer job; if you clean them yourself, work on one carburetor at a time and never swap parts between them.
Steps
Before taking anything apart, make sure the problem is not somewhere simpler. Check the kill switch clip, the spark plugs, the fuel tank vent, the primer bulb (it should get firm), the fuel line for kinks or soft spots, and the fuel filter. Run the engine from a portable tank of fresh fuel connected straight to the engine. If it suddenly runs well, your problem was fuel or fuel supply, not the carburetor.
Many small carburetors have a drain screw at the bottom of the float bowl. With the engine off and cool, put a container underneath, open the screw a few turns and let the fuel run out, then close it snugly. Old drain screws are small and soft and can snap off in the bowl: if one will not turn with gentle pressure, stop rather than force it.
Pour the drained fuel into a clean glass jar and let it settle. Water shows as a clear bubble or layer at the bottom. A cloudy, jelly-like layer means the ethanol has phase separated: drain the tank too, because no additive can make that fuel usable again. Refill with fresh, treated fuel, squeeze the primer bulb and try a start (on muffs or in the water). Mild varnish sometimes clears after an hour of running with a fuel system cleaner, but badly gummed jets will not.
Disconnect the battery (on electric-start engines) and remove the kill switch clip so the engine cannot start. Disconnect the fuel line at the engine. Lay out a parts tray and keep the fire extinguisher close.
Take photos from every side before you remove anything. The throttle and choke linkages, the primer or enrichener hoses, and the routing of every small hose are easy to forget. Photos save hours.
Remove the air intake cover or silencer. Disconnect the throttle and choke linkages (note which hole each rod goes in), any fuel and primer hoses, and the wires of an electric choke or primer solenoid if fitted. Undo the mounting nuts and lift the carburetor off.
Keep it upright so the fuel in the bowl does not run everywhere. Plug or cover the intake opening on the engine with a clean rag so nothing falls inside.
Remove the bowl screws and lift the bowl off. What you find tells you a lot:
- Green, brown or amber film, or gel: stale fuel and varnish. Cleaning should fix it.
- White, chalky crust: corrosion from water in the fuel. Light deposits clean off; deep pitting may mean a new carburetor.
- Water droplets or rust: clean the tank and replace the fuel filter as well, or the problem comes back.
Slide out the float hinge pin and lift the float out with the needle attached. Look at the needle tip: a ring-shaped groove or a hardened, cracked rubber tip means it will not seal, and the carburetor will flood or leak. Shake the float next to your ear: if you hear fuel inside, the float is leaking and must be replaced.
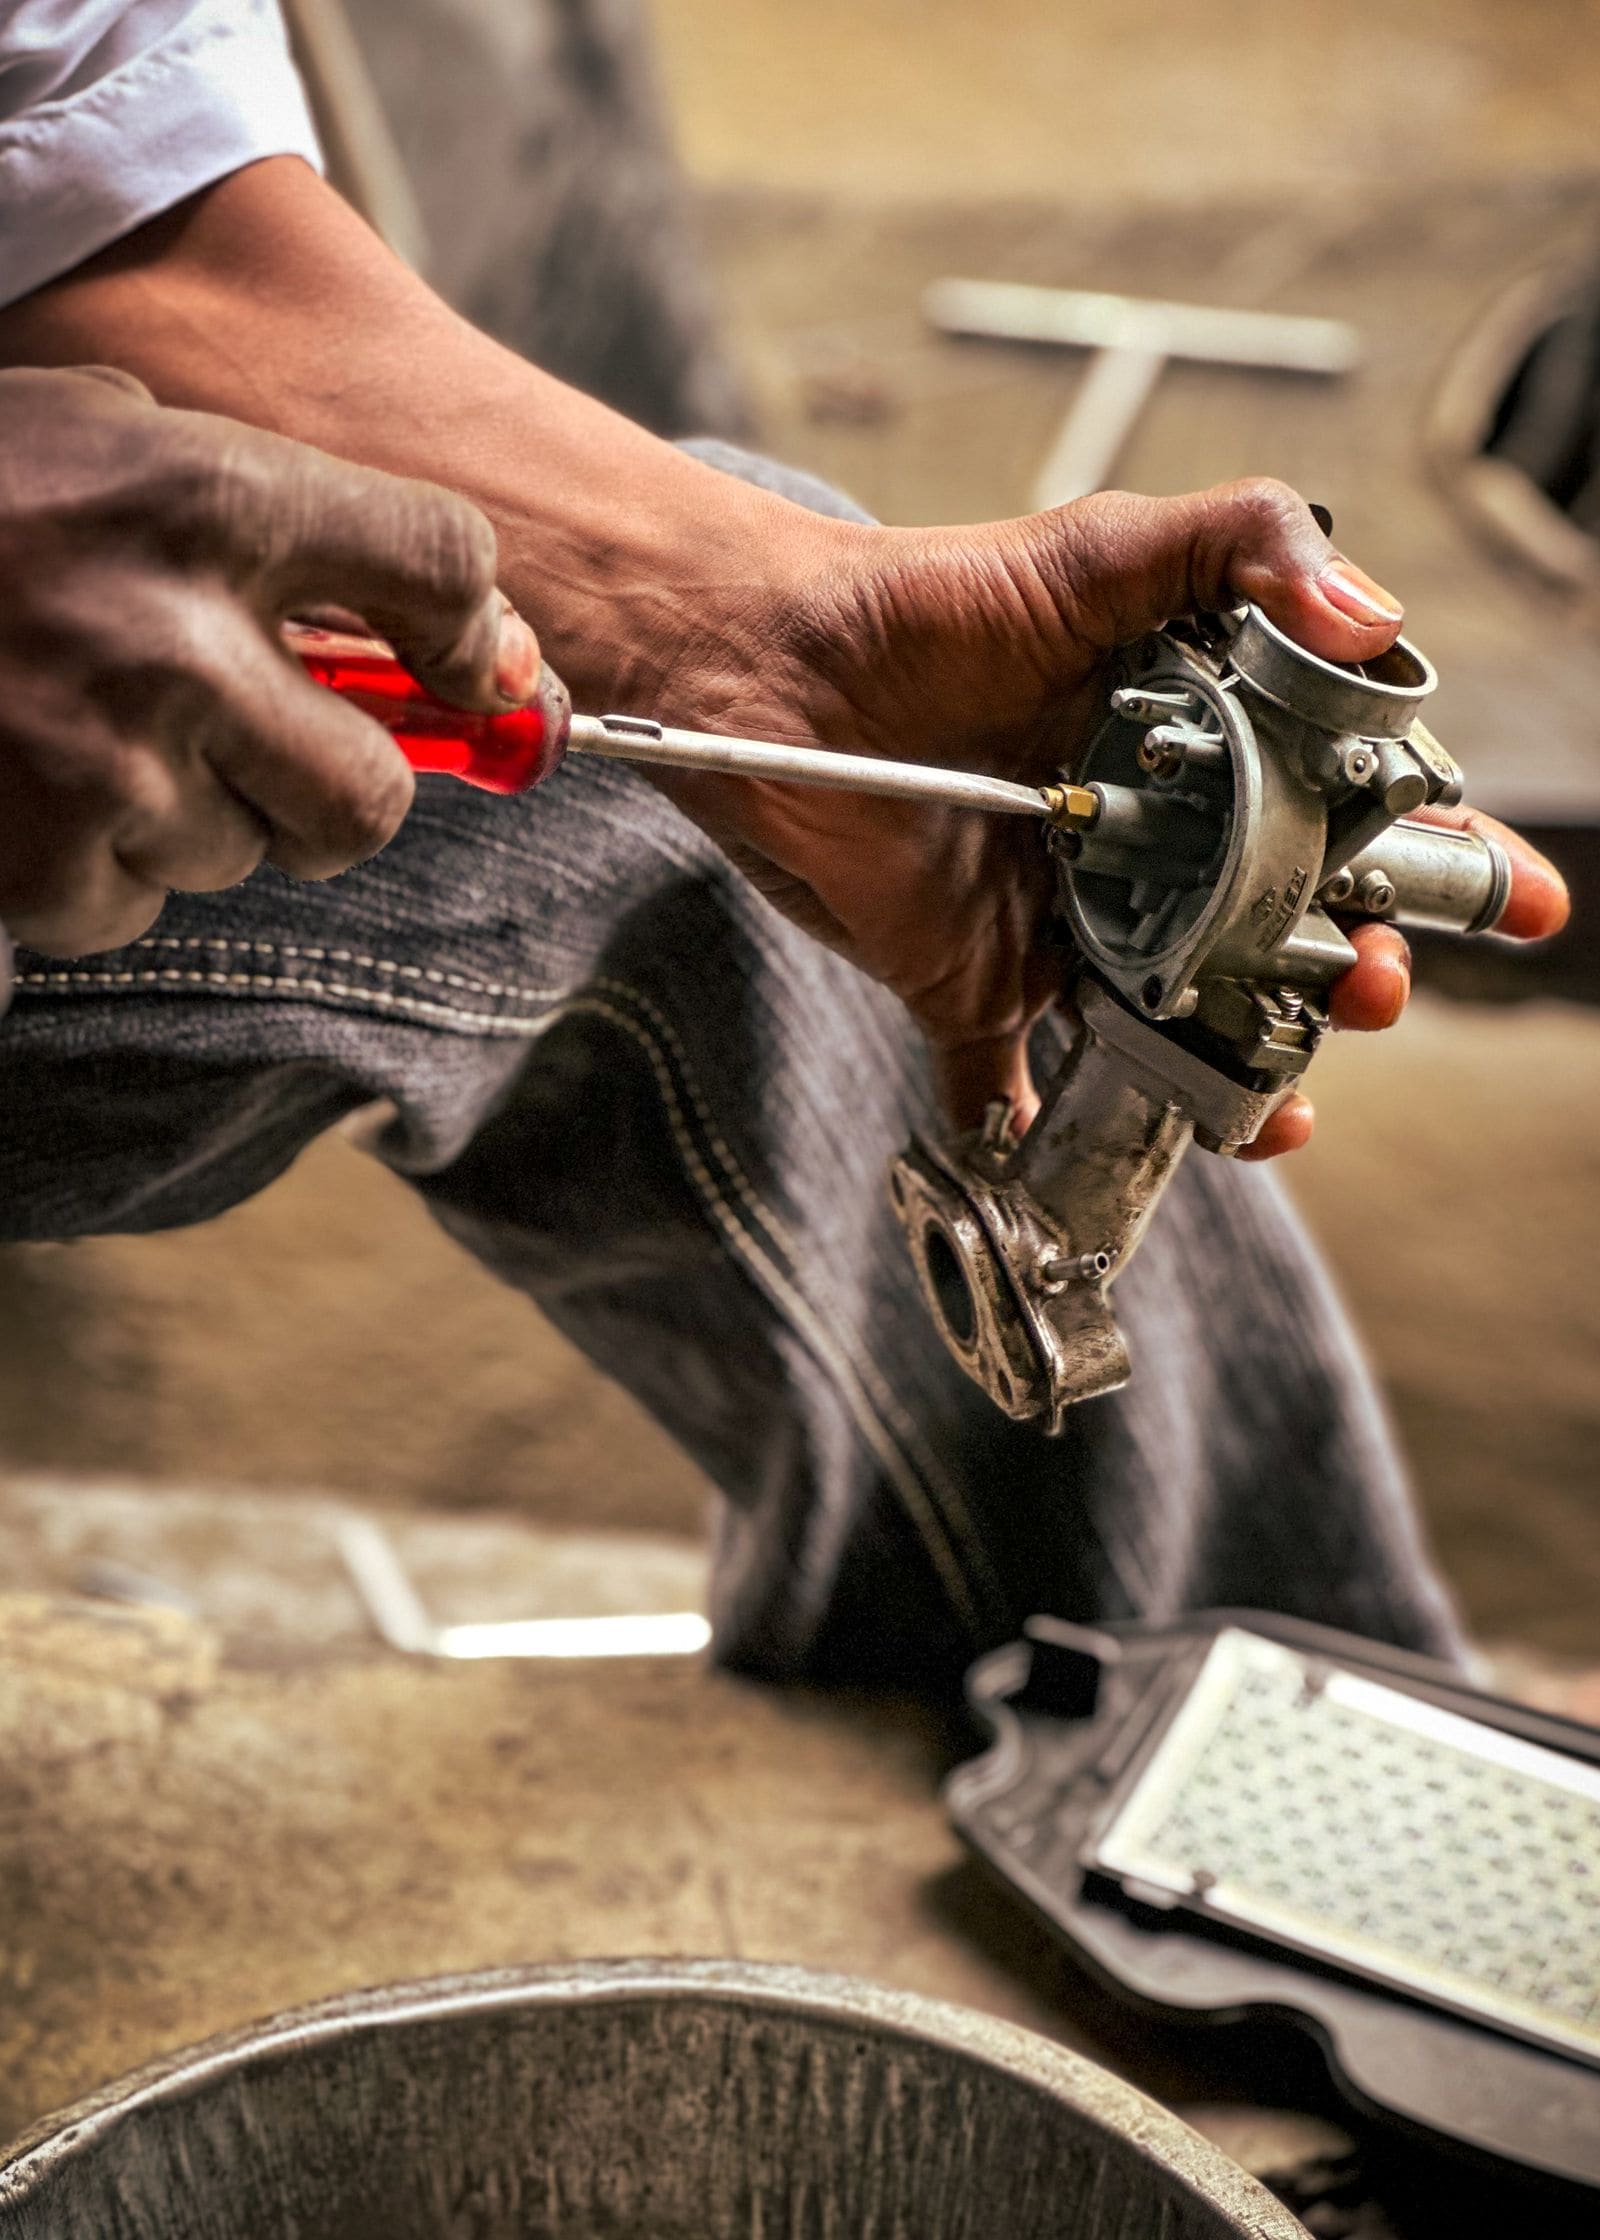
Use a screwdriver that fits the slot exactly. Brass jets and screws are soft and the slots tear easily. Photo by Devesh Chander on Pexels · Pexels License Unscrew the main jet and any removable idle (pilot) jet with a screwdriver that fills the slot completely. Some jets are pressed in and are not meant to come out; clean those in place.
If your carburetor has an idle mixture screw that is not capped, gently turn it in while counting the turns until it just seats. Write the number down, then remove it. Never force it tight: that damages the tip and the seat. Many emissions-era carburetors have a sealed or capped mixture screw; leave that one alone.
Spray carburetor cleaner through each jet, each drilled passage and the small holes in the throat, then blow them through with low-pressure compressed air. Hold the jets up to a light: you should see a clean, round hole.
Do not push a wire, pin or drill bit through a jet. The hole size is precise, and scratching or enlarging it changes how the engine runs. If a jet will not clear with cleaner and air, replace it.
If you use a soak-type carburetor dip, remove every rubber, plastic and foam part first and follow the cleaner's label for soak time. Some carburetors have sealants or coatings that long soaks can damage, so check your service manual. Rinse, then dry everything completely with air.
Install new gaskets, O-rings and the new needle and seat from the rebuild kit. Do not reuse old gaskets: they are flattened and will leak. Compare each new part to the old one before installing it; kits often include extra pieces for other versions.
Now is also the time to replace a primer bulb that will not stay firm and any fuel line that is cracked, stiff or soft. Old line can collapse inside and starve the engine, which looks exactly like a dirty carburetor. Use only marine fuel hose printed with its USCG type and the SAE J1527 standard, never automotive or garden-store hose; BoatUS recommends Type A1, the most fire-resistant and least permeable kind. A hose that smells of gasoline when you wipe it with a dry rag is breaking down.
Older engines need extra attention here. Mercury advises frequent checks of every fuel-system part on engines from 1990 or earlier for leaks, softening, hardening, swelling or corrosion, and warns that some fiberglass fuel tanks built before 1991 may not tolerate ethanol fuel (resin can be drawn out of the tank and sent to the engine). If your boat has an old built-in fiberglass tank, ask its maker or a pro before you blame the carburetor again.
Install the jets snugly (they are soft brass, so do not overtighten), then the needle, float and hinge pin. Check the float height or float level with the method and measurement in your service manual; a float set wrong makes the engine run rich or lean even with clean jets. Fit the bowl with its new gasket and tighten the screws evenly and gently.
Turn the idle mixture screw back in to the number of turns you wrote down.
Mount the carburetor with a new mounting gasket. Reconnect linkages and hoses exactly as in your photos and make sure the throttle and choke move freely and return on their own.
Reconnect the fuel line and squeeze the primer bulb until firm. Watch the bowl gasket, the drain screw and every fitting for a minute. Any drip means stop and fix it before you crank the engine.
Two things owners often see right after a rebuild:
- Fuel spits or pours out of the main jet into the carburetor throat as soon as the bulb is squeezed: the needle is not sealing or the float is set wrong, so the bowl overfills. Also check that the fuel hose went onto the fuel inlet and not onto a bowl vent fitting.
- Fuel dribbling out around the throttle shaft: usually the same overfull bowl running down the bore, not a leaking shaft. Fix the float level first.
Either way, do not try to start the engine with fuel overflowing; take the carburetor back off and correct the float and needle.
Run the engine only in the water, in a test tank or on flushing muffs with the water on. Expect it to take a few extra pulls or cranks while the bowl fills. Let it warm up, check that the cooling water stream (telltale) is flowing, then check the idle. Fine-tune idle speed and mixture only as your manual describes.
If it still runs poorly, the cause may be a second carburetor, the fuel pump, an air leak at the mounting gasket, ignition or low compression. That is the point to involve a mechanic.
- Treat every tank with a marine fuel stabilizer and buy fuel from a busy station.
- Use fuel with no more than 10% ethanol. E15 and E85 can damage marine fuel systems.
- Before storage, follow your manual: many owners run the carburetor dry or drain the float bowl so no fuel sits in it. Honda, for example, points owners to the Storage section of the owner's manual, which covers stabilizer and draining the fuel tank and carburetor, and some of its small portables have a float bowl drain screw for exactly this.
- Replace old fuel hoses and keep a spare water-separating filter on board.
Common mistakes
- Leaving untreated ethanol fuel in the carburetor for months, then cleaning it every spring. Drain or run it dry before storage.
- Pouring in an additive after the fuel has gone stale or phase separated. No additive restores old fuel; drain it.
- Poking jets with wire or a torch tip cleaner and enlarging the hole.
- Losing count of the idle mixture screw turns, or forcing it tight against its seat.
- Soaking the whole carburetor with plastic and rubber parts still installed.
- Reusing old gaskets and the old needle, then chasing a carburetor that leaks fuel.
- Swapping jets or floats between carburetors on a multi-carb engine.
- Cleaning the carburetor when the real problem is a collapsed fuel line, a primer bulb that leaks air, a clogged filter or a closed tank vent.
- Buying the cheapest no-name replacement carburetor online. Owners regularly report that these need settings far from the manual's to idle, if they run well at all; a carefully rebuilt original or a genuine replacement is usually the better buy.
- Adding an extra fine inline filter "for protection." Mercury warns that another filter is another restriction that can starve the engine of fuel; replace the filters the engine already has instead.
When to call a pro
- Fuel leaks or a fuel smell you cannot trace and stop
- Your engine is fuel injected (EFI) or has an emissions carburetor with a sealed mixture screw
- A multi-carburetor engine that needs synchronizing after the carburetors come off
- The carburetor body is cracked, heavily corroded or has stripped threads, or the throttle shaft is worn
- The engine still runs badly after a careful cleaning (it may need ignition, fuel pump or compression checks)
- Heavy gum and varnish all through the carburetor and engine: Yamaha lists cleaning carbon, gum and varnish out of the engine and carburetor among the jobs best left to a dealer, who has professional-strength cleaners and the right tools
- You are on the water and the engine will not run: call TowBoatUS or Sea Tow, and in an emergency VHF 16 or 911
Tips
- A muffin pan or egg carton keeps the small parts in order. Put them in the order they came out.
- Order the rebuild kit before you start, using the model and serial number from the engine's ID tag, so the boat is not apart for a week.
- If the engine will sit more than a few weeks, add stabilizer to fresh fuel and run the engine a few minutes so treated fuel reaches the carburetor.
Official references
We read these to write this guide. Your engine's own manual always wins.
- Mercury Marine – Maintenance Made Easy, Fuel Basics
- Yamaha Outboards – Maintenance Matters, Fuel and Fuel System
- Honda Marine – Fuel Recommendations
- BoatUS – Three Ethanol Myths Clarified
- Mercury Marine – Owner FAQs (ethanol, fuel system and filters)
- Honda Marine – Maintenance (winterizing portable outboards)
- BoatUS – Marine Exhaust and Fuel Hoses
Safety: BoatMend is for information only and does not replace a certified marine technician. You are responsible for your safety and your boat. Read the full disclaimer.
Last updated 2026-10-24
Related guides
Ethanol (E10) Fuel Care: Stabilizer, Phase Separation, Fuel Lines and Tank Vents
Keep E10 gasoline from damaging your boat engine. Learn how to use stabilizer, test for water and phase separation, and inspect the fuel lines, primer bulb, anti-siphon valve and tank vent. Most fuel-related breakdowns start with one of these.
Engine Starts Then Dies - Troubleshooting Guide
Track down why your boat engine fires up and then stalls, whether at idle, when you shift into gear, or after a few minutes of running. Most causes are in the fuel supply and can be checked with no special tools.
Engine Won't Start or Won't Crank - Troubleshooting Guide
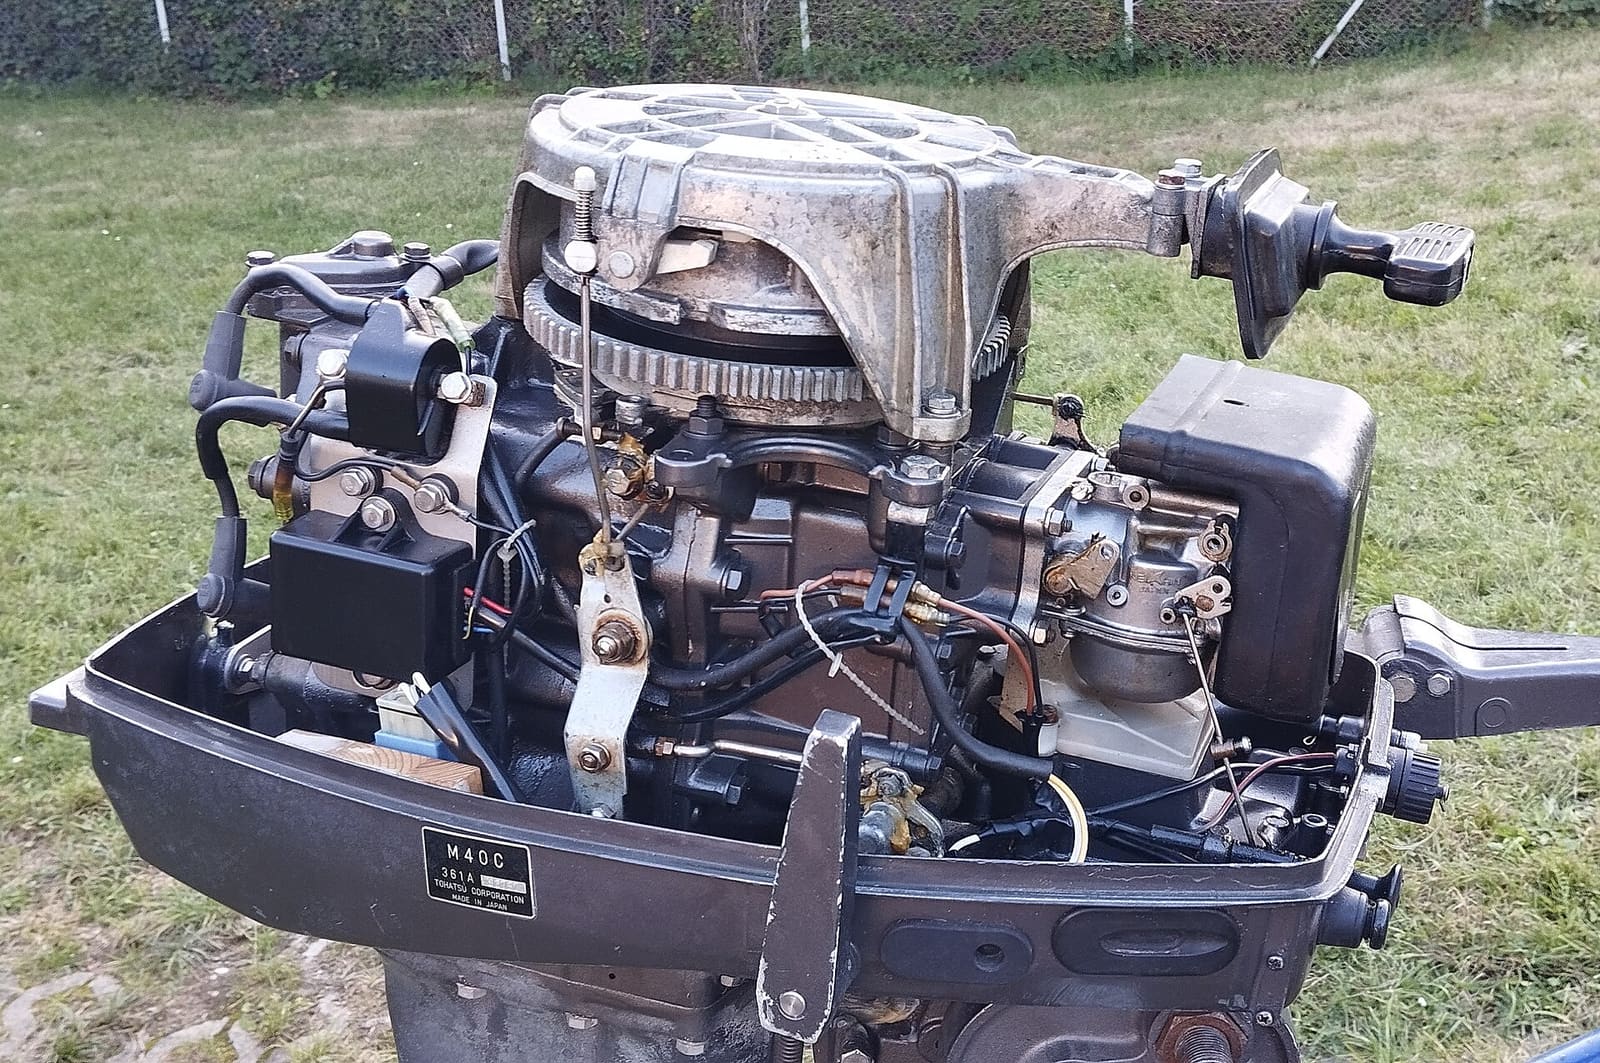
Find out why your boat engine will not turn over or will not fire, starting with the simple things owners miss most, like the kill switch lanyard and battery switch. Many no-starts are fixed at the ramp in minutes without a tow.
Loss of Power, Hesitation or Misfire - Troubleshooting Guide
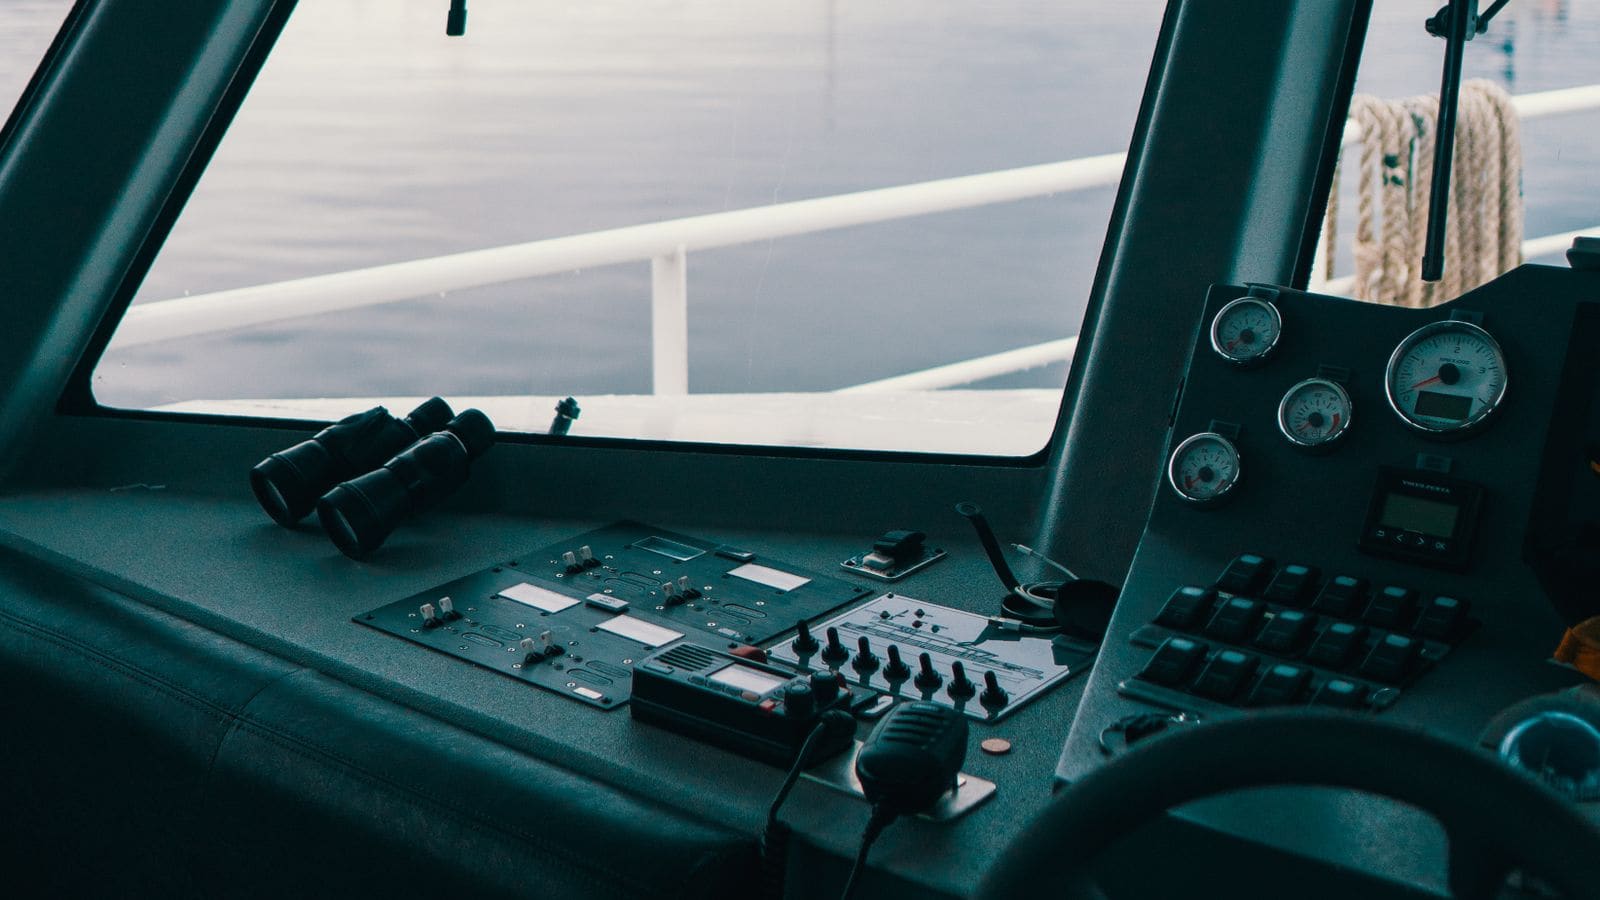
Figure out why your engine bogs down, stumbles, will not reach full rpm or runs rough. Work from simple checks like trim, prop and fuel filter to ignition and engine protection modes before paying for diagnostics.
How to Replace a Fuel/Water Separating Filter (and Check for Water in Your Fuel)
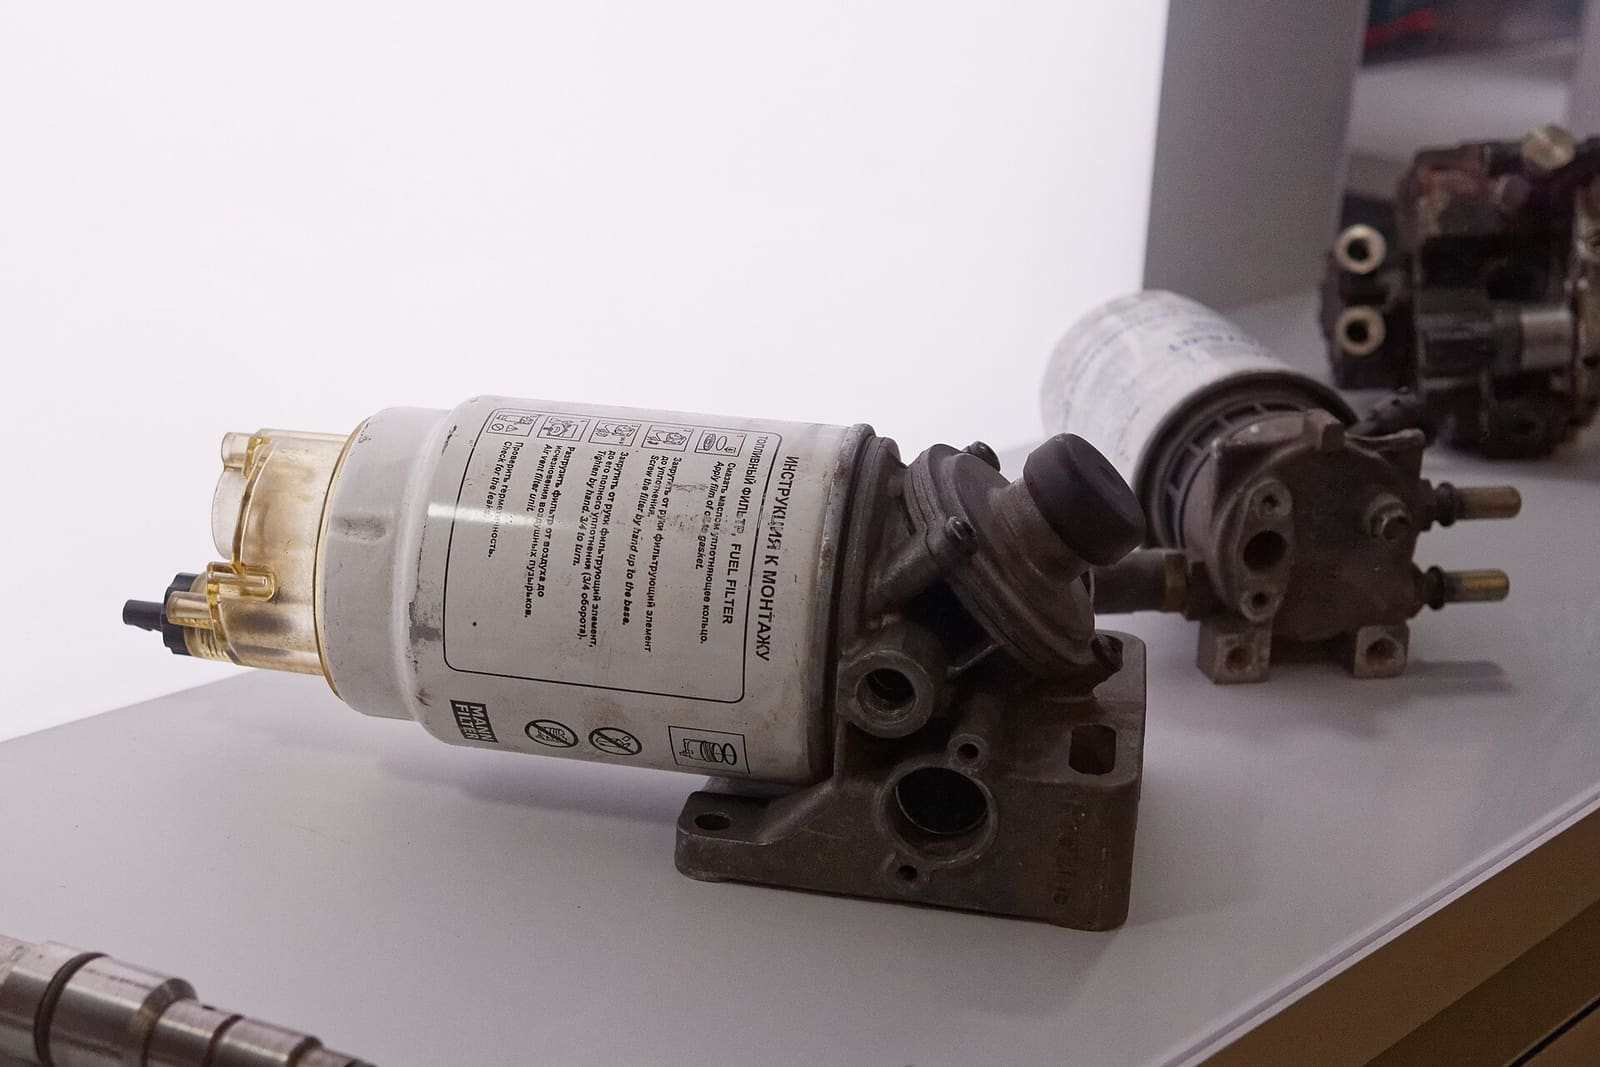
Swap the spin-on fuel/water separator on your gas boat and learn to spot water and ethanol phase separation before it stalls the engine. It is one of the cheapest jobs on the boat and one of the best protections for a fuel-injected engine.
How to Inspect and Replace Spark Plugs
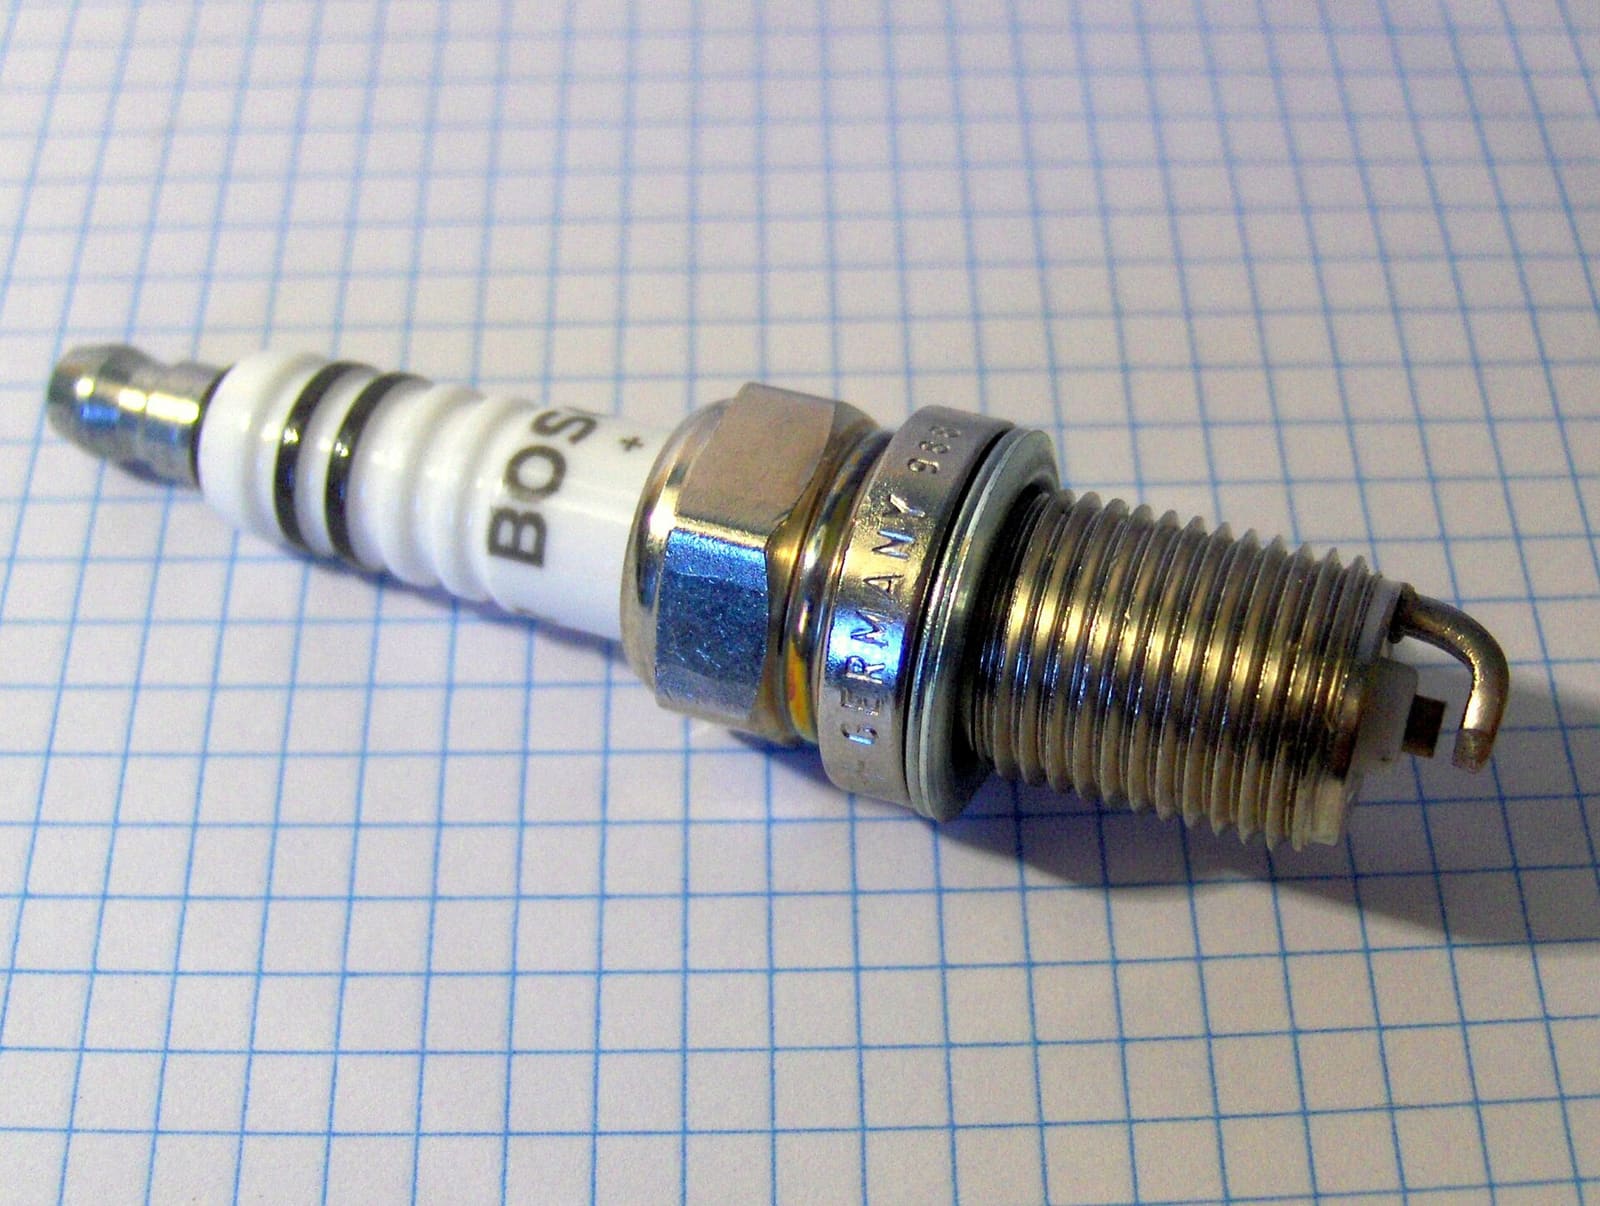
Pull, read and replace the spark plugs on a gas outboard, sterndrive, inboard or PWC. Fresh, correctly gapped plugs help the engine start easily and run smoothly, and the old plugs tell you a lot about the engine's health.