How to Do a Compression Test on an Outboard, Sterndrive, Inboard or PWC
A compression test tells you whether the pistons, rings, valves and head gasket in each cylinder are sealing. Learn when to do one, how to do it safely, how to read the numbers by comparing cylinders, and what a wet test and a leak-down test add.
Time
1 h
Shop would charge
$100-250
Applies to
Outboard, Sterndrive (I/O), Gas inboard, Jet ski / PWC
Safety first: With the plugs out, the engine can still squirt fuel out of the plug holes on many models, so a stray spark or flame can start a fire. Disable both the ignition and, on fuel-injected engines, the fuel injection before you crank, and never let loose plug wires spark near the open holes. On sterndrives and inboards, run the blower for at least 4 minutes and sniff the engine compartment first; if you smell gasoline, stop and fix the leak or call a pro. Keep everyone away from the propeller, flywheel and belts, and make sure the engine is in neutral.
Owners often ask
- My compression readings are different on each cylinder. How much difference is too much?
- Should I do a compression test before buying a used boat, and can I do it myself?
This guide walks you through it. Still stuck? Ask the AI Mechanic about your engine.
Tools
- Compression gauge for gasoline engines, with a screw-in hose and adapters for your spark plug thread
- Spark plug socket, ratchet and extension
- Small paintbrush or compressed air to clean around the plugs before removal
- Masking tape and a marker to label plug wires or coils
- Notepad or phone to record each reading
- Battery charger (the battery must be fully charged)
- Flush muffs or a test tank for warming up an outboard (or the cooling-water hookup your manual specifies)
- Small oil can with clean engine oil (for the wet test)
- Leak-down tester and an air compressor (optional, usually a shop tool)
Parts & supplies
- New spark plugs if they are due (exact type and gap from your owner's manual)
Before you start
A compression test measures the highest pressure each cylinder builds as the engine cranks. It tells you how well that cylinder seals: piston rings against the cylinder wall, valves against their seats (on four-strokes) and the head gasket between cylinders. You can do it with a gauge that costs about the same as a tank of fuel.
Good reasons to test:
- Before buying a used boat or engine. Surveyors and engine mechanics use it to judge internal wear, especially on older engines.
- Low power, a misfire on one cylinder, smoke, or hard starting after you have already checked spark, fuel and the battery.
- After an overheat, a hard grounding or water getting into the engine.
What it can't do: it does not give you a single "pass" number. Engines of different makes, sizes and ages read differently, so the useful information is how the cylinders compare with each other and with the figures in your service manual. A healthy compression test also does not prove the whole engine is fine; fuel, ignition, cooling and the lower unit still matter.
Diesel engines need a gauge with a much higher range and the injectors or glow plugs removed, and some have decompression levers that must be closed for the test. Most owners leave a diesel compression test to a mechanic. Modern fuel-injected outboards can also be checked by a dealer or engine surveyor with diagnostic software, which can run a "cylinder drop" test that shuts off one cylinder at a time and compares how much the RPM falls.
Steps
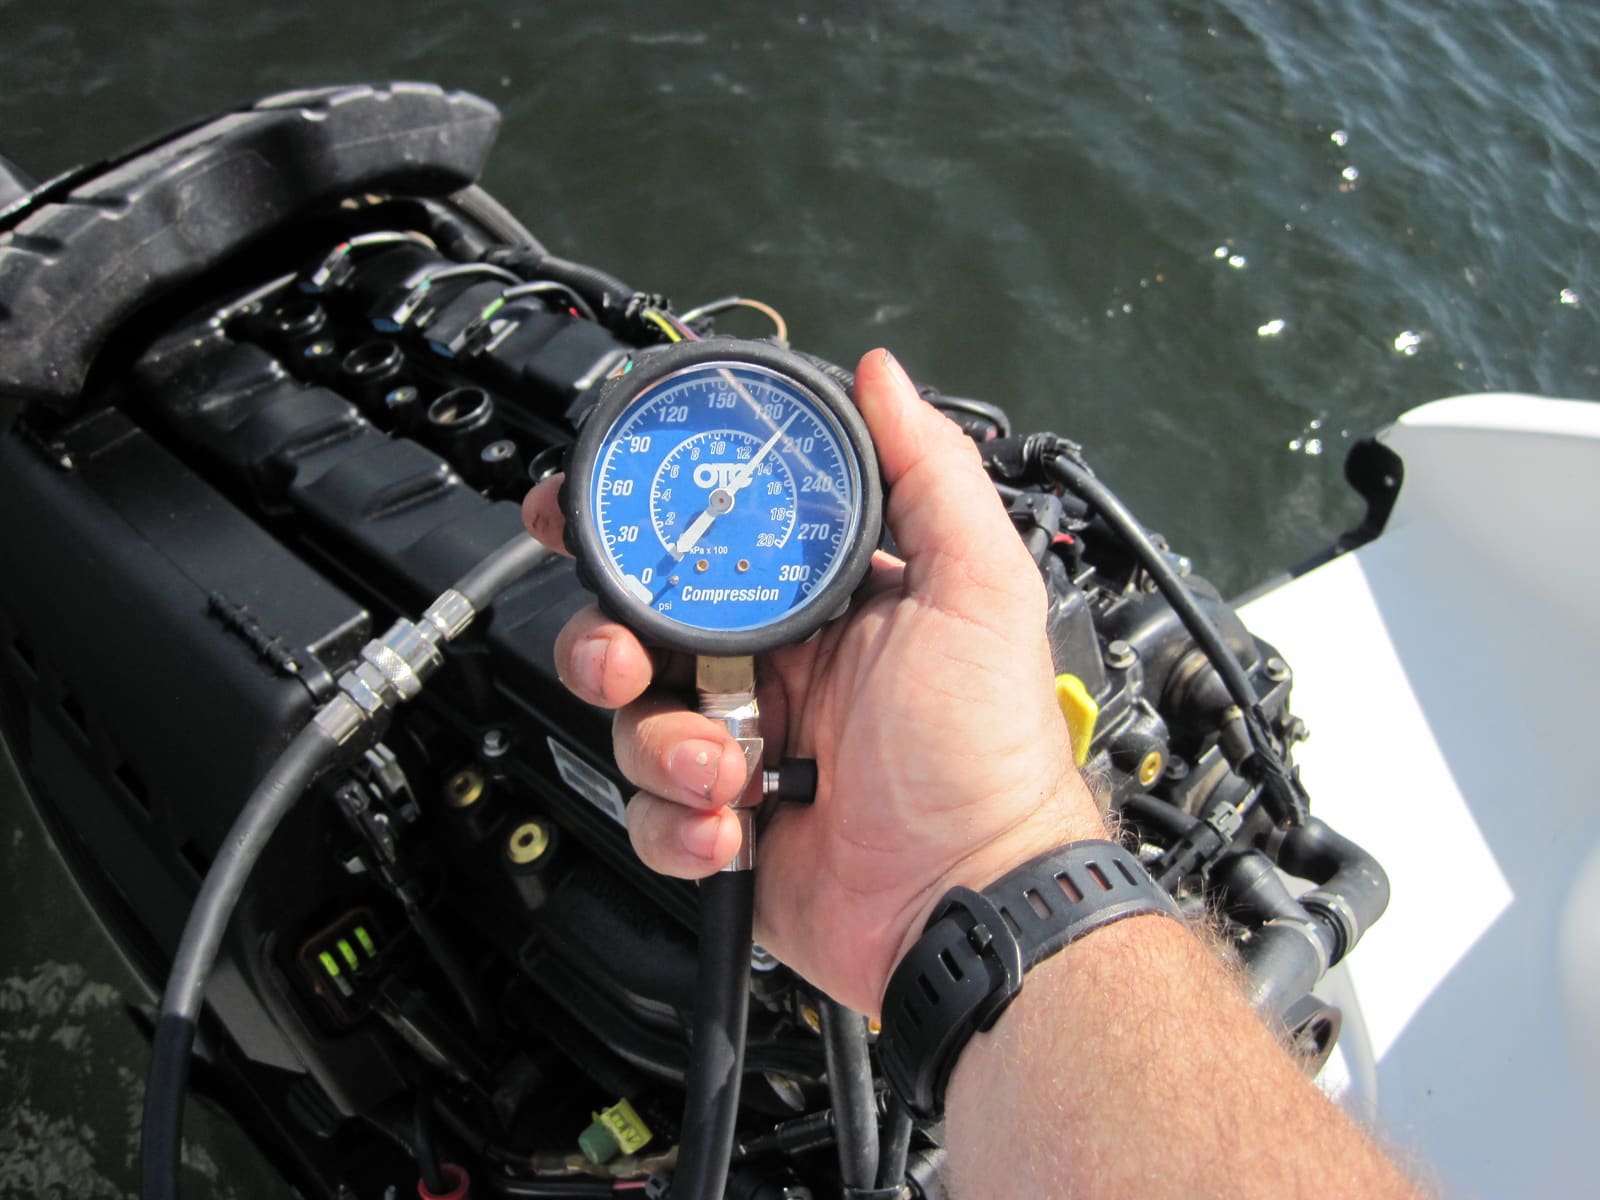
Buy or rent a compression gauge made for gasoline engines. It screws into the spark plug hole with a hose and holds the needle at the highest reading until you press the release button. Boat engines use different plug threads, so check that the kit includes an adapter that fits yours. A gauge you press into the hole by hand leaks and gives low readings; the screw-in type is far more consistent.
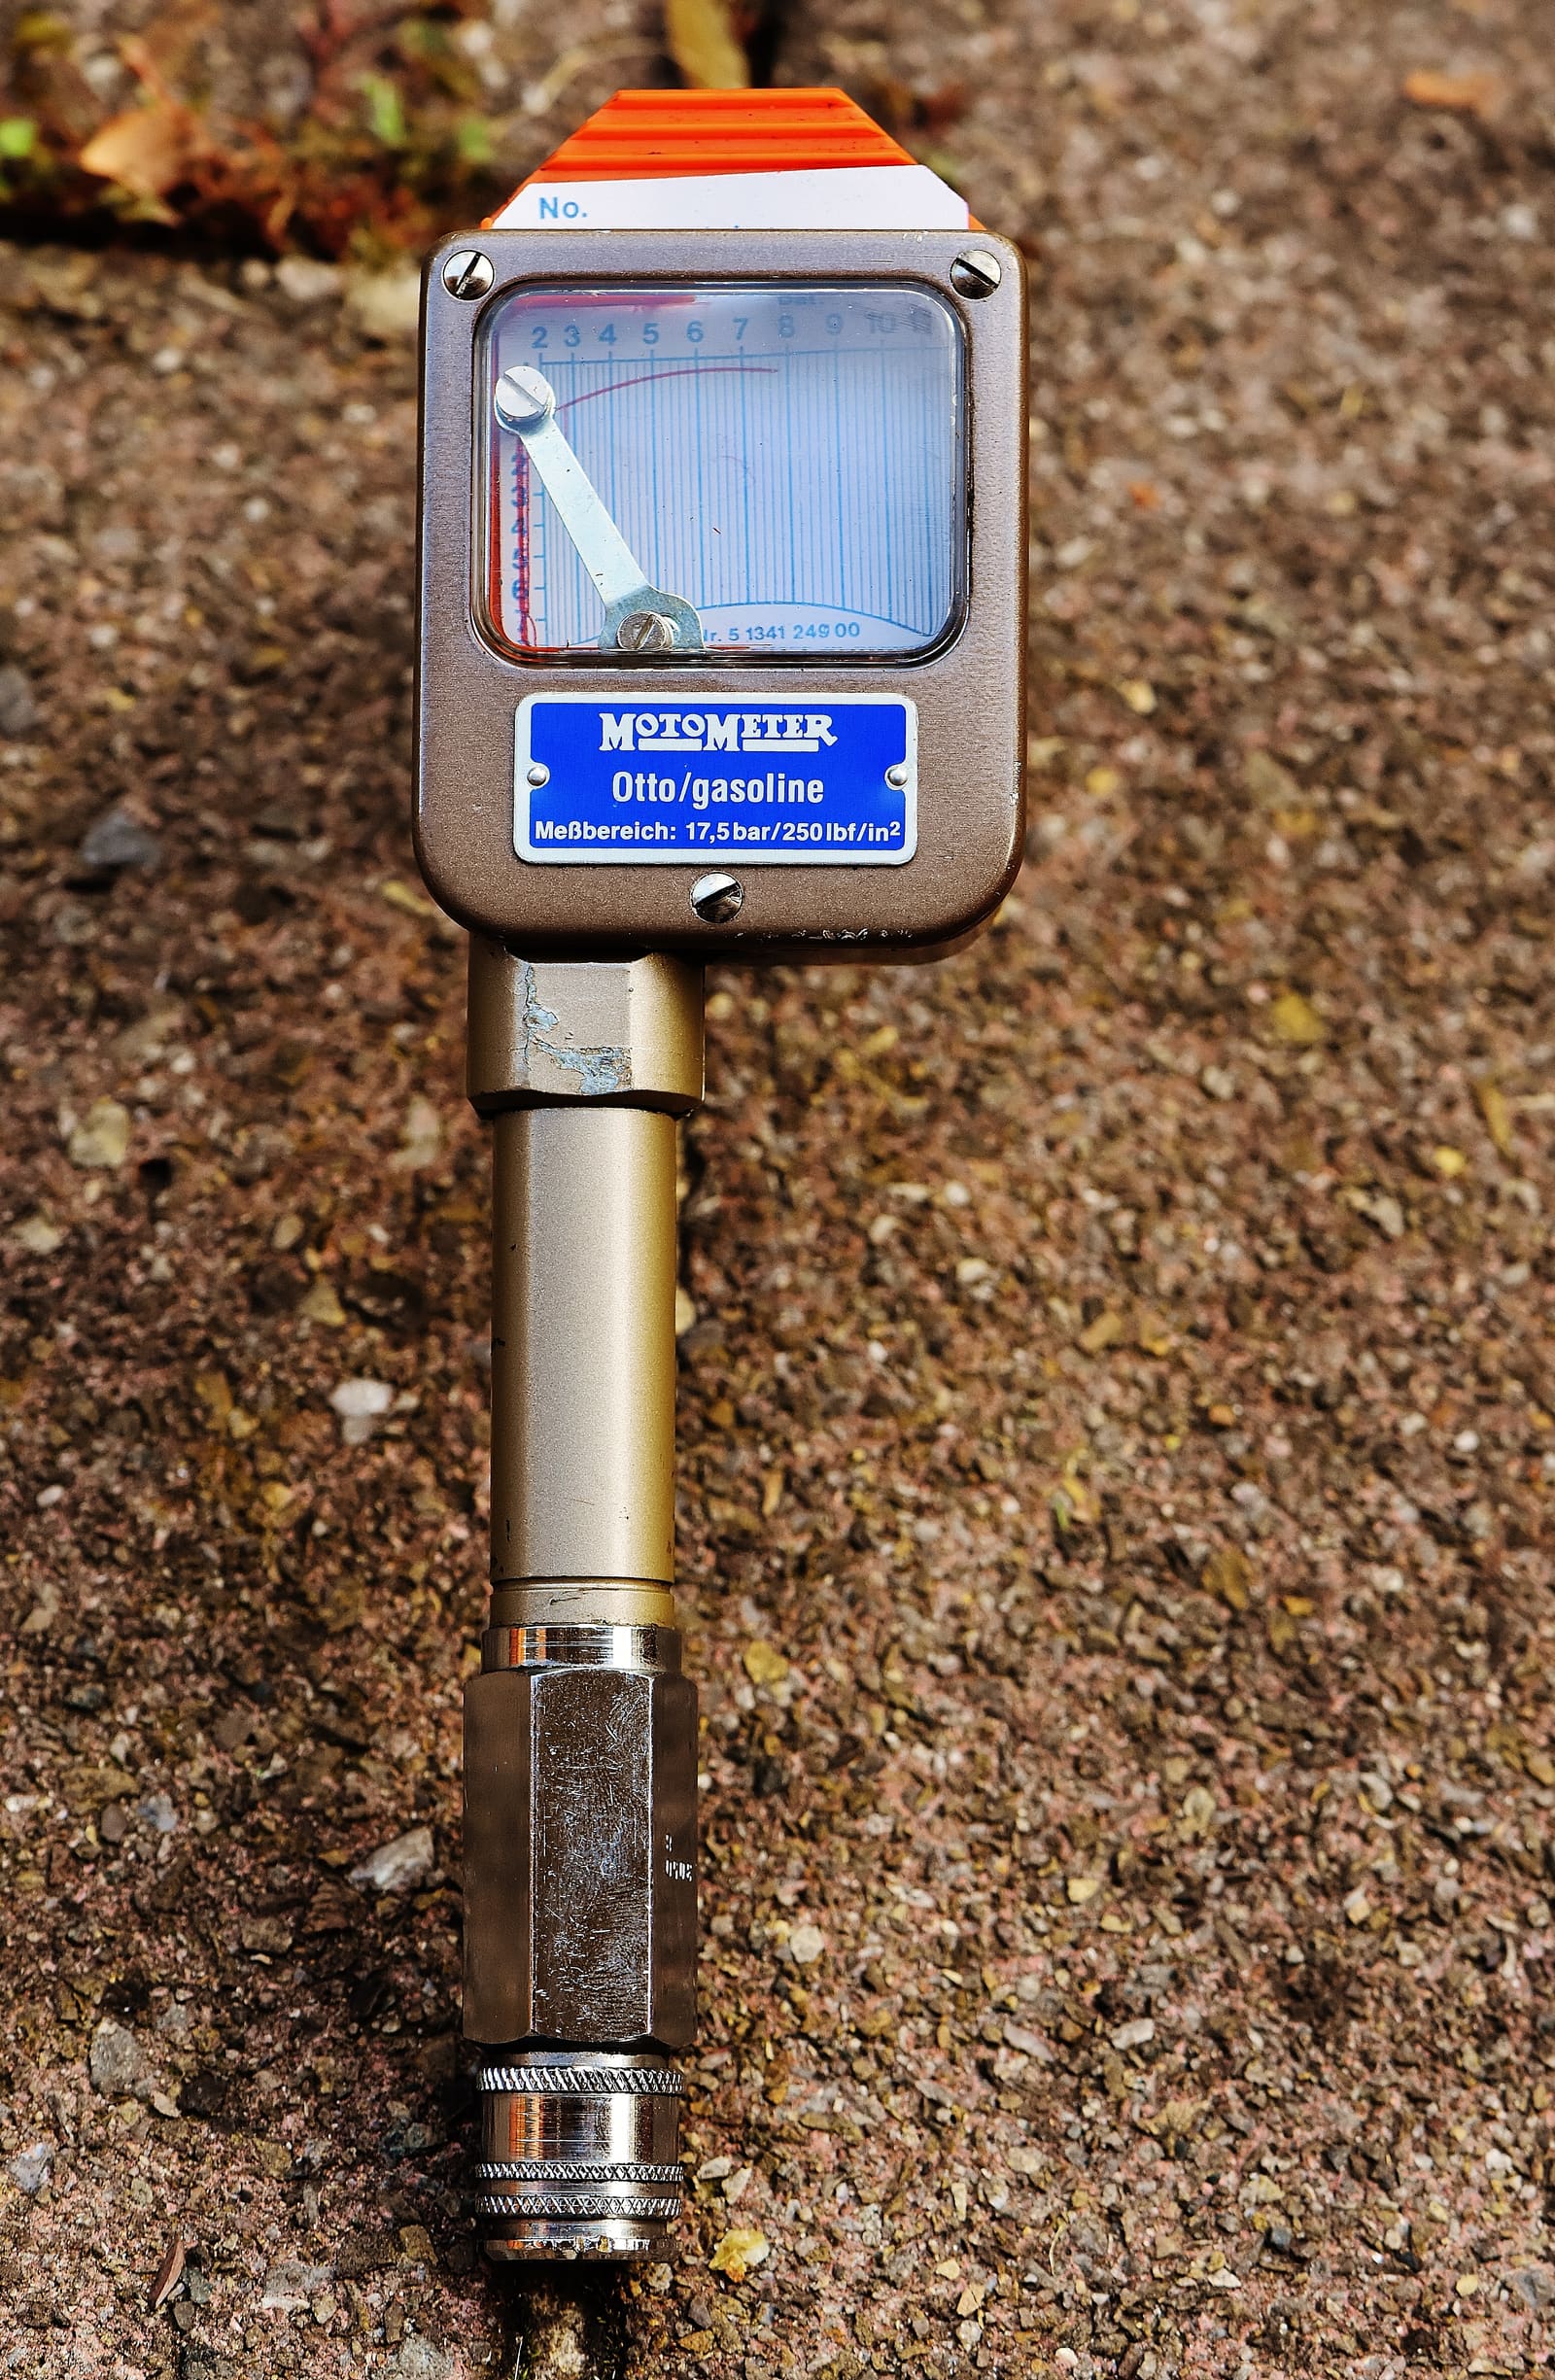
An older-style compression tester. Whatever the style, the gauge must seal tightly in the plug hole and hold its highest reading until you release it. Photo: Alexas_Fotos / Wikimedia Commons · CC0 1.0 Every cylinder must be cranked at the same speed, or the numbers can't be compared. Put the battery on a charger until it is full. A battery that slows down as you go will make the last cylinders read lower than the first, which can point you at a problem that isn't there.
Power & Motoryacht reports that testing a cold engine gives less accurate results, so warm it to operating temperature first. Yachting Magazine notes that pros disagree on this, so the most important thing is to test every cylinder under the same conditions.
Give it cooling water: an outboard in the water, in a test tank or on external flush muffs (the built-in flush port on most outboards is for flushing with the engine off, so don't run on it unless your manual allows it). Sterndrives and inboards run in the water or with the cooling-water hookup your manual specifies. PWCs run only with water supplied as their manual describes. Then shut the engine off. The exhaust and powerhead will be hot, so wear gloves.
If the engine won't run, you can still test it cold. Just keep in mind the readings may be a bit lower across the board.
- Shift to neutral and keep people clear of the propeller.
- On sterndrives and inboards, open the hatch, run the blower for at least 4 minutes and sniff for fuel.
- On PWCs, remove the seat or engine cover and let the hull air out.
- Have a helper at the key so you can watch the gauge. Yachting Magazine recommends two people so you are not running back and forth between the helm and the engine.
Mark each plug wire or coil with its cylinder number before you unplug anything. Blow or brush away dirt and salt around each plug so nothing falls into the cylinder. Then remove all the plugs, not just one. With the other plugs in, the engine fights compression in every other cylinder and cranks slower.
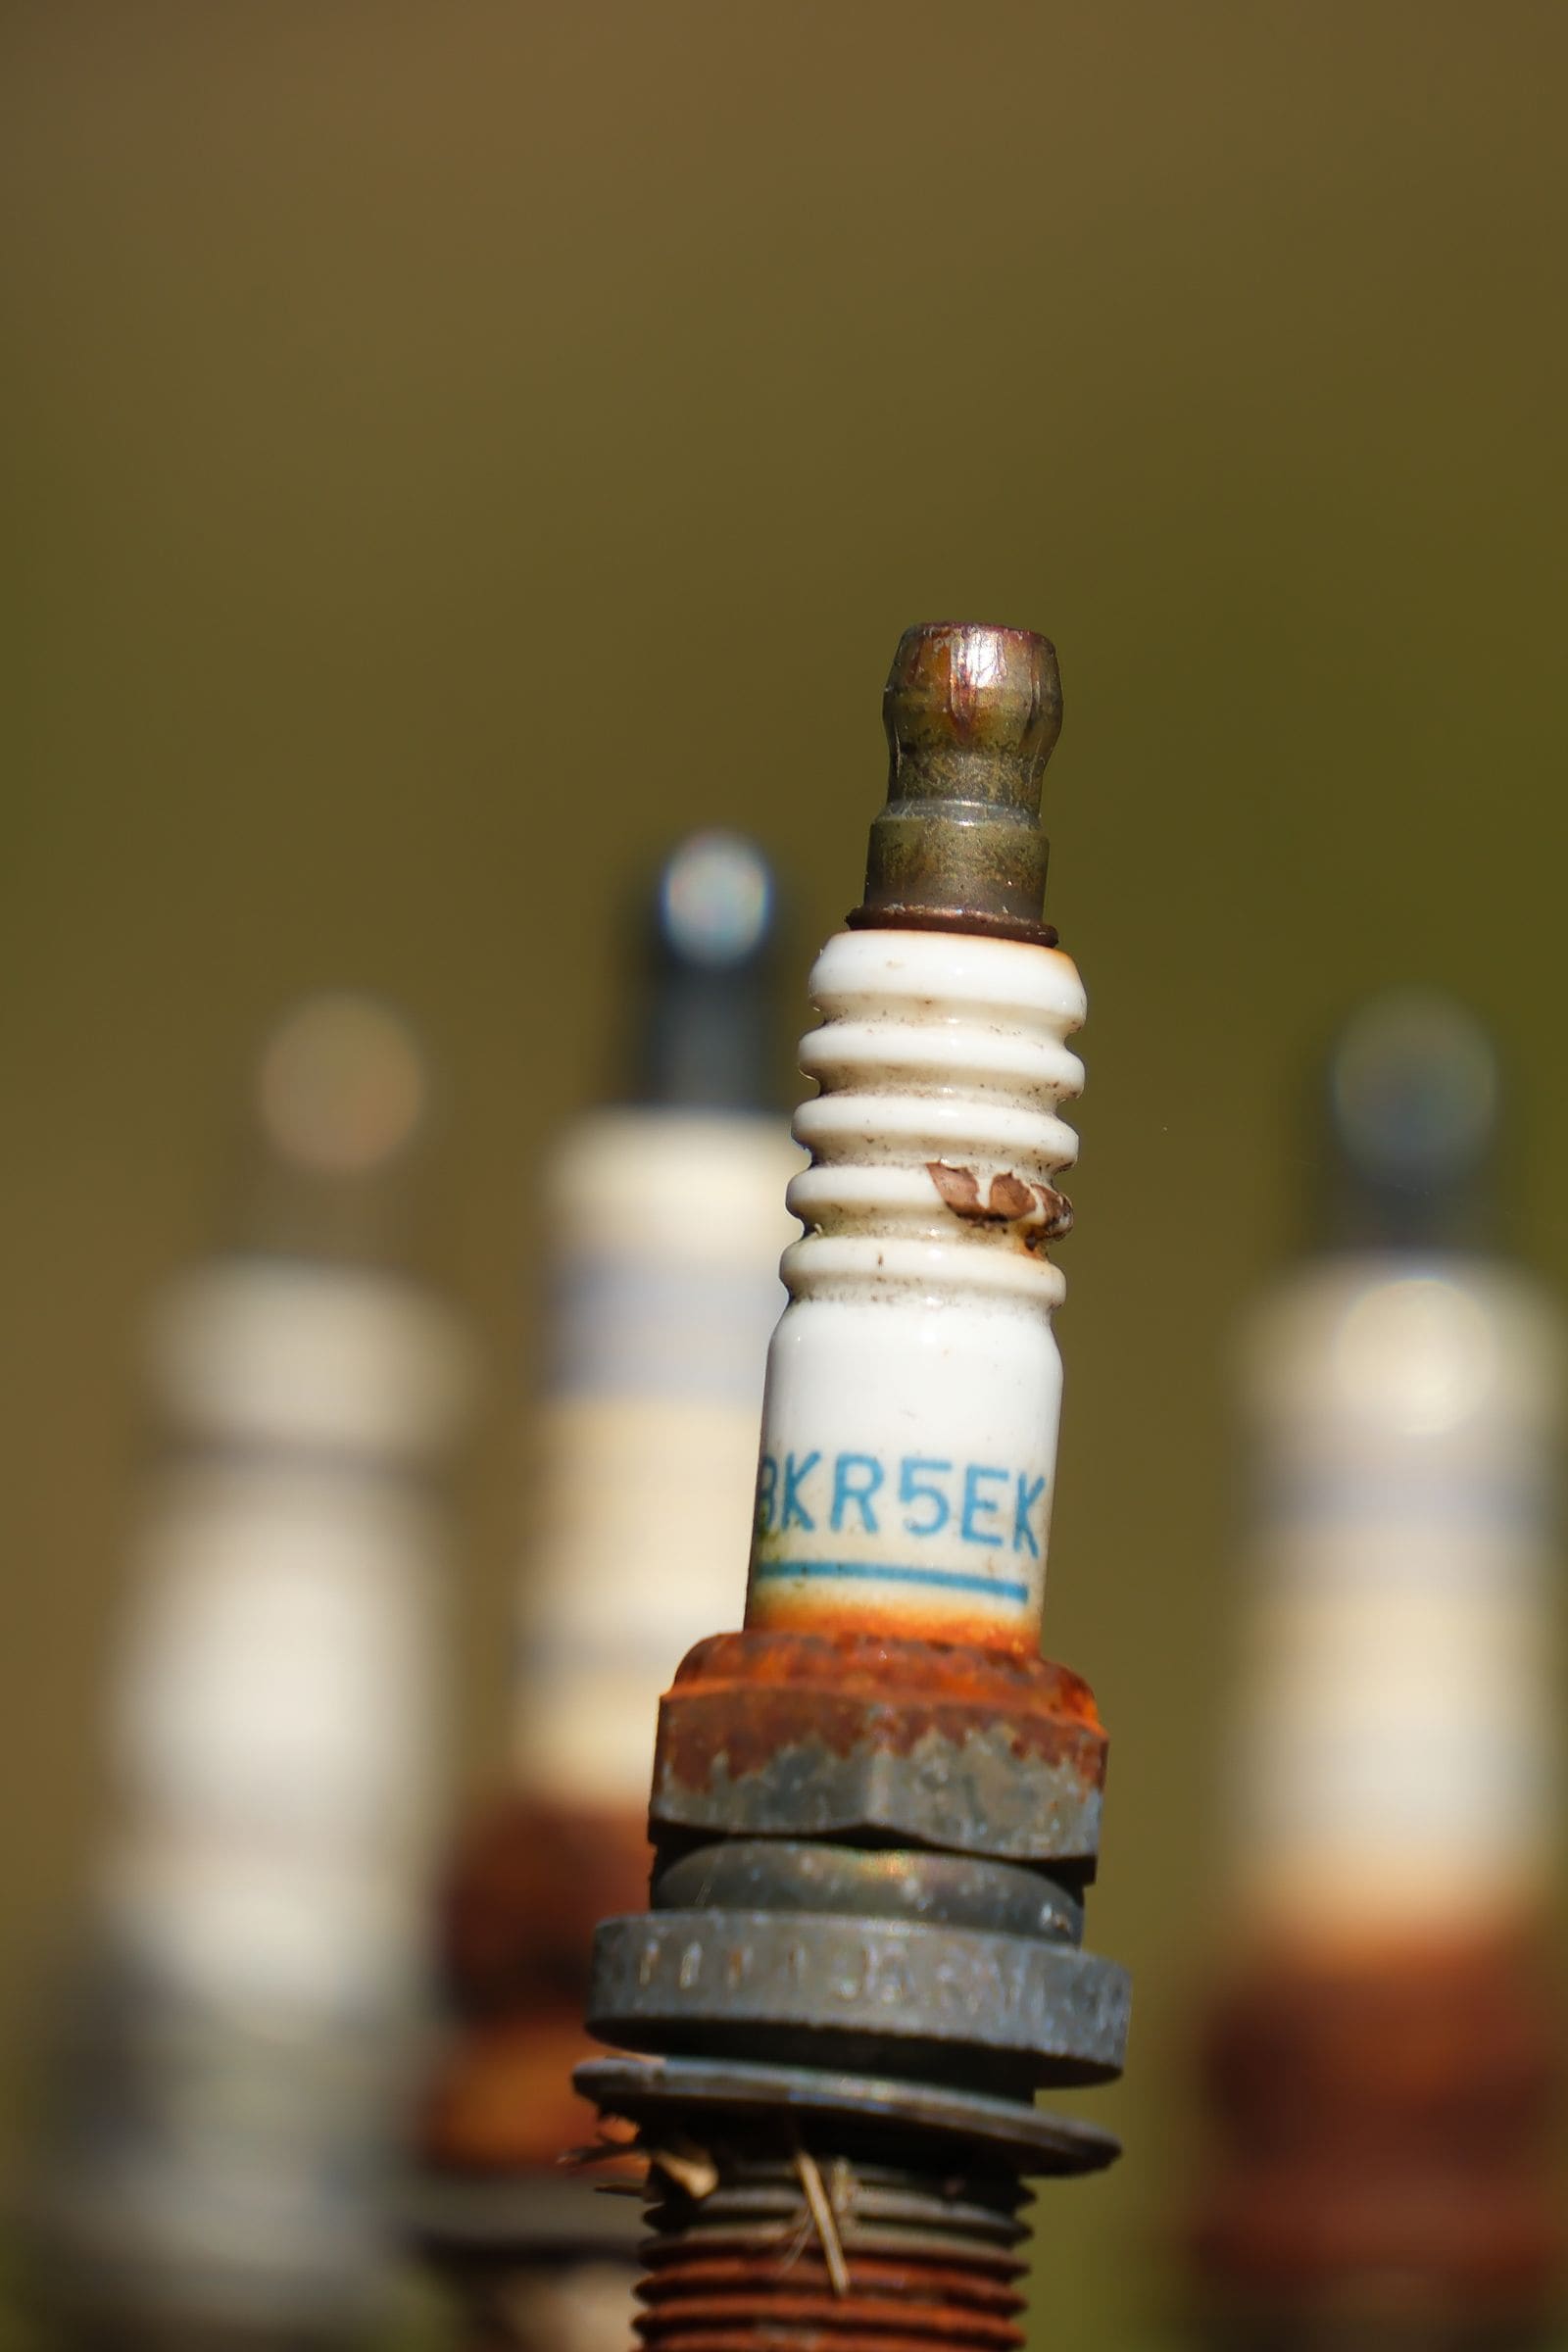
Lay the plugs out in cylinder order. A plug that looks very different from the others (wet, oily, white or damaged) is a clue about that cylinder.
Pulling the plugs stops the engine from running, but it does not stop the system from making sparks or squirting fuel.
- Ignition: follow your service manual. On many engines, removing the kill-switch clip grounds the ignition. Some engines will not crank with the clip removed, so the manual will tell you to unplug the ignition coils or the stop circuit instead. Never leave high-voltage leads hanging loose near the open plug holes.
- Fuel injection: Yachting Magazine points out that many outboards still inject fuel during the test. Disable the fuel pump or injectors the way your manual describes (often by pulling a fuse or relay or unplugging the injector harness).
- Carbureted engines: close the fuel valve or disconnect the tank line if your manual suggests it, and keep rags handy.
Many service manuals call for the throttle held wide open during the test so the engine can draw in a full breath of air. Yachting Magazine notes that pros don't agree on this and that it isn't critical, but whatever you choose, do every cylinder the same way. Open the throttle only in neutral. On remote-control boats, check your manual for how to advance the throttle without shifting into gear (often a neutral warm-up feature).
Thread the gauge adapter into the first plug hole by hand, snug, so it seals without forcing it. Keep the gauge hose and any loose wires clear of the flywheel and belts. Have your helper crank the engine while you watch the needle. It should climb in steps with each compression stroke. Keep cranking until it stops rising, usually after about five or six "puffs" or a few seconds. Write down the reading.
Small and rope-start outboards: many have an automatic decompression feature that bleeds off some pressure at very low cranking speeds, so the engine is easier to pull over. A slow pull on the rope can then read far lower than the engine's true compression and make a healthy motor look worn. Crank briskly and evenly (electric start if you have it), and check the service manual for whether the decompression feature has to be disabled and what reading to expect.
If the engine refuses to turn over, or turns and then stops hard, stop cranking. Something may be locking it, such as water in a cylinder. SAIL Magazine describes how cranking against water did no damage by itself, but the engine firing on the next attempt bent a connecting rod. Do not keep trying; call a pro.
Release the gauge pressure, move it to the next cylinder and crank the same way, for the same number of puffs. Record each cylinder's number next to its reading. If one reading surprises you, repeat that cylinder once more to make sure the gauge was sealed properly.
If water or coolant sprays from a plug hole or the gauge shows moisture, stop. Water inside a cylinder means a failed head gasket, cracked part, exhaust problem or flooding, and it needs a pro quickly (see the water-in-engine-oil and submerged-engine-recovery guides).
A normal reading doesn't fully clear a cylinder if you see other clues. Look at the spark plug from each cylinder as it comes out: one that looks noticeably cleaner or "steam cleaned" next to the others, milky residue under the oil fill cap or valve cover, or a mechanic's camera (borescope) showing a shiny, carbon-free piston top or rust on the cylinder wall all point to water getting into that cylinder. Owners often find a low cylinder with exactly these signs after a head gasket or exhaust riser leak.
Look at the spread from the highest to the lowest cylinder, not just the numbers themselves.
- All cylinders close together: a good sign. Yachting Magazine suggests all should be within about 10 percent of each other. Power & Motoryacht reports experts using 10 to 15 percent, and Practical Sailor uses within 20 percent of the average of the others. Your service manual may give its own limit and a minimum value; use it if it has one.
- One cylinder clearly low: that cylinder has a sealing problem, such as a worn or broken ring, a burned or stuck valve, or a damaged piston.
- Two cylinders next to each other both low: Yachting Magazine and Practical Sailor both point to a likely head gasket leak between them.
- One cylinder near zero: a serious fault such as a broken valve or a hole in a piston. Do not run the engine until it is diagnosed.
- All cylinders unusually high: Practical Sailor notes this can mean heavy carbon buildup. A faulty gauge, or liquid (fuel, oil or water) sitting in the cylinders, can also push readings up. Check the gauge on another engine you know, and look at the plugs and plug holes for wetness before you celebrate a "strong" result.
- All cylinders low by a similar amount: could be general wear, a cold engine, slow cranking or a leaky gauge. Repeat the test with a full battery and a warm engine before drawing conclusions.
Squirt a small amount of clean engine oil (about a teaspoon, not a flood) into the low cylinder through the plug hole, then test it again.
- Reading rises noticeably: the oil temporarily sealed the rings, so worn or stuck rings are the likely cause. Power & Motoryacht describes this same check by an engine surveyor.
- Reading barely changes: the leak is more likely at a valve (on a four-stroke) or the head gasket.
Too much oil can raise the reading falsely or even hydraulically lock the cylinder, so keep it small. Crank the engine a few turns with the plugs out afterward (ignition and fuel still disabled) to clear it.
A leak-down test is the next step, usually done by a mechanic or engine surveyor. The piston of the suspect cylinder is placed at the top of its compression stroke with both valves closed, and regulated compressed air is fed in through the plug hole. A gauge shows how much air the cylinder loses, and where you hear the air escape tells you the cause:
- Out of the exhaust: an exhaust valve is leaking.
- Out of the intake or throttle body: an intake valve is leaking.
- Out of the oil fill or dipstick tube: worn or damaged rings are letting air into the crankcase.
- Bubbles in the coolant, or air hissing out of the next cylinder's plug hole: a head gasket or crack.
Air pressure can turn the engine suddenly if the piston is not exactly at the top, so hands must stay clear of the flywheel, belts and propeller. Two-stroke outboards have no valves and need their ports sealed for a leak-down test, which is a shop job.
Reinstall the plugs (or new ones if they were due) by hand first, then tighten to the spec in your owner's manual. Reconnect the coils, plug wires, fuel pump fuse, injector plugs and the kill-switch clip exactly as they were. Close the throttle and check that the shift is in neutral. Start the engine with cooling water supplied and let it idle; it should run smoothly. A rough idle usually means a wire or coil went back on the wrong cylinder.
- Even readings and the problem continues: the internals are probably fine. Go back to spark, fuel delivery, the propeller and the lower unit.
- One weak cylinder: get a leak-down test and a diagnosis before spending money on other parts.
- Pre-purchase test shows a big spread or a dead cylinder: treat it as a major repair and factor it into the price, or walk away. A full engine survey by a certified mechanic is worth it on any boat where the engines make up much of the value.
Common mistakes
- Testing with only one plug removed, or with a weak battery, so each cylinder cranks at a different speed.
- Comparing your numbers to a figure from a forum or a different engine instead of comparing cylinders to each other and to your own service manual.
- Leaving plug wires hanging loose while cranking, or forgetting that fuel-injected engines can keep spraying fuel with the plugs out.
- Pressing a push-in gauge into the hole by hand and getting leaky, low readings.
- Pouring a big splash of oil into the cylinder for the wet test.
- Replacing a fuel pump, ignition module or carburetor before checking compression on an engine with low power or a dead cylinder.
- Starting the engine on the built-in flush port to warm it up when the manual says the port is for engine-off flushing.
- Buying a used boat on the strength of "it ran fine at the ramp" without a compression test or engine survey.
When to call a pro
- Any cylinder far below the others, near zero, or two adjacent low cylinders
- Water, coolant or milky oil found during the test
- The engine won't turn over or locks up while cranking
- Diesel engines, and engines with a decompression lever you are not sure about
- Leak-down testing, two-stroke port sealing and any internal engine repair
- Fuel smell in the engine compartment at any point: stop and have the leak fixed
- Pre-purchase checks on a boat where the engines are a large part of the price: hire a certified engine surveyor
Tips
- Keep your readings with the date and engine hours. A test every few seasons on an aging engine shows a trend, which is more useful than one set of numbers.
- Test every cylinder the same way: same battery charge, same throttle position, same number of puffs.
- Take a photo of the gauge for each cylinder before you release it, so you have a record.
- On fuel-injected outboards, ask the dealer for a diagnostic scan as well; it can show past faults, hours at each RPM range and a cylinder drop test.
Official references
We read these to write this guide. Your engine's own manual always wins.
- Yachting Magazine – How to Check Outboard-Motor Compression
- Power & Motoryacht – How to Survey Outboards (compression, wet test, leak-down, cylinder drop test)
- Practical Sailor – How to Do an Engine Compression Test
- BoatUS – The Boat Survey (compression tests as part of an engine inspection)
- SAIL Magazine – Hydrolock Headache (starter clicks but engine will not turn)
Safety: BoatMend is for information only and does not replace a certified marine technician. You are responsible for your safety and your boat. Read the full disclaimer.
Last updated 2026-10-24
Related guides
How to Inspect and Replace Spark Plugs
Pull, read and replace the spark plugs on a gas outboard, sterndrive, inboard or PWC. Fresh, correctly gapped plugs help the engine start easily and run smoothly, and the old plugs tell you a lot about the engine's health.
How to Inspect a Used Boat Before You Buy
A step-by-step checklist for looking over a used boat, from paperwork and the hull ID number to the transom, engine, compression test, sea trial and trailer. Know what to check yourself, what the red flags mean, and when to pay a marine surveyor.
No Spark - Safe Ignition Checks for Outboards, Sterndrives, Inboards and PWCs
Engine cranks but never fires, and you suspect the ignition? Work from the cheap, common causes (kill switch lanyard, key switch, plug wires and caps, plugs, battery) to a proper spark test, and learn what the stator, CDI and coils do and when it is time for a dealer.
Engine Won't Start or Won't Crank - Troubleshooting Guide
Find out why your boat engine will not turn over or will not fire, starting with the simple things owners miss most, like the kill switch lanyard and battery switch. Many no-starts are fixed at the ramp in minutes without a tow.
Loss of Power, Hesitation or Misfire - Troubleshooting Guide
Figure out why your engine bogs down, stumbles, will not reach full rpm or runs rough. Work from simple checks like trim, prop and fuel filter to ignition and engine protection modes before paying for diagnostics.
Milky Engine Oil or Water in the Oil - What It Means and What to Do
Milky, creamy or rising engine oil usually means water is getting into the engine. Learn why you should stop running it right away, how to tell harmless condensation from a real leak, and which parts are the usual suspects: head gaskets, exhaust risers and manifolds, intake manifold gaskets, oil coolers and freeze cracks.

Outboard Fell Overboard or Engine Got Submerged: What to Do in the First Hours
A dunked engine can often be saved, but only if you act fast and in the right order. Learn what to do (and what never to do) in the first hours after an outboard goes overboard or a boat swamps, how to buy time until a shop can take it, and when it is a loss.

Engine Cut-Off Switch (Kill Switch) and Lanyard: The Law, Testing and Daily Use
How the engine cut-off switch (ECOS) and its lanyard or wireless fob work, when federal law requires you to wear it (boats under 26 feet, 3 hp or more, on plane), how to test it before every trip, and why a spare clip aboard matters.

Marine Battery Care: Test, Charge and Store for Winter
Check your boat battery's health, charge it the right way for its type (flooded, AGM or lithium), and store it so it is ready in spring. Most "boat won't start" calls start with a neglected battery.
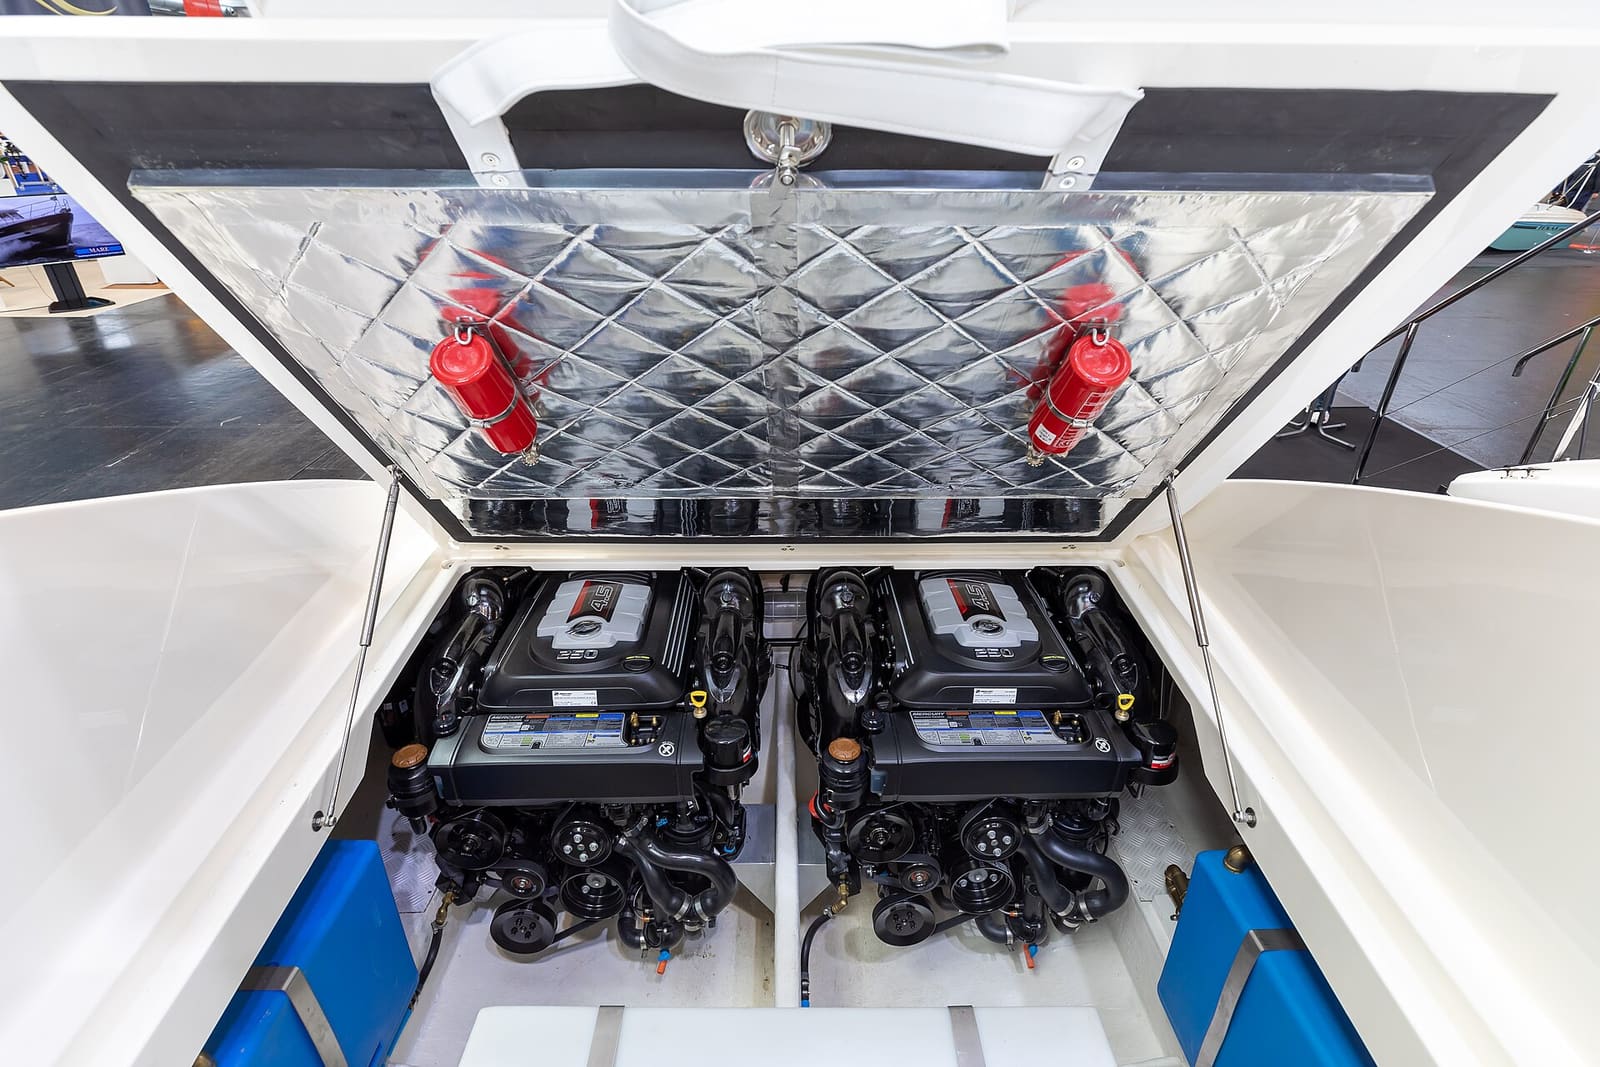
Bilge Blower and Engine Compartment Ventilation on Gas Inboards and Sterndrives
Learn why gas boats have a "run the blower 4 minutes" label, how to check that the blower and vent ducts actually move air out of the engine compartment, and how to replace a blower safely with an ignition-protected marine unit.