Moving Your Boat From Fresh to Salt Water (or Back): Anodes, Flushing, Corrosion, Bottom Paint and Trailer Upgrades
What to change when a lake boat moves to the coast, or a saltwater boat moves inland: switching anode material, a flush-after-every-trip routine, raw-water and closed cooling parts that wear faster in salt, bottom paint that suits your hull and drive, marine-grade hardware, and trailer upgrades that survive salt dunks. Built from BoatUS, Mercury, Yamaha and Boating Magazine advice.
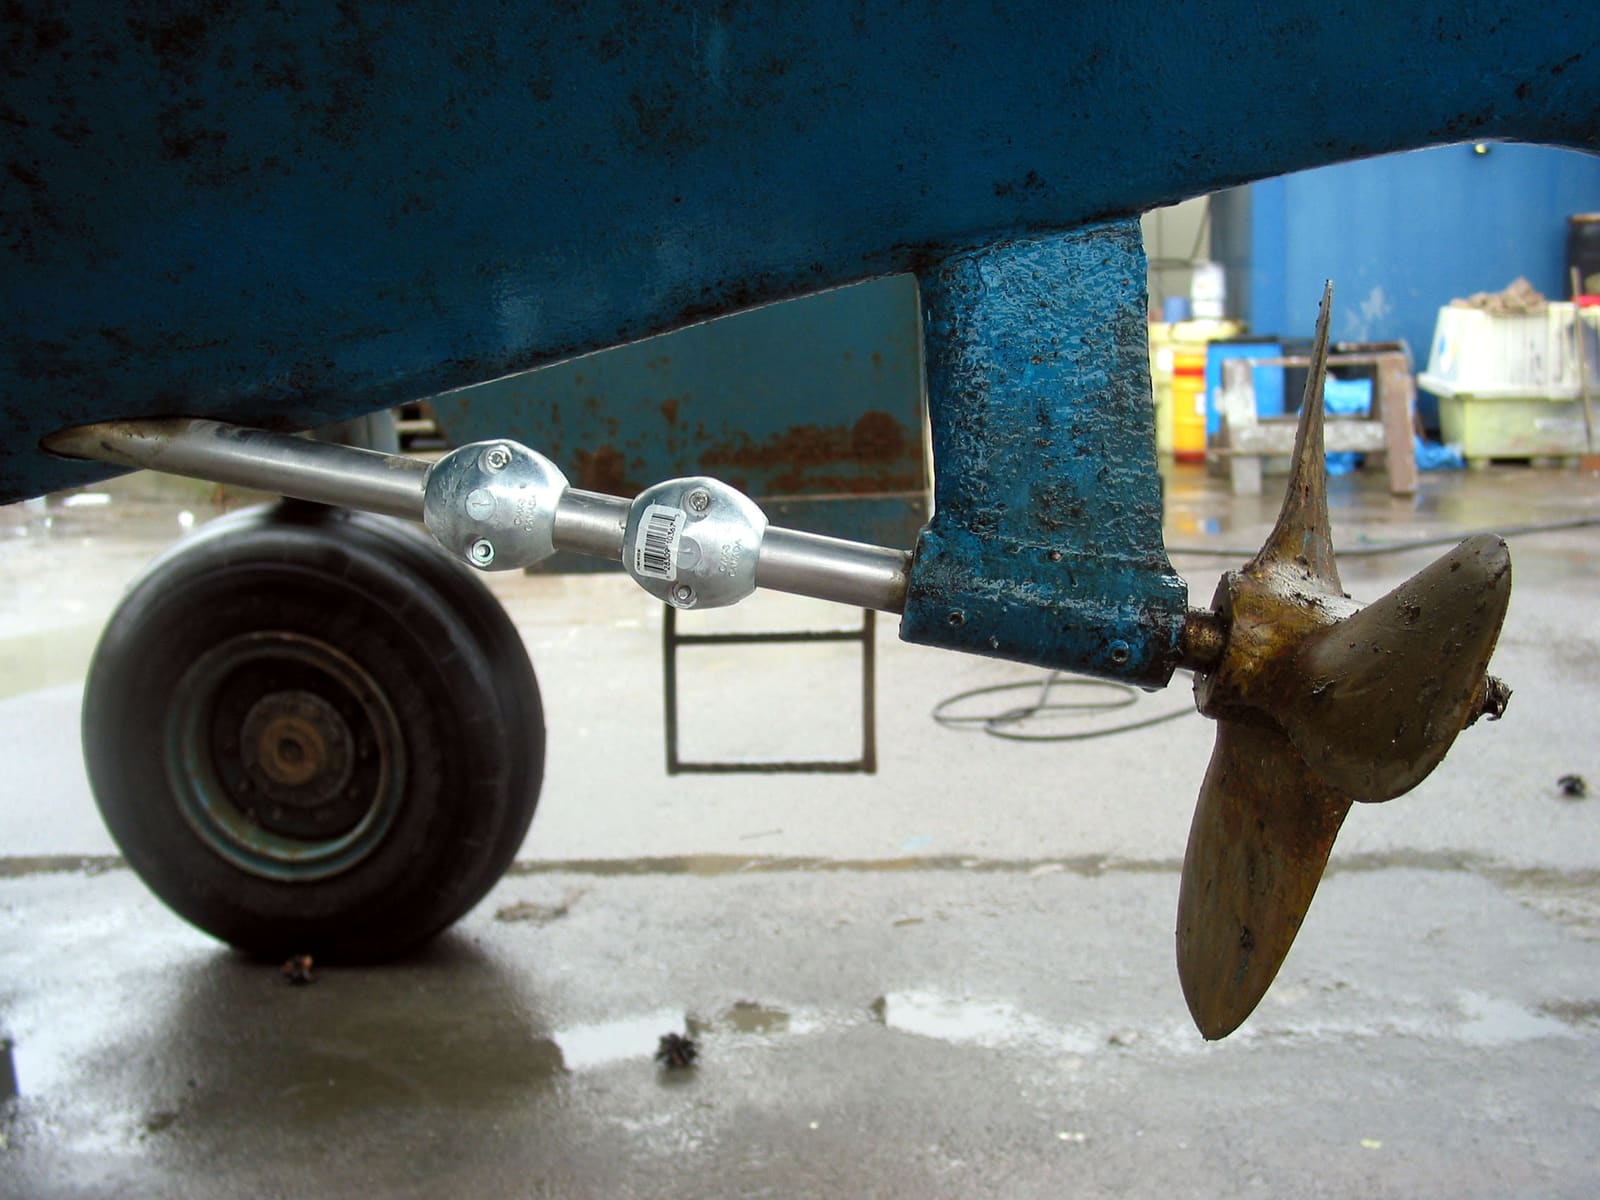
Time
3 h
Shop would charge
$200-800
Applies to
Outboard, Sterndrive (I/O), Gas inboard, Marine diesel, Jet ski / PWC
Safety first: Never run an engine without cooling water. An outboard runs out of the water only on external flush muffs (or in a test tank), at idle in neutral, with the prop removed if your manual says so; the built-in flush port is used with the engine off unless your owner's manual allows otherwise. Inboards and sterndrives never run dry: flush them only the way the manual describes. Disconnect the battery before working near the prop, and never paint over an anode.
Owners often ask
- I am moving my lake boat to the coast. Do I need different anodes?
- Can I use a freshwater bass boat in salt water without ruining it?
- My sterndrive lives in a saltwater slip. Is the transom flush port enough, and do I really have to flush after every trip?
This guide walks you through it. Still stuck? Ask the AI Mechanic about your engine.
Tools
- Garden hose and flush muffs or the flushing attachment your manual specifies
- Socket set and screwdrivers for anode bolts
- Wire brush or sandpaper (anode contact points)
- Grease gun with marine grease
- Flashlight
Parts & supplies
- Anodes in the material and part numbers your engine and boat maker list for your water
- Anticorrosion spray recommended by your engine maker
- Dielectric or silicone grease for electrical connectors
- Marine grease
Before you start
BoatUS puts it simply: the move to salt water means changing your habits and changing your anodes. Salt attacks everything it touches, inside and out, whatever drives your boat, and corrosion runs faster the saltier and warmer the water. BoatUS notes that not all salt water is equal: Chesapeake Bay, for example, is much less salty than coastal Florida or the Bahamas, and salinity can change with the seasons.
Before you change anything, read your engine and boat warranty terms. BoatUS reminds owners to follow the maker's instructions for salt water, and Mercury, for example, ties its sterndrive corrosion warranty to proper anodes and maintenance.
Steps
Ask the marina or local boaters whether the water is full-strength salt, brackish (a river mouth or bay) or changes with the tide and rain. That decides your anode material, how often you'll check anodes, and which bottom paint makes sense.
Anodes are the metal blocks that corrode on purpose so your drive, prop and fittings don't. The material must match the water:
- Magnesium: the most active. Mercury says magnesium anodes are for fresh water only. BoatUS (2012) agrees magnesium protects best in fresh water, especially aluminum parts, but says if you boat in any brackish or salt water, fit aluminum instead. BoatUS (2017) adds that magnesium can overprotect and cause paint blistering in some situations.
- Aluminum (alloy): BoatUS says aluminum anodes last longer than zinc, work better than zinc in brackish water, and do a good job in both fresh and salt water. It recommends them for most boats. BoatUS's 2017 freshwater-to-salt article suggests aluminum, or zinc if aluminum isn't available for your boat.
- Zinc: the traditional saltwater anode. Martyr, an anode maker, explains that in fresh water zinc can form a surface layer ("passivation") that stops it working while it still looks fine.
BoatUS (2012) stresses one rule: when you switch from zinc to aluminum, all of your anodes must be aluminum. Martyr also advises keeping one material across the boat, because a mix can leave some anodes doing all the work. Don't mix. Use the anodes your engine maker specifies; Mercury warns that poor-quality aftermarket anodes can leave a drive under-protected.
Outboards and sterndrives often have several anodes: on the gearcase, the trim tab or cavitation plate, the transom bracket, and sometimes inside the exhaust or cooling passages. BoatUS also points out that heat exchangers on inboards and closed-cooled engines often have a zinc "pencil" anode under a brass plug, and some engines have one in the block. Check your manual for every location and replace all of them. Our sacrificial anodes guide walks through the job.
- BoatUS and Mercury both say to replace an anode when it's about half gone.
- BoatUS (2017) says most outboard and sterndrive makers recommend replacing anodes every six months in salt water, versus about once a year in fresh.
- Look at them every few weeks at first so you learn how fast they wear in your water. An anode that isn't wearing at all may be coated or not making electrical contact; Mercury and Yamaha say to clean off chalky coatings or growth, and never paint an anode.
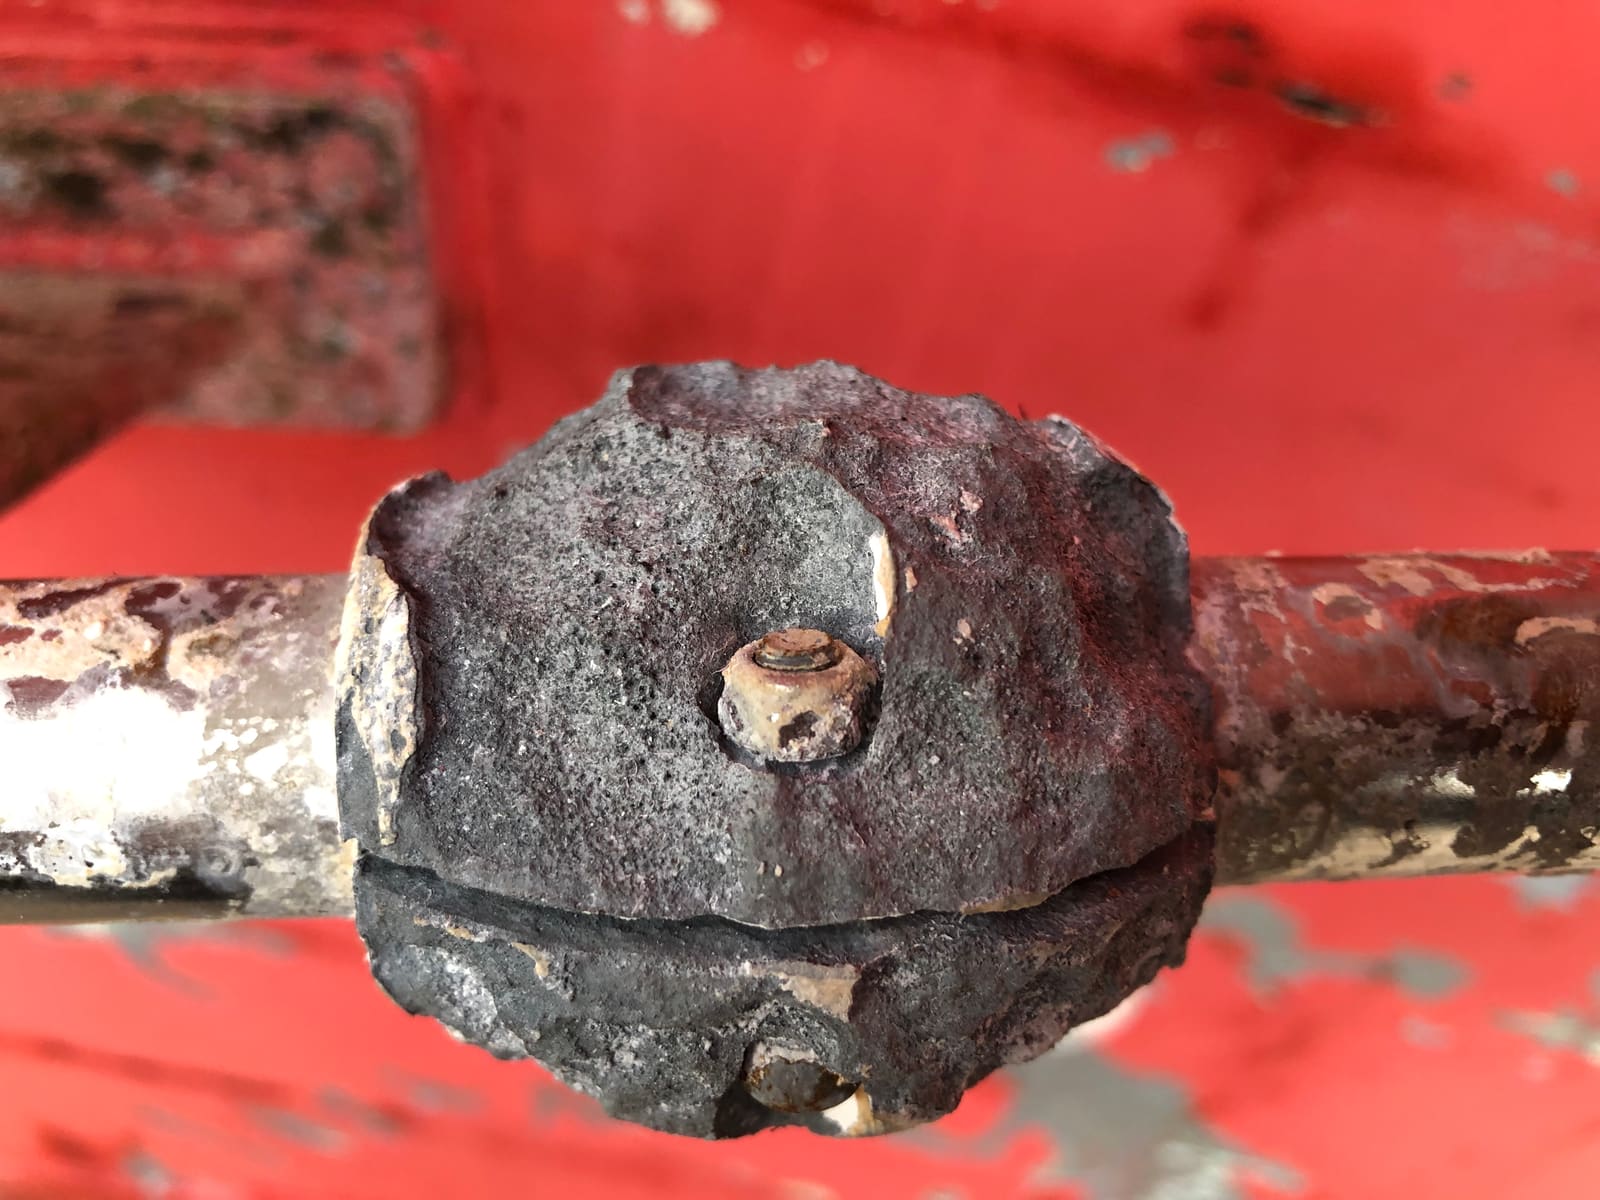
This shaft anode is well past half gone and is overdue for replacement. In salt water, anodes can wear this far in a single season. Photo: Springnuts / Wikimedia Commons · CC BY-SA 4.0 This is the new habit that matters most.
- Outboards: Mercury and Yamaha both recommend flushing with fresh water after every saltwater use. Yamaha suggests about 15 minutes; Mercury's pro angler suggests at least 15 minutes with the built-in port. With most built-in flush ports the engine stays off. If your manual calls for flush muffs, the engine runs at idle in neutral with plenty of water. See our freshwater flush and saltwater outboard care guides.
- Sterndrives and inboards: follow your manual. Some have garden-hose flush fittings; trailer boats can often be flushed on the trailer with muffs on the drive's water intakes. Never start an inboard or sterndrive without a water supply.
- Kept in a saltwater slip? Owners often ask whether the transom flush port on a docked sterndrive is enough, or whether they must flush after every trip. It depends on how that port is plumbed: some fittings work with the engine off, while others feed in ahead of the raw-water pump and only work with the engine running and a hose that supplies more water than the pump draws. Aftermarket in-water flush kits and salt-neutralizing flush systems also exist. Ask your dealer what your engine maker approves before you rely on any of them.
- Jet boats and PWCs: flush per your manual after every saltwater ride; our PWC saltwater care guide has the order of steps.
BoatUS and Yamaha mention flush additives that help remove salt; they're optional, and you should use one your engine maker approves.
Salt water is hard on cooling parts:
- Raw-water cooled engines (most outboards and many older sterndrives and inboards) carry salt water right through the block and manifolds. Yamaha notes salt can form deposits when heated, restricting cooling passages, which is why flushing is a must.
- Closed (fresh-water) cooling keeps coolant in the block, but BoatUS points out that salt water still flows through the heat exchanger, and often through the exhaust manifolds and risers. The exchanger's end caps and pencil anode need attention.
- Manifolds and risers: BoatUS says a manifold that might last 10 years or more in fresh water may last as little as 3 to 4 years in warm salt water. Plan inspections accordingly; see our exhaust manifold and riser guide.
- Water pumps: BoatUS says to be ready to replace water pumps more often in salt water. Honda's salt water tips, for example, call for servicing the thermostat(s) and water pump every year or every 200 hours on its outboards; your engine maker's salt water schedule may be shorter than the fresh water one you're used to, so look up the "severe" or salt water intervals in your manual.
BoatUS says to wash everything down with fresh water as soon as possible, within a few hours at most. Mercury's routine:
- Rinse the trolling motor, prop, shaft and bracket, but only spray down onto a foot pedal, never up under it.
- Rinse cleats, deck, seats, the livewells and the anchor. Use a gentle hose near switches, gauges and electronics.
- Wash the hull, gunwales and transom.
- Wash the trailer thoroughly, but keep high-pressure spray off the wheel hubs.
In a separate Mercury piece on taking an aluminum bass boat to the coast, a Mercury pro's rule for the trailer is simple: anything with a bolt gets rinsed (leaf springs, wheels, straps). Mercury also recommends washing every boat surface with soap and water and cleaning and lubricating the steering components after salt use.
Yamaha adds a low-pressure rinse of the powerhead when salt builds up under the cowl (no spray nozzle, not into the air intake), and letting everything dry before the cowl goes back on.
Yamaha recommends regular anticorrosion spray and keeping lube points greased, with a visual check every outing, more often in salt. Follow your engine maker's list of where to spray and where never to spray; our saltwater outboard care guide covers this. A dab of dielectric or silicone grease on trailer and boat connectors keeps them from corroding, as BoatUS suggests.
Honda adds two habits that matter more on the coast: touch up nicks and scrapes in the engine paint promptly, because bare metal in salt corrodes and the corrosion spreads under the surrounding paint, and grease the points in your manual monthly when you use the boat in salt water (typical; confirm the interval for your engine).
- If the boat lives in the water: BoatUS says antifouling paint becomes a necessity in salt water unless you keep the boat on a lift or in rack storage. Growth varies a lot by region, so ask the paint maker and your new neighbors what works locally. See our bottom paint guide.
- Never use copper-based antifouling on an aluminum outboard or sterndrive. BoatUS (2017) says to use a paint made for outdrives instead.
- Aluminum boats need paint that is safe on aluminum and a proper barrier coat. Boating Magazine notes the ABYC calls for a high-resistance protective paint between aluminum hulls and the water.
- Trailer boats that come out after each trip usually don't need bottom paint; a good wash and wax is enough.
Boating Magazine explains that aluminum is attacked by almost every other metal in salt water. Its tips:
- Keep stainless bolts and fittings isolated from aluminum (builders who sell saltwater pontoons use nylon washers).
- Use anodes with good electrical contact, and don't overdo them: too much protection can damage aluminum, and softening or blistering bottom paint is an early warning sign.
- Make sure water drains from every pocket and channel.
Our aluminum hull corrosion guide goes deeper.
BoatUS warns that automotive-grade hardware, common on inland boats, won't last on the coast and leaves rust streaks under screws. Swap fasteners and fittings to marine-grade stainless or bronze as they fail. Keep the bilge as dry as you can, because salt water in the bilge is much harder on metal and wiring; BoatUS says bilge pump connections in particular may corrode quickly and need resealing. Mercury adds that stainless accessories like props or trim tabs connected to an aluminum drive speed up corrosion, so have corrosion protection checked when you add them.
BoatUS's trailer checklist for salt:
- Frame: galvanized steel or aluminum; aluminum resists salt far better. On aluminum frames, the bolts should be stainless, not galvanized.
- Brakes: water sits inside drum brakes after every dunk; a brake flush kit extends their life. Disc brakes are easier to rinse.
- After every launch: hose down the frame, hardware, lights, under the fenders, the axle, springs and wiring connectors.
- Lights: periodically pull the lenses and check for corrosion.
Bearing protectors and a good repack schedule matter more in salt; see our trailer hub upgrade and surge brake guides.
- Outboards: tilt the motor up out of the water when docked if your setup allows, so the gearcase isn't sitting in salt.
- Sterndrives kept in the water: Mercury suggests storing the drive down so the anodes stay in the water and keep protecting it.
- Boats on a lift or trailer dry out between trips, which is the best protection of all; BoatUS notes dry storage beats anything else.
- Anodes: zinc can passivate and stop working in fresh water, as Martyr explains. Aluminum anodes work in both, per BoatUS. Magnesium protects best in purely fresh water, but only if the boat will never see brackish or salt water again; Mercury sells magnesium for fresh-water-only use. Ask your dealer which your engine maker specifies.
- Bottom paint: check the old paint with the maker before re-coating; some paints aren't compatible with others or with fresh-water use.
- Invasive species: clean, drain and dry the boat completely before launching in a new lake. Many states require it. See our clean-drain-dry guide.
- Keep flushing: Yamaha notes corrosion and deposits happen in fresh water too, just more slowly.
Common mistakes
- Keeping magnesium anodes from the lake on a boat now kept in salt water.
- Mixing zinc and aluminum anodes on the same boat.
- Painting over anodes, or putting copper bottom paint on an aluminum drive.
- Skipping the flush "just this once" after a short saltwater run.
- Forgetting the pencil anode in the heat exchanger.
- Blasting the trailer hubs with a pressure washer.
- Running a sterndrive or inboard on the trailer without a water supply.
When to call a pro
- Anodes are wearing very fast, or not at all: a technician can check bonding and test for stray current with a reference electrode
- Paint is blistering on an aluminum drive or hull
- The engine runs hotter than before, or the telltale stream weakens: cooling passages may be scaling up; see our overheating guide
- You keep the boat in the water and need bottom paint applied over an old, unknown coating
- Exhaust manifolds or risers on a sterndrive or inboard are original and the boat is moving to warm salt water: have them inspected
Tips
- Keep a simple log: date, which anodes were checked, how much was left. It shows the real wear rate in your water.
- Buy a set of spare anodes before you need them; BoatUS notes not every store stocks aluminum anodes for every engine.
- Rinse right at the ramp's wash station if there is one, then flush properly at home.
- Wax the hull and cowl more often; BoatUS says salt is abrasive and dulls shine faster.
Official references
We read these to write this guide. Your engine's own manual always wins.
- BoatUS – Moving a Boat From Freshwater to Saltwater (2017)
- BoatUS – How Do Sacrificial Anodes Work? (2012)
- BoatUS – Boat Corrosion Protection With Anodes (2017)
- Martyr Anodes – Marine Anodes Explained (alloy by water type, passivation)
- Honda Marine – Salt Water Operation Tips
- Mercury Marine – 5 Tips for Cleaning a Freshwater Boat Used in Saltwater
- Mercury Marine – Service and Support FAQs (anodes, flushing, galvanic corrosion)
- Mercury Marine – Ask a Mercury Pro, Can I Take My Bass Boat in Saltwater?
- Yamaha Outboards – Maintenance Matters, Corrosion Prevention
- Boating Magazine – Protecting Aluminum Boats From Salt Water Corrosion
Safety: BoatMend is for information only and does not replace a certified marine technician. You are responsible for your safety and your boat. Read the full disclaimer.
Last updated 2026-10-25
Related guides
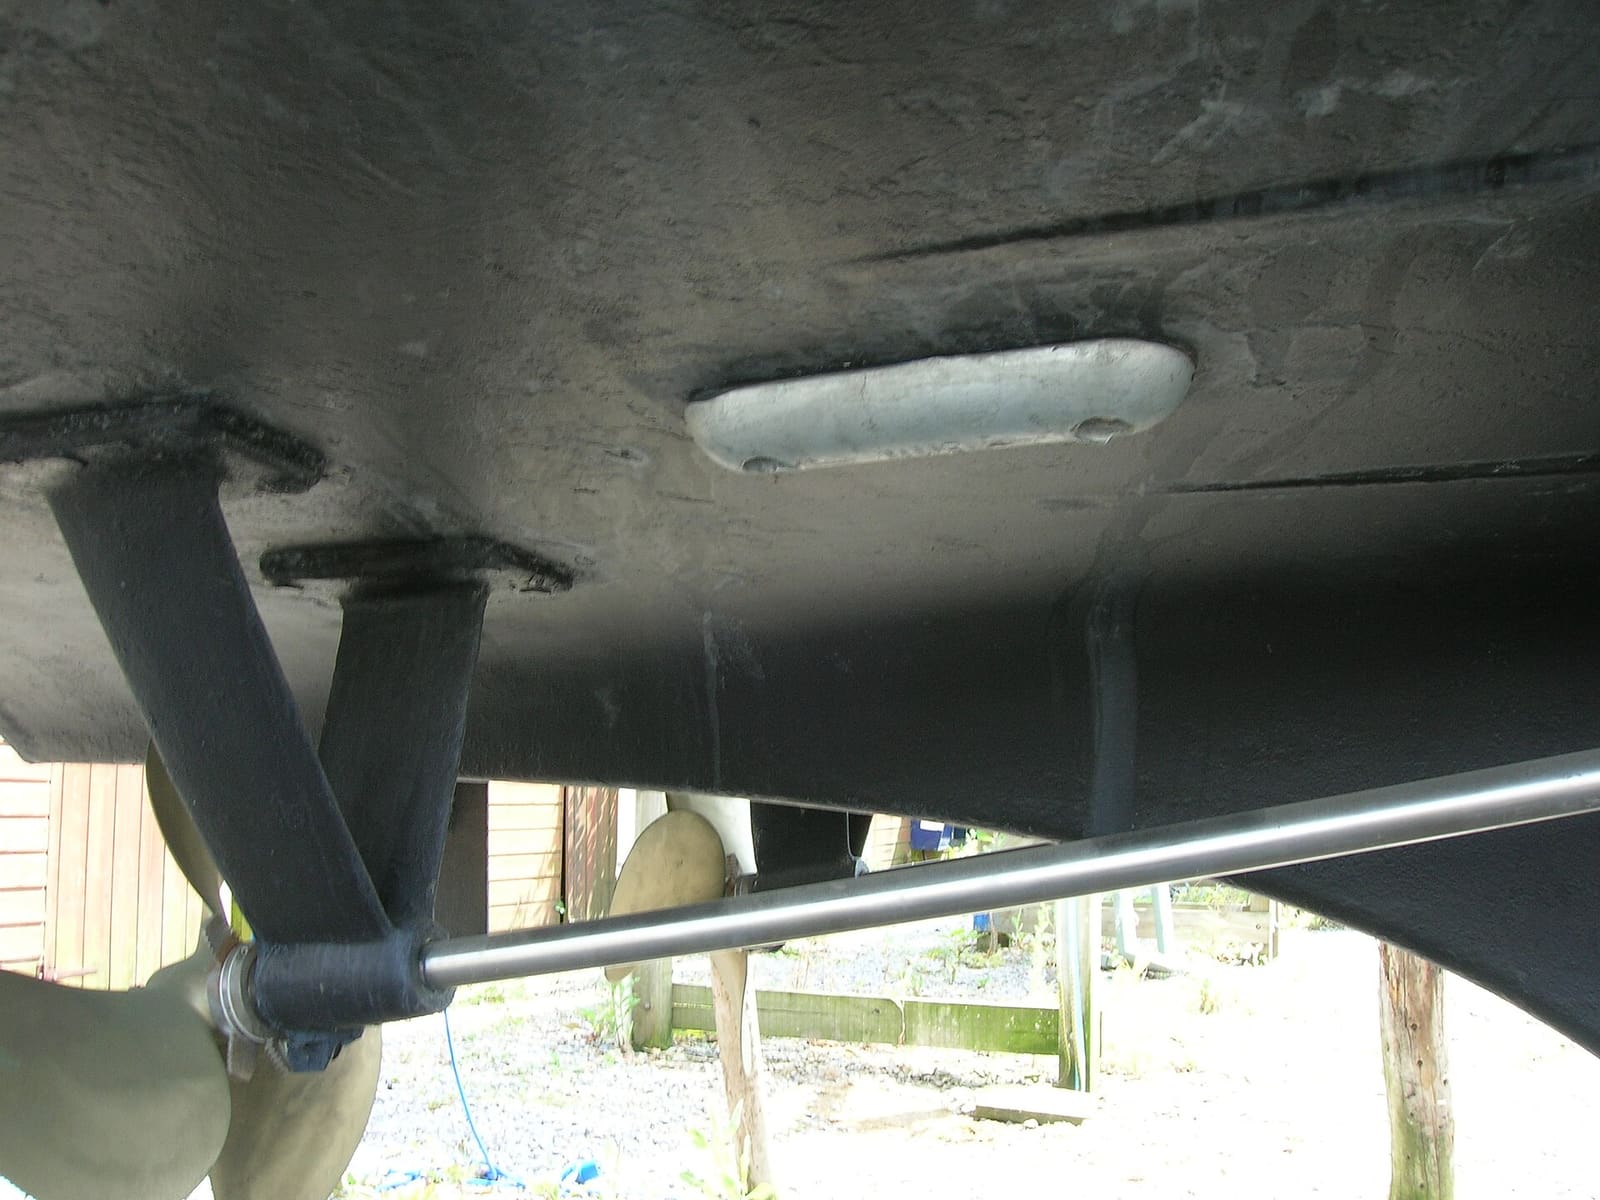
How to Inspect and Replace Sacrificial Anodes (Zincs)
Check the anodes on your outboard, sterndrive or inboard running gear, replace them when they are half gone, and choose the right metal for the water you boat in. Fresh anodes are cheap insurance against expensive corrosion damage to your lower unit, drive and prop.
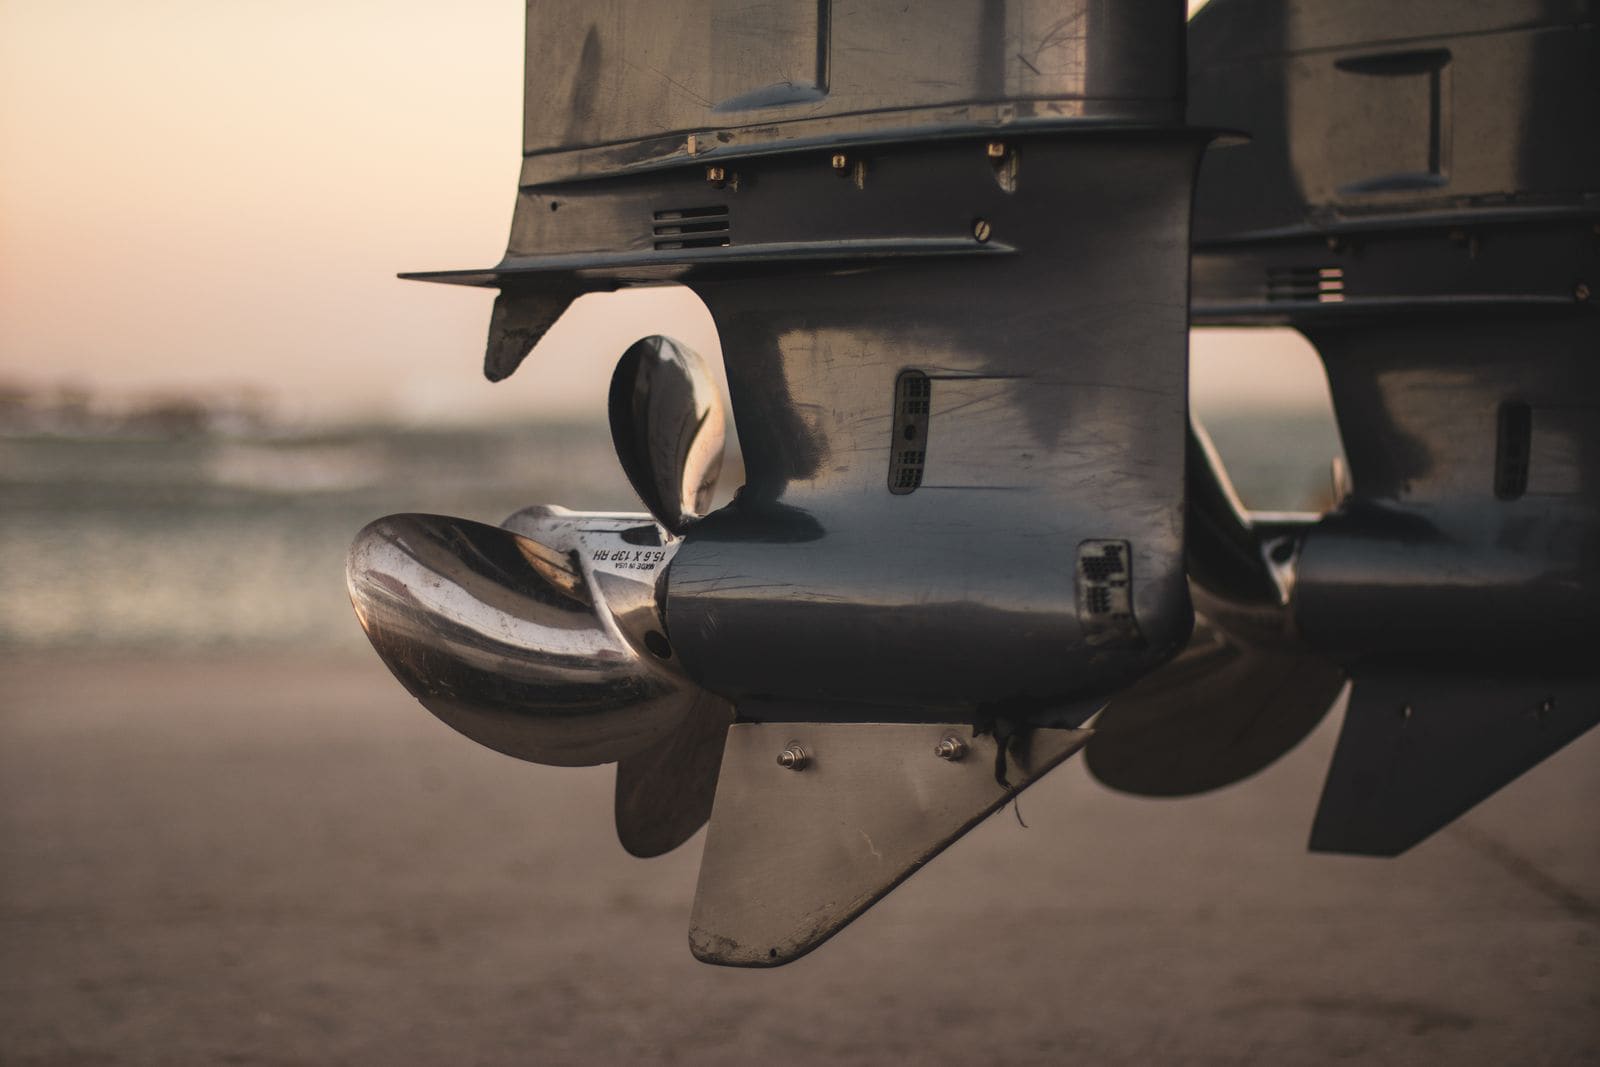
Saltwater Outboard Care: The After-Every-Trip and Monthly Routine
A simple routine that keeps salt from eating your outboard, built from Honda, Yamaha, Mercury and Suzuki advice. It covers flushing after every trip, washing, where to spray anticorrosion (and where never to), monthly greasing, anodes, and tilting up or storing out of the water.
How to Flush Your Engine With Fresh Water
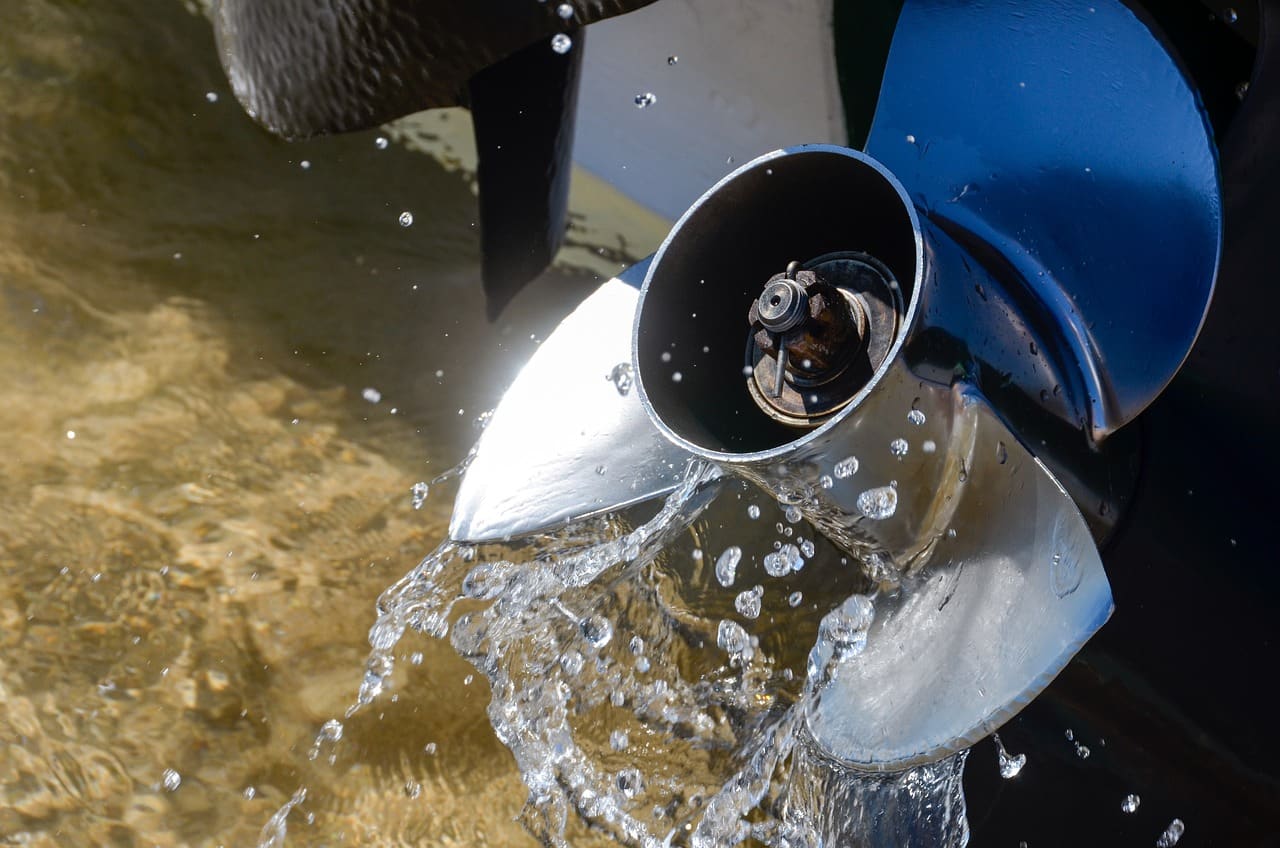
Rinse salt, silt and sand out of your outboard or sterndrive cooling system using the built-in flush port, flush muffs or a flush bag. Flushing after every saltwater trip is one of the easiest ways to prevent corrosion and overheating.
Jet Ski Saltwater Care: Flushing, Rinsing, Corrosion Protection and Storage
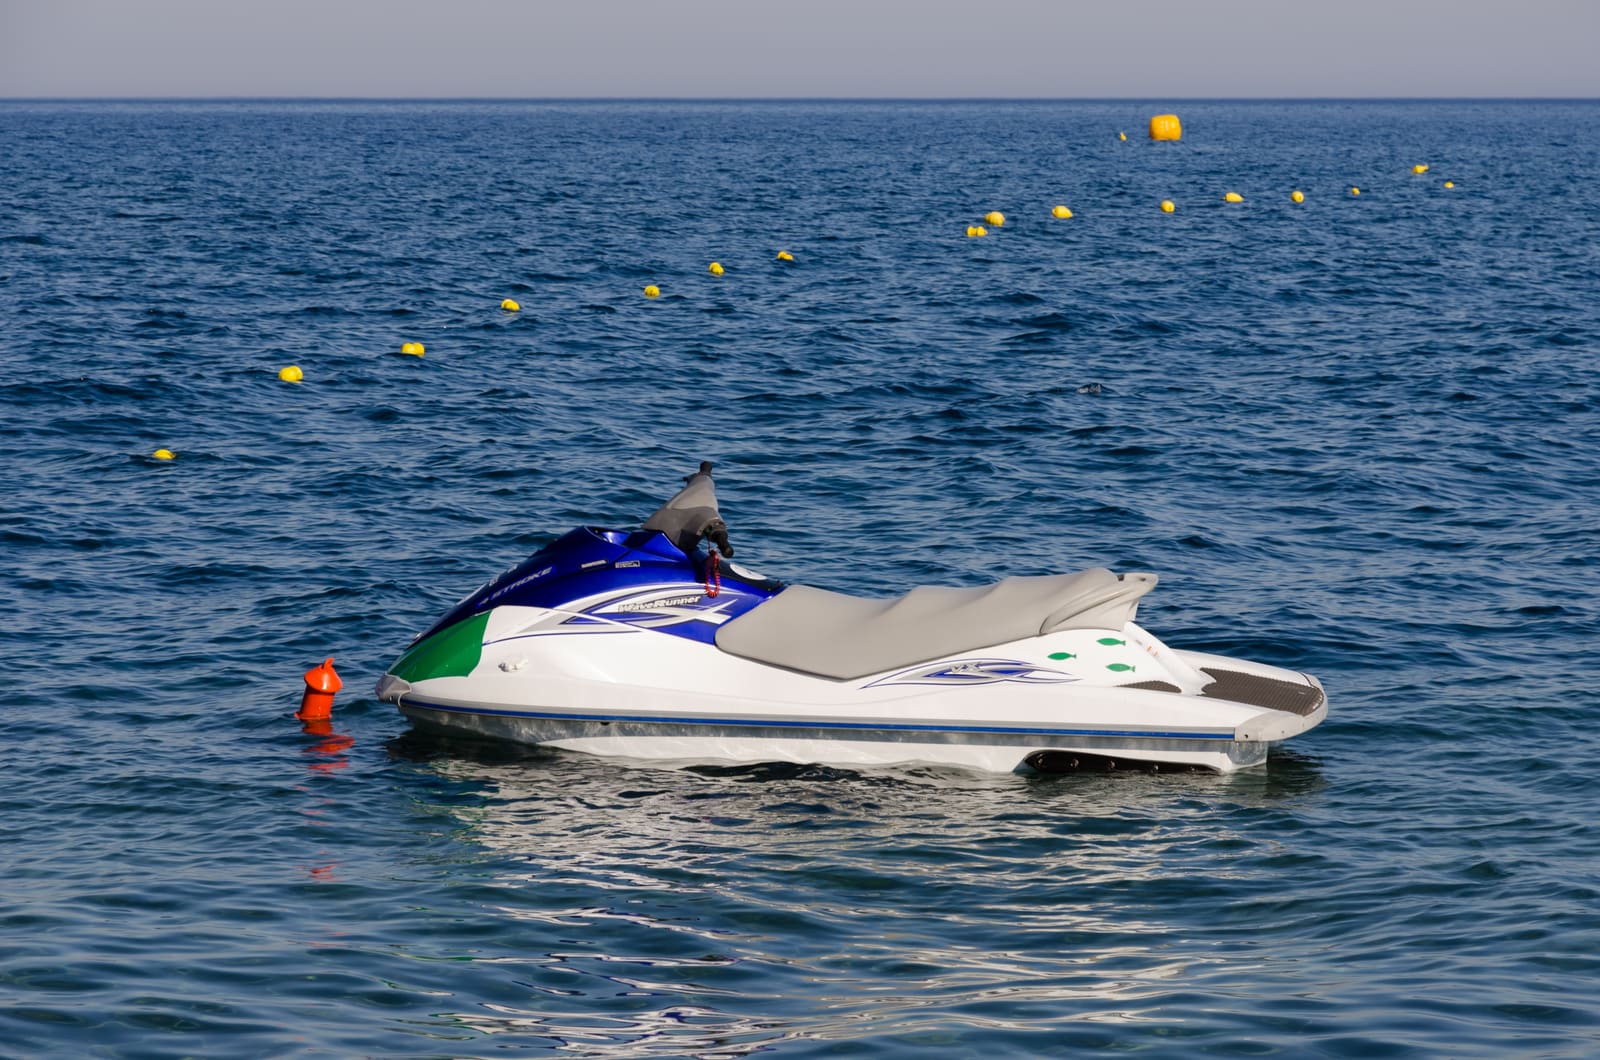
A simple after-every-ride routine for Sea-Doo, Yamaha WaveRunner and Kawasaki Jet Ski owners who ride in salt or brackish water. Flush in the right order, rinse the pump, hull and engine bay the gentle way, spray anticorrosion only where it belongs, and keep anodes, the battery and the trailer from rotting away.
How to Check and Change Coolant in a Closed Cooling System
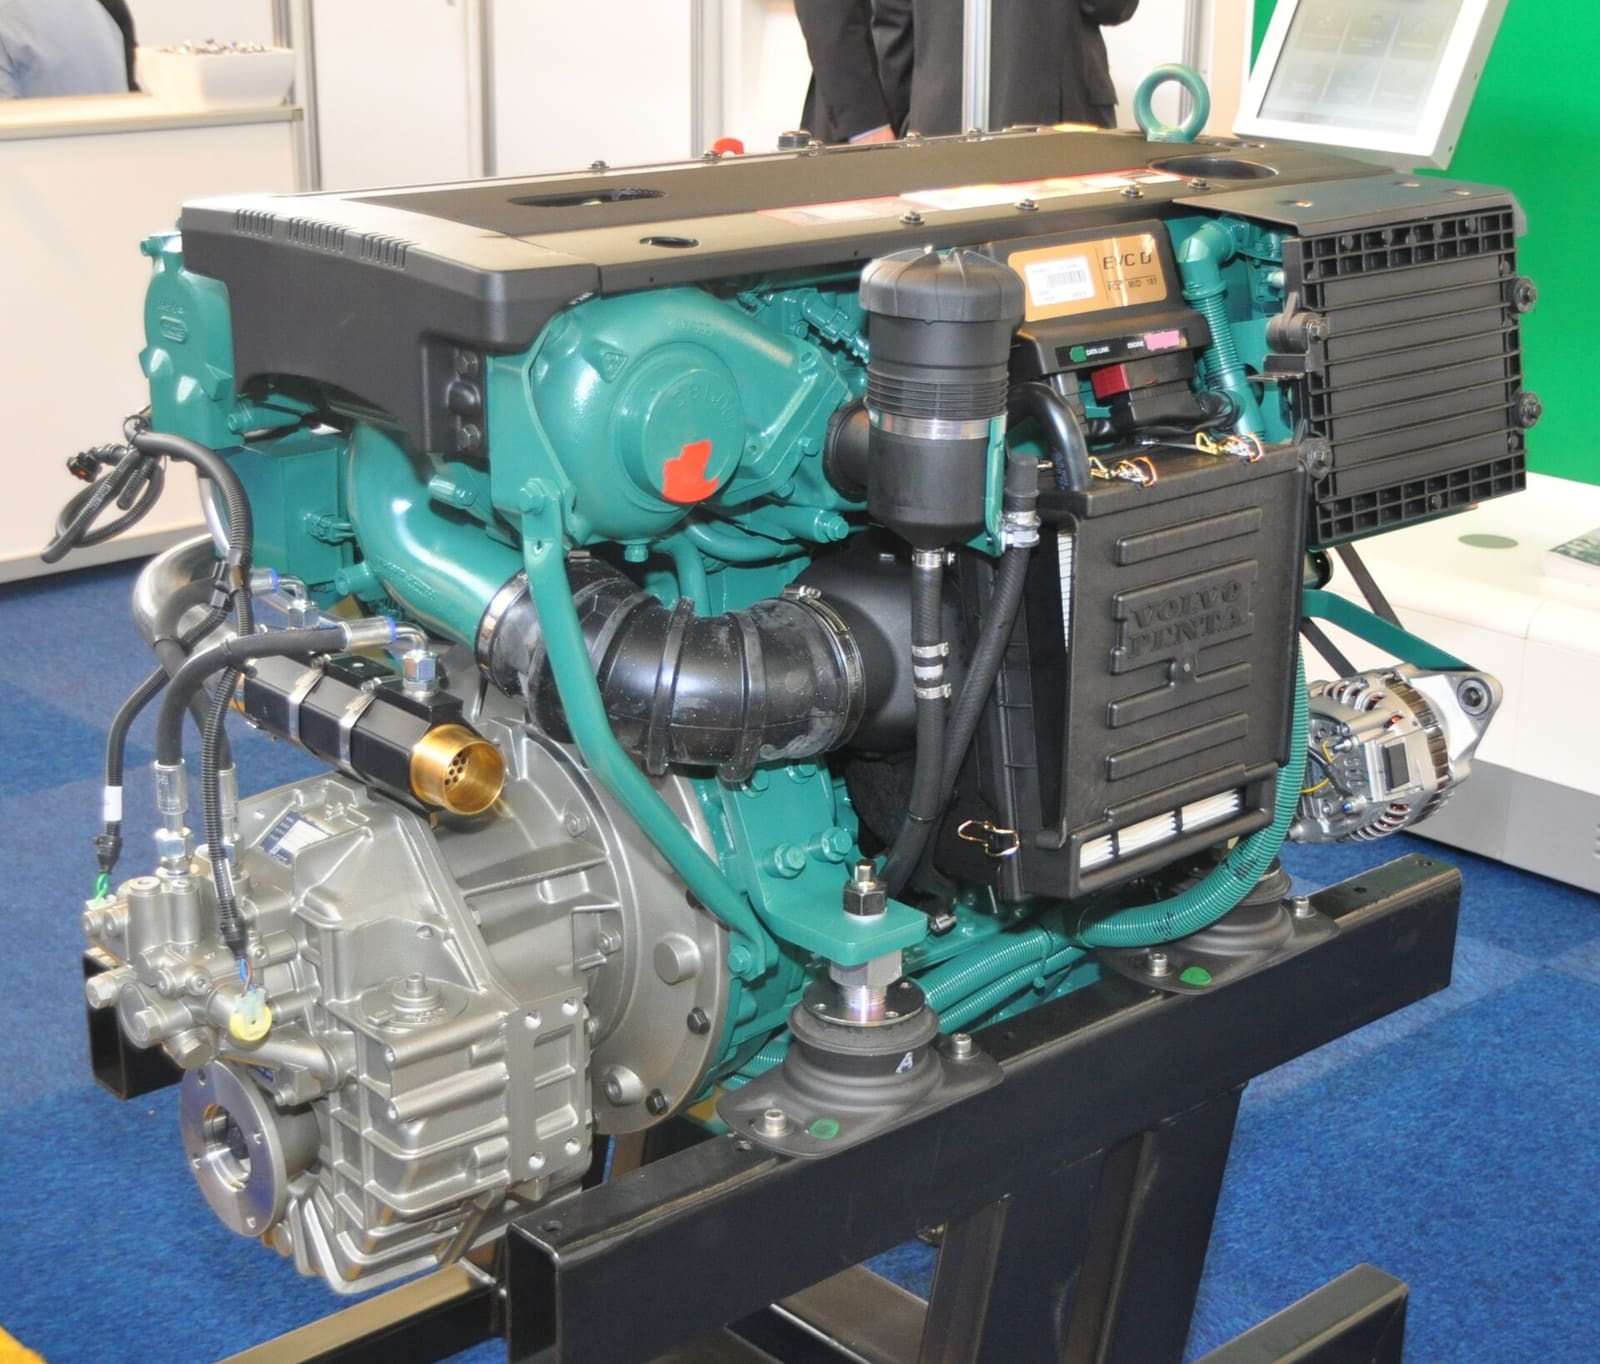
Check, test and change the coolant in a freshwater-cooled (closed cooling) inboard, sterndrive or diesel, and learn the heat exchanger basics that keep it working. Old coolant quietly eats hoses, pumps and engine passages, and many boats go a decade without a change.
How to Inspect Exhaust Manifolds and Risers on a Sterndrive or Inboard
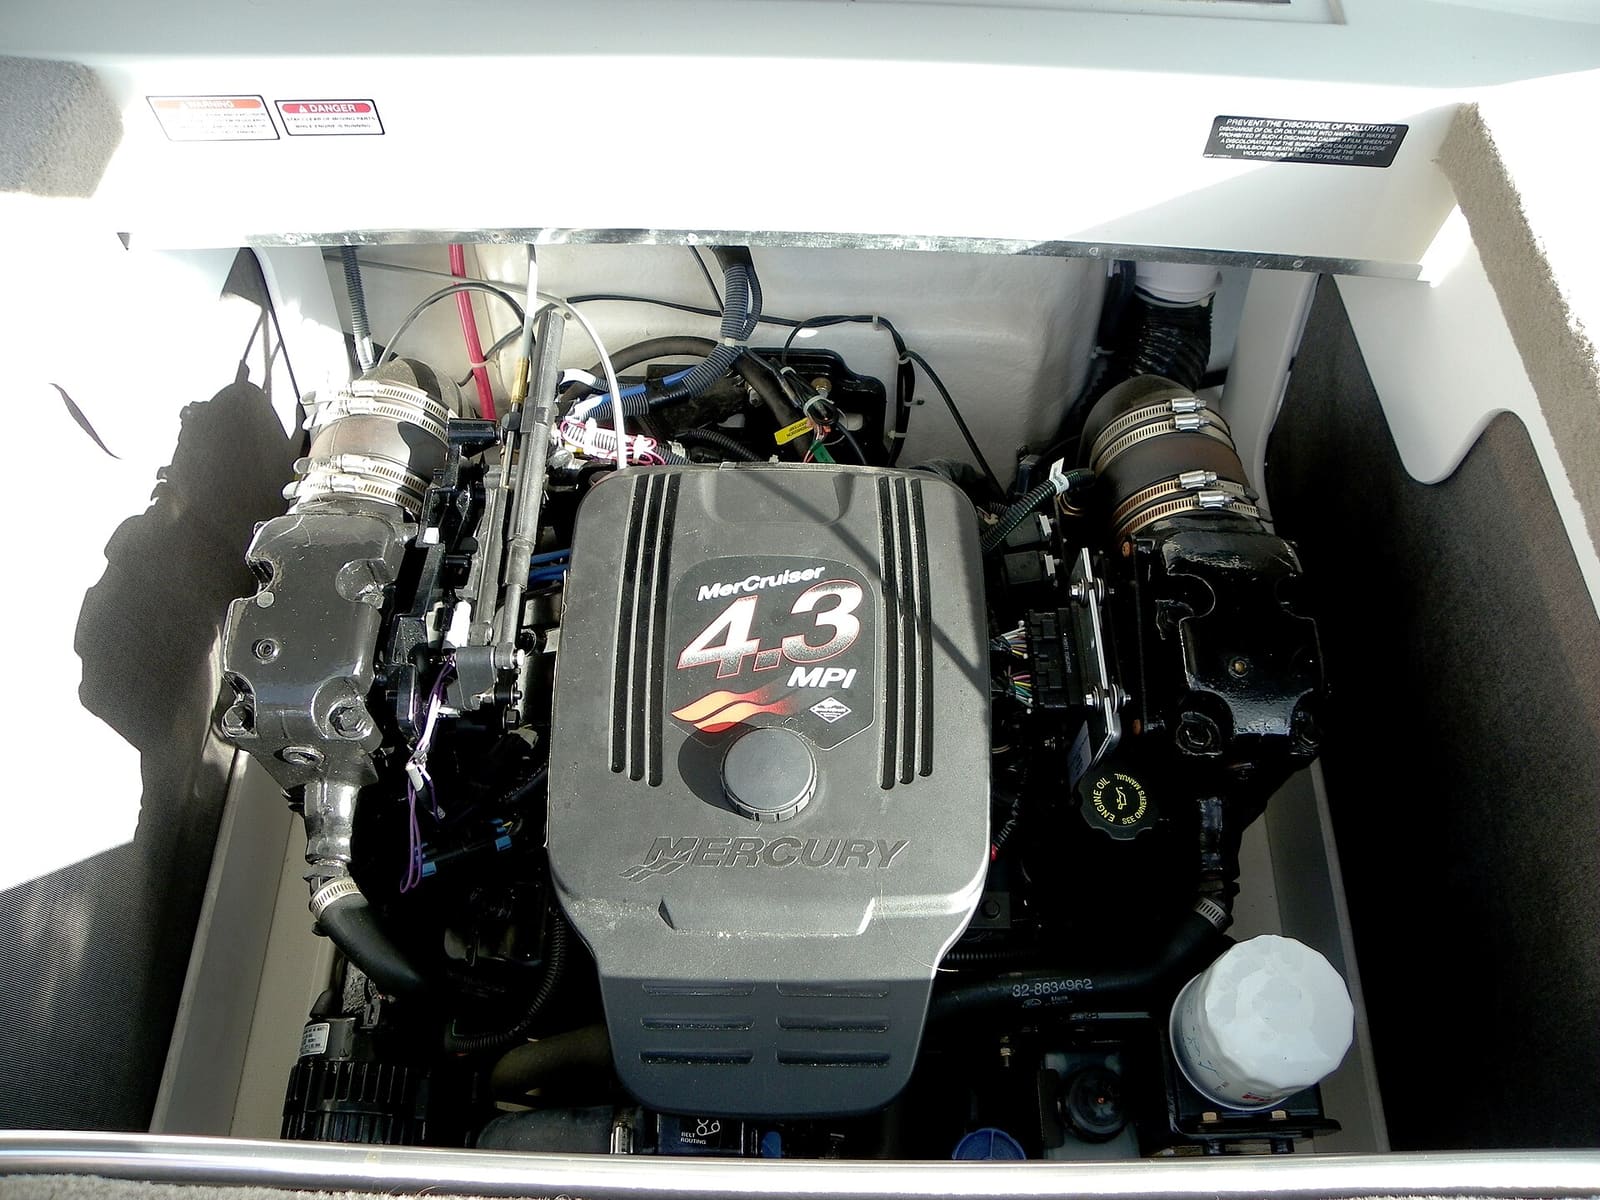
Cast-iron exhaust manifolds and risers rust from the inside, and when they fail they can let water into the cylinders and ruin the engine. Learn the warning signs, how often to inspect them in salt and fresh water, how to check a riser yourself, and when replacement is a job for a pro.

Bottom Paint (Antifouling): Do You Need It, Which Type, and How to Repaint
Learn whether your boat needs antifouling bottom paint, how ablative and hard paints differ, and how to prep and roll on a fresh coat safely, without poisoning yourself or the water and without ruining an aluminum hull.
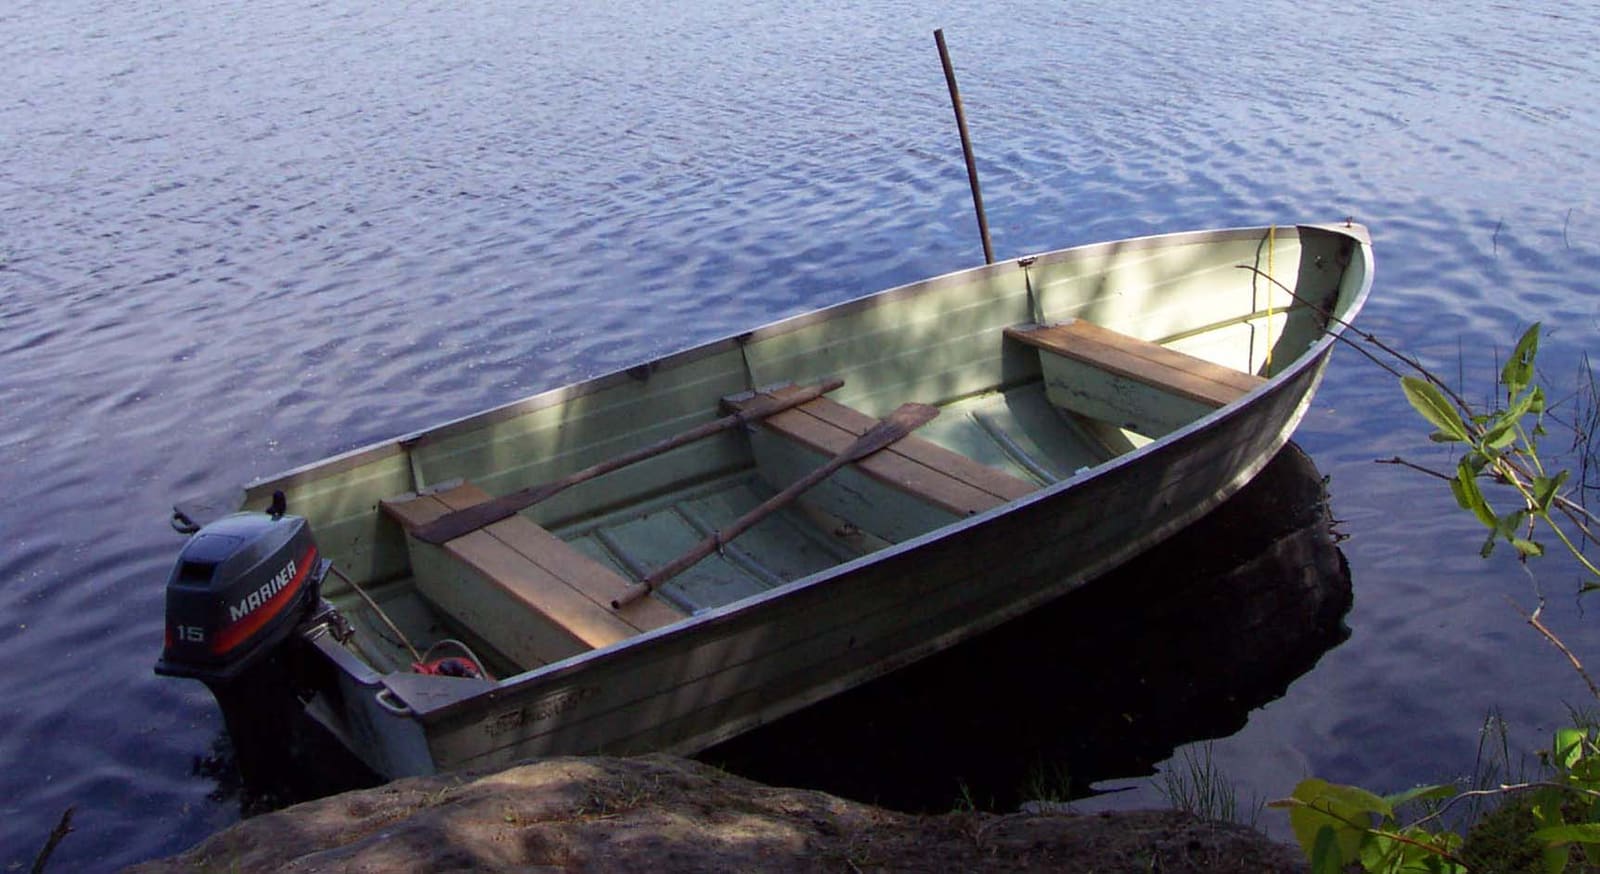
How to Spot and Prevent Corrosion on an Aluminum Boat
Aluminum hulls and pontoon tubes are tough, but they lose almost every fight with other metals. Learn the warning signs of galvanic and stray current corrosion, keep copper and loose metal away from the hull, choose the right anodes, touch up paint with the proper primer and know when a repair needs a welder.
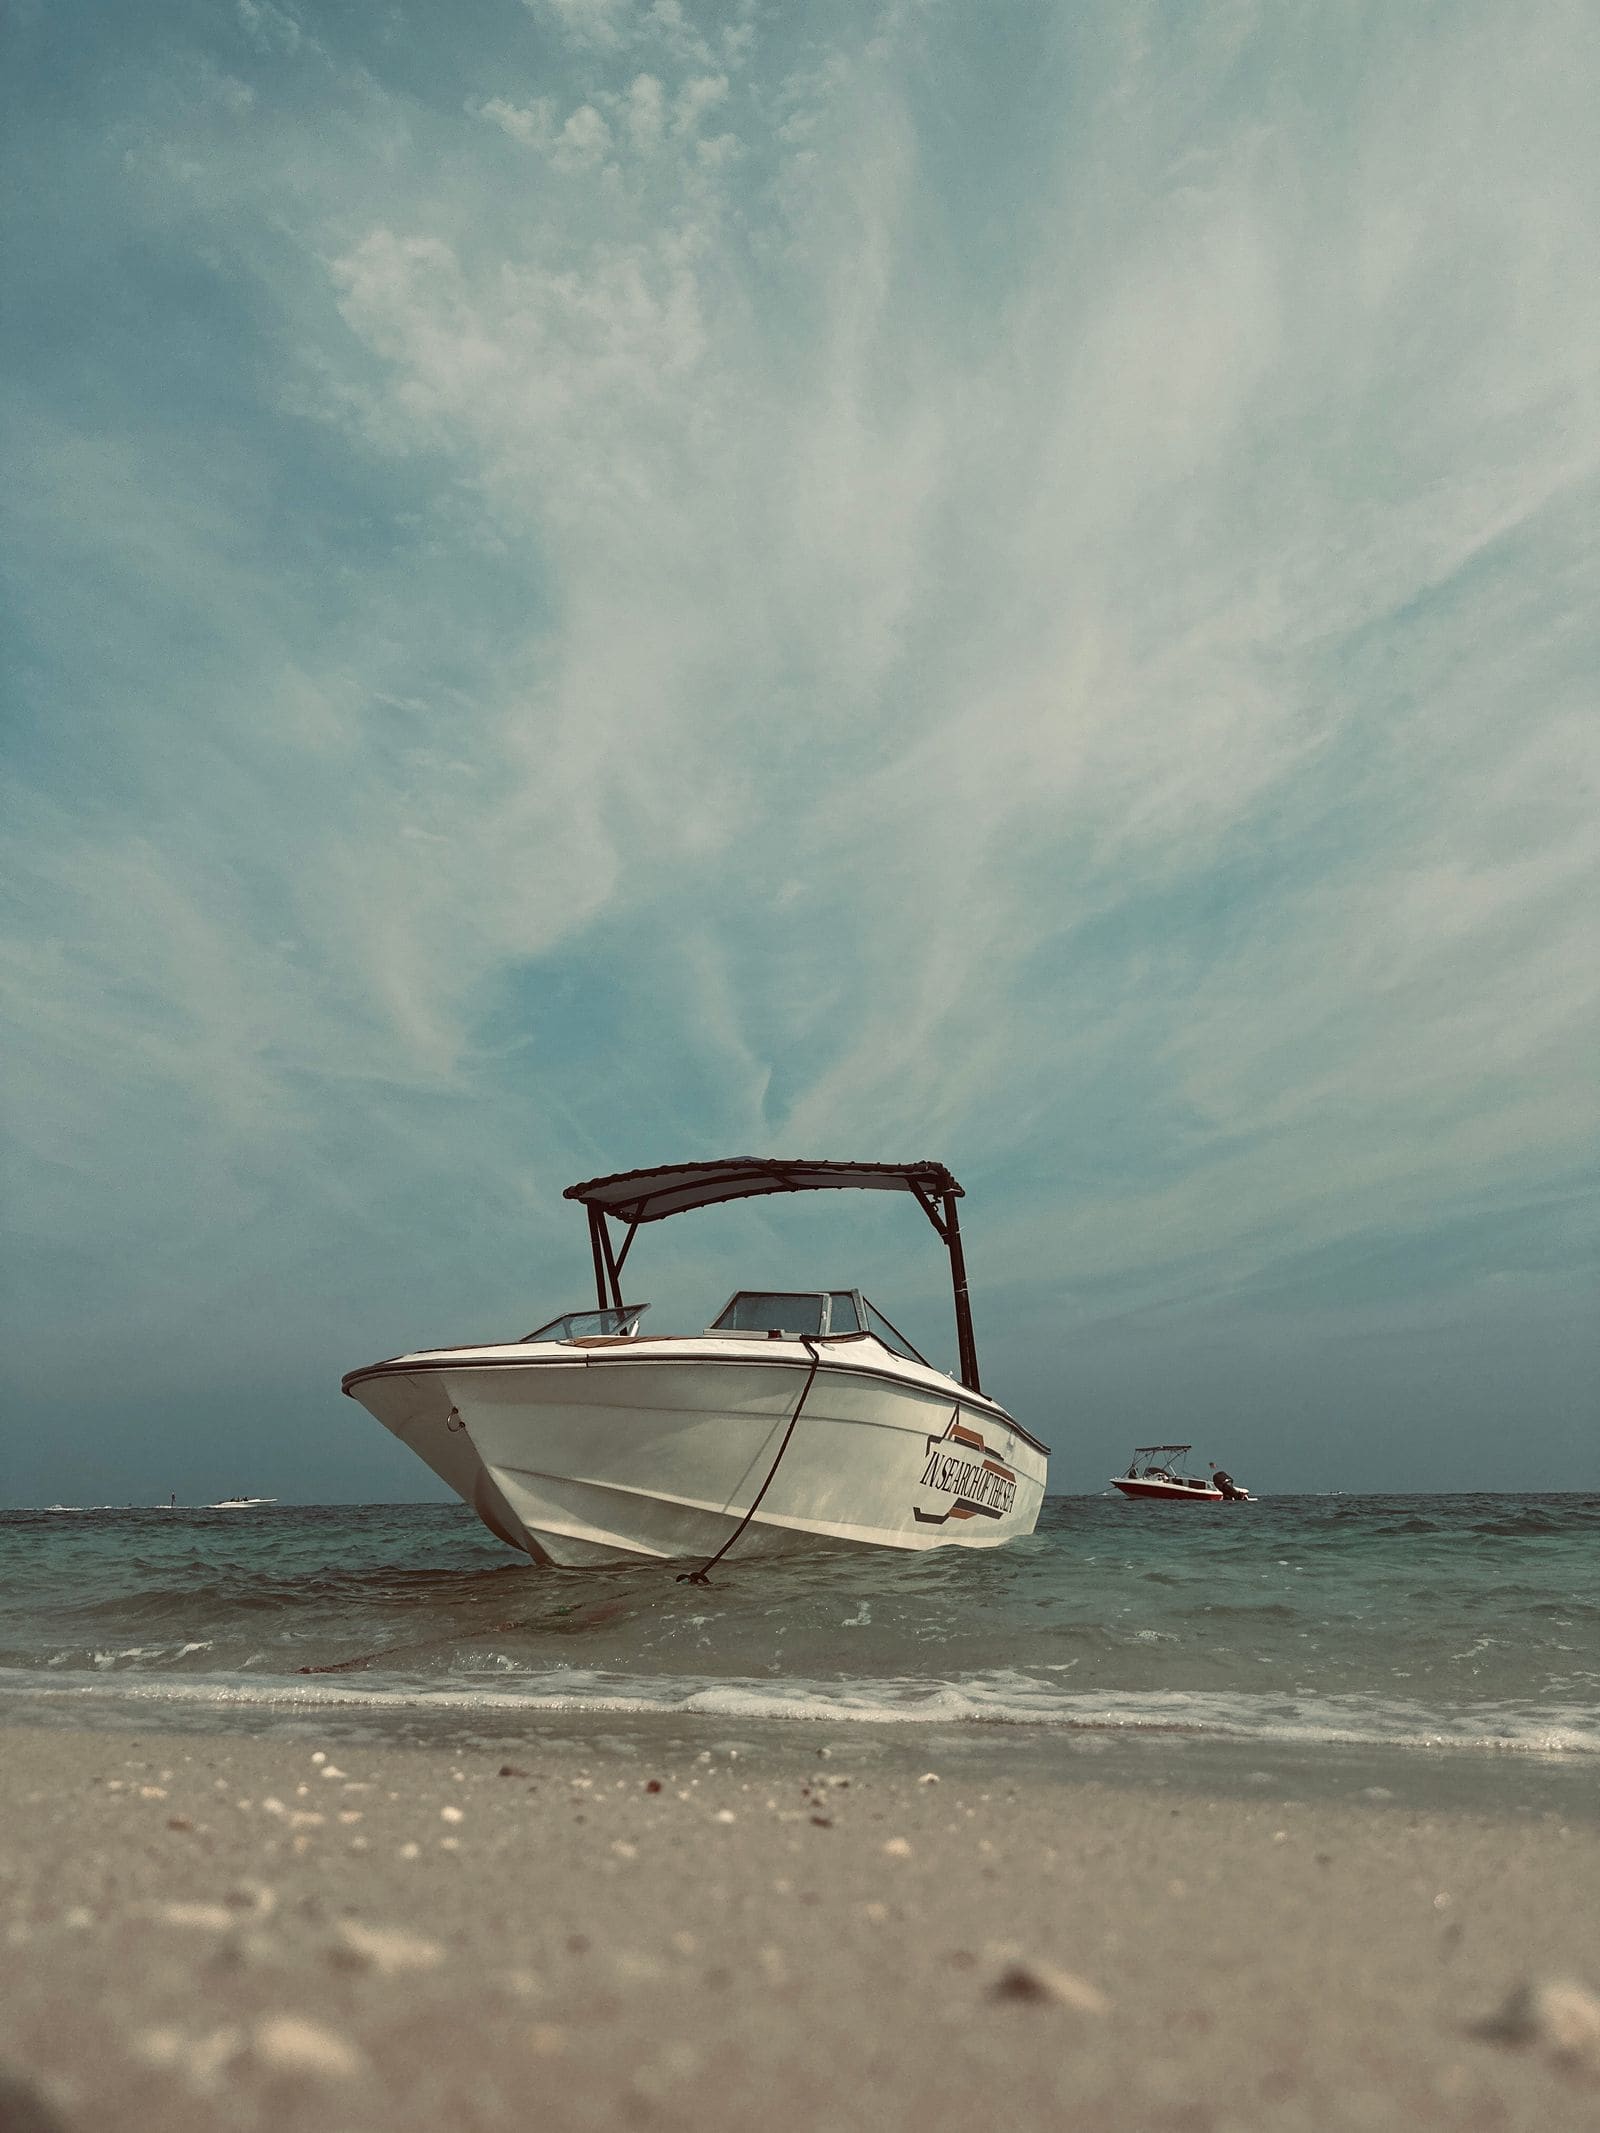
Sterndrive Corrosion: Paint Blisters, Anodes, MerCathode and Galvanic Isolators
Learn to spot the early signs of corrosion on an aluminum sterndrive, check the anodes and the MerCathode or Volvo Penta ACP system, and understand when a galvanic isolator or a hull potential test is needed. Caught early, corrosion costs a few anodes; caught late, it can cost the whole drive.
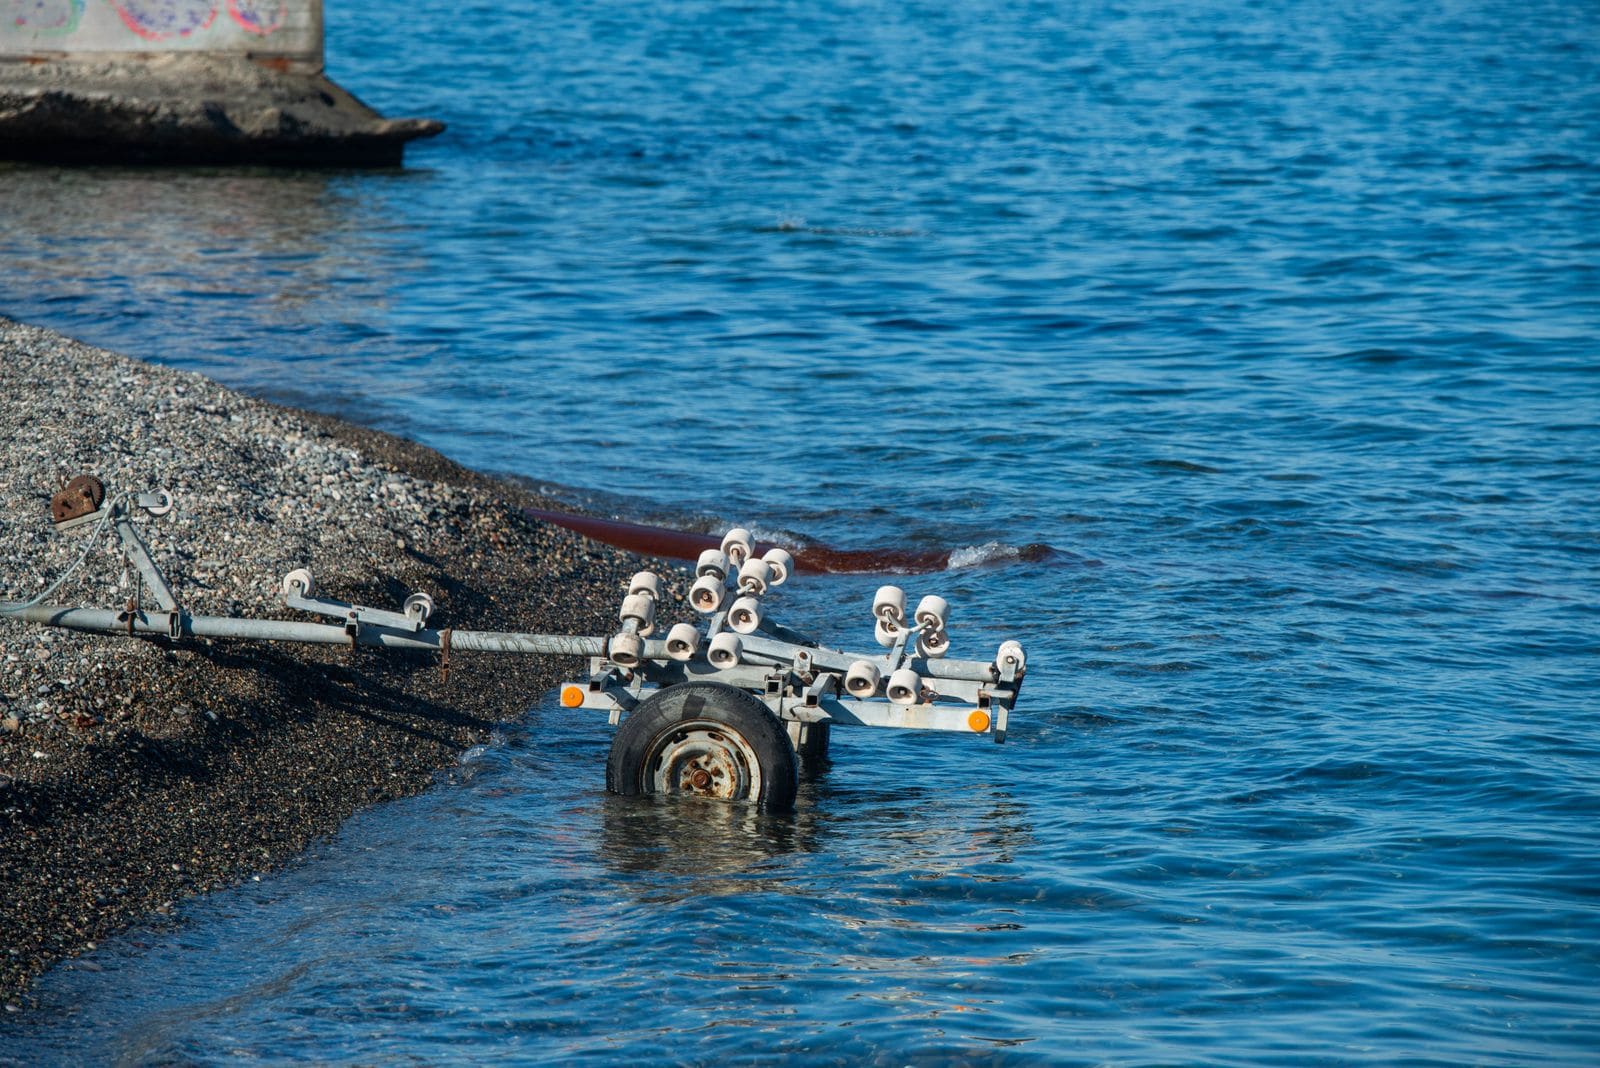
Upgrading Boat Trailer Hubs: Grease-Through Spindles, Oil Bath, Protectors and Pre-Packed Kits
Choose the right hub setup for how you use your trailer, swap in a pre-packed hub kit, adjust it correctly and know when the axle itself is the real problem. Better hubs mean fewer roadside bearing failures and less time with greasy hands.
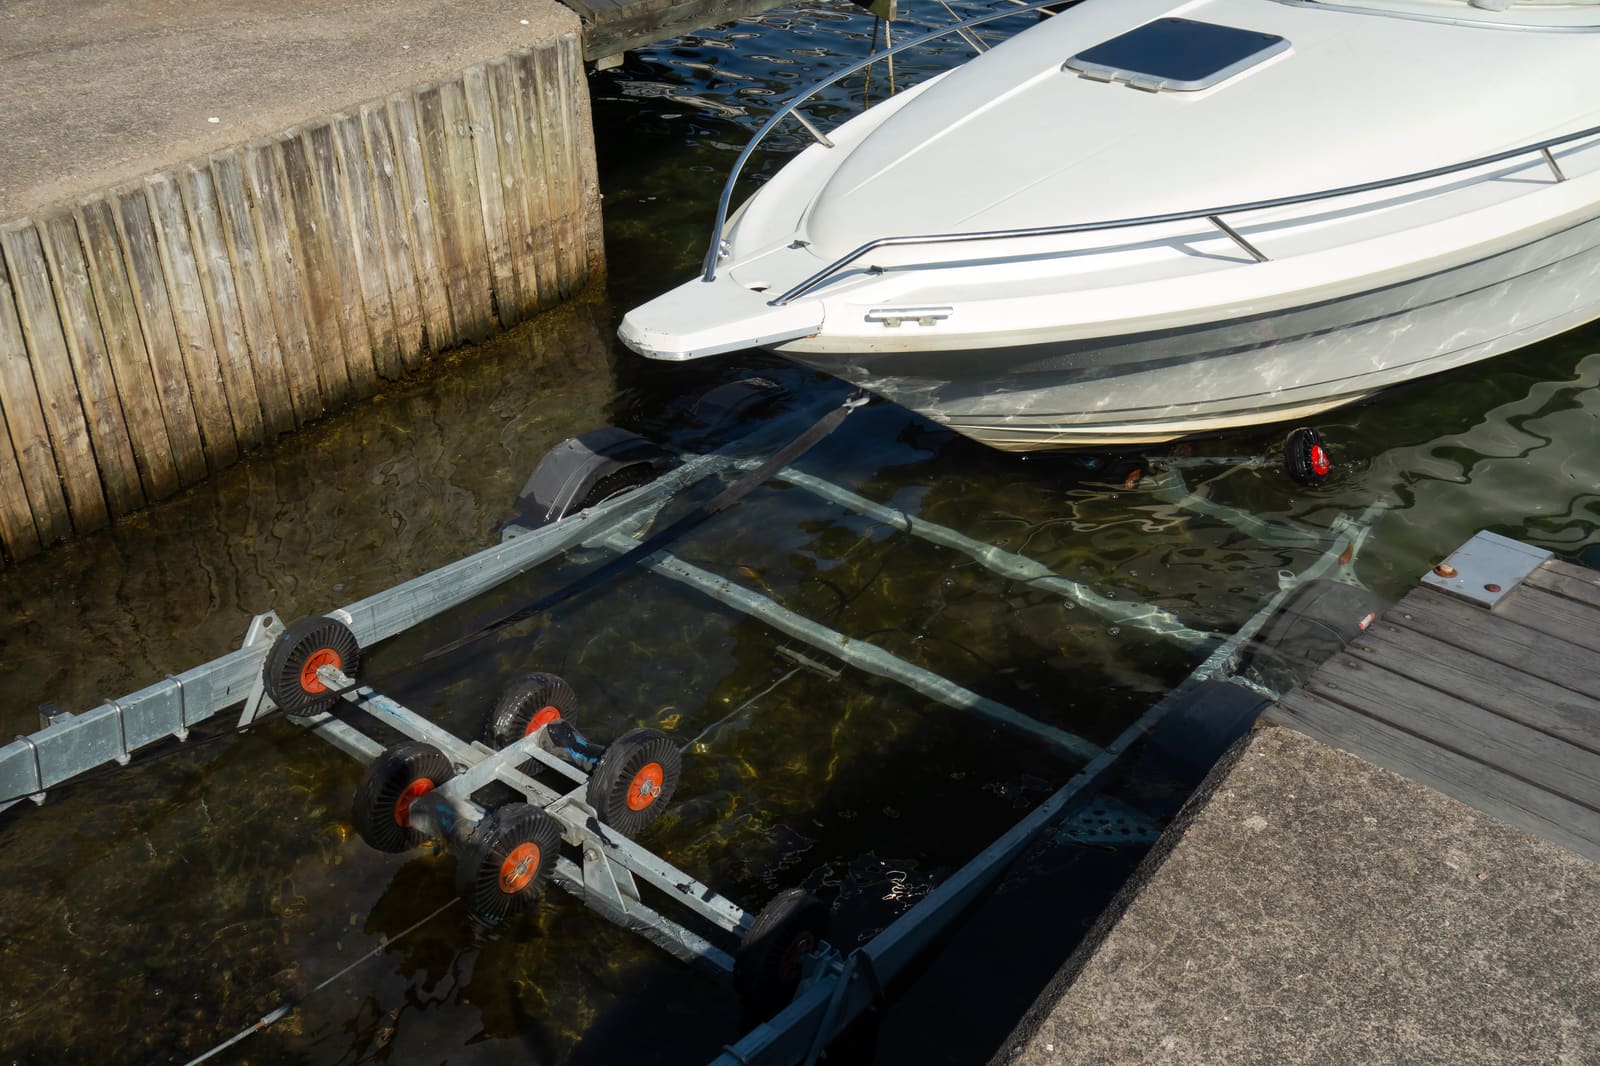
How to Check and Care for Boat Trailer Surge Brakes
Understand how the hydraulic surge brakes on your boat trailer work, check the fluid, use the reverse lockout correctly and rinse salt out of them after every dunk. Simple habits that keep the brakes from seizing, dragging or failing when you need them.