Bottom Paint (Antifouling): Do You Need It, Which Type, and How to Repaint
Learn whether your boat needs antifouling bottom paint, how ablative and hard paints differ, and how to prep and roll on a fresh coat safely, without poisoning yourself or the water and without ruining an aluminum hull.
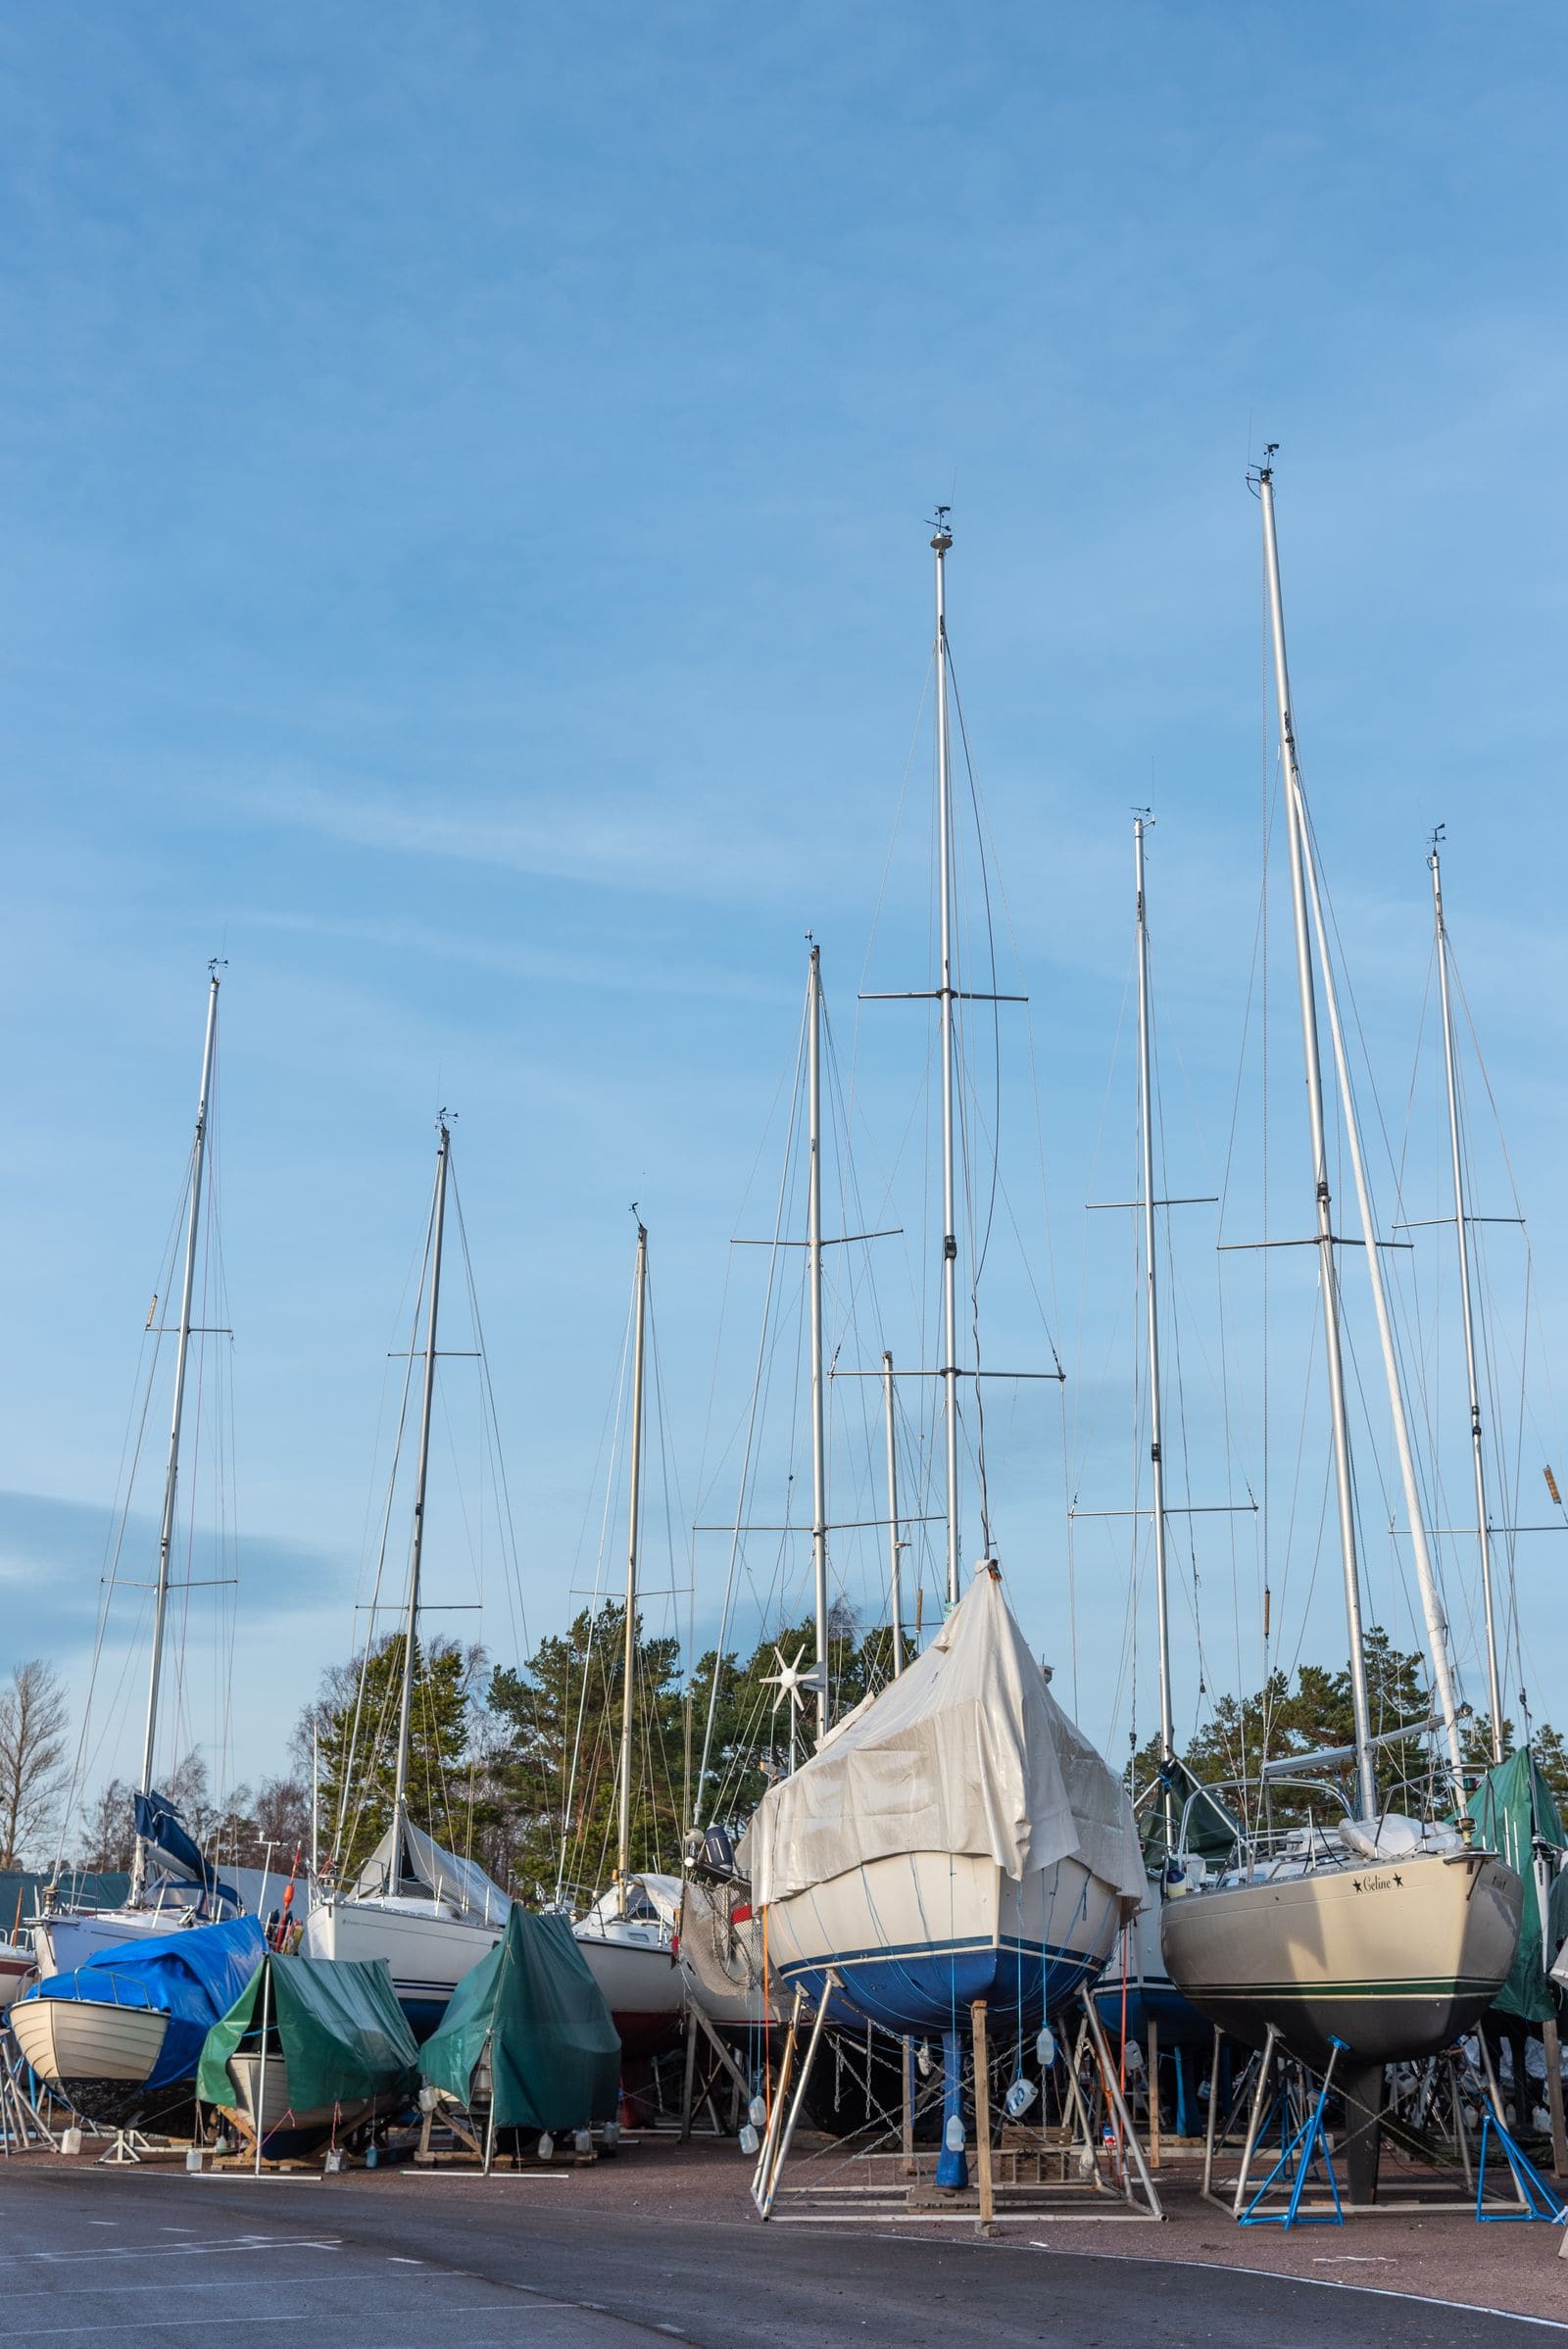
Time
12 h
Shop would charge
$800-3000
Applies to
All engines
Safety first: Antifouling paint is a registered pesticide. Its dust, chips and fumes are toxic. Wear a tight-fitting respirator (never a paper dust mask), gloves, goggles and coveralls, and catch every chip and speck of dust on tarps. Never apply copper-oxide paint to an aluminum hull, outdrive or outboard lower unit: it causes severe galvanic corrosion. Never move yard stands or jacks yourself; ask the yard.
Owners often ask
- My boat lives on a trailer. Do I really need bottom paint?
- Can I put regular copper bottom paint on my aluminum boat or outdrive?
This guide walks you through it. Still stuck? Ask the AI Mechanic about your engine.
Tools
- Long-handled scraper and a 2-inch hook scraper
- Random orbit sander with a vacuum hose connection and a shop vacuum
- 80-grit sanding discs or paper
- Short-nap solvent-resistant roller covers, roller frame, extension handle and paint trays
- Disposable brushes for edges and tight spots
- Paint stirring paddle (drill mounted) and a spare mixing bucket
- Fine-line masking tape for the waterline
- Ground tarps or plastic sheeting to catch dust and chips
- PPE: tight-fitting respirator with the cartridges the paint label calls for, chemical gloves, goggles, disposable coveralls, earplugs
Parts & supplies
- Antifouling paint that is compatible with your old paint and labeled for your hull material and waters
- Primer or barrier coat if the paint maker calls for one (bare fiberglass or metal)
- Dewaxing solvent (only for a never-painted fiberglass bottom)
- Solvent or cleaner listed on the paint can for cleanup
- New anodes if they are worn (do not paint them)
Before you start
What bottom paint does: it keeps barnacles, mussels, weed and slime from growing on the part of the hull that stays underwater. Most bottom paints do this by slowly releasing a biocide, usually copper. A fouled bottom makes the boat slow, wastes fuel and can clog water intakes.
Do you even need it?
- Boat kept in the water all season (slip or mooring): yes, bottom paint is the norm.
- Trailer, lift or dry stack: usually no. Regular washing and a good coat of wax are typically enough for boats that are only in the water for a day or a short trip.
- Think before painting a never-painted bottom. Once it is on, you have to keep renewing it for as long as you own the boat, and a painted bottom can put off buyers of trailer boats.
The main paint types (simplified):
- Ablative (self-polishing, copolymer): wears away slowly like a bar of soap, exposing fresh biocide. Little buildup over the years. Many copolymer ablatives can be hauled out for winter and relaunched without repainting (check the label). They work best on boats that move regularly and wear too fast on fast boats.
- Hard (modified epoxy): a tough film that stays put while the biocide leaches out. Good for faster boats and boats that can be scrubbed. Layers build up over the years and eventually have to be stripped. Many hard paints lose their punch if left out of the water too long, so the label gives a launch window after painting.
- Hybrid: somewhere in between; often suggested for boats that go in and out of the water a lot.
- Vinyl paints: only go over vinyl paint. Anything else has to be stripped first.
Compatibility rule of thumb: a softer paint can usually go over a harder one, but not the other way around. Before changing brands or types, check the paint maker's compatibility chart. Keep the can or receipt from your last bottom job and log it in BoatMend.
Aluminum boats, outdrives and lower units: only use a paint labeled for aluminum (often cuprous thiocyanate, zinc or non-copper biocides) over the primer the paint maker specifies. Read the label: "Do not use on aluminum" means exactly that.
Local rules: many marinas and yards have their own rules for sanding, containment and disposal, and some require you to use their contractor. Washington State bans paints containing the biocide Irgarol (cybutryne) on recreational boats since January 1, 2023; its planned ban on copper-based paints for recreational boats will not take effect in 2026 as once scheduled; the state Department of Ecology says it will keep studying alternatives and report again by mid-2029. California limits how fast copper paints registered for recreational boats may leach copper. Rules change, so check your state agency and your marina before you buy paint.
Steps
Slime and growth come off easily while still wet but harden like concrete once dry. Most yards pressure wash at haul-out and scrape hard growth. Ask for a second pass if loose paint is flaking under the spray. Use the yard's wash pad so the runoff is captured.
Pick at edges where paint is lifting with a putty knife. If it peels off in sheets in many places, the old paint has lost adhesion and needs to be stripped, not painted over. New paint only sticks as well as the layer under it. A thick, cracked, "alligator skin" buildup also means it is time to strip.
- Old paint sound and the same type you will use: scuff sand, clean, and recoat.
- Flaking, very thick, or switching to an incompatible type (for example to vinyl): strip. A sharp hook scraper is the safest, least messy method for most owners. If you use a chemical stripper, it must be one made for fiberglass; ordinary strippers can attack gelcoat. Large strip jobs, soda blasting and barrier coats are usually best left to a yard.
Lay tarps under and around the work area and weigh them down. Wear your respirator, goggles, gloves, coveralls and earplugs before you start sanding. Keep kids, pets and neighbors' boats clear of the dust.
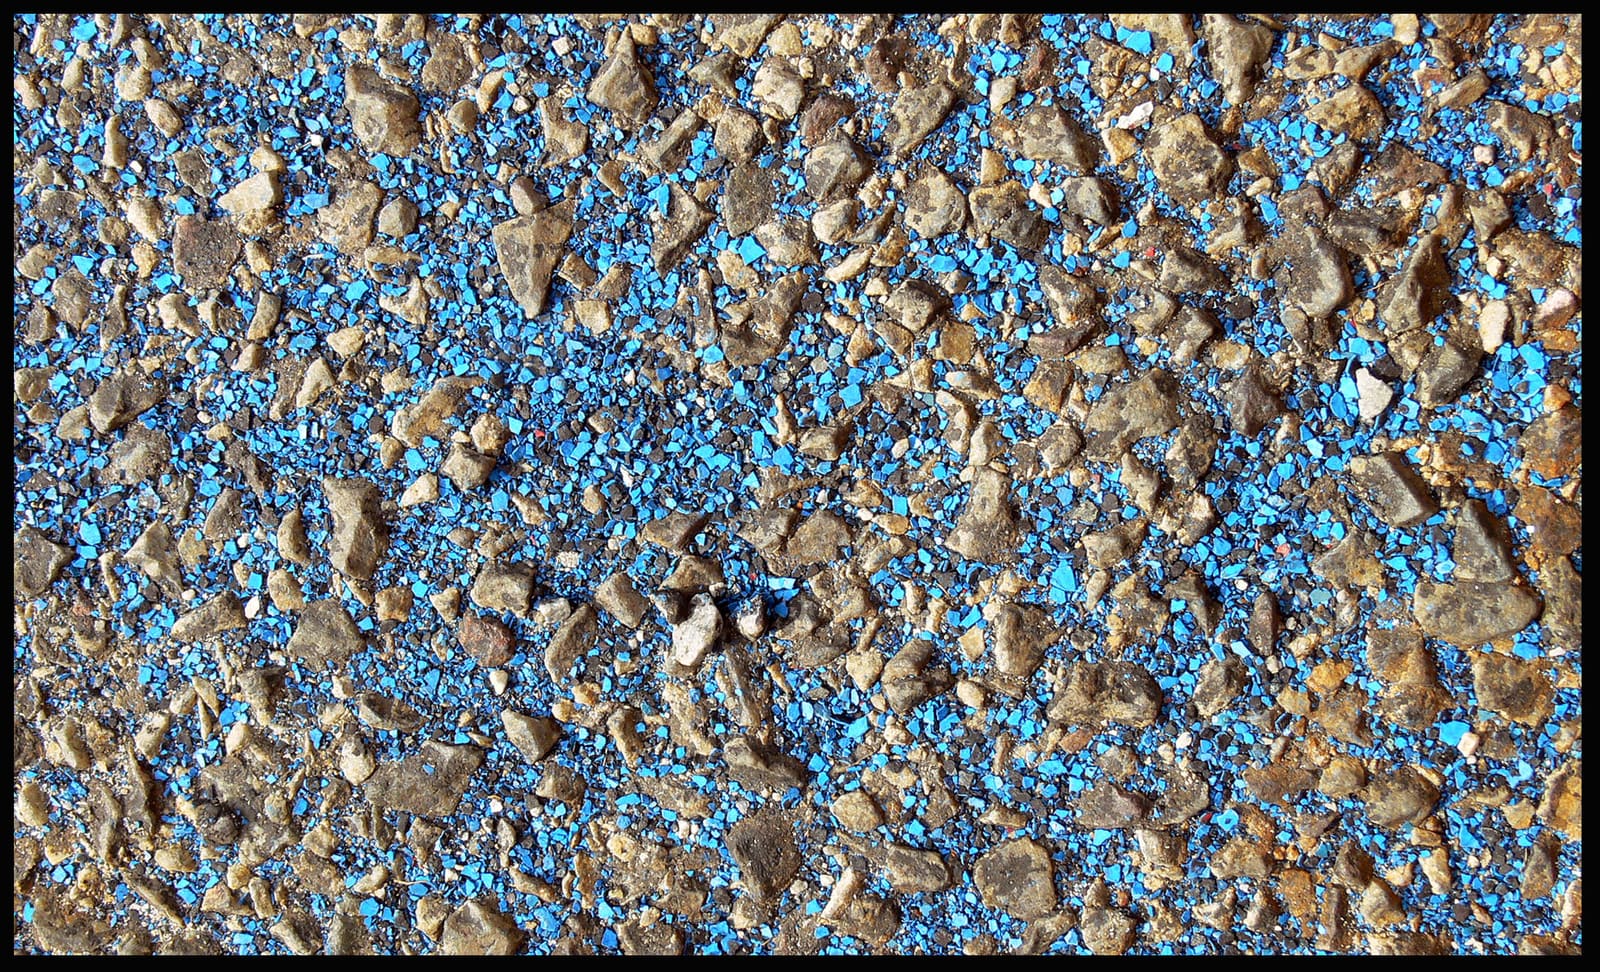
Every chip like these is toxic waste. Catch them on tarps, do not leave them on the ground. Photo: F. Lamiot / Wikimedia Commons · CC BY-SA 2.5 Use a random orbit sander hooked to a shop vacuum with 80-grit paper. Many yards no longer allow sanding without a vacuum. Do not use a belt sander (it gouges the hull), and avoid a grinder unless you are experienced: it can cut through paint and into the fiberglass in seconds. Sand off most of the last layer rather than piling coat on coat. If you see a different-colored "flag" coat underneath, that tells you when to stop.
A bottom that was never painted still has mold-release wax on it. Clean it with a dewaxing solvent and plenty of clean rags before sanding, otherwise sanding drives the wax into the scratches. Then follow the paint maker's system for bare gelcoat, which may include a primer or an epoxy barrier coat.
Look for blisters, cracks, soft spots and damage around through-hulls, the keel joint and the transducer. Check the anodes and replace any that are about half gone. Fix problems now (see our hull blisters and gelcoat repair guides), because you will paint over them next.
Wipe off sanding dust with the cleaner listed on the paint can. Run fine-line tape along the top edge of the bottom paint. Do not paint anodes, their mounting spots, the propeller shaft, or transducer faces unless the transducer maker allows a specific coating.
Buy enough first. Interlux's rough estimate of the area to paint is length overall × beam × 0.85. Divide that area by the coverage printed on the can to get the amount for one coat, then multiply by the number of coats, plus a little extra for the waterline and the spots under the stands. Interlux also has an online paint estimator. Running out halfway means a second batch that may not match.
The heavy biocide settles at the bottom of the can. Use the yard's paint shaker or a drill paddle and keep going until nothing is left on the bottom of the can and the color is even. Don't thin unless the label says so. Stir again every time you refill the tray.
Roll from the waterline down toward the keel using a short-nap roller on an extension handle. Use a brush for tight spots around struts, intakes and the keel. Work fast; many bottom paints dry quickly. Wear sleeves and gloves: this paint does not belong on your skin.
Check the recoat time on the can; many paints can be recoated by the time you get back around the hull. A second coat extends the life of nearly any bottom paint, and ablatives often benefit from a third. Many owners add an extra coat at the waterline, bow and leading edges where paint wears fastest. Keep some paint for the spots under the stands.
Once the rest is dry, have the yard move the stands one at a time (never move them yourself). Sand and paint the bare patches. Touch up the bottom of the keel when the boat is in the slings before launch.
Most bottom paints list a minimum dry time before launch, and hard paints also list a maximum time out of the water. Plan your launch date before you paint. Let the paint dry overnight before you tape over it for a boot stripe.
Bag the tarps, chips, dust, used rollers, tape and rags and take them to the yard's hazardous waste collection or your local household hazardous waste site. Never pour leftover paint or cleanup solvent down a drain, onto the ground or into the water.
If you hire a diver, use one who follows local in-water cleaning rules and uses soft methods; aggressive scrubbing removes paint and puts copper in the water. Note the paint brand, type, color and date in BoatMend so next time you can stay compatible.
Common mistakes
- Copper bottom paint on an aluminum boat or outdrive. It eats the aluminum. Use only paint labeled for aluminum, over the right primer.
- Painting over flaking paint. The new coat falls off with the old one. Fix adhesion first.
- Not stirring enough. Some areas end up with almost no biocide and foul early.
- Paper dust masks and no vacuum. You breathe toxic dust and spread it around the yard.
- Painting anodes or their mounting spots. Painted anodes stop protecting your running gear.
- Mixing incompatible paints, such as a hard paint over a soft ablative, or anything over vinyl without stripping.
- Painting a trailer boat "just because." If the boat lives on a trailer, you may be signing up for years of upkeep you don't need.
- Missing the hard-paint launch window and wondering why the bottom fouled quickly.
When to call a pro
- The bottom needs a full strip, soda blasting or a new epoxy barrier coat
- You find many blisters, soft spots, cracks around the keel joint or delamination
- Your boat is aluminum and you are not sure what primer and paint system is safe
- Your marina or yard requires licensed applicators or forbids owner sanding
- The boat is large, high on stands, or needs scaffolding to reach the bottom safely
Tips
- Paint on a dry, mild day within the temperature range on the can; cold and damp slow drying and hurt adhesion.
- A different color first coat makes it easy to see when the paint is wearing thin next season.
- Ask other owners at your marina what works in your water; fouling is very local.
- Wax and wash trailer boats instead of painting them; it is cheaper and easier to undo.
Official references
We read these to write this guide. Your engine's own manual always wins.
- BoatUS – How Long Does Boat Bottom Paint Last?
- BoatUS – Applying Bottom Paint
- Interlux – What type of antifouling paint should I use on aluminum?
- Interlux – How much antifouling paint do I need?
- West Marine – 10 Antifouling Paint Buying Questions
- Washington State Department of Ecology – Antifouling Boat Paint law
- California Department of Pesticide Regulation – DPR 16-005 Copper-Based Antifouling Paint and Coating Products
Safety: BoatMend is for information only and does not replace a certified marine technician. You are responsible for your safety and your boat. Read the full disclaimer.
Last updated 2026-10-24
Related guides
How to Clean, Remove Oxidation and Wax Your Boat's Gelcoat (Plus Pontoon Tubes)
Wash your hull the right way, bring back chalky, faded gelcoat with compound, and seal it with wax so it stays glossy and protected from the sun. Includes how to clean and protect the aluminum tubes on a pontoon boat.
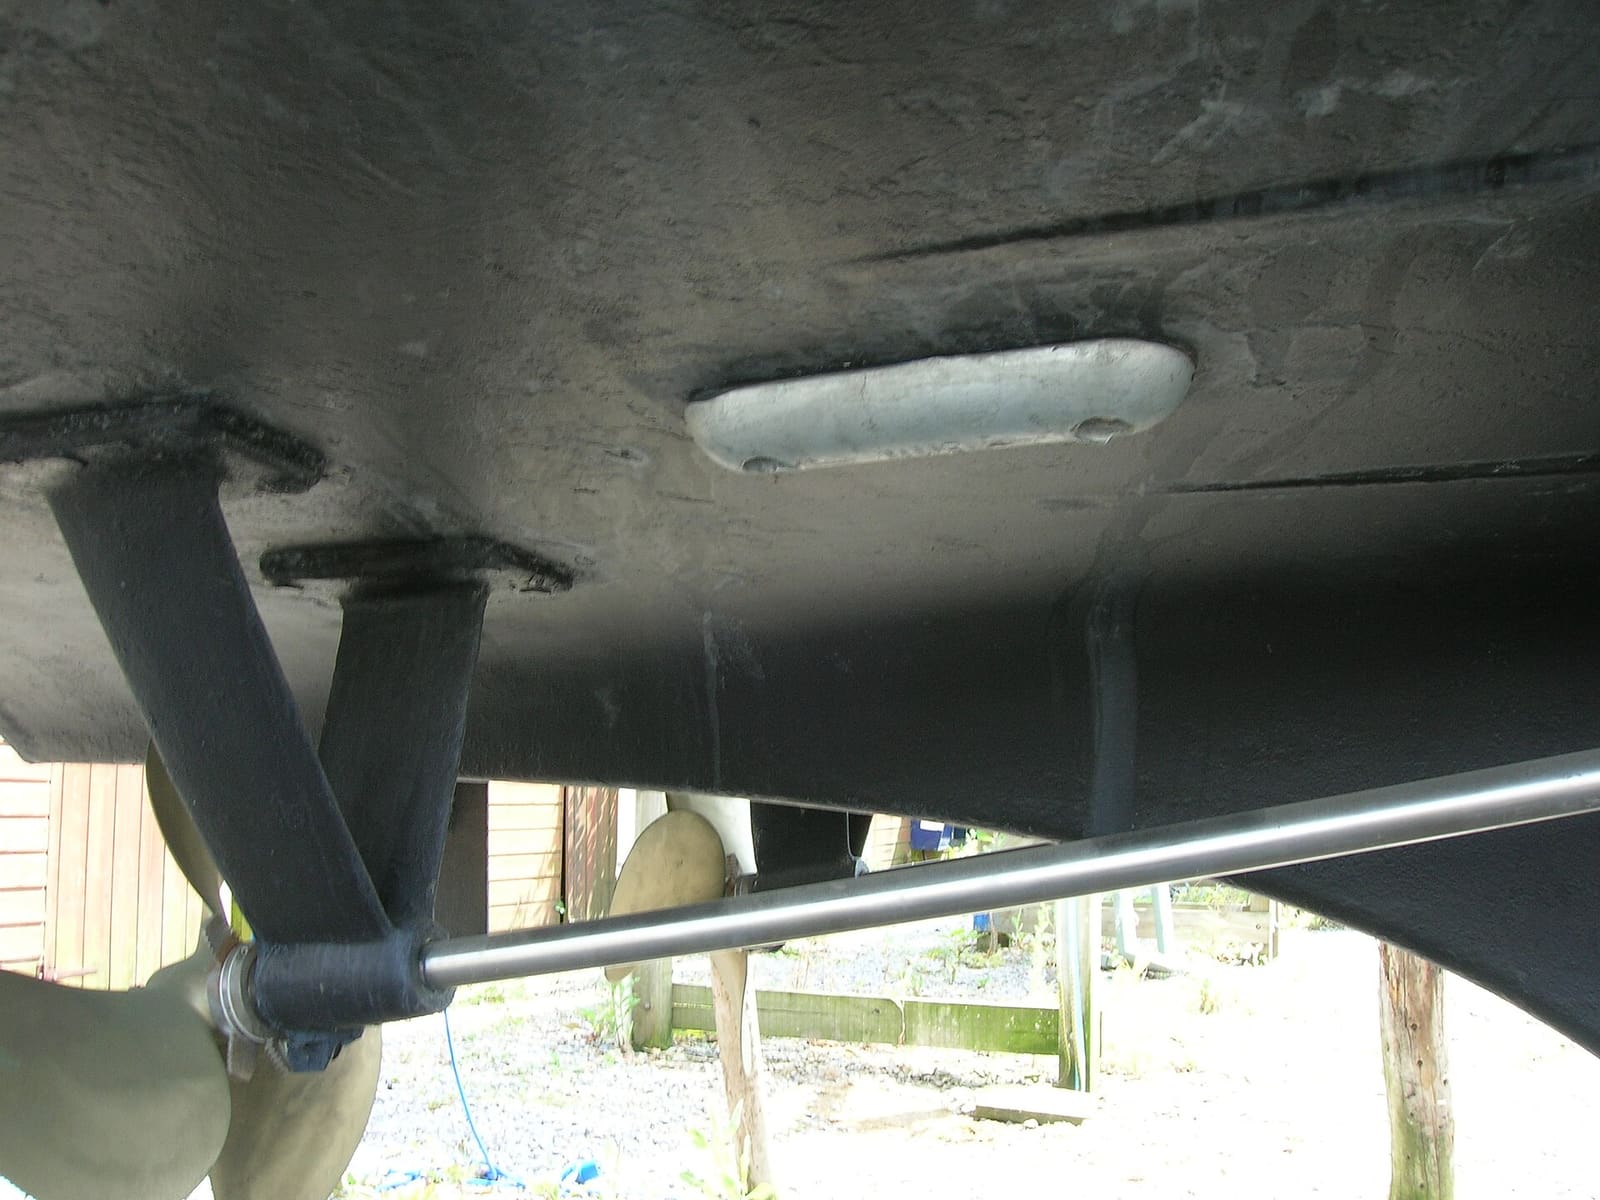
How to Inspect and Replace Sacrificial Anodes (Zincs)
Check the anodes on your outboard, sterndrive or inboard running gear, replace them when they are half gone, and choose the right metal for the water you boat in. Fresh anodes are cheap insurance against expensive corrosion damage to your lower unit, drive and prop.

Launch Day and Haul-Out Checklist for Trailer Boats
A step-by-step checklist for getting your boat off the trailer and back on again safely and quickly, from the drain plug and tie-downs to the blower and ramp etiquette. Following it in order prevents the classic mistakes that sink boats and back up the ramp.
Hull Blisters (Osmosis): How to Tell Cosmetic Pimples From Serious Pox
Learn what osmotic blisters are, how to inspect a fiberglass bottom at haul-out, which blisters you can fix yourself with epoxy, what moisture meter readings can and can't tell you, and when to hire an independent surveyor.
How to Repair Small Gelcoat Chips and Scratches
Fill and blend small chips, dings and scratches in your boat's gelcoat with a repair kit so they stop letting water into the fiberglass and look close to new. Also learn to spot damage that is structural and needs a pro.