How to Check and Change Coolant in a Closed Cooling System
Check, test and change the coolant in a freshwater-cooled (closed cooling) inboard, sterndrive or diesel, and learn the heat exchanger basics that keep it working. Old coolant quietly eats hoses, pumps and engine passages, and many boats go a decade without a change.
Time
2 h
Shop would charge
$200-450
Applies to
Sterndrive (I/O), Gas inboard, Marine diesel · Cabin cruiser, Yacht, Sailboat, Bowrider / runabout, Fishing boat
Safety first: Never open a coolant cap on a warm engine. Hot coolant is under pressure and can spray out and cause serious burns. Engine coolant (ethylene glycol) is poisonous and tastes sweet to pets and children: catch every drop, wipe spills right away, and never pump it overboard. Close the raw-water seacock before opening the raw-water side of the heat exchanger, and open it again before starting. If water is coming into the boat that you can't stop, call the Coast Guard on VHF 16 or 911.
Tools
- Coolant tester (test strips, refractometer, hydrometer or floating-ball tester)
- Large drain pan and sealable containers for old coolant
- Wrenches and screwdrivers for drain plugs, petcocks and hose clamps
- Short length of hose to direct coolant from drains
- Funnel
- Flashlight
- Nitrile gloves and safety glasses
Parts & supplies
- Coolant (antifreeze) of the exact type your engine manual specifies, or the matching premix
- Distilled water (if mixing concentrate)
- New drain plug washers or sealant as your manual specifies
- Replacement hose clamps and hoses if any are soft, cracked or swollen
- Heat exchanger zinc anode and end cap gaskets (if your exchanger has them)
Before you start
How closed cooling works: a closed (or "freshwater-cooled") engine has two separate water circuits.
- The closed side holds a mix of antifreeze and water, much like a car. An engine-driven circulating pump moves it through the block, heads and usually the exhaust manifolds.
- The raw-water side uses a pump with a rubber impeller to pull in lake or sea water. That water flows through the tubes of a heat exchanger, picks up heat from the coolant around them, and then goes overboard, usually mixed into the exhaust.
The salt or dirty water never touches the inside of the engine, which reduces corrosion and scale. Discover Boating notes these systems are common on larger boats and many modern sterndrives. Some engines use a "half" system where only part of the engine is on coolant; your manual shows yours.
Why coolant needs changing: coolant contains additives that stop corrosion inside the engine. They wear out over time even if the coolant still looks bright. BoatUS, writing as a marine surveyor, sees many 10- to 15-year-old boats with only one or two coolant changes, or still on the original coolant, and links that to eaten-up hoses and water pumps, overheating and even blown head gaskets.
How often: Mercury says to change MerCruiser closed-cooling coolant every 5 years, using its extended life coolant. BoatUS gives a general guide of every 5 years or 1,000 hours, and notes that older-style coolants typically lasted only about 2 years. Diesel and generator makers often have their own intervals: Northern Lights, for example, tells owners of its generators to replace the coolant and service the heat exchanger every 2 years. Typical; confirm in your manual.
Which coolant: use exactly the type your engine manufacturer specifies. BoatUS stresses that color tells you nothing about the chemistry today, and that some older engines can't use newer coolants and vice versa. Don't mix different types. Westerbeke goes further and says not to mix brands either, and explains why plain water won't do: good antifreeze also lubricates the circulating pump's shaft seal and contains additives that stop tiny bubbles from pitting hot metal surfaces (cavitation erosion). It says a quality antifreeze mixed 50/50 with distilled water needs no extra coolant additive; follow your own manual if it differs. Never use pink RV/propylene glycol antifreeze in the closed side: Mercury says that is for the raw-water side for winter storage only, and the closed side needs a 50/50 mix of ethylene glycol and water, even in warm climates.
Steps
With the engine completely cold, look at the coolant recovery (overflow) bottle. The level should be between the marks, usually "cold" and "hot" or "add" and "full." Don't trust the bottle alone: Northern Lights' daily check for its generators is at the pressure cap, because the bottle can look fine while the engine itself is low (for example, if the hose between them is blocked or the cap seal is bad). Regularly check at the pressure cap on the heat exchanger or manifold too (only when cold). Turn the cap slowly to the first stop, then remove it. The coolant should be up to the level your manual shows.
If the bottle keeps going low, there is a leak somewhere. Low coolant is a warning sign, not a routine top-up.
- Clean and clear (any color): good, but still test it.
- Rusty, brown or like chocolate milk: rust or sediment inside the engine. Time to drain, flush and refill.
- Oily film or sludge: possible oil cooler or head gasket problem. Get a pro.
- Greenish goo or gel: BoatUS explains this can happen when too much antifreeze is added. The system must be fully flushed, not just topped up.
Looks aren't enough. Use a coolant tester:
- Test strips show the mix strength and also whether the anti-corrosion additives are still working. BoatUS notes they are the only simple method that checks the additives.
- A refractometer gives an accurate mix reading from a few drops.
- A floating-ball tester or hydrometer is the cheapest way to check the freeze protection.
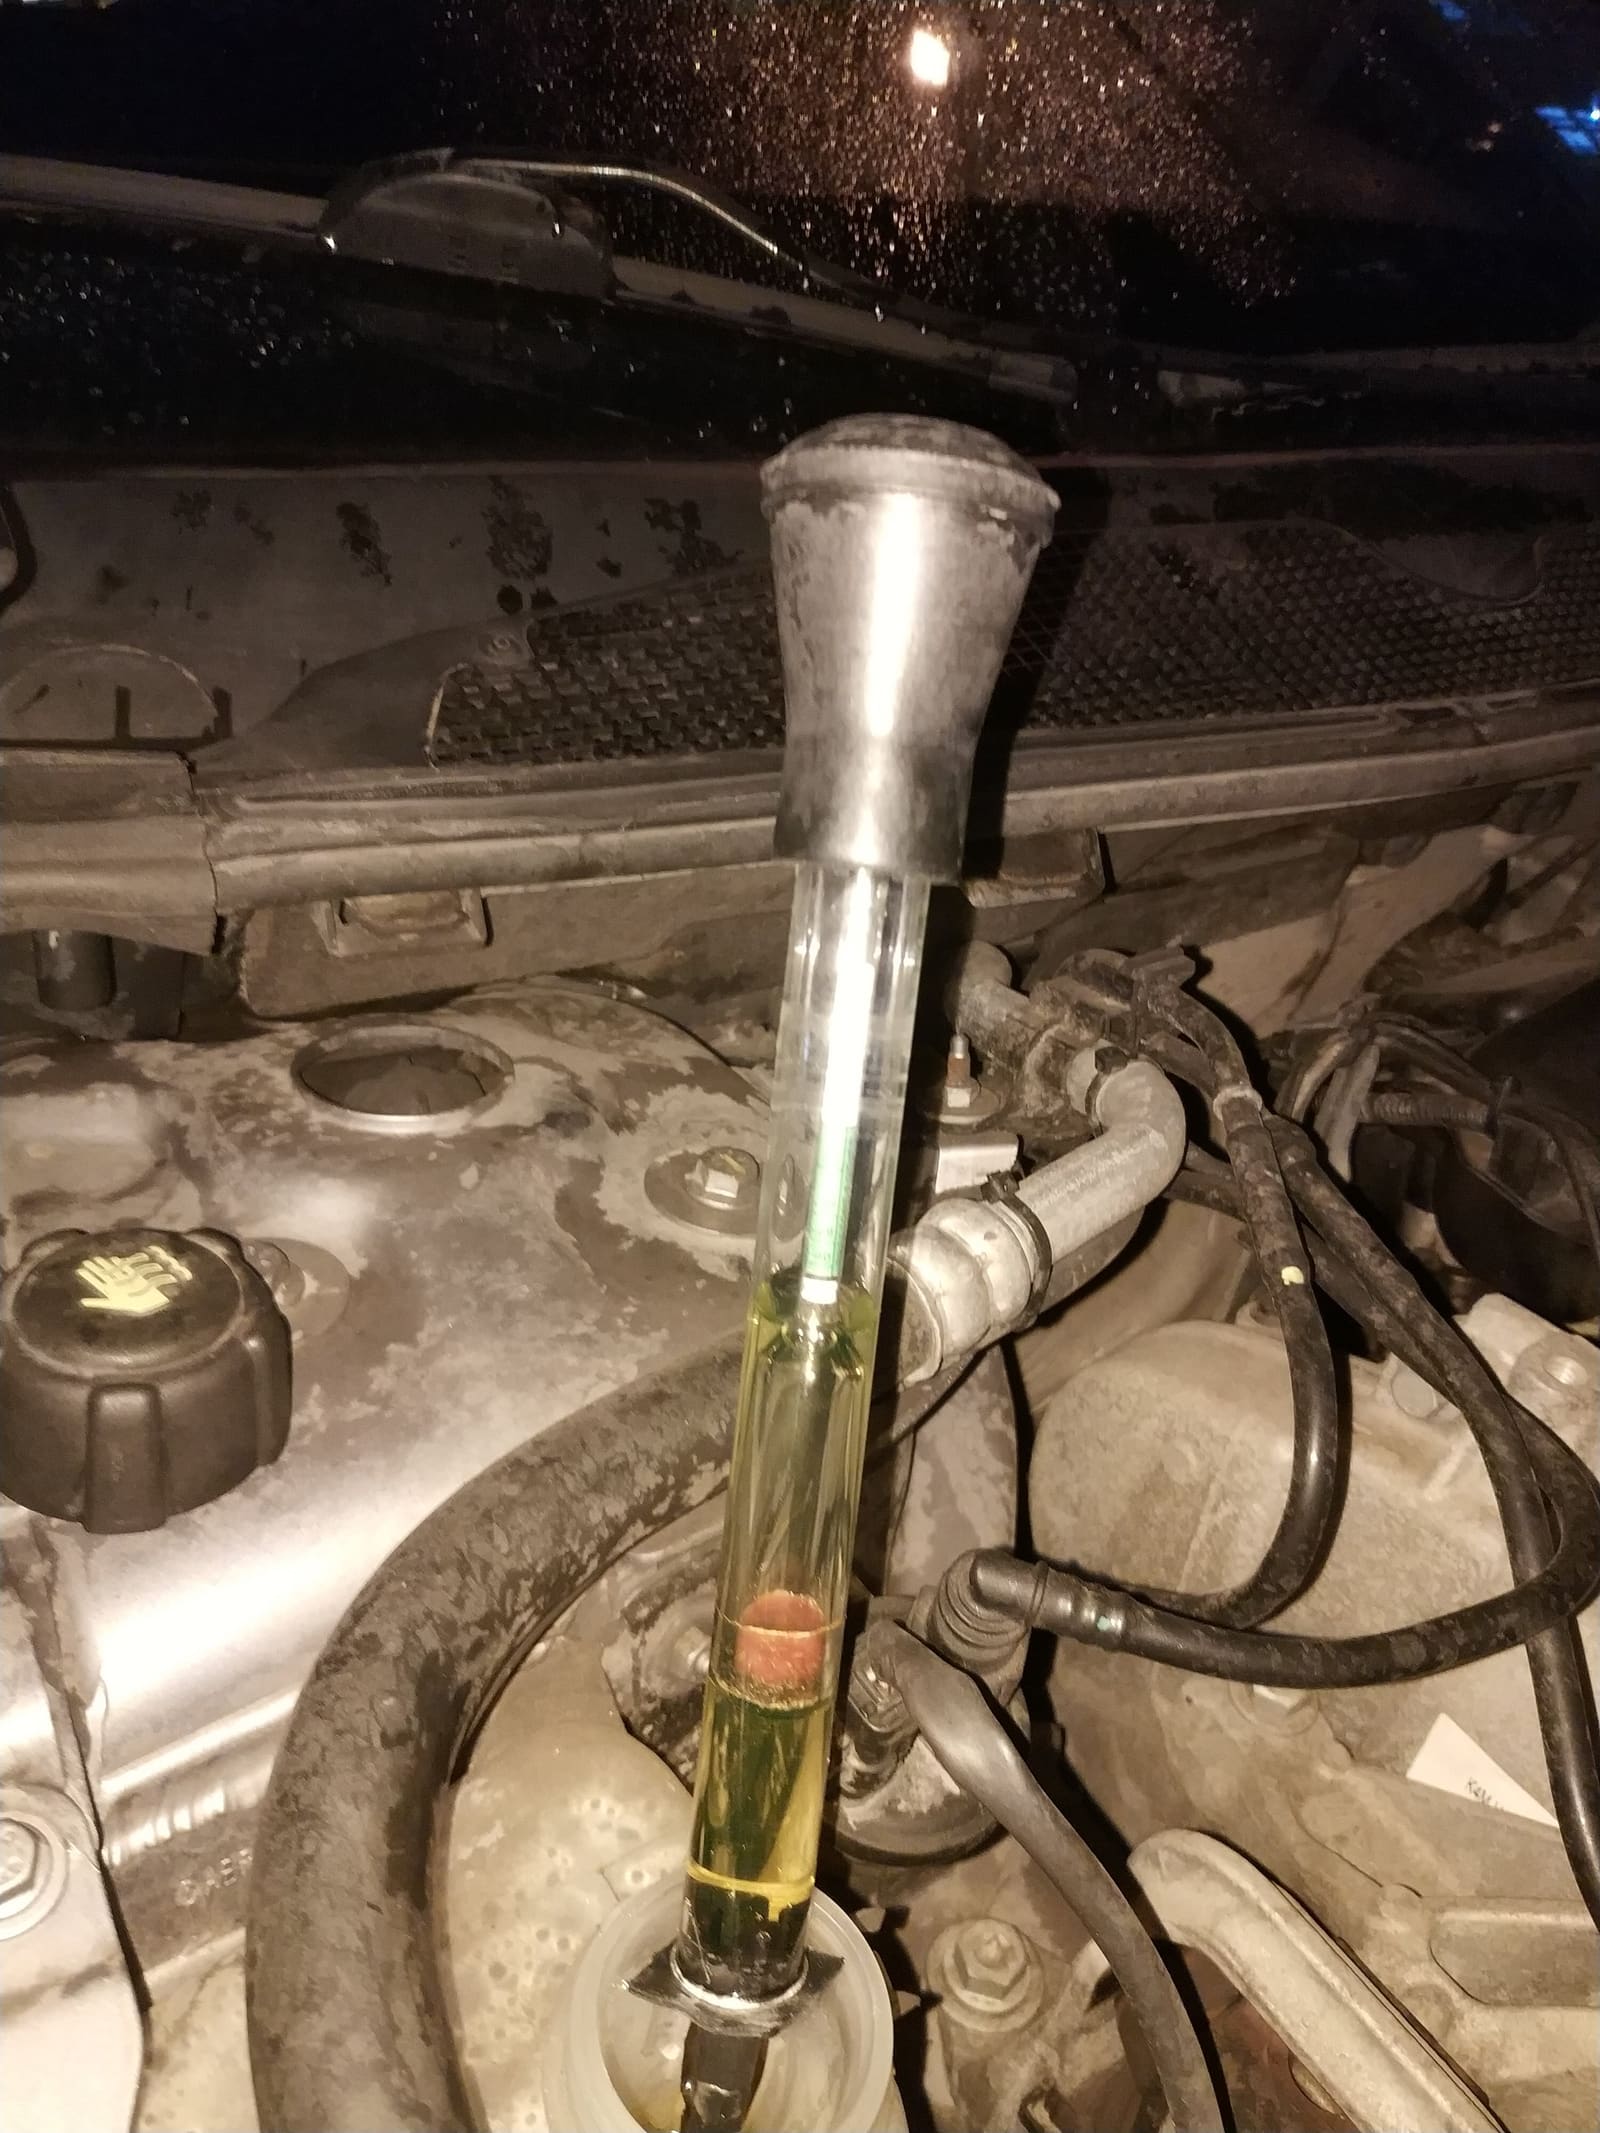
A float-type hydrometer draws up a sample and the float level shows freeze protection. Shown on a car engine; on a boat, test a cold engine at the coolant tank. Photo: Juandev / Wikimedia Commons · CC BY-SA 4.0 Most manufacturers want a 50/50 mix. If the additives are worn out or the mix is off, change the coolant.
If you only need to add a little, use the same coolant premixed 50/50, or concentrate mixed with distilled water. BoatUS explains that tap water adds minerals that weaken the corrosion inhibitors, and softened water adds salts. Don't just pour straight antifreeze in "for extra protection"; too strong a mix cools worse, and above about 80% it can gel.
Plan the job with the engine cold, the boat level and out of the water or with the seacock closed. Find all the coolant drain points in your manual. Common ones are drain plugs or petcocks on each side of the block, a drain on the heat exchanger, drains on the exhaust manifolds, and the lowest coolant hose. Put drain pans and short hoses in place so coolant doesn't go into the bilge.
Remove the pressure cap so air can get in and the coolant drains freely. Open the drains one at a time. Poke a piece of wire gently into each drain hole if it doesn't flow; sediment can block them. Drain the recovery bottle as well, or remove and rinse it. Measure roughly how much comes out so you know how much to put back.
BoatUS recommends flushing the closed system thoroughly before refilling, following the engine manufacturer's directions. A simple flush is to close the drains, fill with distilled water, run the engine to warm it up as your manual allows (afloat with the seacock open, or with raw water supplied through muffs or an approved flush kit; never with the raw-water side dry), let it cool, and drain again. Repeat until the water comes out clean. Some manufacturers specify a cleaning product; use only what your manual says.
Close all drains with new washers or the sealant your manual specifies. Replace any soft, cracked or swollen hoses and rusty clamps while it's empty. Fill slowly through the pressure cap opening with the correct coolant, giving air time to escape. Some engines have bleed screws on the thermostat housing or manifolds; open them until coolant (not air) comes out, then close them.
Open the seacock (or connect the flushing device your manual approves) and start the engine. Follow your manual for whether to leave the cap off until the thermostat opens. Watch the coolant level drop as air works out, and top up. Install the pressure cap, fill the recovery bottle to the cold mark, and watch the temperature gauge. Check every drain and hose for leaks.
After the engine cools completely, check the level again at the cap and the bottle, and top up. Recheck after the first couple of trips; small air pockets often work out and the level drops a bit.
Many heat exchangers have a zinc anode (a "pencil zinc") under a threaded plug near one end, on the raw-water side. BoatUS warns that it protects the copper tubes from corrosion and should be checked at least once a year. Close the seacock first. If it's only lightly corroded, scrape it clean and reinstall it; if it's heavily corroded or gone, replace it. Some exchangers don't use a zinc; your manual will say.
Over time, scale, shells and debris build up inside the raw-water tubes, especially in salt water. The sign is a slow rise in running temperature over months. Discover Boating suggests checking heat exchangers for scale every year. Cleaning means removing the end caps, inspecting and cleaning the tubes, and replacing the gaskets. It's within reach of handy owners on some engines, but tubes are easily damaged, so many owners leave it to a pro.
Pour old coolant into sealed, labeled containers and take it to a hazardous waste site or a shop that recycles antifreeze. Never pour it on the ground, down a drain or into the water.
Common mistakes
- Picking coolant by color, or mixing two different types.
- Using pink RV antifreeze in the closed side of the engine.
- Topping up with tap water or straight concentrate.
- Opening the pressure cap on a hot engine.
- Topping up every week instead of finding the leak.
- Forgetting the heat exchanger zinc, then finding the tubes corroded.
- Forgetting the raw-water side: a closed-cooled engine still has an impeller and strainer that need regular service.
When to call a pro
- Oil in the coolant or coolant in the oil (milky oil on the dipstick)
- Coolant loss you can't trace, white exhaust smoke or a sweet smell from the exhaust
- The engine overheats after a coolant change, or won't stop pushing coolant out of the recovery bottle
- The heat exchanger needs to be removed, descaled or pressure tested
- Drain plugs are seized or you can't find all the drain points
- After an overheat: BoatUS advises replacing lost coolant and finding the cause
Tips
- Write the coolant type, the date and engine hours on a tag near the fill cap and in your BoatMend log.
- Buy premixed coolant of the right type if you don't want to measure; it avoids mixing mistakes.
- Test the coolant every spring with strips. It takes two minutes and tells you whether the additives are still working.
- On closed-cooled engines, a broken circulating pump belt can cause a sudden temperature spike. Carry a spare belt.
Official references
We read these to write this guide. Your engine's own manual always wins.
- BoatUS – The Chemistry Of Boat Engine Coolant
- BoatUS – Heat Exchanger Maintenance
- Mercury Marine – Service and Support FAQs (MerCruiser closed cooling)
- Discover Boating – The Ultimate Guide to Boat Engine Cooling Systems
- BoatUS – What If Your Temperature Gauge Spikes?
- Westerbeke – Maintenance and Use FAQs (antifreeze and coolant additives)
- Northern Lights – Top 10 Generator Maintenance Tips and Tricks
Safety: BoatMend is for information only and does not replace a certified marine technician. You are responsible for your safety and your boat. Read the full disclaimer.
Last updated 2026-10-25
Related guides
How to Test and Replace the Engine Thermostat
Find, test and replace the thermostat that controls your engine's operating temperature. A stuck thermostat can make an engine overheat or run too cold. On most outboards and many sterndrives it is a one-hour job with basic tools.
Engine Overheating - Troubleshooting Guide
Work through the most likely causes of a hot engine or overheat alarm, from a blocked water intake to a worn impeller or stuck thermostat. Acting fast and in the right order can save your engine and often gets you home without a tow.
How to Clean the Raw-Water Strainer and Replace the Impeller on a Marine Diesel
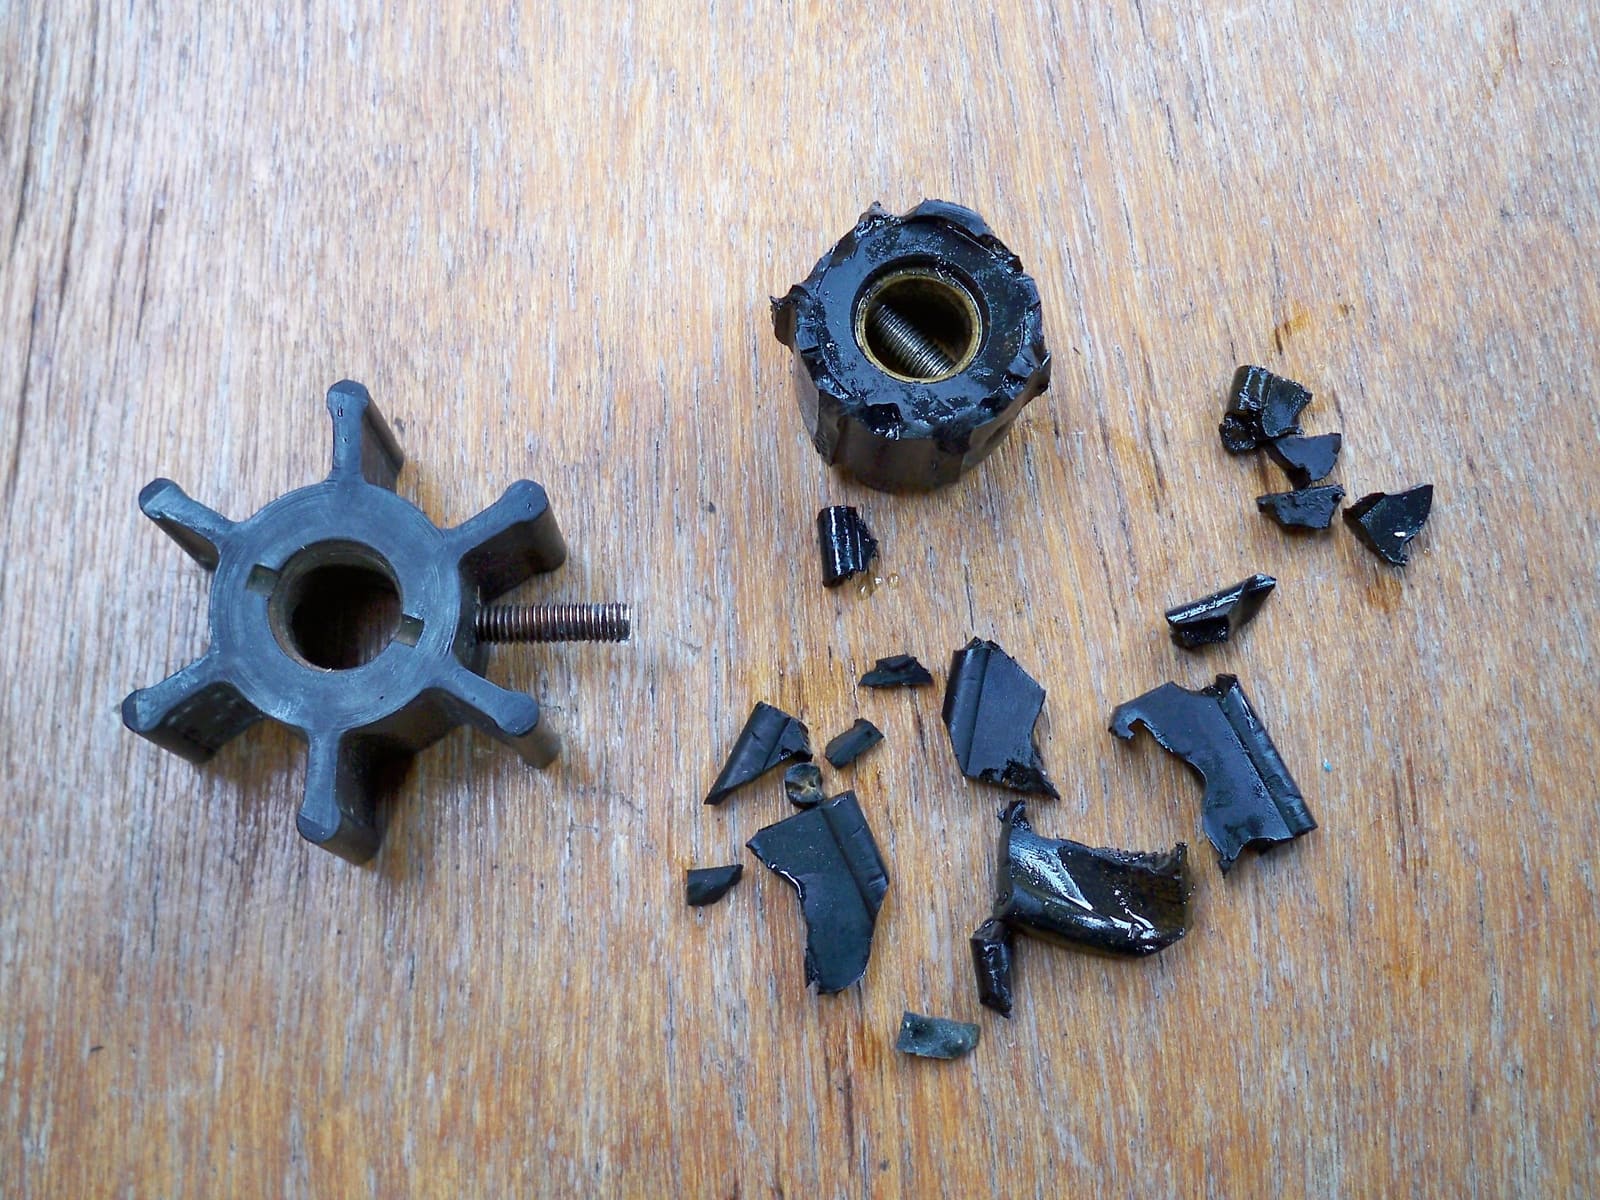
Clean the sea strainer and swap the rubber impeller in the raw-water pump of a Yanmar, Volvo Penta, Westerbeke, Beta or similar inboard diesel. A worn impeller is one of the most common reasons a diesel overheats, and this job takes about an hour with basic tools.
How to Winterize a Sterndrive (MerCruiser, Volvo Penta and Similar)
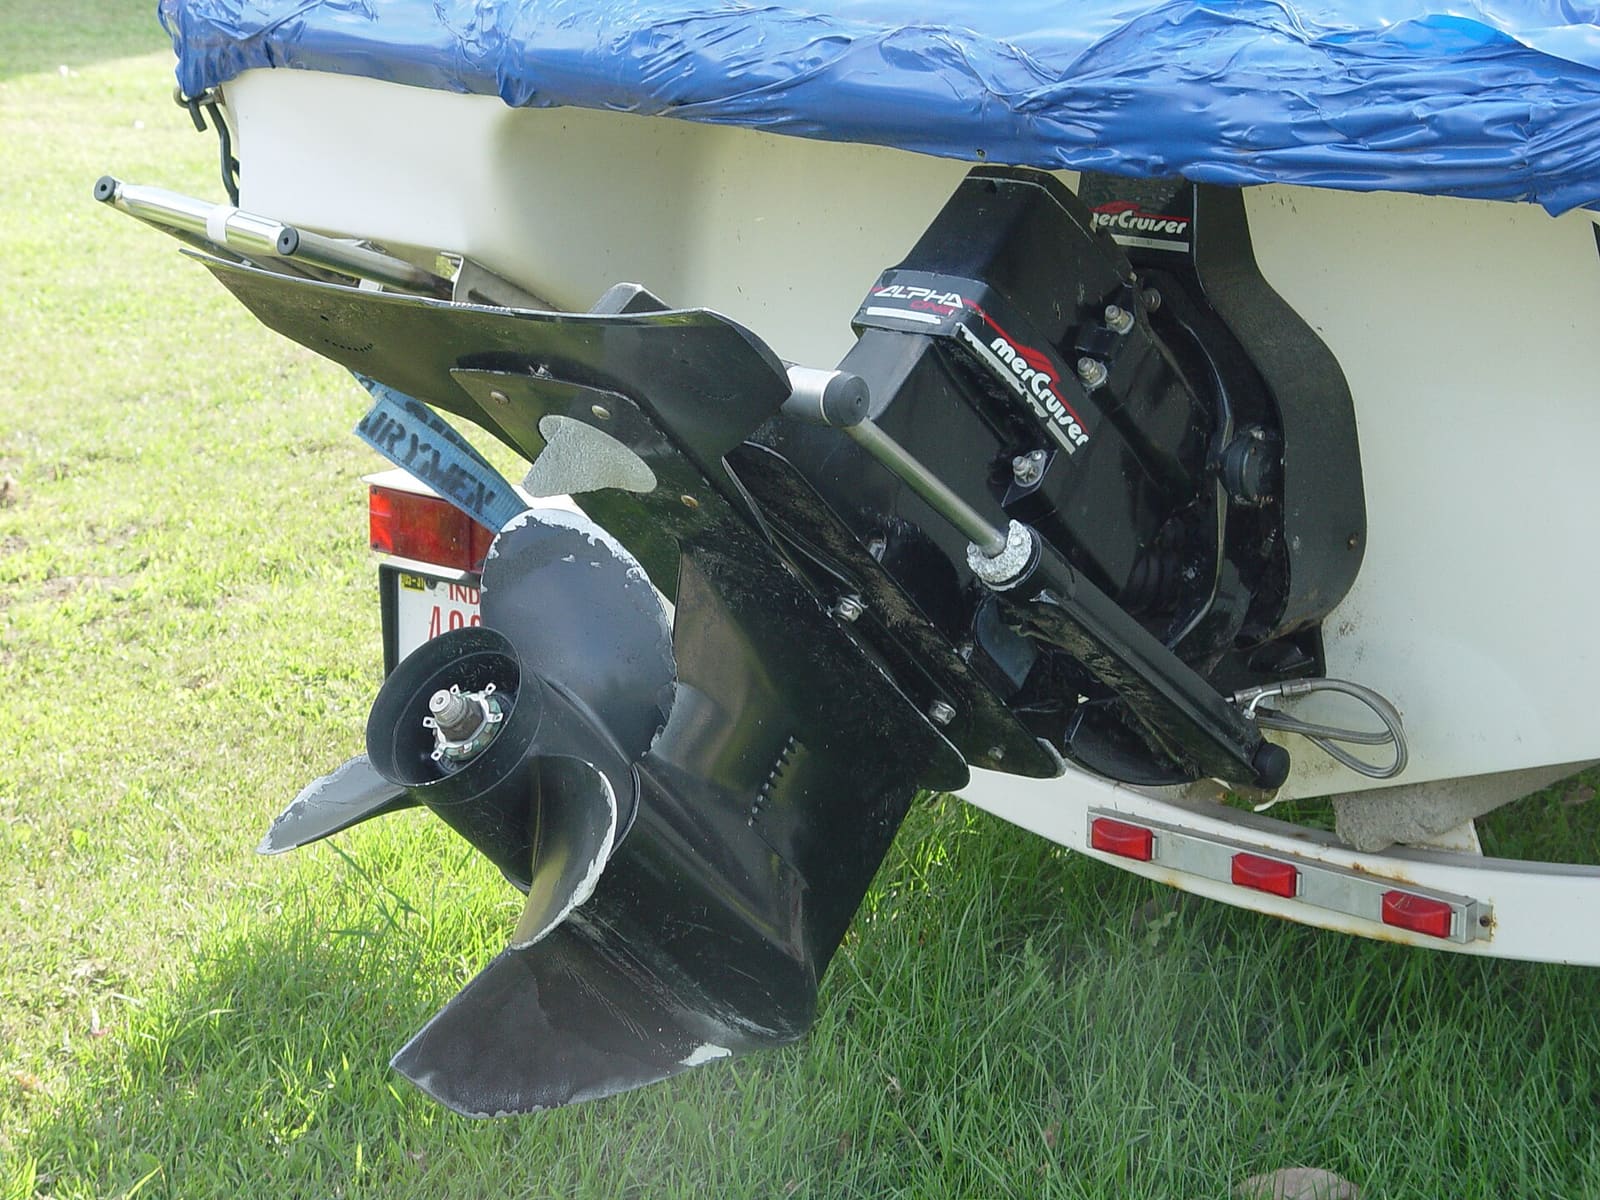
Get the water out of your sterndrive engine, protect it with antifreeze, and service the drive before storage. A cracked block or manifold from one missed drain plug can cost thousands, and doing it yourself saves a shop bill of several hundred dollars.
Marine Diesel Service: Oil Change, Fuel Filters and Bleeding Air
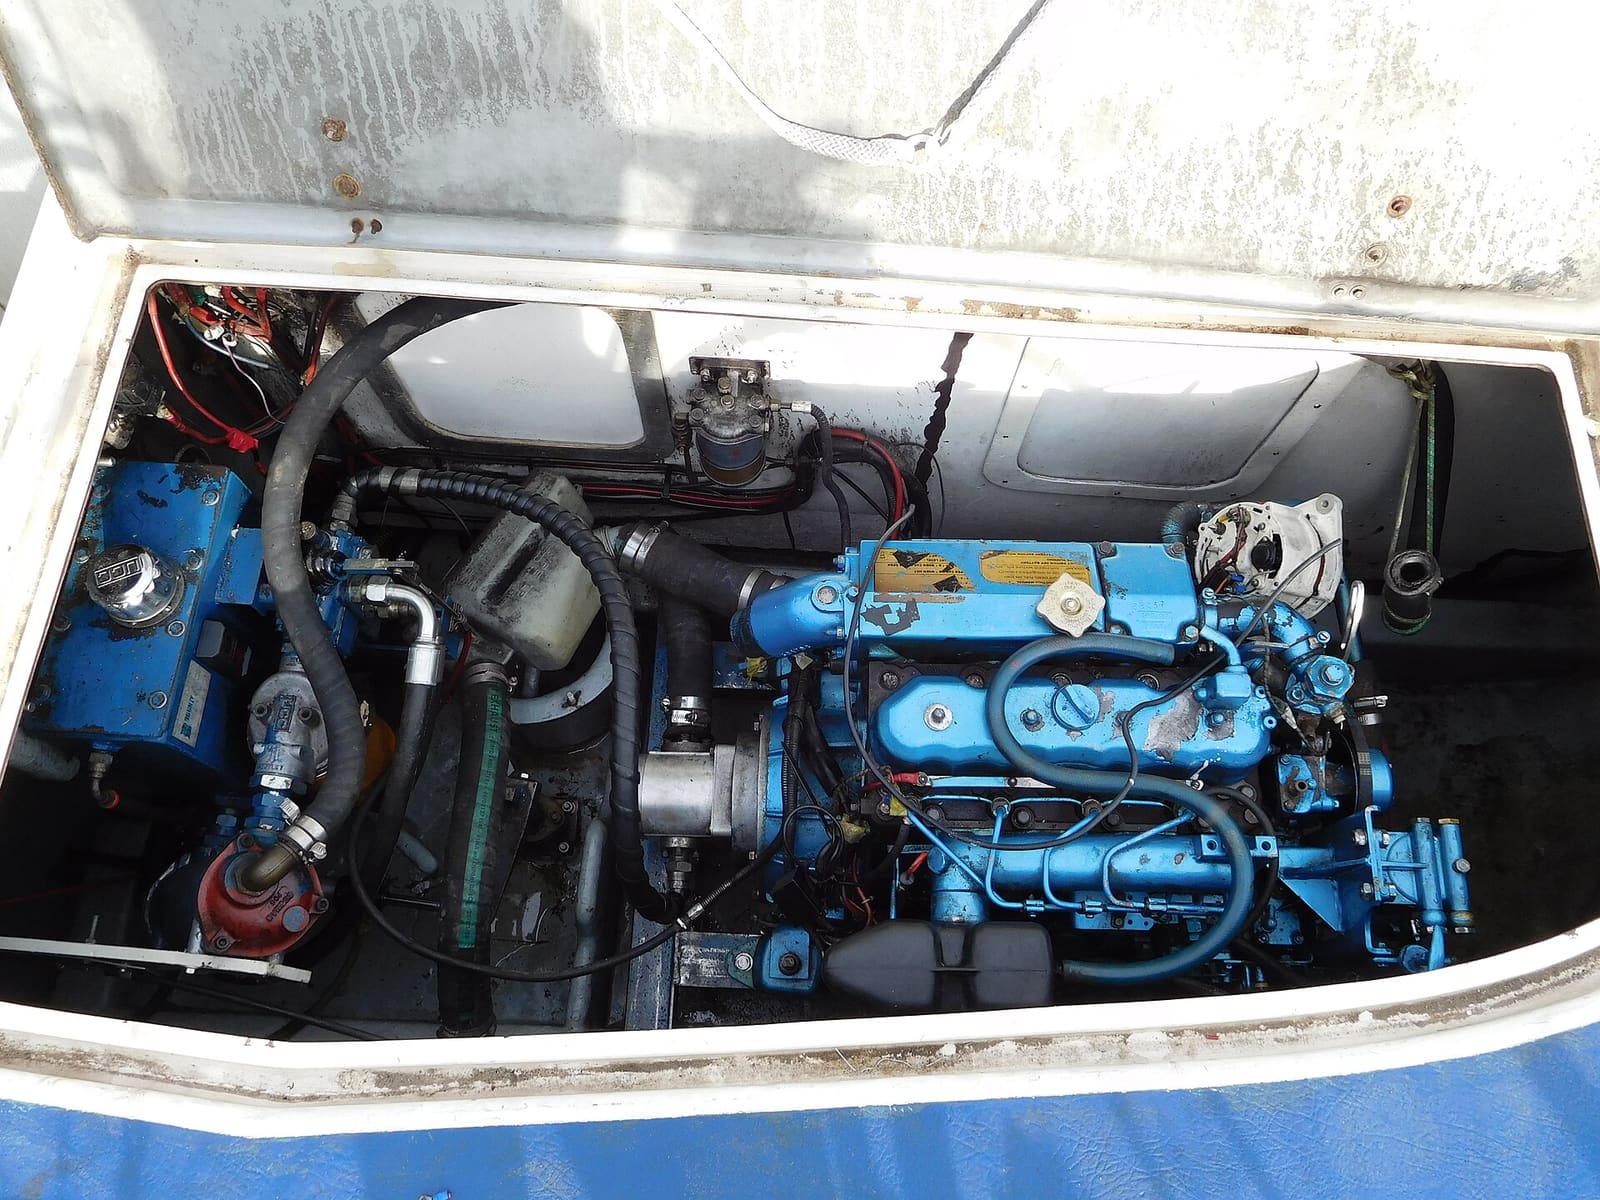
Change the oil and oil filter, replace the primary and secondary fuel filters, and bleed air from the fuel system on a Yanmar, Volvo Penta, Beta, Cummins or similar marine diesel. These three skills cover most routine diesel care and can get you out of trouble when the engine dies on a passage.
How to Inspect and Exercise Seacocks, Through-Hulls and Hose Clamps
Check every hole in your hull below the waterline, work each seacock open and closed, and inspect the hoses and clamps attached to them. A single failed fitting or hose is one of the most common reasons boats sink at the dock.