How to Check and Care for Boat Trailer Surge Brakes
Understand how the hydraulic surge brakes on your boat trailer work, check the fluid, use the reverse lockout correctly and rinse salt out of them after every dunk. Simple habits that keep the brakes from seizing, dragging or failing when you need them.
Time
40 min
Shop would charge
$150-450
Applies to
All engines
Safety first: Brakes are not a place to experiment. If the brake fluid level drops suddenly, you see fluid leaking at a wheel or along a line, the trailer pushes or sways when you stop, or a wheel smokes or smells hot, don't tow it further than a safe place to park. Call a trailer shop or roadside help (TowBoatUS Trailer Assist or your auto club). Brake fluid also damages paint and irritates eyes and skin: wear glasses and gloves and wipe spills right away.
Owners often ask
- Why do my surge brakes lock up when I back the trailer up the driveway?
- Do I really need to rinse my trailer brakes after every saltwater launch?
This guide walks you through it. Still stuck? Ask the AI Mechanic about your engine.
Tools
- Clean rags and a flashlight
- Garden hose (and a brake flush kit hose connection if your trailer has one)
- Wheel chocks
- Floor jack and jack stands rated for your trailer
- Lug wrench
- Nitrile gloves and safety glasses
Parts & supplies
- Brake fluid of the exact type marked on the actuator cap or in your trailer manual, from a sealed container
- Lubricant your actuator maker specifies for the coupler (see the manual)
Before you start
How surge brakes work. The coupler on your trailer tongue is a surge actuator: a sliding coupler with a hydraulic master cylinder built in. When your tow vehicle slows down, the trailer's weight keeps pushing forward. That push slides the coupler in, presses on the master cylinder, and sends fluid through the brake lines to the brakes at the wheels. Nothing is wired to a brake controller in the truck, which is why surge brakes are the most common type on boat trailers. Any vehicle with the right hitch can tow it.
Drum or disc. At the wheels you have either:
- Drum brakes: shoes inside a drum. Simple and common, but drums hold water and salt inside, so they rust from the inside out.
- Disc brakes: a caliper squeezes pads against a rotor. Easier to see, shed water better, and usually self-adjusting. Rotors and calipers still corrode in salt water unless they're stainless or coated.
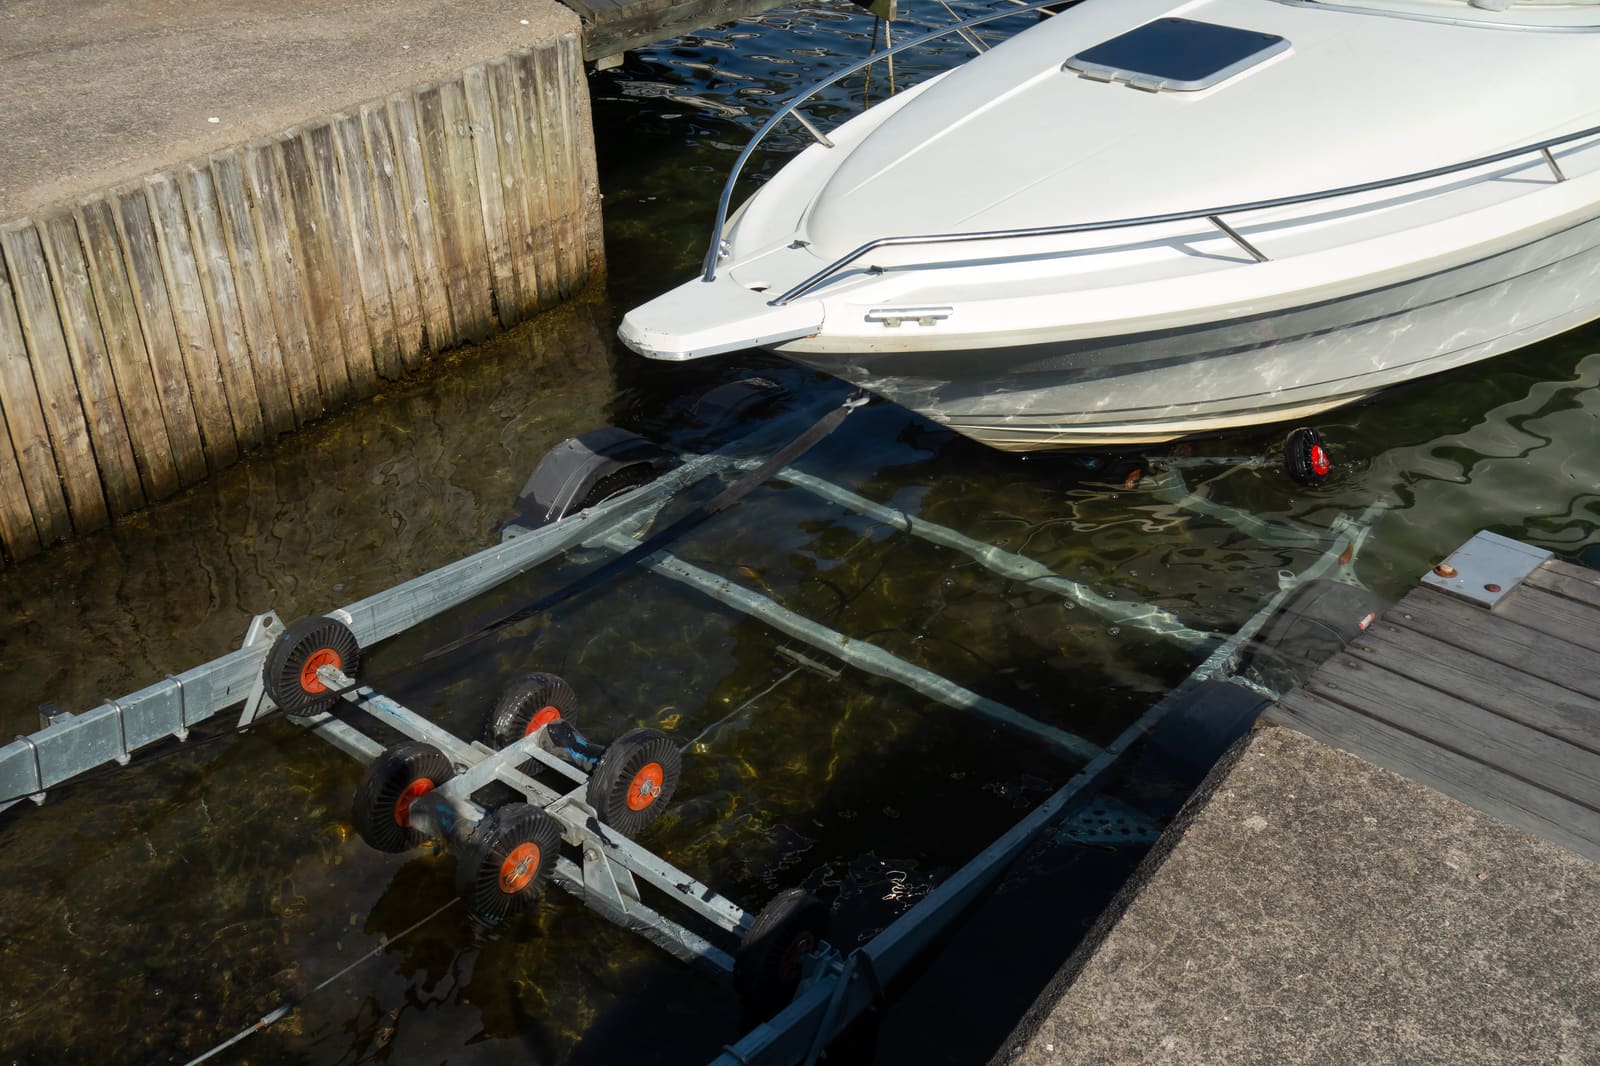
Why boat trailers are hard on brakes. Every launch pushes the brakes under water. In fresh water that means rust and dirt; in salt water it means corrosion that can freeze a wheel cylinder or caliper in a single season if you don't rinse.
Know your reverse lockout. Backing up pushes the coupler in just like braking does, so the brakes can grab when you back up a ramp or a driveway. Many surge trailers have one of these:
- Electric reverse lockout: a small solenoid valve wired to the tow vehicle's backup-light circuit (often a fifth wire or a pin on a 7-way plug). When you shift into reverse, it blocks pressure to the brakes.
- Manual lockout: a lever, pin or key on the coupler that you set by hand before backing, and must release before driving forward.
- Some drum systems back up without a lockout on level ground; most disc systems need one.
Check your trailer and actuator manual to see which you have and how it should be used.
How often: check the fluid a couple of times per season (Mercury and Discover Boating both suggest this). Rinse after every salt or brackish launch. Have the shoes or pads inspected every few seasons, and the whole system looked over at the start of each season. Confirm in your trailer manual.
Steps
Park on level ground with the trailer hitched, the tow vehicle in park and the wheels chocked. Hitched is best: the coupler sits in its normal, extended position and you can test the lockout.
Look at the sliding part of the coupler. It should be free of heavy rust, cracks or bent parts. If there is a rubber boot or bellows, check it for tears. Look for wet spots or drips around the master cylinder and where the brake line leaves the coupler. Make sure the breakaway cable or chain (if fitted) is in good shape and its clip works.
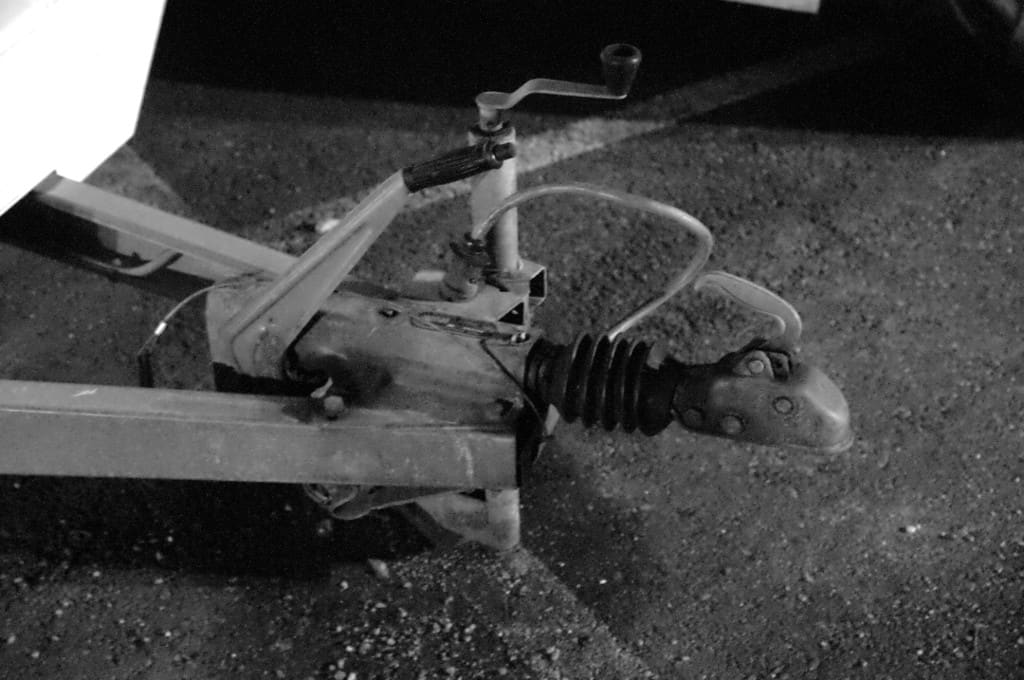
Photo: Ehsnils / Wikimedia Commons · CC BY-SA 3.0 Wipe the area around the reservoir cap clean first so dirt can't fall in. Open the cap (on most actuators it's on top of the coupler housing; your manual shows where). The fluid should be near the full mark your manual shows, typically close to the top but not filled to the brim.
Look at the fluid too. It should be clear and light colored. Dark, milky, cloudy fluid, or rust and grit in the reservoir, means water got in and the system needs a flush by a shop. A BoatUS trailer repair tech suggests taking a close look inside the reservoir for rust every time you check.
Add only the brake fluid type marked on the cap or listed in your manual, from a fresh, sealed bottle. Don't mix types and don't substitute. Seals inside the system are made for one fluid. Close the cap tightly and wipe any drips off the paint.
The level drops slowly as shoes or pads wear. A sudden drop means a leak. Find it before you tow.
Follow the lines from the coupler back to each wheel. Look for rust scale, kinks, crushed spots, wet spots and rubber hoses that are cracked or swollen. Gently move the lines where you can; corroded steel lines can look fine and still be thin. Anything leaking or badly rusted is a shop job before the next tow.
Electric: with a helper, put the tow vehicle in reverse with the parking brake set. Listen at the coupler for the click of the solenoid, and check that the backup lights on the vehicle come on (the solenoid usually shares that circuit). No click usually points to the plug, a broken wire, a bad ground or a failed solenoid. Manual: practice setting and releasing it. Confirm it moves freely and that you know where "locked out" and "normal" are.
Then back up a few feet on level ground. The trailer should roll back without the wheels locking.
Jack under the frame (Dexter recommends the frame, not the axle tube or springs), set a jack stand and spin the wheel by hand. It should turn freely with maybe a light brush of the brake. A wheel that drags hard, grinds or won't turn has a sticking brake. Also check for fluid on the inside of the tire or wheel, which means a leaking wheel cylinder or caliper. Grease there is a problem too: Dexter warns that a hub seal that leaks grease onto the brake linings can leave the brakes useless, which is why it says to fit a new grease seal whenever the hub comes off for its bearing inspection.
On disc brakes you can usually see pad thickness through the caliper and the rotor surface: deep grooves, heavy rust pitting or a lip on the rotor edge mean it's time for service.
As soon as you can after pulling the boat out, rinse the wheels, brakes and hubs with fresh water. If your trailer has a brake flush kit (a hose fitting on the fender or frame that sprays inside the drums), hook up a garden hose and let it run for several minutes. BoatUS suggests moving the trailer forward a few feet while flushing so the water reaches all of each drum. No flush kit? Aim the hose into the back of each wheel and drum.
Many owners stop at a car wash with a hand sprayer on the way home. Just do it the same day.
After a long drive, give the brakes and hubs some time to cool before you back down the ramp when you can. Hot parts dunked in cold water suck water in as they cool, past seals and into drums and bearings. See the wheel bearing guide for more.
The sliding part of the actuator needs to move freely, or the brakes can stay on or not work at all. Discover Boating notes the actuator may need occasional lubrication. Use only the lubricant and points listed in your actuator's manual. Grease the hitch ball lightly too. Many actuators also have a shock absorber (damper) inside that keeps the coupler from banging in and out; if the trailer jerks or clunks every time you slow down, ask a trailer shop to check it. Rebuild kits exist for many actuators.
- Brake early and smoothly. Surge brakes respond to how hard the trailer pushes.
- On long downhill grades, anything that keeps the trailer pushing on the coupler (riding the brakes, or slowing hard with the engine) can keep the trailer brakes applied the whole way down and overheat them. Follow your trailer and actuator maker's advice for mountain driving.
- Don't use a weight-distributing hitch unless your actuator maker approves it. It can stop the coupler from sliding and the brakes from working.
- After backing up, shift into drive and roll forward a little before setting off so the coupler fully extends and the lockout releases.
Have a trailer shop or brake shop pull the drums or check the calipers every few seasons, or every season if you launch in salt. Mercury and Discover Boating both recommend this, and you can combine it with a wheel bearing repack. Ask them to check the shoes or pads, wheel cylinders or calipers, hardware, lines and the master cylinder, and to flush the fluid if it's dirty. Log the date in BoatMend.
Common mistakes
- Forgetting to release a manual lockout before driving off. The trailer then has no brakes at all.
- Reverse lockout "works" only when the tow vehicle's backup-light wire is connected. If the plug or adapter doesn't carry that circuit, the solenoid never fires and the brakes lock when backing.
- Thinking the brakes are fine because the trailer stops. The tow vehicle can stop a light trailer by itself. Check each wheel.
- Clipping the breakaway cable to a safety chain or to the removable ball mount. If the coupler comes off, the cable has to pull and set the trailer brakes, so it needs its own solid, permanent attachment point on the tow vehicle, with enough slack for tight turns but not so much that it drags. Your actuator manual shows where and how.
- Mixing parts from different brake systems. An actuator made for drum brakes, paired with new disc brakes (or the other way around), or calipers and lockout valves from different makers, may not build the right pressure or lock out properly in reverse. Buy actuator, brakes and lockout as a matched system or have a trailer shop confirm they work together.
- Topping up with whatever brake fluid is in the garage or an old, opened bottle that has absorbed moisture.
- Skipping the fresh water rinse "just this once" after a salt water day.
- Freeing a stuck brake at the ramp and then forgetting about it. Tapping the drum or rocking the trailer back and forth may get you home, but a brake that seized once has a corrosion problem that needs a repair.
When to call a pro
- The fluid level drops quickly or you find a leak at a wheel, line or the coupler
- Fluid is dark, milky or has rust in it, or the brakes need bleeding
- A wheel drags, smokes, locks up or won't turn, or the trailer pushes hard when you stop
- Shoes or pads look thin, rotors are deeply grooved, or drums are scored
- The coupler doesn't slide freely, is cracked or is heavily rusted
- The reverse lockout solenoid or wiring needs replacing and you're not comfortable with trailer wiring
- You're converting from drum to disc brakes, or changing the actuator
Tips
- Keep a small sealed bottle of the right brake fluid in your tow kit, and write the fluid type in BoatMend.
- Pair brake service with a wheel bearing repack: the drum or rotor comes off anyway.
- Stainless or coated disc brake parts and a flush kit are worthwhile upgrades if you launch in salt water.
- Trailers that sit for months tend to have more brake trouble than trailers that are used often. If yours sits, roll it and check the brakes before the first trip of the season.
- Brake requirements for trailers vary by state and by trailer weight. Check your state's rules if you're buying or modifying a trailer.
Official references
We read these to write this guide. Your engine's own manual always wins.
- Dexter – Surge Actuators
- Dexter – General Frequently Asked Questions (jacking a trailer, hub seals)
- Discover Boating – Basic Boat Trailer Maintenance Checklist
- Mercury Marine – Basic Boat Trailer Maintenance
- BoatUS – The Lowdown On Trailer Brakes
- BoatUS – Brakes 101, Trailering Maintenance
- BoatUS – Boat Talk, Flushing Out The Flush Kit
- BoatUS – How To Wash A Trailer
Safety: BoatMend is for information only and does not replace a certified marine technician. You are responsible for your safety and your boat. Read the full disclaimer.
Last updated 2026-10-24
Related guides
How to Inspect and Repack Boat Trailer Wheel Bearings
Check, clean and repack your trailer's wheel bearings so a seized hub does not leave you stranded on the highway. Boat trailers get dunked in water every launch, which makes their bearings fail far more often than those on dry utility trailers.
How to Inspect, Inflate and Replace Boat Trailer Tires
Check your trailer tires the way the pros do: the right type (ST), the right load range, the right cold pressure, and an honest look at their age. Tires are the number one reason boat trailers end up on the side of the highway.
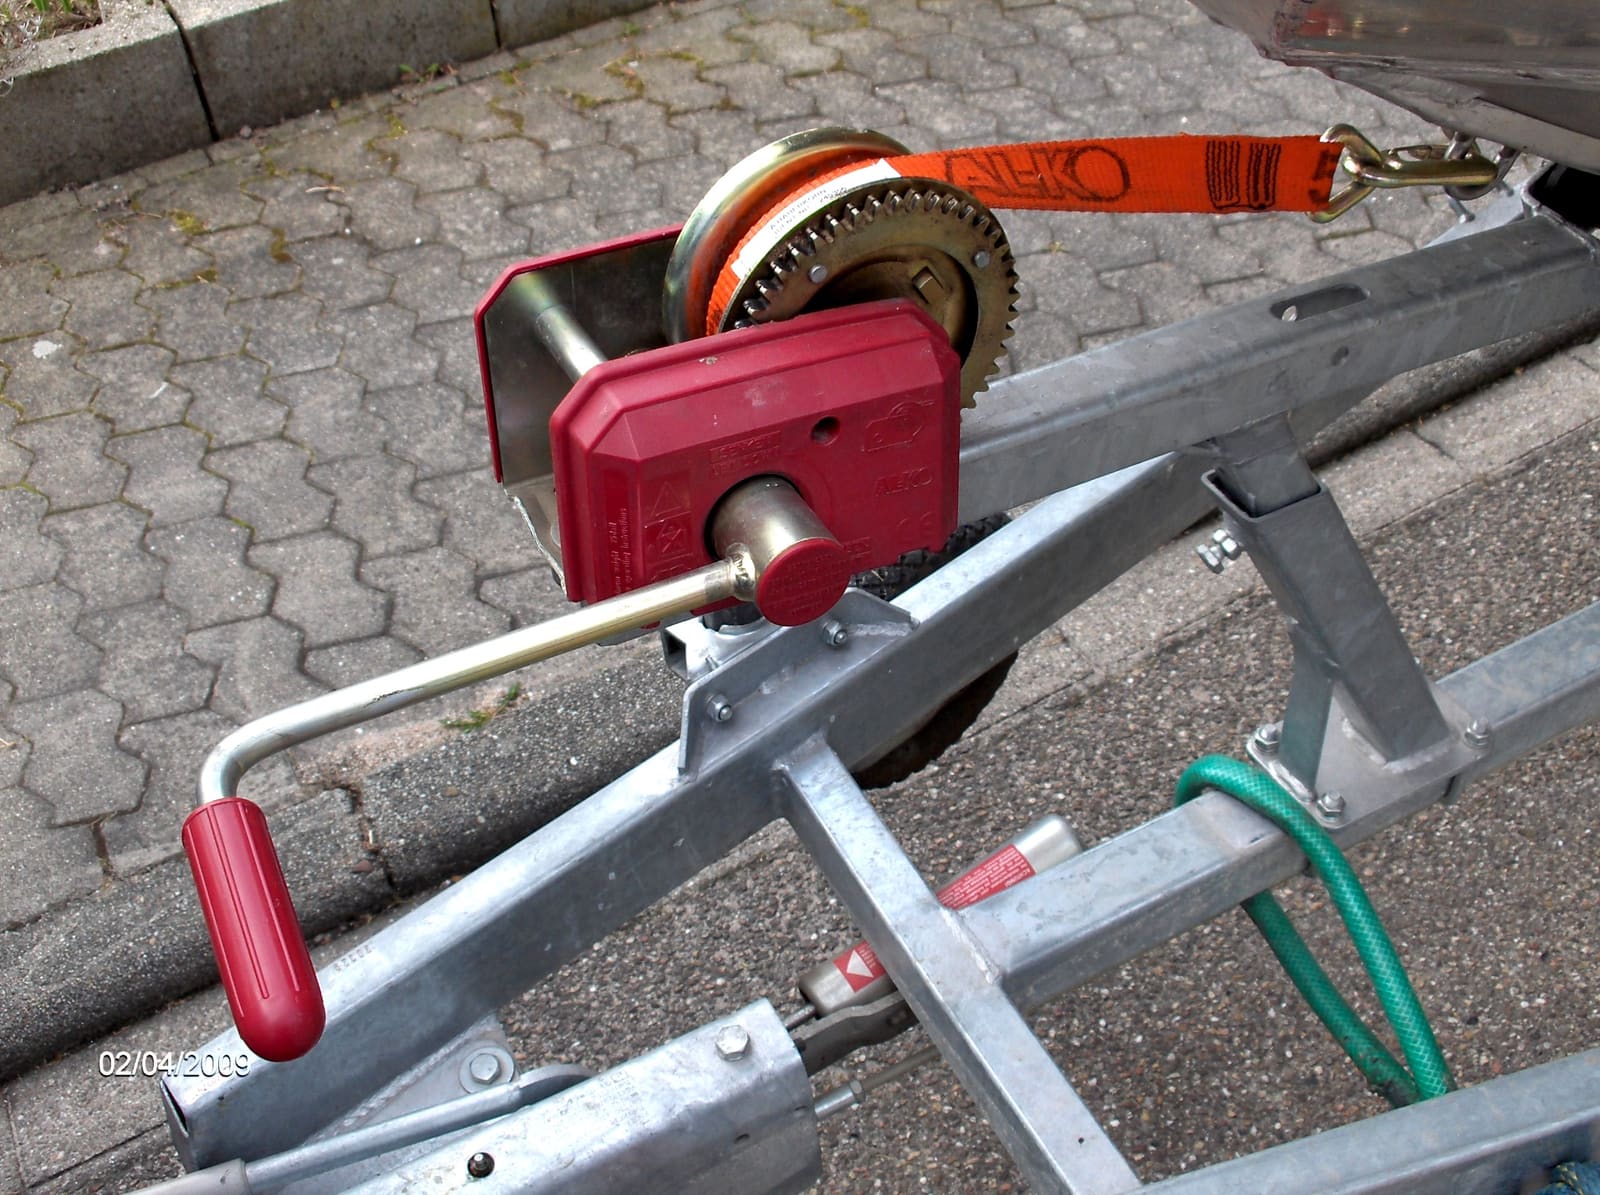
How to Inspect and Use the Trailer Winch, Strap, Tie-Downs and Safety Chains
Check the winch, strap or cable, bow safety chain, transom tie-downs and the safety chains to your vehicle, and learn how each one is meant to be used. These parts keep the boat on the trailer and the trailer behind your truck.
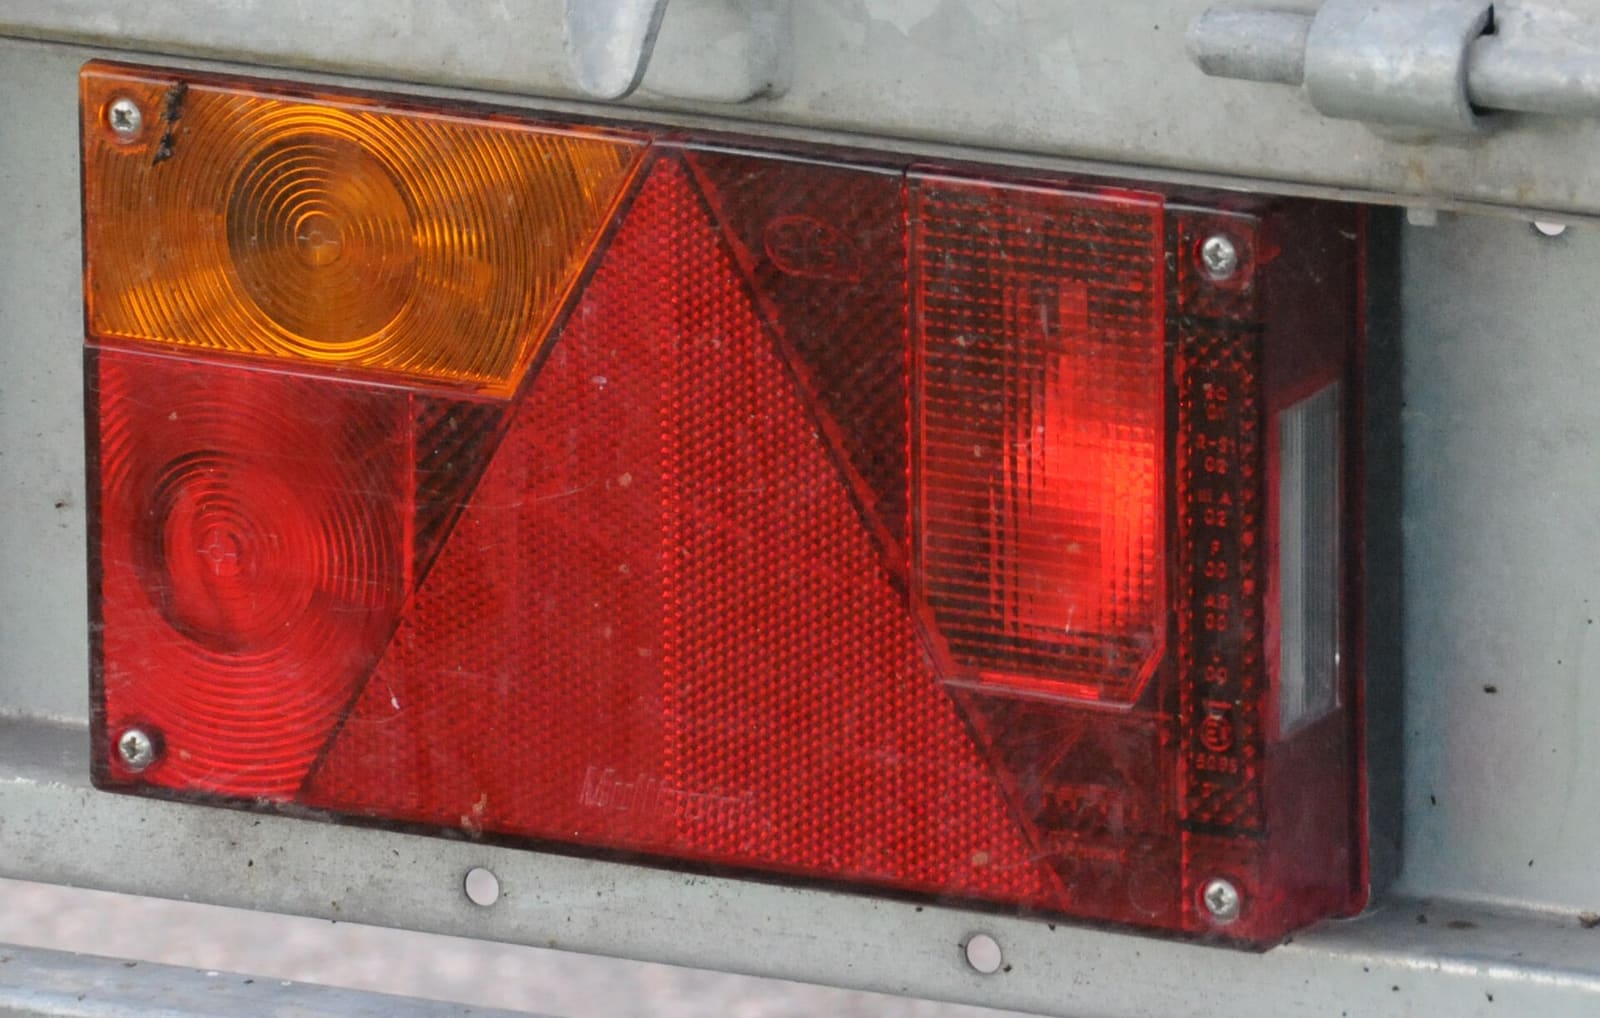
How to Fix Boat Trailer Lights That Flicker, Dim or Don't Work
Track down the real cause of dead or flickering trailer lights, from a bad ground to a corroded plug, and fix it so the repair lasts. Working brake, turn and tail lights are required by law and keep the driver behind you from rear-ending your boat.

Launch Day and Haul-Out Checklist for Trailer Boats
A step-by-step checklist for getting your boat off the trailer and back on again safely and quickly, from the drain plug and tie-downs to the blower and ramp etiquette. Following it in order prevents the classic mistakes that sink boats and back up the ramp.