Is My Engine Charging the Battery? Test the Charging System With a Multimeter
A step-by-step way to find out whether your outboard's stator and rectifier/regulator or your inboard's alternator is really charging the battery, what the voltage readings usually mean, and when the problem is just a dirty connection. Exact test specs come from your engine's service manual.
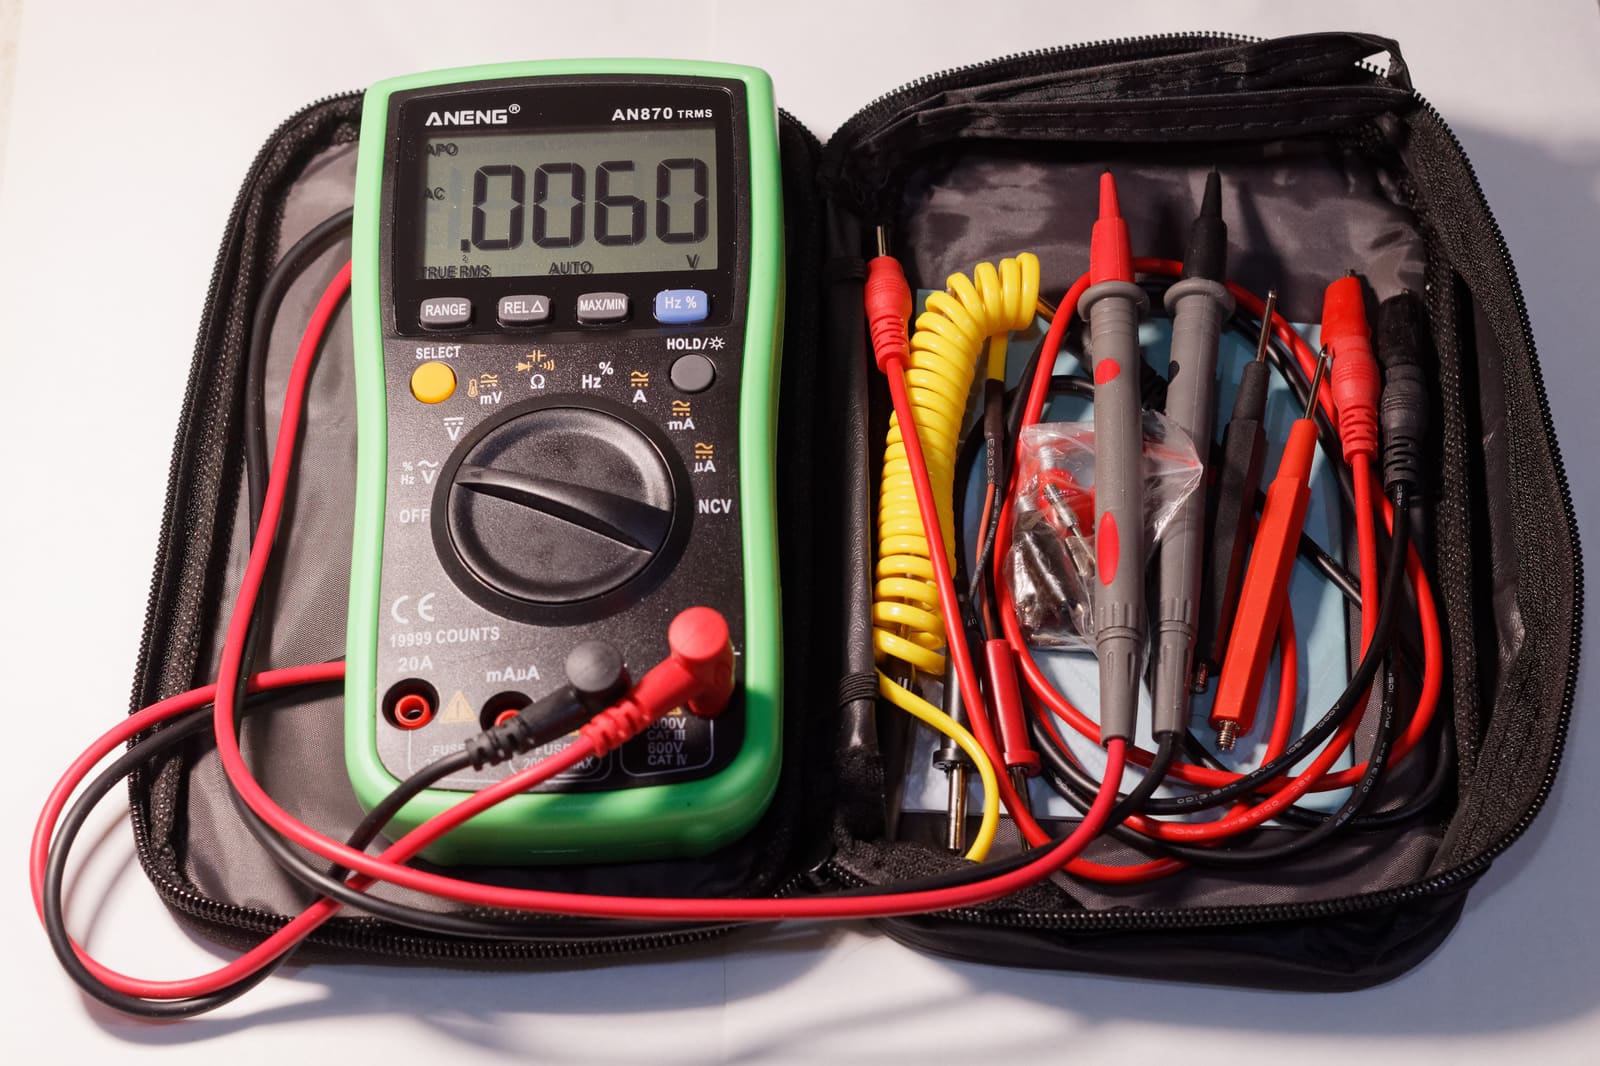
Time
1 h
Shop would charge
$150-900
Applies to
Outboard, Sterndrive (I/O), Gas inboard, Marine diesel
Safety first: Most of these tests are done with the engine running. Only run it in the water or on flush muffs/a test tank so the water pump is never dry, keep everyone clear of the propeller, and keep hands, hair, sleeves and meter leads away from the flywheel, belts and pulleys. Never disconnect a battery cable or turn the battery switch to OFF while the engine runs: the voltage spike can destroy the charging parts. If the battery gets hot, swells, hisses or smells like rotten eggs, or a wire gets hot or smokes, shut the engine down, ventilate and call a marine technician. On the water and stranded, call TowBoatUS or Sea Tow, or VHF 16 / 911 in an emergency.
Owners often ask
- My outboard doesn't seem to be charging the battery. How do I test the stator and rectifier?
- What voltage should my battery show with the engine running?
This guide walks you through it. Still stuck? Ask the AI Mechanic about your engine.
Tools
- Digital multimeter (DC volts, AC volts, ohms and diode test)
- Battery charger to fully charge the battery before testing
- Flush muffs or a test tank if the boat is out of the water
- Wire brush or terminal cleaner
- Flashlight
- Safety glasses
- Notepad (or the BoatMend boat profile) to log readings
Parts & supplies
- Nothing for the test itself
- Replacement stator, rectifier/regulator, alternator or belt only if a test proves it has failed (use the part your manual specifies)
Before you start
"My battery keeps dying" is one of the most common owner complaints, and the charging system often gets the blame. Very often the real cause is a tired battery, a corroded cable or a switch in the wrong position. This guide goes from the cheapest checks to the more involved ones, so you only buy a part once a test points to it.
How your engine charges the battery:
- Outboards make power with a stator (coils of wire under the flywheel) that produces AC as the flywheel magnets spin past it. A rectifier/regulator turns that into DC and limits the voltage. Some small tiller outboards have no charging system at all, or only a small "lighting coil" that puts out a few amps; check your manual.
- Sterndrives, inboards and diesels use a belt-driven alternator, usually with a built-in regulator. Many large outboards also use a belt-driven alternator.
- Output rises with rpm. Mercury explains that what actually reaches the battery ("net" power) is less than the alternator's rated maximum, because the engine's own ignition, fuel pumps and steering use some of it first. At idle, many engines put out very little charge.
Get the specs first. The expected voltages, the stator's AC output at a given rpm, its resistance in ohms and the rectifier test procedure are different for every engine. Find them in your service manual for your exact model and serial number. The general numbers below are typical ranges, not specs for your engine.
Steps
Testing a charging system on a weak battery gives confusing results. Charge the battery fully with a shore charger, let it rest a few hours with everything off, then measure across the posts. A fully charged 12-volt lead-acid battery reads about 12.6 volts at rest.
A good resting voltage does not prove the battery is healthy. Mercury recommends a load test for any battery that has seen a few seasons; auto parts stores and dealers can do it. If the battery fails, replace it and see if the "charging problem" disappears.
Won't restart after a run? If the voltage collapses far below normal while the starter cranks, or heavy cables feel hot afterward, the usual suspects are a weak battery or high resistance in the cranking circuit (a loose or corroded terminal, ground or switch), not the charging system. Have the battery load tested and the cables checked first; the corroded connections guide covers the method.
- Make sure the battery switch is set to the battery you are testing. On a simple 1-2-Both switch, only the selected battery gets charged.
- If the boat has an automatic charging relay or isolator, note it: an old diode isolator drops the voltage reaching the battery by about half a volt or more, according to BoatUS (Blue Sea Systems puts it at about 0.7 volts). Blue Sea also explains that outboards should not be wired through a diode isolator at all, because the same cable both charges the battery and carries starting current.
- Is the tachometer dead too? On many outboards the tach signal comes from the same stator or rectifier/regulator that charges the battery. No tach plus no charging points straight at the charging system (step 10 and 11).
- Was the battery recently connected backward? Mercury warns this can damage the rectifier or regulator, tachometer and engine computer. Check the fuse or fusible link first, and if it blows again, have a dealer inspect the engine.
- Check any fuse or fuse holder in the charging lead, and the main harness plug between the engine and the boat. Your manual's wiring diagram shows where they are.
Corrosion adds resistance, and resistance means less charge reaches the battery. Yamaha points out a terminal can be corroded underneath even when it looks clean. With the engine off:
- Remove each battery clamp (negative first), clean both the clamp and the post to bright metal, then reinstall (positive first) with hex nuts and lock washers rather than wing nuts.
- Follow the negative cable to the engine block and clean that ground too.
- Look at the cable ends at the starter solenoid and the engine harness plug for green or white powder.
Many "not charging" problems end here. The guide on corroded electrical connections (see Related guides) covers the full method.
Put the engine in the water (or, for an outboard, on external flush muffs or in a test tank; not on the built-in flush port unless your manual allows it; sterndrives and inboards ashore only with the cooling-water hookup your manual specifies) and start it. Put the meter's red lead on the battery positive post and black on the negative post (on the posts, not the clamps).
- At idle: note the reading. A small rise above resting voltage is normal; some engines barely charge at idle.
- At a fast idle: have a helper hold the engine at the rpm your manual uses for the charging test (often somewhere around 1,500 to 2,000 rpm, in neutral). Note the reading again.
These are typical ranges for a 12-volt lead-acid system; your manual has the exact figures.
- About 13.5 to 14.5 volts: the system is charging. BoatUS notes that around 13.8 to 14 volts suits boats used mostly for starting, and up to about 14.4 volts for flooded batteries that are deeply discharged.
- Stays at resting voltage (around 12.6 or lower) at fast idle: nothing is reaching the battery. Keep going with steps 6 to 10.
- Rises a little but stays under about 13.2 volts: weak charging, a bad connection, a slipping belt or a load bigger than the output.
- Above about 15 volts: overcharging, usually a failed regulator. Stop the test. Overcharging boils the electrolyte out of flooded batteries and can ruin them within days.
Write your readings down with the rpm. Your BoatMend boat profile is a good place to keep them for next season.
If the helm voltmeter or engine display says the battery is low but your meter at the battery reads normal, the problem is the gauge or its wiring, not the charging system. The gauges and tach troubleshooting guide covers that.
With the engine at fast idle, turn on the things you normally run: navigation lights, electronics, livewell and bilge pumps. The voltage will dip a little but should stay above resting voltage. If it drops below resting voltage, your accessories use more current than the engine makes at that rpm. That is common on small outboards with low output. The fix is a different charging setup (or an onboard charger used between trips), not a "broken" engine. Mercury also points out that a starting battery is built to be recharged quickly by the engine, not to run a trolling motor and accessories; those belong on a separate deep-cycle battery.
Turn the engine off and take the key out. Look at the belt for cracks, glazing, fraying or oil, and press on it midway between pulleys: compare the deflection with your manual. A slipping belt often squeals at start-up or under load. BoatUS notes that slipping belts and very hot engine rooms seriously cut alternator output.
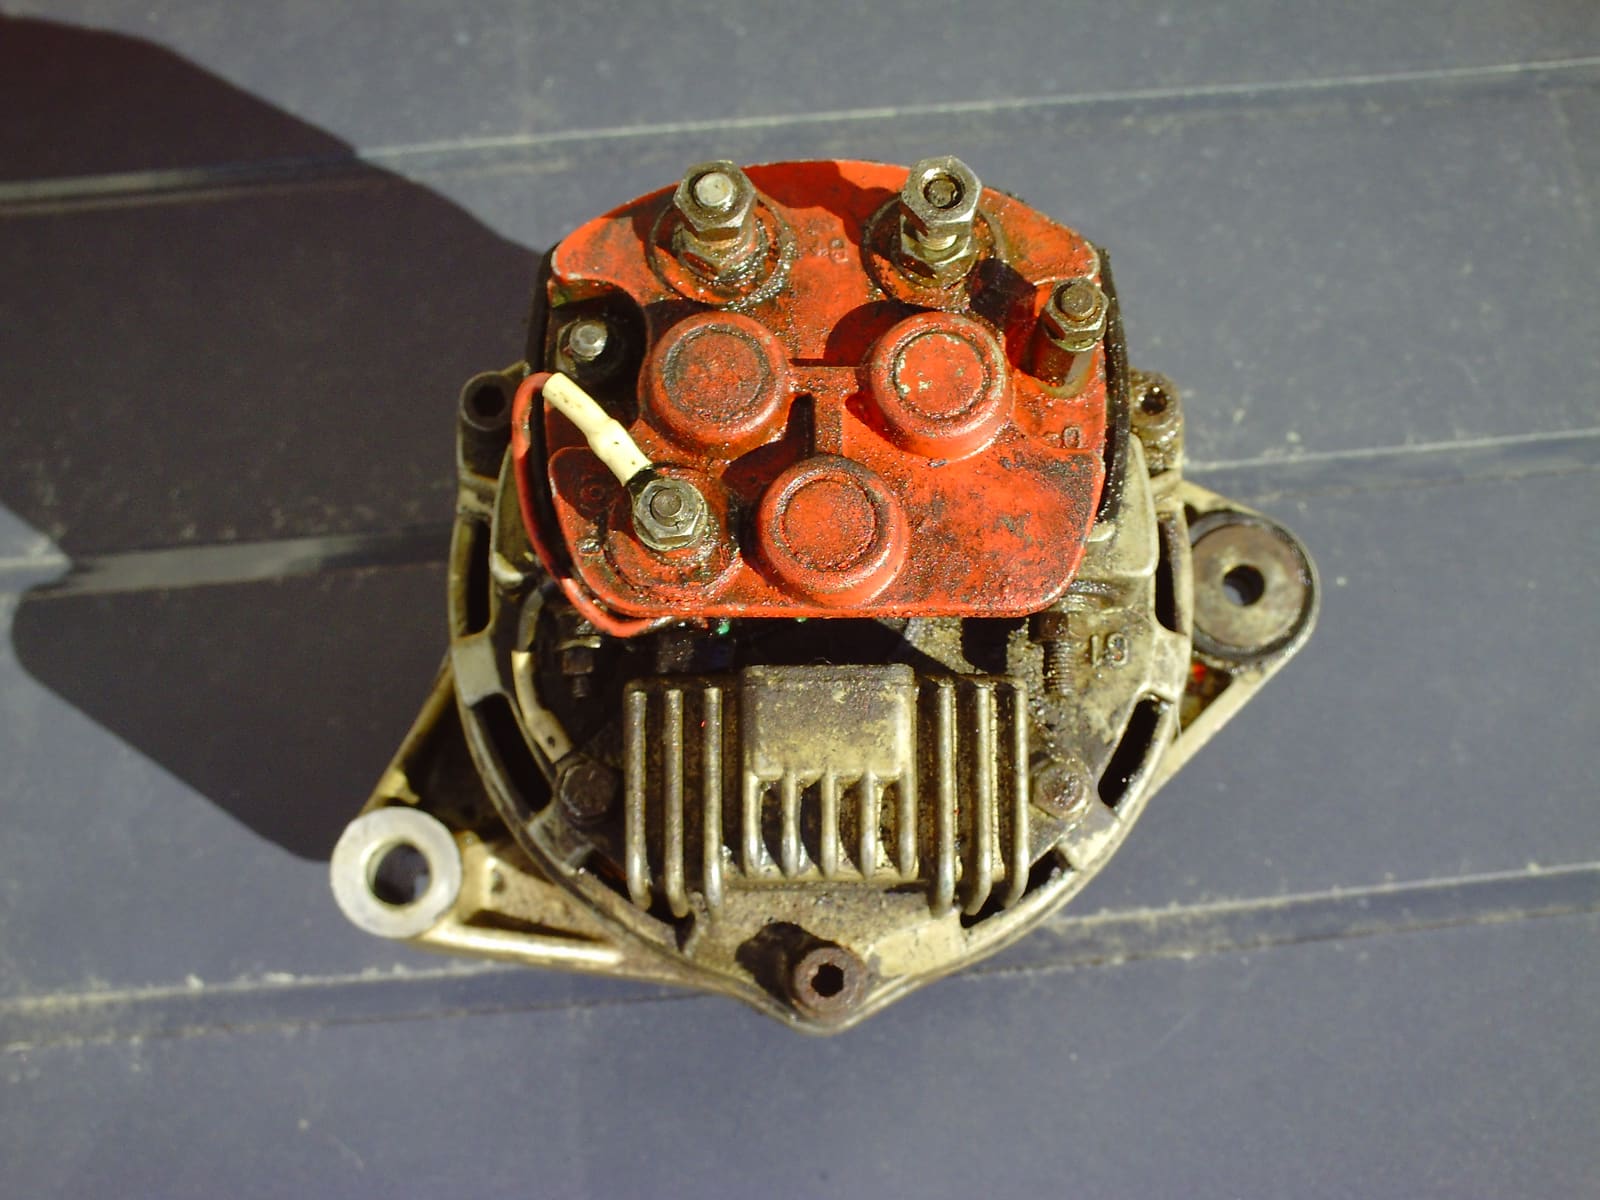
A belt-driven alternator taken off a Volvo Penta boat engine. Corroded studs and loose ring terminals on the back are a common cause of weak charging. Photo: Green Yoshi / Wikimedia Commons · CC BY 3.0 If the battery voltage is low but you suspect the alternator or rectifier is working, compare the two ends of the charging wire with the engine at fast idle:
- Measure from the alternator output terminal (or the rectifier/regulator's red output wire) to ground, then at the battery positive post.
- If the reading at the charging part is clearly higher than at the battery, voltage is being lost in the wiring, a fuse holder or a connection. As a rough guide, more than a few tenths of a volt of difference points to a bad connection worth fixing.
- Do the same on the ground side: from the alternator or engine block to the battery negative post. That reading should be close to zero.
Keep your leads well away from the belt or flywheel while you do this.
If nothing reaches the battery and the wiring is good, the next suspect is the stator. Your service manual gives two typical tests:
- Resistance (engine off): unplug the stator leads from the rectifier/regulator and measure ohms between the specified wires, and from each wire to ground. An open coil, or a coil shorted to ground, means a bad stator.
- AC output (engine running): with the stator still unplugged from the rectifier, measure AC volts between the specified leads at the rpm the manual lists. Many manuals call for a meter or adapter that reads peak voltage. Low or zero output on one pair means a failed coil.
Compare your numbers with the manual, not with a figure from another engine. If you are not sure which wires to probe, stop here and let a technician do it.
If the stator tests good, the rectifier/regulator is the likely culprit. Its internal diodes are tested with the meter's diode setting in a specific sequence that your service manual shows for your part number. Also look for warning signs: a burned or melted connector, a cracked or discolored case, or a part that was mounted without its heat-sink contact. A rectifier that fails can also damage the stator, so if one burned out, test both.
For belt-driven alternators, most auto parts stores and marine shops can bench test the unit once it is removed. Marine alternators are built to be ignition protected, so never replace one with an automotive alternator on a gasoline inboard or sterndrive.
After any repair, repeat step 4. You should see the voltage climb into the normal charging range at fast idle and settle as the battery fills. Note the date, rpm and voltages so you have a baseline for the future.
Common mistakes
- Replacing the stator or rectifier before testing the battery, cleaning connections and checking the switch position.
- Testing on a flat or failing battery, then blaming the charging system.
- Reading the dash gauge instead of measuring at the battery posts.
- Expecting a small tiller outboard (or any engine at idle) to keep up with a trolling motor, livewell and electronics.
- Turning the battery switch to OFF or pulling a cable with the engine running "to see if it keeps running" (an old car trick that destroys marine charging parts).
- Running the engine on the trailer without water to "just check the voltage."
- Measuring stator output with the stator still connected to the rectifier when the manual says to unplug it, or using numbers from a different engine.
- Fitting an automotive alternator on a gasoline inboard or sterndrive.
When to call a pro
- Any reading above about 15 volts, a hot or swollen battery, or a strong rotten-egg smell
- Melted, burned or hot wires and connectors anywhere in the charging circuit
- You do not have the service manual specs, or you are not sure which wires to test
- Stator replacement (it usually means pulling the flywheel with a special puller)
- Charging problems on engines with high-output alternators, idle-charge systems, dual-voltage (12/48-volt) systems or lithium house batteries
- Adding an alternator upgrade, a smart external regulator, a second battery or a charging relay
Tips
- A small voltmeter or battery monitor at the helm lets you spot a charging problem before the battery goes flat.
- Run at cruising rpm for a while to recharge after a day at anchor; idling back to the dock does very little.
- Between trips, an onboard battery charger keeps batteries full so the engine is not your only charging source.
- Keep a copy of your engine's charging specs and your baseline readings in your boat profile.
Official references
We read these to write this guide. Your engine's own manual always wins.
- Mercury Marine – The Mercury Alternator Advantage, More Power, More Fun
- Mercury Marine – Maintenance Made Easy, Battery Basics
- Yamaha Outboards – Maintenance Matters, Electrical System
- BoatUS – Got Juice? Lessons Learned From Your Battery
- BoatUS – 12 Volt Electrical Systems
- Blue Sea Systems – Battery Isolators and Automatic Charging Relays
- Mercury Marine – Owner FAQs (reversed battery connections)
Safety: BoatMend is for information only and does not replace a certified marine technician. You are responsible for your safety and your boat. Read the full disclaimer.
Last updated 2026-10-24
Related guides

Marine Battery Care: Test, Charge and Store for Winter
Check your boat battery's health, charge it the right way for its type (flooded, AGM or lithium), and store it so it is ready in spring. Most "boat won't start" calls start with a neglected battery.
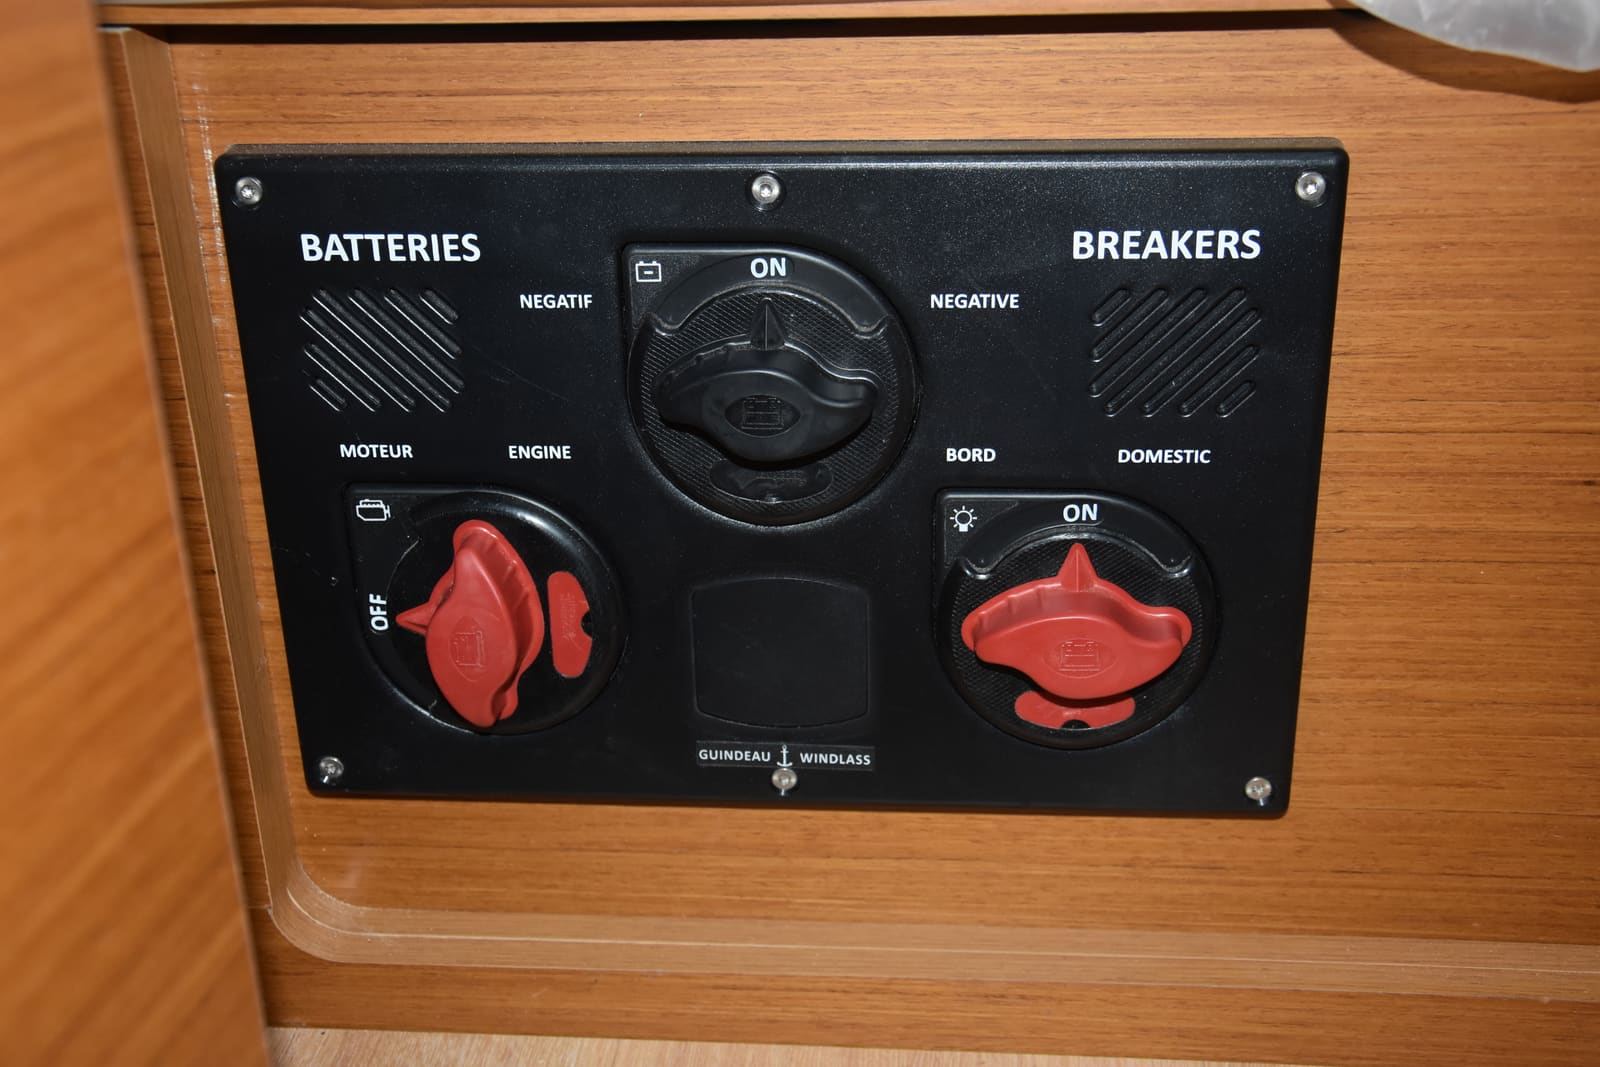
How to Use a 1-2-Both Battery Switch and Run Two Batteries
Learn what the 1, 2, Both and Off positions really do, a simple routine that keeps one battery ready to start the engine, how to check that both batteries are charging, and when an automatic charging relay makes life easier. Rewiring high-current cables is a job for a marine electrician.

How to Find and Fix Corroded Electrical Connections on a Boat
Track down the green crust and loose terminals behind flickering lights, dead gauges and slow cranking with a simple voltage-drop test, then remake the connection the marine way: tinned wire, a proper crimp, adhesive-lined heat shrink and a protective coating.
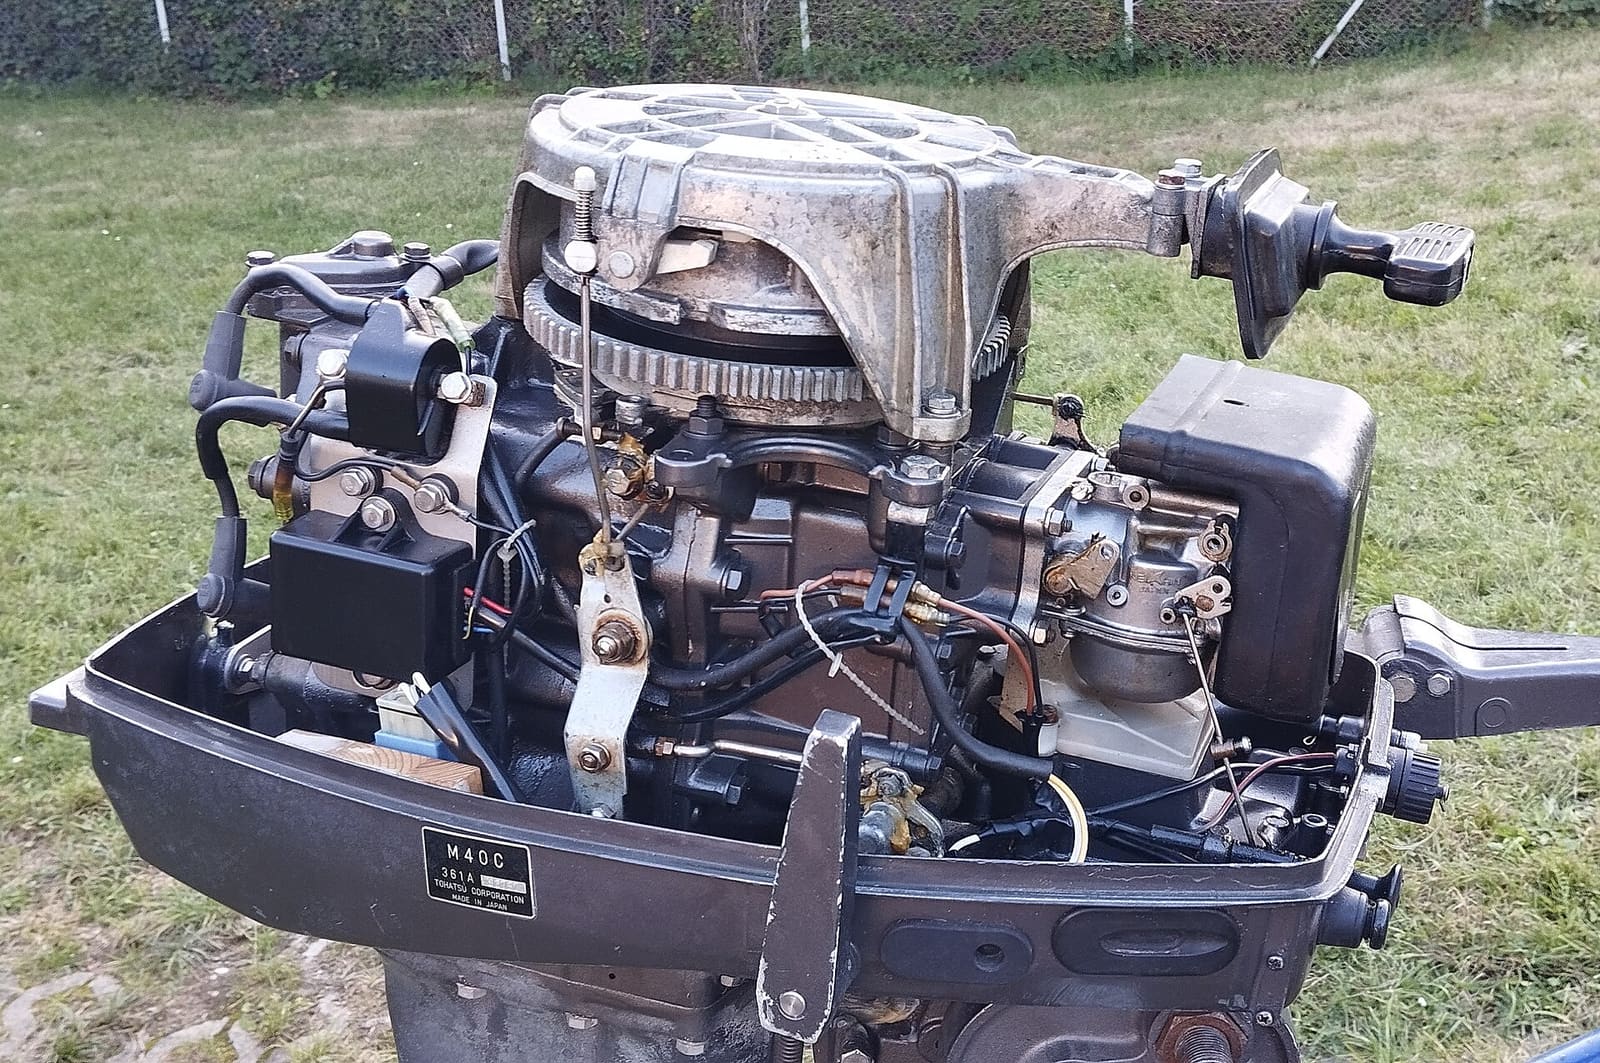
Engine Won't Start or Won't Crank - Troubleshooting Guide
Find out why your boat engine will not turn over or will not fire, starting with the simple things owners miss most, like the kill switch lanyard and battery switch. Many no-starts are fixed at the ramp in minutes without a tow.
How to Troubleshoot Dash Gauges, a Dead Tachometer or a Wrong Fuel Gauge
Work through dead or wrong dash gauges from the cheapest check to the most involved: fuses and breakers, power and ground, the gauge-versus-sender test, the tachometer's pulse setting and the extra checks for digital network gauges. Most gauge problems turn out to be a bad connection, not a bad gauge.
How to Choose, Install and Maintain an Onboard Battery Charger
Pick the right marine charger for your batteries (how many banks, how many amps, flooded, AGM or lithium), mount and fuse it safely, set the charge profile, and use it to keep batteries healthy all season and through the winter. The AC (shore power) side is a job for a marine electrician.