How to Find and Fix Leaking Rivets on an Aluminum Boat
Almost every older riveted aluminum boat weeps a little water. Learn how to find the leaking rivets, tighten the ones that are loose, seal the rest with a flexible epoxy, replace the bad ones the right way, and know when a crack or corrosion needs a welder.
Time
5 h
Shop would charge
$200-1500
Applies to
All engines · Fishing boat
Safety first: A boat that takes on water faster than the bilge pump can handle is an emergency, not a weekend project: head for shore, put on life jackets and call TowBoatUS, Sea Tow or the Coast Guard on VHF channel 16 (or 911). When you work on the hull, remove portable fuel tanks and batteries first and use a heat gun, not an open flame, near the boat. Many aluminum boats have foam flotation under the floor that burns easily.
Owners often ask
- How do I fix leaking rivets on my aluminum boat?
This guide walks you through it. Still stuck? Ask the AI Mechanic about your engine.
Tools
- Garden hose and a permanent marker or grease pencil
- Wire brush (hand or drill-mounted) and abrasive pads
- Heat gun
- Ball-peen hammer and a heavy steel block or bucking bar
- Drill with sharp bits matched to the rivet size
- Center punch
- Epoxy mixing cups, sticks and a syringe
- Acetone or denatured alcohol and clean rags
- Safety glasses and nitrile gloves
- A helper
Parts & supplies
- Flexible marine epoxy sold for aluminum boat repair (for example WEST SYSTEM G/flex 650)
- Replacement rivets of the same material and size (solid aluminum, or closed-end aluminum blind rivets)
- Marine sealant compatible with aluminum
- Aluminum-compatible primer and paint (no copper-based bottom paint)
Before you start
Why rivets leak. Riveted aluminum hulls flex every time they hit a wave, a dock or a poorly fitted trailer bunk. Over years the rivets work loose, the factory sealant breaks down, and water seeps in around the heads. Corrosion makes it worse: aluminum corrodes quickly next to copper, brass or stainless steel when salt water or dirty bilge water connects them, and stray electrical current at a dock can eat pinholes in a hull.
What you will find. Most leaky boats have many rivets that only seep and one or two that let in a real stream. Those few are usually the main problem, so finding them is worth the effort.
Check the warranty first. Many aluminum boat builders offer long hull warranties for the original owner. A DIY repair can affect that coverage, so call your dealer or the builder before you start on a newer boat.
What this guide covers. Rivet and seam leaks on the hull. Cracks in the hull, leaks along welded seams, a leaking transom or heavily corroded areas are different problems; see "When to call a pro."
Steps
Some water in the bilge after a rainy day or a wet ride is normal. Watch how much comes in at the dock and how much comes in while running. Before you blame rivets, check the drain plug and its threads, livewell and bilge pump fittings, transducer and transom bolts, and the motor mounting bolts. Those leak just as often.
Pull the drain plug, let the boat drain, and sponge out the last of the water. Remove any floor panels you can so you can see the inside of the hull. Park the trailer level with the wheels chocked.
With a garden hose, put water inside the hull up to about the waterline, not higher, and only in one end at a time (tilt the trailer tongue if needed). A boat full of water is very heavy and can bend the hull or overload the trailer.
Now go underneath with a flashlight. Look for drips, wet streaks and tiny streams from each rivet row and seam. Fingertips are good at finding damp spots you cannot see. Circle every leak with a marker, and mark the big ones differently from the slow seepers. Drain the water when you are done and let the hull dry completely, ideally for a day or two.
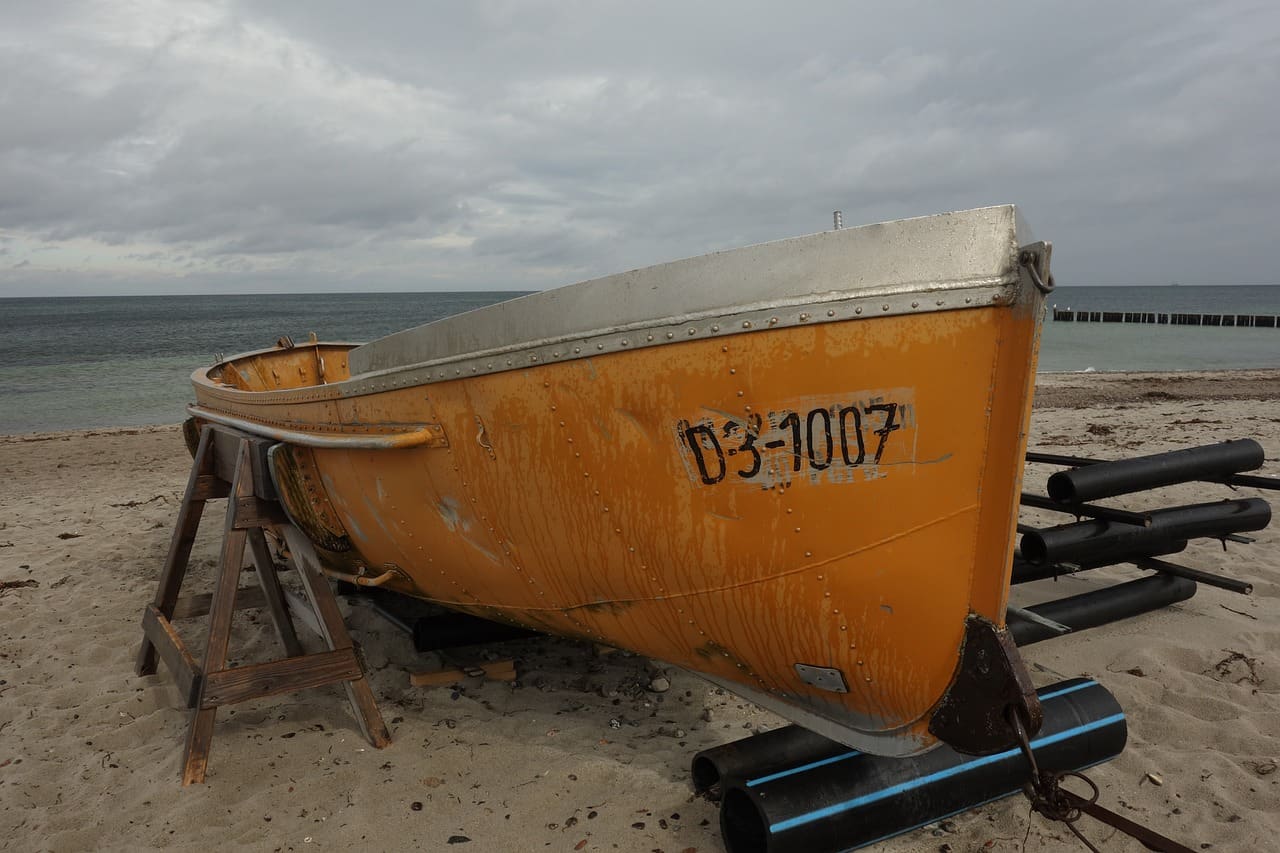
Rivet rows on an older riveted hull. Leaks usually show along the bottom rows and seams first. Photo by Licht-aus on Pixabay · Pixabay Content License - Seeping, tight rivet: the head is snug but water creeps past. Seal it (Step 7).
- Loose rivet: the head moves, sounds different when tapped, or has a dark gray "smoking" ring of oxide around it from rubbing. Tighten it (Step 6) or replace it (Step 8).
- Cracked, sheared or missing rivet, or a head eaten away by corrosion: replace it (Step 8).
- Crack in the hull, leaking weld, or a patch of pitted metal: stop and see "When to call a pro."
Scrape off old sealant, paint and goop around each marked rivet and seam, on the side you will work from. Scrub with a wire brush or abrasive pad until the aluminum is clean and shiny, then wipe with acetone or alcohol. Aluminum grows a new oxide skin quickly, so clean only the area you can finish the same day.
Solid rivets can often be snugged up again. One person holds a heavy steel block or bucking bar firmly against one head; the other taps the opposite head with a ball-peen hammer. Use many light taps, not hard blows. Old aluminum rivets can crack or split if you hit them hard.
Check after every few taps. If the rivet tightens, move on and seal it in Step 7. If it cracks, keeps moving, or the metal around it starts to dent, replace it instead.
A toughened, flexible epoxy made for aluminum (such as G/flex) works better than stiff epoxies or putties because it moves with the hull. The maker's method, in short:
- Work from the inside when you can, so gravity pulls the epoxy into the seam.
- Warm a short section of rivets or seam with a heat gun to drive out moisture and help the epoxy flow.
- Apply the mixed epoxy with a syringe around each rivet head and along the seam while the metal is warm, and keep warming gently until it wicks in. Do not heat it until it smokes or changes color.
- For bigger gaps or loose rivets, thicken the epoxy with the filler the maker recommends and press it in until it comes out the other side.
Let it cure fully before the boat goes in the water. The manufacturer's instructions say overnight at 65°F or warmer; follow the label of the product you use.
Drill out a bad rivet carefully: center punch the head, then drill just the head off with a bit the size of the rivet shank so you do not enlarge the hole. Punch the rest of the rivet out while your helper backs up the hull with a block.
Replace it with a rivet of the same material and size: a solid aluminum rivet bucked as in Step 6, or a closed-end aluminum blind (pop) rivet set in marine sealant. Never use open-end pop rivets (water leaks through the center) or steel rivets (they corrode the aluminum around them). If the hole has become oversized or cracked, ask a pro.
Once the epoxy and sealant are cured, prime bare aluminum with a primer made for aluminum and paint it to match. Never use copper-based antifouling paint on an aluminum hull. Copper and aluminum in water are a corrosion recipe.
Repeat the water test from Step 3, or launch the boat and leave it in the water for an hour or two while you watch the inside. Expect to touch up one or two rivets you missed; that is normal. Keep the bilge pump working and check it after each outing for the next few weeks.
- Adjust the trailer bunks or rollers so they support the hull along its length, without hard points under single rivet rows. Trailer maker Load Rite recommends slick bunk covers rather than carpet wherever bunks touch a metal hull, because wet carpet holds moisture against the aluminum.
- Slow down in chop. Pounding is what loosens rivets.
- Keep copper, brass and stray stainless parts (coins, fishing tackle, loose screws) out of the bilge.
- Check the outboard's anodes and, if the boat lives at a dock with shore power, read our anodes and shore power guides about galvanic corrosion.
Common mistakes
- Smearing silicone, roof sealer or a hard putty over a loose rivet. It hides the leak for a while, but the rivet keeps moving and the leak returns.
- Hammering old rivets hard and cracking them, or doing it without a solid backing block.
- Filling the whole boat with water at once and bending the hull or stressing the trailer.
- Using open-end pop rivets, steel rivets or stainless screws without isolating them from the aluminum.
- Painting the bottom with copper antifouling.
- Using an open flame near fuel tanks or the foam flotation under the floor.
- Drilling out a rivet with a bit that is too big, so the new rivet will not fill the hole.
- Scrubbing the hull with harsh acid cleaners such as muriatic acid. Discover Boating warns they can streak and weaken aluminum; use a cleaner made for aluminum boats and test it on a small spot first.
When to call a pro
- The boat takes on water faster than the pump can keep up, or you cannot find where it comes in
- Cracks in the hull skin, at the keel, at the transom or around welds
- Pitting, white powdery corrosion or soft spots in the metal, especially in a patch rather than at a single rivet
- Welded seams that leak, or a riveted boat that needs welding (heat near foam flotation is a fire risk)
- Dozens of loose rivets or a hull that flexes visibly: re-riveting a whole boat can cost more than the boat is worth, so get a quote first
- The boat is under warranty
Tips
- Fill the hull and mark leaks the season before you plan to fix them. Marks wash off less easily if you use a paint marker.
- Keep a small kit of the epoxy, a few closed-end rivets and a syringe in the garage. Fixing one seeping rivet early beats fixing ten later.
- Take a photo of each marked area with a number. It makes the second water test much faster.
Official references
We read these to write this guide. Your engine's own manual always wins.
- Epoxyworks – Fix Leaking Rivets in Aluminum Boats with G/flex 650
- Epoxyworks – Aluminum Boat Repairs with WEST SYSTEM Epoxy
- WEST SYSTEM – Aluminum Boat Repair Kit
- BoatUS Magazine – How To Find And Fix A Boat Leak
- BoatUS Magazine – The Battle Against Underwater Corrosion
- Discover Boating – Pontoon Boat Cleaning, 7 Top Tips (aluminum cleaners)
- Load Rite – Trailers 101 (bunk covers for metal hulls)
Safety: BoatMend is for information only and does not replace a certified marine technician. You are responsible for your safety and your boat. Read the full disclaimer.
Last updated 2026-10-24
Related guides
How to Test and Clean Your Bilge Pump and Float Switch
Make sure your bilge pump actually moves water overboard, both on the manual switch and automatically through the float switch. A working bilge pump is one of the most important safety systems on any boat that stays in the water.
How to Inspect a Used Boat Before You Buy
A step-by-step checklist for looking over a used boat, from paperwork and the hull ID number to the transom, engine, compression test, sea trial and trailer. Know what to check yourself, what the red flags mean, and when to pay a marine surveyor.
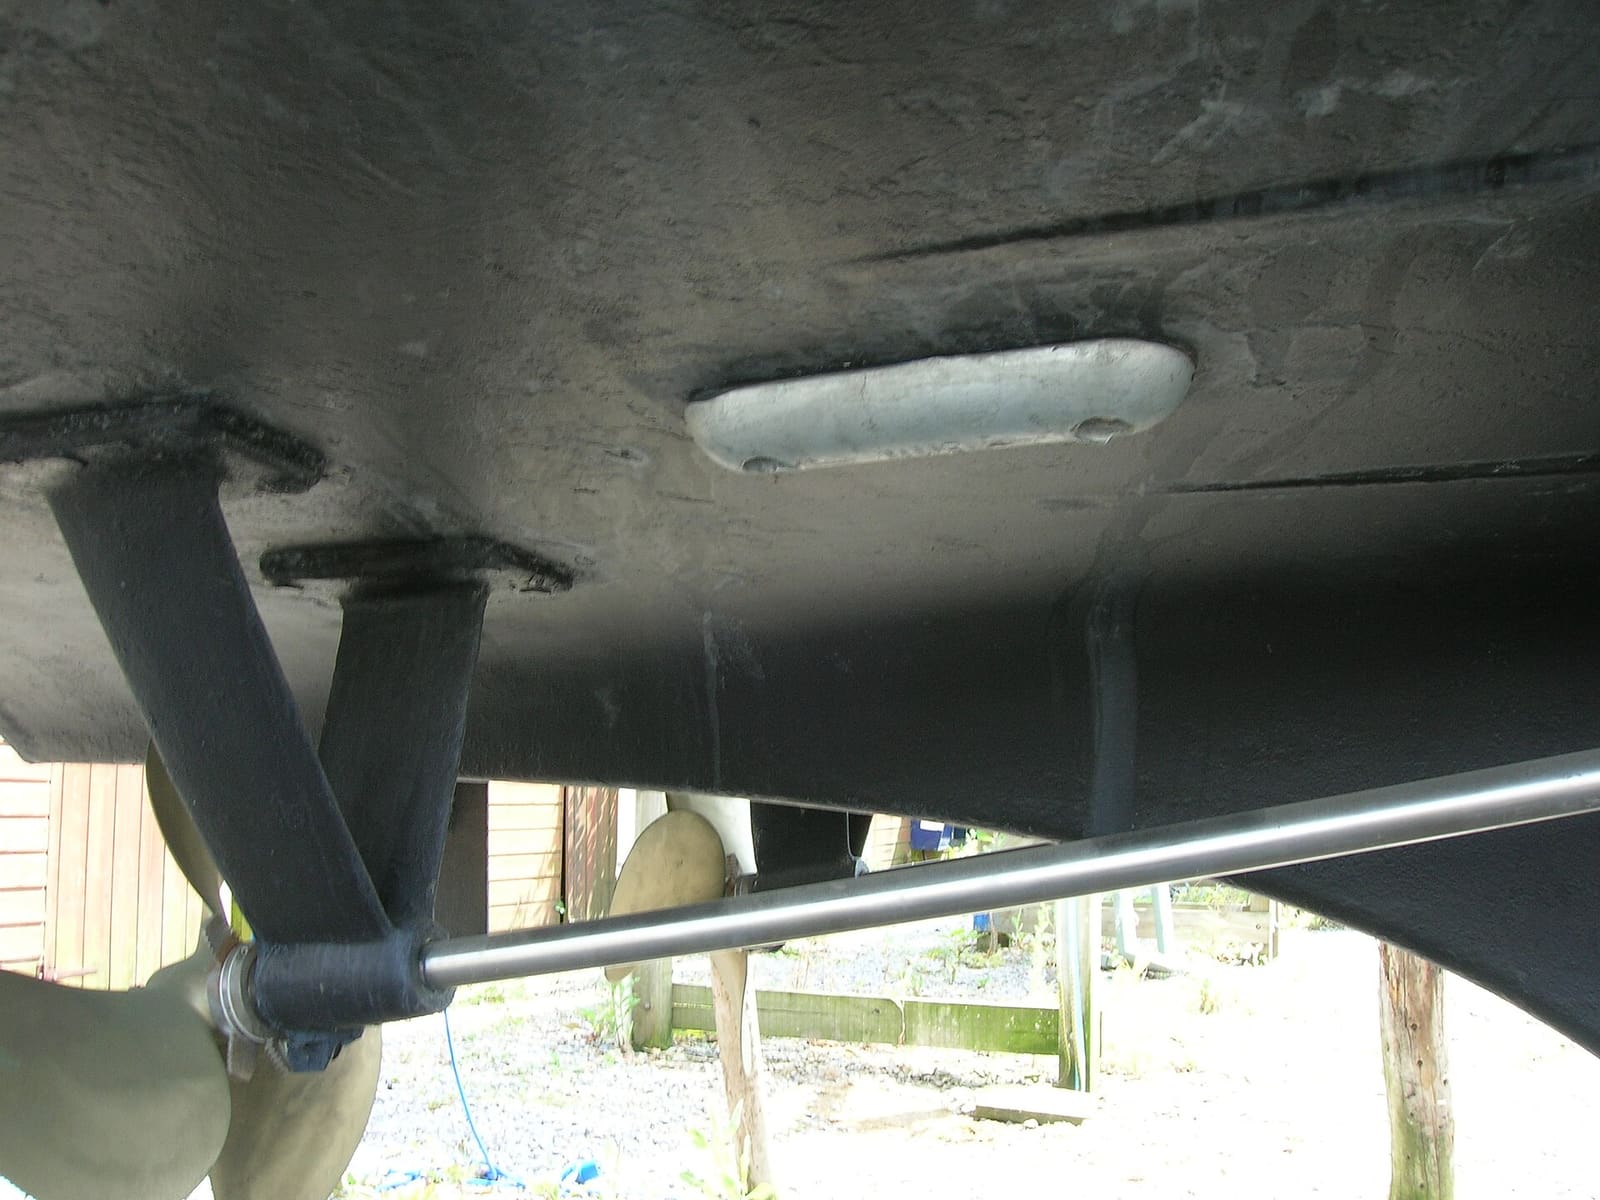
How to Inspect and Replace Sacrificial Anodes (Zincs)
Check the anodes on your outboard, sterndrive or inboard running gear, replace them when they are half gone, and choose the right metal for the water you boat in. Fresh anodes are cheap insurance against expensive corrosion damage to your lower unit, drive and prop.
How to Check a Boat for Transom and Stringer Rot
Many older fiberglass boats have wood inside the transom, stringers and deck, and water that gets in slowly rots it. Learn the tap test, the flex test, how to read a moisture meter and the other warning signs, and why a rotten transom or stringer is a structural job for a pro, not a weekend patch.

Launch Day and Haul-Out Checklist for Trailer Boats
A step-by-step checklist for getting your boat off the trailer and back on again safely and quickly, from the drain plug and tie-downs to the blower and ramp etiquette. Following it in order prevents the classic mistakes that sink boats and back up the ramp.

How to Clean, Remove Oxidation and Wax Your Boat's Gelcoat (Plus Pontoon Tubes)
Wash your hull the right way, bring back chalky, faded gelcoat with compound, and seal it with wax so it stays glossy and protected from the sun. Includes how to clean and protect the aluminum tubes on a pontoon boat.
How to Spot and Prevent Corrosion on an Aluminum Boat
Aluminum hulls and pontoon tubes are tough, but they lose almost every fight with other metals. Learn the warning signs of galvanic and stray current corrosion, keep copper and loose metal away from the hull, choose the right anodes, touch up paint with the proper primer and know when a repair needs a welder.

How to Tell if Your Boat's Flotation Foam Is Waterlogged
Learn the signs that the foam under the floor or seats of a small boat has soaked up water, how to check without tearing the boat apart, what the Coast Guard flotation rules mean for you, and why replacing foam is usually a big job for a pro.
How to Adjust and Replace Trailer Bunks and Rollers So Your Boat Sits Right
Set up your boat trailer so the hull is supported in the right places: bunks and rollers clear of the strakes, the transom fully supported, the bow snug against the winch stop and the weight balanced on the tongue. Also covers replacing rotten bunk boards and worn carpet or rollers.