How to Clean, Remove Oxidation and Wax Your Boat's Gelcoat (Plus Pontoon Tubes)
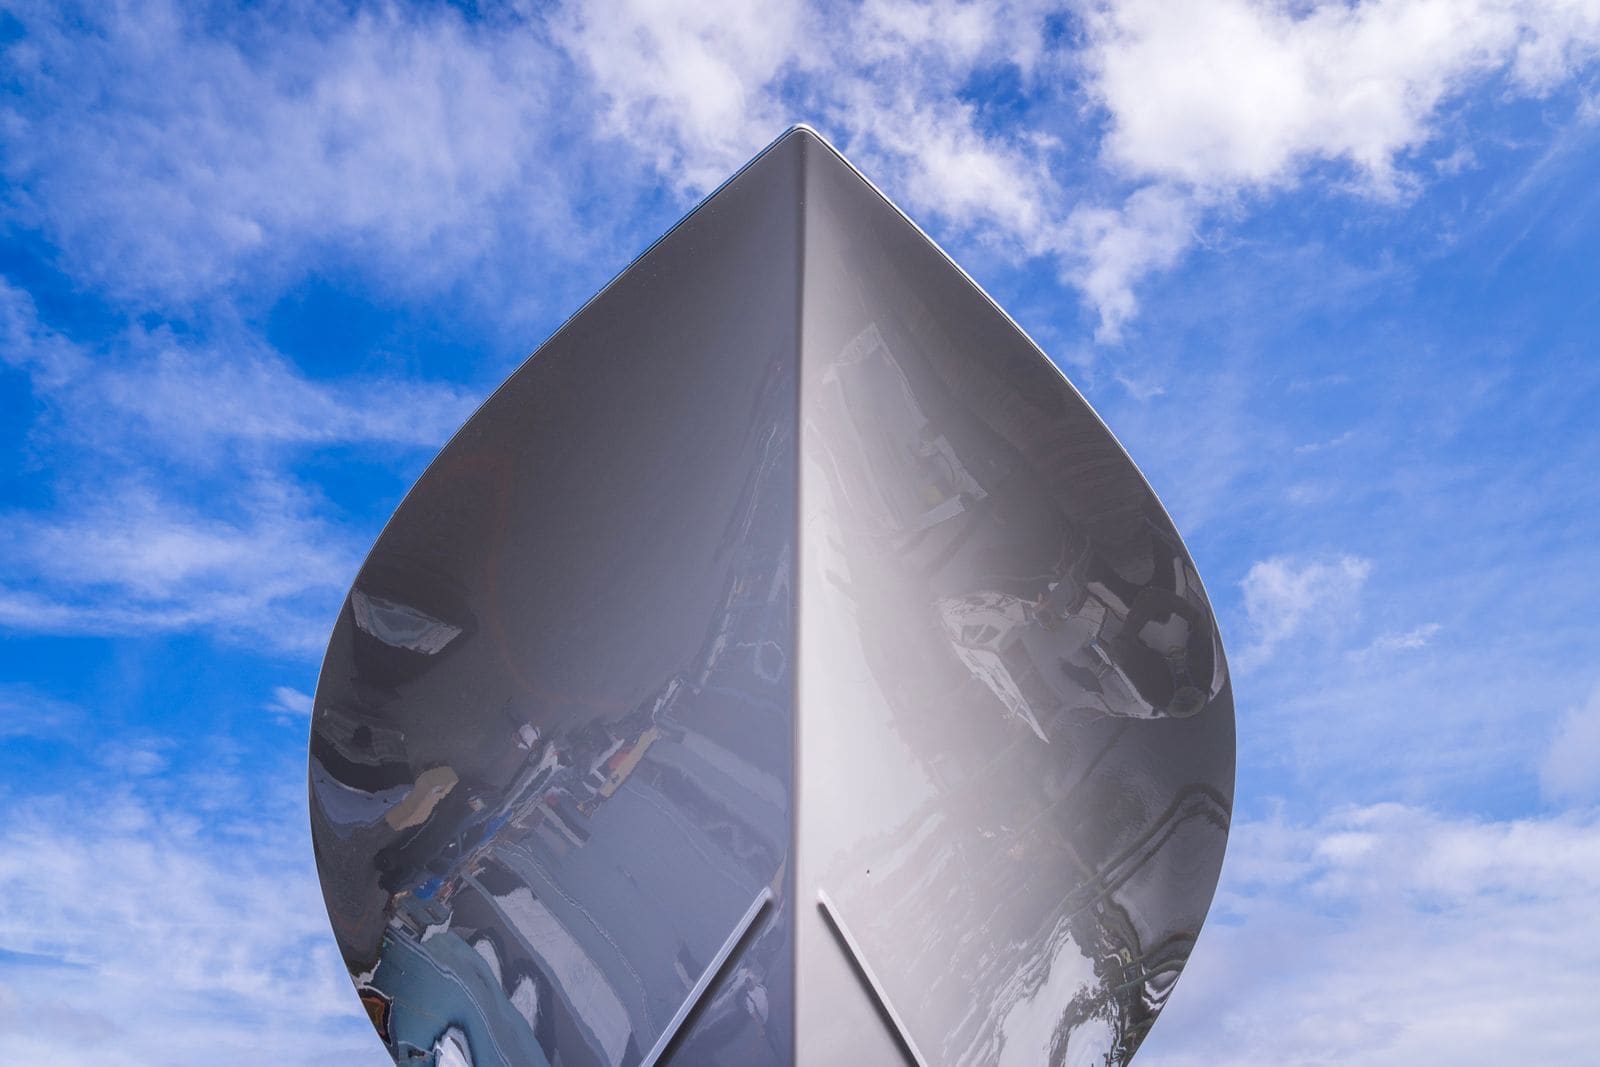
Wash your hull the right way, bring back chalky, faded gelcoat with compound, and seal it with wax so it stays glossy and protected from the sun. Includes how to clean and protect the aluminum tubes on a pontoon boat.
Time
6 h
Shop would charge
$300-1200
Applies to
All engines
Safety first: Work only on a boat that is solidly supported on its trailer or on yard stands, and never climb on a boat held up by a jack. Use a stable ladder or platform, not a bucket. Hull cleaners and aluminum brighteners can contain strong acids: wear gloves and eye protection, follow the label, keep them off skin and painted trailers, and do not let runoff go into the water. Never sand or scrape antifouling bottom paint yourself without checking local rules; the dust is toxic.
Owners often ask
- My gelcoat is chalky and faded. How do I bring the shine back?
This guide walks you through it. Still stuck? Ask the AI Mechanic about your engine.
Tools
- Garden hose with spray nozzle
- Soft-bristle boat brush on a pole and a wash mitt
- Buckets (one for soap, one for rinse)
- Plenty of clean microfiber towels
- Dual-action (random orbital) polisher with foam and wool pads (optional but saves hours)
- Foam applicator pads for hand work
- Painter's tape
- Stable ladder or work platform
- Gloves and safety glasses
Parts & supplies
- Marine boat soap (not dish soap)
- Hull and waterline stain remover suited to your hull
- Marine rubbing compound or oxidation remover for gelcoat
- Marine polish (optional, for a deeper shine)
- Marine paste or liquid wax, or a marine sealant
- Aluminum pontoon cleaner, marine aluminum polish and aluminum sealant (pontoon boats only)
Before you start
Gelcoat is the thin, colored outer layer on fiberglass boats. Sun and salt break down its surface over time, leaving it dull and chalky. This is called oxidation. Wax does not fix oxidation; it seals and protects a surface that is already clean and glossy. So the order is always: wash, correct (if needed), then protect.
How bad is it? Do a quick test:
- Glossy, smooth: wash and wax.
- A bit dull, slight chalk on your finger: wash, polish or use a light one-step cleaner, then wax.
- Chalky, faded, rough: wash, then rubbing compound, then polish, then wax. This is most of the work.
- Looks deep and glossy while wet, then turns hazy and chalky as it dries: that is oxidation, a very common question from owners of older boats. Wax and buffing alone won't fix it; it needs compound first. On very heavy oxidation, detailers sometimes wet-sand before compounding, but that removes gelcoat fast and is best left to a pro or practiced on a hidden spot.
When: at the start of the season and again mid-season or before storage for boats kept outside. Many detailers wax three to four times a year in hot, sunny areas. Typical; adjust for your climate.
Painted hulls, vinyl wraps and boats with special coatings (ceramic, clear coat, matte finishes) need products made for them. Check your boat builder's care instructions first.
Steps
Work out of direct sun on a cool hull. Heat makes compound and wax dry too fast, so they cake on and are hard to remove. Early morning or a covered area is best.
Rinse off loose dirt and salt. Wash with marine boat soap and a soft brush or mitt, one section at a time, and rinse often. Dish soap and household cleaners strip wax and can dry out gelcoat. If you wash the boat in the water or at the dock, clean-boating programs ask for phosphate-free, biodegradable soap and as little of it as possible; washing on the trailer, away from storm drains, is better still. Do not blast gelcoat with a high-pressure washer at close range; it can damage edges, decals and caulking.
Brown or yellow waterline stains often will not wash off. Use a marine hull or waterline stain remover suited to your hull. Apply it, let it work for the time on the label without drying, and rinse very well. Wear gloves and keep it off painted surfaces and trailer parts unless the label says it is safe.
Dry with microfiber towels. Now look closely in good light. Mark chips, cracks and deep scratches with tape. Those need repair, not compound (see our gelcoat repair guide). Look for blisters or spider cracks that may mean deeper problems.
Use painter's tape on rub rails, decals, vinyl, canvas snaps, stainless fittings and anything compound could stain or a polisher pad could catch.
Start with the least aggressive product that works. Try a 2-by-2-foot test area with polish first. If the chalk does not come off, step up to rubbing compound or oxidation remover. Gelcoat is thin: aggressive compounding over and over can wear it through, especially on edges and corners.
Work in small sections, about 2 by 2 or 3 by 3 feet. With a dual-action polisher, put a few dabs of compound on the pad, place the pad flat on the hull before turning it on, and work at moderate speed with light, even pressure. Keep the pad flat and moving. By hand, use a foam applicator in small circles. Wipe off the residue with a clean microfiber before it dries.
Wipe the area and look at it from an angle. If it is still dull or chalky, repeat that section. On very oxidized boats, plan on many hours of work. Tight spots under rails and around fittings must be done by hand.
A finer polish after compounding removes the haze compound leaves and deepens the gloss. Use a softer pad and the same small-section method.
Wash or wipe the hull to remove compound and polish dust. Wax needs a clean surface to bond to.
Apply a thin, even coat of marine wax to one small section at a time. Thick coats do not protect more; they are just harder to remove. Let it haze for the time on the label (often a few minutes), then buff off with a clean microfiber. Flip and change towels often.
A second coat fills spots where the first was thin or missed. Paste wax tends to last longest and protect best against sun; liquid wax is quicker to apply. A marine sealant can be used instead of wax if you prefer.
Rinse the tubes well, lifting the boat a little if needed to reach the bottoms. Apply an aluminum pontoon cleaner made for marine aluminum, let it sit without drying, scrub gently with a soft brush, and rinse thoroughly so it does not streak. Test any cleaner on a small spot first. Avoid strong acids like muriatic acid, which can streak and weaken aluminum, and protect decals and the trailer.
If you want a shine, use a marine aluminum polish in small sections with a microfiber or polisher pad. Finish with a marine aluminum sealant to slow new oxidation. Clean weld seams and brackets with a small brush and let them dry fully.
Rinse with fresh water after each trip, especially in salt water. Wash with boat soap and dry with microfiber to avoid water spots. Add a fresh coat of wax every few months. Log your wax dates in BoatMend.
Common mistakes
- Waxing over oxidation. Wax just seals the chalk in. Compound first.
- Working in direct sun. Product bakes on, streaks and is hard to remove.
- Using a high-speed rotary buffer without experience. It can burn through gelcoat on edges in seconds. A dual-action polisher is much more forgiving.
- Using "cleaner wax" on badly oxidized gelcoat. It is not strong enough. Correct first, then use a pure wax.
- Dish soap for regular washing. It strips the wax you just put on.
- Acid cleaners on pontoon tubes without gloves, eye protection or rinsing. They can burn skin, streak aluminum and damage decals and trailer paint.
- Squirting soap on a fuel or oil sheen to make it "disappear." Soap only pushes the oil down into the water. Use absorbent pads, and report real spills to the marina.
- Scrubbing a painted bottom hard while the boat is in the water. Antifouling paint comes off into the water. Use soft, non-abrasive methods, or leave in-water bottom cleaning to a diver who follows local rules.
When to call a pro
- The gelcoat is chalky after two rounds of compound, or you are seeing the fiberglass weave or a different color underneath (it is worn through)
- You see blisters, spider cracks or soft spots: those are repair or survey jobs, not polishing jobs
- The boat is large or tall and you need scaffolding or lifts
- The hull is painted, wrapped or has a ceramic coating and you are not sure what products are safe
- Pontoon tubes have deep pitting, white crusty corrosion or dents: have a pontoon or aluminum specialist look at them
Tips
- Keep separate towels for compound, polish and wax so you do not drag grit back onto finished areas.
- A good boat cover is the best way to slow oxidation between waxings.
- Do one side of the boat per day if the job feels huge.
- Microfiber towels last longer if you wash them separately, without fabric softener.
Official references
We read these to write this guide. Your engine's own manual always wins.
Safety: BoatMend is for information only and does not replace a certified marine technician. You are responsible for your safety and your boat. Read the full disclaimer.
Last updated 2026-10-24
Related guides
How to Repair Small Gelcoat Chips and Scratches
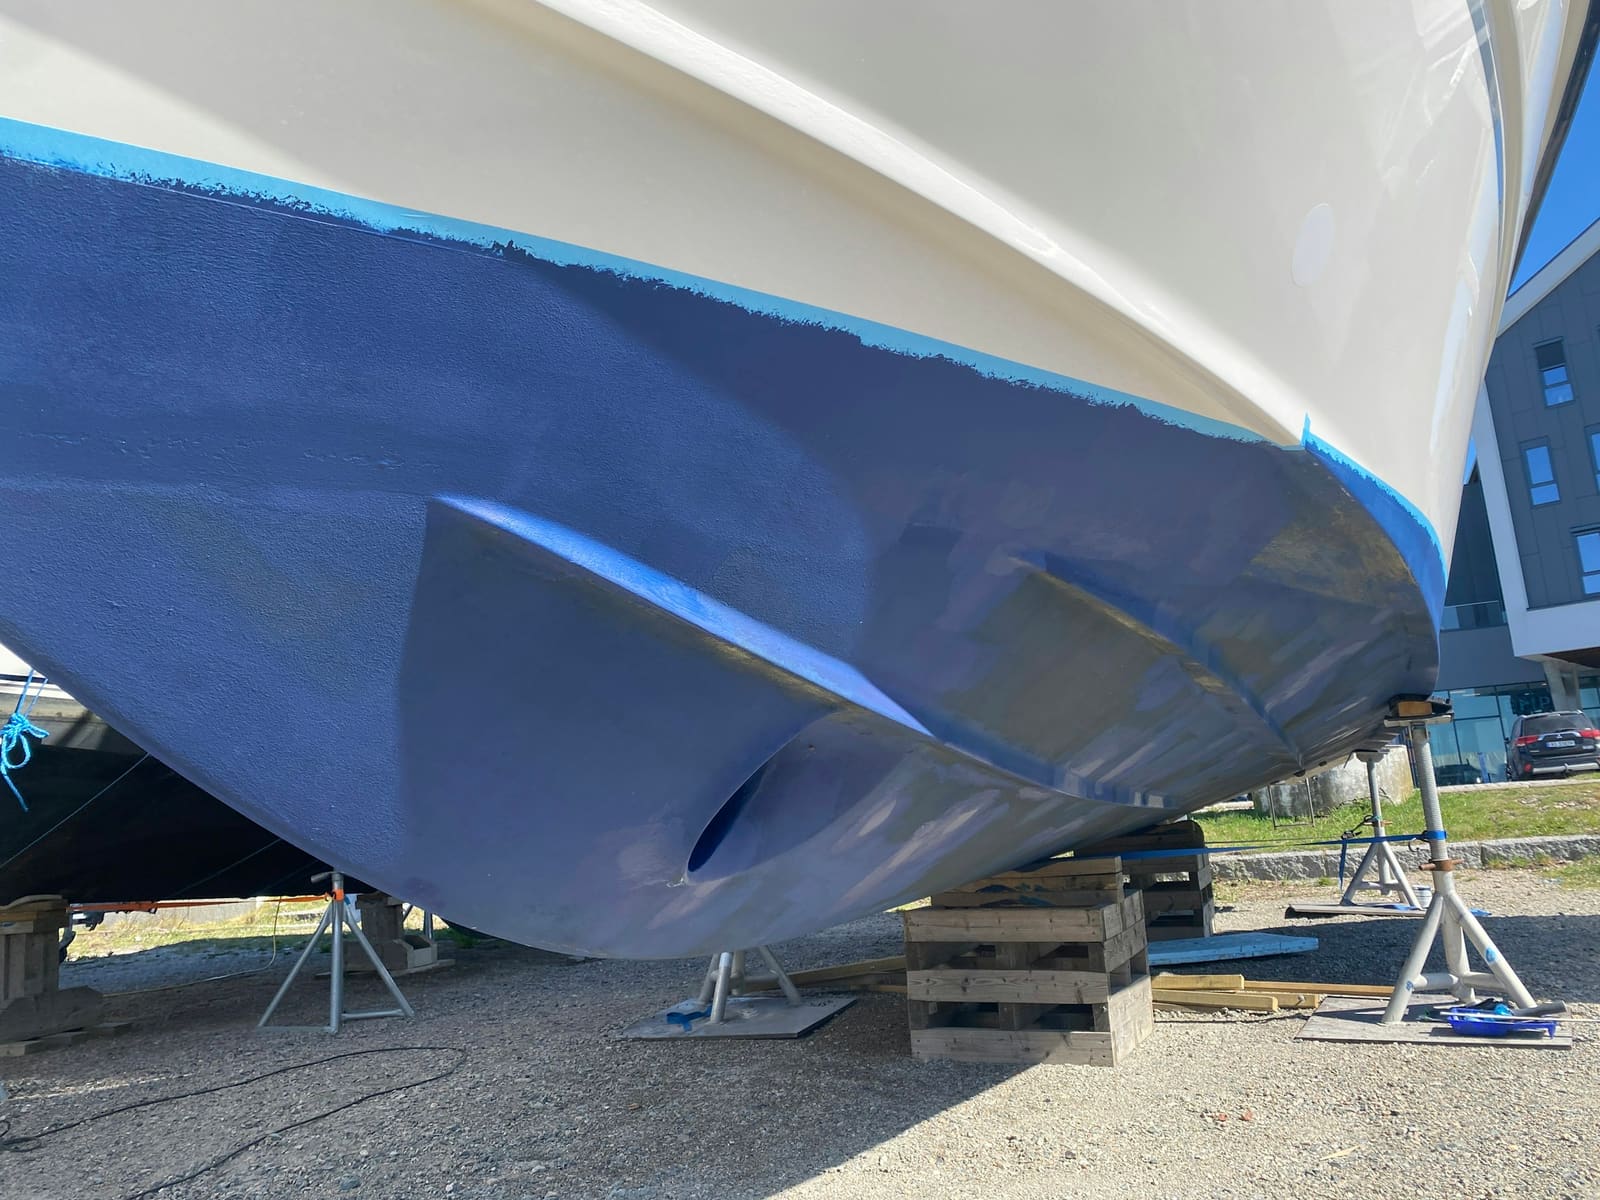
Fill and blend small chips, dings and scratches in your boat's gelcoat with a repair kit so they stop letting water into the fiberglass and look close to new. Also learn to spot damage that is structural and needs a pro.

Launch Day and Haul-Out Checklist for Trailer Boats
A step-by-step checklist for getting your boat off the trailer and back on again safely and quickly, from the drain plug and tie-downs to the blower and ramp etiquette. Following it in order prevents the classic mistakes that sink boats and back up the ramp.
How to Inspect and Replace Sacrificial Anodes (Zincs)
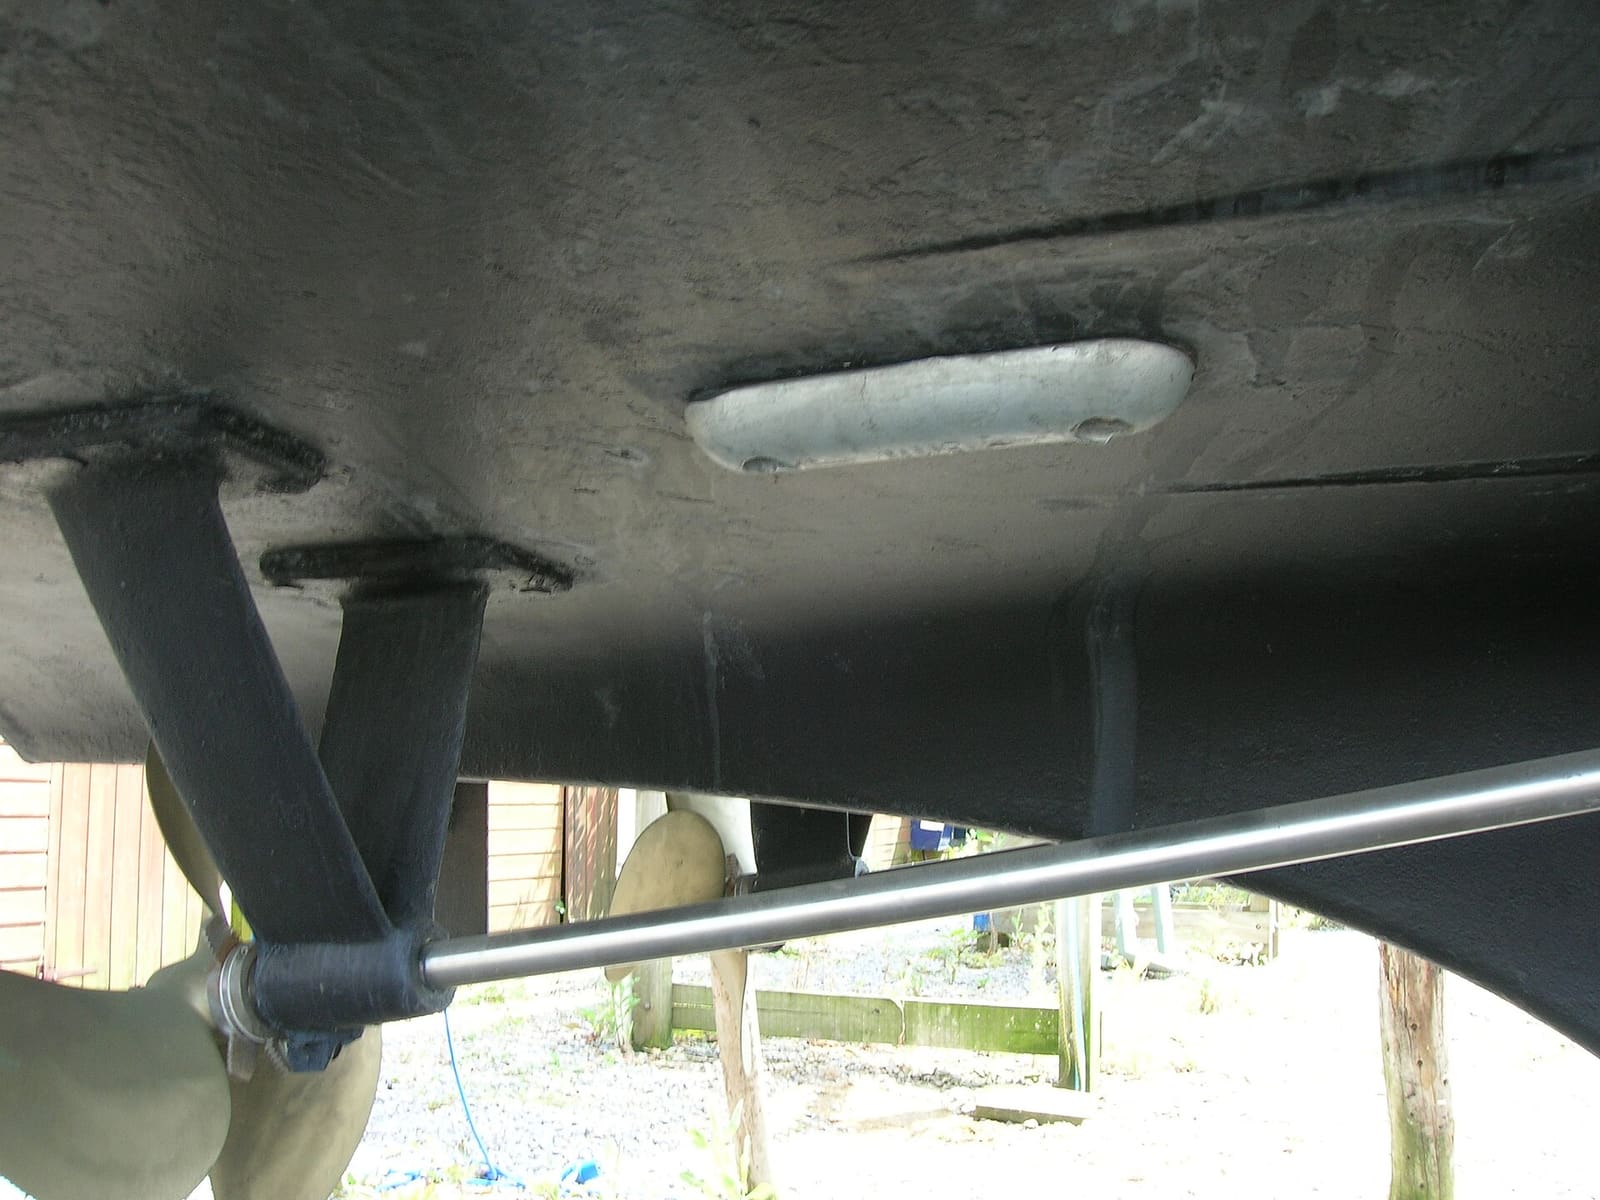
Check the anodes on your outboard, sterndrive or inboard running gear, replace them when they are half gone, and choose the right metal for the water you boat in. Fresh anodes are cheap insurance against expensive corrosion damage to your lower unit, drive and prop.