Charging a 24V or 36V Trolling Motor Bank: Onboard Chargers, Charging While You Run, and Solar
A 24- or 36-volt trolling motor bank only lasts if every battery in it gets fully charged. Learn how multi-bank onboard chargers handle series banks, how alternator and DC-to-DC chargers top up the bank from the outboard, where solar fits, what changes with lithium, and the wiring habits that keep it all safe.
Time
3 h
Shop would charge
$200-900
Applies to
Outboard, All engines
Safety first: A trolling bank stores a lot of energy, and a dropped wrench across a terminal can weld itself in place and start a fire. Take off rings and watches, disconnect the bank before working on it, and cap or tape loose ring terminals. Lead-acid batteries give off explosive hydrogen while charging; Minn Kota advises opening a closed battery compartment and letting it air out for about 15 minutes before making connections, and keeping chargers out of closed-in, unventilated spaces. Only use a charger made for marine use and ignition protected if it is anywhere near gasoline fuel. A battery that is hot, swollen, smoking, hissing or smelling of rotten eggs is an emergency: unplug shore power from the dock end, get everyone away and call 911 or the Coast Guard on VHF 16. The AC side of an onboard charger is shore-power wiring; if you're not sure about it, use a marine electrician.
Owners often ask
- Can I charge my 36-volt trolling motor batteries from my outboard while I run between spots?
- Can I charge a 24-volt trolling bank with one 12-volt charger by moving the clamps from battery to battery?
- Can I charge two 12-volt lithium trolling batteries in series with a multi-bank charger?
This guide walks you through it. Still stuck? Ask the AI Mechanic about your engine.
Tools
- Digital multimeter
- Wire stripper and a ratcheting crimper, heat gun
- Socket set or wrenches for battery terminals
- Drill and stainless fasteners (bolts, nuts and washers) for mounting
- Cable ties, chafe sleeve and labels
Parts & supplies
- Onboard charger with one output per 12V battery in the trolling bank (or a single-output charger made for your bank's voltage and chemistry)
- Alternator or DC-to-DC charger for charging while running (optional), matched to your battery type and bank voltage
- Fuses and holders specified by the charger maker, close to each battery
- Tinned marine wire, ring terminals and adhesive-lined heat-shrink
- Solar panel and charge controller for your bank voltage and chemistry (optional)
Before you start
Why series banks are tricky: a 24-volt trolling motor usually runs on two 12-volt batteries wired in series, and a 36-volt motor on three. Series means the current passes through every battery, so the bank is only as good as its weakest one. If one battery is always a little less charged than the others, it gets worked harder and fails first, and then the whole bank feels weak. The goal is simple: every battery fully charged, every time.
Your options:
- Onboard multi-bank charger: the standard solution. It plugs into shore power and has one isolated output per 12-volt battery.
- Charging while you run: an alternator charger or a DC-to-DC charger takes spare charging current from the outboard and feeds the trolling bank.
- Solar: a panel and controller that keep the bank topped up while the boat sits, or add a little during a long day.
- Lithium: often a single 24- or 36-volt lithium battery instead of two or three 12-volt batteries, which changes the charger you need.
First, read the manuals: your trolling motor's manual (bank voltage and breaker), your battery maker's charging specs, and the charger's installation manual. Minn Kota's help pages state plainly that you should check with the battery maker before charging a battery. If you haven't set up the bank wiring yet, start with the trolling motor wiring guide.
Steps
Look at the motor's label or manual for 12, 24 or 36 volts. Then identify each battery: flooded, AGM, gel or lithium, its age and its rating. Batteries in the same series bank should be the same make, model, size and age. Mixing an old battery with new ones is the most common reason a bank never charges evenly.
For a lead-acid series bank, pick a charger with one output (bank) per 12-volt battery: two for 24 volts, three for 36 volts, plus one more if you also want it to charge the starting battery. Each output charges its own battery as an independent 12-volt charger. Minn Kota notes that its outputs are fully independent and that the series jumper cables can stay connected while charging.
Don't try to charge a series bank with a single 12-volt output; Minn Kota says outright that series-connected batteries can't be charged with one bank of its chargers. And don't move a single 12-volt charger from battery to battery; the batteries end up at different charge levels.
Charge time depends on battery size, how deeply you drained it, the battery's condition and charger output. Minn Kota's published tables show roughly 10 to 12 hours to recharge at 6 amps per bank, about 4 to 6 hours at 10 amps and about 3 to 5 hours at 15 amps for its chargers. If you fish two days in a row, size the charger so the bank is full by morning. Check that the battery maker allows that charge current.
Most modern chargers let you choose flooded, AGM, gel or lithium for each bank. A wrong setting undercharges or overcharges. Lithium needs a charger with a lithium setting approved by the battery maker; Minn Kota lists only "certain" 12-volt LiFePO4 batteries for its lithium-capable models. A single 36-volt lithium battery needs a 36-volt lithium charger, usually the one its maker recommends; a multi-bank 12-volt charger won't charge it. If your lithium bank is two or three 12-volt batteries in series, the multi-bank approach still applies: RELiON, a lithium battery maker, recommends a multi-bank charger so each 12-volt battery is charged separately and the batteries stay balanced. RELiON says many AGM profiles also work for its batteries, but that is one maker's advice; use the profile your own battery maker approves.
Bolt the charger down securely, using all the mounting holes; boats pound. Minn Kota recommends:
- not mounting the charger directly above lead-acid batteries (their gases corrode it), and never putting a battery on top of it
- keeping it above the waterline and away from fuel tanks
- leaving about 6 inches of open space around it for cooling
Its chargers can get as hot as 150°F and reduce output when hot, so a stuffy compartment means slower charging.
Connect each output's positive to its battery's positive and its negative to that battery's negative, exactly as the charger's diagram shows for a series bank. Keep the factory fuses near the battery end. Minn Kota says not to shorten its output cables and, if you must extend them, to use its extension kit or wire no smaller than its instructions specify, with a maximum total length. Label each output and battery so you can trace them later.
The charger's AC cord connects to shore power through a properly wired, GFCI-protected outlet or a boat's AC system. Minn Kota recommends avoiding extension cords when possible, and if you must use one, using a properly rated, correctly sized cord in good condition. A charger hard-wired into the boat's AC panel is shore-power work; follow the onboard charger and shore power safety guides, or have a marine electrician do it.
Charge until the charger shows every bank complete. Then disconnect it, wait a few hours and measure each battery's resting voltage with a multimeter. In a healthy, evenly charged bank, the batteries read about the same. One that reads noticeably lower is the weak link; have it load tested.
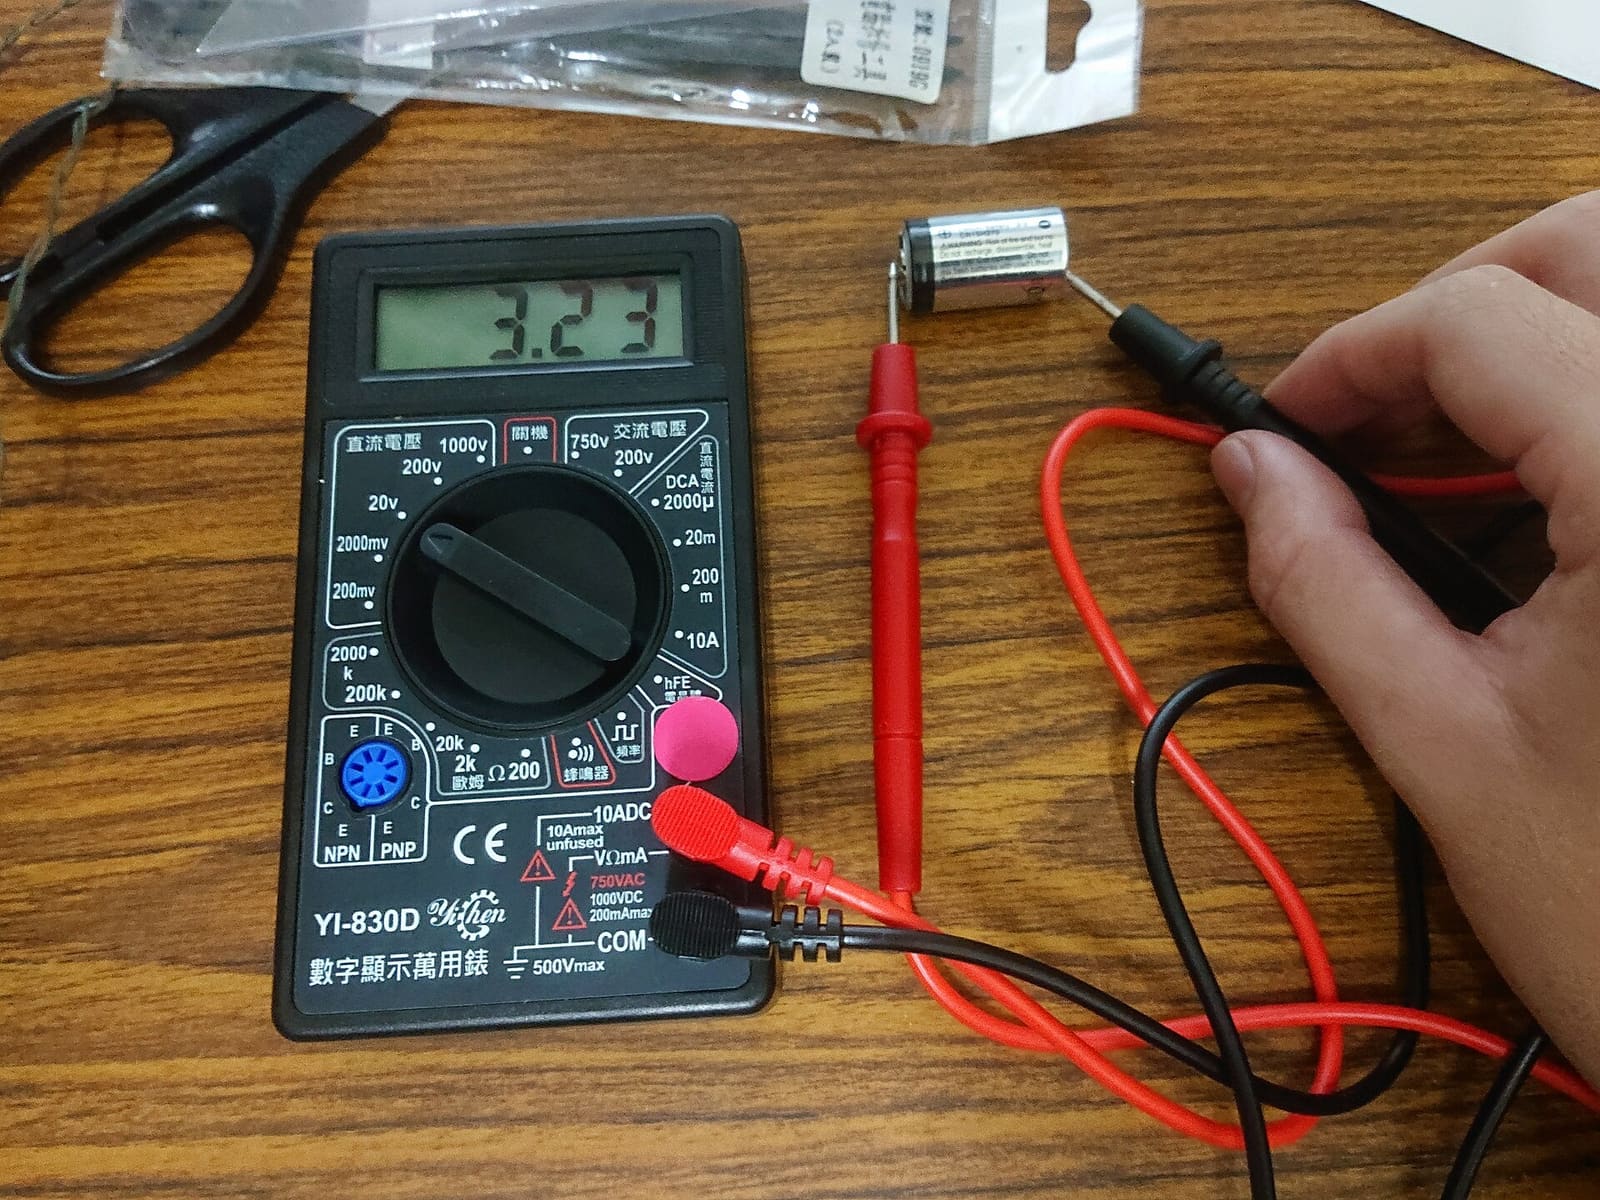
Set the meter to DC volts and touch the probes to each battery's own posts, red to positive and black to negative (this photo shows a small cell; a 12-volt battery is measured the same way). Photo: Jiazheng0609 / Wikimedia Commons · CC BY-SA 4.0 An alternator or DC-to-DC charger is worth it if you run long distances between fishing spots, fish multi-day tournaments without shore power, or drain the bank before the day ends. It won't replace the shore charger: Minn Kota positions its alternator chargers as a supplement, and a Navico technical manager told Boating Magazine that even with a DC-to-DC charger you still need a lithium-specific AC charger to bring a lithium bank to full.
Every amp going to the trolling bank comes out of the outboard's charging output, which on many outboards is modest. Minn Kota lists a minimum alternator input of about 12, 25 and 35 amps for its one-, two- and three-bank alternator chargers to reach full output. Look up your outboard's charging output (at the rpm you actually run) in its manual, and remember electronics, livewells and lights use some of it first.
- Lead-acid alternator chargers: Minn Kota's alternator chargers start charging only once the starting battery reaches about 13.6 volts with the ignition on, so the starting battery is protected, then push about 10 amps to each output. Minn Kota says they suit flooded and AGM batteries, are not recommended for gel, are not compatible with lithium trolling batteries, and that the starting battery should never be lithium either (its voltage stays high and the charger won't switch off).
- DC-to-DC chargers: these take power from the 12-volt starting side and output a regulated charge, and some models step 12 volts up to 24 or 36 volts. Boating Magazine notes models that convert voltage, such as 12 to 24 volts. Choose one rated for your bank voltage and chemistry, and wire its enable or trigger wire so it only runs with the engine on (see the DC-to-DC charger install guide).
Never connect the starting battery directly to a trolling bank to "share" charge. It drains the starting battery and, on a series bank, can short batteries together.
Follow the charger manual exactly. For Minn Kota's alternator chargers, the input connects to the starting battery, each output to its trolling battery, and an ignition wire to a 12-volt source that is live only with the key on. Fuses stay close to each battery. Route the wires away from fuel lines, sharp edges and moving steering parts, and protect them with chafe sleeve. If your trolling motor's manual has a warning about connecting the trolling bank's negative to the engine battery's negative (some motors with built-in sonar care about this), follow it.
A small solar panel can keep a trolling bank topped up on a lift or a mooring, and helps a little during a sunny day. Use a charge controller set up for your battery chemistry and bank voltage (a 12-volt controller across a 36-volt bank won't work), mount the panel where it won't be stepped on, and fuse the controller's output near the battery. See the solar panel care guide for panel upkeep.
Plug in after every trip, even a short one; lead-acid batteries last longer when they're never left partly discharged. Minn Kota says its chargers are designed to be left plugged in, switching to a maintenance (float) mode. Record battery install dates, resting voltages and any battery replaced in BoatMend so you can spot a weakening battery before it ruins a tournament day.
Common mistakes
- Charging a series bank with one 12-volt charger moved from battery to battery.
- Mixing new and old batteries, or different brands and sizes, in the same series bank.
- Leaving the charger set to flooded when the batteries are AGM or lithium.
- Using a lead-acid alternator charger on lithium trolling batteries, or with a lithium starting battery.
- Assuming a small outboard can feed a three-bank running charger plus the electronics.
- Mounting the charger right over the batteries or in a sealed compartment.
- Cutting the charger's output cords shorter "to make it neat."
- Running an old household extension cord to the boat in the rain.
When to call a pro
- Hard-wiring the charger into the boat's AC panel or shore-power inlet
- Any lithium conversion where a running charger, the starting battery and a BMS have to work together
- Tying the trolling bank into the main battery switch, a combiner or the engine charging system
- Burning smells, melted insulation, a hot terminal or a charger that trips the dock breaker or GFCI
- A battery that is swollen, leaking, hot or hissing
- Repeated low-battery problems after you've confirmed the batteries are healthy
Tips
- Write the charger's battery-type setting on a label next to it, especially after switching chemistries.
- A charger's indicator lights tell you a lot; check them each time you plug in.
- If your charger has a spare bank, use it to keep the starting battery or a kicker battery charged too.
- When you replace one battery in a series bank that's more than a couple of years old, consider replacing them all.
- Keep terminals clean and tight; a loose connection looks like a weak battery.
Official references
We read these to write this guide. Your engine's own manual always wins.
Safety: BoatMend is for information only and does not replace a certified marine technician. You are responsible for your safety and your boat. Read the full disclaimer.
Last updated 2026-11-06
Related guides
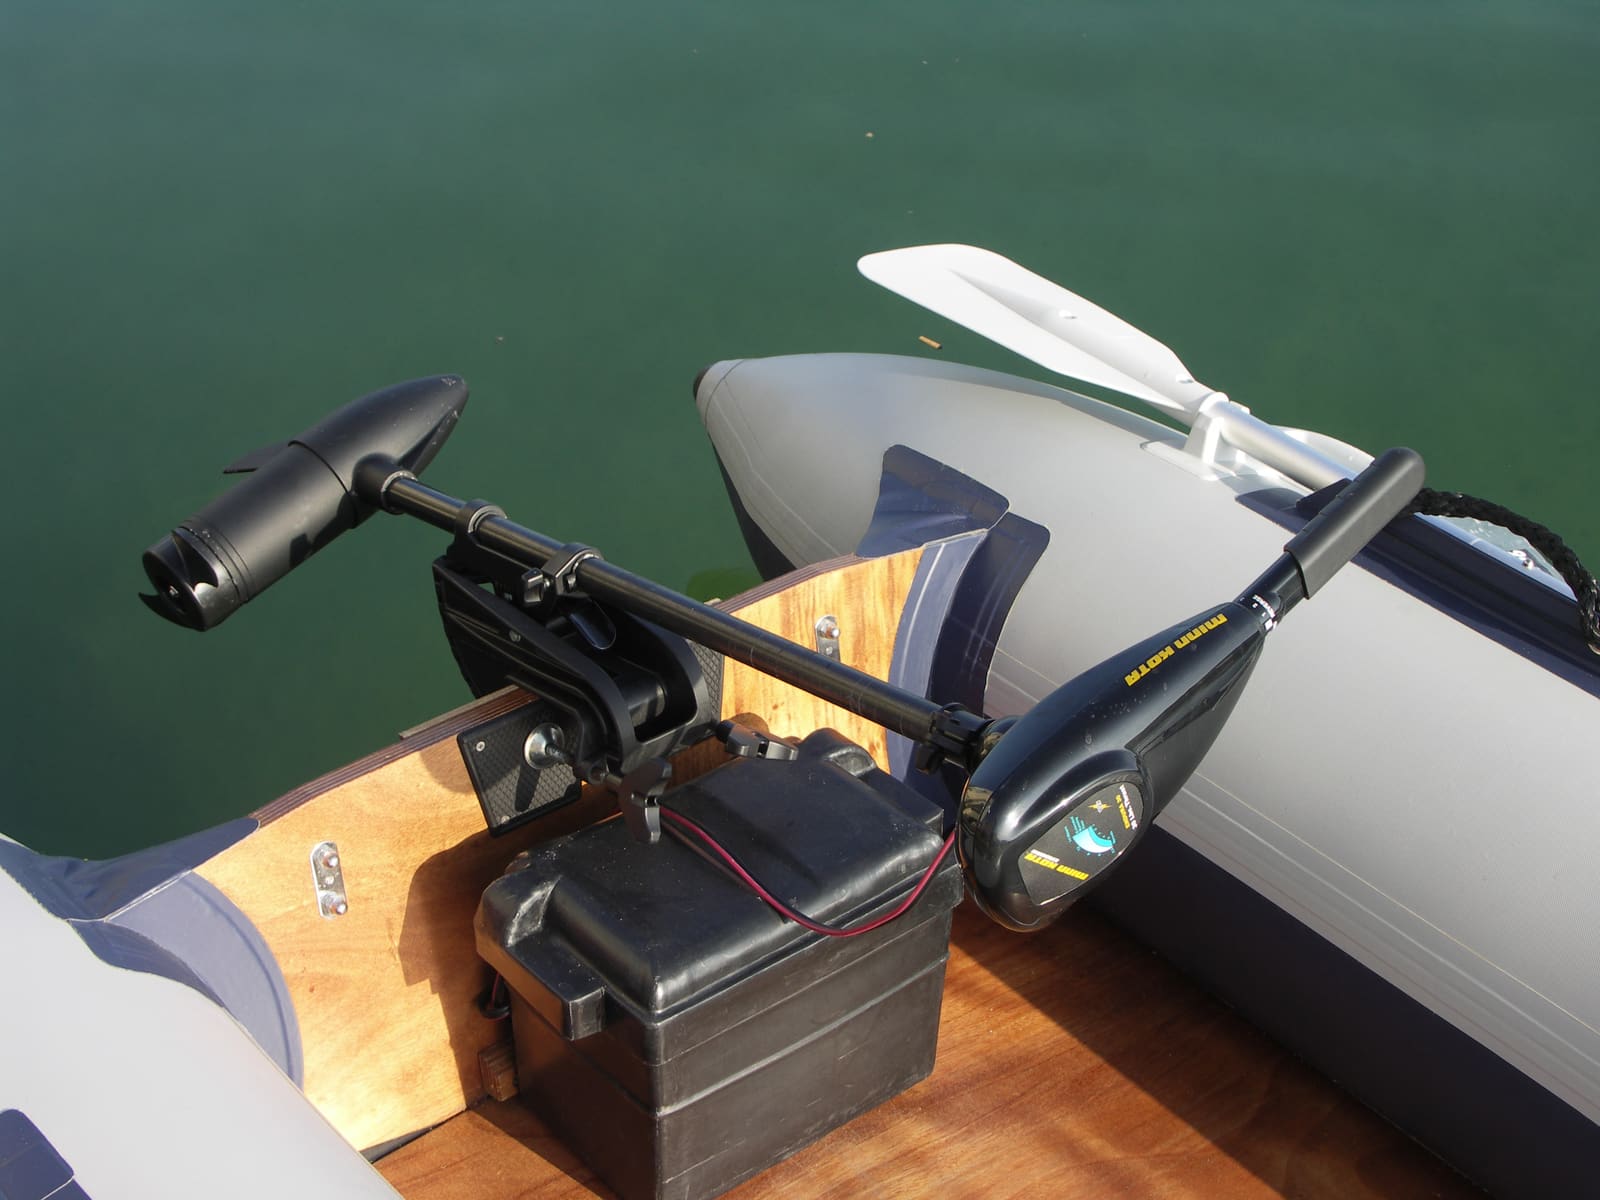
How to Wire a 12, 24 or 36-Volt Trolling Motor and Charge Its Batteries
Set up the battery bank for your electric trolling motor the right way: matched deep-cycle batteries in series or parallel, a circuit breaker sized from the motor maker's chart, a proper plug, and a multi-bank charger that keeps every battery healthy. High-current wiring that runs long distances or ties into other systems is a job for a marine electrician.
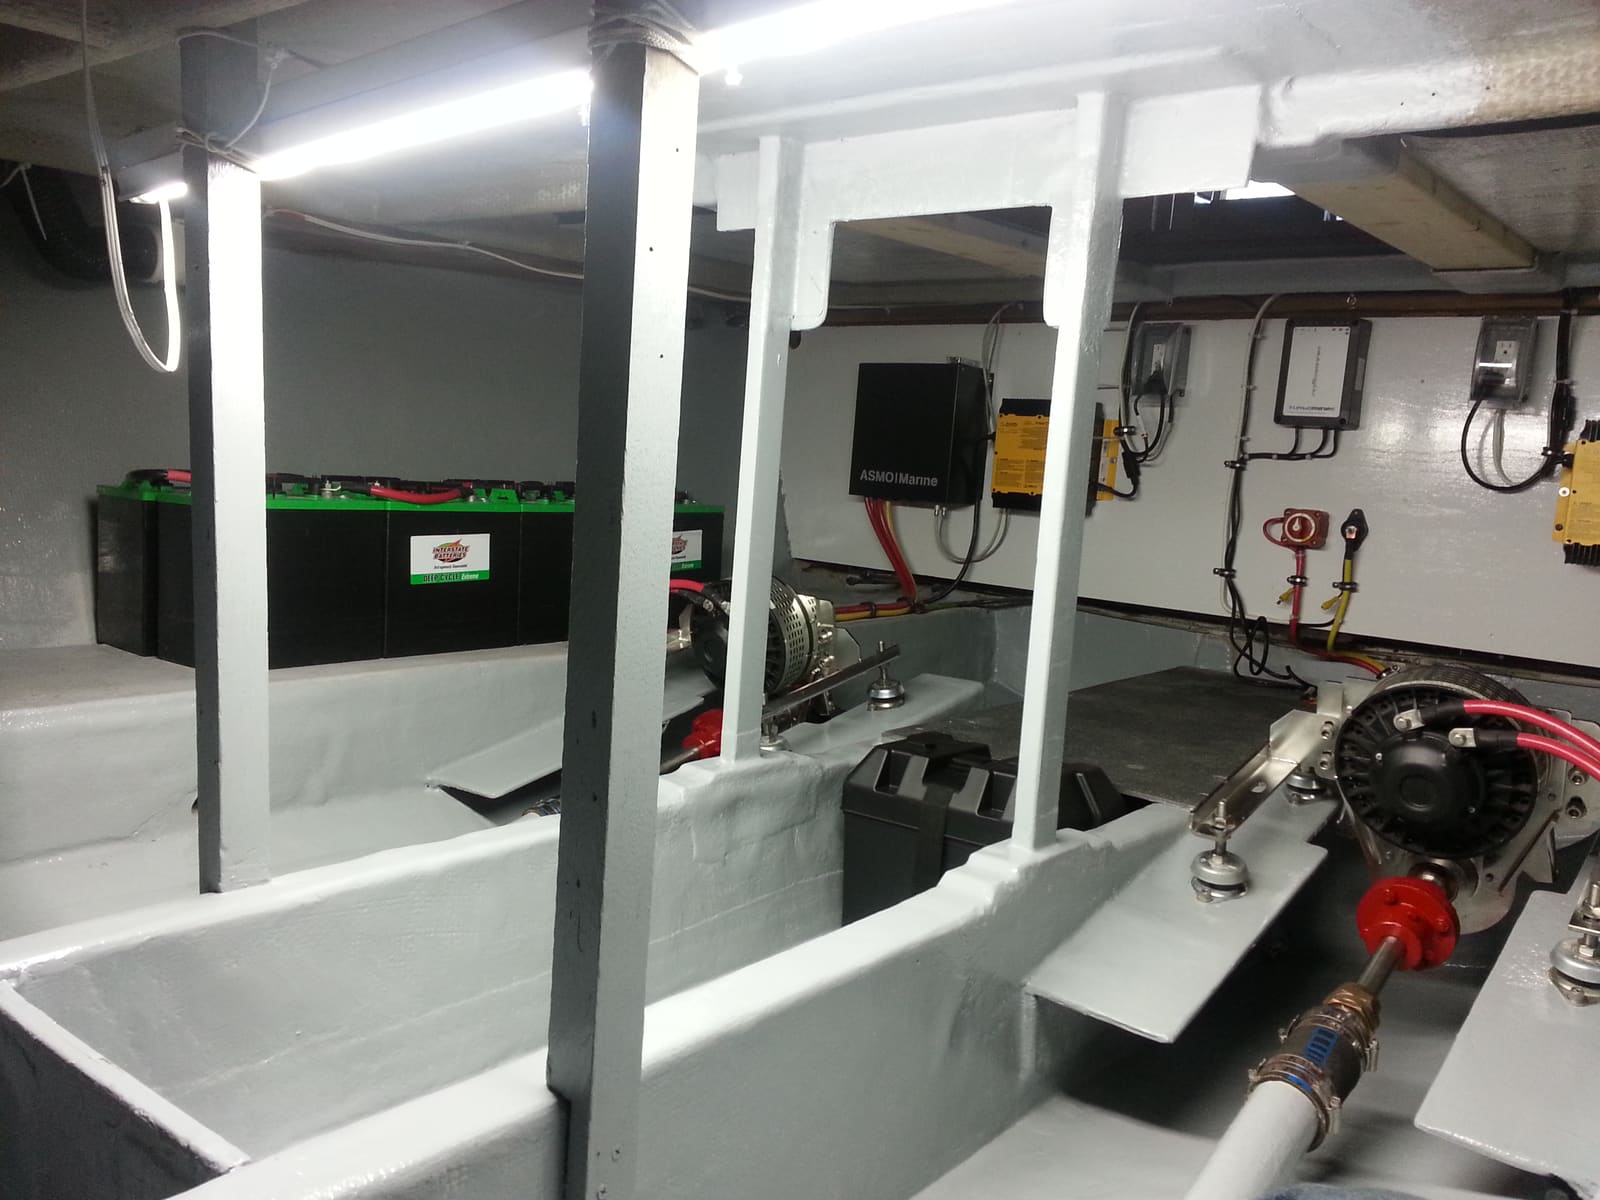
How to Choose, Install and Maintain an Onboard Battery Charger
Pick the right marine charger for your batteries (how many banks, how many amps, flooded, AGM or lithium), mount and fuse it safely, set the charge profile, and use it to keep batteries healthy all season and through the winter. The AC (shore power) side is a job for a marine electrician.

Trolling Motor Won't Run, Runs Weak or Cuts Out: How to Troubleshoot It
Work through a dead, weak or on-and-off trolling motor from the cheapest checks to the hardest: battery charge and load test, connections, the breaker, line wrapped behind the prop, stow and deploy problems and GPS anchor glitches. Most problems turn out to be power supply; motor head and steering electronics are a service-center job.

Installing a DC-to-DC Charger: Charging a Lithium or Second Battery Bank from Your Engine
A DC-to-DC charger lets the engine's alternator refill a lithium (or separate) house bank with the right charge profile while protecting the starting battery and the alternator. Learn why you need one, where it can and can't be mounted, how the fusing and cable sizing work, and which settings matter, so you can plan the job or check a technician's work.
Switching to Lithium (LiFePO4) Boat Batteries: What Changes and When It's Worth It
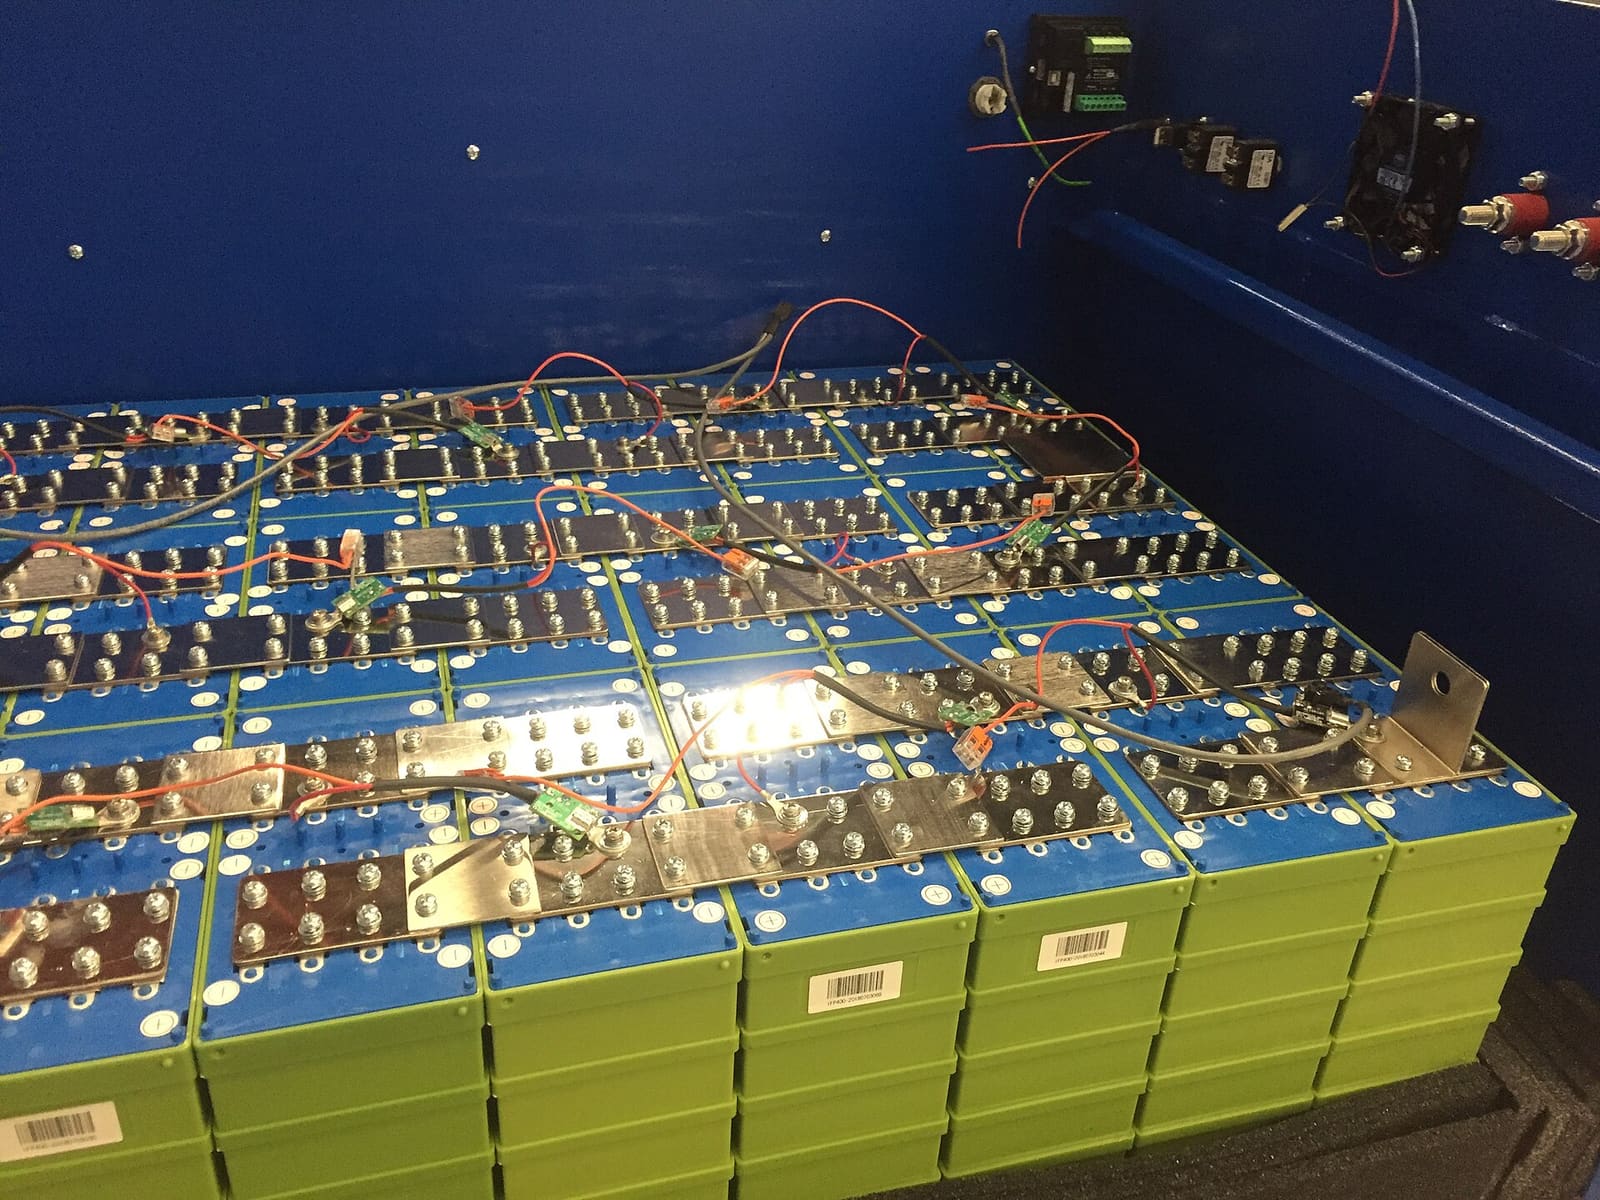
What really changes when you swap lead-acid for lithium iron phosphate (LiFePO4) batteries on a boat: the battery management system, charger settings, protecting the alternator with a DC-DC charger, not mixing chemistries, cold-weather charging, and which jobs (trolling, house, starting) suit lithium. House-bank conversions should be designed and installed by a qualified marine electrician.

Marine Battery Care: Test, Charge and Store for Winter
Check your boat battery's health, charge it the right way for its type (flooded, AGM or lithium), and store it so it is ready in spring. Most "boat won't start" calls start with a neglected battery.
How to Care for Boat Solar Panels, Connectors and the Charge Controller
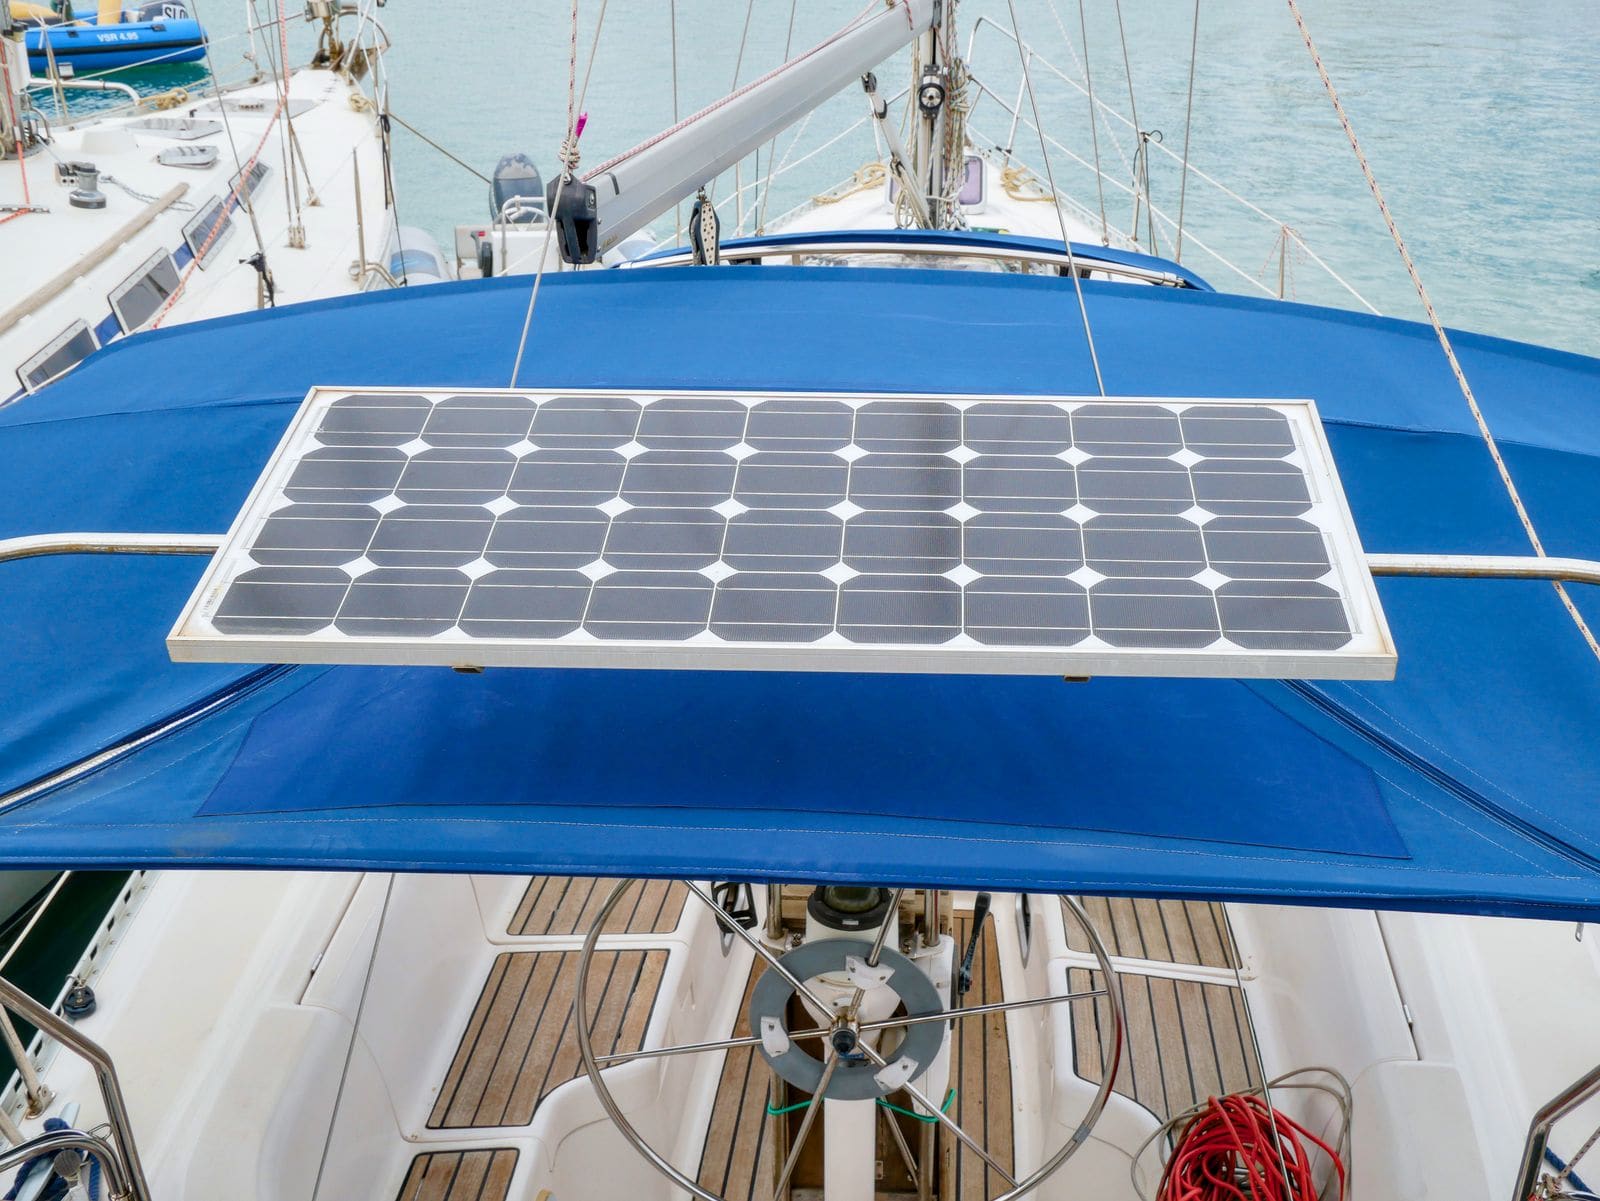
A boat solar setup is quiet and almost maintenance-free, but salt, shade, loose connectors and a wrong battery setting quietly cut its output or hurt the batteries. Learn the cleaning, inspection and controller checks to do each season, and how to leave the system for winter.

How to Size a House Battery Bank: Load List, Usable Capacity and Charging
Work out how many amp-hours your boat really uses in a day, how much of a battery's rated capacity you can actually use with lead-acid, AGM or lithium, how much reserve to add, and how your charging sources change the answer, so you buy the right house bank the first time.
Shore Power Safety: Cords, Inlets, Burned Plugs and Electric Shock Drowning
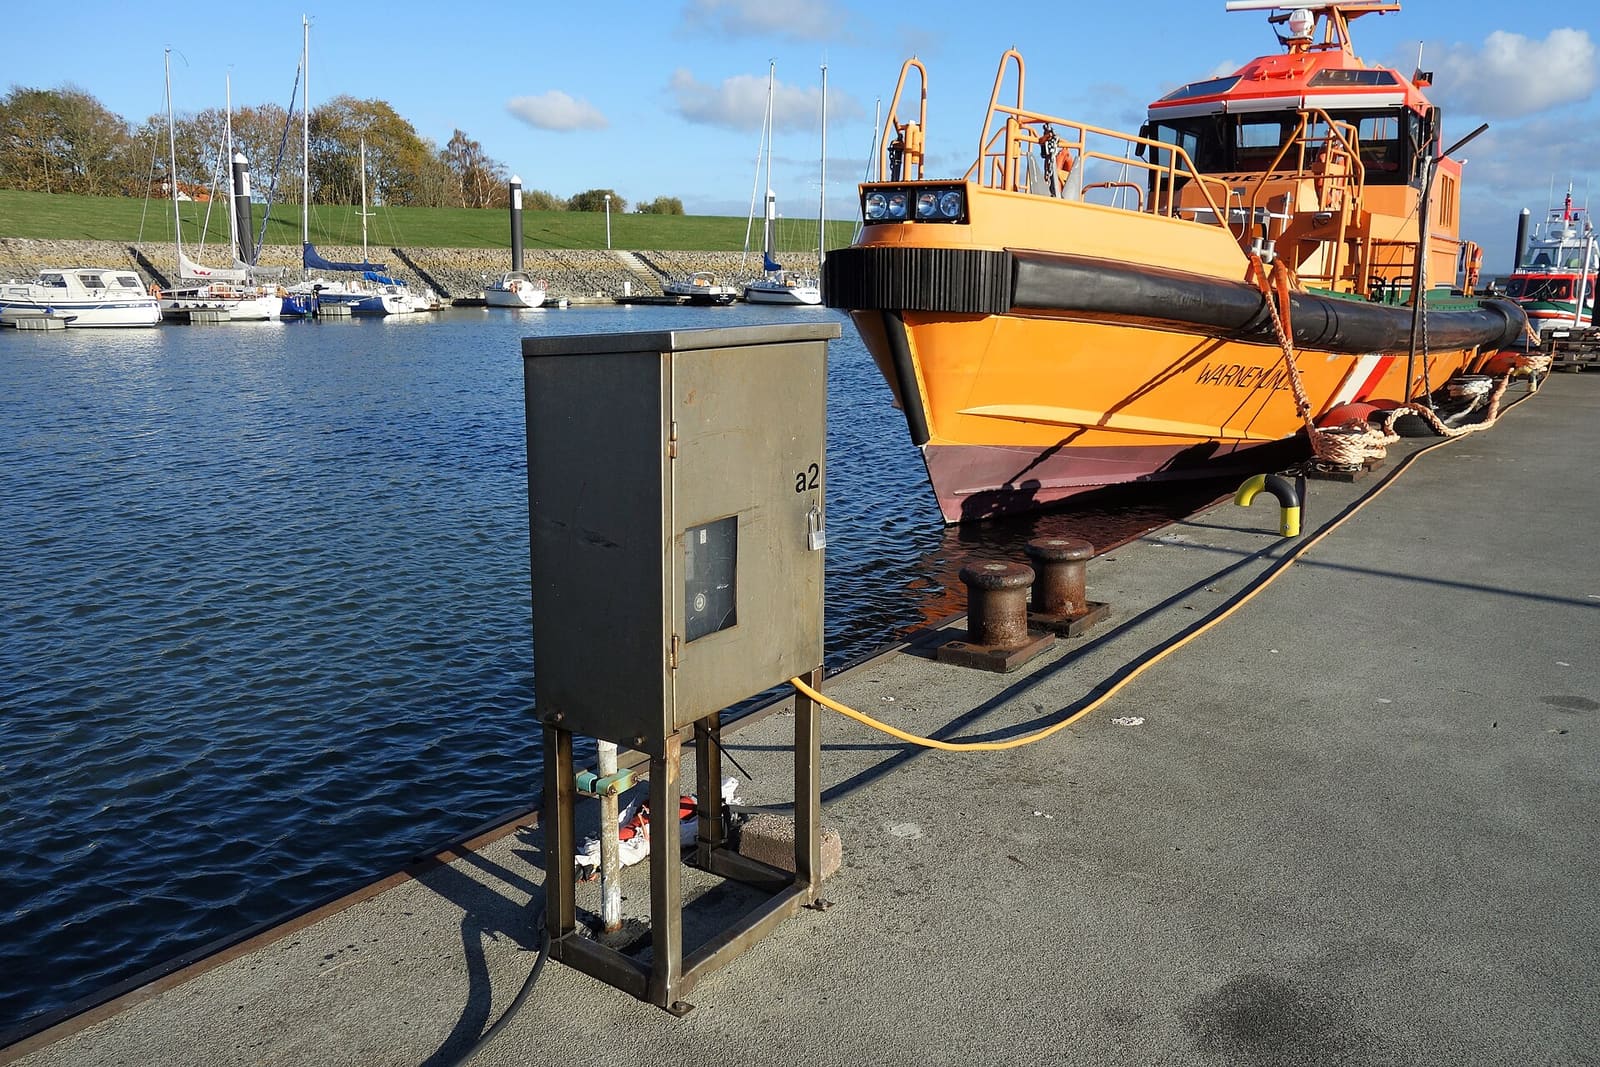
An owner's inspection routine for your shore power cord, plugs, boat inlet, galvanic isolator and ground-fault protection, plus the right way to plug in and the facts about Electric Shock Drowning. This guide is for looking and testing only; any electrical repair belongs to an ABYC-certified marine electrician.

Electrical Safety at Your Private Dock or Boat Lift: GFCI, Shock Drowning and Annual Checks
Lights, outlets, lift motors and de-icers at a home dock put household current right next to the water, and a hidden fault can kill a swimmer without any warning. Learn the owner checks you can do safely, the protection your dock should have, the no-swimming rule, and which jobs must go to a licensed electrician.