Installing a DC-to-DC Charger: Charging a Lithium or Second Battery Bank from Your Engine
A DC-to-DC charger lets the engine's alternator refill a lithium (or separate) house bank with the right charge profile while protecting the starting battery and the alternator. Learn why you need one, where it can and can't be mounted, how the fusing and cable sizing work, and which settings matter, so you can plan the job or check a technician's work.

Time
6 h
Shop would charge
$400-1500
Applies to
Outboard, Sterndrive (I/O), Gas inboard, Marine diesel
Safety first: You will be working on cables that connect directly to batteries, where a dropped wrench can melt metal and start a fire. Switch every battery off, disconnect the negatives before touching any positive, and take off rings and watches. Many DC-to-DC chargers are not ignition protected, so they must not go in a gasoline engine compartment or any space where fuel vapor can collect. A lithium battery that is hot, swollen, smoking or hissing is an emergency: get people off the boat, call 911 or the Coast Guard on VHF 16, and don't try to move it. If you aren't comfortable with heavy DC wiring, have an ABYC-certified marine electrician do the install and use this guide to understand and check the job.
Owners often ask
- Can I charge my lithium house battery straight from my outboard, or do I need a DC-to-DC charger?
- Where can I mount a DC-to-DC charger on a gas boat?
- Can I run a DC-to-DC charger off a small outboard that only has a charging stator?
This guide walks you through it. Still stuck? Ask the AI Mechanic about your engine.
Tools
- Digital multimeter (DC volts)
- Cable cutters, strippers and a proper lug crimping tool (or have the cables made up by a shop)
- Heat gun for adhesive-lined heat-shrink
- Drill, bits and stainless screws for mounting
- Wrench and socket set, screwdrivers
- Smartphone with the charger maker's app, if the unit is configured by Bluetooth
- Safety glasses; remove rings and watches
Parts & supplies
- Marine DC-to-DC charger sized for your bank and alternator (input and output voltage to match your system)
- Tinned marine cable in the size the charger's manual calls for (red positive, yellow or black negative)
- Two fuses or circuit breakers with holders, sized per the charger manual (one near each battery)
- Tinned copper ring terminals and adhesive-lined heat-shrink
- Fused small-gauge wire for a remote on/off or engine-run signal, if your installation uses one
- Cable clamps, chafe sleeve and labels
Before you start
What a DC-to-DC charger does: it takes power from the starting-battery side (where the alternator charges) and feeds a second bank through its own built-in charger. Boating Magazine describes it as using the extra alternator current, usually drawn from the starting bank, and converting it into a multistage charge profile that suits the house battery's chemistry. While it works, it also keeps the two banks separated, the way an automatic charging relay (ACR) would.
Why lithium needs one: a Navico technical manager told Boating Magazine that a plain ACR won't adequately charge a lithium iron phosphate (LiFePO4) house bank, and that if the lithium battery's management system shuts the battery off while the alternator is feeding it, the sudden disconnect can damage a diode in the alternator. Battle Born Batteries makes the same point: a BMS shutdown during alternator charging can severely damage the alternator and the boat's electrical system. A DC-to-DC charger puts a buffer between the two. Battle Born also notes the trade-off: it's slower than direct charging with a dedicated external regulator, which is a bigger, more expensive project for boats with large banks.
It's also useful when: the second bank is a different voltage (for example a 24- or 36-volt trolling bank on a 12-volt boat; some chargers step up), the second battery sits far from the engine, or the second battery is an AGM or gel that wants a different charge than the engine gives. See battery isolator types for how it compares with diodes and ACRs.
What it won't do: it won't make a small alternator bigger. The charger can only pass on what the engine has to spare, and it won't fully charge a big lithium bank on short trips. The same Navico expert says you will still need a lithium-specific shore charger to bring the bank to full between trips. Plan the whole job around the lithium battery conversion guide if that's where you are headed.
Read the manual first. Every model has its own cable sizes, fuse ratings, mounting rules and settings. The numbers in the charger's installation manual win over anything general in this guide.
Steps
Find your engine's alternator rating in the owner's manual or on the engine maker's spec sheet. Small outboards may have only a modest charging output, while inboards and big outboards have much more. A DC-to-DC charger is sized by its output current; choose one that the alternator can feed with room left over for the engine's own needs and your running electronics. Many units also let you limit the input current so a smaller alternator isn't overworked; Victron's Orion XS manual lists an input current limit setting for exactly that reason.
Two numbers matter, and Mercury explains the difference in its own article on outboard alternators: the rated output printed on spec sheets is the most the alternator can make, while the net output is what's left for the batteries after the engine's own loads (ignition, fuel pumps, trim, steering). Output also rises with rpm, so an engine that spends the day at idle or trolling speed delivers far less than its rating. Many smaller outboards don't have a belt-driven alternator at all but a flywheel charging coil (stator) with a modest output; on those, ask the engine dealer before adding any DC-to-DC charger, and pick a small unit or set a low input limit.
Match:
- Input voltage to your starting system (12 volts on most boats).
- Output voltage and chemistry to the house bank. Boating Magazine lists models in 12-to-12, 12-to-24 and 12-to-48-volt versions, and units that can charge flooded, AGM, gel and lithium batteries.
- Output current to your alternator (Step 1) and the battery maker's recommended charge rate.
- Marine suitability: look for a unit sold for marine use, with the enclosure rating and mounting instructions you need. If it must go near the engine on a gas boat, it has to be ignition protected (Step 3).
This is where many installs go wrong. Boating Magazine's install used a charger that the maker states is not ignition protected, so they kept it out of the engine compartment, and also kept it from being mounted above a lead-acid battery that could release fumes. Federal rules require electrical parts in a gasoline engine space to be ignition protected; see ignition-protected parts. Diesel boats don't have the same vapor rule, but a hot, wet engine room is still a bad home for electronics.
Good spots are dry, ventilated, close to the house bank and easy to reach. Victron's Orion XS manual asks for a non-flammable surface, about 10 cm (4 inches) of free space around the unit for cooling, and never mounting directly above a battery. A DC-to-DC charger makes heat; in a sealed locker it will reduce its output to protect itself.
A typical layout has three heavy cables:
- Input positive: from the starting battery (or the starting side of your battery switch, per the manual) to the charger's input.
- Output positive: from the charger's output to the house battery positive.
- Negative: a common negative, run as the manual shows.
Add any small signal wire your setup needs (Step 9). Sketch it, mark where each fuse goes, and decide how the new bank will connect to your battery switch and battery monitor shunt. If the house bank has a battery monitor shunt, all house negatives, including the charger's, must land on the shunt's system side so the monitor counts the charge.
Cable size depends on the current and the round-trip length: from the battery to the charger and back. Too thin a cable wastes voltage as heat, and a DC-to-DC charger may then sense a low input and cut out. Victron's wiring guide says the correct size is in each product's manual and suggests aiming for a voltage drop below about 2.5 percent; ABYC sets its own limits for marine circuits, and Blue Sea and Ancor publish marine wire-size charts based on them. Use tinned, stranded marine cable, and if you can't find one thick enough, Victron says two cables can be doubled up as long as their combined cross-section matches the recommendation.
We don't list cable sizes here on purpose: they change with the model, the current and the run length. Use the manual's table or a marine wire chart and, if in doubt, go one size larger.
Both positives are connected to a battery at one end, so each needs its own fuse or circuit breaker near the battery it comes from. Boating Magazine's project put a breaker near each bank, which also gives you a handy way to switch the charger off. Use the fuse or breaker rating the charger's manual specifies for that cable. ABYC sets how close to the battery that fuse must be, with a few exceptions; the battery cable replacement guide explains the distance rules. Don't skip the fuse on the input side because "it comes from the start battery": that cable can short just as easily.
Crimp tinned ring terminals with a proper crimping tool, seal them with adhesive-lined heat-shrink, and label both ends. Route the cables with chafe protection, support them every so often, and keep them away from hot exhaust parts, sharp edges and moving steering gear. Victron's manual stresses strain relief: the weight of the cable should not hang on the charger's terminals.
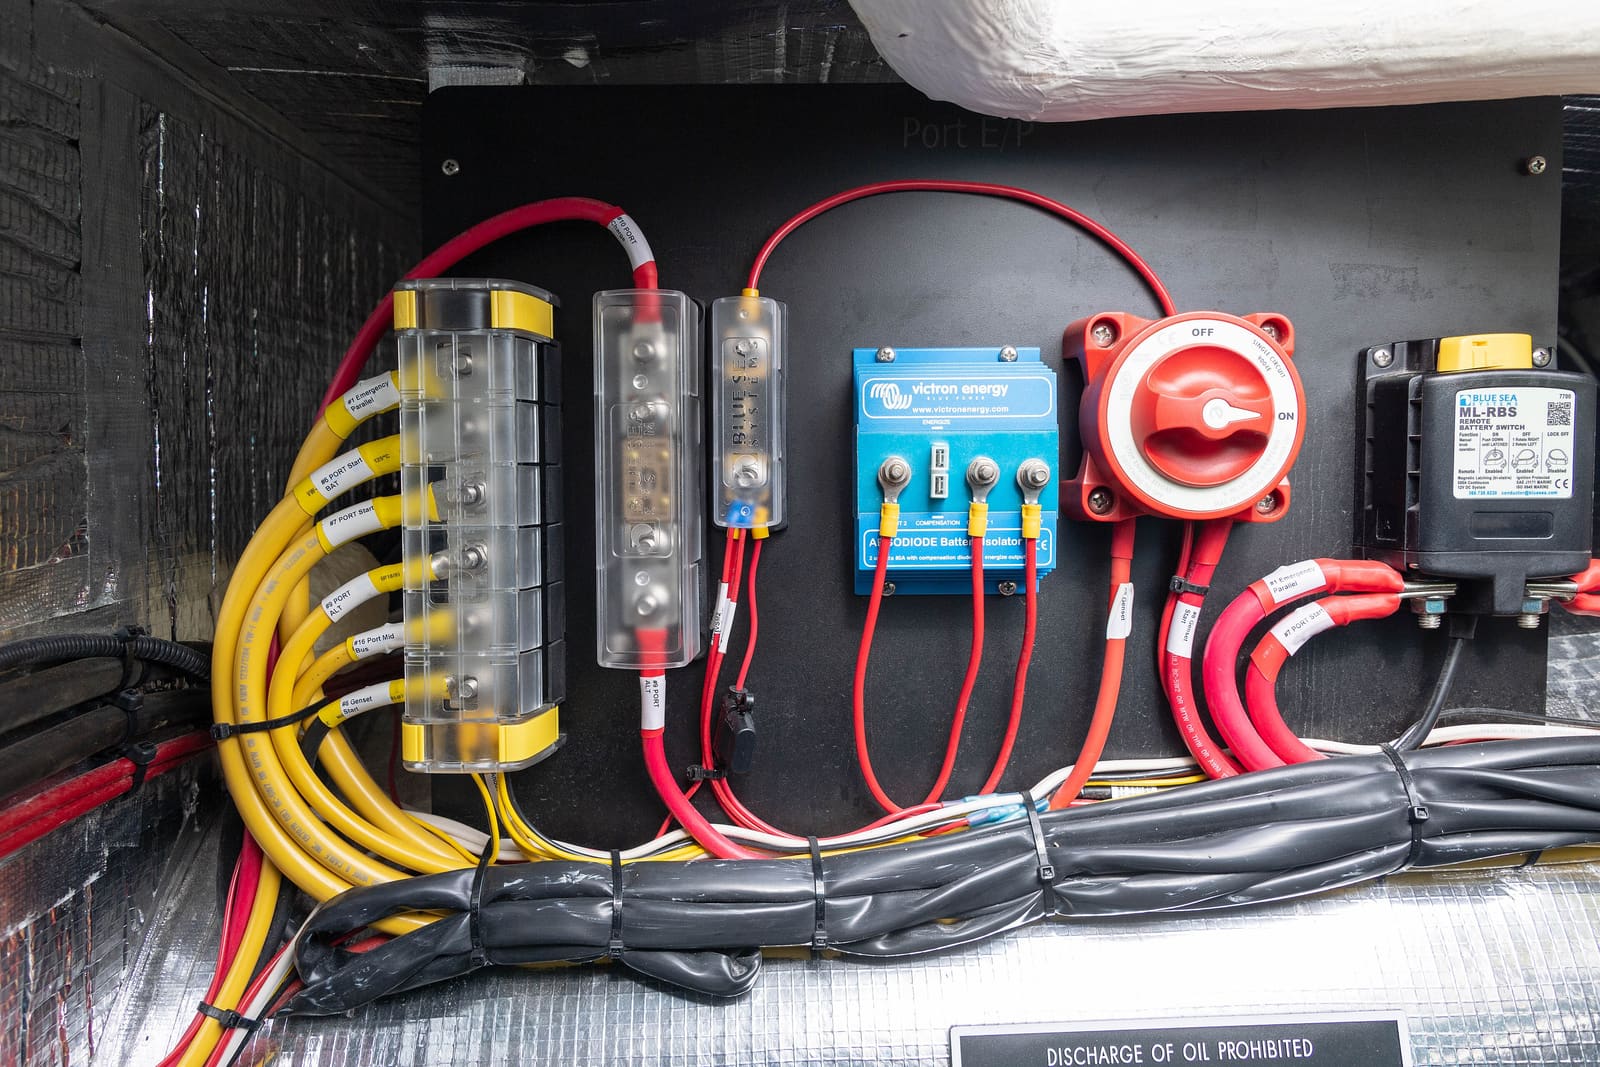
A tidy installation: every heavy cable is fused near its source and labeled, which makes a later fault easy to trace. Photo: Craig Stanfill / Wikimedia Commons · CC BY-SA 2.0 With every battery switched off and the fuses or breakers open:
- Mount the charger.
- Connect the cables at the charger first: input, output, negative, as the manual shows (Boating Magazine connected the start bank to "in" and the house bank to "out," then the common negative).
- Connect the negatives at the batteries or shunt.
- Connect the positives at the batteries, through their fuses.
- Recheck every terminal is tight and booted before you close any fuse or breaker.
The charger should only draw from the start battery while the engine is charging it. Units handle this differently:
- Voltage sensing: many chargers watch input voltage and start when it rises to charging level. Boating Magazine's charger only charges the house bank when the starting battery is at or above charging voltage.
- Engine-shutdown detection and input lock-out: Victron's Orion XS uses the alternator voltage to decide whether the engine is running, plus an input-voltage lock-out that stops charging if the start battery falls too far.
- A wired on/off or engine-run signal: some installs use a small remote wire. Victron warns against simply using the ignition switch, because the charger can then drain the start battery whenever the key is on but the engine isn't running.
Choose the method your manual recommends for your engine, and test it in Step 12.
Before connecting or enabling the output, set the profile. Victron's manual says to set the charging algorithm before a battery is connected to the output. Use the settings your battery maker publishes (absorption voltage, float voltage or no float for some lithium batteries, and maximum charge current), or the built-in preset that matches them. On units with DIP switches, Boating Magazine notes there is a flow chart in the manual; follow it carefully. If the lithium battery has a BMS charge-disconnect contact or a network link, some chargers can be controlled by it; set that up as both manuals describe.
Close the fuses or breakers, switch the batteries on, and look at the charger's status light or app. With the engine off it should sit in standby and draw nothing meaningful from the start battery. Measure both batteries with your meter and write the readings down.
Start the engine (outboards in the water or on external flush muffs, never dry; inboards in the water) and run at a normal cruising rpm. Within the delay your charger uses, it should switch to charging: check the status light or app, and watch the house voltage climb while the start battery stays at the engine's normal charging voltage. Then shut the engine down and confirm the charger stops and doesn't keep drawing from the start battery. Boating Magazine says on-water testing from idle to cruise is the best way to judge the system.
After a long run, carefully touch-test the cable ends and fuse holders with the back of your hand. Warm is normal; hot means a loose or undersized connection that needs fixing before the next trip. Record the charger model, settings, fuse sizes and the voltages you saw in your BoatMend boat profile.
Common mistakes
- Mounting a non-ignition-protected charger in a gasoline engine compartment, or right above a flooded lead-acid battery.
- Fusing only one end. Both positives need a fuse near their battery.
- Using thin cable "because it's only 30 amps." Long runs need bigger cable, and the charger may cut out on voltage drop.
- Leaving the factory charge profile in place instead of the battery maker's settings.
- Triggering the charger from the ignition key so it drains the start battery at the dock with the key on.
- Expecting the DC-to-DC charger alone to keep a big lithium bank full. You still need a lithium-capable shore charger (and often solar).
- Landing the charger's negative on the battery post instead of the shunt's system side, so the battery monitor never sees the charge.
- Picking a charger bigger than the alternator can comfortably supply.
When to call a pro
- Any lithium house-bank installation if you aren't experienced with heavy DC wiring (BoatUS and ABYC both treat lithium as installer territory)
- Gasoline boats where the only practical location is in or near the engine space
- Boats with twin engines, multiple banks, an existing ACR or diode isolator, or a 24-volt system
- Upgrading the alternator or adding an external regulator for direct lithium charging
- Any cable, fuse holder or terminal that gets hot, or a charger that keeps faulting
- A lithium battery that shuts itself off repeatedly while the engine is running
Tips
- Put a circuit breaker rather than a plain fuse on each side if the manual allows it: you get protection and an easy off switch.
- Keep a photo of the charger's settings screen or DIP switches in your BoatMend log; you'll want it after a firmware update or a battery swap.
- If your engine runs mostly at idle (trolling), the alternator may not make enough for the charger to start. That's normal; plan on shore or solar charging to do most of the work.
- When you buy, download the installation manual before you order so you know the cable size, fuse size and clearances ahead of time.
Official references
We read these to write this guide. Your engine's own manual always wins.
- Boating Magazine – Installing a DC-to-DC Charger on Your Boat
- Boating Magazine – The Basics of DC-to-DC Marine Battery Chargers
- Victron Energy – Orion XS 12/12-50A DC-DC Battery Charger, Installation
- Victron Energy – Orion XS 12/12-50A DC-DC Battery Charger, Operation, Configuration and Monitoring
- Victron Energy – Wiring Unlimited, DC Wiring
- Battle Born Batteries – Alternator Charging 101 for Marine Applications
- Mercury Marine Dockline – The Mercury Alternator Advantage
- BoatUS – The Latest On Lithium Batteries
Safety: BoatMend is for information only and does not replace a certified marine technician. You are responsible for your safety and your boat. Read the full disclaimer.
Last updated 2026-10-26
Related guides
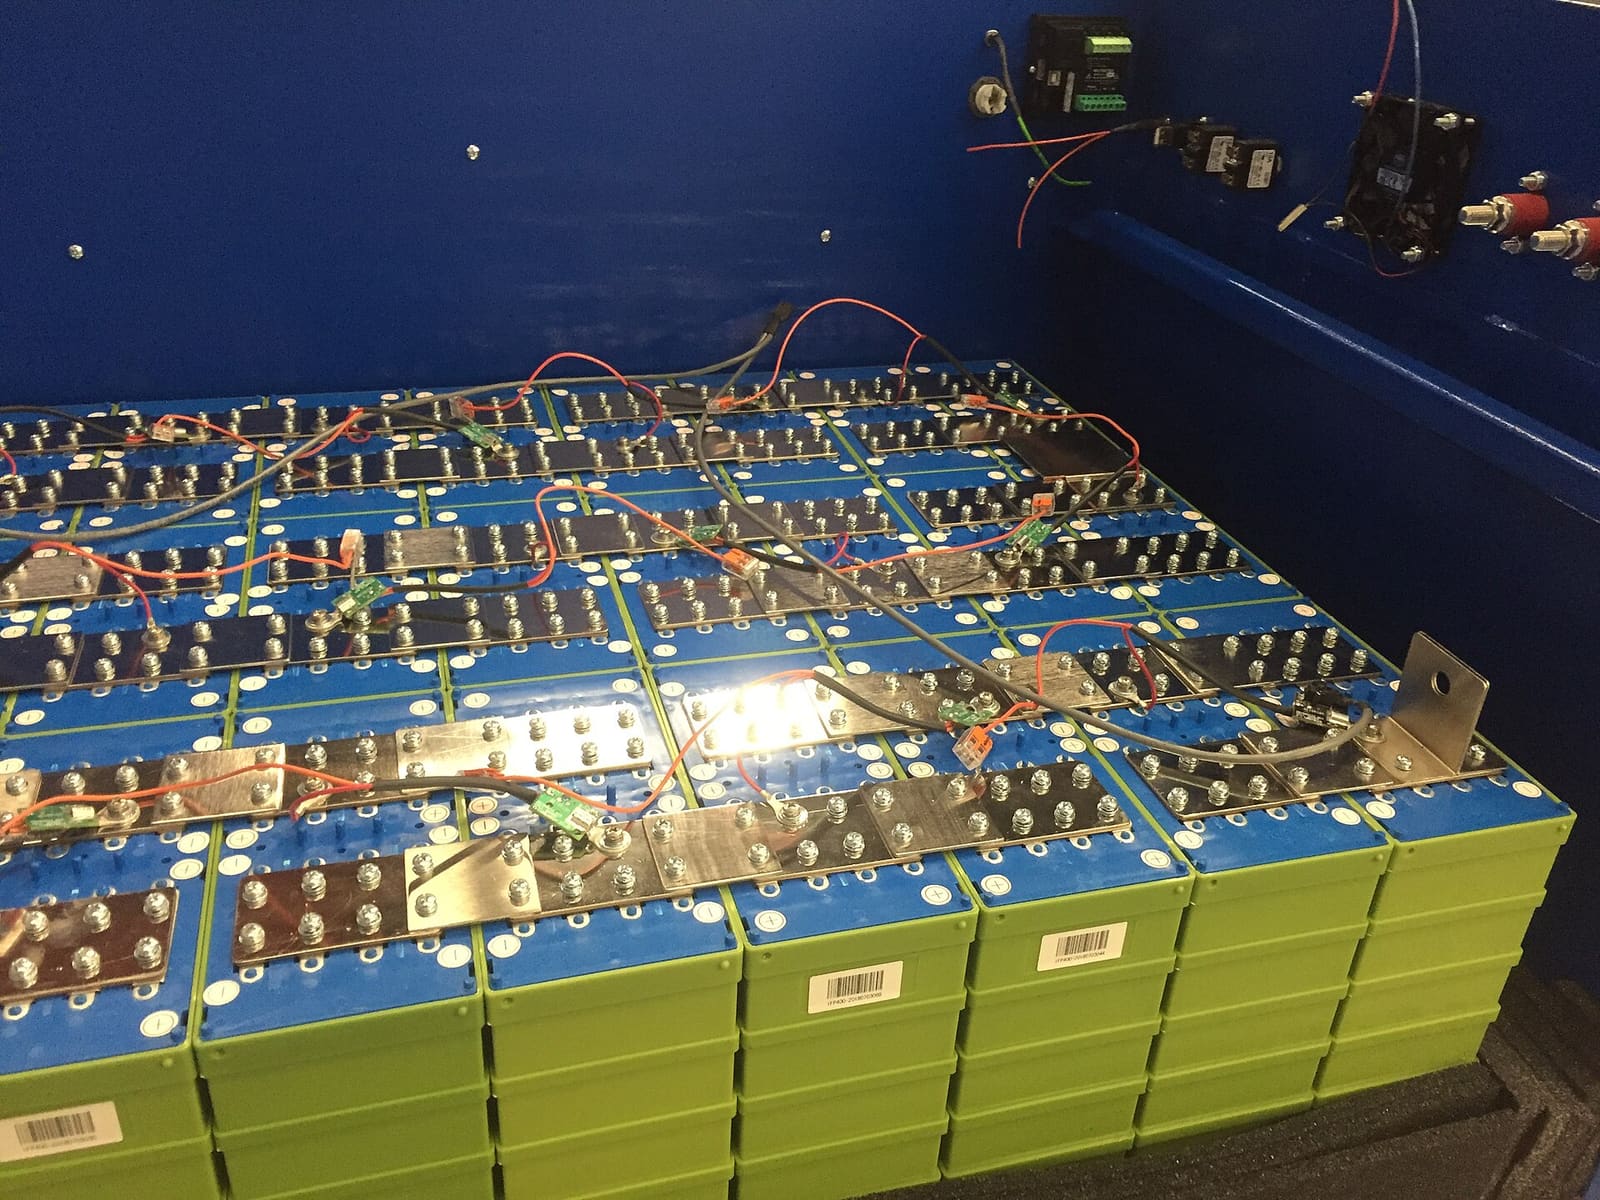
Switching to Lithium (LiFePO4) Boat Batteries: What Changes and When It's Worth It
What really changes when you swap lead-acid for lithium iron phosphate (LiFePO4) batteries on a boat: the battery management system, charger settings, protecting the alternator with a DC-DC charger, not mixing chemistries, cold-weather charging, and which jobs (trolling, house, starting) suit lithium. House-bank conversions should be designed and installed by a qualified marine electrician.
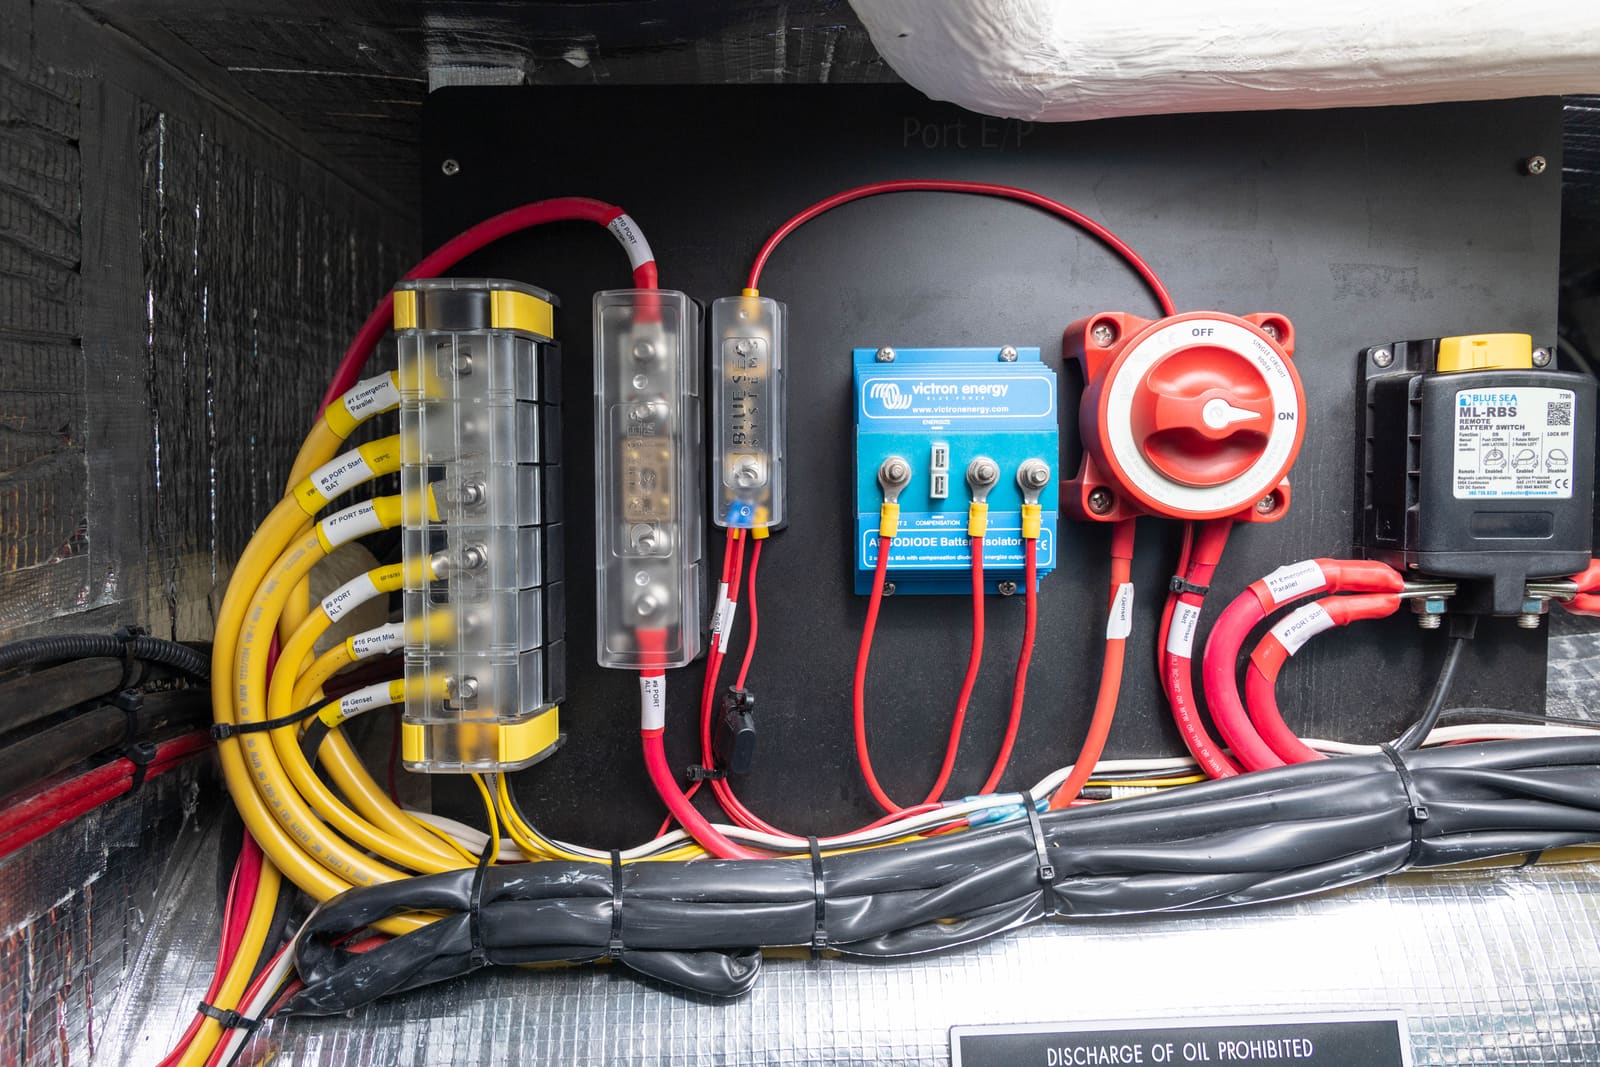
Battery Isolators Compared: Diode, ACR, Combiner and DC-DC Charger
Learn what the box between your engine and your batteries actually does, why an old diode isolator can leave batteries never quite full, and which charging setup suits an outboard, an inboard or a lithium house bank, plus a simple meter check of the one you have.
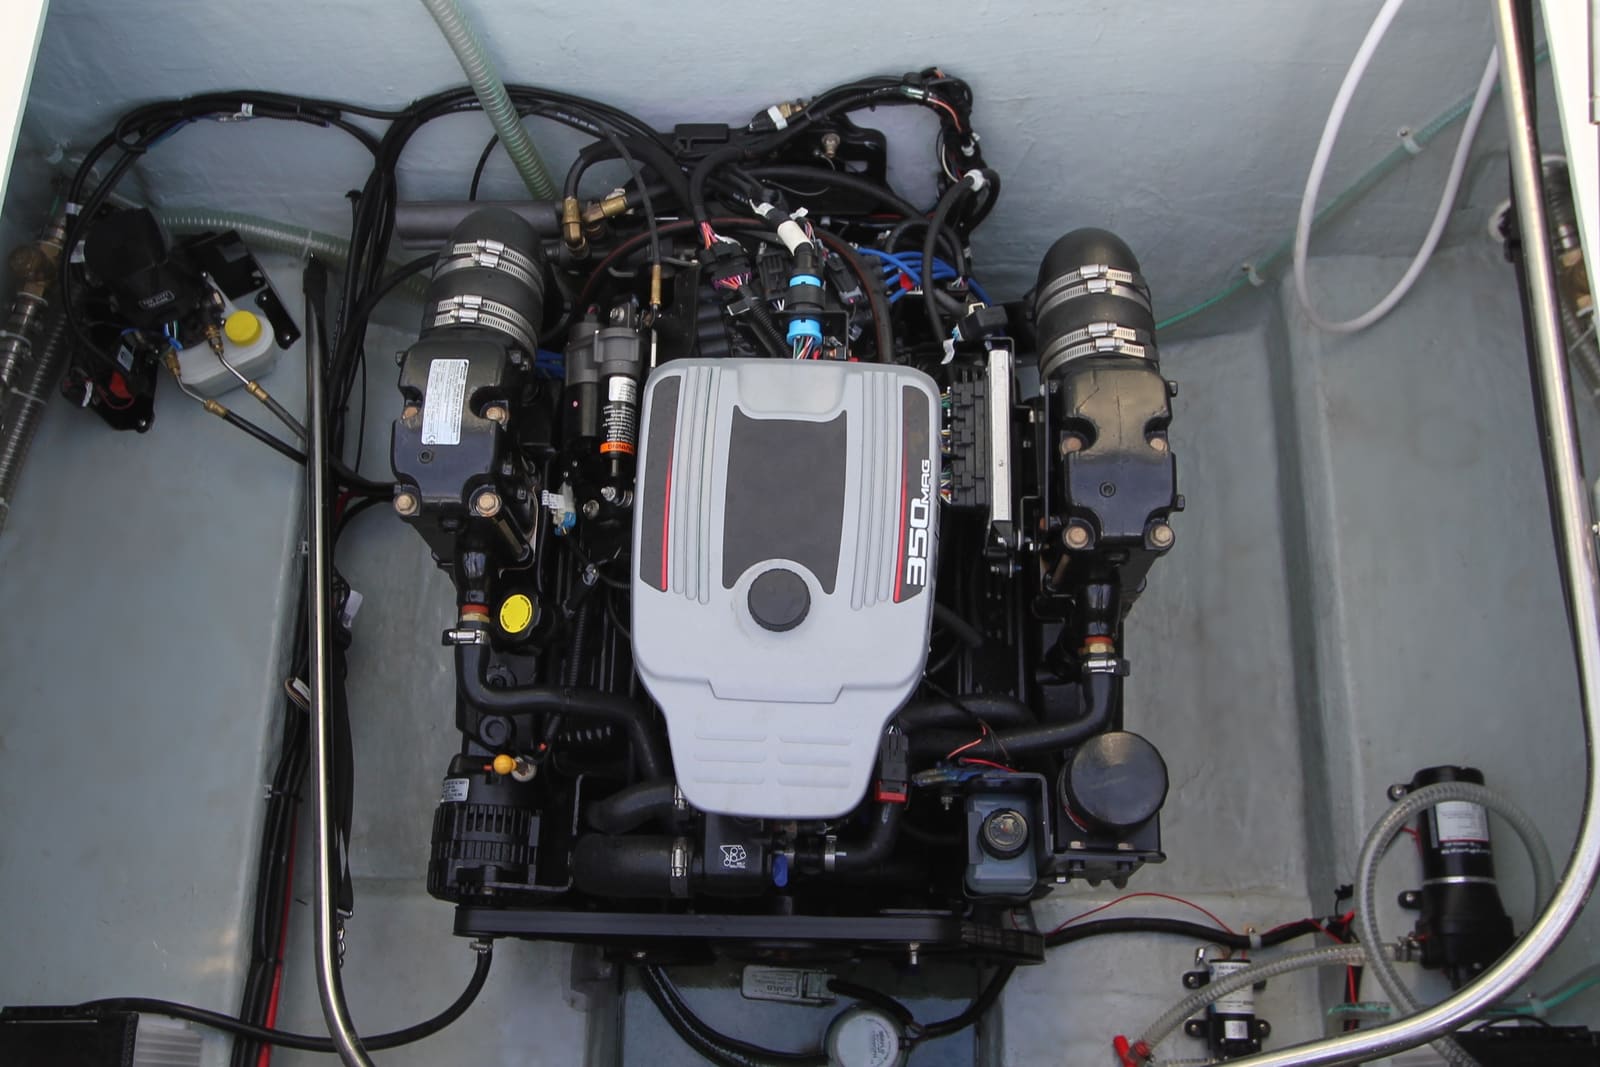
Ignition-Protected Parts: Why Car Starters and Alternators Don't Belong in a Gas Boat
On a boat with a gasoline inboard, sterndrive or generator, every spark-producing part in the engine space must be ignition protected so it can't set off fuel vapors. Learn what the term means under 33 CFR 183.410, which parts need it, how to read the markings, why cheaper automotive parts are dangerous, and how to check what's already in your engine compartment.
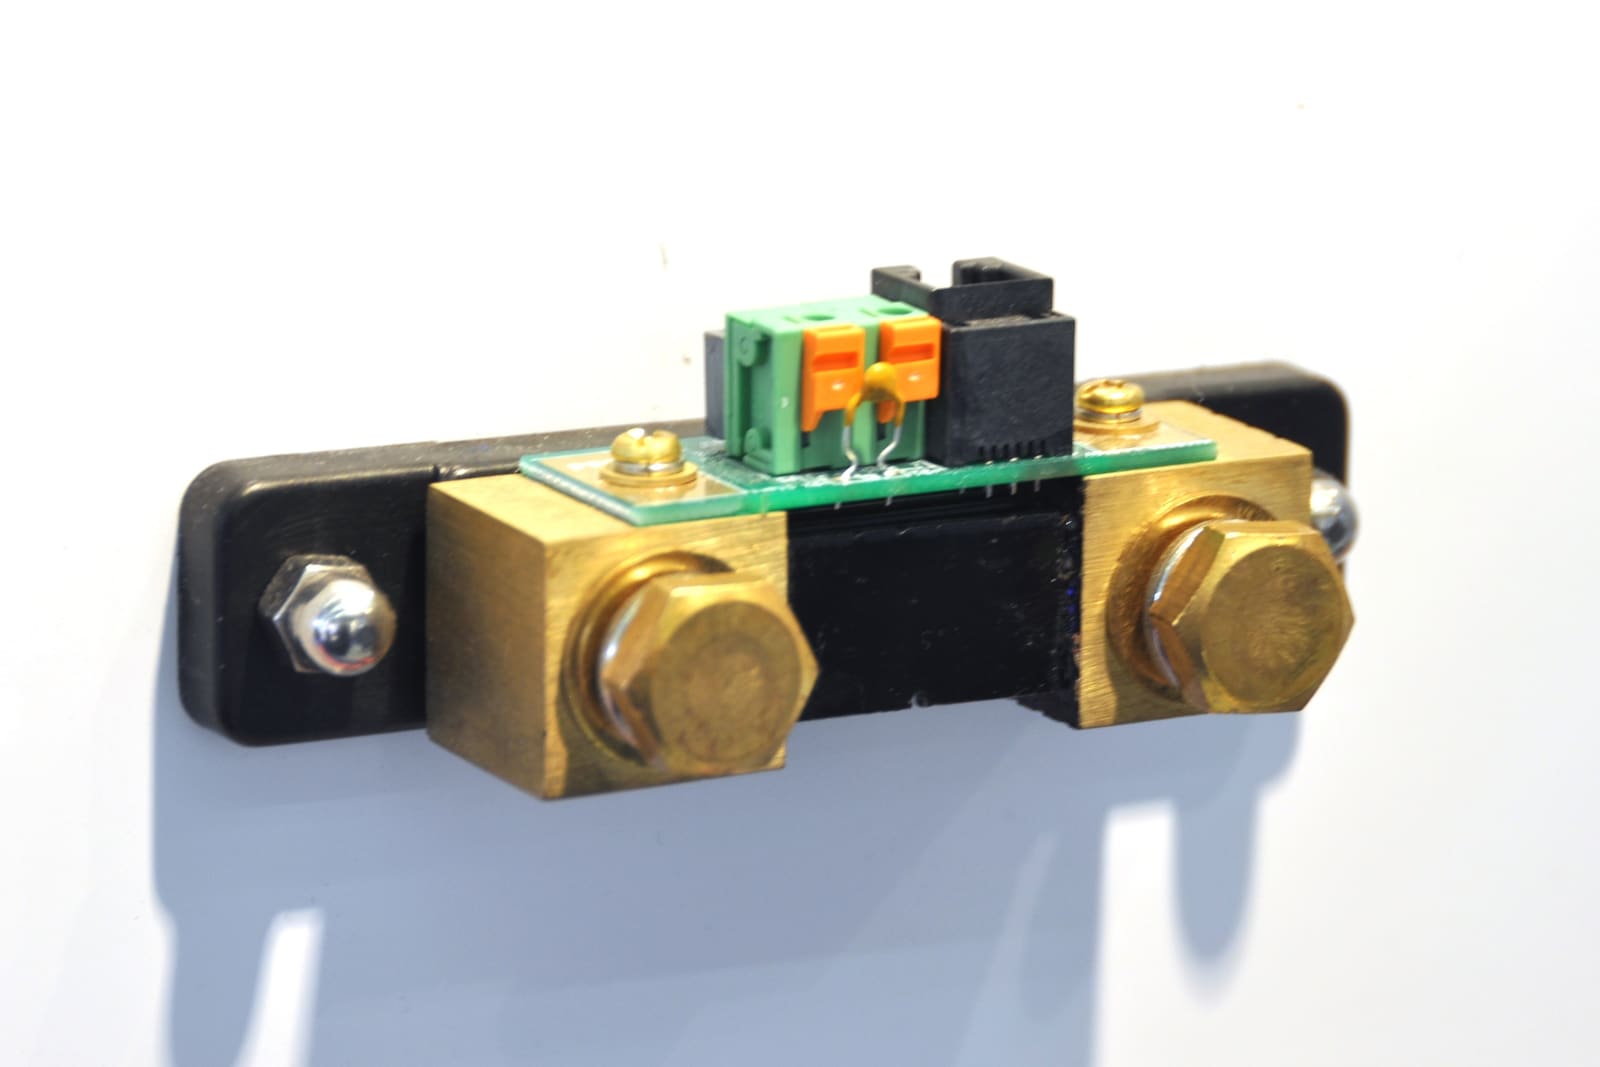
Battery Monitors with a Shunt: Installing, Setting Up and Reading State of Charge
A voltmeter can't tell you how full your house battery really is. Learn how a shunt-based battery monitor counts every amp going in and out, where the shunt goes on the negative side, which settings to change for lead-acid or lithium, and how to read the percentage without being fooled.
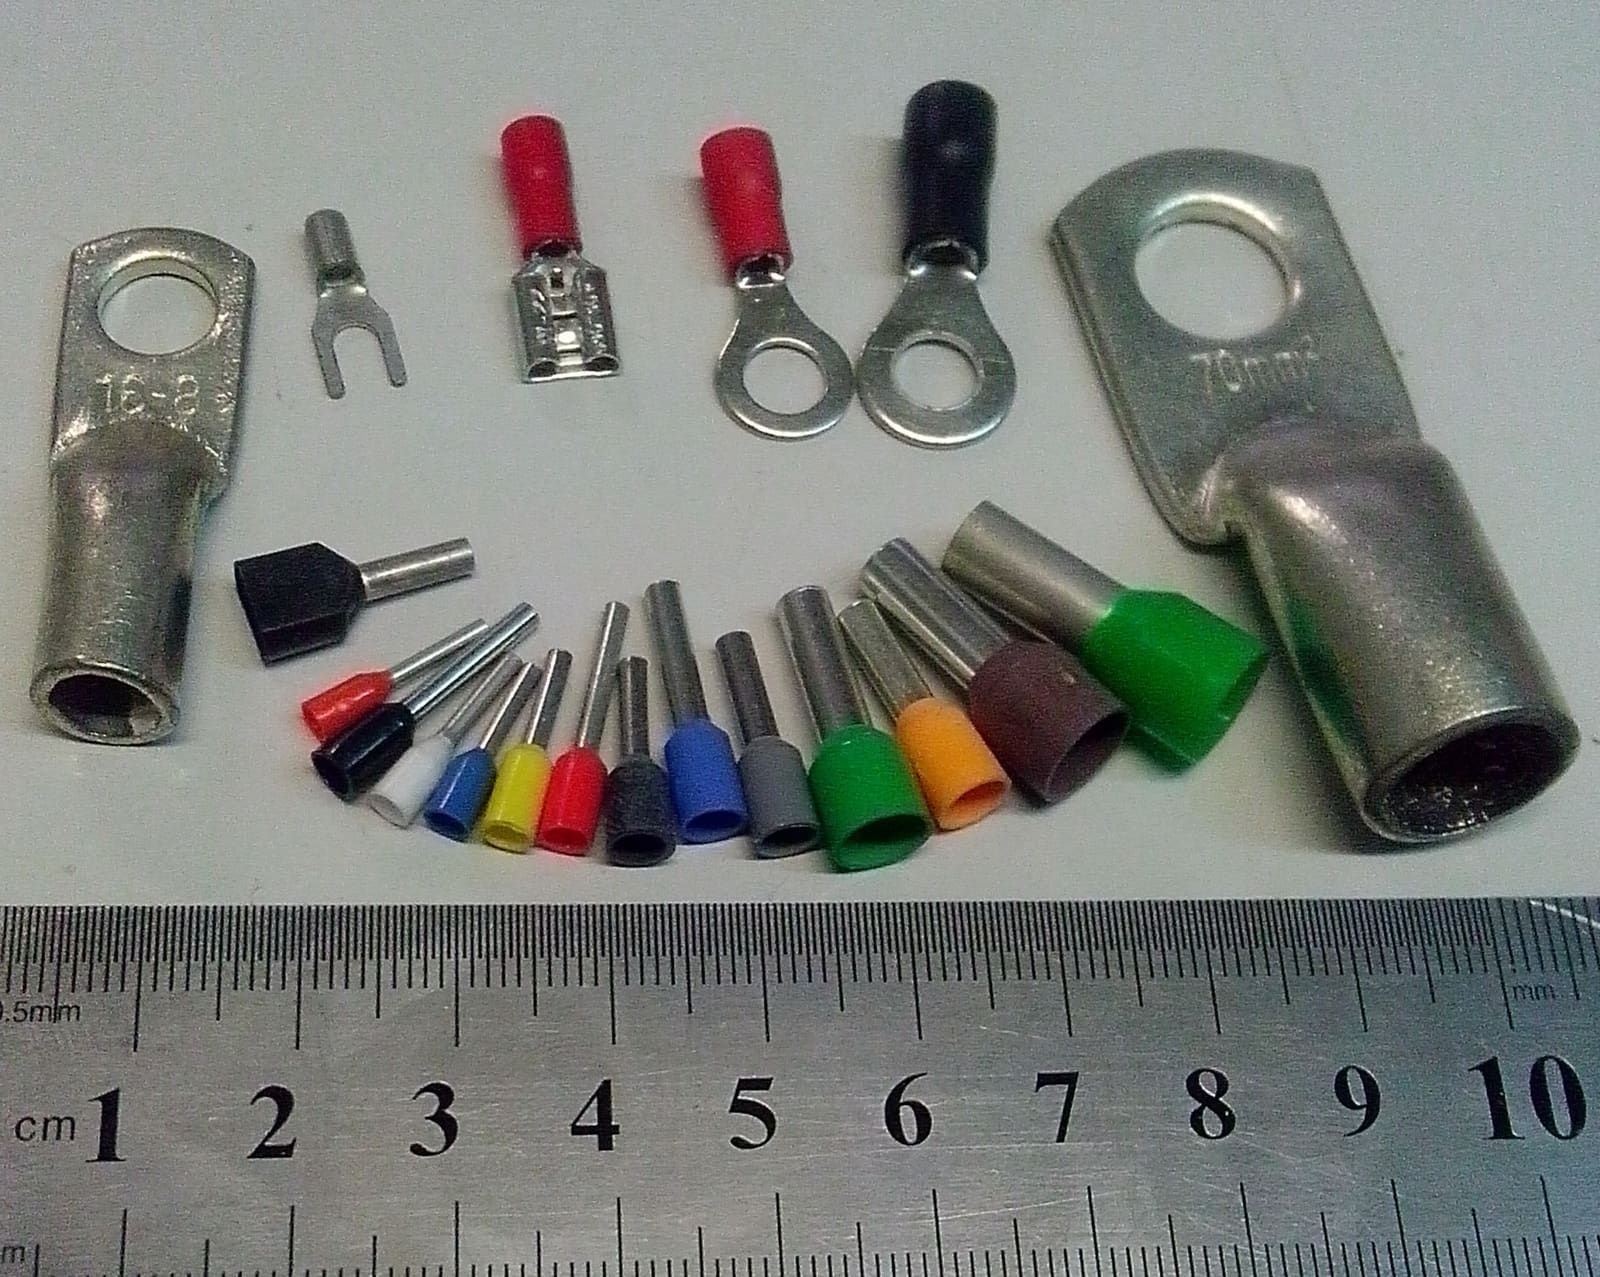
How to Replace Boat Battery Cables the Right Way
Swap corroded, cracked or undersized battery cables for tinned marine cable sized from a chart for its real length and load, with crimped lugs, adhesive heat shrink, terminal boots, solid support and a fuse close to the battery.
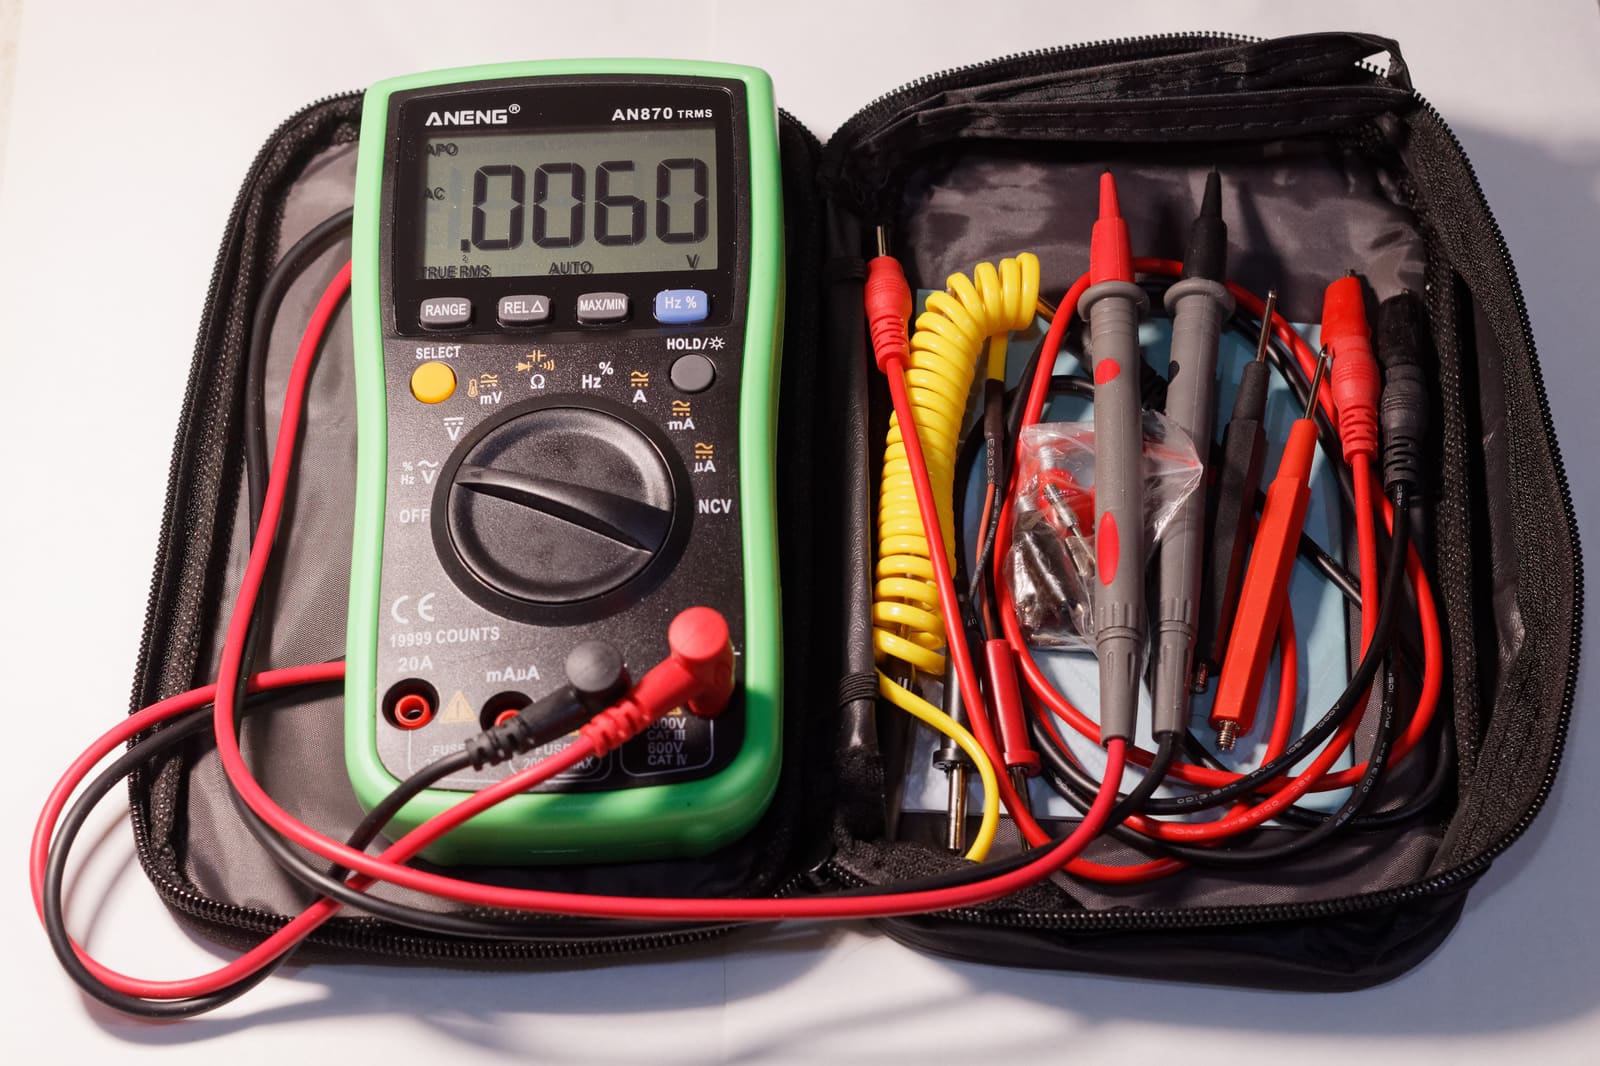
Is My Engine Charging the Battery? Test the Charging System With a Multimeter
A step-by-step way to find out whether your outboard's stator and rectifier/regulator or your inboard's alternator is really charging the battery, what the voltage readings usually mean, and when the problem is just a dirty connection. Exact test specs come from your engine's service manual.
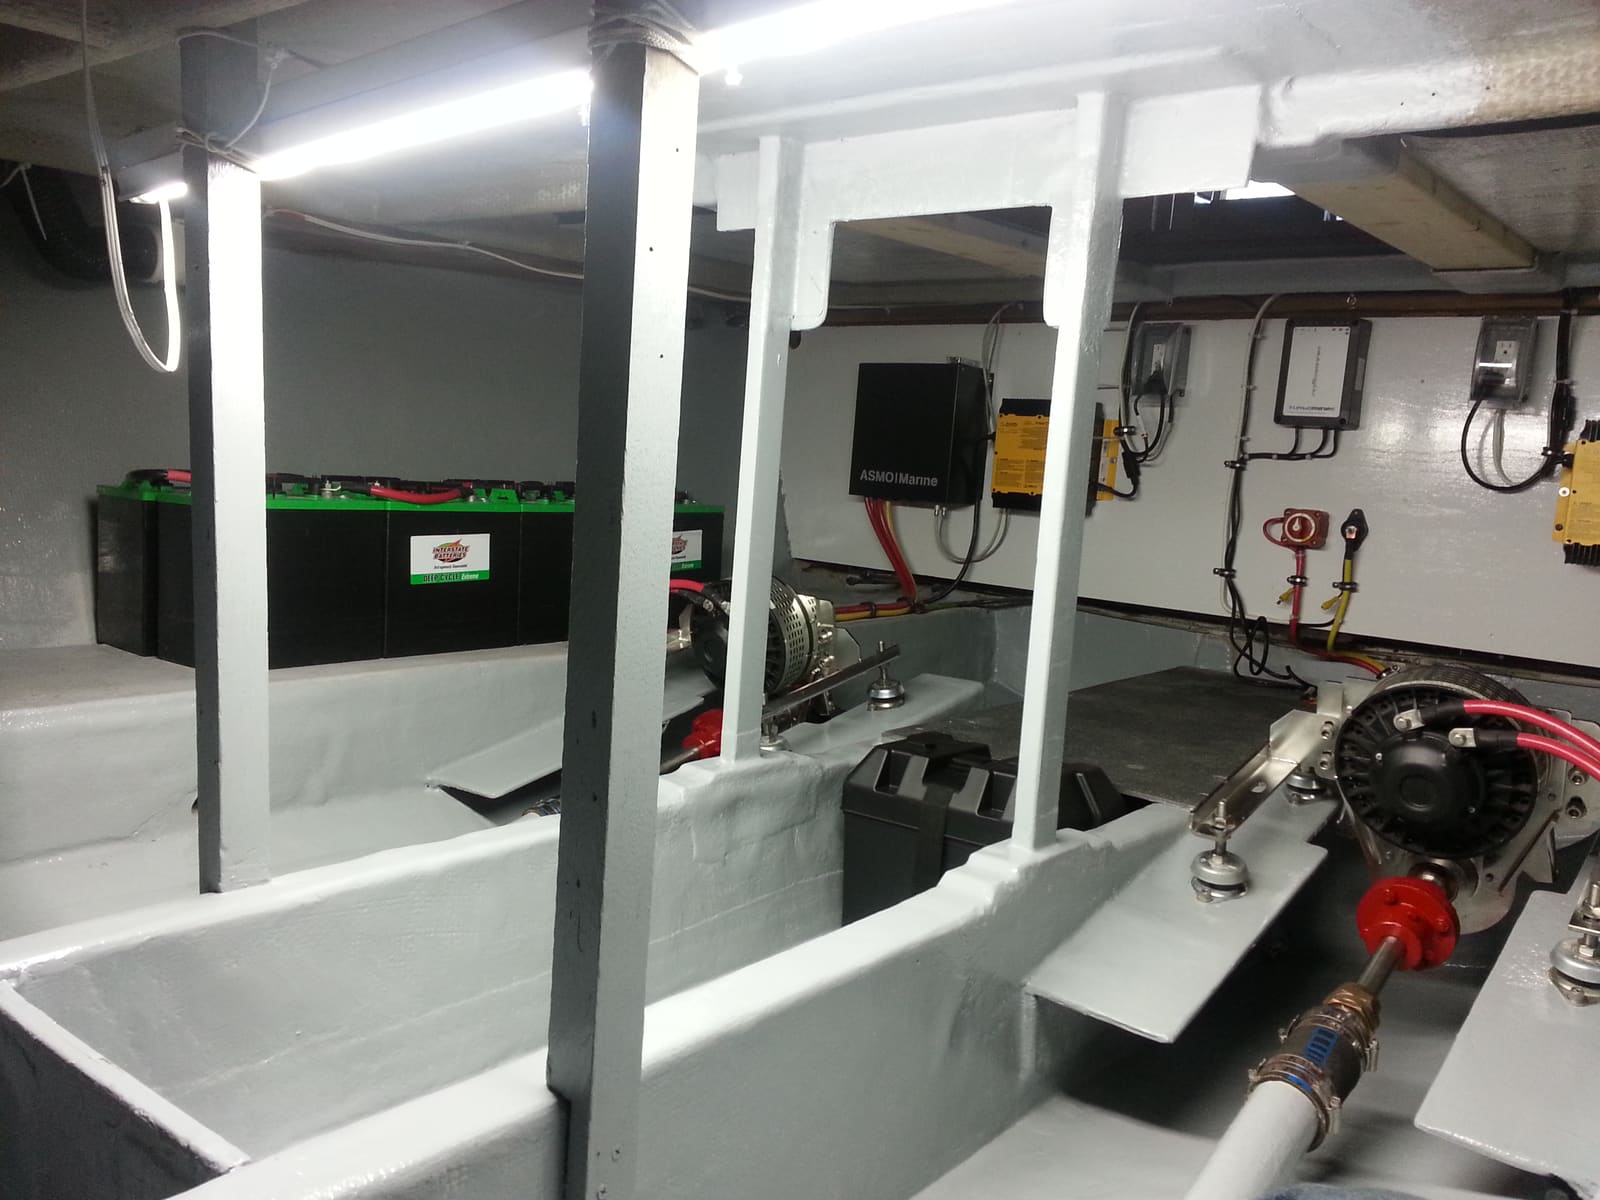
How to Choose, Install and Maintain an Onboard Battery Charger
Pick the right marine charger for your batteries (how many banks, how many amps, flooded, AGM or lithium), mount and fuse it safely, set the charge profile, and use it to keep batteries healthy all season and through the winter. The AC (shore power) side is a job for a marine electrician.

12-Volt Boat Wiring Basics: Circuits, Color Codes, Fuses and Wire Size
Learn how your boat's 12-volt system is laid out, what the ABYC wire colors mean, how fuses and breakers protect the wiring, why voltage drop and tinned wire matter, and how to read a wiring diagram, so you can troubleshoot smarter and know which jobs belong to a marine electrician.

Fuse Keeps Blowing? How to Troubleshoot a Boat Fuse Block or Breaker Panel
Work through a blown fuse or tripping breaker the safe way: confirm it, tell a short from an overload, isolate the device or wire at fault, replace a worn breaker or panel switch with the same rating, and label every circuit, without ever fitting a bigger fuse.