Tilting an Outboard or Sterndrive by Hand: Using the Trim Manual Release Valve
When the power trim quits, a small release valve on the trim unit lets you raise or lower the motor by hand, so you can get off a sandbar, load the trailer or get home. Learn where to find it, how far to open it, how to lift and support the motor safely, and why it must be closed again before you run.

Time
15 min
Applies to
Outboard, Sterndrive (I/O)
Safety first: Opening the release valve takes away the hydraulic pressure that holds the motor up. If the motor is raised when you open it, it can drop suddenly and crush fingers, hands or feet. Before you turn the valve, make sure nobody is under or behind the motor, keep your hands off the clamp brackets and rams, and stand to the side. Turn the engine off, take out the key and pull the kill-switch lanyard. Outboards and sterndrives are heavy: lift only what you can control, and get help. Always close the valve again before you start the engine. An open valve lets the motor kick up out of the water when you shift into reverse or back off the throttle.
Owners often ask
- My battery died and the motor is tilted up. How do I lower it by hand?
- Which way do I turn the manual trim release screw, and how far?
- Which side of my outboard is the manual tilt release valve on, and do I need a special screwdriver?
This guide walks you through it. Still stuck? Ask the AI Mechanic about your engine.
Tools
- Large flat screwdriver, hex key or Torx bit that fits your release valve (check now, before you need it)
- Flashlight
- Gloves
- A helper for lifting anything bigger than a small outboard
- Transom saver or wooden block for trailering, if your manual allows one
Before you start
What the valve does. A power trim and tilt unit is a small hydraulic pump that pushes fluid into rams to raise the motor and holds the fluid there to keep it in place. The manual release valve (also called a manual relief or tilt release valve) opens a path inside the unit so the fluid can move freely. With it open, you can push the motor up or let it down by hand. With it closed, the motor stays wherever it is.
When you'll need it:
- The trim motor won't run (dead battery, blown fuse, bad relay; see the trim relay troubleshooting guide).
- You're stuck in shallow water and need the lower unit up.
- You need to lower a motor that was left tilted up, to get under way.
- You're working on the trim system and the manual tells you to relieve pressure.
Find it today, not on a sandbar. Look up "manual tilt" or "manual relief valve" in your owner's manual. Note where the valve is, what tool fits it and how far the manual says to open it. Put that tool in your boat kit.
Steps
Shift to neutral, turn the key off, remove it and pull the lanyard. On the water, make sure the boat isn't drifting into danger first: anchor or tie up if you can. If you're aground in waves, current or a busy channel, put on life jackets and call TowBoatUS, Sea Tow or the Coast Guard on VHF 16 rather than climbing over the transom.
On most outboards it's on the trim and tilt unit between the clamp brackets. Boating Magazine describes it as a screw on the side of the engine bracket at about the height of the hydraulic reservoir. Which side depends on the brand. Writing in Texas Saltwater Fishing Magazine, a Texas outboard dealer places it on the right side of the bracket on Mercury outboards (as seen from the helm, looking aft) and on the left side, about midway down the transom bracket, on Yamaha and Evinrude; Yamaha pro angler Bobby Lane also notes it's on the port side of the mount on his Yamaha. Treat those as starting points: models differ, so confirm in your owner's manual. With the boat in the water the valve may be below the waterline, and you may need to find it by feel through a hole in the bracket. It's usually a slotted screw, a hex or Torx head, or a small knob, and some need a short (stubby) screwdriver to reach.
On sterndrives, the trim pump usually sits in the engine compartment, and some (not all) have a manual release valve on the pump body. Check your manual; some drives can't be lifted by hand at all.
Don't confuse it with the fill plug at the top of the reservoir. Opening the fill plug with the system under pressure can spray fluid.
If the motor is tilted up, check that the tilt support lever (tilt lock) is engaged or that the motor is blocked, and that everyone is clear. If the motor is down and you want to raise it, you can go straight on.
Turn it counterclockwise (to the left). Boating Magazine says a turn or two is usually enough, and the dealer writing in Texas Saltwater Fishing Magazine finds that three-quarters of a turn to one full turn usually starts a raised motor settling. Some owner's manuals call for more (a few turns), so your manual sets the number for your model; start small and open it a bit more only if the motor still won't move. Don't unscrew it all the way: on many units it's a small part held by a retaining clip, and backing it out fully can let water into the hydraulics or drop the screw overboard.
Grip the motor low, at the gearcase or the anti-ventilation plate, never by the propeller, and lift steadily. Boating Magazine's advice is simple: know your limit. A small outboard is a one-person lift; a big one needs two or three people, and a sterndrive may need a hoist. If it feels locked solid, check the valve is open a bit more and that nothing is jammed in the brackets. Don't force it.
Once it's up, engage the tilt support lever (tilt lock), as Mercury and Yamaha both describe for trim work. Then close the valve (step 8) so the hydraulics hold too. Never work under or behind a raised motor held only by your hands or by the trim with the valve open.
To lower a motor that's tilted up:
- With the valve still closed, lift the motor slightly to take the weight off the tilt support lever, and fold the lever away.
- With a helper holding the motor, open the valve slowly.
- Let the motor down gently. Keep fingers away from the brackets as it settles.
Turn the valve clockwise until it is snug. Don't crank it hard; it seals with a small seat and can strip or break. The motor should now stay where you left it.
Push and pull gently on the motor. It shouldn't move. If it sinks or swings easily, the valve isn't fully closed, or the unit has an internal leak (see the trim hose and cylinder leaks guide). Yamaha says that fluid on the outside of the trim unit, or a motor that won't stay tilted up or stay trimmed out while running, means the seals or internal valves need a dealer's inspection. Run the engine only with the valve closed. At low speed, check that the motor doesn't kick up when you shift into reverse.
With the valve closed, the motor stays at whatever angle you set by hand. If it's trimmed up, the bow may ride high, the boat can porpoise on plane and the motor may draw air; run slower. If it's all the way down, the bow can plow as you add power. Aim to set it by hand somewhere in the normal running trim range before you head home. If you're in shallow water, choose the most open route home. Shallow running with the motor tilted can overheat it if the cooling water intake comes out of the water, so watch the telltale (pee stream).
Don't trailer with only the tilt support lever holding the motor up; Suzuki says plainly that its tilt support lever is for storage only and could break under the strain of transport. Use a transom saver or the method your manual describes (see the transom saver and trailering prep guides). Close the release valve so the motor can't bounce.
A manual release is a get-home trick, not a repair. Once you're back:
- Check the battery, fuses and relays (trim relay troubleshooting guide).
- Check the fluid level (trim and tilt fluid guide). Boating Magazine notes that topping up is often a temporary fix and there may be a leak you can't see.
- Grease the tilt tube and bracket fittings on your manual's schedule (see the outboard grease points guide) so the motor moves freely next time.
Common mistakes
- Opening the valve with the motor up and someone standing under it
- Confusing the fill plug with the release valve
- Leaving the valve open and then wondering why the motor won't hold trim, won't trim up, or kicks up in reverse
- Overtightening the valve until it strips or snaps
- Lifting by the propeller or lifting more weight than you can control
- Trailering on the tilt support lever alone
- Finding out on a sandbar that you don't have the right screwdriver
When to call a pro
- The valve is stripped, broken or won't stay closed
- Fluid leaks from the valve after you close it
- The motor still creeps down or kicks up in reverse with the valve closed
- You can't find a release valve on your sterndrive, or the drive can't be moved by hand
- The trim motor runs but nothing moves, with the fluid full (internal pump or valve trouble)
Tips
- Find the valve and test the procedure once at the dock, motor down, with a helper, so you know how it feels.
- Keep the right tool on board. A screwdriver taped inside the console or in the BoatMend toolkit list saves a long wait for a tow.
- After any manual tilt, look at the valve once more before you start the engine. Make it part of your launch checklist.
- If you often run very shallow, consider a shallow-water anchor or a jackplate rather than relying on running tilted up.
Official references
We read these to write this guide. Your engine's own manual always wins.
- Boating Magazine – How to Maintain a Boat's Trim-and-Tilt System (hydraulic release screw)
- Yamaha Outboards – Power Tilt and Trim Maintenance Makes a Difference (Bobby Lane)
- Yamaha Outboards – Maintenance Matters, Power Trim & Tilt
- Mercury Marine – Quick Tip, How to Check Your Outboard Power Trim Fluid (tilt lock support)
- Suzuki Marine – FAQs (tilt support lever is for storage, not transport)
- Texas Saltwater Fishing Magazine – Manual Tilt Release Valve: Just In Case (Chris Mapp, 2017)
Safety: BoatMend is for information only and does not replace a certified marine technician. You are responsible for your safety and your boat. Read the full disclaimer.
Last updated 2026-11-06
Related guides

Power Trim Only Goes Up or Only Down: Relays, Switches and Wiring
When your outboard or sterndrive trims one way but not the other, the cause is usually electrical: a relay, a switch, a corroded plug or a wire. Learn how the up and down circuits work, how to swap-test the relays, how to tell the helm switch from the cowl switch, and how to tell an electrical fault from a hydraulic one.

How to Check and Top Up Power Trim and Tilt Fluid
Check and top up the hydraulic fluid in your power trim and tilt unit, then work through the simple checks when the motor won't go up, won't go down or slowly sinks. Most trim problems are a dead battery, a bad relay, low fluid or a release valve left open, and you can find those yourself.

Trim Leaks: When the Motor or Drive Won't Stay Up
Track down why your outboard or sterndrive slowly sinks, trails down on the trailer or leaks trim fluid. Work from the free checks (release valve, fluid level) to hoses, ram seals and internal leaks, and learn when a rebuild or a new cylinder makes more sense.
Transom Savers and Motor Supports: How to Trailer Your Outboard or Sterndrive
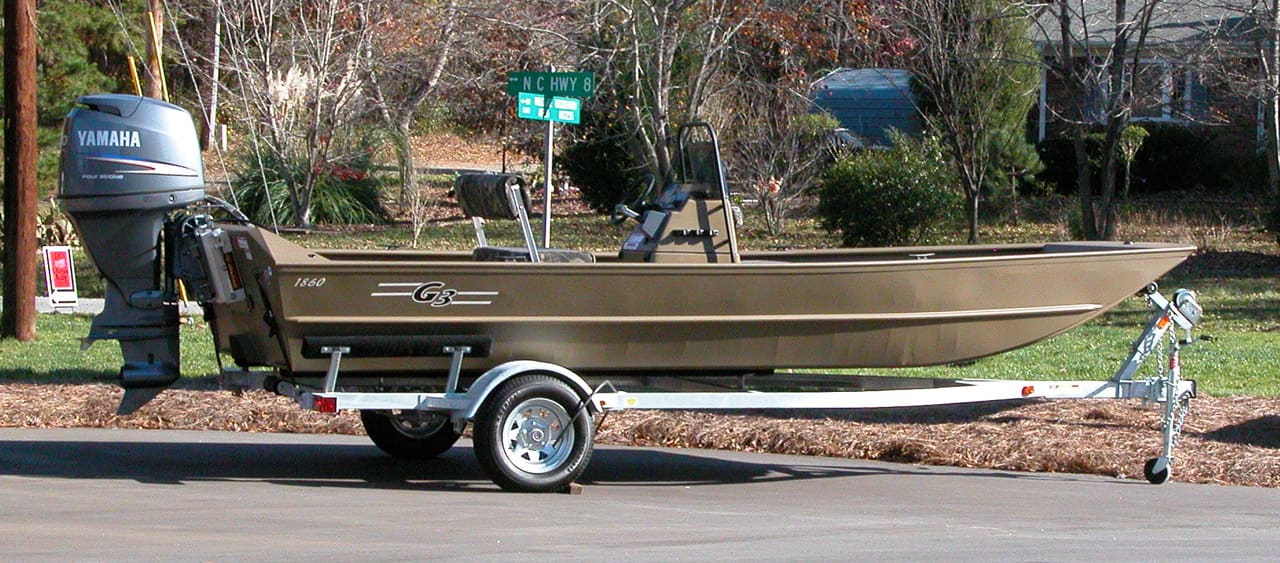
Potholes and driveway dips put real load on the transom, the tilt system and the engine bracket. Learn when engine makers want a support, why the tilt support lever is not one, how to choose and fit a transom saver or trim-ram support, and what goes wrong when it's fitted badly.

Get Your Boat Ready for the Road: Pre-Trailering Checklist
Most trailering trouble starts in the driveway: an engine left without support, a loose strap, a cover that balloons at 60 mph, gear that blows out or tongue weight that makes the rig sway. Work through this checklist before every trip and do a quick walkaround at each stop.

Marine Battery Care: Test, Charge and Store for Winter
Check your boat battery's health, charge it the right way for its type (flooded, AGM or lithium), and store it so it is ready in spring. Most "boat won't start" calls start with a neglected battery.
Onboard Tool Kit and Spare Parts: What to Carry on a Day Boat or a Cruiser
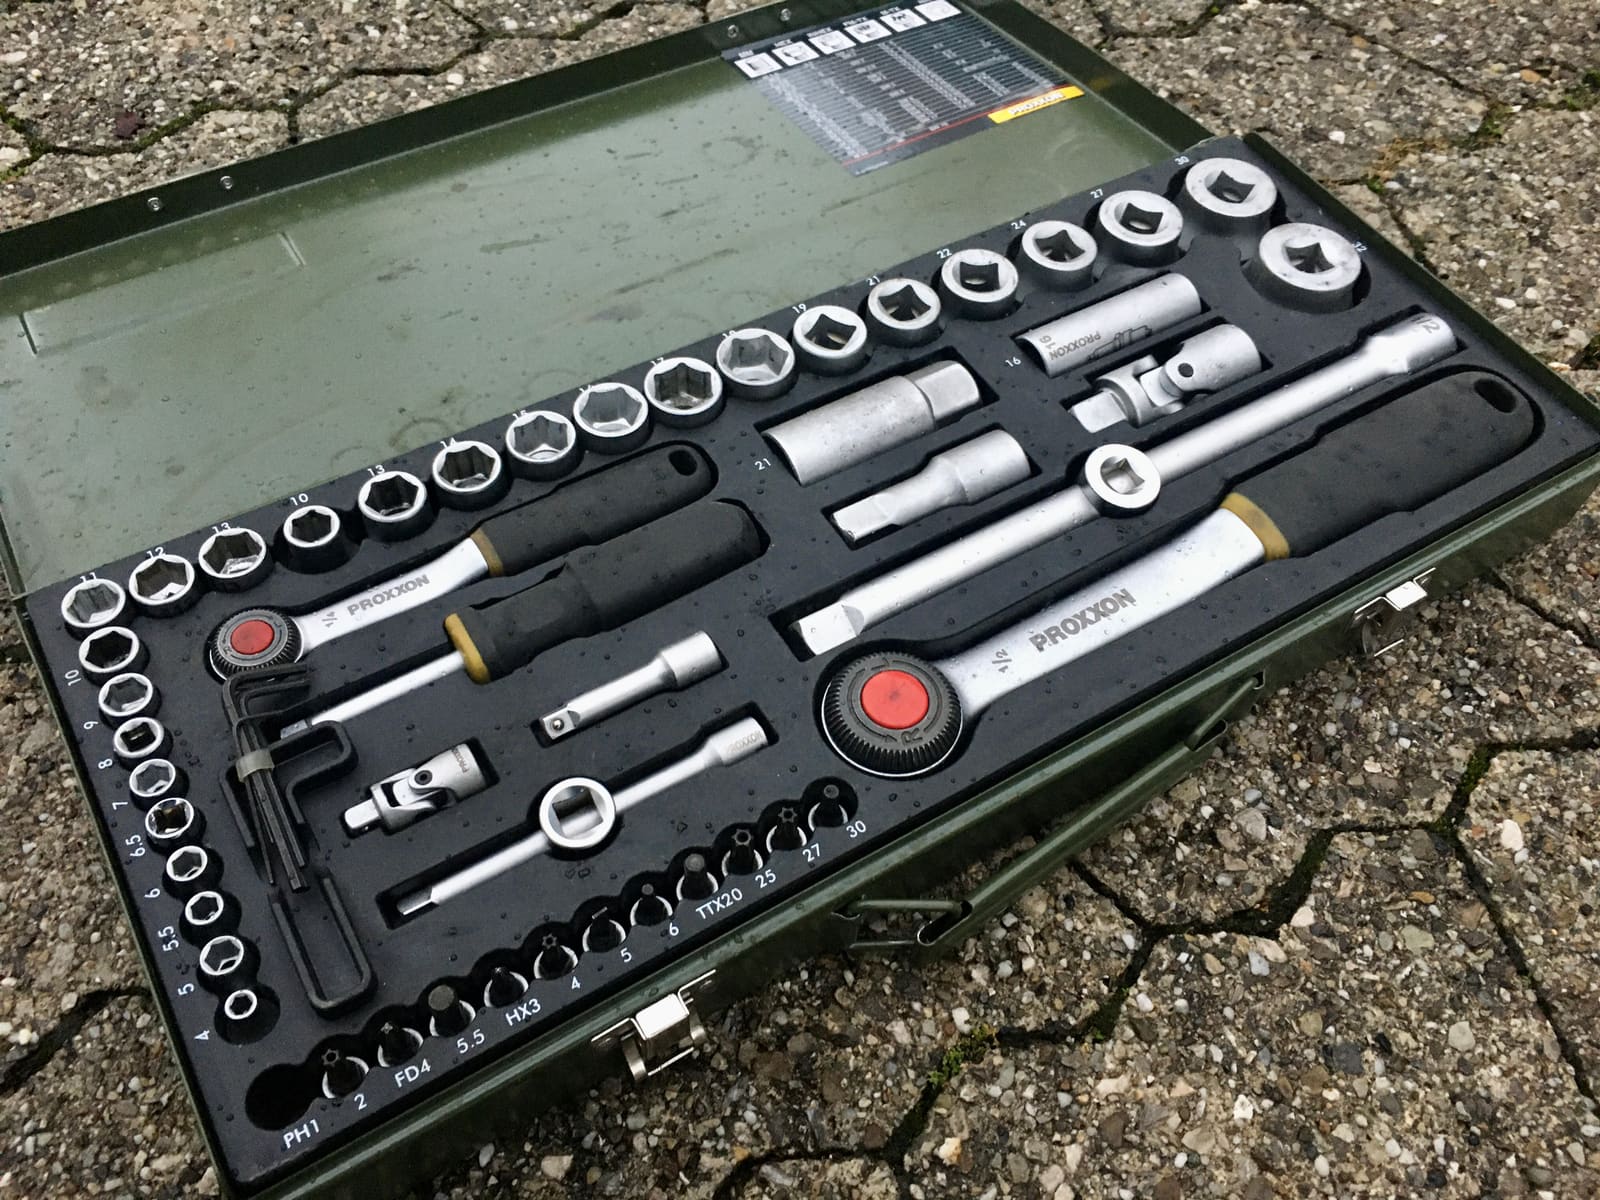
Build a tool kit and spares box that fits your boat and how far you go. A blown fuse, a clogged fuel filter or a dinged prop shouldn't end the day or turn into an expensive tow.
How to Grease Your Outboard's Lubrication Points
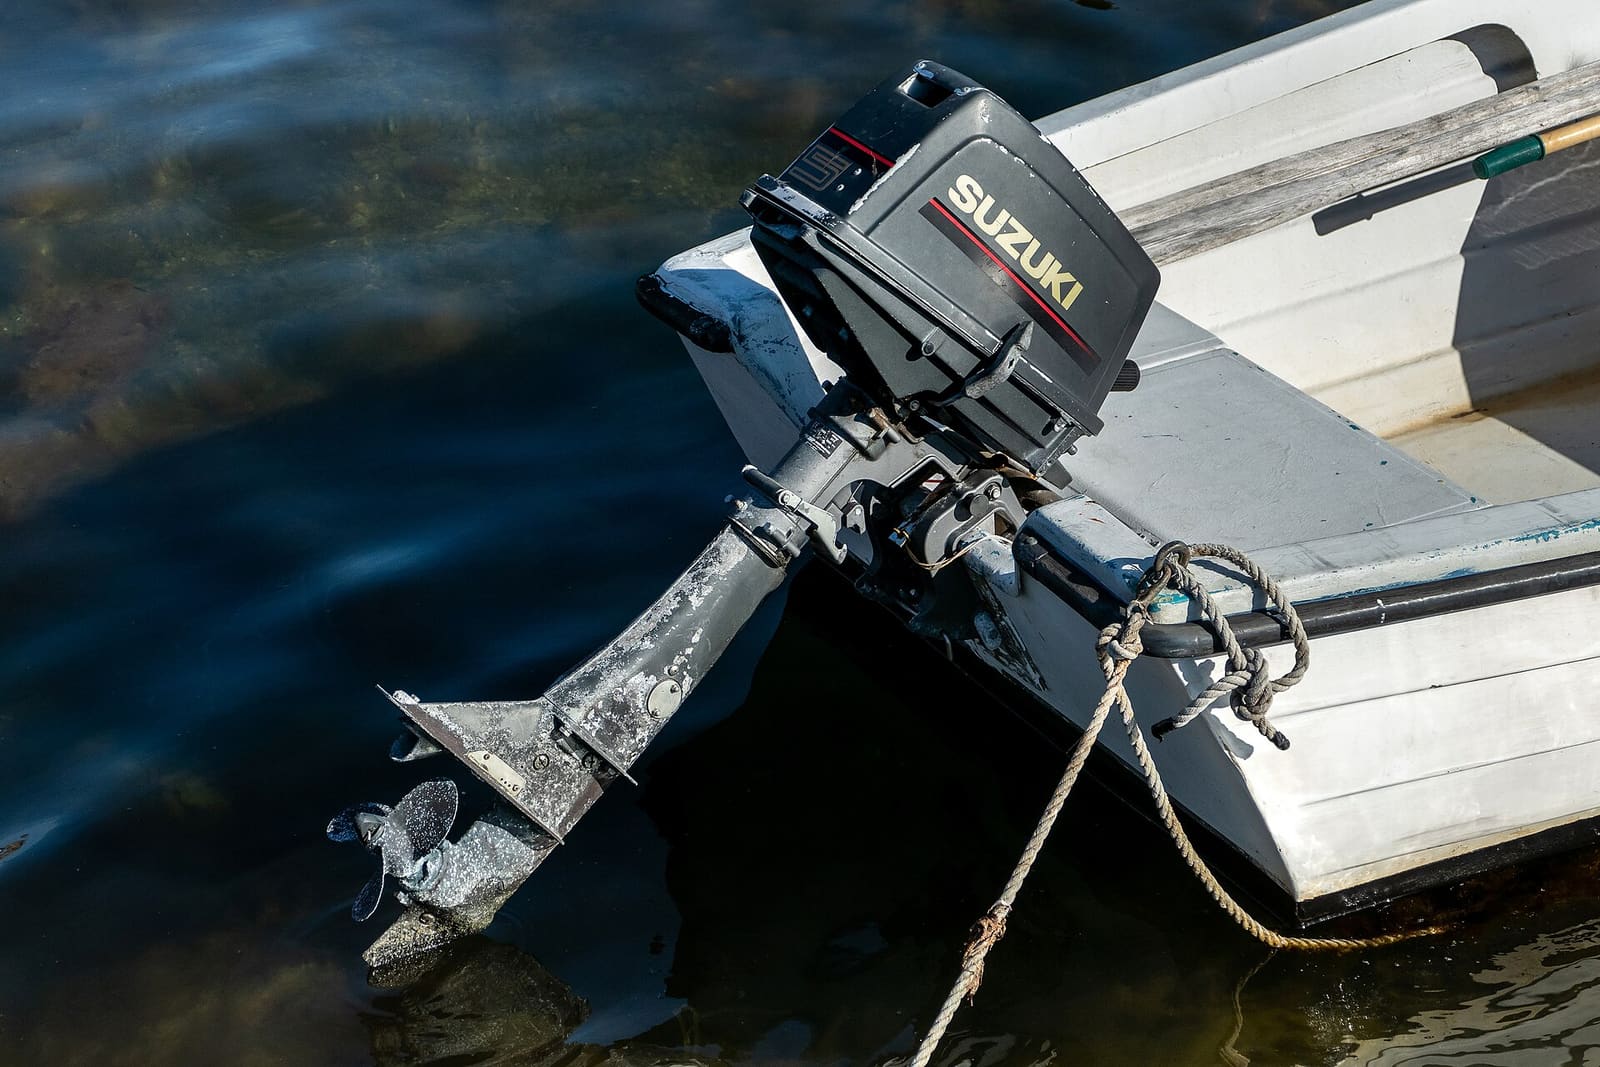
Grease the swivel bracket, tilt tube, steering and shift linkages, trim rams and prop shaft splines on your outboard. Grease keeps salt and water out of the moving joints. A 30-minute job once or twice a season prevents seized steering, stuck props and corroded brackets.

Launch Day and Haul-Out Checklist for Trailer Boats
A step-by-step checklist for getting your boat off the trailer and back on again safely and quickly, from the drain plug and tie-downs to the blower and ramp etiquette. Following it in order prevents the classic mistakes that sink boats and back up the ramp.

Shallow-Water Anchor Care: Power-Pole, Minn Kota Talon and Raptor Maintenance and Troubleshooting
Keep a shallow-water anchor deploying and holding: rinse it the way its maker recommends, inspect the spike and pivot bolts, check hydraulic fluid on pump models, keep the fuse, wiring and pump dry, update the software, know how to stow it by hand and get it ready for winter. Internal pump, circuit board and cylinder repairs go to an authorized service center.