How to Grease Your Outboard's Lubrication Points
Grease the swivel bracket, tilt tube, steering and shift linkages, trim rams and prop shaft splines on your outboard. Grease keeps salt and water out of the moving joints. A 30-minute job once or twice a season prevents seized steering, stuck props and corroded brackets.
Time
45 min
Shop would charge
$75-150
Applies to
Outboard
Safety first: Remove the kill switch lanyard and the key, and disconnect the battery before you touch the prop. Never work under a tilted motor held only by the trim system: engage the tilt support lever and block it.
Tools
- Grease gun with a flexible hose and a fresh coupler
- Prop wrench or socket and a block of wood
- Clean rags and a small brush
- Flashlight
- Small pick (for fishing line at the prop shaft seal)
- Gloves and safety glasses
Parts & supplies
- Water-resistant marine grease specified in your owner's manual (some fittings or the prop shaft may call for a specific grease)
- Replacement grease fittings (zerks) if any are broken or clogged
- New prop nut cotter pin or tab washer if your prop uses one
Before you start
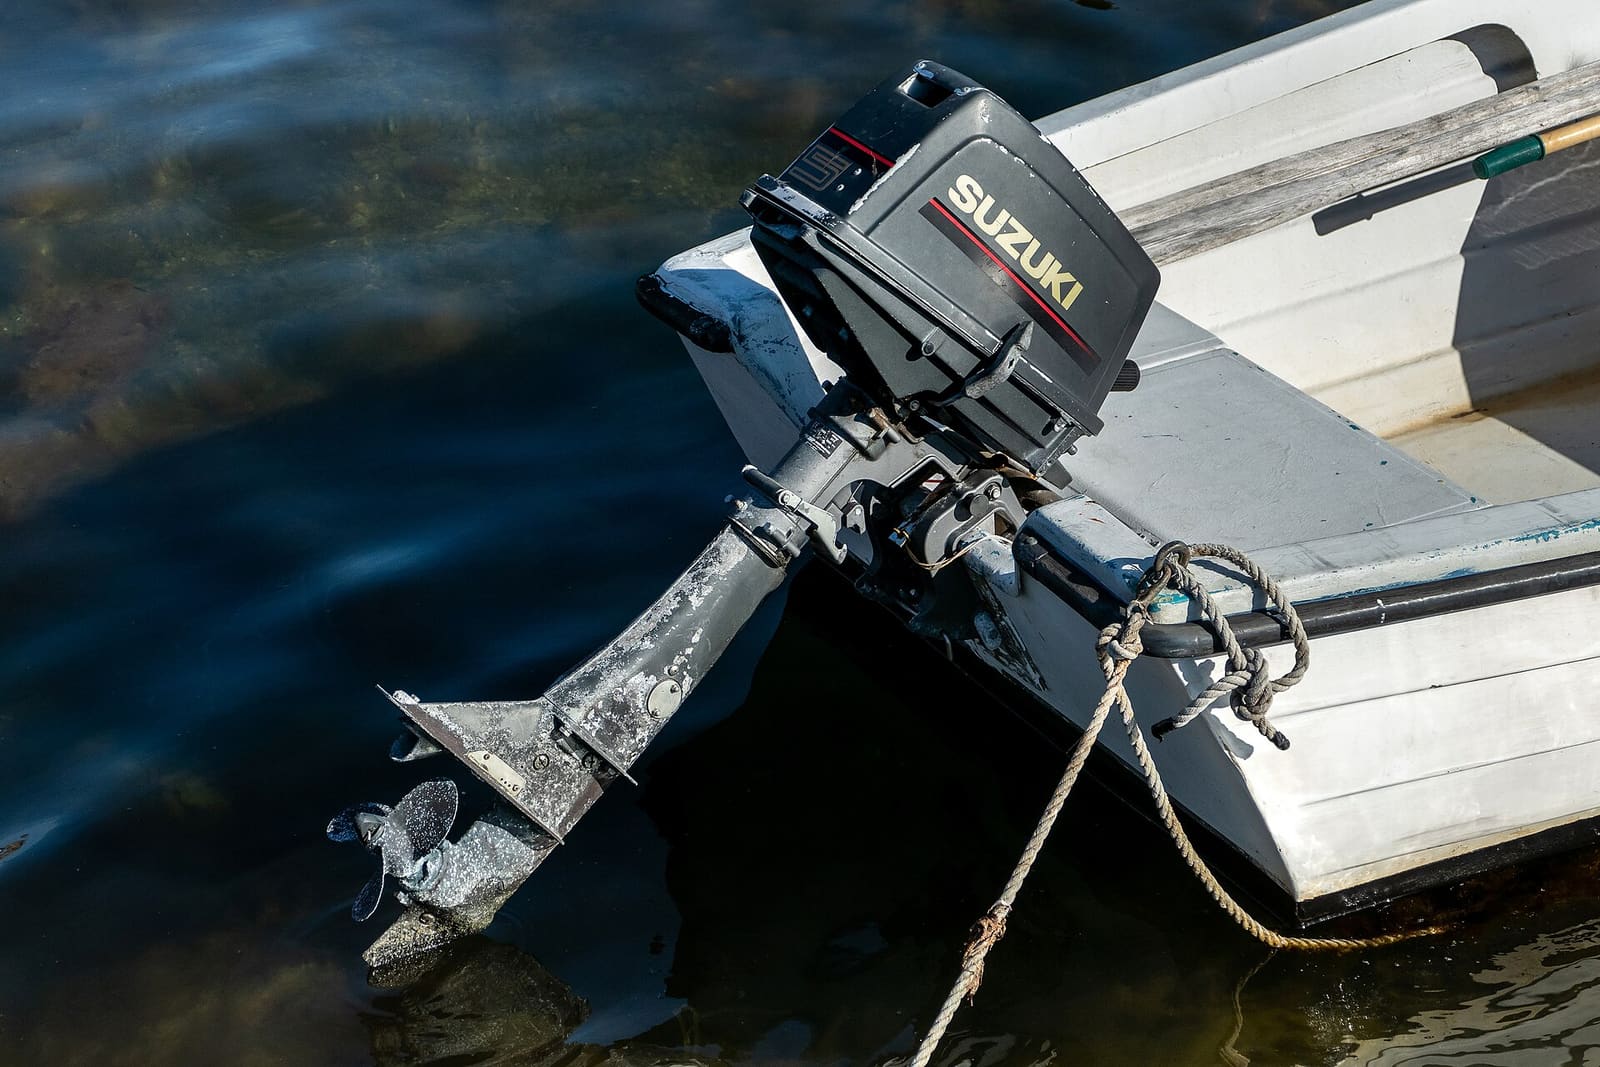
Why grease matters: an outboard pivots and swivels on a few metal joints that live in spray and salt. Grease pushes water out and keeps those joints from corroding and seizing. Suzuki notes its outboards have grease fittings at the key points where the engine pivots and swivels, to be greased regularly as the owner's manual recommends.
How often: many owners grease every fitting at least once a season and again before winter storage. Yamaha's winterizing steps include greasing all fittings, and a dealer 20-hour service on a Yamaha included a shot of grease at every zerk. Grease more often in salt water or if you trailer through rain and road spray. Honda's salt-water advice, for example, is to grease the lubrication points in the owner's manual every month when you run in salt or polluted water. Typical; confirm in your manual.
Which grease: use the marine grease your manual specifies. Yamaha notes the manual names the grease for each fitting. Marine grease resists being washed out by water, which ordinary multipurpose grease doesn't do as well. Don't substitute spray lubricants for grease at fittings.
Find your points: your owner's manual has a lubrication diagram. Common points on most outboards:
- Swivel bracket (steering pivot) fittings, often top and bottom
- Tilt tube fitting on the clamp bracket
- Tilt support lever and tilt lock pivots
- Steering link rod ends and the cable end or hydraulic cylinder support rods
- Shift and throttle linkage (some engines have a fitting where the shift cables enter the cowling)
- Trim and tilt ram tips
- Propeller shaft splines
- Clamp screws on small tiller outboards
Steps
Tilt the motor up enough to reach the bracket and engage the tilt support lever. Remove the lanyard and key and disconnect the battery. Rinse or wipe salt and dirt off the brackets so you can see the fittings.
Use your manual's diagram and a flashlight. Grease fittings (zerks) are small nipples with a ball in the tip. Yamaha's four-cylinder winterizing guide, for example, lists one on each side of the steering slide near the front of the engine, one on the steering column and one on the shift mechanism. Your engine may have more or fewer.
Wipe the tip of each fitting with a rag. Dirt on the fitting gets pushed straight into the joint.
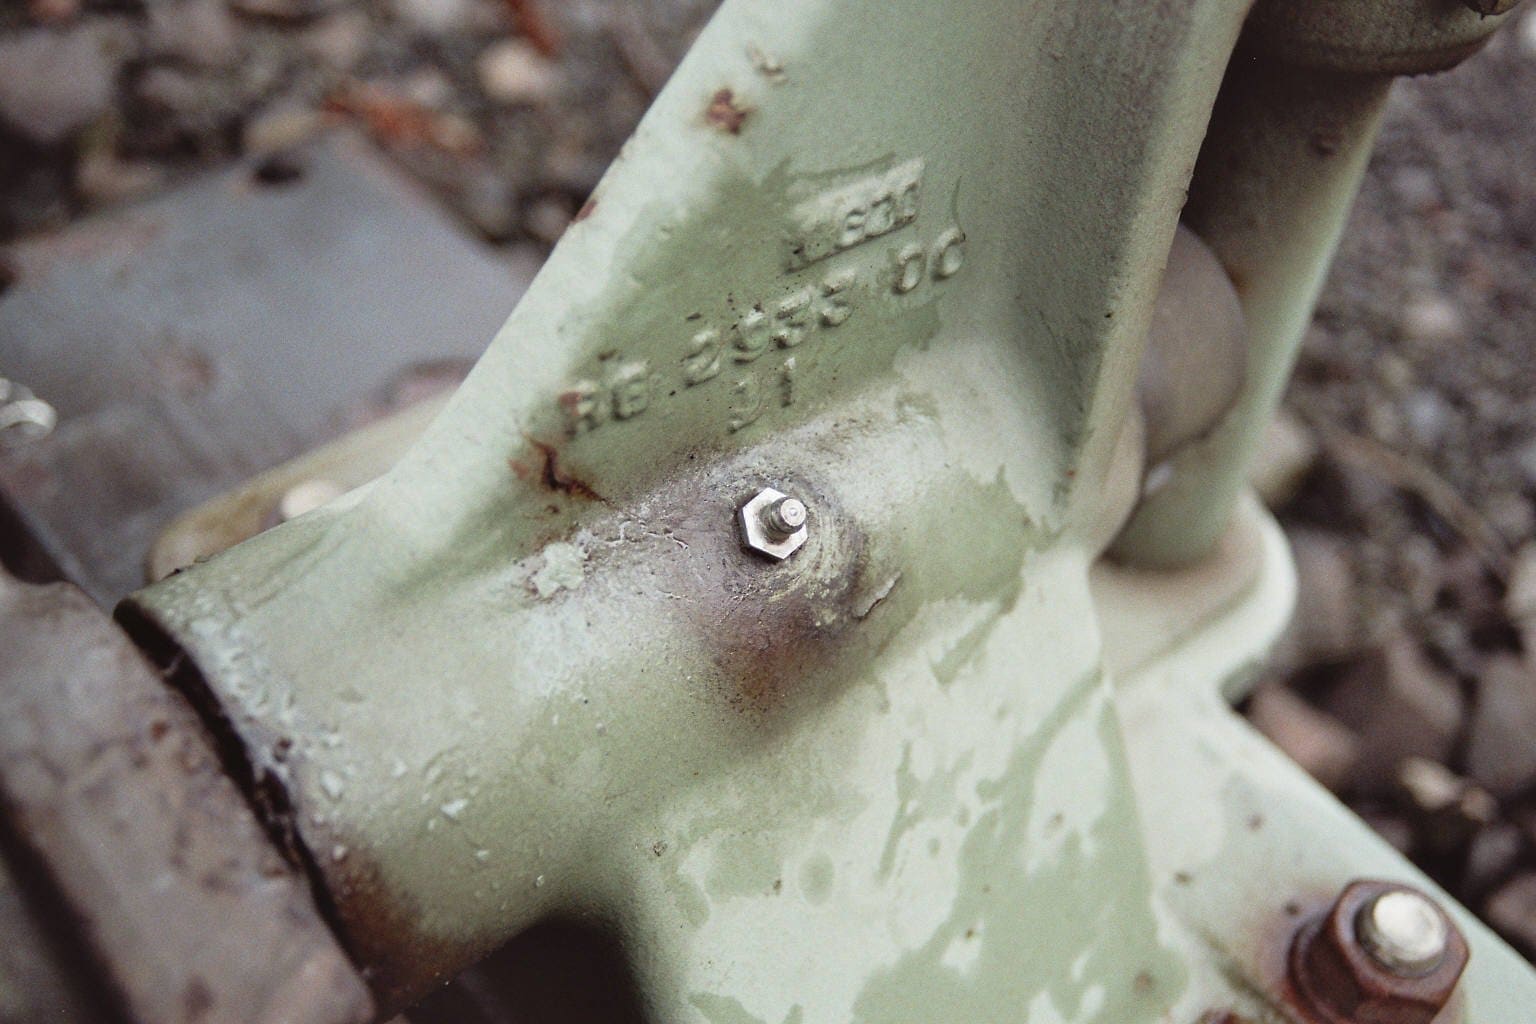
Photo: Markus Schweiss / Wikimedia Commons · CC BY-SA 3.0 If your boat has mechanical cable steering, the cable end slides through the tilt tube. Before greasing the tilt tube or cable fitting, turn the steering wheel so the cable end is fully pulled back into its housing. Greasing with it extended can trap grease and lock the cable. On hydraulic steering, follow the steering manual for the cylinder support rods.
Press the grease gun coupler straight onto the fitting and pump slowly. Stop when you see clean grease start to push out of the joint. That means old, dirty grease and water have been pushed out. Wipe away the excess.
Turn the motor lock to lock and tilt it up and down a little between pumps so grease spreads around the whole joint.
If grease oozes out around the coupler instead of going in, reseat the coupler squarely. If it still won't go in, the fitting may be clogged or the joint packed with old, hard grease. Replace the fitting with the same thread and type. Don't force grease in with huge pressure, which can push out seals.
Remove the cowling. Grease any fitting on the shift mechanism and put a small dab of grease on linkage pivot points your manual shows. Don't get grease on belts, electrical connectors or the flywheel area.
While the cowling is off, many makers suggest a corrosion-inhibitor spray on the powerhead's bare metal. Keep it off the timing and alternator belts, the alternator, any oxygen sensor and the anodes (Honda and Yamaha both list parts not to spray).
Put grease on the steering link rod ends, the tilt support lever pivot and the tilt lock mechanism, either through their fittings or by hand. Work each part back and forth until it moves smoothly.
While you are there, look at the outer jackets of the steering, throttle and shift cables. BoatUS warns that cracks or swelling in a jacket mean the cable is corroding inside and must be replaced. Don't squirt lubricant into the cracks or wrap them in tape; most lubricants don't suit what the cable maker used inside and make things worse. If you twist a cable and hear crunching, there is likely rust inside.
Yamaha recommends periodically greasing the top of the trim rams, where they touch the swivel bracket. It helps prevent corrosion and stops the squeaking and popping noises some motors make when trimming. Wipe a film of marine grease on each ram tip.
Put a block of wood between a prop blade and the anti-ventilation plate so the prop can't turn. Remove the cotter pin or tab washer, the prop nut and any washers, then slide the prop off. Note the order of the thrust washer and spacer, or take a photo.
Mercury warns that fishing line can wrap around the prop shaft behind the prop and get pushed into the shaft seal. If the seal is damaged, water can get into the gearcase. Look carefully at the base of the shaft and the seal. Line is often coated in grease and hard to see; use a pick to pull it out.
Clean the old grease off the shaft and the prop hub splines. Apply a generous coat of the marine grease or anti-corrosion lubricant your manual specifies. Mercury recommends a liberal coat on the prop shaft so the prop doesn't stick to it. Slide the thrust washer, prop and hardware back on in the right order.
Tighten the prop nut to the torque in your manual and install a new cotter pin or bend the tab washer. Mercury suggests rechecking prop tightness after the first 20 hours of running. Never run with a loose prop.
Wipe off any extra grease, replace the cowling, reconnect the battery and test the steering, tilt and shifting. Write the date and engine hours in your BoatMend log.
Common mistakes
- Greasing the tilt tube with the steering cable extended.
- Skipping the prop shaft for years, then finding the prop welded on by corrosion.
- Using only spray lubricant instead of grease at the fittings.
- Not wiping the fittings first, so dirt goes in with the grease.
- Pumping until seals pop out or grease sprays everywhere. Stop when clean grease appears.
- Trailering with only the tilt support lever holding the motor up. Suzuki says the lever is for storage only.
- Ignoring a fitting that won't take grease. The joint behind it is probably dry.
When to call a pro
- A joint is seized and won't move even after greasing
- Steering stays stiff after greasing (see the hydraulic steering guide)
- You find fishing line damage, a torn prop shaft seal or milky gear oil
- A grease fitting is broken off and the stub is stuck in the bracket
- The prop is seized on the shaft and won't come off
Tips
- Keep a grease gun dedicated to marine grease so you don't mix types.
- Combine greasing with your freshwater flush, anode check and lower unit oil change.
- A spare set of prop hardware (thrust washer, nut, cotter pin) in a zip bag saves a trip if you drop one in the water.
- If your motor squeaks or groans when you trim, grease the ram tips and swivel bracket before you suspect the trim unit.
Official references
We read these to write this guide. Your engine's own manual always wins.
- Yamaha Outboards – How to Winterize Your Yamaha Four-Cylinder Outboard (grease fittings)
- Yamaha Outboards – Maintenance Matters, Power Trim and Tilt
- Yamaha Outboards – Midseason Maintenance Tips
- Suzuki Marine – FAQs (grease key points)
- Mercury Marine – Service and Support FAQs (propeller shaft lubricant)
- Mercury Marine – How to Bring an Old Boat Out of Retirement
- Honda Marine – Salt Water Operation Tips
- Yamaha Outboards – Maintenance Matters, Electrical System (spray protectants and O2 sensors)
- BoatUS – 17 Must-Do Spring Boat Maintenance Tasks (control cable jackets)
- BoatUS – 5 Spring Claims to Avoid (control cables)
Safety: BoatMend is for information only and does not replace a certified marine technician. You are responsible for your safety and your boat. Read the full disclaimer.
Last updated 2026-10-24
Related guides
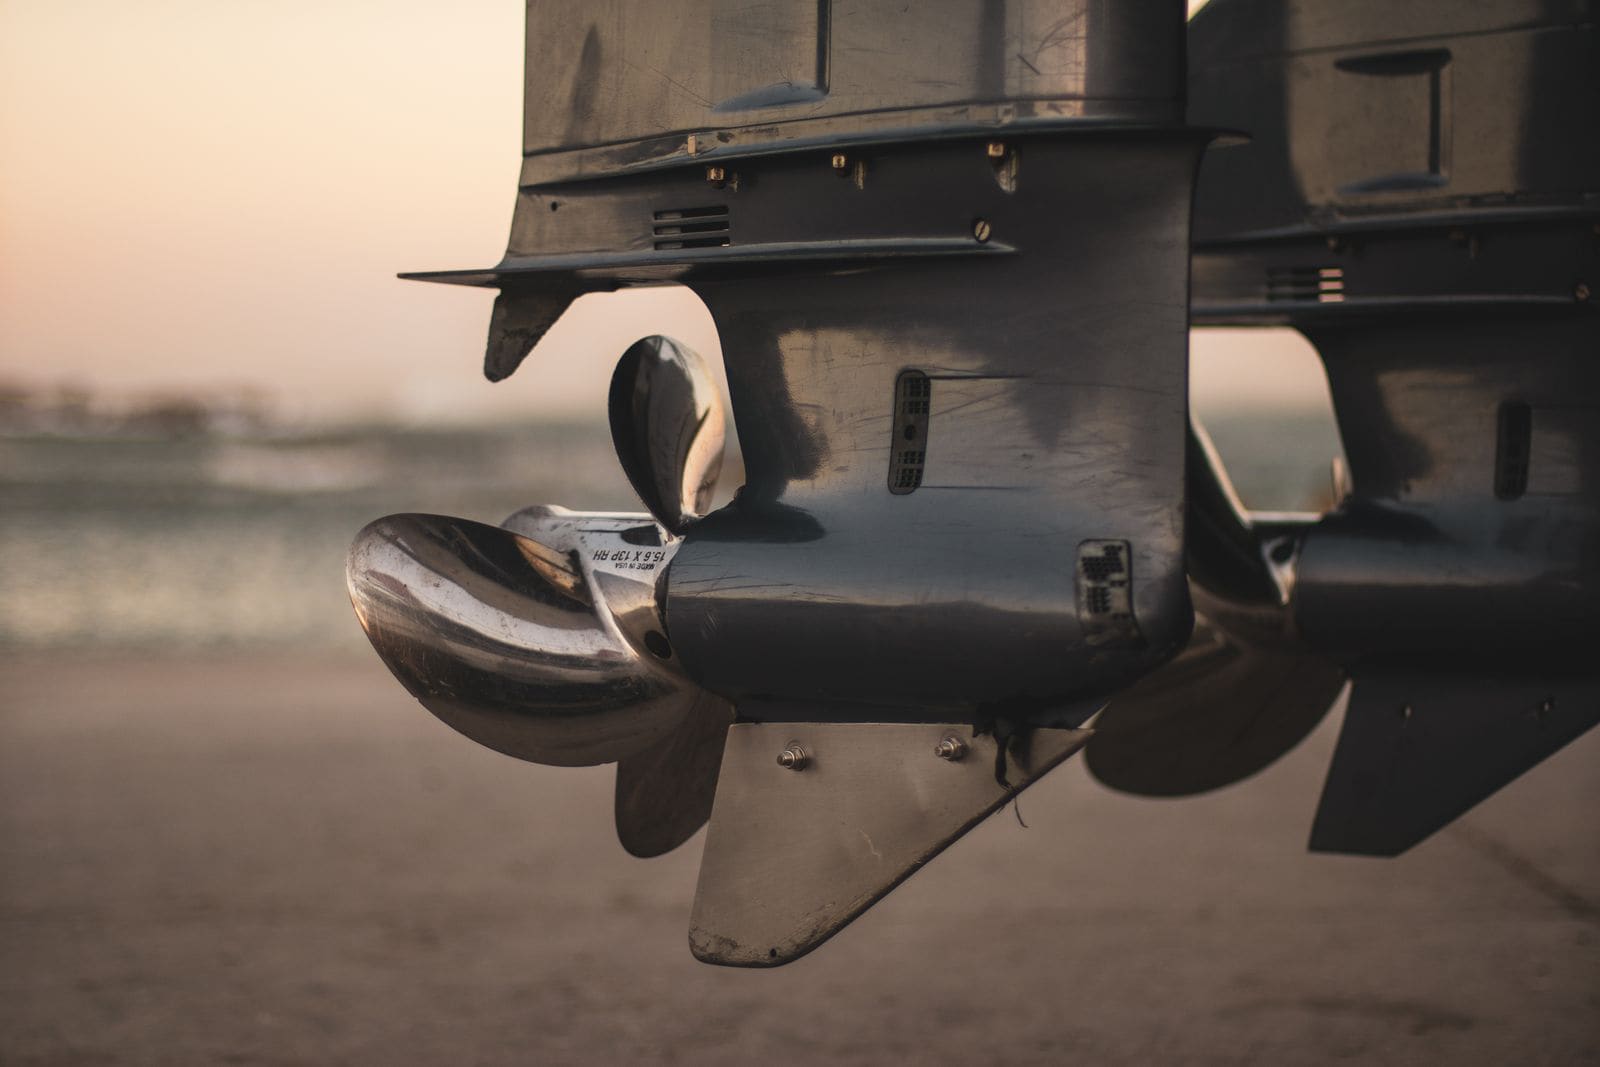
Propeller Care: Inspect, Remove, Replace and Choose the Right Pitch
Check your prop for damage, pull it to clear fishing line and grease the shaft, reinstall it correctly, and learn how pitch affects your engine's wide-open-throttle RPM. The right prop in good shape protects your engine and often makes the boat run better and use less fuel.
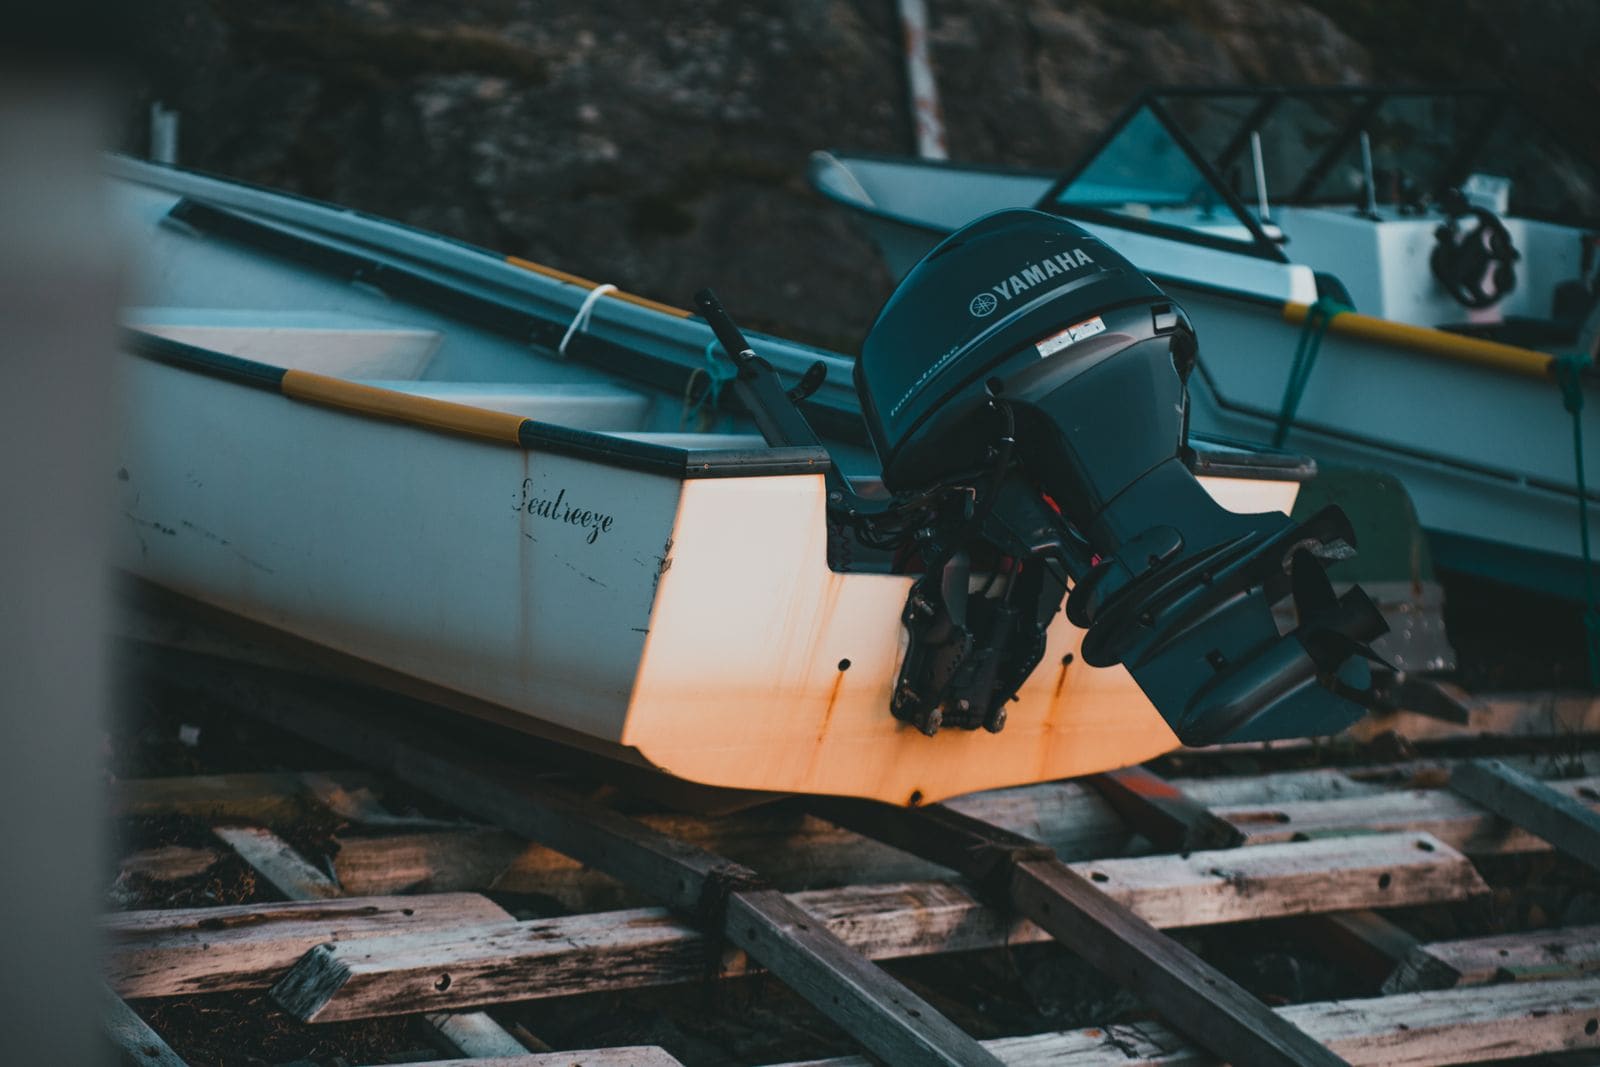
How to Check and Top Up Power Trim and Tilt Fluid
Check and top up the hydraulic fluid in your power trim and tilt unit, then work through the simple checks when the motor won't go up, won't go down or slowly sinks. Most trim problems are a dead battery, a bad relay, low fluid or a release valve left open, and you can find those yourself.
Hydraulic Steering: Check Fluid, Bleed Air and Fix Stiff or Loose Steering
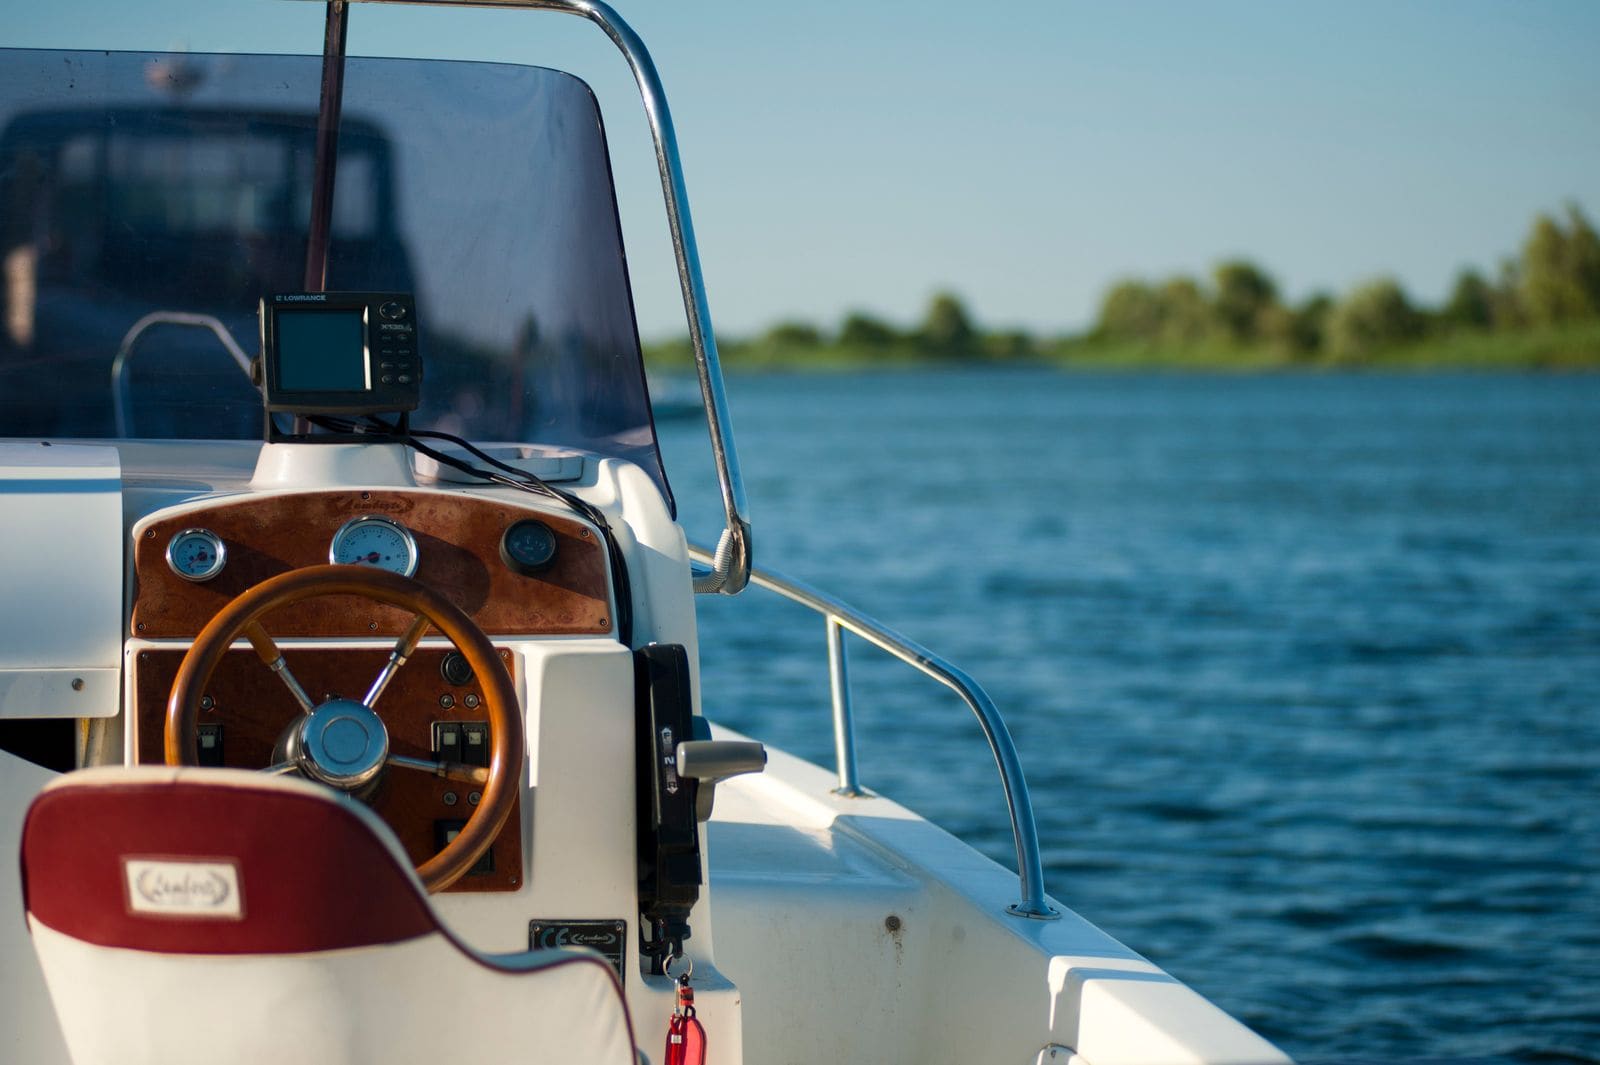
Check the fluid in your hydraulic steering helm, bleed out the air that makes steering spongy, and track down the usual causes of stiff, loose or noisy steering. Includes notes for boats with mechanical cable steering.
How to Winterize an Outboard Engine
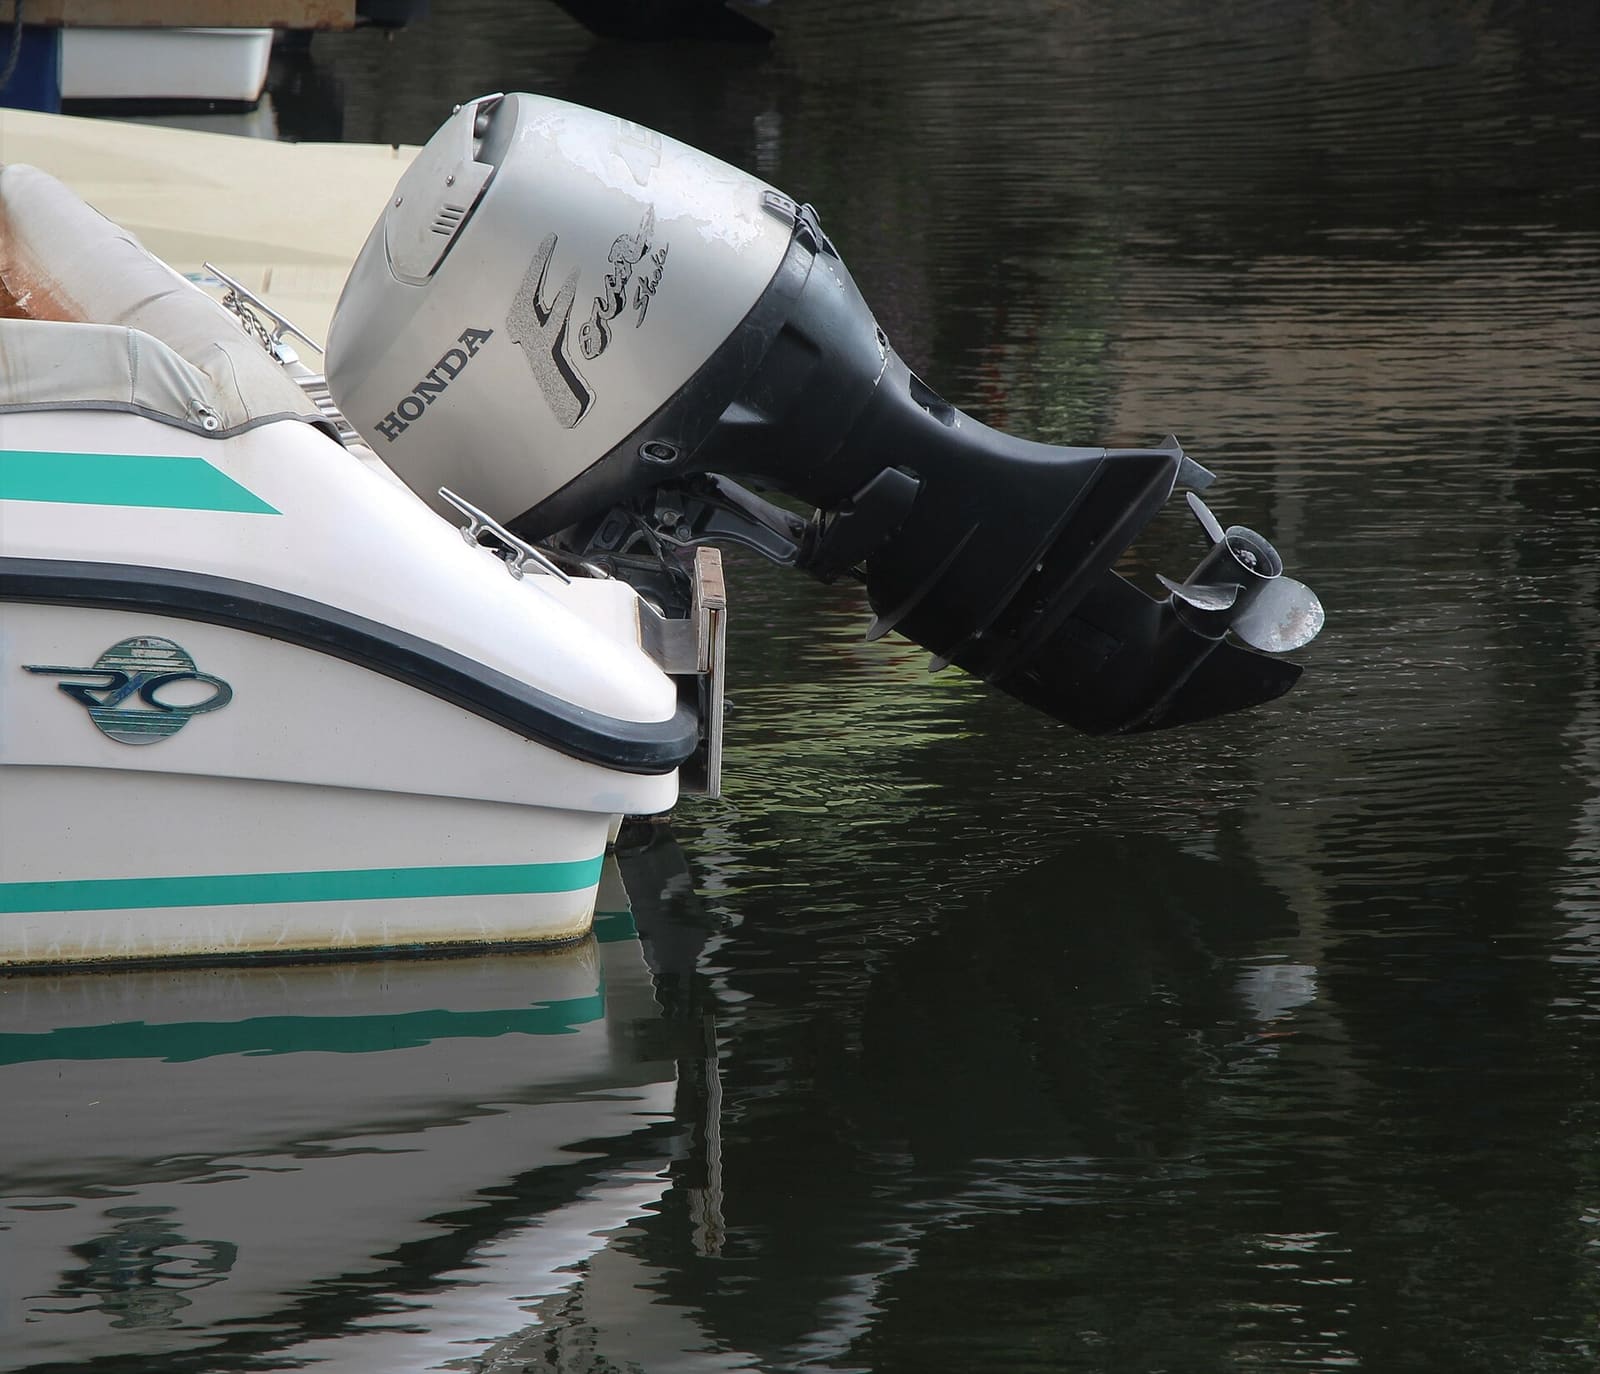
Protect your outboard from freeze damage, stale fuel and internal corrosion over the off-season. Most owners can do it in an afternoon with basic tools, compared with a shop bill that often runs several hundred dollars.
How to Inspect and Replace Sacrificial Anodes (Zincs)
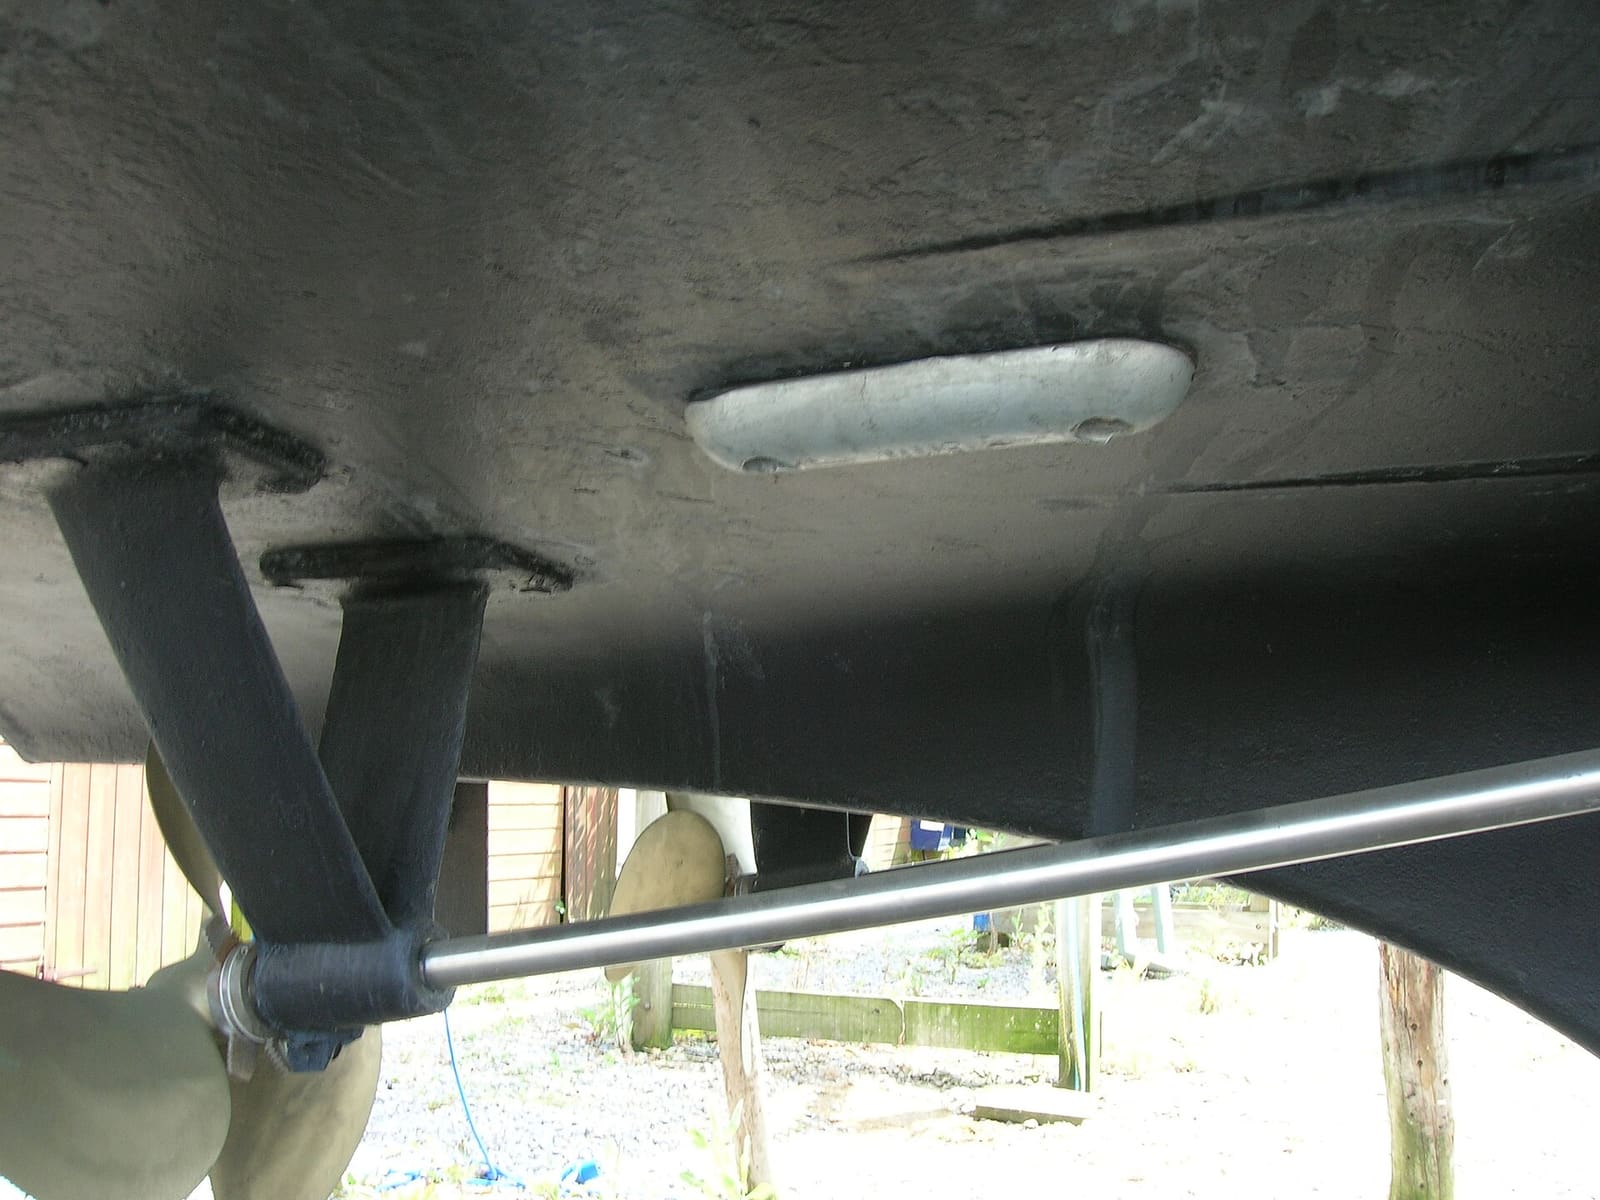
Check the anodes on your outboard, sterndrive or inboard running gear, replace them when they are half gone, and choose the right metal for the water you boat in. Fresh anodes are cheap insurance against expensive corrosion damage to your lower unit, drive and prop.
How to Flush Your Engine With Fresh Water
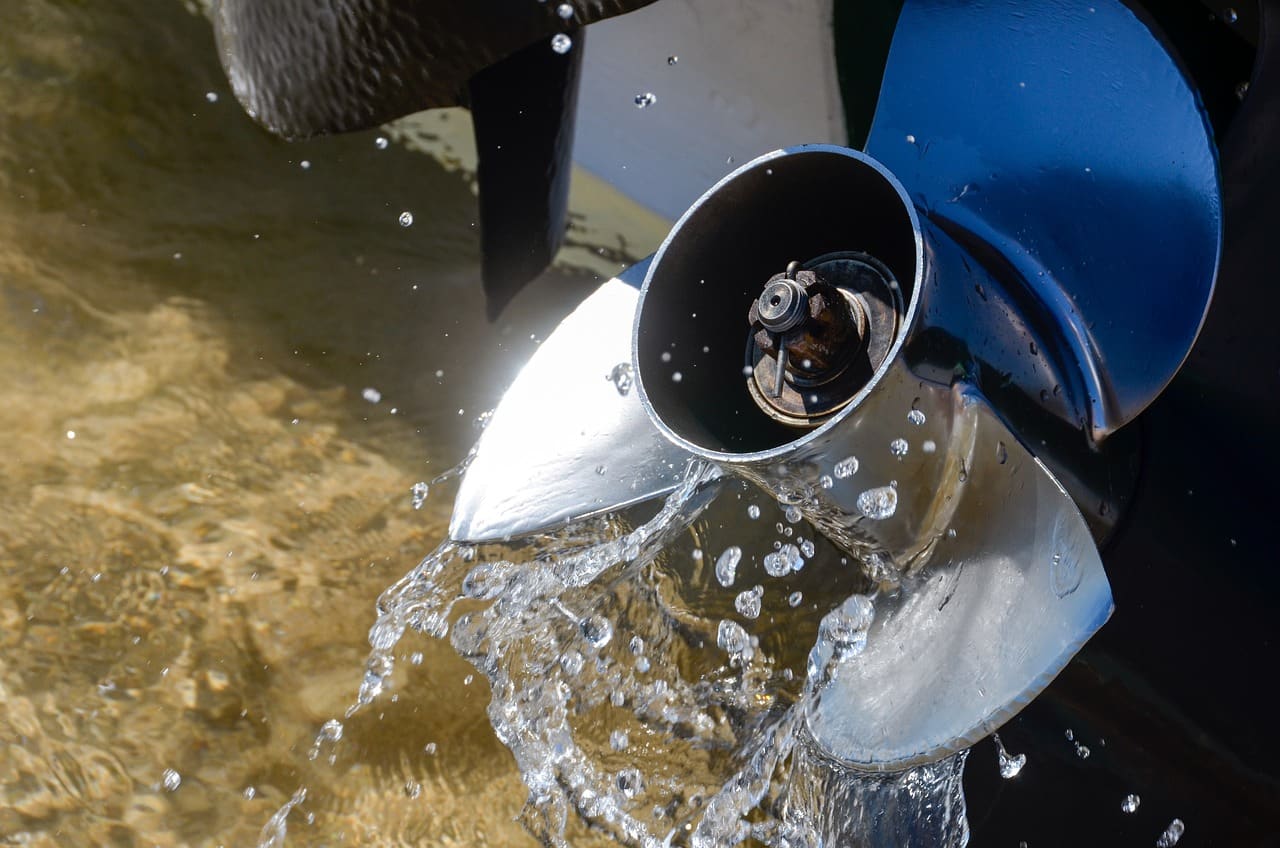
Rinse salt, silt and sand out of your outboard or sterndrive cooling system using the built-in flush port, flush muffs or a flush bag. Flushing after every saltwater trip is one of the easiest ways to prevent corrosion and overheating.