Basic Rope Work for Boat Owners - Eye Splices, Whipping and Sealing Line Ends
Learn the rope skills every owner uses: put an eye splice in three-strand dock or anchor line, stop line ends from unraveling with a whipping or by melting them, know when double-braid splicing is worth it or when to buy pre-spliced line, and inspect splices so you retire a line before it fails.
Time
1 h
Shop would charge
$20-80
Applies to
All engines
Safety first: Melted nylon and polyester drip and stick to skin like hot glue. Melt line ends outdoors, away from fuel and anything flammable, and don't breathe the fumes. A dock line, anchor rode or tow line that's chafed, stiff or damaged at the splice can part under load and snap back hard: retire it rather than trust it, and stand clear of any line under heavy strain.
Owners often ask
- Is it worth learning to splice my own dock lines, or should I just buy them pre-spliced?
- How do I stop the cut end of a rope from unraveling?
This guide walks you through it. Still stuck? Ask the AI Mechanic about your engine.
Tools
- Sharp utility knife or rope knife
- Masking tape or electrical tape
- Marker
- Fid or marlinspike (for stiff, large or tightly laid rope)
- Hot knife, or a lighter or small torch used outdoors (for melting synthetic line ends)
- Sailmaker's needle and palm (optional, for whippings on braided line)
- Tape measure
Parts & supplies
- Three-strand nylon or polyester line for practice and dock lines
- Waxed whipping twine
- Galvanized or stainless thimble sized for the line (for anchor rode eyes)
Before you start
Why splice instead of tying a knot? Knots weaken rope where they bend it sharply. BoatUS says a bowline cuts a line's breaking strength by roughly 40% while a good splice keeps about 95% of it; Samson Rope recommends splicing as the preferred way to finish a rope for the same reason. Practical Sailor's tests of old nylon dock lines, with input from New England Ropes, came out a bit more conservative (about a 10% loss for a splice and 30% for a bowline), but the lesson is the same: splices beat knots.
Which rope can you splice at home?
- Three-strand (twisted) rope. Easy to learn and the best place to start. Common for anchor rodes and dock lines; Practical Sailor notes three-strand nylon is tough, takes abuse and is easier to splice than braided line.
- Double-braid (a braided cover over a braided core). Common for dock lines and sheets. Splicing it is a different, fussier process with special fids and exact measurements (see step 9).
- High-tech single braids (Dyneema and similar). Some are easy to splice, but follow the rope maker's own instructions; see running rigging.
Where you'll use it: BoatUS suggests an eye in one end of every dock line. Lines for your home slip get an eye at the boat end, sized to fit over the cleat. Lines you carry for visiting other docks get the eye at the shore end so you can adjust from aboard; about a 12-inch eye is handy for those. Anchor lines need an eye around a thimble so they can be shackled to the chain.
Steps
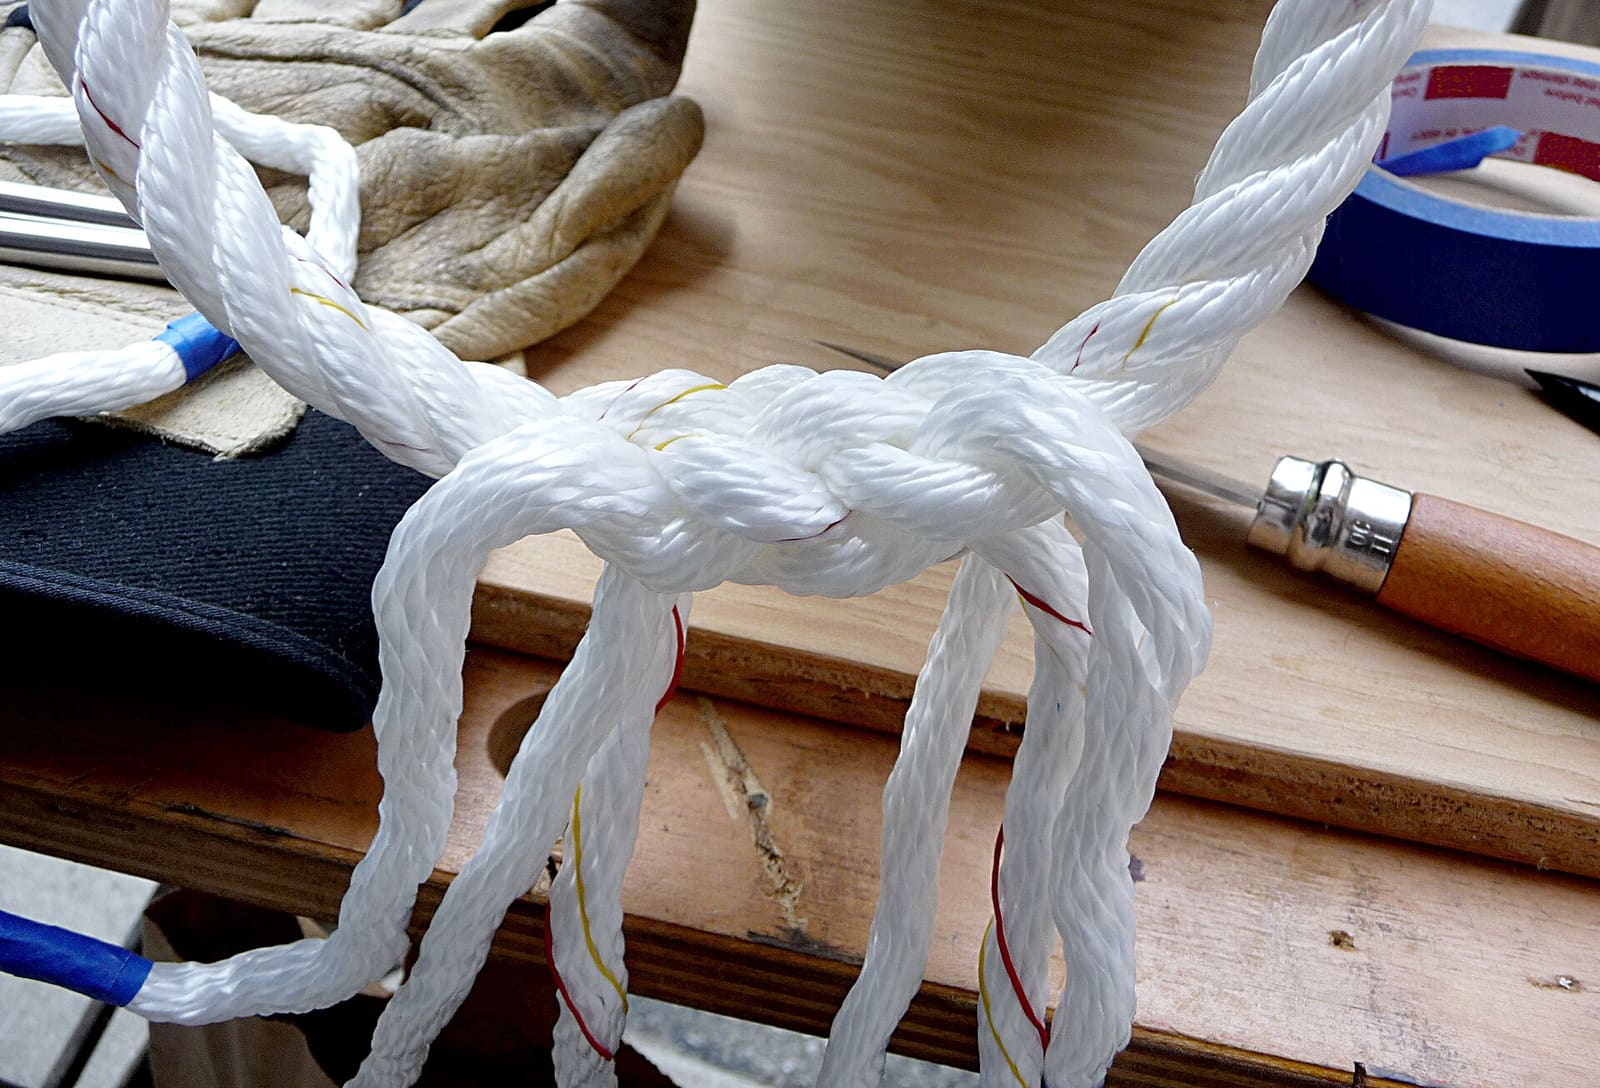
Buy a few feet of half-inch three-strand nylon or polyester and practice two or three splices before you work on a good line. Three-strand rope has a "lay" (the direction the strands twist). All the tucks go against the lay, and once you've done one it clicks.
If the end was hot-cut at the store, cut off the melted tip (tape first, then cut through the tape). Tape the end of each of the three strands tightly so they don't fray. Unlay (untwist) enough rope for your tucks. Animated Knots' rule of thumb is about three times the rope's diameter per tuck. Put a wrap of tape around the rope where the unlaid part meets the rest, so it stops unraveling there.
Bend the end back to make a loop of the size you want. The tape wrap marks where the eye closes. For an anchor line, wrap the eye snugly around the thimble now; a piece of tape on each leg holds it in place while you work. BoatUS's Mark Corke points out that thimbles are sized to the rope's diameter, and one that is the wrong size will work its way out of the eye, so buy the thimble for your exact line size. He also tapes the strand ends rather than melting them, because a melted end is hard and makes the tucks more difficult. Lay the three loose strands on top of the standing part (the long part of the rope), spread out: one in the middle, one to each side.
Lift one strand of the standing part, right where you want the eye to close, and push the middle loose strand under it, against the lay. BoatUS's memory aid: the first tuck is always the center strand. Soft rope opens with your fingers; stiff or large rope needs a fid or marlinspike to open the strand. Pull it through until the eye closes, but don't pull so hard you distort the rope.
Take the next loose strand and tuck it under the standing strand next to the one you just used, going the same direction. The third tuck is where most people go wrong: flip the eye over, and tuck the last loose strand under the one remaining standing strand, still going the same direction. Now each loose strand should come out from under a different standing strand, evenly spaced around the rope. Pull all three snug.
Take any loose strand, pass it over the next standing strand and under the one after that. Do the same with the next strand, one tuck at a time, rotating the rope a third of a turn after each tuck so you keep your place. Animated Knots suggests holding the two waiting strands one on each side so you always know which comes next, and twisting each strand slightly as you go to keep its shape. BoatUS recommends six full rounds of tucks; for mooring lines, tow lines and other critical uses, more is better. Follow the rope maker's instructions if they give a number.
Roll the splice under your foot on the floor to smooth it, then put a strain on the eye (loop it over a post and pull) to set the tucks. Trim the tails, leaving short stubs, and melt the stubs on synthetic rope so they don't pull out. Animated Knots notes the melted stubs are slightly fatter than the strand, which helps lock the splice. It also warns that old-style thinned, tapered tails tend to work loose in modern slippery rope, so occasional splicers are better off with full tucks.
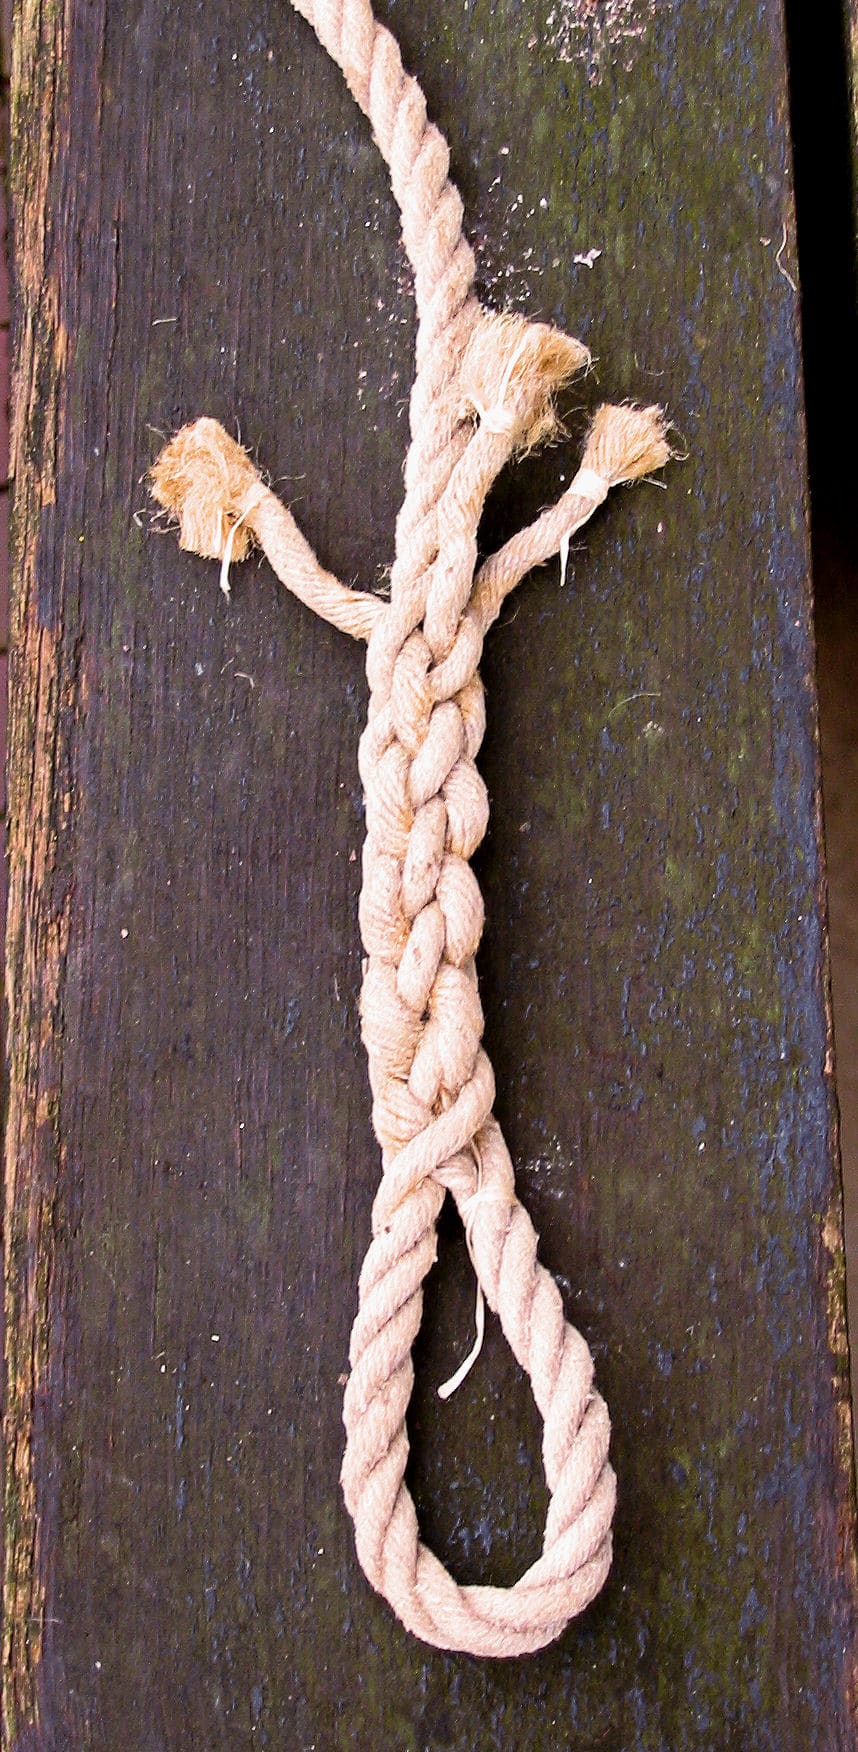
A completed eye splice before the tails are trimmed: the strands are woven over-and-under into the standing part. Photo: Rasbak / Wikimedia Commons · CC BY-SA 3.0 Every cut end needs sealing:
- Melting. For nylon and polyester, a hot knife or a flame seals the end. Tape it first, cut through the tape, then melt just enough to fuse the fibers. Animated Knots recommends melting synthetic ends even when you also whip them.
- Common whipping. Wrap waxed twine tightly around the rope near the end, trap the end of the twine under the wraps, and pull it out of sight. It's quick and needs no needle, but Animated Knots notes that if one turn gets cut, the whole whipping can unravel fast.
- Sailmaker's whipping. The twine is passed between the strands and the outer "frapping" turns follow the grooves, so it holds even if damaged. Animated Knots calls it the most secure whipping; use it on lines that work hard.
- Back splice (three-strand only). A crown knot at the end, then each strand tucked back into the rope about three times. It needs no twine or tools, so it's handy when you have nothing else. Animated Knots treats it as a temporary fix to replace with a whipping, because it makes a bulky end that won't pass through blocks or fairleads.
- Cores that don't melt. For rope with a core that won't melt (such as an aramid core), Animated Knots suggests trimming the core a little shorter than the cover and melting the cover over it.
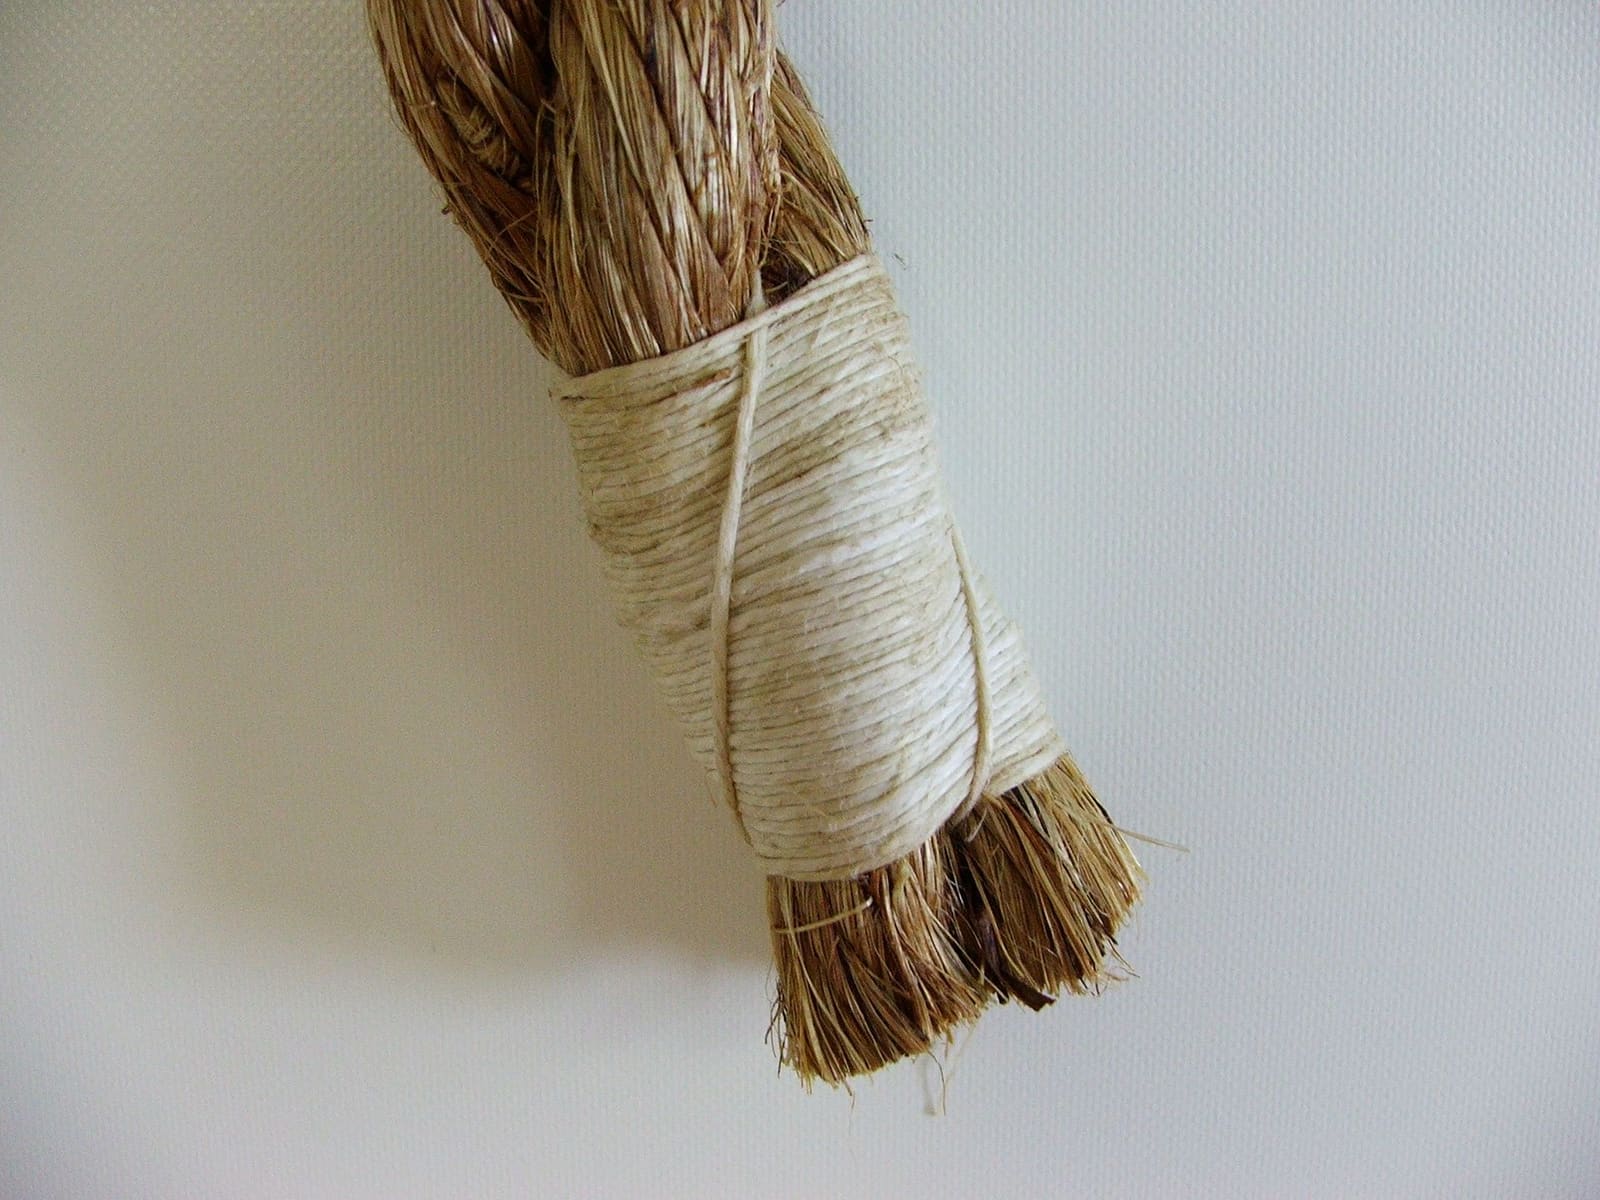
A sailmaker's whipping on natural-fiber rope: the turns along the grooves lock the wraps in place. Photo: Dudelidou / Wikimedia Commons · CC BY-SA 3.0 A double-braid eye splice works by pulling the core out, burying the cover inside the core and the core inside the cover, with exact measurements from the rope maker's instructions and a fid sized for the rope. It's very learnable, but it takes patience and the right tools, and a mistake can leave a splice weaker than you think. In BoatUS's step-by-step, Mark Corke ties a slipknot well up the line and hangs it on a winch or cleat so he can pull against it, cuts off any melted end so the core slides freely, and uses a fid that matches the core diameter. Good options:
- Learn it if you replace a lot of line, using the instruction sheet from the maker of your rope (methods differ between brands and constructions).
- Buy pre-spliced dock lines. BoatUS notes they cost more than line off the spool and come only in set lengths. Check the eye actually fits over your cleats before you cut the tags off.
- Have a rigger or marine store splice it to the exact length and eye size you want.
Practical Sailor found that worn spliced dock lines tended to break at the end of the splice away from the eye, where the tails enter the rope. Look and feel there and along the eye. Signs to retire or re-splice the line:
- Tucks pulling out, loose or uneven
- Chafe, flat spots or cut strands at the eye, especially where it rides on a cleat or chock
- Glossy, glazed, hard or stiff areas, which Samson says can mean heat, grit or shock loading
- A thimble that's loose, rusted, or crushed and cutting into the rope
- Fuzzy, broken outer fibers all along a line that's been in the sun for years
Samson suggests end-for-ending (swapping the ends) so wear moves to a different spot, and BoatUS notes that's one more reason to know how to splice: when an anchor line's working end gets worn from chocks and the bottom, you can turn it around and splice a new eye at the other end. Add chafe gear where lines cross edges, and rinse lines in fresh water now and then.
Common mistakes
- Tucking with the lay. Every tuck goes against the twist of the rope; if it lies smooth along a groove, it's going the wrong way.
- Mixing up the third tuck. Flip the eye over before tucking the last strand.
- Too few tucks. Slippery modern synthetics need the full number.
- Cutting tails flush with no melt or stub. They can work back out.
- Tying a bowline in a storm line when an eye splice would keep much more strength.
- Melting Dyneema-type line and trusting it. Some high-tech fibers don't seal well with heat; follow the maker and whip the end.
- Trusting a pre-spliced eye's label. Measure it against your cleats.
When to call a pro
- Mooring pennants, tow bridles, lifting slings and anything where failure could cause injury or lose the boat, if you're not confident in your splicing
- Double-braid or high-tech line in sizes or constructions you haven't spliced before
- Splicing rope to chain for a windlass (rope-to-chain splices must fit the gypsy; a rigger or windlass dealer can do it)
- Wire rope or anything rigging-related
- Any line that's damaged at the splice and needs to carry heavy loads tomorrow
Tips
- Keep a short practice piece, a roll of tape and a lighter in your onboard kit; a fresh eye splice can rescue a chafed dock line during a storm.
- Use a different colored twine or tape on each line's eye to show its length at a glance.
- Before hurricane season, check every dock line splice and replace questionable lines.
- Animated Knots has step-by-step animations of the eye splice and both whippings; watching them once makes the written steps much easier.
Official references
We read these to write this guide. Your engine's own manual always wins.
- BoatUS – How to Splice Three-Strand Rope
- BoatUS – Thimble Splice (Mark Corke)
- BoatUS – How To Splice Double-Braid Line (Mark Corke)
- Animated Knots – Eye Splice
- Animated Knots – Common Whipping
- Animated Knots – Sailmaker's Whipping
- Animated Knots – Back Splice
- Samson Rope – Rope Inspection, Maintenance and Safety
- Practical Sailor – Used Nylon Three-Strand Rope Faces the Ultimate Endurance Test
Safety: BoatMend is for information only and does not replace a certified marine technician. You are responsible for your safety and your boat. Read the full disclaimer.
Last updated 2026-10-25
Related guides
How to Size, Rig and Inspect Dock Lines and Fenders
Pick the right dock line diameter and fender size for your boat, set up bow, stern and spring lines in a slip, add chafe gear, inspect for wear and UV damage, and double everything up before a storm.
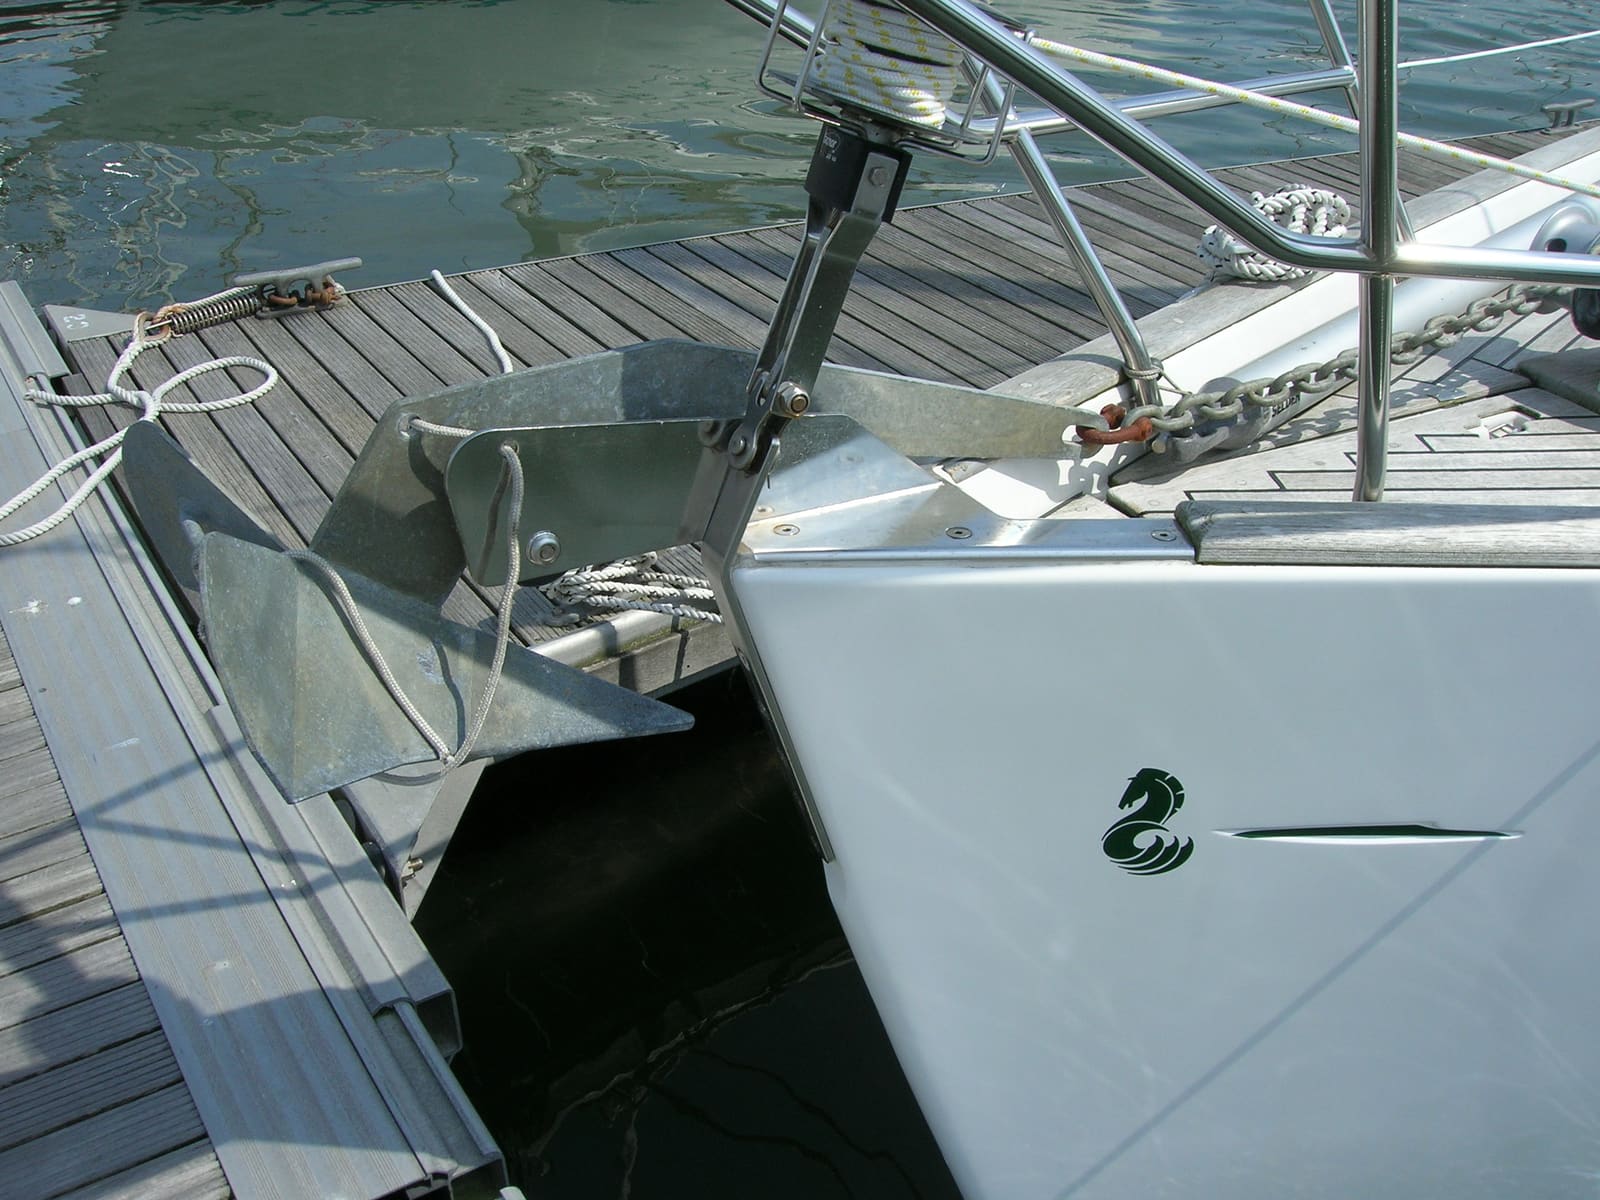
Anchor Basics: Choosing the Anchor, Rode and Scope, Setting It and Checking Your Gear
Match your anchor to the bottom you usually anchor in, put together a chain-and-nylon rode, let out enough scope for the depth and weather, set and check the anchor, use an anchor alarm, and inspect the rode, splices and shackles every season so the weakest link isn't hiding in your ground tackle.
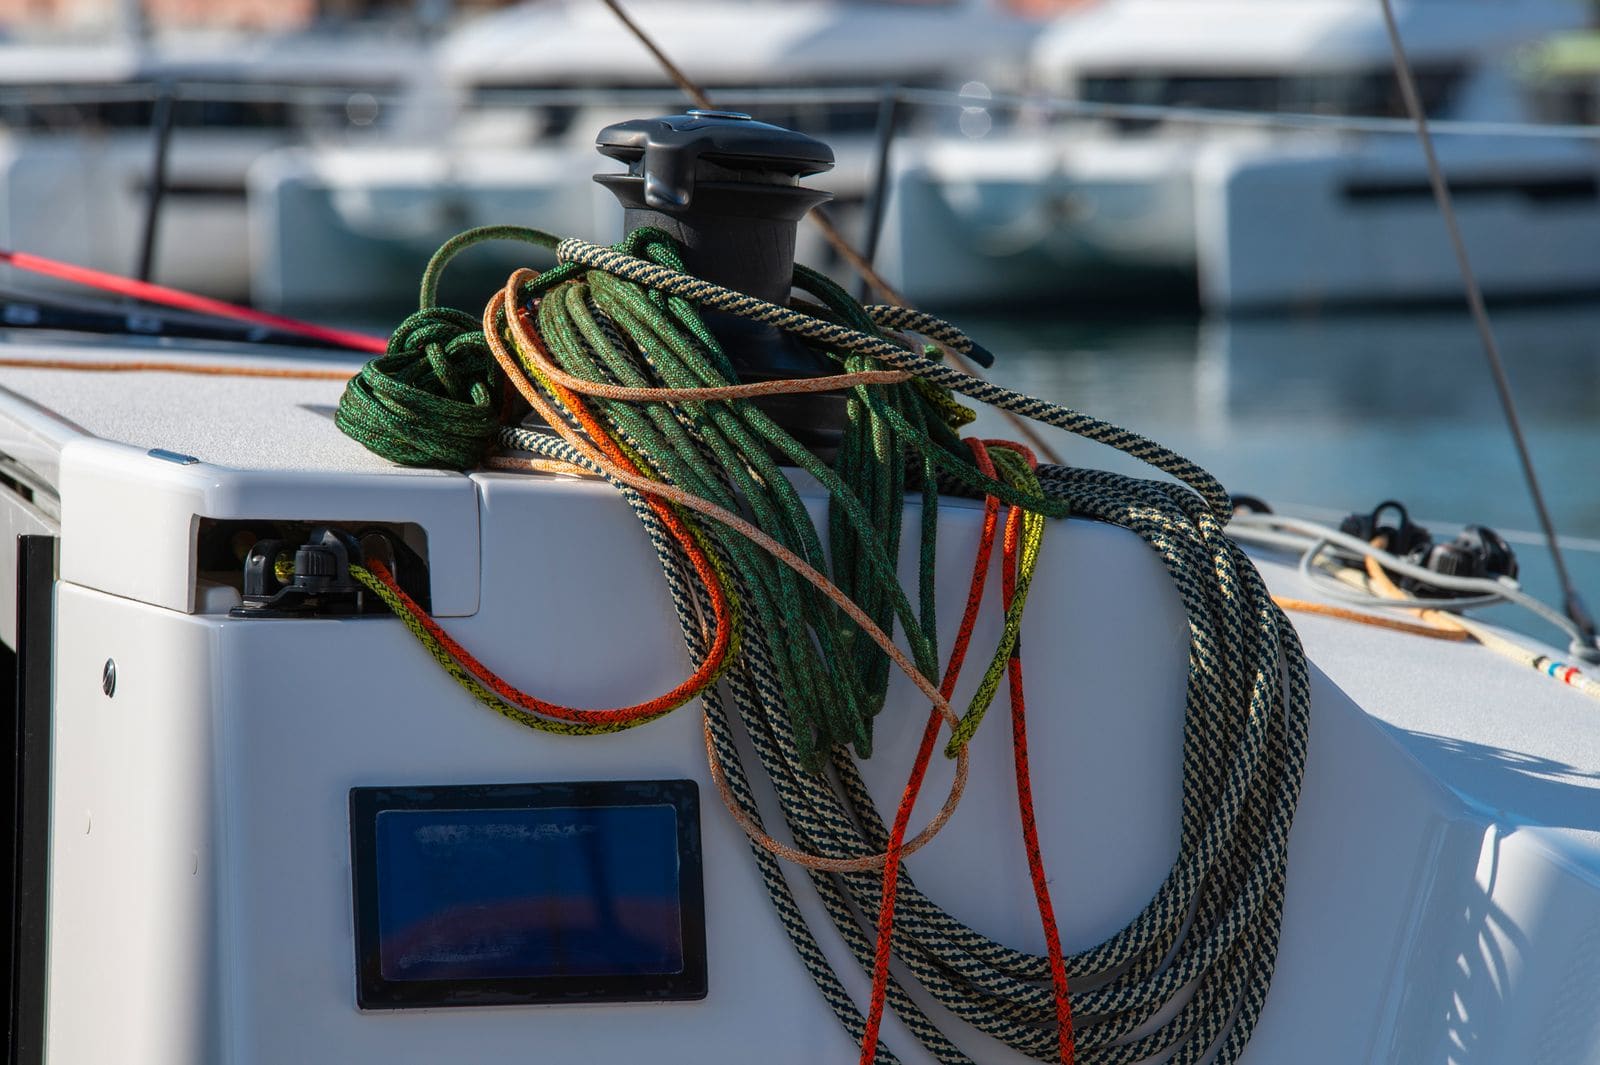
Running Rigging Care: Inspecting Halyards, Sheets and Dyneema Lines
Check your halyards, sheets and control lines for chafe, sun damage, glazing and cover slip, wash them the right way, end-for-end them to spread the wear, and know when a line has to go. A halyard that parts drops a sail; a sheet that parts in a gust can be worse.
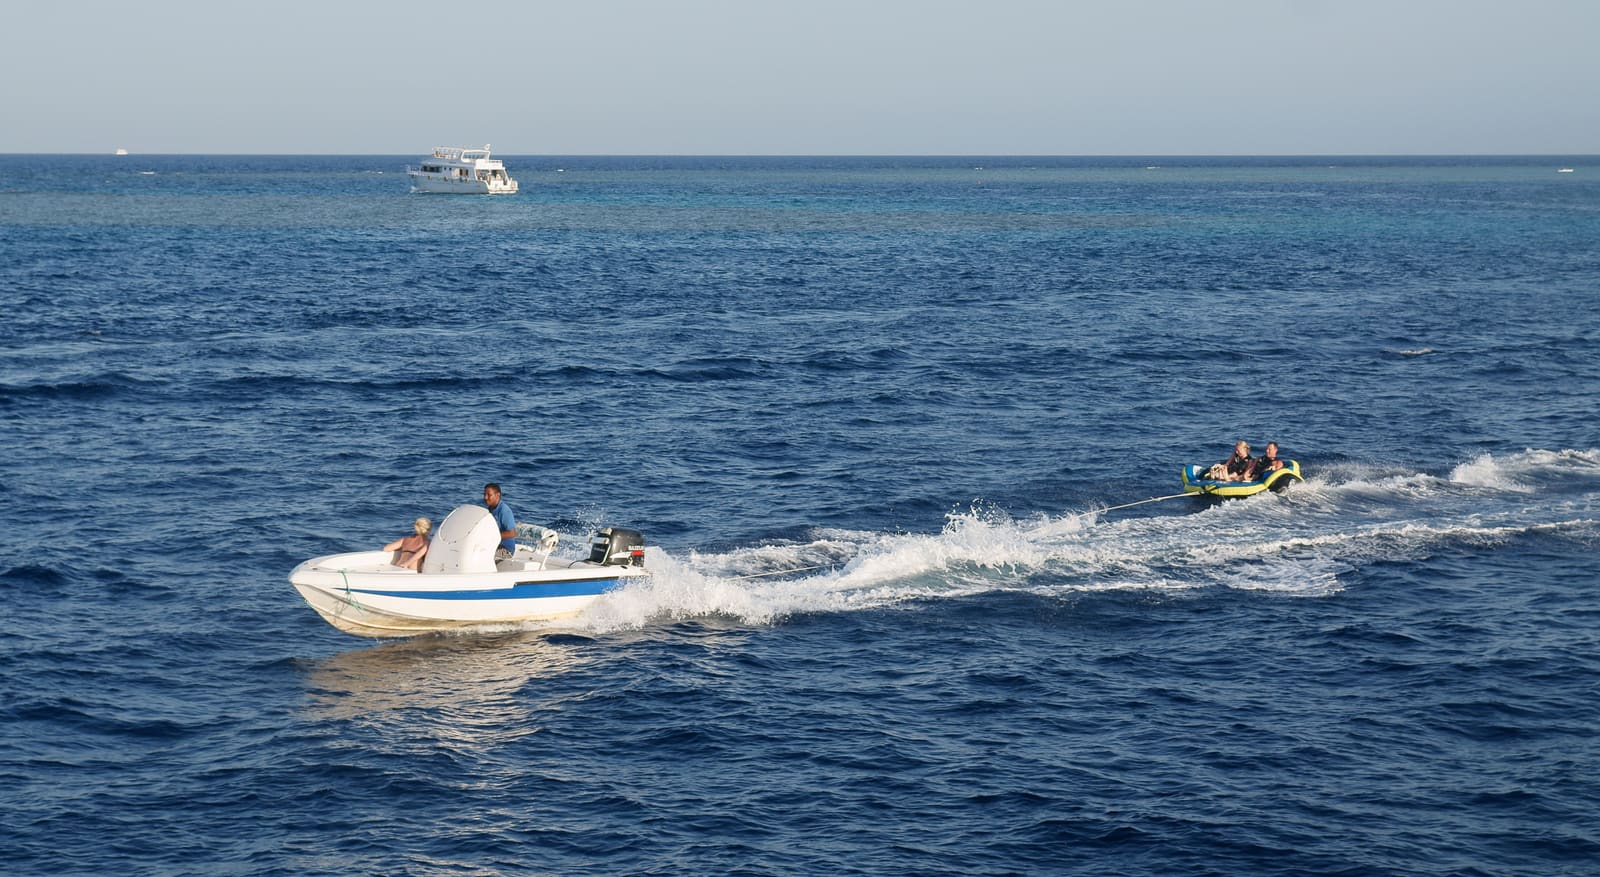
Tow Ropes, Tubes and Watersports Gear: Inspect, Rig and Retire
Check ski, wakeboard and tube ropes, handles, towable tubes and your boat's tow points before every outing, rig them the right way, and know when to throw gear out. Includes the safety basics (spotter, flag, life jackets, prop and carbon monoxide) that vary from state to state.
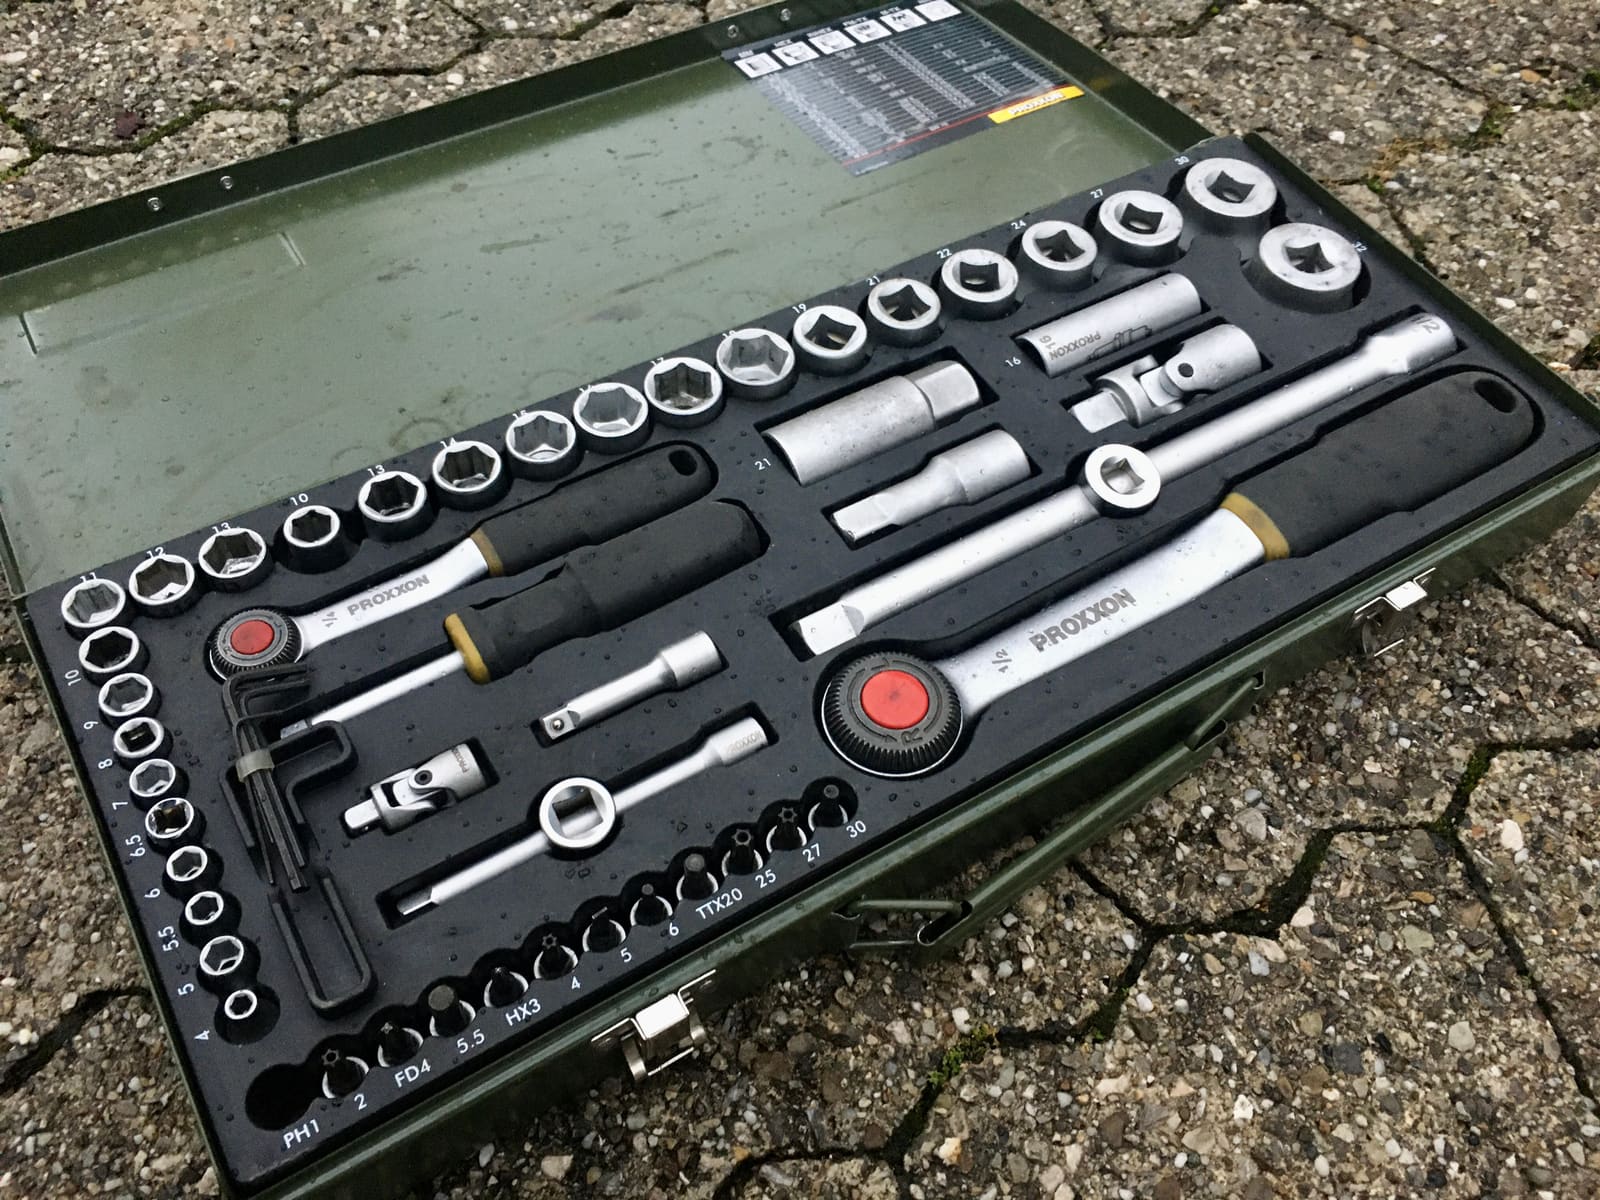
Onboard Tool Kit and Spare Parts: What to Carry on a Day Boat or a Cruiser
Build a tool kit and spares box that fits your boat and how far you go. A blown fuse, a clogged fuel filter or a dinged prop shouldn't end the day or turn into an expensive tow.

How to Prepare Your Boat for a Hurricane or Tropical Storm
Make a written storm plan before the season, then haul out or secure the boat with doubled lines and chafe gear, strip off everything that catches wind, and check it safely after the storm. Never ride out a hurricane aboard.
How to Inspect Your Sailboat's Standing Rigging
A step-by-step owner's inspection of the wires, fittings, turnbuckles, pins, chainplates and mast that hold your rig up, plus how to decide when it is time for a rigger and new rigging. Includes what insurers commonly expect for older rigs.