Running Rigging Care: Inspecting Halyards, Sheets and Dyneema Lines
Check your halyards, sheets and control lines for chafe, sun damage, glazing and cover slip, wash them the right way, end-for-end them to spread the wear, and know when a line has to go. A halyard that parts drops a sail; a sheet that parts in a gust can be worse.
Time
2 h
Shop would charge
$150-400
Applies to
All engines · Sailboat
Safety first: Inspect lines at the dock with no load on them. Never open a rope clutch on a loaded line without first taking the load on a winch: the line can run out fast enough to burn hands and the sail or boom can drop. Don't go up the mast to check sheaves unless you have the proper gear and a trained crew on deck; a rigger can do it for you.
Owners often ask
- My halyard keeps slipping in the rope clutch. Is it the line or the clutch?
- How do I know when a halyard or sheet needs replacing?
This guide walks you through it. Still stuck? Ask the AI Mechanic about your engine.
Tools
- Light messenger line (thin, cheap line at least twice the mast height) for pulling halyards out
- Electrical tape or masking tape
- Sharp knife and a lighter or hot knife (for synthetic line ends)
- Whipping twine and a sail needle
- Bucket, mild soap and a soft brush
- Phone camera and a notepad
- Binoculars (to look at masthead sheaves from deck)
Parts & supplies
- Replacement line in the type and diameter your rope clutches and blocks are rated for
- Chafe sleeve for halyard ends (optional)
- Spare soft shackles or shackles as needed
Before you start
What "running rigging" means: all the lines that move. Halyards raise sails, sheets trim them, and control lines (outhaul, vang, cunningham, reef lines, furling line, traveler) shape them. Standing rigging (the wire or rod that holds the mast up) is a different job; see the rigging inspection guide.
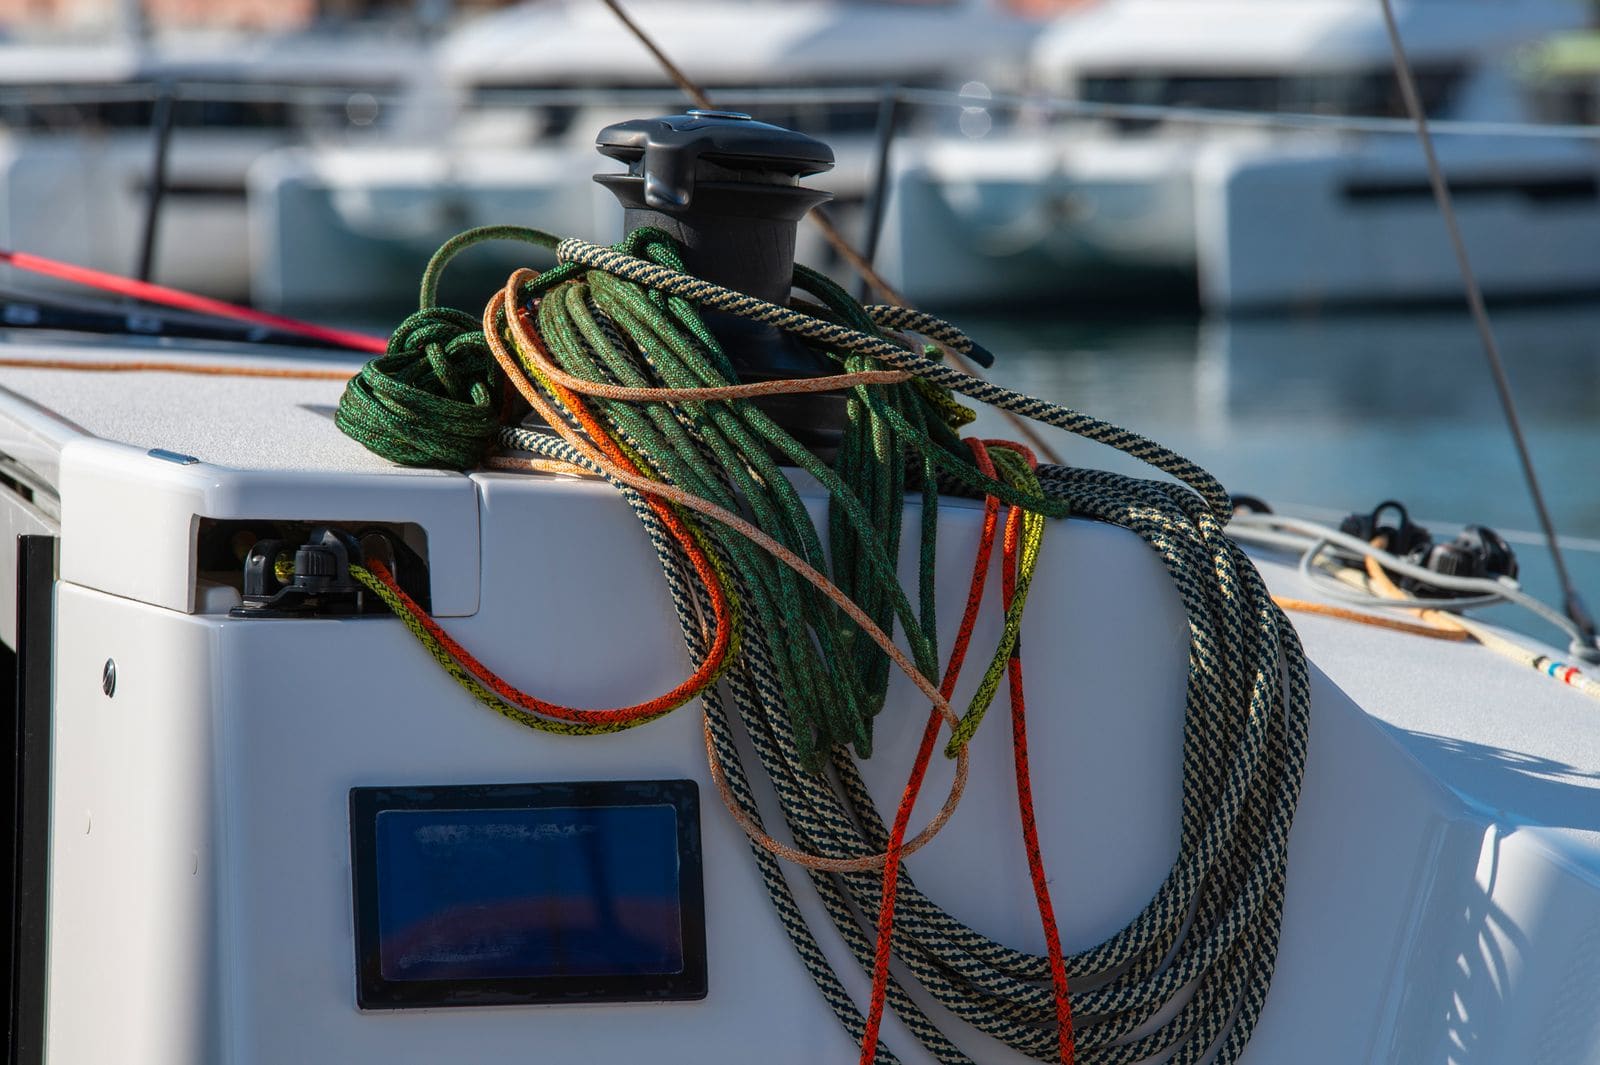
Know what your lines are made of. It changes how you inspect them:
- Polyester double braid: a braided cover over a braided core. Durable, handles well, stretches more than high-tech line. Cruising World calls it a good, long-lasting choice for many jobs on board.
- High-tech core (Dyneema/Spectra or Vectran) with a polyester cover: much stronger and lower stretch, so it can be a smaller diameter. The core carries the load; the cover protects it from sun and chafe and gives you something to grip.
- Bare single-braid Dyneema: very strong and slippery, often used for soft shackles, lashings and some control lines. It does not like heat and grips poorly on winches and in clutches unless the line is made for it.
How often: give every line a hands-on check at the start and end of each season, and glance at the high-wear spots (clutches, sheaves, fairleads) every time you sail. Samson Rope treats inspection as something you do before, during and after every use.
There is no fixed replacement age. Lines are replaced on condition. Sun, salt, load and how much they rub decide how long they last, so a lightly used boat in the north can get far more seasons than a charter boat in Florida.
Steps
Walk the boat and write down each halyard, sheet and control line, what it's made of, its diameter and roughly when it was installed. Photograph labels if the original spool tag is gone. This list becomes your replacement plan and your shopping list.
Ease halyards, outhaul and vang, take sheets off the winches and pull control lines out of their clutches. For a halyard that runs inside the mast, tie a messenger line securely to the end (stitch it or tape it so it can't pull loose), then pull the halyard down and out so the messenger follows it through the mast. Now you can check the whole length, including the part that normally hides inside the mast or over the masthead sheave.
Slide each line slowly through your hands and look at it in good light. You are looking for:
- Chafe: fuzzy, furry or flattened patches, broken yarns, or the core showing through the cover
- Glazing: shiny, hard or stiff spots. Samson Rope says glossy or glazed areas and stiffness point to heat, grit or shock loading, and the rope may have lost strength.
- Diameter changes: a section that feels thinner, thicker, lumpy or flat compared with the rest
- Discoloration from chemicals, rust or heat Check the worst spot carefully: the strength of the whole line is only as good as its most damaged section.
UV slowly weakens fibers from the outside in. Signs include faded color compared with a protected part of the same line, a dry, crunchy or stiff feel, and a powdery surface. The cover on a high-tech line is there partly to shield the core from sun, so a sun-rotten cover means the core is next. Parts that live in the sun (the exposed end of a halyard, a furling line, a mainsheet left rigged) go first.
On double-braid line the cover can creep along the core. Signs: the cover bunches up or forms a loose wrinkled section, the core pokes out of the tail end, or the cover feels baggy and slides when you twist it. A cover that has slipped no longer shares the load properly and can jam in a clutch or a block. Small slip at a bitter end can sometimes be milked back and re-whipped; slip along the working part of the line is a reason to replace it or have a rigger look.
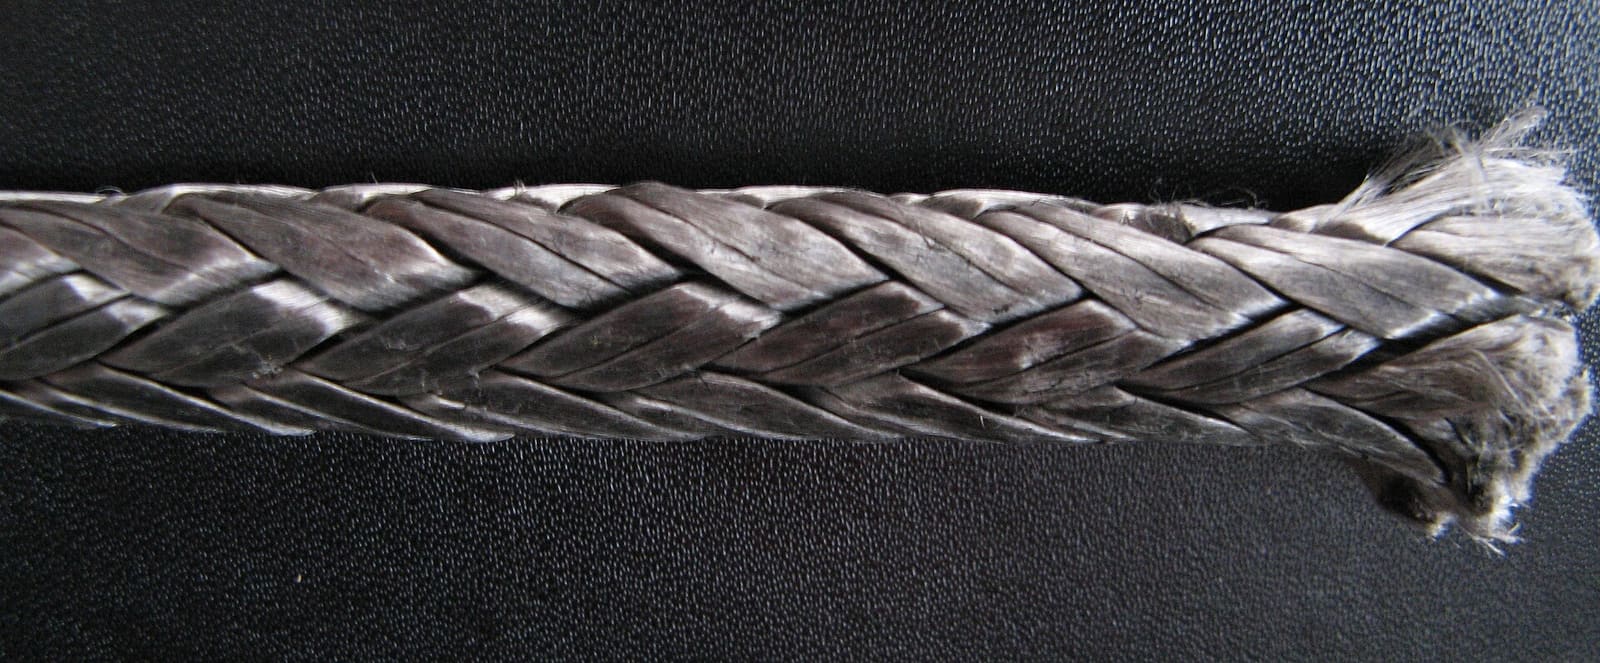
Bare single-braid Dyneema: very strong, but slippery and sensitive to heat. Whip or seal ends so they don't unravel like this. Photo: Justsail / Wikimedia Commons · CC BY-SA 3.0 Look closely at the eye splices and shackle ends, which take the highest loads:
- Splices should be smooth and evenly tapered, with their lock stitching or whipping intact.
- Check shackles for cracks, a bent pin or a sticky spring plunger. Check soft shackles for fuzz and flattening. Good Old Boat suggests a single drop of light machine oil on a stiff snap shackle's spring mechanism, and no more: an over-oiled snap shackle can pop open.
- Black streaks running down from a sheave box or block mean metal is grinding away inside; rust streaks mean stainless is breaking down. Both deserve a closer look.
- Bitter ends should be whipped or sealed so they don't unravel. Samson Rope notes a properly made splice keeps the rope's full rated strength while a knot can reduce it a lot, which is why most halyards are spliced, not tied.
A worn spot always has a cause, and a new line will wear the same way if you don't fix it. Match each damaged spot to the place it sits when the sail is up or the sheet is trimmed:
- Masthead sheaves and exit boxes (use binoculars, or ask a rigger to go aloft)
- Spreaders, shrouds and lifelines a sheet rubs against
- Rope clutches, cam cleats and fairleads
- Turning blocks at the mast base and deck organizers
Cruising World points out that if you switch from wire to rope halyards, the masthead sheaves must be changed from V-shaped wire sheaves to U-shaped rope sheaves, and you should look for sharp edges aloft that could cut a new line.
Pull each line through its clutch and close the handle. It should grip firmly without the cover bunching. If a line creeps or slips under load:
- Check that the line diameter is within the clutch maker's rated range. A new, smaller or slicker line can slip in an old clutch.
- Look for worn, polished or chewed-up jaws and for grit or salt packed inside.
- Rinse clutches and cam cleats with fresh water and work them open and closed. A clutch that keeps slipping after cleaning, with a correctly sized line, usually needs new jaws or replacement.
A quick wear check from a Spinlock troubleshooting article: many common clutches use a ridged aluminum cam and base with a black anodized finish. Where the black has rubbed off to shiny, polished metal, the teeth are worn and grip less, and covers containing Technora or Kevlar wear them faster. Replacement cam kits (including ceramic-coated upgrades) exist for many models. The rope matters too: a plain polyester cover slips more easily than a blended high-tech cover, and a soft polyester core can flatten in the clutch until it is thinner than the clutch's minimum diameter.
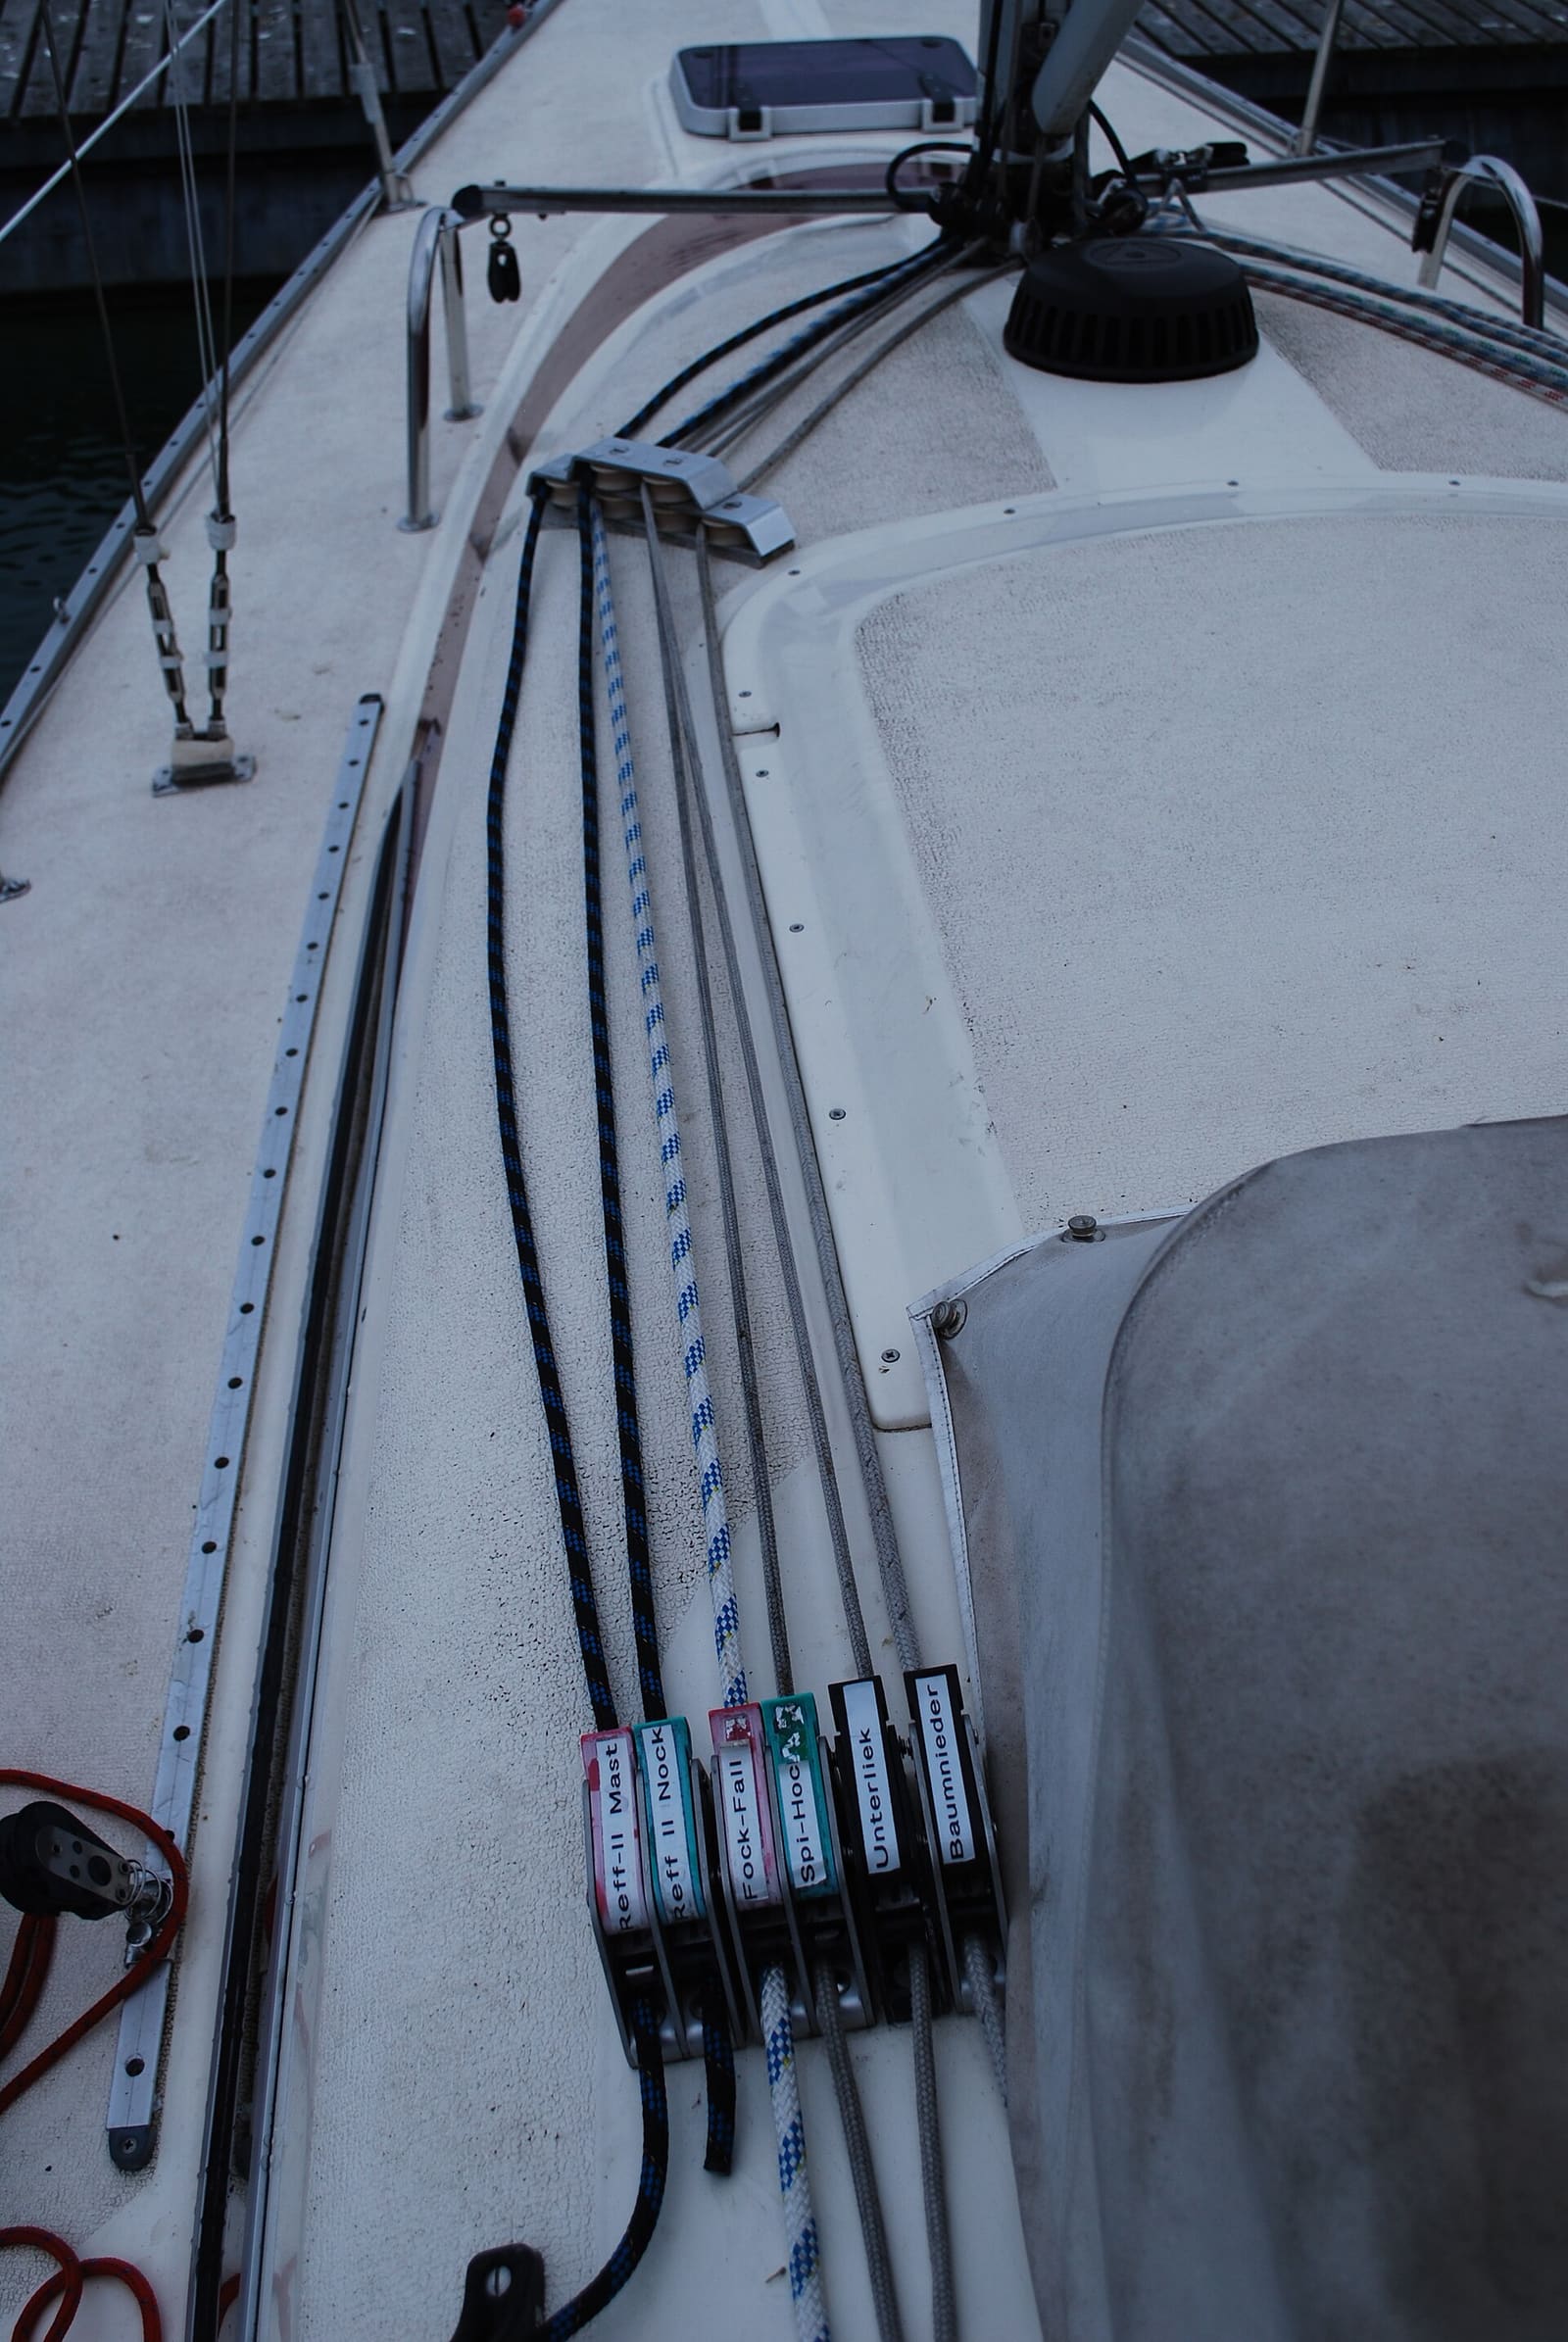
Halyards led aft from the mast through turning blocks to a bank of rope clutches. The clutch jaws are a classic wear point for the line's cover. Photo: PaterMcFly / Wikimedia Commons · CC BY 3.0 Spin every block by hand. Sheaves should turn freely and quietly with no wobble or flat spots. Look for cracked cheeks, corroded or stretched shackles and worn swivels. Flush blocks with fresh water and a little mild soap, spinning the sheave as you rinse. Avoid heavy grease, which collects grit; follow the block maker's care advice for any lubricant.
Salt crystals and grit inside a rope act like sandpaper on the fibers. A soak and rinse once or twice a season helps. Based on Practical Sailor's rope-cleaning tests and the advice of the riggers they consulted:
- Whip or seal every end first so it can't unravel in the wash.
- Soak in a bucket of fresh water with mild soap, work the line with your hands, then rinse well. Normal hot tap water does not hurt nylon or polyester.
- Fabric softener at the label dose is fine; a heavy dose can keep the rope from drying fully.
- Never use bleach or acid cleaners, including vinegar. Bleach can also eat the stitching that locks a splice.
- Don't power wash a rope; high-pressure water can cut fibers and do damage you can't see.
- Dry by flaking the line loosely on a clean floor or hanging it loosely in the shade. Never use a clothes dryer or other heat.
If a halyard or sheet is worn only at the spot that sits in the clutch or over the sheave, you can swap it end-for-end so a fresh section takes the wear. Samson Rope suggests doing this at or near the midpoint of a line's expected life, not after it's badly worn. It only works if the line is long enough, both ends can take the shackle or splice, and the worn section ends up somewhere it does no work. A halyard with a spliced eye at one end will need a new splice, which is a rigger job for most owners.
Replace any line with core showing, glazed or melted spots, serious cover slip, a damaged splice or sun rot. When ordering:
- Match the diameter to your clutches, blocks and winch self-tailers. Sailing World advises checking each clutch's rated size before you buy.
- If you're upgrading from polyester to a high-tech core, make sure your deck hardware is rated for it. Lower-stretch line passes more of the load straight to the fittings.
- Reeve internal halyards with the messenger you left in the mast. Write the date, line and material in your BoatMend log.
Common mistakes
- Buying a new halyard that's too thin or too slick for the clutch. It slips under load. Check the clutch's rated range first.
- Replacing a chafed line without fixing the cause. A burr on a sheave or a sharp fairlead will chew through the new line just as fast.
- Washing lines with bleach to make them look white. It weakens the fibers and the splice stitching.
- Drying lines in a dryer or on a hot deck in direct sun. Heat can shrink the cover and core differently.
- Treating bare Dyneema like polyester. It needs more wraps on a winch, slips in clutches that aren't made for it, and can melt from friction. Practical Sailor documented a Dyneema stay that a polyester sheet sawed through with friction heat in a single hard jibe.
- Pulling an internal halyard out without a messenger. Re-running it through the mast can mean a trip aloft.
- Leaving halyards slapping against the mast all season. It chafes the line and annoys the neighbors.
When to call a pro
- A halyard sheave, exit box or masthead fitting is worn, cracked or has sharp edges (needs someone aloft)
- A halyard is jammed inside the mast or you lost it inside the mast
- You need a new eye splice, especially in high-tech core line
- Rope clutches keep slipping with correctly sized line, or a clutch base is loose on deck
- You're upgrading to high-tech line and aren't sure your blocks, clutches and deck fittings are rated for the loads
- Any line or fitting failed while sailing and you don't know why
Tips
- Sailing World suggests a short Dyneema chafe sleeve on the shackle end of halyards, where they rub most at the sheave.
- When the boat is left for a while, many owners pull halyards to the masthead with a light messenger. Sailing World notes this can extend the halyard's life.
- Tag each line end with tape and a marker so new crew knows which is which.
- Keep a short spare length of each diameter aboard for emergency repairs.
- Photograph each line's worst spot at the start of the season; compare at the end.
- Stowing lines for winter? Wash, dry fully, coil loosely and store them somewhere dry and out of the sun.
Official references
We read these to write this guide. Your engine's own manual always wins.
- Samson Rope – Rope Inspection, Maintenance and Safety
- Practical Sailor – What's the Best Way to Clean Marine Rope?
- Practical Sailor – Dyneema Burn-Through By a Sheet
- Sailing World – Choosing Running Rigging
- Cruising World – Sailing Ropes Guide
- Good Old Boat – Rig Inspection and Maintenance
- Yachts and Yachting – Slipping Halyards, A Troubleshooting Guide (with Spinlock)
Safety: BoatMend is for information only and does not replace a certified marine technician. You are responsible for your safety and your boat. Read the full disclaimer.
Last updated 2026-10-24
Related guides
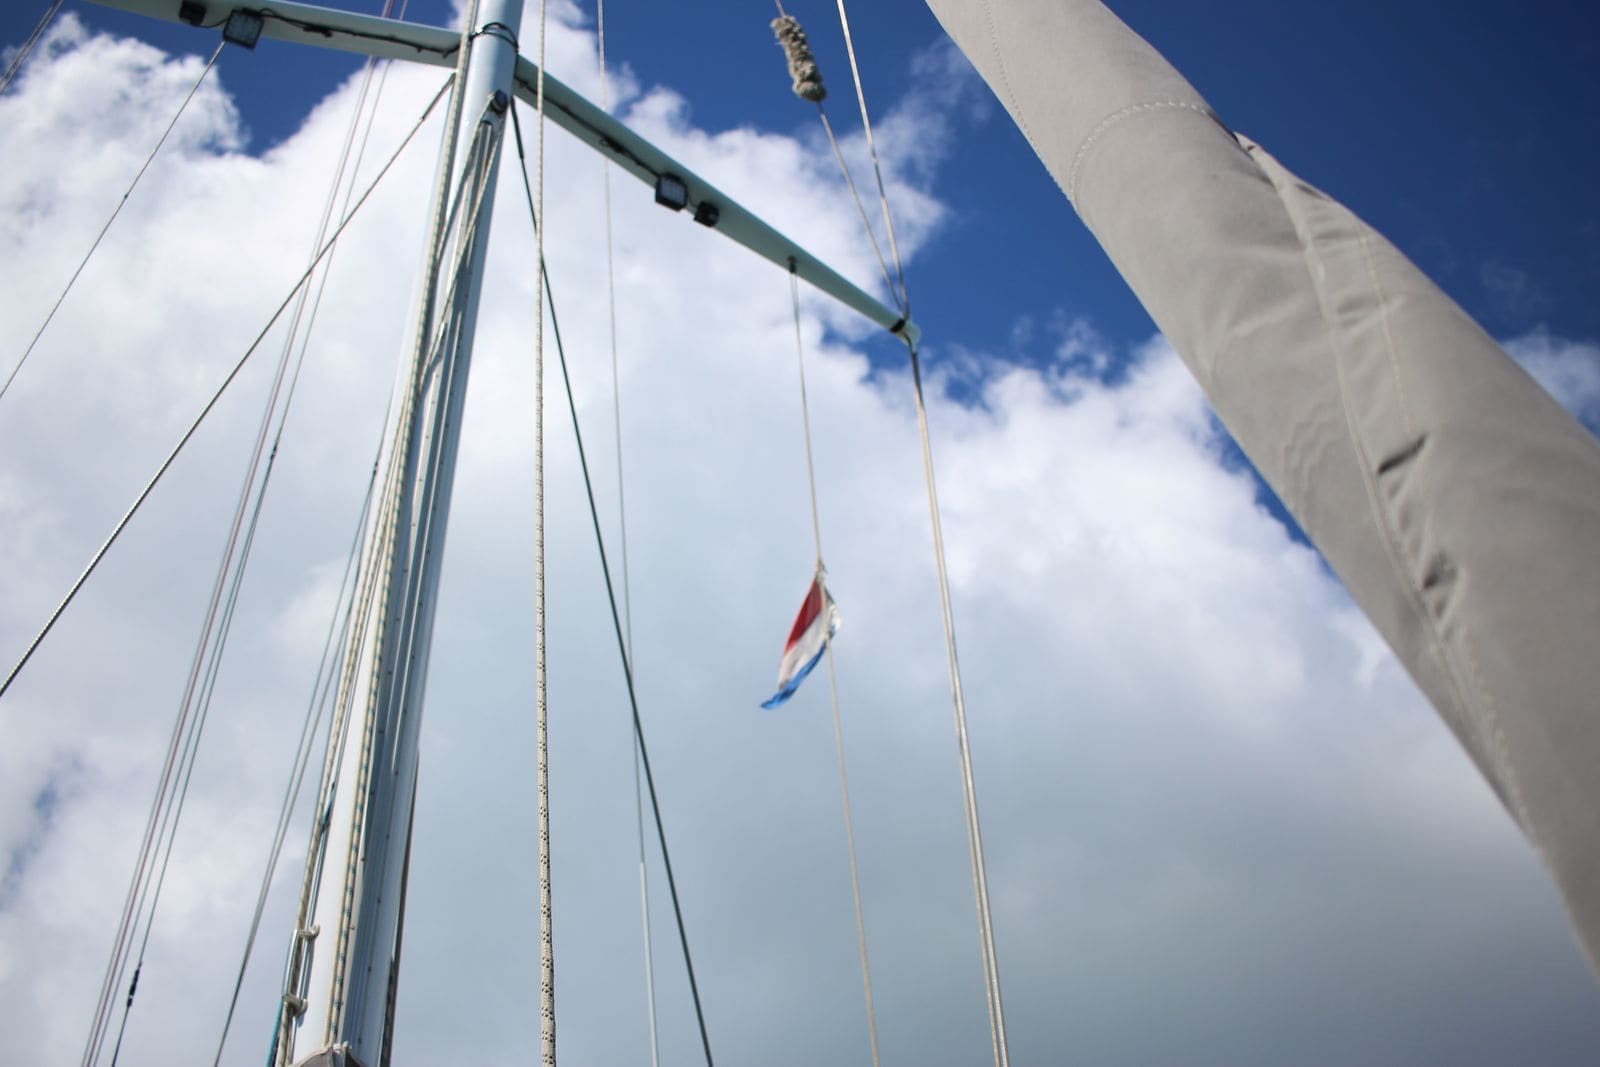
How to Inspect Your Sailboat's Standing Rigging
A step-by-step owner's inspection of the wires, fittings, turnbuckles, pins, chainplates and mast that hold your rig up, plus how to decide when it is time for a rigger and new rigging. Includes what insurers commonly expect for older rigs.
How to Service Sailboat Winches (Clean, Oil the Pawls, Grease the Gears)
Take your sheet and halyard winches apart, clean out old grease and salt, oil the pawls, lightly grease the gears and bearings, and put them back together. A serviced winch turns easily and, more importantly, its pawls catch every time so the drum can't spin backward under load.

Sail Care and Winter Storage: Rinse, Dry, Inspect, Fold and Store
Keep your sails out of the sun, rinse and dry them before they go away, catch small tears and rotten stitching early, and fold and store them so they come back in spring without mildew or hard creases. Good habits can add years to an expensive set of sails.