Power-Lift Kicker Brackets: Wiring, Waterproofing and Actuator Care
An electric kicker lift raises and lowers your trolling motor at the push of a button, but its actuator, relay and wiring live in the wettest spot on the boat. Learn how to check the load rating, wire and fuse it properly, keep water out of the actuator, grease and fog it the way the maker says, and what to do when it won't move.
Time
3 h
Shop would charge
$400-1200
Applies to
Outboard · Fishing boat, Center console
Safety first: A powered lift moves a heavy motor with real force. Keep hands, fingers and lines out of the bracket's pinch points whenever anyone is near the switch, and disconnect power (or pull the fuse) before working on it. Every powered circuit needs a correctly sized fuse or breaker close to the battery; an unfused wire that shorts in the bilge can start a fire. Never work on the bracket or reach over the transom with the main engine running, and keep the kicker's own kill switch within reach when it runs. If you smell burning insulation or see melted wiring, shut off power at the battery switch and get a marine electrician.
Owners often ask
- My electric kicker lift won't raise the motor. What should I check first?
- How much grease goes in the actuator on my Panther kicker lift?
- My kicker is too far back on my pontoon to reach. Is a power lift worth it?
This guide walks you through it. Still stuck? Ask the AI Mechanic about your engine.
Tools
- Digital multimeter
- Wire stripper and a ratcheting crimper for heat-shrink terminals
- Heat gun
- Grease gun with marine grease
- Screwdrivers, hex keys and a socket set
- Fused jumper leads (for testing)
- Cable ties and cable clamps
- Flashlight
- Safety glasses and gloves
Parts & supplies
- Power-lift kicker bracket rated for your kicker's weight and horsepower
- Marine-grade tinned copper wire sized for the actuator's current and the run length
- Fuse or circuit breaker and holder sized to protect that wire
- Heat-shrink crimp connectors or sealed connectors
- Dielectric grease for connector pins
- Marine grease (type the bracket maker specifies)
- Fogging oil and RTV silicone (for storage, if your maker calls for it)
- Stainless through-bolts, washers, locknuts and backing plate for the bracket
- Sealed cable entry fitting, if wires pass through the transom
Before you start
What it is. A power-lift (or electric) kicker bracket is a motor mount with an electro-mechanical actuator: a small 12-volt motor driving a screw inside a cylinder. Press the switch and it raises the kicker clear of the water or lowers it to trolling depth. Panther's Model 35, a common example, is rated for auxiliary outboards up to 35 hp or 150 pounds, holds the motor in any position, and has an adjustable setback of up to 13 inches (more with a spacer) for boats where the motor can't hang over the transom. Its Model 40 comes with a relay and a two-button switch on a 12-foot cord. Some brackets are sold manual first and can be motorized later; Panther says one of its fixed manual brackets converts to the powered version by adding the actuator.
The parts you'll maintain:
- Actuator: the motor and screw cylinder, with a grease fitting on the gear housing.
- Breather tube: a small hose on the actuator that lets it breathe as it extends and retracts.
- Relay (control box) and switch: the switch tells the relay which way to drive the motor.
- Pivots, pins and the motor mounting plate.
This guide covers the powered side. For bracket choice, height, clearance and mounting on a swim platform or setback, see the kicker bracket and kicker swim platform mount guides.
Steps
Find your kicker's actual weight (from its specs) and horsepower and compare them with the bracket's ratings. Stay inside both limits, with some margin for the fuel line, battery cables and steering gear hanging on it. Check the setback too: the farther back the motor sits, the more leverage it puts on the transom. Panther notes that its longer-setback lift (a hydraulic model with 15 inches of setback) needs full transom support. Mercury says kickers on many fiberglass boats need a separate bracket bolted to the stern, following the boat's and the bracket maker's instructions.
Owners often ask where to find the "wet weight" to compare: use the dry weight from the kicker maker's spec sheet for your exact model and shaft length, then add the battery cables, fuel line, tie bar and any steering parts that ride on the bracket. On pontoons and boats with a rear sun deck, a power lift is often chosen because the kicker is simply too far away to reach safely; plan remote steering (a tie bar to the main engine) and controls at the same time, because a tiller you can't reach is no use.
Through-bolt the bracket with stainless hardware and a backing plate inside the transom, sealed as the bracket maker directs; Boating Magazine quotes Garelick recommending a backing plate for its kicker brackets. Hang the motor, through-bolt it to the bracket's motor plate, and add a safety cable (Panther, for example, says not to use its adjustable kicker brackets without the safety cable it includes). Run the bracket through its full travel by hand or by jogging the switch, with a helper turning the main engine lock to lock and tilting it, to confirm nothing collides. The kicker bracket guide covers this in detail.
Look up the actuator's current draw in the bracket's manual. Plan where the power comes from: a fused feed from the house battery, the main engine's starting battery, or a fuse block, and keep the run as short as practical. Size the wire for the current and the round-trip length (the wiring basics guide explains how); undersized wire drops voltage, which makes the lift slow and the actuator work harder. Use marine-grade tinned copper wire.
Blue Sea Systems explains that U.S. Coast Guard rules and the ABYC standard require circuit protection on every ungrounded (positive) wire except the engine starting circuit, and that the fuse is chosen to protect the wire. If the bracket maker specifies a fuse rating, use it; Blue Sea notes a maker's value is usually lower than the wire's maximum, and if it's too high to protect your wire, use bigger wire. Mount the fuse or breaker close to where the circuit connects to power. If there's any chance of fuel vapor where the fuse goes, it must be ignition-protected.
Mount the relay box somewhere protected from spray and standing water, upright if the manual shows it that way, and secure it so it can't flop around. Put the switch where the person running the kicker can reach it without leaning over the stern: at the transom, at the helm, or both. Some lifts offer a wireless remote. Label the switch "up" and "down" if it isn't obvious. Make sure kids and passengers know not to play with it.
Strip only what you need, crimp with heat-shrink terminals or sealed connectors, and shrink them fully. A thin coat of dielectric grease on plug pins helps keep corrosion out. Leave a drip loop below each connector so water runs off instead of into it, and leave enough slack at the moving bracket for full travel without stretching or pinching the cable. Support the wiring every foot or so with clamps, protect it where it passes sharp edges, and use a sealed cable entry where it goes through the transom. The electrical corrosion guide covers sealing in more detail.
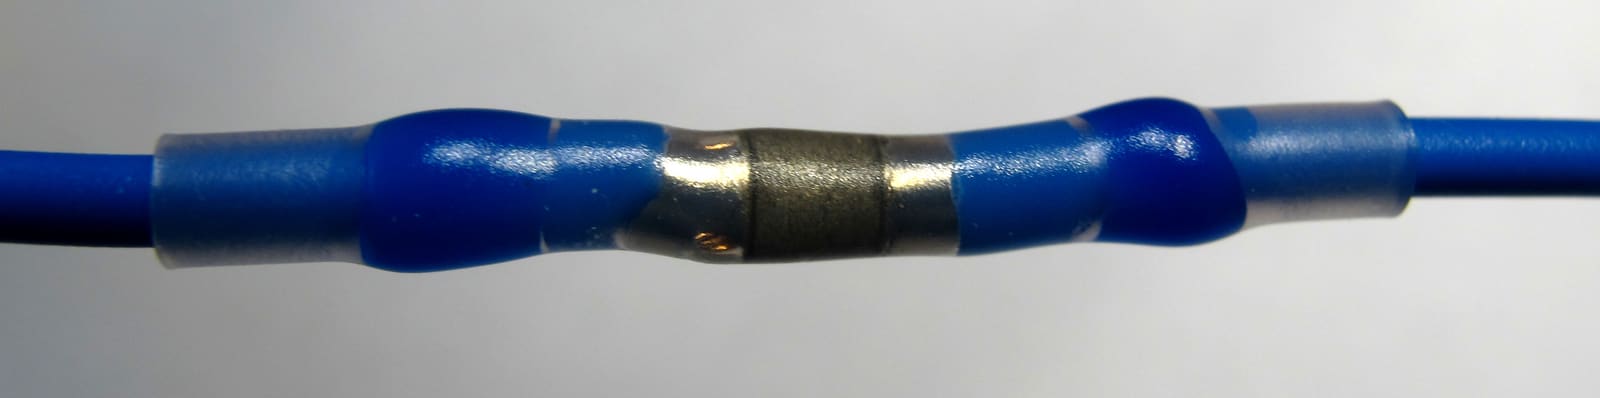
A sealed heat-shrink splice: the rings at each end grip the insulation so spray can't wick into the joint. Photo: wdwd / Wikimedia Commons · CC BY-SA 4.0 Panther's FAQ is clear: the black hose on the actuator is a breather tube, and it must be routed upright, inside the engine cowling, so water can't get into it. Panther says actuators that keep coming apart are often a sign that water got in through a breather that wasn't installed properly at the factory, and the fix then is a new actuator and breather tube. Check yours: it should not hang down where spray or rain can reach the open end. This matters for your wallet too: Panther's one-year warranty policy lists water intrusion through the breather tube, and damage from improper trailering, as examples of service that is not covered.
With power connected and everyone's hands clear, run the lift all the way up and all the way down with the kicker on it. It should move smoothly and at a steady speed, without grinding, binding or the motor visibly straining. Watch the kicker's cowling, tiller and cables at both ends of travel, with the main engine turned and tilted. Release the switch as soon as the bracket stops at each end; holding it there only makes the motor work against the stop.
Run it through several full cycles, not just one, and pay most attention to the point where the load is heaviest (usually the start of the lift) and the point where clearance is tightest. FIRGELLI, an actuator maker, points out that the bracket's arms and pivots should carry the motor and the actuator should only move them; side load on the actuator rod wears it out fast. If you see the rod bending out of line, the bracket flexing or a cable rubbing, stop and fix the mounting before you use it on the water. Be very wary of home-built or modified lifts for the same reason.
Panther's maintenance schedule for its actuators: at the beginning of each season, pump marine grease into the grease fitting on the gear housing where the motor attaches. Depending on how much you use it, it may need a few more pumps mid-season. Panther puts a hard limit on how much grease goes in at one time (no more than four pumps), so count your strokes and never keep pumping until grease comes out. Other makers have their own schedule; check your manual.
Each trip, glance at the pins, clips and mounting bolts. A few times a season, rinse the bracket with fresh water (every time after salt water), lubricate the pivots as the bracket maker recommends, and check that bolts are tight and the transom shows no cracks or weeping around them. Panther says salt water may discolor its trim and tilt brackets over time but won't harm them; corrosion on electrical connections is another matter, so open and inspect any connector that looks green or white.
Panther's storage step: remove the set screw on the long outer cylinder of the actuator, spray fogging oil into the cylinder, then reinstall the set screw with RTV silicone on its threads and tighten it securely. This protects the internal screw from corrosion over the winter. Pull the fuse or turn off its battery switch for storage, and do your kicker's own winterizing at the same time.
Work from simple to complex:
- Nothing at all: check the battery, the battery switch, the fuse or breaker, and the main connections at the battery. Measure voltage at the relay input while someone presses the switch.
- Clicks but doesn't move, or moves slowly: look for low voltage under load, a corroded connection or ground, or an undersized wire.
- Moves one way only: usually a switch or relay fault on that direction.
- Isolating the actuator motor: Panther's troubleshooting for its electric steering units is a good model: unplug the motor from the relay and run it directly from the battery with fused jumper leads. If it doesn't run, the motor is bad; if it runs, the problem is in the relay or switch. Jumping the relay's control wires then shows which of the two has failed. Use the wire colors in your own manual.
- Actuator separating or the motor spinning without moving the bracket: Panther says that usually means the screw inside the actuator is broken; its actuators can't be repaired and must be replaced with the model that fits your bracket.
Before you rely on the lift, read your manual for any manual release or override. Many electro-mechanical actuators simply hold position when power is lost. If yours has no override, practice the backup: the kicker's own tilt mechanism still works on the bracket, so you can tilt the motor up by hand and lock it until you're back at the dock. Carry a spare fuse. When running on the main engine, keep the kicker raised and secured; Panther sells a tie-down strap for its Model 35 that tightens as the motor tilts, for rough water. For trailering, follow the bracket maker: Panther, for example, says its auxiliary outboard brackets must not be trailered with the motor on them and doing so voids the warranty.
Common mistakes
- No fuse, or a fuse too big for the wire. The fuse protects the wire; size it for the wire.
- Breather tube hanging down or left outside the cowling, letting water into the actuator.
- Over-greasing the actuator past the maker's limit.
- Connectors at deck level with no drip loop, sitting in spray all season.
- Holding the switch after the bracket stops at the end of travel.
- Exceeding the weight rating with a bigger kicker than the bracket was made for.
- Trailering with the motor on the bracket when the maker says not to.
- Skipping the storage fogging and finding a seized actuator in spring.
When to call a pro
- The transom is cored, soft or cracked where the bracket mounts, or flexes when the lift runs
- You aren't comfortable sizing wire and fuses or tying into the boat's main power
- Wiring shows melted insulation, scorching or a fuse that keeps blowing
- The actuator is damaged or the bracket is bent after hitting something
- You want the lift integrated with remote steering, an autopilot or a joystick system
Tips
- Put a dab of dielectric grease and a strip of marine tape over the relay plug before winter.
- Note the date and number of grease pumps in your BoatMend maintenance log so you never over-grease.
- Keep the bracket's manual and actuator model number in your boat records; replacement actuators are bracket-specific.
- Raise the kicker before beaching or running in shallow water, not after you feel it bump.
Official references
We read these to write this guide. Your engine's own manual always wins.
- Panther Marine Products – FAQs (actuator maintenance, breather tube, brackets)
- Panther Marine Products – Motor Lifts, Trim and Tilt
- Panther Marine Products – Warranty Policy
- Panther Marine Products – Outboard Motor Brackets (safety cable)
- Blue Sea Systems – Select a Fuse and Fuse Holder for Your DC Product Installation
- Mercury Marine – How to Install a Kicker Motor on Your Boat
- Boating Magazine – How To Install an Auxiliary Outboard Engine
- FIRGELLI Automations – Drop-Down Kicker Motor Brackets (actuator guide)
Safety: BoatMend is for information only and does not replace a certified marine technician. You are responsible for your safety and your boat. Read the full disclaimer.
Last updated 2026-10-25
Related guides
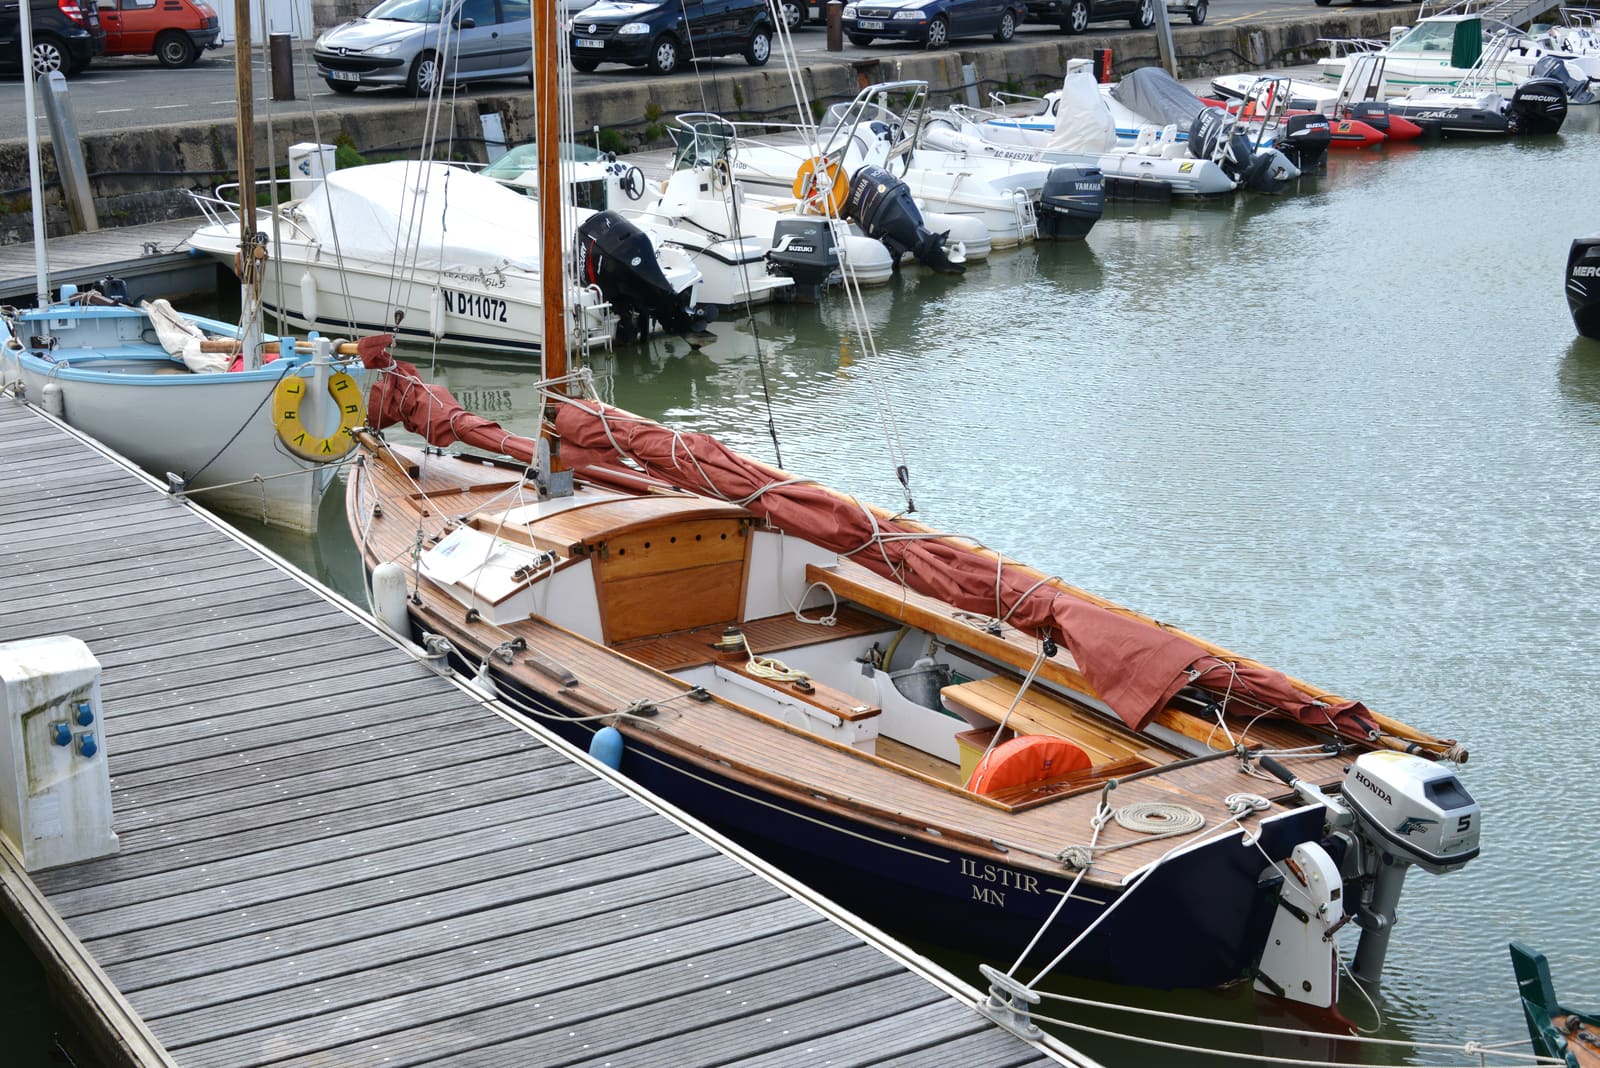
How to Mount and Maintain a Kicker Motor Bracket
Set up a small auxiliary outboard (a kicker) the right way: choose a manual or spring-assisted bracket, through-bolt it to a sound transom with a backing plate, add a safety cable, sort out steering and fuel, and keep the bracket working season after season.
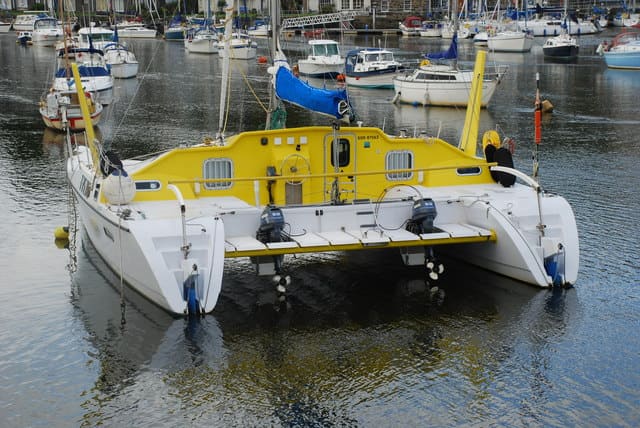
How to Mount a Kicker Motor on a Boat With a Swim Platform or Bracket
Find a safe way to hang a kicker when there's no open, flat transom: pick an offset or setback bracket, prove the clearance with the main engine through every turn and tilt position, keep the tiller within reach, and make sure the platform or bracket can actually carry the load with proper backing.
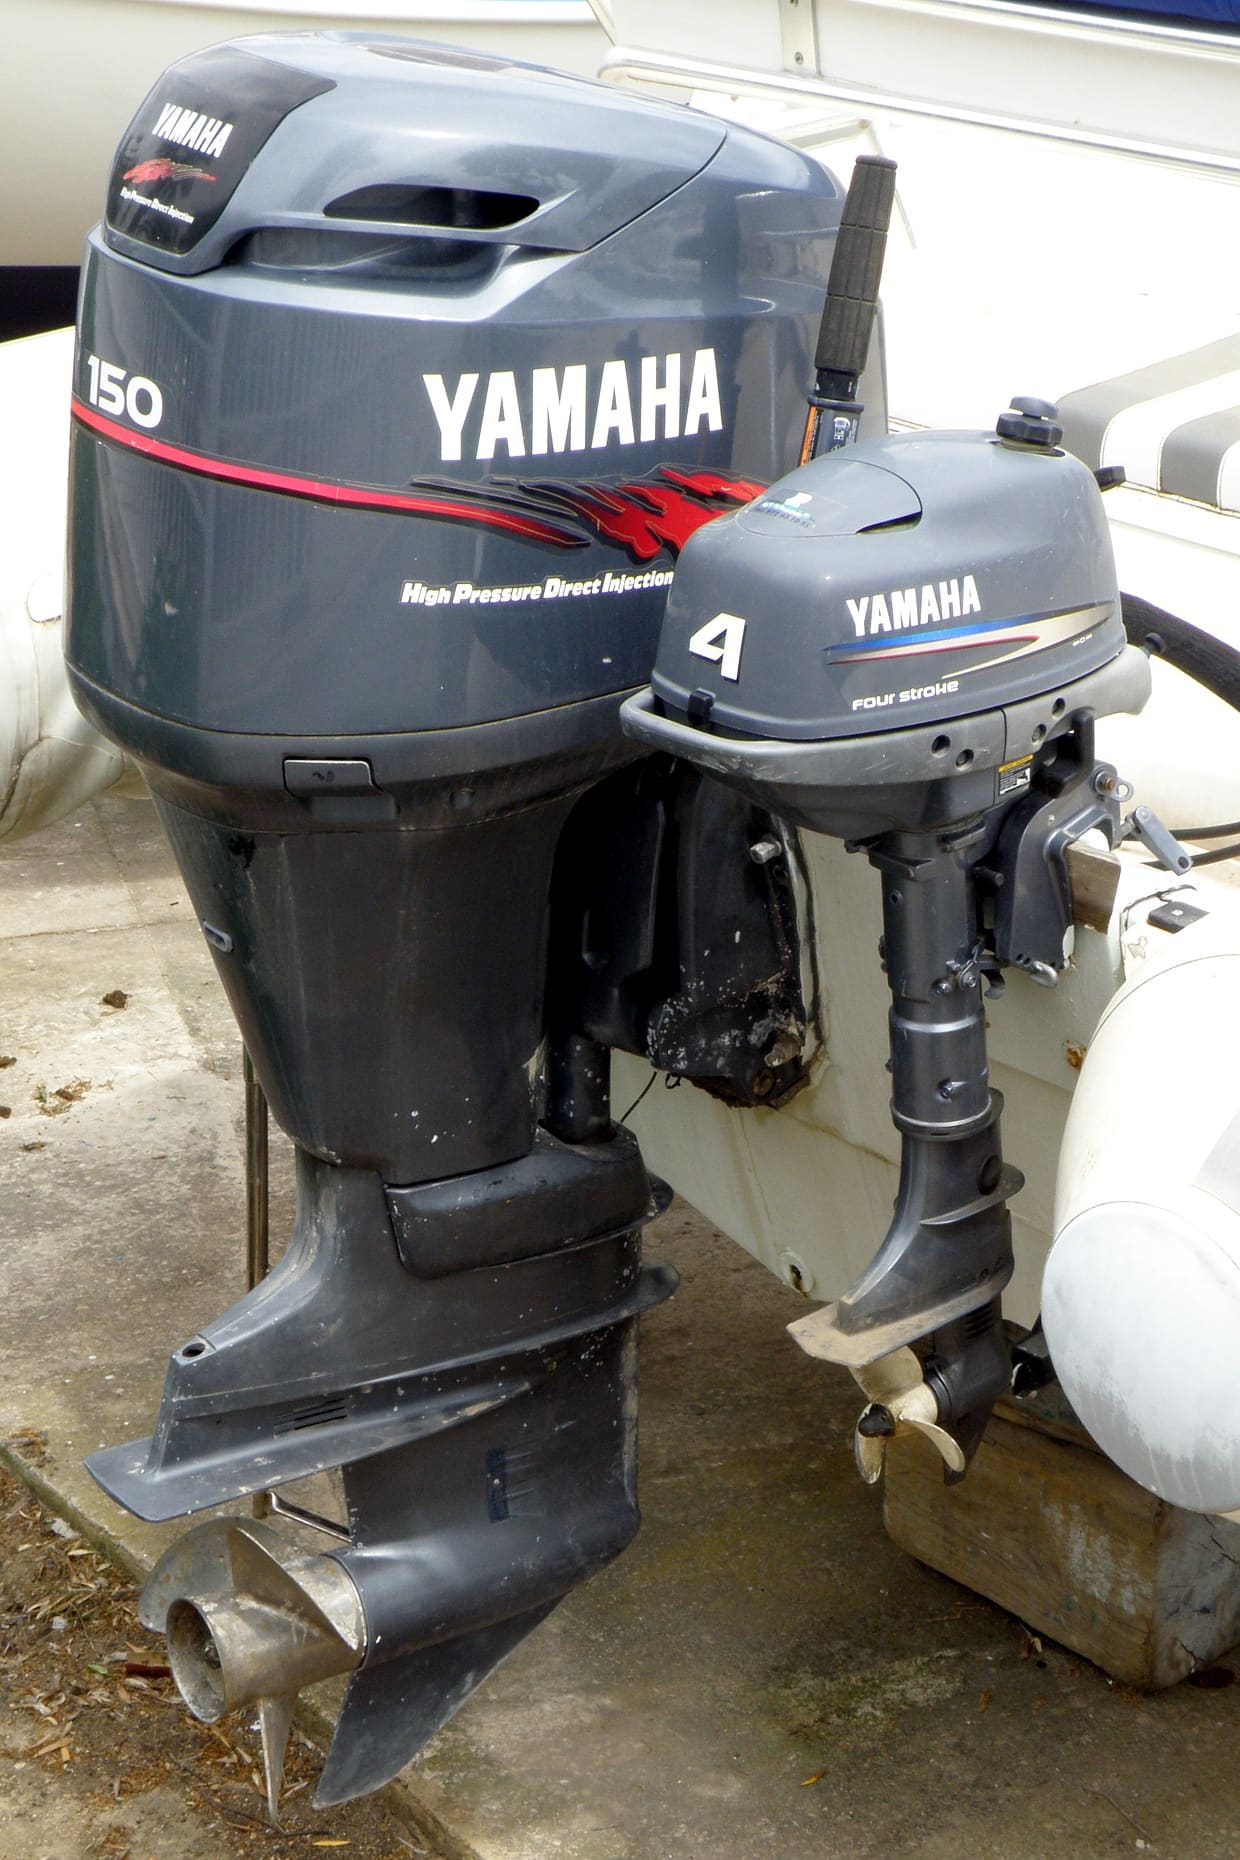
How to Link a Kicker Motor to Your Main Engine With a Tie Bar
Steer your kicker from the helm by linking it to the main outboard with a tie bar: choose a fixed, adjustable or cable-type kit that fits your steering, align it so the motors track together, fit a quick-release, check for binding at every turn and tilt position, and use it only the way the kit maker allows.
12-Volt Boat Wiring Basics: Circuits, Color Codes, Fuses and Wire Size
Learn how your boat's 12-volt system is laid out, what the ABYC wire colors mean, how fuses and breakers protect the wiring, why voltage drop and tinned wire matter, and how to read a wiring diagram, so you can troubleshoot smarter and know which jobs belong to a marine electrician.

Fuse Keeps Blowing? How to Troubleshoot a Boat Fuse Block or Breaker Panel
Work through a blown fuse or tripping breaker the safe way: confirm it, tell a short from an overload, isolate the device or wire at fault, replace a worn breaker or panel switch with the same rating, and label every circuit, without ever fitting a bigger fuse.

How to Find and Fix Corroded Electrical Connections on a Boat
Track down the green crust and loose terminals behind flickering lights, dead gauges and slow cranking with a simple voltage-drop test, then remake the connection the marine way: tinned wire, a proper crimp, adhesive-lined heat shrink and a protective coating.
How to Grease Your Outboard's Lubrication Points
Grease the swivel bracket, tilt tube, steering and shift linkages, trim rams and prop shaft splines on your outboard. Grease keeps salt and water out of the moving joints. A 30-minute job once or twice a season prevents seized steering, stuck props and corroded brackets.
Power Trim Only Goes Up or Only Down: Relays, Switches and Wiring
When your outboard or sterndrive trims one way but not the other, the cause is usually electrical: a relay, a switch, a corroded plug or a wire. Learn how the up and down circuits work, how to swap-test the relays, how to tell the helm switch from the cowl switch, and how to tell an electrical fault from a hydraulic one.