How to Link a Kicker Motor to Your Main Engine With a Tie Bar
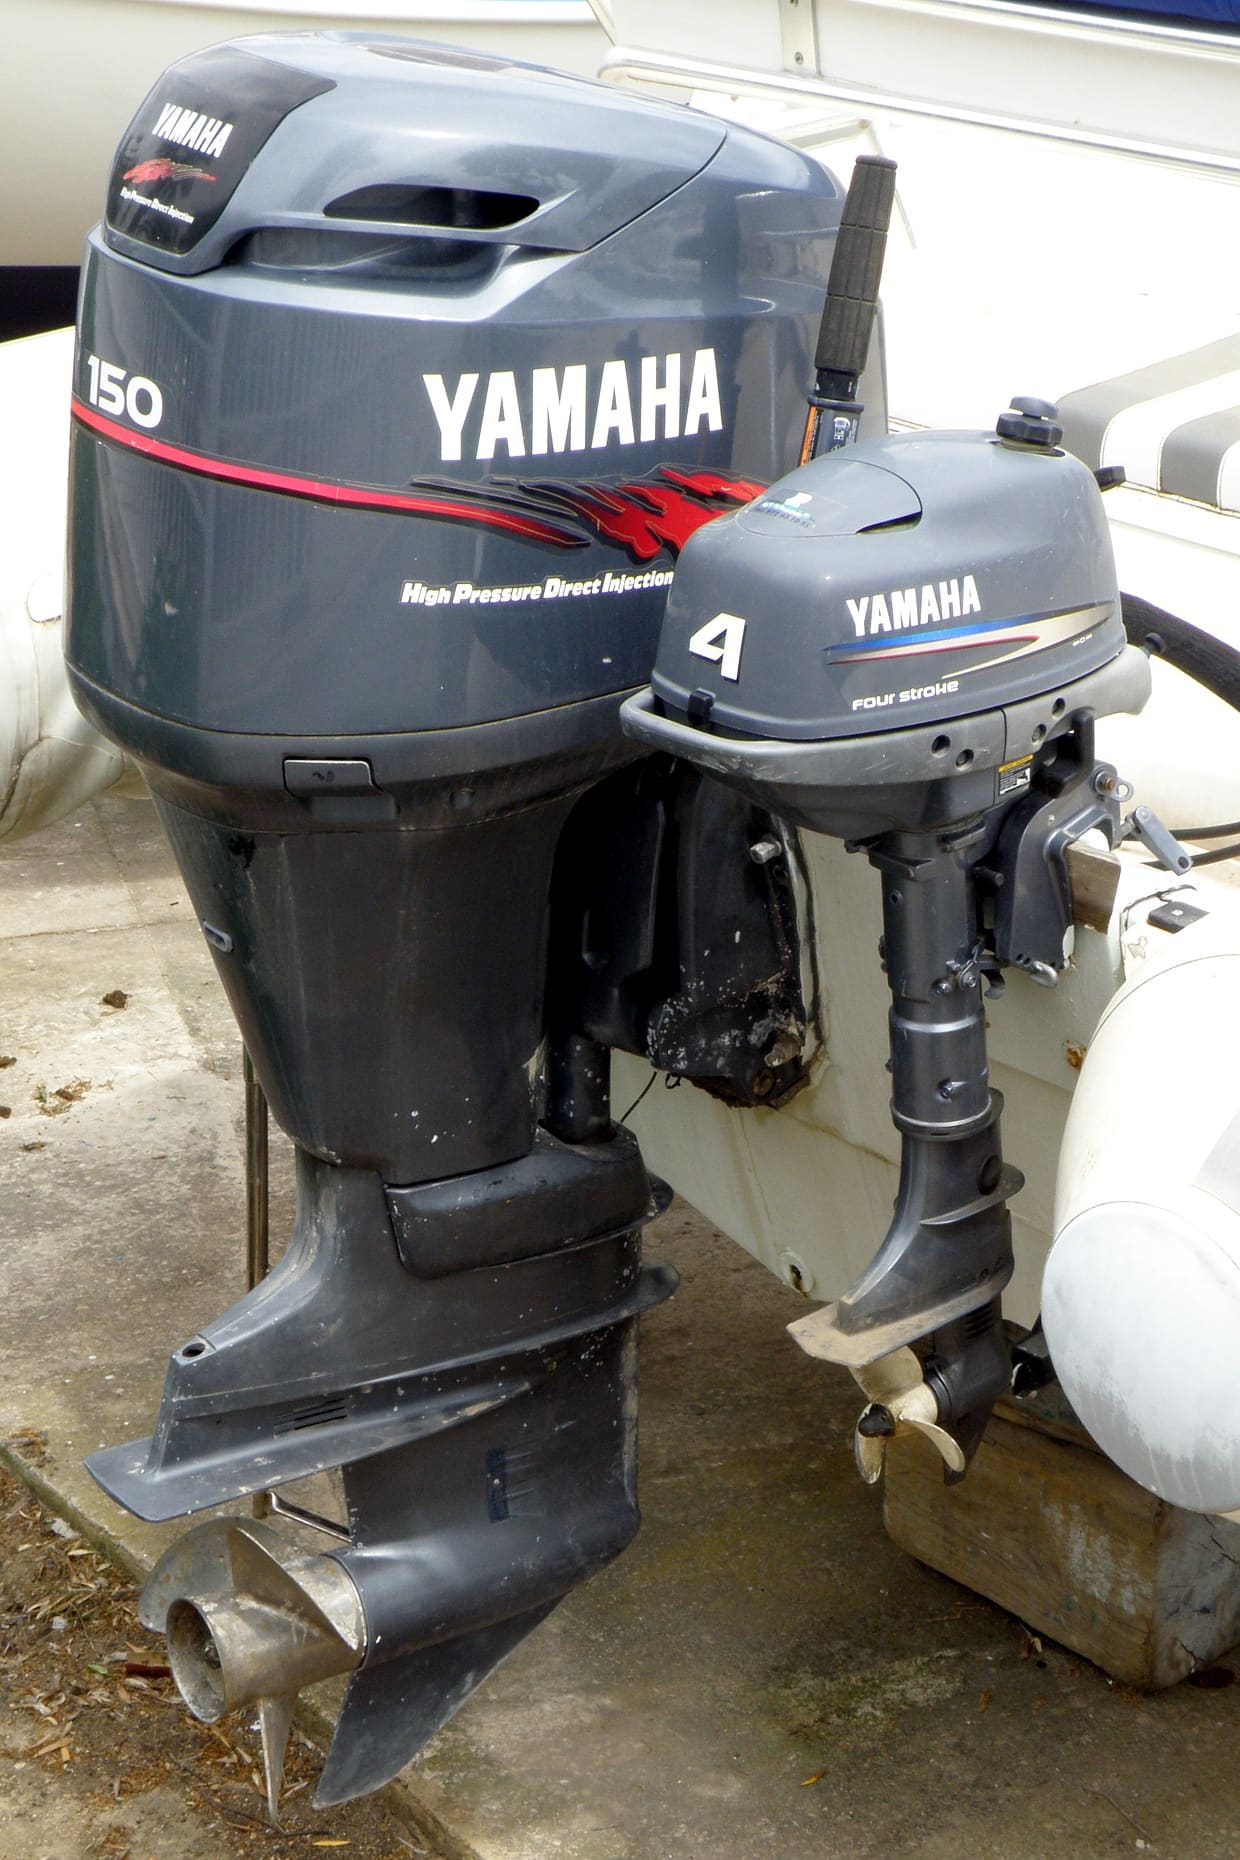
Steer your kicker from the helm by linking it to the main outboard with a tie bar: choose a fixed, adjustable or cable-type kit that fits your steering, align it so the motors track together, fit a quick-release, check for binding at every turn and tilt position, and use it only the way the kit maker allows.
Time
3 h
Shop would charge
$250-700
Applies to
Outboard · Fishing boat, Center console
Safety first: A tie bar ties the kicker into your main steering. If it binds or jams, it can take your steering with it. Never use a linked setup until you've turned the wheel lock to lock with both engines down and with each engine tilted, and seen nothing bind, rub or strain. Don't run both engines in gear at speed while linked: tie bars are made for steering a kicker at trolling speed, not for high-speed running. Wear the kill switch lanyard whenever either engine runs. If the steering ever feels stiff or jerky, slow down, stop and disconnect the tie bar before you go on.
Owners often ask
- Can I leave the kicker tie bar connected when I run on the main engine?
- My steering got stiff after I added a tie bar to my kicker. What's binding?
This guide walks you through it. Still stuck? Ask the AI Mechanic about your engine.
Tools
- Tape measure and straightedge
- Socket and box-end wrench sets
- Hacksaw or cutoff tool and file (if the kit's rod is cut to length)
- Threadlocker if the kit calls for it
- Marine grease
- A helper to turn the wheel while you watch the motors
- Safety glasses
Parts & supplies
- Tie bar or steering link kit made for your main engine's steering type (hydraulic brand or mechanical cable) and your kicker's horsepower
- Drive bracket or link adapter for the main engine, if the kit requires one
- Quick-release ball joint or pin (often included)
- Kicker remote control and cables for shift and throttle, if you won't use the tiller
Before you start
Why link them? Mercury explains that on a console boat you can connect the kicker to the main outboard with a tie bar and steer it from the helm, while tiller steering is better when you want instant response for contour or back-trolling. Mercury also notes that a remote-steered kicker needs its own remote control for shift and throttle. Boating Magazine lists the other choices: steer by using the non-running main engine as a rudder, have someone else steer the kicker, or fit an electric steering unit.
Kinds of tie bars:
- Fixed rigid bar. A solid rod between a bracket on the main engine's steering and the kicker's steering arm or tiller. Simple and strong. Some kits let you cut the threaded rod to length.
- Adjustable bar. Threaded ends or rod ends let you set the length precisely so both motors point the same way.
- Cable-type link. A flexible push-pull cable instead of a rod, which allows more freedom in where the kicker sits and lets each engine tilt on its own. These kits usually fit only specific steering cylinders and small kickers, so read the fit list carefully.
- Electric steering (alternative). Units like Panther's Electro Steer turn the kicker with a motor and a wired or wireless remote, with no link to the main engine. Panther lists different units depending on the space between engines (for example, about 4 inches for one model and about 9 inches for another). If an electric unit suddenly quits and comes back after a few minutes, it has probably tripped its thermal cutoff: Panther's FAQ says its motors shut off when they overheat, usually from holding the button after the motor is already at full turn or from steering constantly against strong wind or current.
Match the kit to your boat. Kits are specific to the main engine's steering system (brand of hydraulic cylinder, or mechanical cable), the engine spacing and the kicker's horsepower. Panther's tie bar kit, for example, comes in versions for SeaStar and UFlex hydraulic steering and is rated up to 40 hp. Check the kit's limits before you buy.
Check the basics first. The kicker must already be mounted solidly with enough clearance from the main engine (see the kicker bracket guide). A tie bar won't fix a kicker that sits too close.
Steps
With both motors down and straight, measure between the main engine's steering (cylinder or cable end) and the kicker's steering arm or tiller bracket. Then turn the wheel slowly lock to lock and watch the gap. Mercury says the motors must be far enough apart that neither touches the other in a full turn. Note anything in the path a bar would take: trim rams, hoses, wiring, the jackplate, the kicker bracket.
Most kits attach to the main engine with a drive bracket on the hydraulic cylinder or steering rod, and to the kicker with a ball stud on its steering arm or a clamp on the tiller. Follow the kit's instructions exactly for which bolts to use; some reuse factory bolts with threadlocker. Never drill the main engine's steering cylinder or modify steering parts.
Fit the drive bracket or link adapter to the main engine's steering as the kit describes. Tighten as instructed (the kit gives the method or torque). Then turn the wheel lock to lock with only the bracket fitted and confirm it doesn't hit anything.
Attach the ball stud or clamp to the kicker's steering arm or tiller bracket. On a tiller kicker, set the steering friction loose enough that the bar can turn the motor without fighting it. Mercury's tiller ProKickers have a steering friction lever for holding the motor straight when trolling by hand; with a tie bar, that friction should not be locked.
Center the helm. Point both motors straight ahead (sight down each motor's centerline to the bow, or measure from each lower unit to a fixed point on the transom). Set the bar length so it drops onto both ends without pushing or pulling either motor. On an adjustable bar, set the length and lock the jam nuts. On a cut-to-length rod, measure twice, cut once and file off burrs. The goal is that both motors turn together and stay parallel through the turn.
Most kits use a quick-release ball joint or pin at one end so you can disconnect in seconds. Make sure it snaps fully home and its lock or clip engages. This is your safety valve: if the kicker ever jams, disconnecting it frees the main steering.
With a helper turning the wheel slowly, watch the bar through the full range:
- Both engines down, lock to lock
- Main engine tilted up, kicker down, lock to lock
- Kicker raised on its bracket or tilted up, main down, lock to lock
- Both tilted up
Panther's FAQ notes that if the rod hits the motor, hoses or bracket, the rod can be bent to clear the interference, and an extension coupling can move the ball stud out. The bar must never bind, pull tight, rub a hose or hit the boat. If it does in any position, fix it before you use it.
If you're steering from the helm, you'll also need to shift and throttle the kicker from there. Mercury says remote-steered kickers need a dedicated remote control. Rigging remote controls, cables and electric start is a dealer-level job on many motors. If you keep the tiller for shift and throttle, make sure you can reach it safely.
- Trolling: main engine off and tilted as the kit and engine makers allow, kicker down and running, steer from the helm. Musky pro Jim Saric, interviewed by Mercury, trims his big outboard up only partway (about 20 to 30 degrees) so its lower unit stays in the water and works like a rudder, and uses a separate remote throttle for the kicker to power in and out of turns. If you try this, check first that your tie bar clears at that trim angle (step 7).
- Running on the main engine: kicker tilted up and locked. Many owners disconnect the tie bar whenever the kicker isn't in use. Check your kit's instructions on whether the bar may stay connected with the kicker tilted up; if they don't say it's fine, disconnect it.
- Never run both engines in gear at planing speed while they're linked, and never use the kicker's high speed with the bar attached unless the kit maker says it's allowed.
In open water, idle the kicker and turn the wheel both ways. The boat should answer smoothly with no lag, clunk or stiff spots. Steering from the helm at trolling speed can feel slow; small, early wheel inputs work best. Disconnect the quick-release and confirm the main steering is free.
- Rinse the bar, ball joints and quick-release with fresh water after salt water use. Spring-loaded quick-release clips can corrode and stick.
- Grease ball joints as the kit maker recommends, and check them for play.
- Don't forget the main engine's own steering parts that the bar hooks onto. Mercury's quick tip on steering linkages says a little grease and light oil on the steering components and transom assembly keeps steering smooth; your owner's manual shows the exact grease points and intervals (see also the outboard grease points guide).
- Check bracket bolts and jam nuts for tightness every season.
- Look at the bar for bends or cracks after any hard knock. Replace it rather than straightening a damaged bar.
Common mistakes
- Checking clearance only with both motors down. Binding usually shows up with one engine tilted.
- Leaving the kicker's steering friction locked, so the bar fights the motor.
- Motors not parallel, so they push against each other and the boat wanders.
- Running on plane with the kicker linked and down, or using a bar beyond its horsepower rating.
- A quick-release that isn't fully snapped in, which can pop off in a turn.
- Never rinsing a salt water tie bar, so the quick-release seizes when you need it.
- Drilling or modifying the main engine's steering parts to make a kit fit.
When to call a pro
- No kit lists your exact steering cylinder or steering system
- You'd have to modify, drill or re-plumb the main engine's hydraulic steering
- You want remote shift, throttle or electric start rigged at the helm
- Steering feels stiff, notchy or loose after the install, or you find a hydraulic fluid leak (see the hydraulic steering guide)
- The motors are too close for any bar to clear at full turn and tilt
- Twin main engines with an existing tie bar between them (adding a kicker link changes the setup)
Tips
- Before trolling season, do a quick wheel check at the dock: connect, turn lock to lock with both engines tilted and down, disconnect.
- Mercury's walleye trick works linked or not: set the kicker a little under your target speed and fine-tune speed and heading with a bow-mount trolling motor.
- Keep a spare quick-release clip or pin in the toolbox.
- Write the bar length and alignment marks in BoatMend so you can set it up again after service.
Official references
We read these to write this guide. Your engine's own manual always wins.
- Mercury Marine – Improve Your Trolling Game, Kicker Motor 101
- Mercury Marine – How to Install a Kicker Motor on Your Boat
- Panther Marine Products – Electro Steer and Steering (tie bar kits, drive brackets, horsepower limits)
- Panther Marine Products – FAQs (bending the rod, extension coupling, interference)
- Boating Magazine – Choosing an Auxiliary Outboard Motor
- Mercury Marine – How To Power Your Boat for Trolling (Jim Saric)
- Mercury Marine – Quick Tip, How to Lubricate Steering Linkages
Safety: BoatMend is for information only and does not replace a certified marine technician. You are responsible for your safety and your boat. Read the full disclaimer.
Last updated 2026-10-25
Related guides
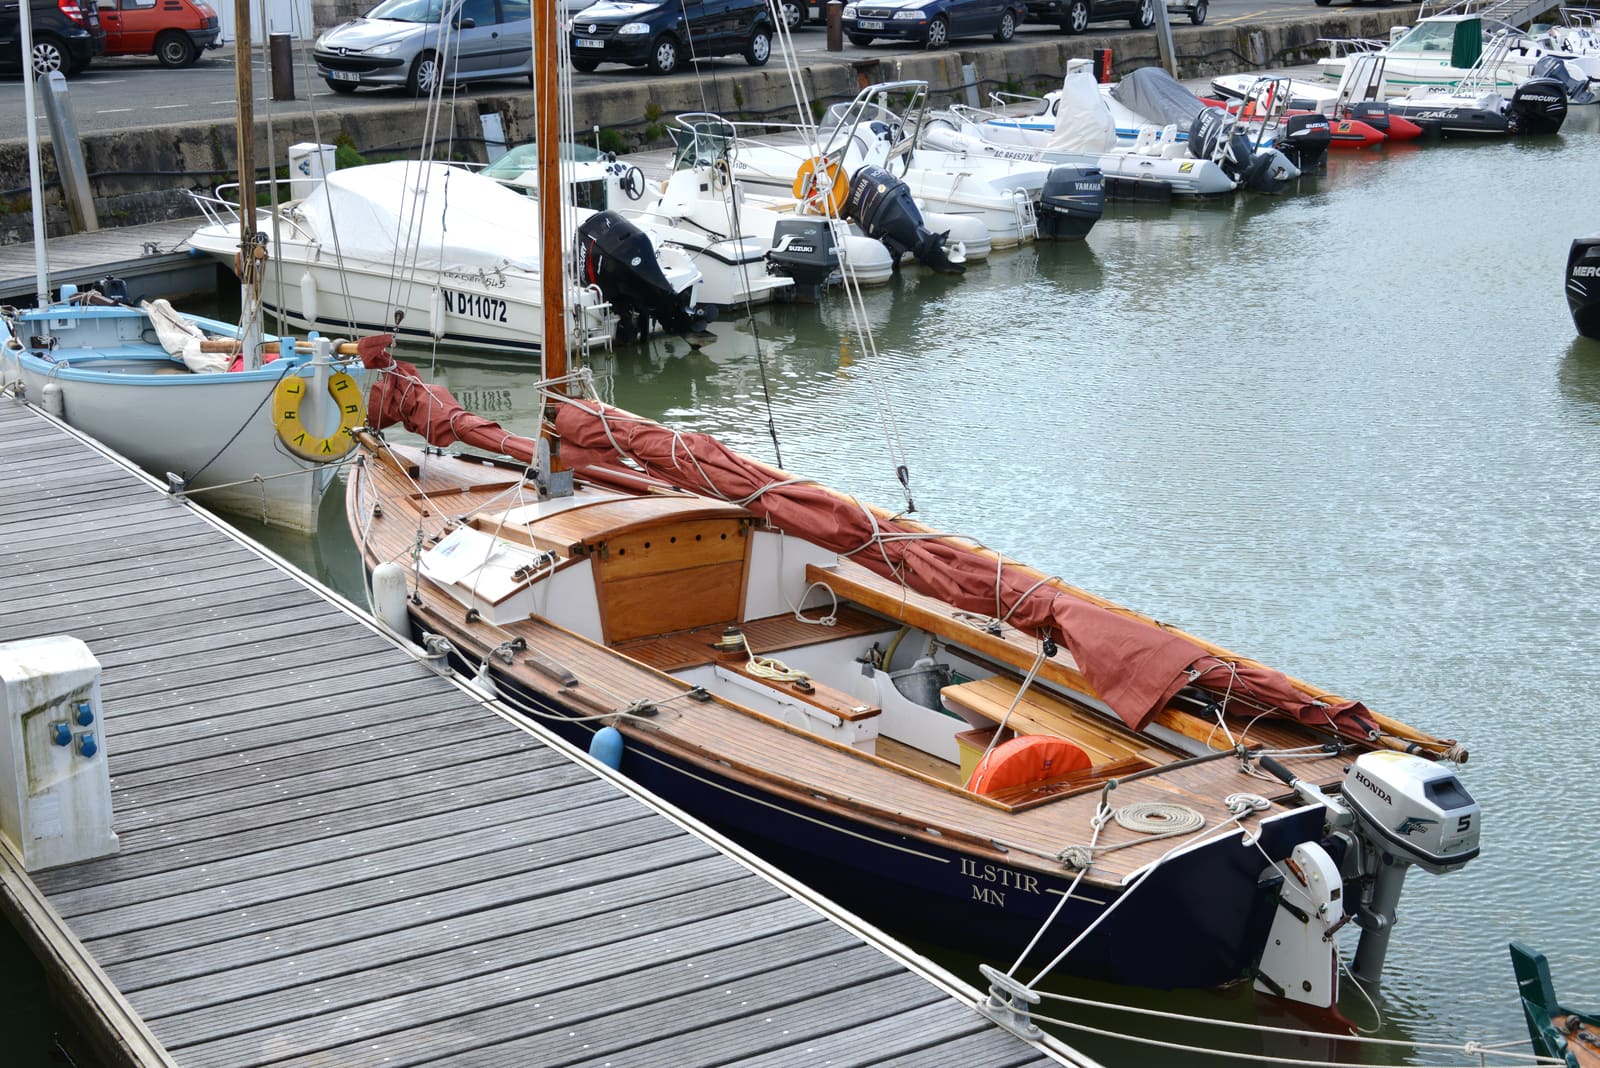
How to Mount and Maintain a Kicker Motor Bracket
Set up a small auxiliary outboard (a kicker) the right way: choose a manual or spring-assisted bracket, through-bolt it to a sound transom with a backing plate, add a safety cable, sort out steering and fuel, and keep the bracket working season after season.
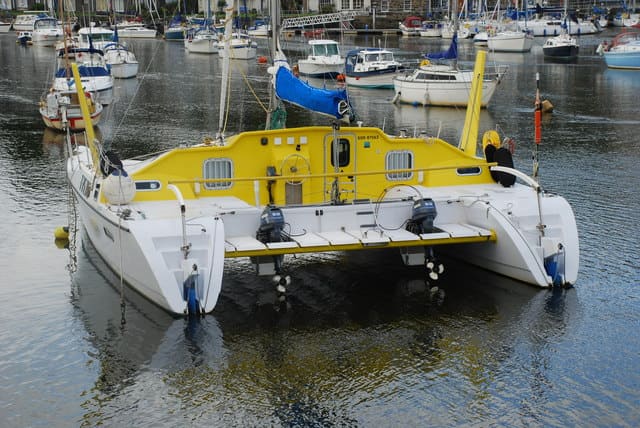
How to Mount a Kicker Motor on a Boat With a Swim Platform or Bracket
Find a safe way to hang a kicker when there's no open, flat transom: pick an offset or setback bracket, prove the clearance with the main engine through every turn and tilt position, keep the tiller within reach, and make sure the platform or bracket can actually carry the load with proper backing.
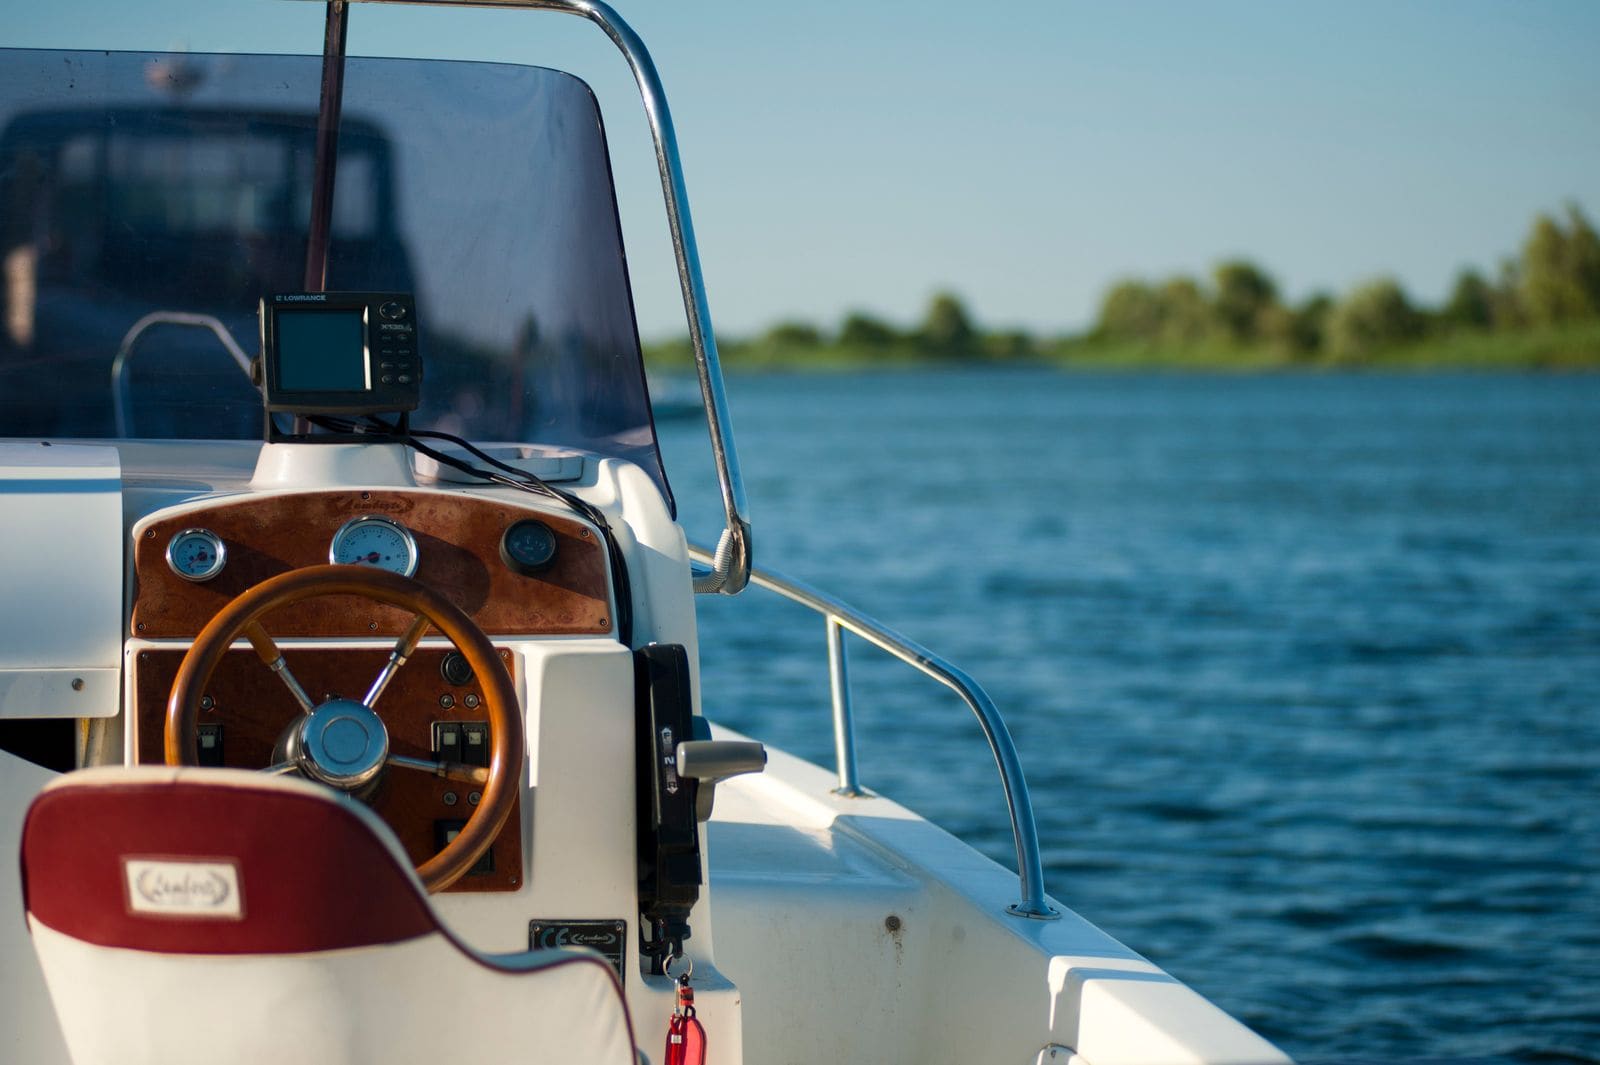
Hydraulic Steering: Check Fluid, Bleed Air and Fix Stiff or Loose Steering
Check the fluid in your hydraulic steering helm, bleed out the air that makes steering spongy, and track down the usual causes of stiff, loose or noisy steering. Includes notes for boats with mechanical cable steering.
Stiff or Seized Mechanical Steering - Lubricate, Inspect and Replace the Steering Cable
Fix hard, notchy or loose cable steering on an outboard boat. Find out whether the engine, the tilt tube, the cable or the helm is the problem, clean and grease what can be serviced, and measure and install a new cable correctly when the old one is done.
How to Synchronize Twin Engines (RPM and Trim)
Twin engines running at slightly different RPM cause a pulsing drone, extra vibration, uneven wear and wasted fuel. Learn how to sync them by tach, sync gauge or ear, use the one-button sync on digital controls, check that your tachs tell the truth, match trim, and know when uneven engines or cable adjustment are a dealer job.
How to Grease Your Outboard's Lubrication Points
Grease the swivel bracket, tilt tube, steering and shift linkages, trim rams and prop shaft splines on your outboard. Grease keeps salt and water out of the moving joints. A 30-minute job once or twice a season prevents seized steering, stuck props and corroded brackets.
Engine Cut-Off Switch (Kill Switch) and Lanyard: The Law, Testing and Daily Use
How the engine cut-off switch (ECOS) and its lanyard or wireless fob work, when federal law requires you to wear it (boats under 26 feet, 3 hp or more, on plane), how to test it before every trip, and why a spare clip aboard matters.