How to Check for Worn Outboard Motor Mounts
A clunk when you shift, buzzing vibration at idle or a motor that wobbles side to side can mean the rubber mounts between the outboard and its bracket are worn out. Learn how to rule out the cheap causes first, check the mounts yourself and know when replacement belongs in a shop.

Time
45 min
Shop would charge
$400-1500
Applies to
Outboard
Safety first: Do every hands-on check with the engine off, the key out and the kill switch lanyard removed, so nobody can start the motor or hit the trim switch while your hands are near it. Never put your body under a tilted motor unless the tilt lock is engaged and the motor is also supported. If the motor ever feels like it is coming loose from the boat, or you see cracks in the transom or water coming in around the bolts, stop using the boat and call a dealer; on the water, slow down and call TowBoatUS or Sea Tow, or the Coast Guard on VHF 16 (911 in an emergency).
Owners often ask
- My outboard clunks loudly when I shift into gear and wobbles side to side. Are the motor mounts bad?
- Can I replace worn outboard motor mounts myself?
This guide walks you through it. Still stuck? Ask the AI Mechanic about your engine.
Tools
- Flashlight and an inspection mirror
- Socket set, box-end wrench and torque wrench (for transom bolts)
- Propeller wrench or socket and a block of wood
- A helper
- Phone camera (to film the motor moving)
Parts & supplies
- None for the checks
- Upper and lower motor mounts for your model and serial number (installed by a shop)
Before you start
An outboard does not bolt straight to the boat. The clamp bracket bolts to the transom, the swivel bracket lets the motor steer and tilt, and the motor's midsection hangs from the swivel bracket on rubber motor mounts (usually an upper pair and a lower pair). Those rubber blocks soak up engine vibration and the shock of shifting. Like any rubber part, they harden, crack, soak up oil and separate from their metal plates over the years, faster on motors used hard or in salt water.
Typical signs of worn mounts:
- A loud clunk and a visible lurch of the motor when you shift into forward or reverse
- More vibration or buzzing at idle than you remember (BoatUS lists extra vibration and odd noises at startup and idle as common mount symptoms)
- The motor wobbles side to side or fore and aft when you push on it, or the cowl rubs on the bracket
- Steering that feels sloppy, or a motor that no longer sits straight when the wheel is centered
The same symptoms can come from cheaper problems: a loose prop, loose transom bolts, worn steering parts or a shift cable out of adjustment. This guide goes from the cheapest check to the most expensive. Replacing outboard mounts is normally a shop job (see step 11).
Steps
A loose prop nut, a spun rubber hub or fishing line around the prop shaft can all clunk or vibrate. With the key out, remove the prop (use a block of wood between a blade and the anti-ventilation plate so it cannot turn). Look for line wrapped behind it, a cracked or slipping hub, and worn splines. Put it back with the correct washers and nut, tightened to the spec in your manual. Mercury's owner FAQ says to recheck prop tightness after the first 20 hours and never to run with a loose prop. If the clunk goes away, you are done. See the propeller guide for details.
Mercury calls the transom bolts some of the most important fasteners on a powerboat and recommends checking them before every use. Signs of looseness: worn paint or bare metal where the bracket rubs the bolts, or any movement between the clamp bracket and the transom (or the jack plate). Small motors: tighten the clamp screws by hand. Bolted motors: hold the bolt head with a box-end wrench and torque the nut to the spec in your operator's manual. A loose transom bolt feels a lot like a bad mount, so always rule this out. If the transom itself flexes, see the transom rot guide.
Play in the steering can feel like a wobbly motor. Have a helper turn the wheel gently back and forth while you watch the steering arm, the link rod, the cable end or the hydraulic cylinder and the tilt tube nut. Any clicking or movement between parts before the motor starts to turn points to steering wear, not mounts. See the hydraulic steering or steering cable guides.
Boat on the trailer, motor trimmed all the way down (vertical), engine off, key out. Grab the lower unit near the skeg and push it firmly side to side, then fore and aft, while a helper watches the bracket area with a flashlight (or film it with a phone). Note where the movement happens:
- Between the clamp bracket and the transom: loose transom bolts or a soft transom (step 2).
- Between the swivel bracket and the clamp bracket: worn tilt tube bushings or swivel parts.
- Between the midsection and the swivel bracket, with the rubber flexing or a gap opening up: worn or broken motor mounts.
- On a pontoon, the whole engine pod or bracket moving against the deck frame: pontoon owners report rattles traced to cracked braces where the engine pod bolts to the crossmembers, from years of vibration and trailering. Look at the pod's mounting braces and welds with a flashlight. A cracked pod brace means the motor comes off and an aluminum welder repairs or reinforces it; do not run the boat hard until then.
Some give is normal: the mounts are rubber on purpose, and the motor should spring back smoothly. A dull clunk, free sloppy movement, or a gap that opens and closes is not normal. There is no owner-friendly "inches of play" spec; a dealer compares your motor to the service manual.
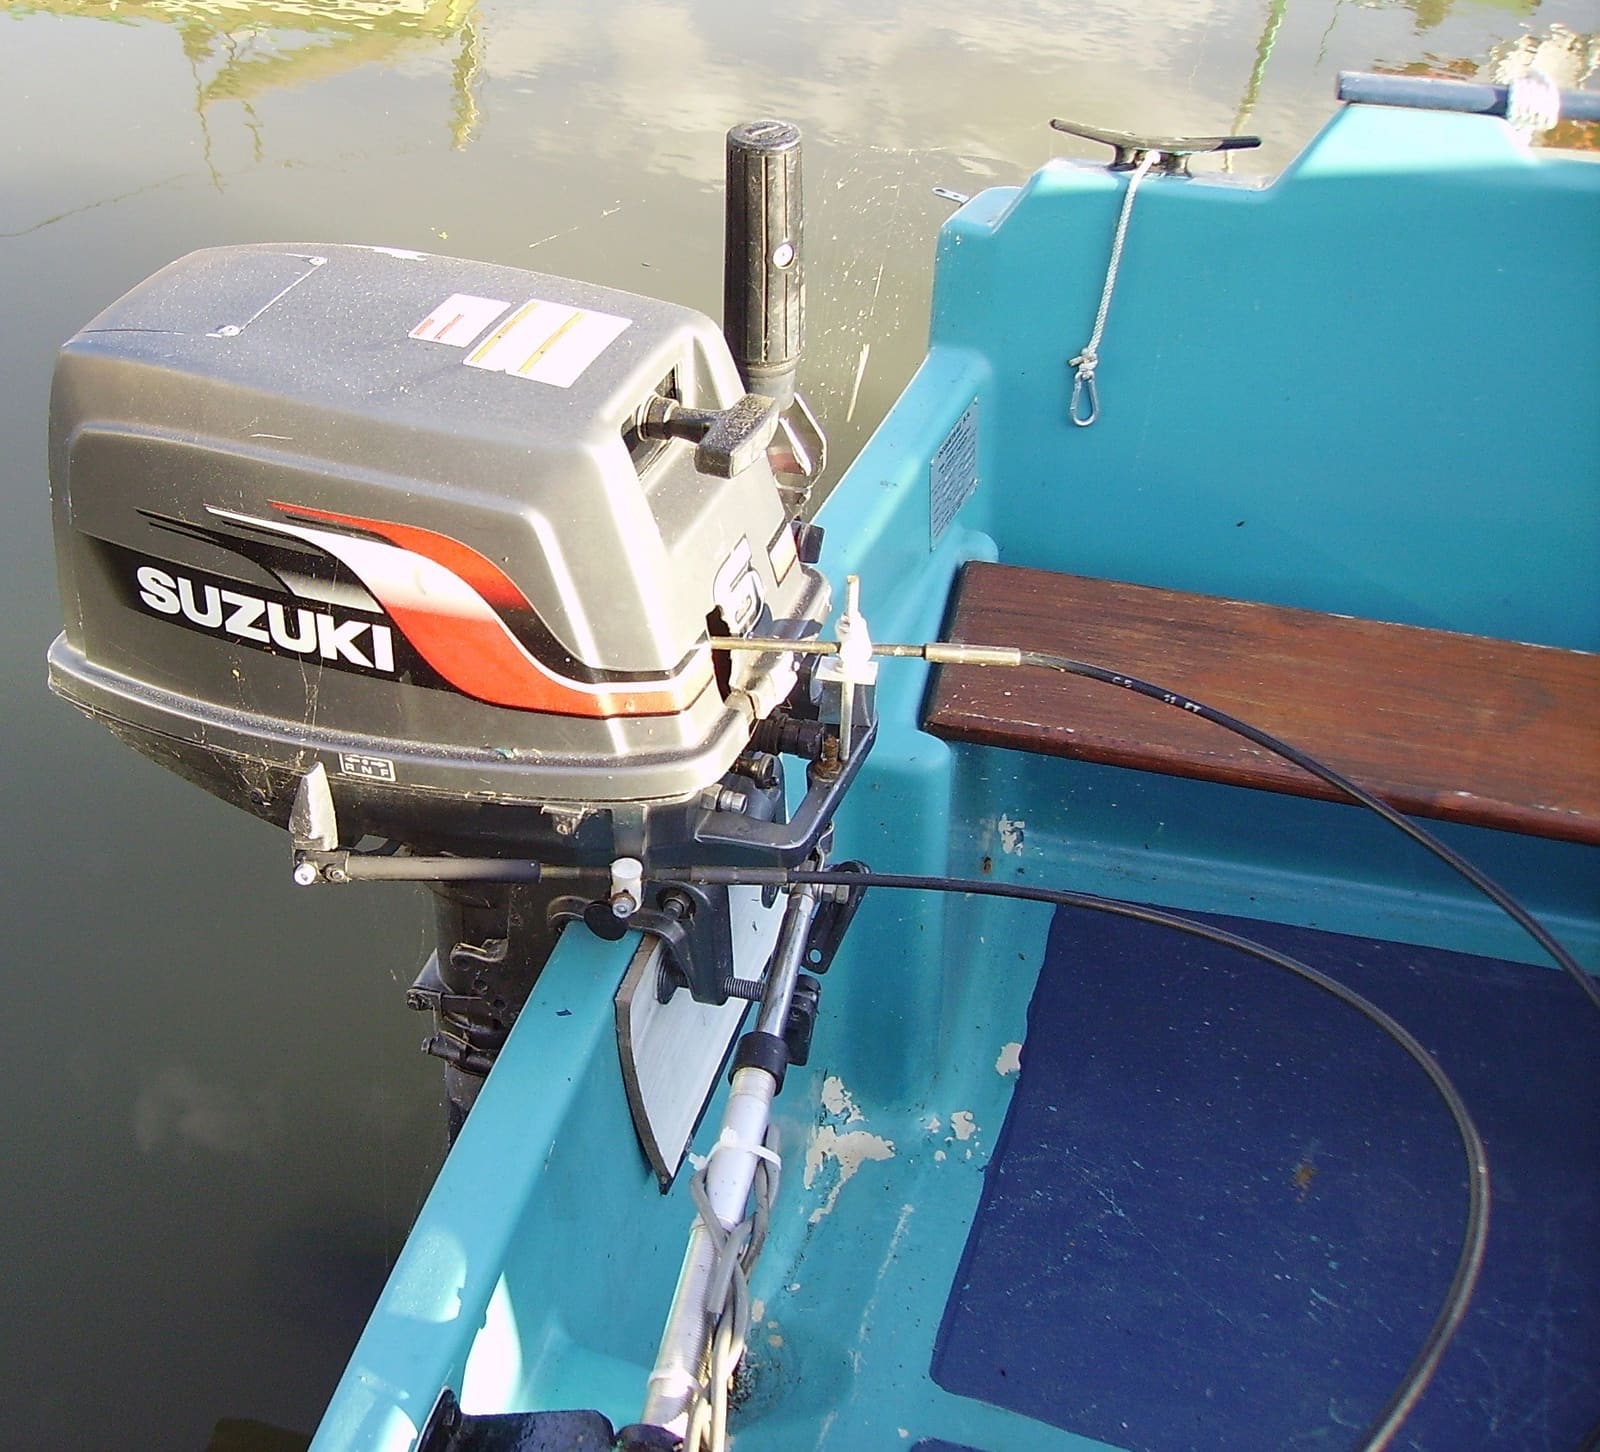
The clamp bracket holds the motor to the transom; the mounts sit between the swivel bracket and the motor's midsection. Photo: Cjp24 / Wikimedia Commons · CC BY-SA 3.0 On many outboards the lower mounts are visible (or partly visible) where the midsection meets the bottom of the swivel bracket; some sit behind a small cover or the lower cowl pan. Your manual or a parts diagram shows where they are. With a flashlight and mirror, look for:
- Cracked, torn or crumbling rubber, or rubber pulling away from its metal plate
- Rubber that is swollen, soft or sticky (oil or fuel soaks into it, as BoatUS notes for engine mounts in general)
- Rust or white corrosion where the rubber is bonded to metal
- A shiny worn spot or a clean "halo" in the grime, which shows something has been moving
- Loose, missing or broken mount bolts or covers
Do not pull covers or cowl pans off unless your manual shows it is a simple owner job.
With the steering centered, sight down the boat: the motor should point straight back. Look at the gap between the cowl and the swivel bracket on both sides. A motor that sits crooked, sags to one side, or has rub marks on the cowl or bracket may have a collapsed or broken mount.
This test needs cooling water, and with the prop on it must be done in the water, never on a trailer. Tie the boat securely to a solid dock with clear water behind it. (If you run the engine on a trailer for other checks, use external flush muffs or a test tank with the prop removed; the built-in flush port on most outboards is for flushing with the engine off, unless your manual allows running on it.) At idle, have a helper shift slowly from neutral to forward, back to neutral, then to reverse, while you watch the motor from the dock or the stern.
- A big lurch and clunk of the whole motor against the bracket points to the mounts.
- A hard clunk with little visible movement is more likely inside: shift cable adjustment, linkage or gears.
- In reverse, worn mounts often show more, because the thrust pulls the motor the other way.
Keep hands, lines and people well away from the prop.
Mount problems usually show most at idle and when starting or stopping, and the motor may smooth out as rpm rises. Vibration that grows with speed points more to the prop, a bent shaft or the trim angle. A rough-running engine (a bad plug or injector) also shakes the boat at idle; if it runs rough, see the engine troubleshooting guides before blaming the mounts.
Worn mounts let the powerhead move more, which can upset the shift linkage. A cable that is out of adjustment also causes hard, noisy shifts. Check the adjustment as described in the shift cable guide. If shifting gets smooth again, the mounts may still be fine.
Dry swivel and tilt tube bushings can feel stiff, squeak or knock. Grease every fitting on the bracket and steering with the grease your manual specifies (see the outboard grease points guide), then repeat the wiggle test.
If the checks point to the mounts, have a dealer confirm and quote the job. On most outboards, replacing mounts means supporting the motor's weight with a hoist, separating the midsection from the swivel bracket, and on many models removing the steering arm, the lower cowl pan or even lifting the powerhead. The bolts need the correct torque and thread-locker, and the parts are matched to your model and serial number. Doing it wrong can leave the motor poorly secured to the boat. Many shops replace worn upper and lower mounts together. Ask the shop to check the shift adjustment and grease points afterward.
If the mounts are worn but the motor is still firmly attached, run gently: avoid hard shifting, high speed in rough water and big wakes. Trailer it with the support your engine maker recommends so it does not flop on the road. If the motor moves a lot, a mount is broken, or anything looks cracked, do not run it until a shop has looked at it.
Common mistakes
- Ordering mounts before checking the prop, the transom bolts and the steering. Those are cheaper and cause the same clunks.
- Testing shifting with the prop on while the boat sits on the trailer. Only run in gear in the water.
- Running on the built-in flush port to test, when your manual says the port is for engine-off flushing.
- Mistaking normal rubber flex for a failed mount, or ignoring a motor that clearly flops and clunks.
- Cranking down on transom bolts to "fix" a wobble that is really in the mounts or a soft transom.
- Replacing only the one obviously torn mount when the others are just as old.
When to call a pro
- The wiggle test shows movement between the midsection and the swivel bracket, or you see torn, separated or oil-soaked mounts.
- The motor sits crooked, rubs on the bracket, or lurches hard when shifted.
- A clunk remains after the prop, bolts, steering and shift cable all check out (it may be internal gearcase or linkage wear).
- Any crack in the brackets or transom, or water coming in around the mounting bolts.
- Mount replacement itself: it needs a hoist, service data and parts for your serial number.
Tips
- Film the wiggle test and the shift test on your phone. It helps the shop diagnose the problem faster.
- Put a paint-pen witness line across each transom bolt nut; if the line breaks, the nut has turned.
- Rinse and flush after every saltwater trip; salt and oil both shorten rubber mount life.
- When buying a used outboard, do the wiggle test before you pay.
Official references
We read these to write this guide. Your engine's own manual always wins.
Safety: BoatMend is for information only and does not replace a certified marine technician. You are responsible for your safety and your boat. Read the full disclaimer.
Last updated 2026-10-24
Related guides
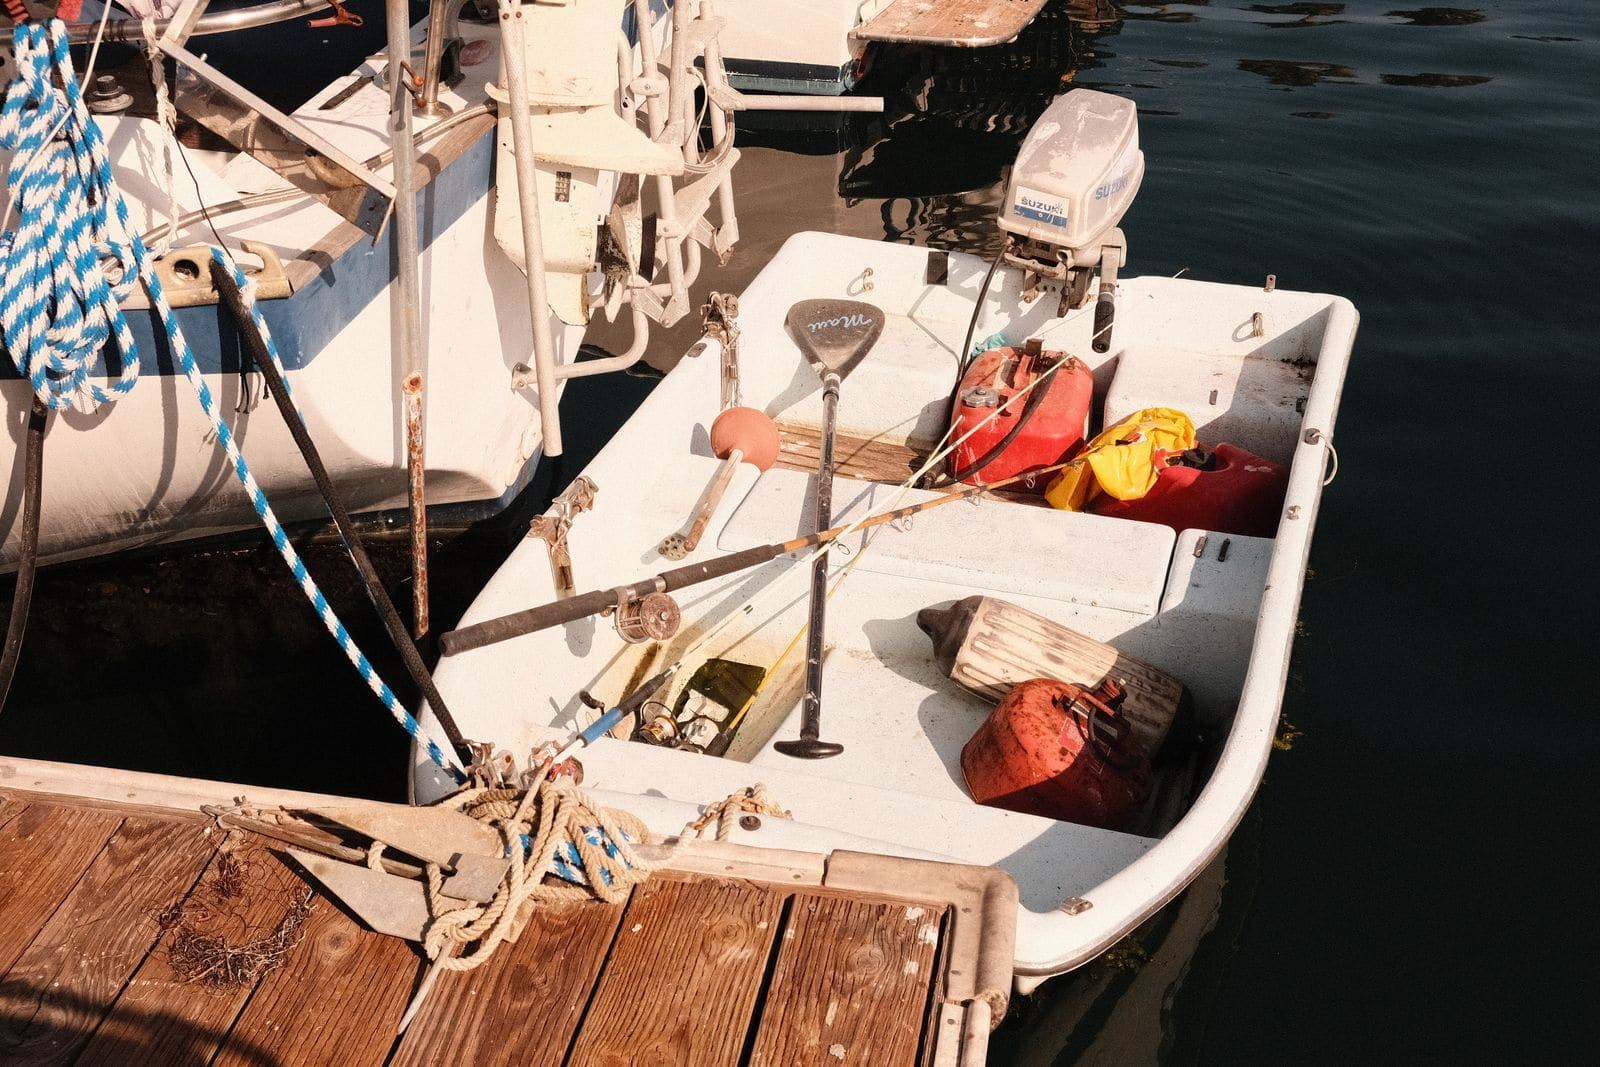
How to Mount or Re-Tighten an Outboard on the Transom
A loose outboard can steer badly, crack the transom or fall off the boat. Learn how to center the motor, check engine height, tighten clamp screws, seal and bolt through the transom with backing plates, add a safety cable on small motors and spot transom flex before it becomes a costly repair.
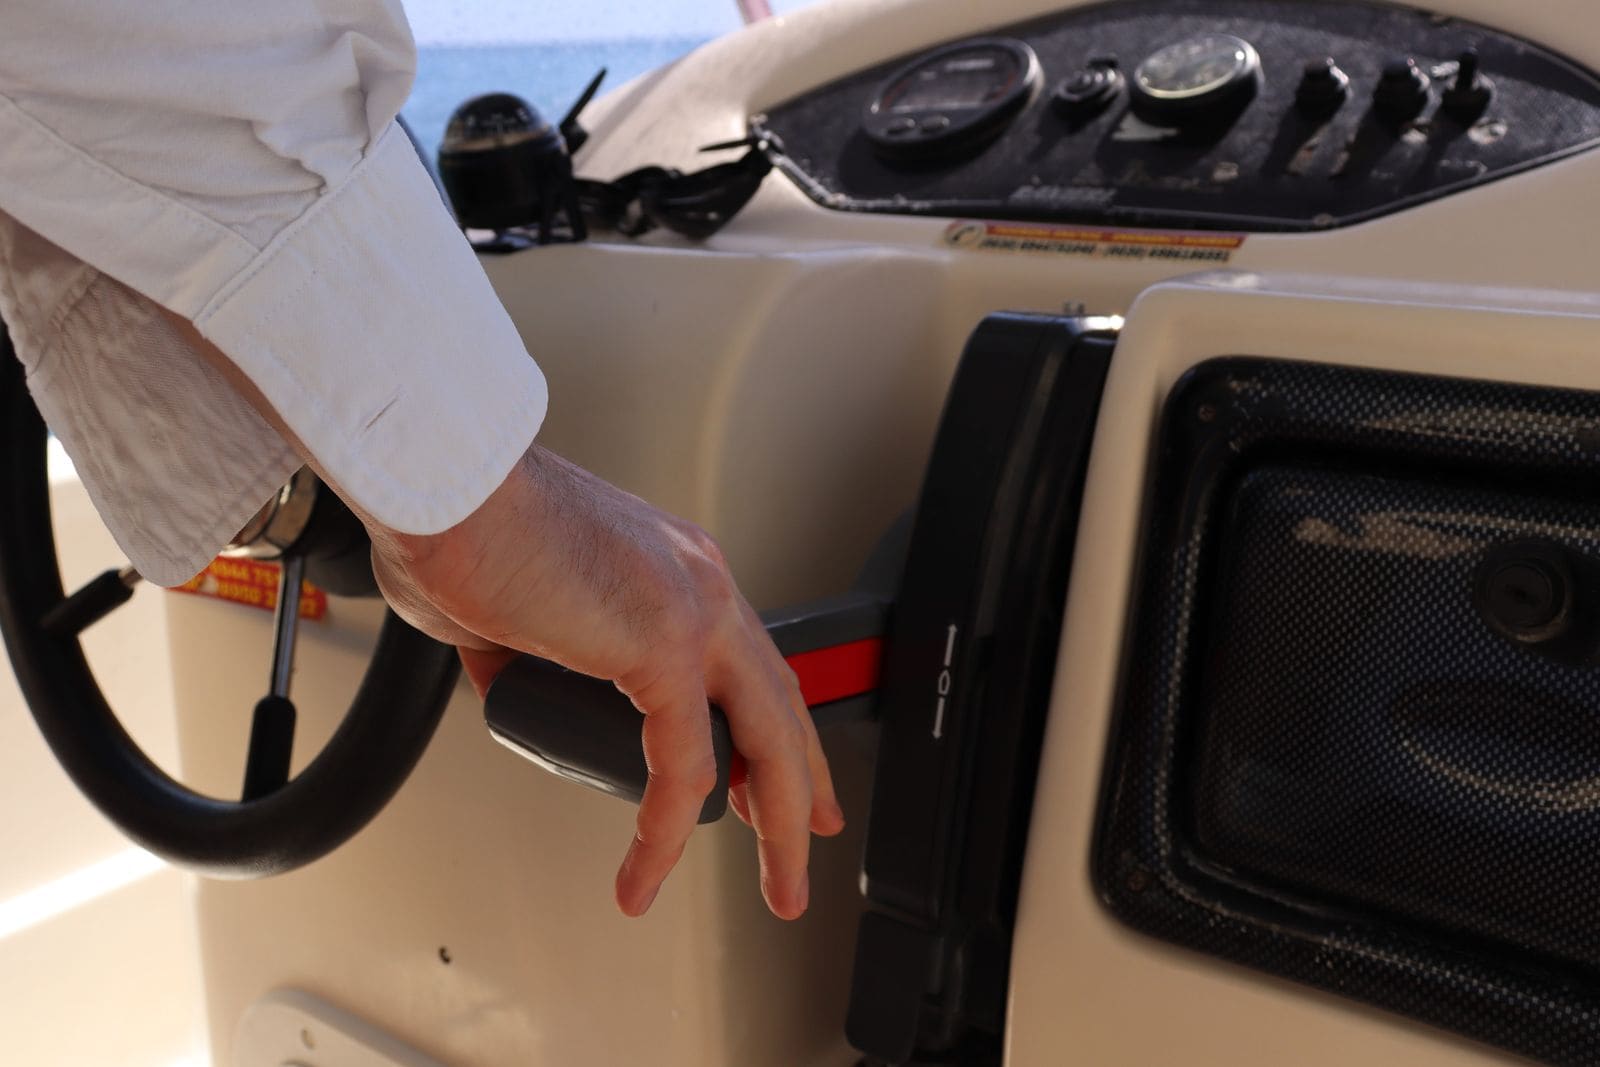
How to Check and Adjust Boat Shift and Throttle Cables
Hard shifting, a lever that will not go fully into gear, or a gear that lands in a different spot every time usually point to the control cables. Learn how to find out whether the problem is the cable, the control box or the engine, how to adjust the cable ends, and when it is time to replace both cables.

Hydraulic Steering: Check Fluid, Bleed Air and Fix Stiff or Loose Steering
Check the fluid in your hydraulic steering helm, bleed out the air that makes steering spongy, and track down the usual causes of stiff, loose or noisy steering. Includes notes for boats with mechanical cable steering.

Stiff or Seized Mechanical Steering - Lubricate, Inspect and Replace the Steering Cable
Fix hard, notchy or loose cable steering on an outboard boat. Find out whether the engine, the tilt tube, the cable or the helm is the problem, clean and grease what can be serviced, and measure and install a new cable correctly when the old one is done.
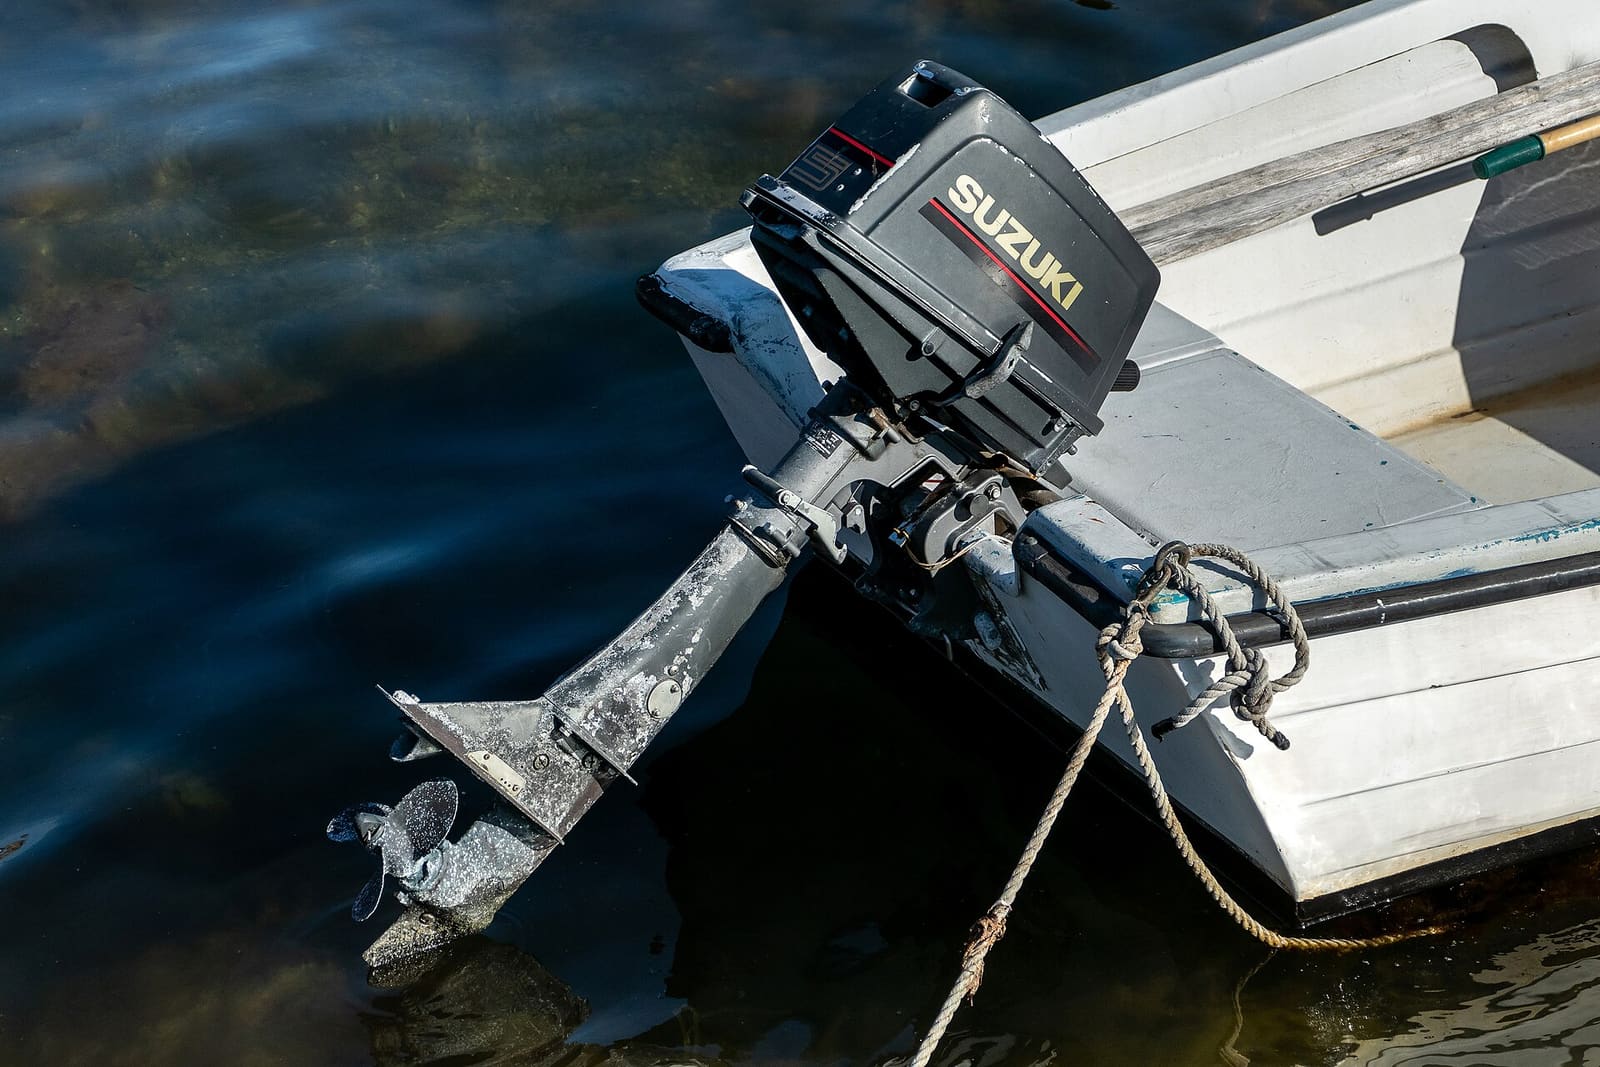
How to Grease Your Outboard's Lubrication Points
Grease the swivel bracket, tilt tube, steering and shift linkages, trim rams and prop shaft splines on your outboard. Grease keeps salt and water out of the moving joints. A 30-minute job once or twice a season prevents seized steering, stuck props and corroded brackets.
Propeller Care: Inspect, Remove, Replace and Choose the Right Pitch
Check your prop for damage, pull it to clear fishing line and grease the shaft, reinstall it correctly, and learn how pitch affects your engine's wide-open-throttle RPM. The right prop in good shape protects your engine and often makes the boat run better and use less fuel.
How to Check a Boat for Transom and Stringer Rot
Many older fiberglass boats have wood inside the transom, stringers and deck, and water that gets in slowly rots it. Learn the tap test, the flex test, how to read a moisture meter and the other warning signs, and why a rotten transom or stringer is a structural job for a pro, not a weekend patch.