Hydraulic Steering: Check Fluid, Bleed Air and Fix Stiff or Loose Steering
Check the fluid in your hydraulic steering helm, bleed out the air that makes steering spongy, and track down the usual causes of stiff, loose or noisy steering. Includes notes for boats with mechanical cable steering.
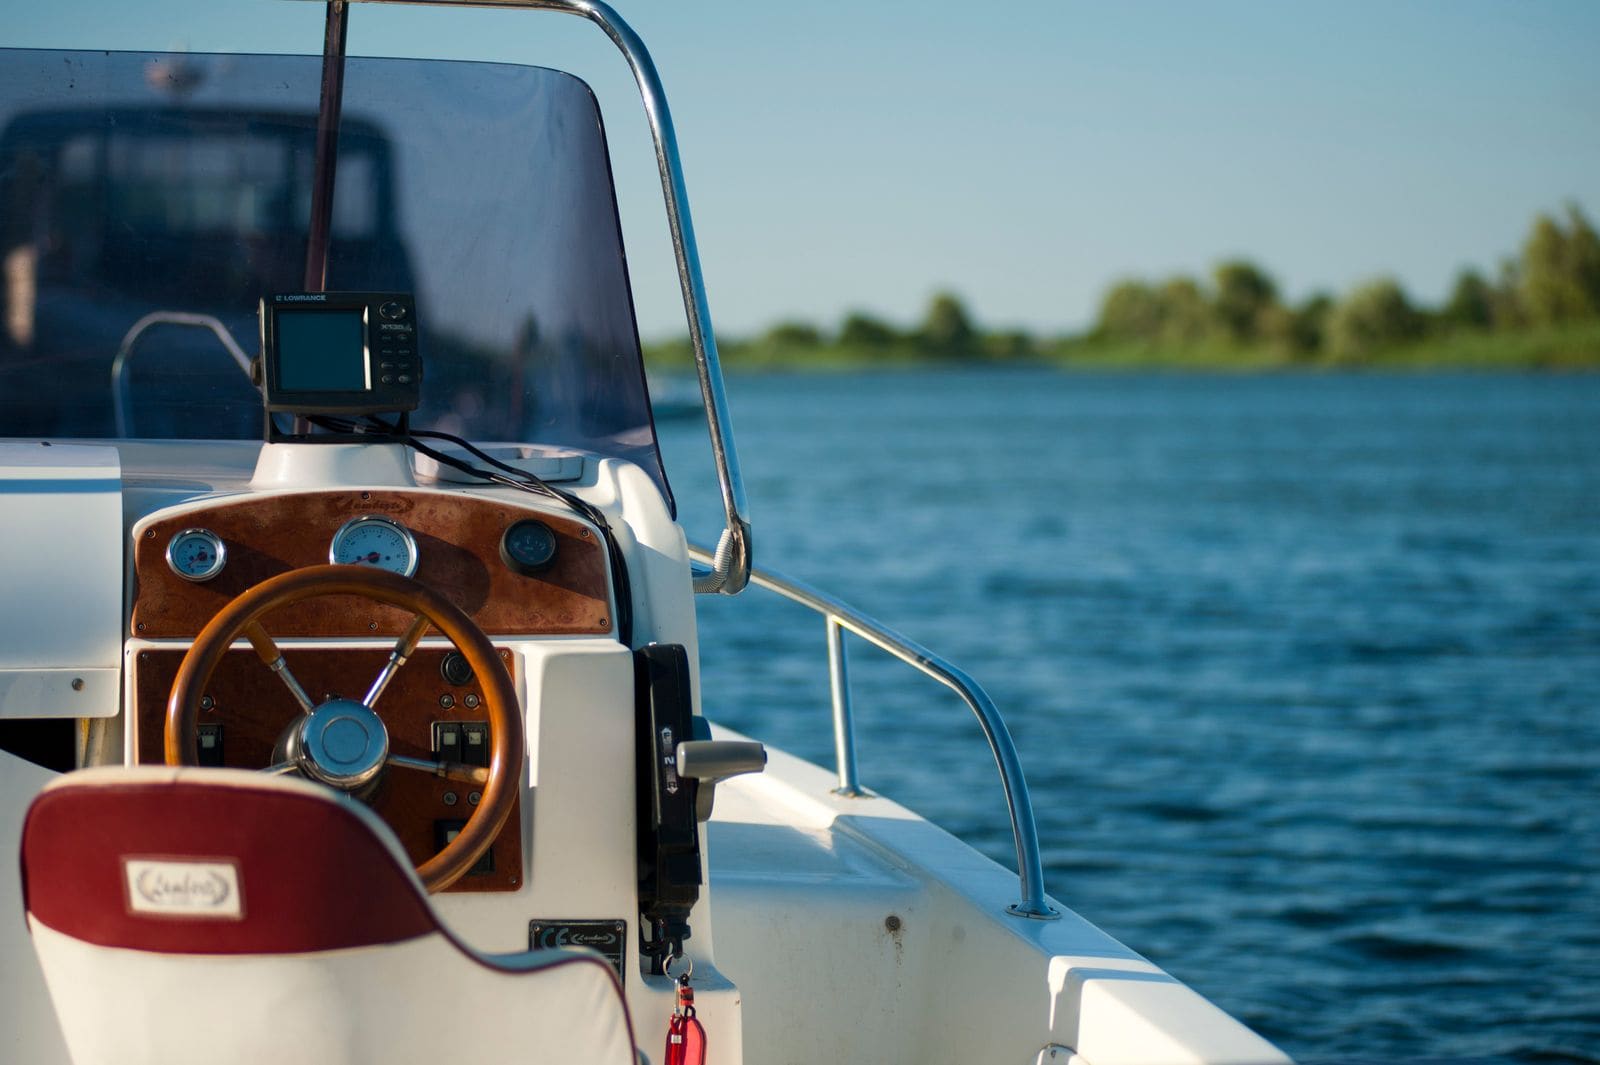
Time
1 h 30 min
Shop would charge
$150-400
Applies to
Outboard, Sterndrive (I/O), Gas inboard
Safety first: Steering is the one system you cannot do without. If steering feels wrong, loose or jams, do not take the boat out until it is fixed. If you lose steering under way, slow down, warn other boats, and call TowBoatUS, Sea Tow or the Coast Guard on VHF channel 16 if you can't get safely to the dock.
Owners often ask
- My steering wheel is really hard to turn. Is it the cable or the hydraulics?
- How do I bleed air out of my hydraulic steering?
This guide walks you through it. Still stuck? Ask the AI Mechanic about your engine.
Tools
- Hydraulic steering filler kit for your brand (fill tube that screws onto the fluid bottle)
- Clear vinyl tubing that fits the cylinder bleeder fittings
- Small wrench for the bleeder fittings (size per your cylinder)
- Catch container for used fluid
- Utility knife
- Flashlight
- Rags, gloves and safety glasses
- A helper (one person at the wheel, one at the cylinder)
Parts & supplies
- Hydraulic steering fluid specified by your steering manufacturer (Dometic SeaStar systems specify SeaStar fluid)
- Marine grease (for cylinder support rods and tilt tube)
- Replacement fill plug or cap O-ring (if worn)
Before you start
How it works: a hydraulic steering system has three main parts. The helm behind the steering wheel is a pump with a small fluid reservoir on top. Two hoses carry fluid to the cylinder at the engine (or rudder). Turning the wheel pumps fluid to one side of the cylinder and pushes the engine over. Most manual (non-power-assist) systems are vented, not pressurized.
When to check: look at the fluid level and the hoses before you head out, and do a full check at least once or twice a season. Dometic's SeaStar team says the same in plainer terms: check fluid level, steering response, leaks and worn or binding parts before every use, and have a qualified dealer do a detailed inspection and greasing about every six months. BoatUS describes hydraulic steering maintenance as periodic fluid checks plus cleaning and greasing of certain cylinder and helm parts once a year or every 200 hours. Typical; confirm in your steering manual.
What the symptoms usually mean:
- Spongy, extra turns of the wheel, wheel "slips" back, fluid burping out at the helm: air in the system.
- Low fluid: a leak somewhere. Any fluid loss means a leak that must be fixed before you run the boat.
- Stiff steering: dry or corroded cylinder support rods or tilt tube, a kinked hose, the wrong fluid, or a problem inside the helm or cylinder.
- Loose or sloppy steering: air, loose cylinder mounting bolts, worn rod ends or tie bar joints, or worn seals.
- Boat pulls to one side, or the wheel is heavy in one direction only at speed: often not a steering fault at all. Suzuki explains that a propeller's rotation pushes the boat toward the side it turns, which is why twin-engine boats use counter-rotating props. Trim angle changes how strong that pull feels, and many outboards and drives have an adjustable trim tab (a small fin near the propeller) set up to balance it. Your engine manual shows how to adjust it. If the pull is new, or the wheel feels heavy at the dock with the engine off too, keep going with the checks below.
Find your manual: helm and cylinder models differ. Look for the model on the helm label and cylinder. Dometic (SeaStar, BayStar) posts manuals on its website. The fill level and bleed steps below are typical; follow your manual where it differs.
Steps
With the engine off, look along both hoses from the helm to the cylinder. Look for wet spots, drips, chafing, kinks and hoses rubbing on sharp edges. Check the fittings at the helm and cylinder and the seals where the cylinder rod comes out. Wet, oily dirt is a sign of a slow leak.
At the engine, grab the cylinder and the steering arm and try to wiggle them. Nothing should clunk or move except the steering itself. Check that every bolt and locknut is present and tight, including the bolt that attaches the cylinder to the engine's steering arm. On twin engines, check the tie bar ends too. A loose bolt here is a real danger; tighten to your manual's torque or have a pro do it.
Center the engine. If your system has an unbalanced cylinder (common on inboards; your manual says if yours is one), the cylinder rod must be fully retracted while you check, or the reading will be wrong. Remove the fill plug on top of the helm (on dual-station boats, use the highest helm).
The level is usually correct when the fluid is just below the filler threads. For SeaStar helms, Dometic gives about 1/8 to 1/4 inch below the lowest thread of the fill port; other brands and helm angles differ, so check your manual. If you can't see fluid at all, add some and plan to find the leak.
While the plug is out, look at the fluid itself. Dometic suggests drawing a little out of the helm with a clean syringe: fluid that looks like chocolate milk has water in it. That means a leak somewhere is letting water in, and the system needs the leak fixed and a thorough flush with fresh fluid, usually by a shop. Water left inside corrodes the helm and cylinder from within.
Add only the fluid your steering manufacturer specifies. Dometic recommends SeaStar fluid only and warns that a non-approved fluid can damage the system. Add a little at a time. Don't overfill: fluid expands when it warms up and will leak out of the vented cap. Reinstall the plug snug, not tight.
Turn the wheel from hard over to hard over several times while watching the fluid in the helm. If the level rises and falls as you turn, or bubbles come up, there is still air in the system. Count the turns lock to lock and compare with your manual; too many turns usually means air. The engine should start to respond within about a quarter turn of the wheel; a bigger dead spot points to air or low fluid. Also check steering at different tilt positions on an outboard to be sure the hoses don't bind.
If there is air, you need to bleed the system. The basic method for a single-helm, single-cylinder outboard system is shown below; dual helms, autopilots and power assist need extra steps from your manual.
Screw the filler kit onto a bottle of steering fluid. Remove the helm fill plug and screw in the other end of the filler tube. Hang the bottle upside down above the helm and cut the bottom off so it can act as a funnel. Push clear tubing onto both bleeder fittings on the cylinder and run them into a catch container.
Have your helper turn the wheel until the cylinder is fully extended to one side. Open the bleeder on the side your manual specifies, usually a fraction of a turn. Hold the cylinder still while the helper turns the wheel the other way. Air and fluid will come out of the tube.
When the fluid in the tube comes out clear with no bubbles, close that bleeder while the helper keeps turning. Watch your fingers: the cylinder moves as soon as the bleeder closes.
Now open the other bleeder, hold the cylinder and have the helper turn the wheel in the opposite direction. Close the bleeder when no more bubbles appear.
Keep an eye on the bottle the whole time. If the fluid drops below the filler tube, air gets pulled back in and you'll have to start over. Top it up with fresh fluid. Don't reuse fluid from the catch container unless your manual allows it.
Remove the filler kit and set the fluid level as in step 3. Turn hard over to hard over again and watch the helm. If the level still moves, repeat the bleed. Check the bleeder fittings for leaks; a bleeder that keeps leaking after it is snug needs replacing.
On outboard systems, the cylinder slides on support rods that pass through the engine's tilt tube. Rinse the cylinder with fresh water only; Dometic warns against cleaners with ammonia, acids or other harsh ingredients. Wipe the rods and apply a thin coat of marine grease where your manual shows. Stiff steering that improves after this was dry or corroded support rods.
Run a fingertip around the seal (gland) at each end of the cylinder and around each hose fitting. Fluid on your finger means a weeping seal or fitting. A fitting may stop if snugged gently; a weeping gland needs new seals (SeaStar sells gland kits, and handy owners can fit them by following the instructions exactly) or a shop. Check the cylinder rod for salt crust, nicks and scratches, which chew up seals. SeaStar's advice is to pull the support rod once a year, clean the old grease and dirt out of it and the tilt tube, and regrease, and to rinse the cylinder with fresh water after every saltwater trip.
Test steering at the dock first, then at low speed in open water. The wheel should turn smoothly with no dead spot, and the boat should respond right away. Recheck the fluid level and look for leaks after the trip.
Many smaller outboards use a push-pull cable instead of hydraulics. Signs of a failing cable: steering that gets harder each season, binding at one end of travel, rust at the tilt tube, or a cracked cable jacket.
- Grease the cable end and tilt tube through the grease fitting if there is one. Turn the wheel so the cable end is fully pulled back into the tilt tube before you grease it; greasing with it extended can lock the cable with trapped grease.
- Don't try to force a stuck cable out of the tilt tube by cranking the wheel; that can damage the helm.
- Lubricating a stiff cable is a stopgap. BoatUS calls replacement the preferred fix, and a cable that binds can fail without warning. If your cable steering is worn out, it is often a good time to consider upgrading to hydraulic.
Common mistakes
- Topping off a cold system to the brim. The fluid expands as it warms and leaks out the vent cap.
- Using automatic transmission fluid or "whatever hydraulic oil" in a system that specifies its own fluid.
- Letting the filler bottle run dry while bleeding, which pulls in more air than you started with.
- Checking the fluid at the lower helm on a dual-station boat. Always check the highest helm.
- Adding fluid again and again without finding the leak.
- Taking apart a helm pump or pulling the cylinder rod. Dometic advises owners not to do this; it can turn a small problem into replacing the whole unit.
When to call a pro
- Steering stays spongy or stiff after a careful bleed
- You find a leak at a helm shaft seal, cylinder seal or hose fitting you can't fix by snugging it
- A cylinder rod is scored, bent or pitted
- The boat has dual helms, an autopilot, power-assist steering or an inboard with an unbalanced cylinder and you don't have the manual's bleed procedure
- Mounting bolts are loose and you don't have the torque spec
- You ever lose steering, even briefly
Tips
- Keep a small bottle of the correct steering fluid on board, especially on long trips.
- Write the lock-to-lock turn count in your BoatMend log once the system is properly bled. If it changes later, air has gotten in.
- A hydraulic system that loses no fluid generally doesn't need to be bled again. If you have to bleed it every season, find the leak.
- Dispose of old steering fluid at a used-oil collection site.
- Can't find a slow leak? On many outboard boats the cylinder hangs over the water, so drips vanish. Tuck a paper towel under the cylinder and hose fittings overnight and see where it gets wet. On flybridge boats, the upper helm's shaft seal sits in sun and weather and is a common leak point.
Official references
We read these to write this guide. Your engine's own manual always wins.
- BoatUS – Upgrade To Hydraulic Steering
- Boating Magazine – How to Bleed Hydraulic Steering
- Dometic – SeaStar Hydraulic Steering Fluid
- BoatUS – How To Lubricate Control Cables
- Suzuki Marine – FAQs (propeller rotation and counter-rotation)
- Sport Fishing – Boat Hydraulic Steering Care (SeaStar/Dometic advice)
Safety: BoatMend is for information only and does not replace a certified marine technician. You are responsible for your safety and your boat. Read the full disclaimer.
Last updated 2026-10-24
Related guides
How to Grease Your Outboard's Lubrication Points
Grease the swivel bracket, tilt tube, steering and shift linkages, trim rams and prop shaft splines on your outboard. Grease keeps salt and water out of the moving joints. A 30-minute job once or twice a season prevents seized steering, stuck props and corroded brackets.
How to Check and Top Up Power Trim and Tilt Fluid
Check and top up the hydraulic fluid in your power trim and tilt unit, then work through the simple checks when the motor won't go up, won't go down or slowly sinks. Most trim problems are a dead battery, a bad relay, low fluid or a release valve left open, and you can find those yourself.

Launch Day and Haul-Out Checklist for Trailer Boats
A step-by-step checklist for getting your boat off the trailer and back on again safely and quickly, from the drain plug and tie-downs to the blower and ramp etiquette. Following it in order prevents the classic mistakes that sink boats and back up the ramp.