Stiff or Seized Mechanical Steering - Lubricate, Inspect and Replace the Steering Cable
Fix hard, notchy or loose cable steering on an outboard boat. Find out whether the engine, the tilt tube, the cable or the helm is the problem, clean and grease what can be serviced, and measure and install a new cable correctly when the old one is done.
Time
3 h
Shop would charge
$300-800
Applies to
Outboard
Safety first: Losing steering at speed is dangerous: the boat can turn hard on its own and throw people out. Don't keep using steering that binds, jumps or has a lot of free play. Do all work with the engine off, the key out and the lanyard removed. Never reuse old locknuts or swap in ordinary nuts and bolts on steering connections; vibration can loosen them. If your steering jams on the water, go to neutral, stop the engine, anchor if needed, and call TowBoatUS or Sea Tow (VHF 16 or 911 in an emergency).
Owners often ask
- My cable steering is really stiff. Do I need a new cable or just grease?
- How do I measure for a replacement steering cable?
This guide walks you through it. Still stuck? Ask the AI Mechanic about your engine.
Tools
- Wrenches and sockets (SAE and metric, depending on your engine and helm)
- Screwdrivers and needle-nose pliers
- Steering wheel puller (some wheels are stuck tight on the helm shaft)
- Brass wire brush and a wire brush or tube brush for the tilt tube
- Solvent or degreaser and clean rags
- Water-resistant marine grease and a grease gun
- Tape measure, plus a garden hose or rope for measuring the cable path
- Light line (a "messenger") to pull the new cable through
- Zip ties
Parts & supplies
- Replacement steering cable that matches your helm type and the correct length
- New locking hardware (nylon-insert locknuts, cotter pins) as specified for your engine connection kit
- Steering helm or complete steering kit, only if the helm is worn or the matching cable is no longer made
Before you start
Most smaller outboard boats use mechanical (cable) steering. Turning the wheel turns a helm behind the dash, which pushes and pulls a steering cable. The cable runs along the inside of the hull to the stern, where a stainless telescopic ram at its end slides through the engine's tilt tube and connects to the engine with a link arm. West Marine notes mechanical systems are common on powerboats up to about 34 feet.
There are two common helm types, and their cables are not interchangeable:
- Rotary helm: a round gear housing behind the dash; the cable wraps around a drum. Most common on newer boats.
- Rack-and-pinion helm: a long, flat box behind the dash with a straight rack.
The usual causes of stiff steering, according to SeaStar and West Marine, are corrosion in the tilt tube, internal corrosion in the cable, tight cable bends and binding hardware. Lack of maintenance is the biggest factor. The good news: many stiff systems only need the tilt tube and ram cleaned and greased. The bad news: a steering cable is a sealed part and cannot be repaired. If it's bad, it gets replaced.
If your boat has hydraulic steering (a helm pump, hoses and a cylinder at the engine), see the hydraulic steering guide instead.
Steps
Notice exactly what you feel:
- Stiff all the time, or getting worse each season: usually tilt tube corrosion or a corroding cable.
- Stiff in only one direction, or near full lock: often a tight cable bend, a binding link arm, or the engine hitting something.
- Lots of free play or "slop": worn helm, worn cable, or loose connection hardware.
- Engine shakes side to side at speed (flutter): backlash in a single-cable system or loose hardware.
- Wheel jerks or pulls hard one way: normal prop torque on many outboard boats, made worse by trim; but sudden changes deserve a check.
Engine off, key out, lanyard removed. Tilt the engine to a comfortable height and support it as your manual says. Look at the engine end of the cable: the nut where the cable threads onto the tilt tube, the ram sliding out of the tube, and the link arm to the engine's steering arm.
Disconnect the link arm from the engine (keep the hardware in order, and plan to use new locknuts and cotter pins on reassembly). Now:
- Turn the wheel. If it turns easily now, the cable and helm are fine and the drag is at the engine: tilt tube corrosion, a dry swivel bracket, or a binding link arm.
- Push the engine by hand side to side. If the engine is hard to turn on its own, its swivel bracket needs grease or service.
- If the wheel is still stiff with the engine disconnected, the cable or helm is the problem. Go to step 6.
Most outboards have grease fittings on the swivel bracket and tilt tube. Use the grease your engine maker specifies and pump until fresh grease appears. See the outboard grease points guide for locations. A swivel bracket that stays stiff after greasing may need a dealer.
This is the routine SeaStar suggests at least twice a year:
- Unthread the cable nut and pull the telescopic ram out of the tilt tube.
- Clean the inside of the tilt tube thoroughly and remove corrosion with a wire brush. Wipe out all the loose material.
- Scrub the ram with a brass wire brush and wipe it clean. Look for pitting, bends or deep scratches.
- Coat the inside of the tube and the sliding part of the ram with water-resistant marine grease.
- Reassemble with the correct locking fasteners, tight, with no binding.
MasterCraft's routine for its cable-steered inboards is similar: clean old grease off the cable end with solvent, spread fresh grease on the exposed cable, and work the wheel back and forth. If the steering is now smooth with the engine connected, you're done. Recheck it after a couple of trips.
Ram frozen in the tilt tube? A forum regular's advice that matches what mechanics say: soak the joint with penetrating oil (owners wrap the end with tubing or a rag so it soaks in for hours or days) and rock the ram back and forth with a wrench to break the corrosion free. Don't hammer on the end of the ram: it mushrooms the threaded end and can make removal nearly impossible. If it won't come free with patience, or the ram is pitted once it's out, plan on a new cable. Seized rams almost always come from skipping the clean-and-grease routine, so keep it on your seasonal list once it's free.
Follow the cable from the helm to the stern with a flashlight:
- Cracked, split or swollen outer jacket: water gets in and the inner core rusts. SeaStar says to replace any cable with a damaged jacket, and BoatUS's spring launch checklist says the same about control cables: cracks or swelling in the jacket mean corrosion inside and a cable that must be replaced.
- Kinks or tight bends: West Marine says SeaStar recommends a minimum bend radius of about 8 inches. Tighter bends make steering stiff and wear the cable out early.
- Zip ties cinched tight: leave a little slack so the cable can flex as it works.
- Rust or a bent ram at the engine end.
With the engine disconnected, if the cable still binds, feels gritty or notchy, or won't move smoothly, it has internal corrosion or wear. Replace it.
Remove the steering wheel cover and look behind the dash. Check that the helm is firmly mounted, the wheel nut is tight, and the wheel doesn't wobble on its shaft. With the cable disconnected at the helm, turn the wheel: a helm that grinds, binds or has a lot of play is worn. SeaStar warns that taking the helm or cable apart voids the warranty and can lead to steering failure, so don't open them. If the helm is worn, or the cable for your helm is no longer made, replace the helm and cable together as a kit.
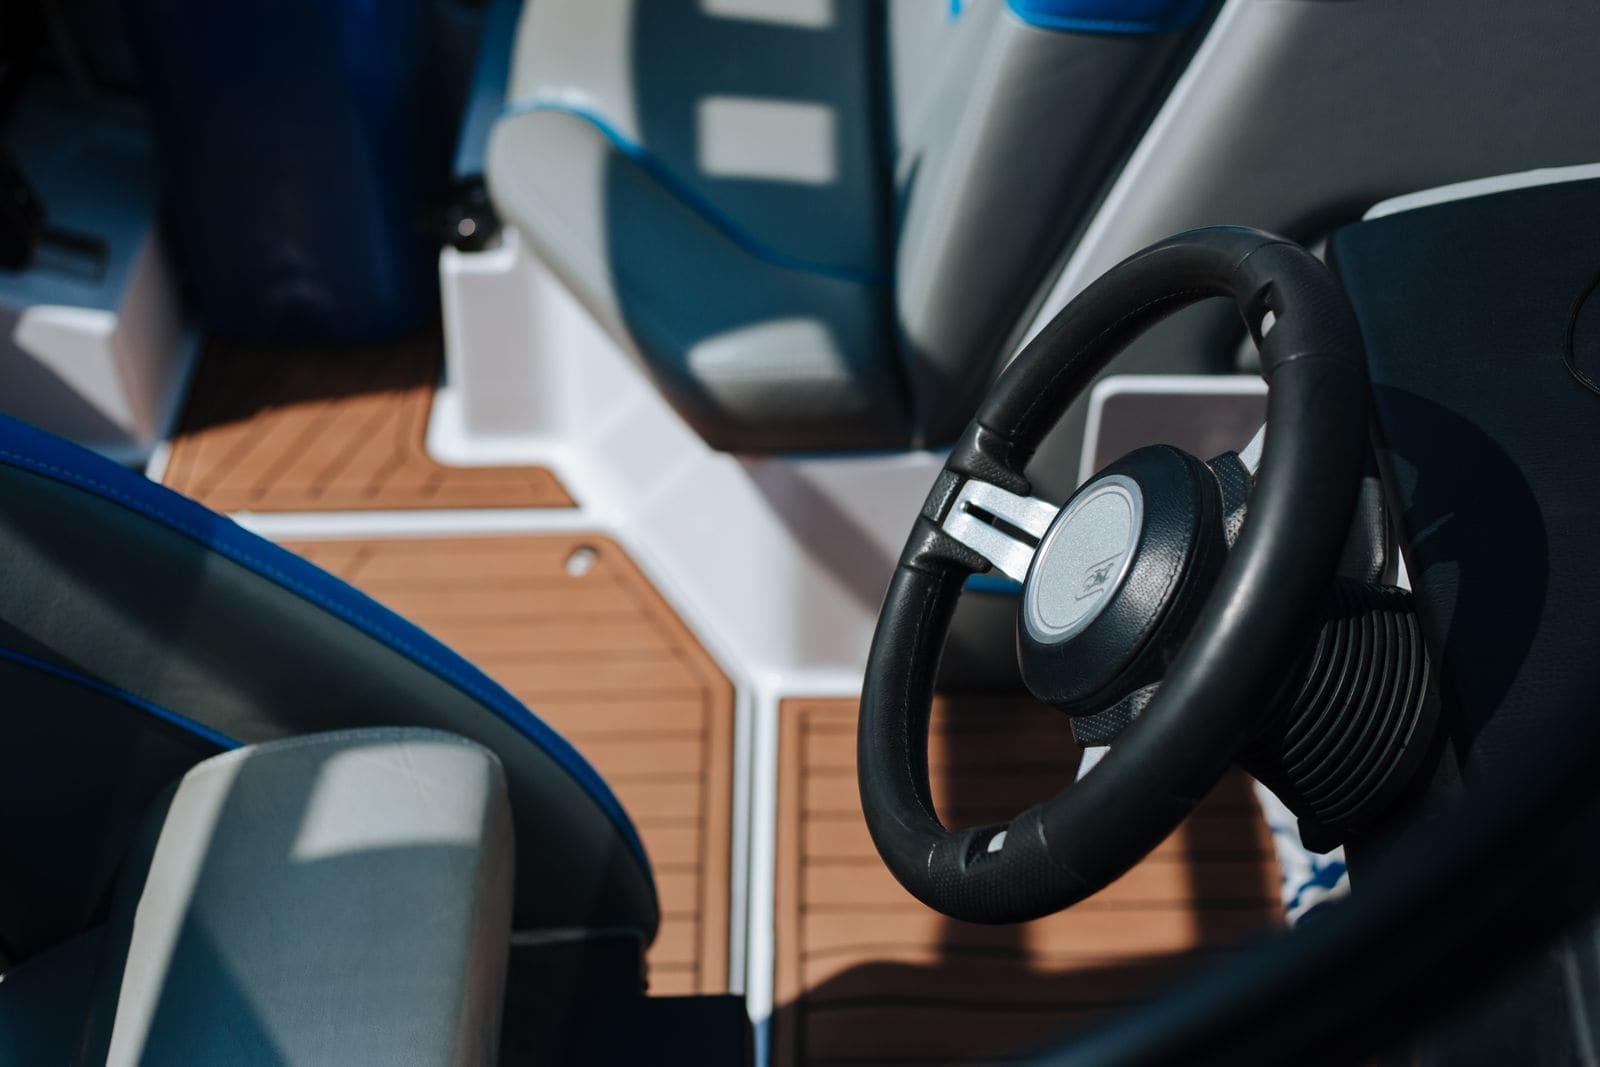
The wheel is all you see; the helm unit that drives the cable sits behind the dash. Photo: Ron Lach / Pexels - Look for a part number and length stamped on the old cable's jacket. That's the easiest way to order the right one.
- Confirm whether your helm is rotary or rack, and which family. West Marine notes several helm and cable styles look similar but don't fit each other, and newer back-mount rack helms use a different cable from older rack systems.
- If you're replacing the helm too, consider a no-feedback (NFB / Zero Torque) helm, which keeps prop torque from pulling the wheel. West Marine recommends it for outboards without power steering.
Each brand has its own rule, so use the one for the cable you're buying:
- Dometic SeaStar rotary cable (old cable in hand): Dometic says to measure the plastic jacket in inches, add 18 inches, and round up to the next whole foot. "Measure twice, order once."
- Rack cables: the allowance is different from rotary cables. Use the measuring instructions from the maker of the rack cable you're buying.
- UFLEX universal rotary cable: West Marine's listing says to measure the outer sleeve from mounting point to mounting point, add 22 inches, and round up to the closest foot.
- Old cable already gone: measure along the real route the cable takes, not a straight line. West Marine's method adds three distances (wheel center to gunwale, along the gunwale to the transom, and to the engine connection), then adds 6 inches for cables that go through the engine tilt tube or subtracts 6 inches for cables mounted to the transom or splashwell, and rounds up. Laying a garden hose along the path makes this easy.
If you land between sizes, go up. A cable a little long can be routed in gentle curves; one too short won't install correctly and can make the steering unsafe.
- Disconnect the engine end (step 3) and unthread the cable from the tilt tube.
- At the helm, remove the wheel (use a puller if it's stuck; don't hammer the shaft), then remove the bezel and the nut that holds the cable to the helm, and pull the cable out of the helm.
- Tie a light line to the engine end before you pull the old cable forward. When it comes out at the helm, the line stays in the boat to pull the new cable back along the same route.
- Note every clamp and clip location so you can put them back.
- Pull the new cable through with the messenger line, following the old route. Avoid sharp bends, especially where it leaves the helm and where it turns toward the engine.
- Feed the cable into the helm and secure it exactly as the cable instructions describe.
- Grease the telescopic ram and the inside of the tilt tube generously before sliding the ram through. SeaStar's advice to installers is "grease, grease, grease."
- Thread the cable nut onto the tilt tube and tighten it as your instructions say.
- Connect the link arm using new locknuts and cotter pins of the type the kit or engine maker specifies. West Marine and SeaStar both warn that using non-locking fasteners can lead to steering failure.
- Secure the cable along the hull with clamps or zip ties, snug but not cinched tight.
- Turn the wheel lock to lock several times. It should be smooth with no binding.
- Check full lock in both directions with the engine tilted down, then tilted up. Make sure the engine, cable and link arm don't hit the transom, other engines, the splashwell or wiring at any point.
- Re-check every nut and cotter pin.
- Shift and throttle cables should move freely and not rub on the new steering cable.
Start in calm water at idle and make gentle turns both ways, then gradually increase speed. Feel for binding, slop or flutter. Recheck the connections after the first trip. After that, repeat the tilt tube cleaning and greasing (step 5) at least twice a season, more often in salt water.
Common mistakes
- Replacing the cable when the real problem was a corroded tilt tube or a dry swivel bracket. Disconnect the engine first and find out.
- Spraying penetrating oil into a seized cable and calling it fixed. Once a cable's core is rusted inside, it can lock up again, possibly at speed. Replace it.
- Ordering a cable by guesswork. Read the part number on the jacket, confirm rotary vs. rack, and use the measuring rule for that brand.
- Routing the new cable with tight bends or cinching zip ties tight, then wondering why the new steering is stiff.
- Reusing old locknuts or using ordinary nuts and bolts on the steering link.
- Forgetting to grease the ram and tilt tube on a new installation.
- Pumping grease into the tilt tube fitting and assuming the cable ram is now lubricated. On many engines that fitting greases the tilt tube where it pivots in the bracket, not necessarily the ram sliding inside it, and a wiper seal on the cable nut can scrape fresh grease off the ram. Pulling the ram out, cleaning and greasing it (step 5) is the only sure way.
- Not checking full lock with the engine tilted up, where the cable or link can hit something.
When to call a pro
- Steering that jams or binds while underway: don't keep using the boat until it's fixed
- A worn helm, or a cable for your helm that is no longer available (a complete new steering kit may be needed)
- High-horsepower or high-speed boats (West Marine suggests dual-cable or hydraulic systems for boats above about 50 mph), dual-engine setups or boats with power-assist steering
- Swivel bracket or tilt tube problems on the engine that grease doesn't fix
- You're thinking about upgrading to hydraulic steering
- If you lose steering on the water: neutral, stop the engine, anchor if needed, and call TowBoatUS or Sea Tow; in an emergency use VHF 16 or 911
Tips
- Grease the tilt tube and ram every spring and fall. It's the single most effective thing you can do for cable steering.
- Photograph the old cable's routing and every clamp before you remove it.
- Write the new cable's part number and length in your maintenance log.
- Boating Magazine suggests carrying a backup plan for steering failure. A bucket with a bridle (a line tied to cleats on both sides of the stern) dragged behind the boat can steer it home slowly; practice before you need it.
- If you boat in salt water, rinse the engine's steering area with fresh water after each trip.
Official references
We read these to write this guide. Your engine's own manual always wins.
- Canadian Boating – How to Maintain a Boat's Steering Cables (article courtesy of Dometic SeaStar)
- BoatTEST – How to Maintain a Boat's Steering Cables (SeaStar maintenance routine)
- West Marine – Mechanical Steering (West Advisor)
- Dometic – SeaStar SSC290 Rotary Steering Cable (how to measure steering cables)
- West Marine – UFLEX Universal QC2 Rotary Steering Cable (how to measure)
- MasterCraft Knowledge Center – Lubricate the Steering System
- MasterCraft Knowledge Center – Steering System
- Boating Magazine – What to Do If Your Boat's Steering Fails
- BoatUS – Time-Tested Spring Boat Launch Checklist (control cable jackets)
Safety: BoatMend is for information only and does not replace a certified marine technician. You are responsible for your safety and your boat. Read the full disclaimer.
Last updated 2026-10-24
Related guides
Hydraulic Steering: Check Fluid, Bleed Air and Fix Stiff or Loose Steering
Check the fluid in your hydraulic steering helm, bleed out the air that makes steering spongy, and track down the usual causes of stiff, loose or noisy steering. Includes notes for boats with mechanical cable steering.
How to Grease Your Outboard's Lubrication Points
Grease the swivel bracket, tilt tube, steering and shift linkages, trim rams and prop shaft splines on your outboard. Grease keeps salt and water out of the moving joints. A 30-minute job once or twice a season prevents seized steering, stuck props and corroded brackets.
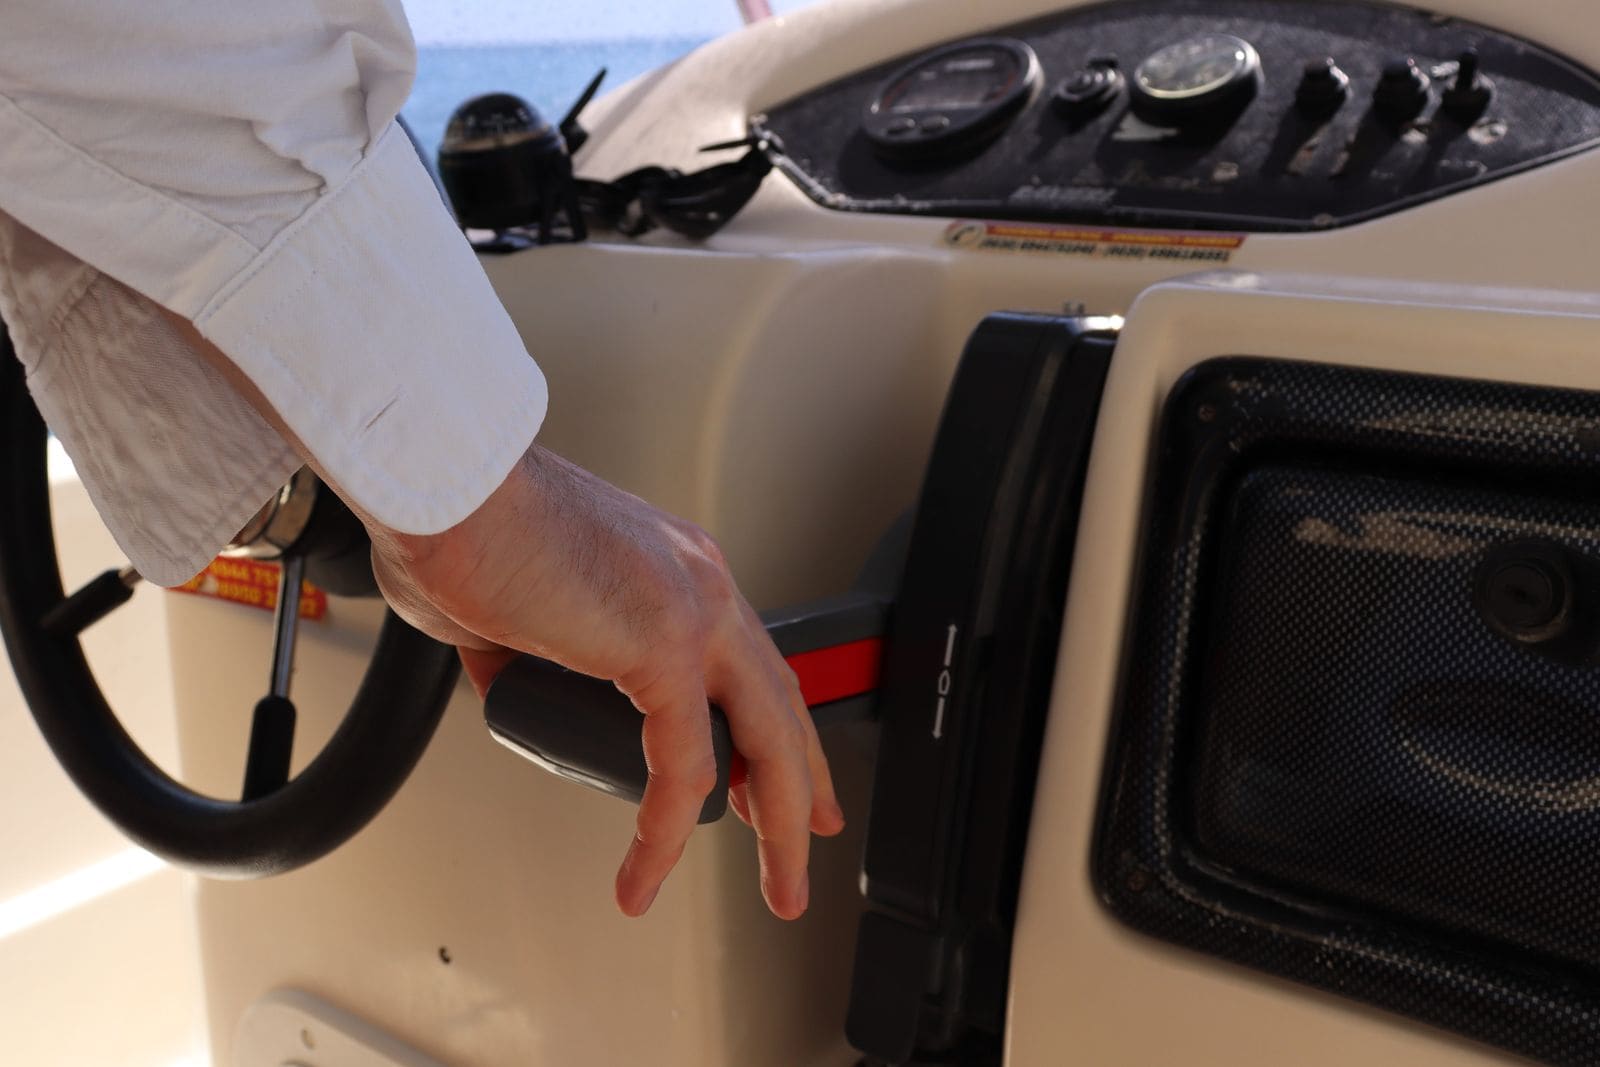
How to Check and Adjust Boat Shift and Throttle Cables
Hard shifting, a lever that will not go fully into gear, or a gear that lands in a different spot every time usually point to the control cables. Learn how to find out whether the problem is the cable, the control box or the engine, how to adjust the cable ends, and when it is time to replace both cables.
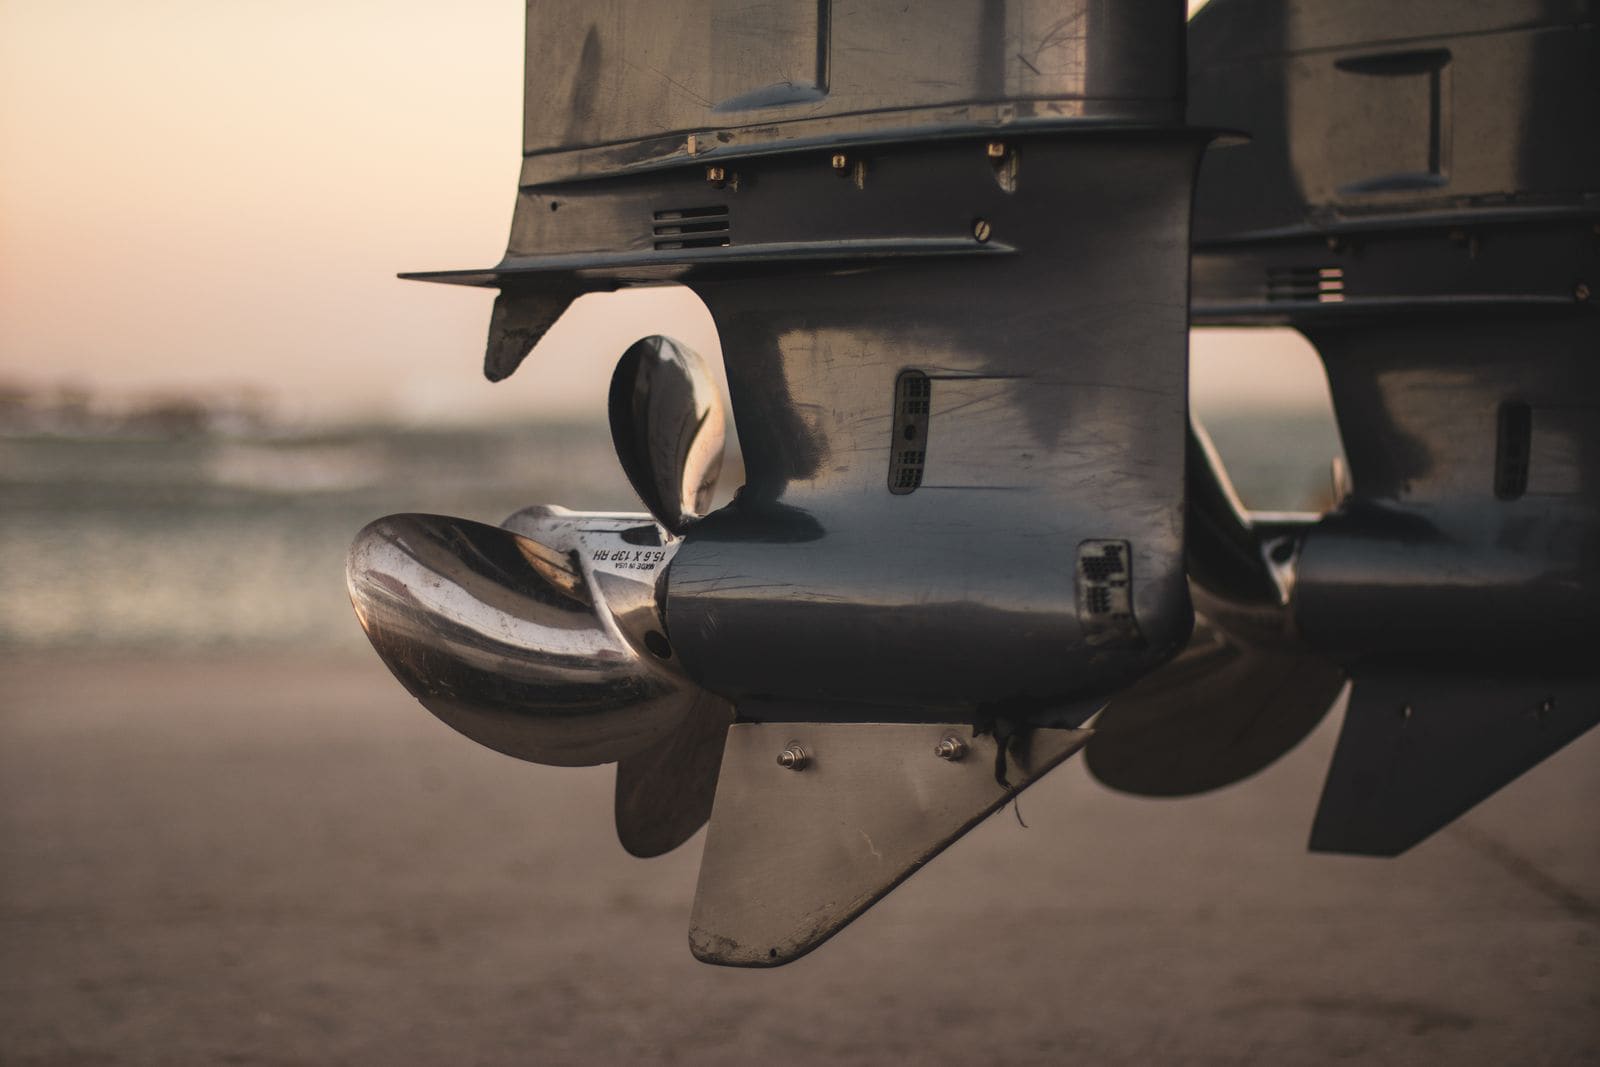
Saltwater Outboard Care: The After-Every-Trip and Monthly Routine
A simple routine that keeps salt from eating your outboard, built from Honda, Yamaha, Mercury and Suzuki advice. It covers flushing after every trip, washing, where to spray anticorrosion (and where never to), monthly greasing, anodes, and tilting up or storing out of the water.
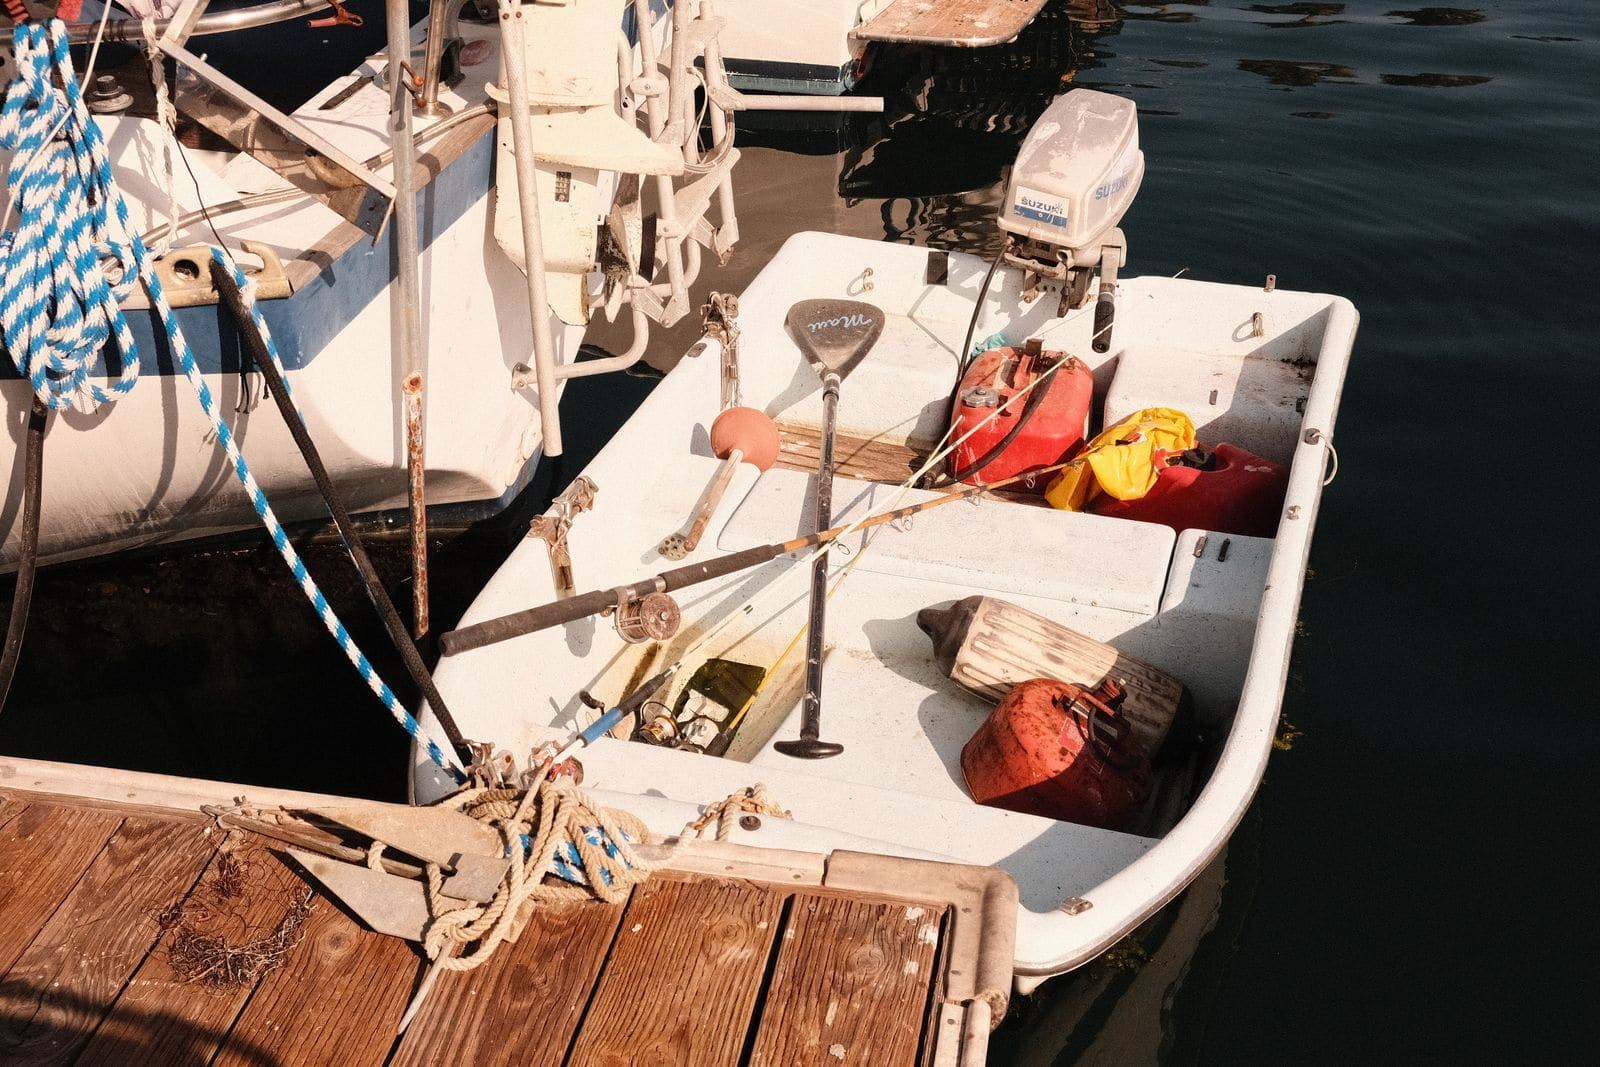
How to Mount or Re-Tighten an Outboard on the Transom
A loose outboard can steer badly, crack the transom or fall off the boat. Learn how to center the motor, check engine height, tighten clamp screws, seal and bolt through the transom with backing plates, add a safety cable on small motors and spot transom flex before it becomes a costly repair.

Launch Day and Haul-Out Checklist for Trailer Boats
A step-by-step checklist for getting your boat off the trailer and back on again safely and quickly, from the drain plug and tie-downs to the blower and ramp etiquette. Following it in order prevents the classic mistakes that sink boats and back up the ramp.